
To celebrate the release of a new formulation of our White Resin, Formlabs engineer Brian Chan challenged himself to create a fully-functional acoustic violin, using a 3D printer.
We partnered with violinist Rhett Price to debut the violin in a new video, featuring an original song composed by Rhett and recorded on the 3D-printed violin.
“It was an amazing opportunity to work with Brian and Formlabs on this project, and have the chance to perform on such a modern spin of an instrument I've been playing for 23 years,” Rhett said. “The sound quality of the violin Brian engineered was unbelievable, and the technology is absolutely incredible.”
Read on to get an inside look at Brian’s design process, including downloadable .STL files of the violin, and watch the video to see and hear the violin in action.
See and hear the violin in action in our new featuring an original song by Rhett Price
Formlabs Engineer Brian Chan on Modernizing an Icon
The violin's form is very recognizable. It’s been around for centuries, and has barely changed in design. Violin music has evolved to such a high level that the instrument has attained an almost legendary status in our culture.
The difficulty of designing an acoustic instrument is that it needs to sound authentic, without the help of amps, filters, and other things you can use for an electric instrument. For a violin, the entire body of the instrument contributes to the sound, so the geometry, internal structure, and material properties all come into play.
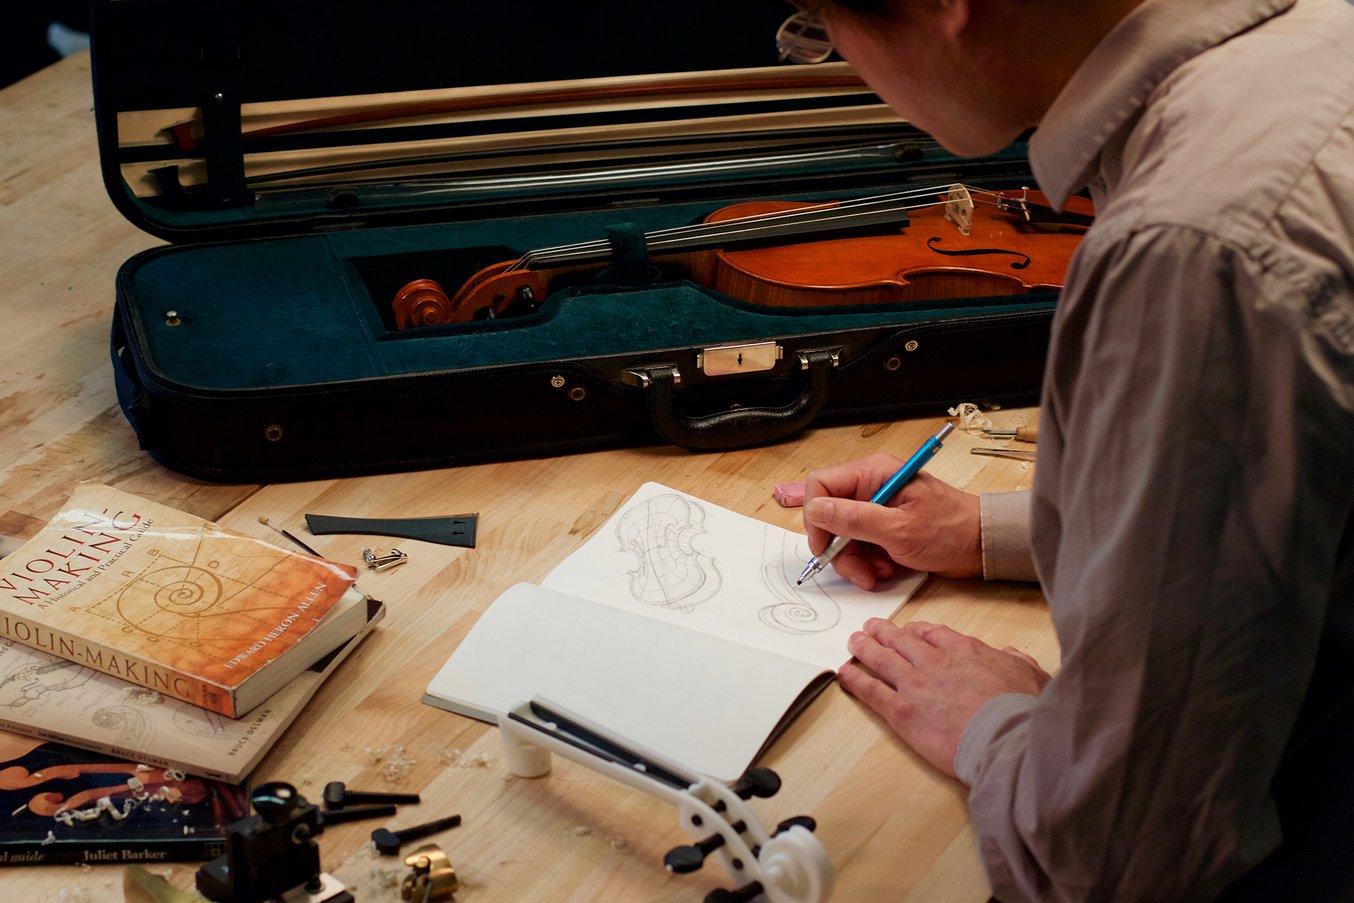
A few years ago I built a traditional wooden, hand-carved violin based on tracings of a Guarnerius in a book from 1884, Violin Making, As It Was and Is by Edward Heron Allen. This year, I tried to do the same with modern design tools and 3D printing.

Traditional Violin Anatomy
The violin has evolved into an organic shape that is closely tied to its function. The neck supports the four strings, which stretch over a bridge pressing onto the hollow body. In the middle of the body, there is a waist to allow full motion of the bow.
The front face of the violin is traditionally made from spruce, which is flexible and light in weight so that it can vibrate responsively. Some of the force of the strings (and some of the lower frequency vibration) is transmitted to the maple back of the instrument via the sound post—a spruce rod that is friction-fit in between the front and back plates. Along the inside of the front face is the bass bar, a strip of wood that reinforces the front and helps transmit the vibrations to the whole surface.
I wanted to design a 3D-printed violin to have the same internal structure: a hollow shell with the soundpost near one side of the bridge, and a strengthening bar of material along the inside of the front. Later, I would experiment with the dimensions of these various elements, but it was important to get the basics right.
Modeling a Violin in CAD

A violin is hard to draw on paper and even harder to draw on a computer. The most notable features of a violin’s geometry are the front and back plates and the scroll.

What helped me figure out how to model the front and back faces was a doodle I sketched years ago (redrawn here with more detail) of how to define the body of a violin. Many computer programs create surfaces as a sort of warped cartesian plane. Because these surfaces are based on a grid, they can have up to four natural singularities, which would correspond to the four corners of a rectangular grid.

Luckily, the violin body has four corners, while the rest of the boundaries are smooth. In Onshape, I was able to define this shape as a loft, with corners of the cross-sections located at the corners of the violin. To constrain the loft to the right shape, I used the C-shaped outlines and the centerline contour as guides. These cross-sections and guides are based on actual outlines of a Stradivarius violin, which can be found in the same book I used to construct the traditional Guarnerius violin.

The scroll is another iconic piece of the violin that I was able to define using a well-placed loft. The cross-sections were connected by a 3D spiral-like guide that went along the edge of the scroll; I later added chamfered edges and fluting to match the style of a traditional scroll.

The Violin Prototyping Process
I originally wanted to create one 3D-printed violin, simply to prove that it worked. Indeed, the first one worked for a while, but as we tested the prototypes, it became clear that numerous improvements would be necessary. By the time we shot the video with Rhett, I had built five different 3D-printed violins.
I printed the violin using the Form 2 and Formlabs’ White, Black, and Tough Resins. Stereolithography made sense for this project because the violin needed to be strong enough to withstand several different directional forces, and SLA parts are isotropic, meaning that they are equally strong in every direction. Also, the complex geometry of the instrument demanded tight tolerances for both small and large features, which the Form 2 was able to print consistently.

See what you can create with a Form 2
Explore the materials to discover the one that fits your needs.
Request a Free Sample

Version 1
Thick panels, no reinforcement
The first violin played well, but the sound was noticeably muted in comparison to a traditional violin. Additionally, over time, parts of the violin warped under the force of the strings. After a month, the body was so curved that the strings were touching the fingerboard and it could no longer be played. This warpage was a combination of the creep of plastic under high stress (there’s about 10kg pressing down through the feet of the bridge) and not enough post-curing of the parts.
Meanwhile, even though the fingerboard was reinforced by four brass rods, it was not rigid enough, and I had modeled in some blind holes from which I could not clear all the resin after printing. The isopropyl alcohol and resin caused these areas to swell and crack over time. Because everything was glued together at this point, big upgrades were not really possible, so I retired the first violin.

Version 2
Screw-on neck and fingerboard, thick panels, carbon fiber reinforcement on body and fingerboard overhang
After the warping of the first violin made it unplayable, I designed a new version with carbon fiber struts running along the inside. I also made the neck/scroll assembly detachable, as well as the fingerboard. This allowed me to easily replace one of the components if it broke or needed a re-design. I post-cured all of the parts much more thoroughly to reduce the amount of warping. These changes resulted in a much more stable structure, but over time, part of the neck warped under the tension of the strings. It was clear that more carbon fiber struts were needed to stiffen the neck, as I did with the body.
Several musicians who tested the violin mentioned that it was too heavy and not loud enough. I considered making changes to the design that would solve these two problems as well.

Version 3
Screw-on neck and fingerboard, thin panels, carbon fiber reinforcement on body, fingerboard, and neck
The main difference in this version was that the front face was much thinner (1.7 mm, a reduction of almost half from the original 2.7 mm). Thinning the face resulted in a much louder sound, since the strings don’t have so much mass to vibrate. I also reinforced the neck with two bars of carbon fiber and hollowed out much of the neck and scroll to make the instrument lighter. A few trials with musicians confirmed that the instrument sounded much better, and wasn’t such a strain to hold while playing.

This third and final (for now!) violin consists of 26 3D-printed parts that can be printed in just four or five overnight prints on a Form 2. All of the additional hardware, like strings, screws, and carbon fiber rods are easily obtained (more information on Pinshape).
“Once the design was finalized and I brought the violin home to write and record the track, I was extremely surprised by the sound,” Rhett said. “This entire project has completely challenged my perspective on what can be successfully created with a 3D printer, and it's exciting and inspiring to see things like this in my lifetime, and to be involved in the process of creating it!”

Create Your Own 3D-Printed Violin
When a valuable object is crafted, one tends to focus on the finished product, and treat it as a sanctified object as soon as it leaves the creator’s hands.
When it comes to a project like this one, created with the help of cutting-edge design tools and 3D printing, the most important “object” is not the physical violin, but the design itself, which can (and will) continue to evolve. Now that the groundwork has been laid, we can experiment endlessly with different dimensions, materials, and other parameters to see how they affect the sound and playability.
I hope that other tinkerers will take up this design and add their own changes as they see fit. To try it out, download the violin files from Pinshape, along with the original Onshape design.
I look forward to seeing your versions soon!


