
Here’s a new way to view the world: behind the fast-wheels of a skateboard. Our videographer, Josh, has been making skateboarding videos for years with a hand-held video camera, so we decided to design and 3D print a mount that would attach a GoPro to the bottom of his skateboard. We call it the Deck Cam.

Check out the results in the video, skating courtesy of our friend Eric Abo. It was a blast to shoot, and we’re happy to open-source the mount for you to print and try out.
Design for Shock and Abuse
We knew this mount would take a beating - so we printed the part with our Tough Resin, which deforms before it breaks. Under heavy vibration and hard landings, Tough handles stress better - and gives us the added flexibility that we need to open up the mount to accept a GoPro Hero 3 and Hero 4.
That’s not to say things were perfect on the first try. After printing a prototype that fit the Hero, we took it out to the streets where it promptly snapped. But the great thing about putting your parts to the test is that you can see how they perform under real-world conditions and diagnose the problem. In a few days we had tested six designs and got to a mount that could handle the shocks of street skating.
ProTip
Check out our guide to 3D printed threads to design your own bolted parts.
Build it Yourself
Want to make your own? Check out the steps below.
What you’ll need:
- Tough Mount File
- Skateboard
- Skate tool
- Phillips head screwdriver
- GoPro mounting nut, or fancier version here
- 2.5mm allen wrench
- 2x 3mm socket head screw, 25mm length
- 2x 3mm hex nuts
- ¼’’ riser pad
Print the part. Start out by downloading and printing the free mount. You can also use this link to print it on 3D Hubs - a network with hundreds of Formlabs users who can print it for you.
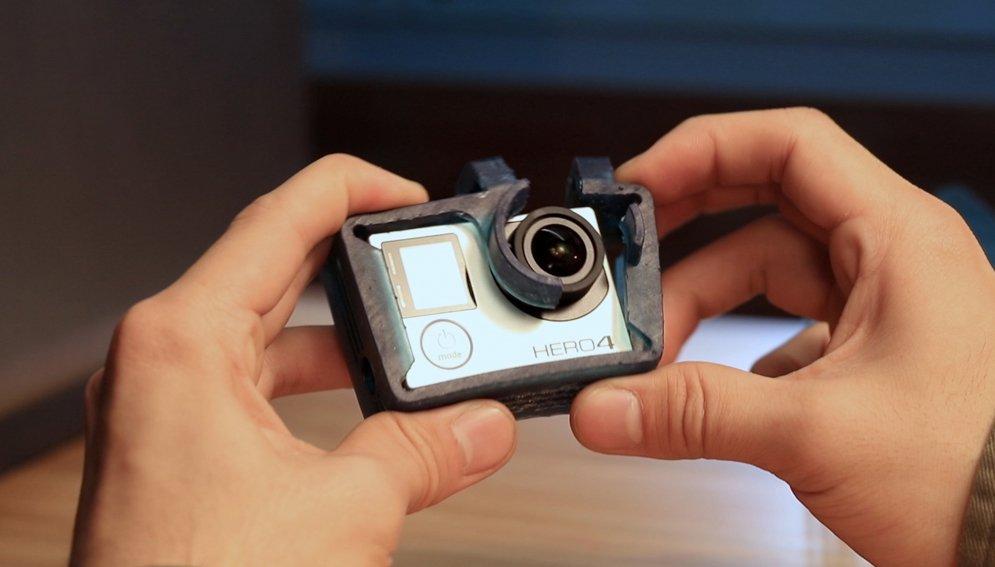
Add the GoPro. Tear off the support material and insert the GoPro into the mount. We tested fit with both the Hero 3 and the Hero 4 - your mileage may vary with other models. Tighten the GoPro with the socket head screw and the hex nuts using the allen wrench.
Attach the Mount. The mounting plate should fit directly against the board, sandwiched between the board and the truck. Tighten down the hardware using the phillips head screw. Add the riser pad to the other truck to balance the board.
Connect the Camera to the Mount. Attach the GoPro mount to the camera case using the GoPro mounting nut. You’ll want to tighten it down with the phillips head screwdriver to keep the mount stiff. With the mount in place, you’re ready to go.
Let us know how your mount works once you have it out in the world. Have an improvement or got some great footage? Send it our way or post it in our forums - we’d love to see it!
Formlabs White Paper: Post-Curing Prints
We set out to study the post-cure process in detail in order to optimize final mechanical properties of printed parts. Download the white paper to learn more.