
Tip:
A sphere manipulator is used to orient a model freehand. To show the manipulator, click View > Show/Hide Manipulators from the menu bar.

Orientation can be the difference between a print success and a print failure. In 3D printing, orientation is defined as the alignment of an object within the space of the build volume. It impacts stability, surface finish, and printability.
Model orientation best practices include:
Tip:
A sphere manipulator is used to orient a model freehand. To show the manipulator, click View > Show/Hide Manipulators from the menu bar.
Reducing print time
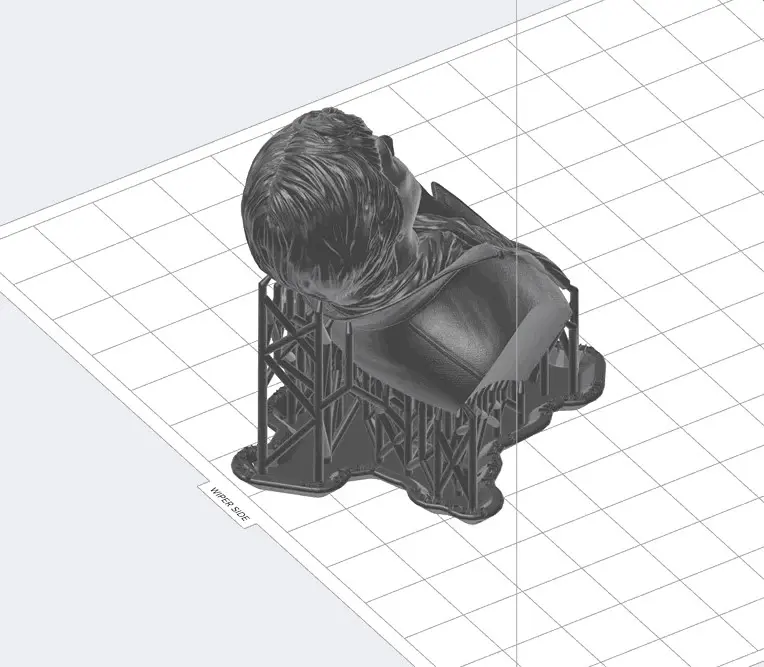
Orienting a model at an angle creates supports of varying lengths. If you are printing on a Form 2, you can place the longer supports closer to the wiper side. This decreases the distance the wiper travels during the final layers, reducing the time it takes for your model to print. When printing on a Formlabs LFS printer (e.g., the Form 3 or Form 3L), orienting parts in PreForm to be closer to the mixer side minimizes the distance the LPU needs to travel along the X-axis when printing.
TIP:
Changing a model’s Raft Type can save time in the early layers of a print.
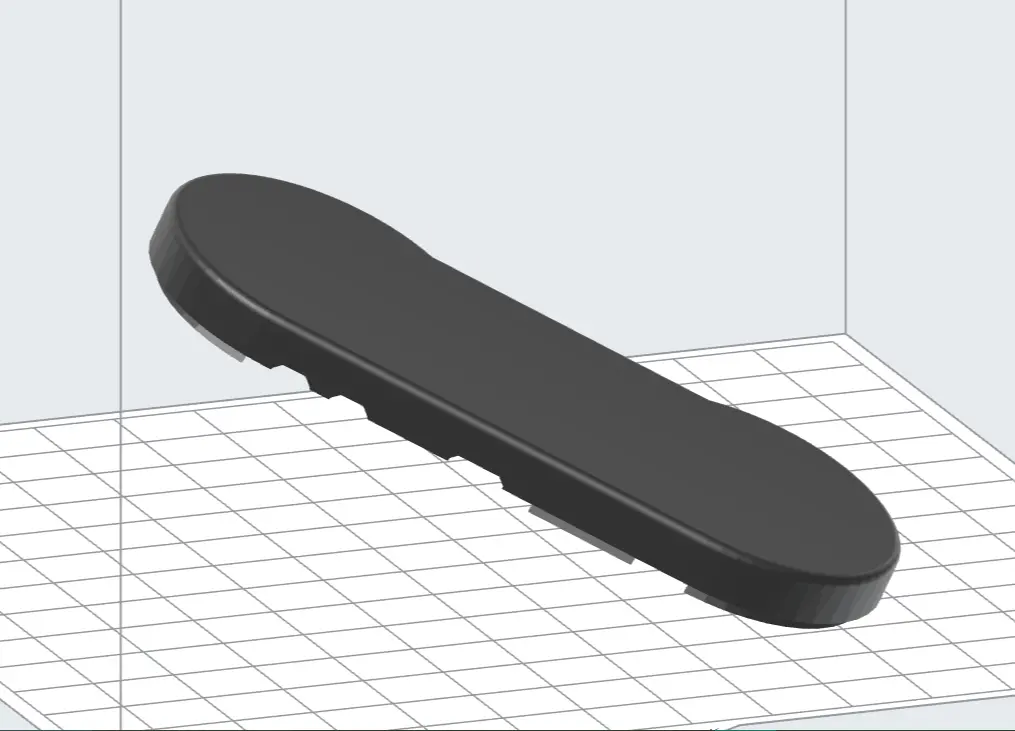
Tilting a flat surface
Orienting large, flat surfaces to an incline of 10–20º drastically increases the success rate. By printing a model at an angle, you are reducing the surface area of each layer while also decreasing the amount of contact the print has with the tank. Reducing the surface area means that the print is subject to less force as the build platform raises with every layer.
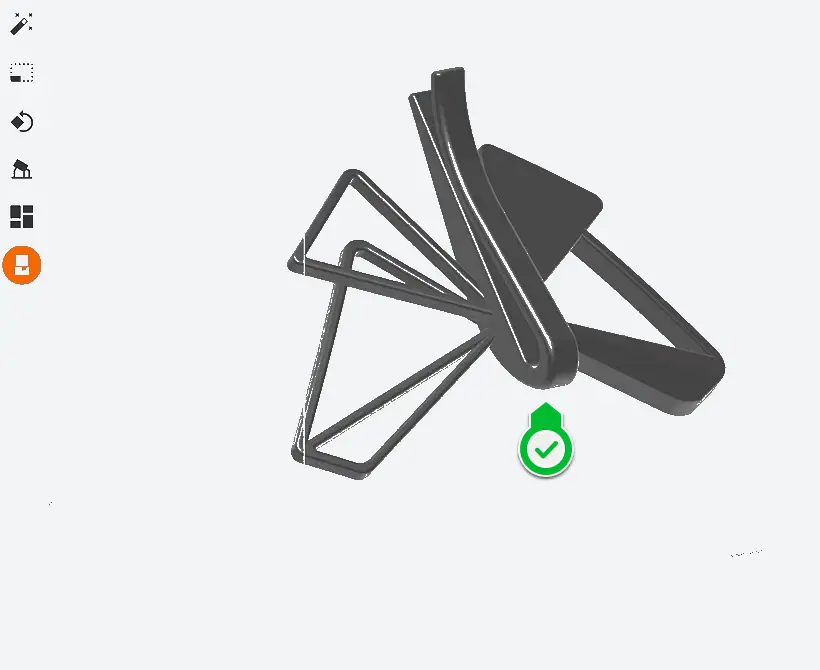
Preserving integrity at intersections
When branching features of a model meet, the intersection can crack or split. Orient the model to stand with the merging feature facing toward the build platform to create a shared base for branching features to grow from. Instead of layers coming together at a joint, the layers separate into individual paths.
NOTE:
Splits and cracks are most prominent in Elastic 50A Resin and Flexible 80A Resin. The more rigid a resin is, the less likely this result occurs.
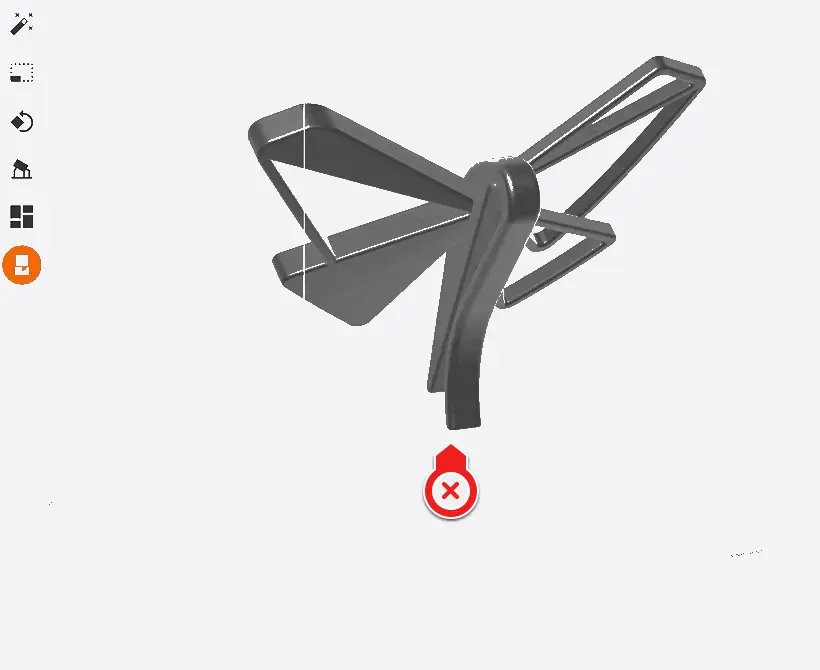
Preventing an overhang
Parts print one layer at a time. Each layer builds on the one before it. Without proper support, these overhangs fail to print or only partially form as an undeveloped feature.
To prevent print failures due to overhanging features, orient the model so that features are self supporting and do not extend over the main body. Slide the Slicer tool through the model to examine each layer and ensure that there are no unsupported features or minima.
TIP:
Drag the right-side slider to slice through a model and get a layer-by-layer look at your print.
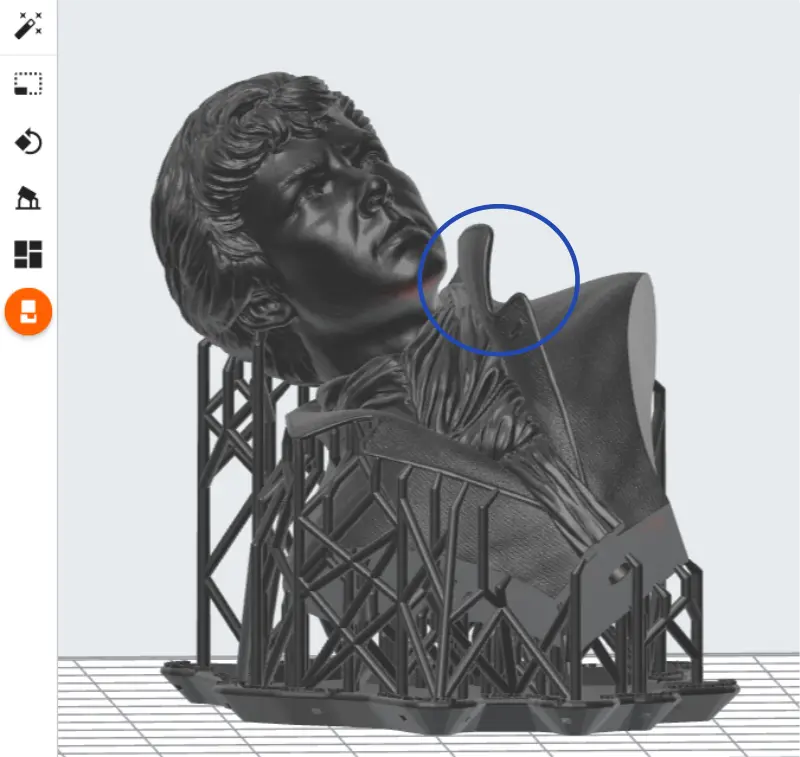
Reducing minima
Every model contains minima; they are the lowest point of a surface. Rotating a model to face the build platform from different angles changes the lowest point and how each layer builds off the one below it.
Tip:
Use PreForm to view and resolve unsupported minima.
Preventing suction cups
Hollow models and concave surfaces risk creating a suction cup during printing. Pointing a cavity face-up in PreForm traps air between the printed part and the resin tank, causing suction that makes your part stick and detach.
Use PreForm to view and resolve suction cups.
TIP:
For models that contain internal or enclosed hollows (e.g., a hollow sphere), use a 3D design package to either fill the hollow or add drainage holes to minimize suction during printing.
Saving changes
After orienting your model for maximum printability, save your work as a FORM file to keep the changes to orientation settings.