
Clear materials, such as glass or acrylic, have a wide variety of applications in consumer products, industrial uses, healthcare, and more. However, prototyping or producing low volumes of clear parts can be expensive and inefficient with traditional methods, which raises the question: can you 3D print transparent parts? The answer is yes, with the right technology and materials.
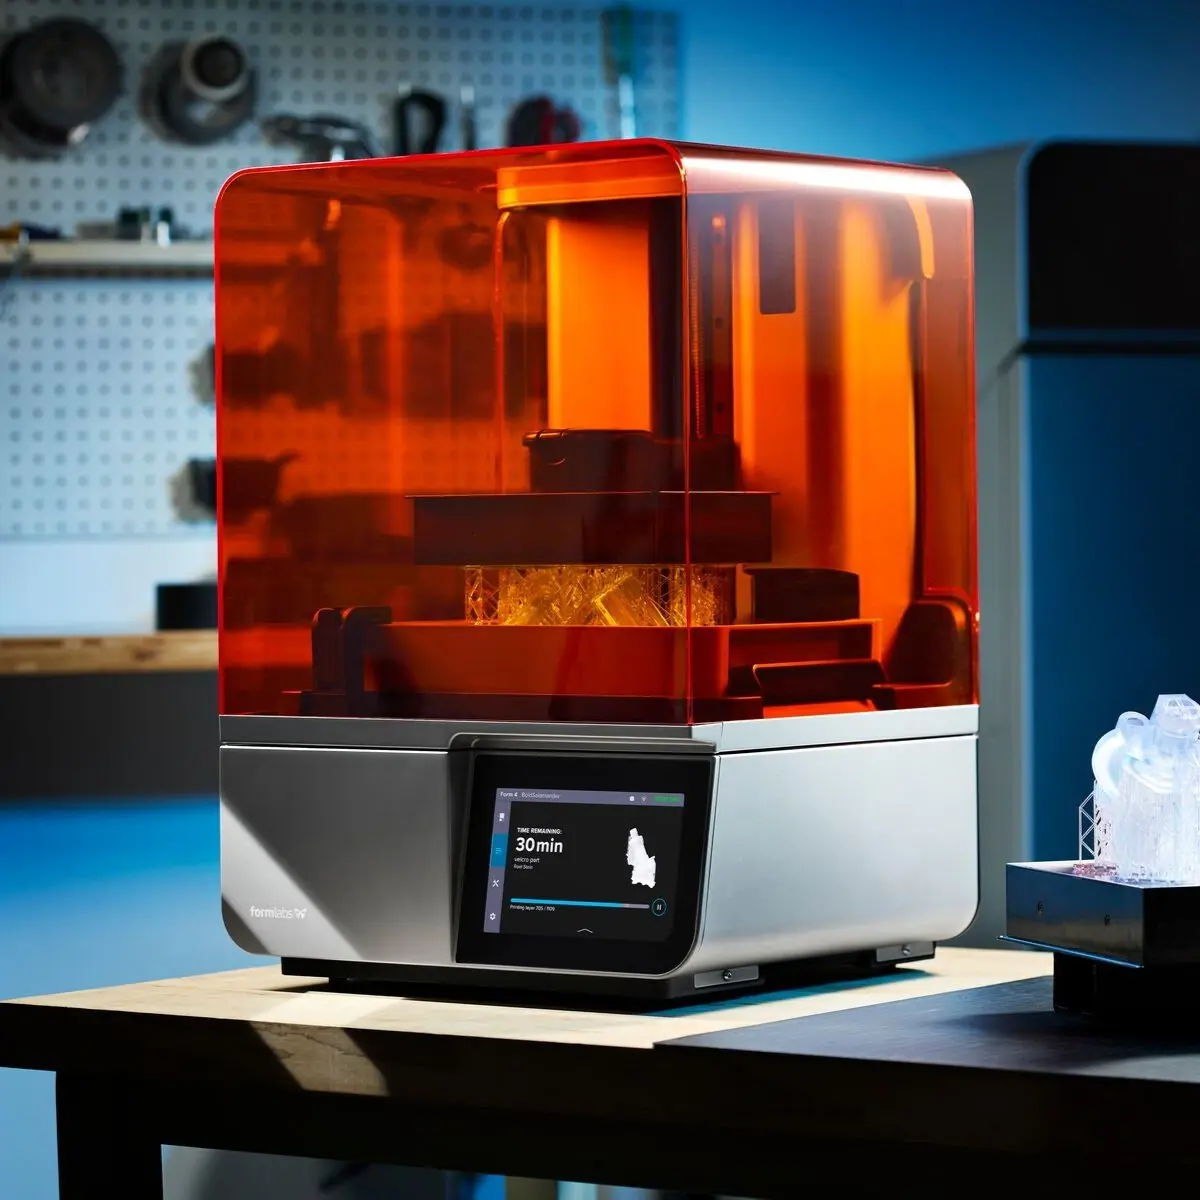
Stereolithography (SLA) 3D printing can create transparent objects that, with some post-processing, can be made optically clear. Formlabs' latest resin 3D printers, the compact and blazing fast Form 4 and the large format Form 4L, take clarity one step further by using a flexible resin tank that reduces peel forces, resulting in clearer parts with smooth surface finish.
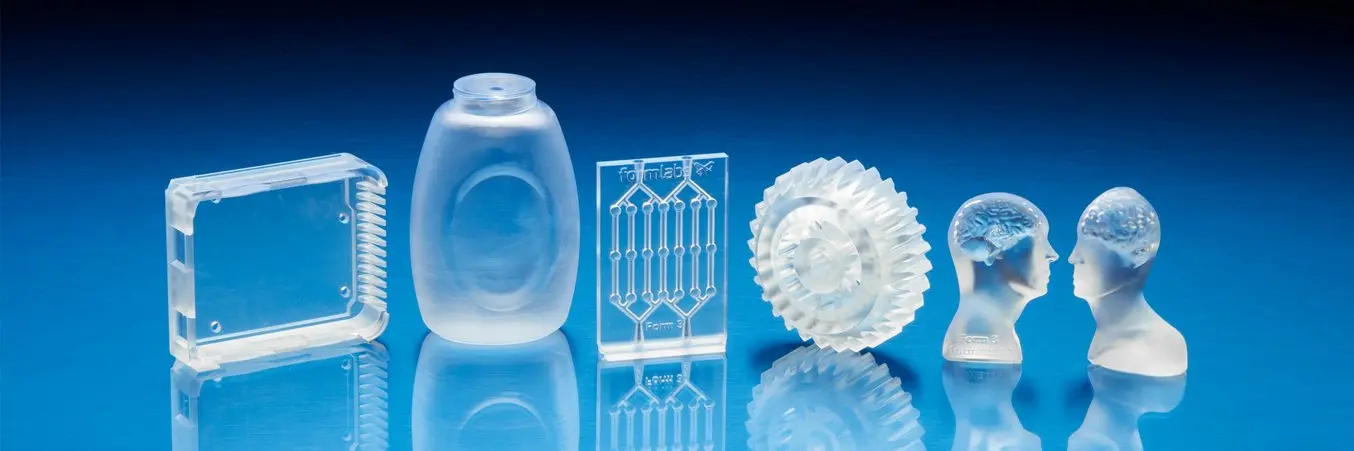
There are multiple materials for producing translucent and transparent 3D printed parts:
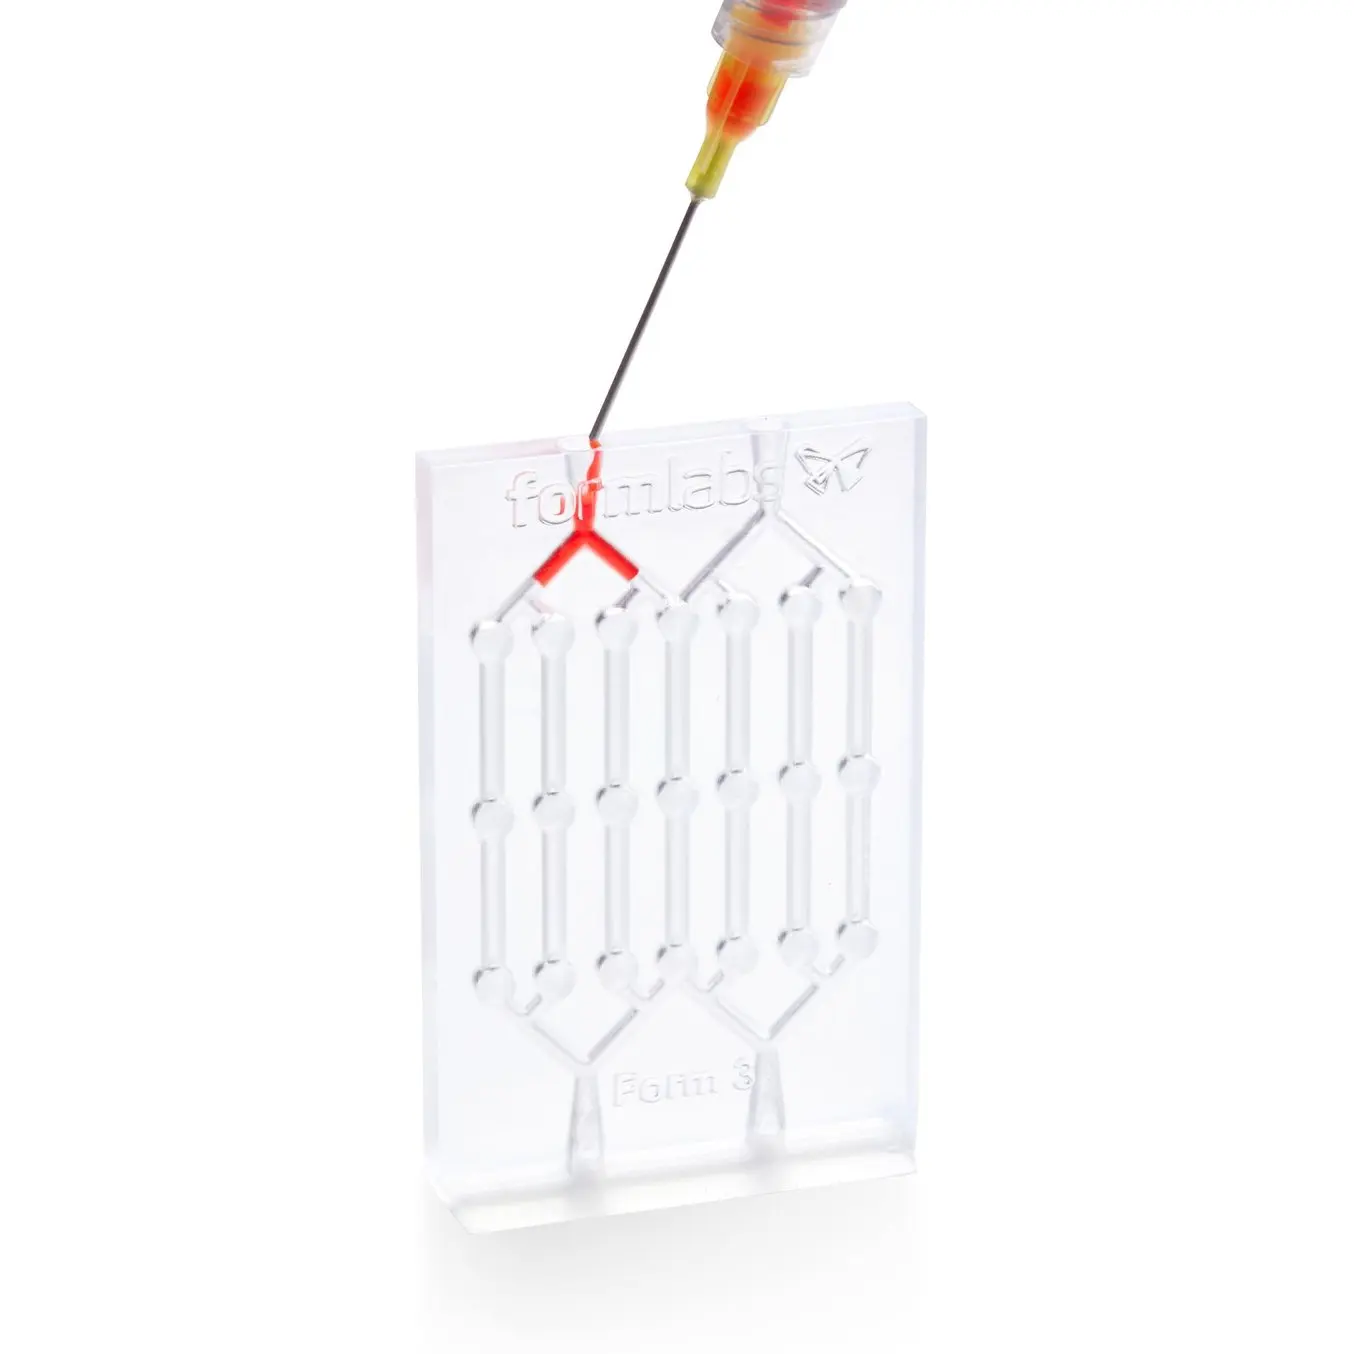
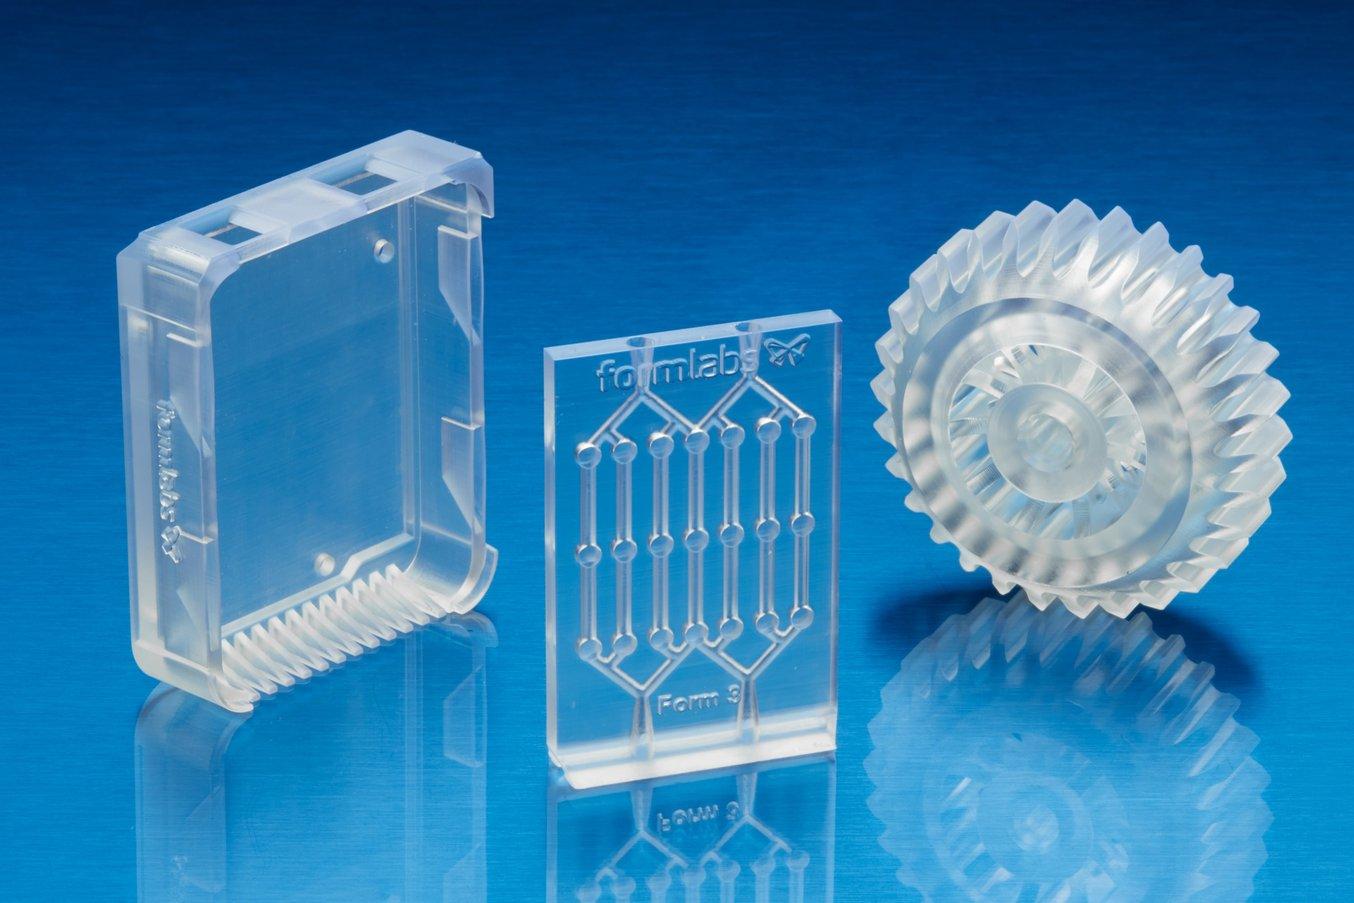
- Clear Resin is an exceptionally clear and color-neutral 3D printing resin, offering an optimal balance of fast print speed, high accuracy, transparency, strong mechanical properties, and an easy, reliable workflow. It is ideal for fluidics, mold making, optics, lighting, showcasing internal features, and any parts requiring translucency.
- Elastic 50A Resin is a soft and stretchy material that is semi-translucent. It is ideal for prototyping parts normally produced with silicone.
- Flexible 80A Resin is a more stiff soft-touch material that is also semi-translucent. It is ideal for simulating the flexibility of rubber or TPU.
- BioMed Clear Resin is a transparent, hard, strong, and wear-resistant material for biocompatible applications requiring long-term skin (>30 days), breathing gas pathways, and mucosal membrane contact (>30 hours) or short-term bone, tissue, and dentin (under 24 hours).
- BioMed Elastic 50A Resin is a soft, elastic, and transparent material for biocompatible applications requiring comfort and long-term skin (>30 days) or short-term mucosal membrane contact (under 24 hours).
BioMed Flex 80A Resin is a firm, flexible, and transparent material for biocompatible applications requiring durability and long-term skin (>30 days) or short-term mucosal membrane contact (under 24 hours).
In this guide, we walk you through various finishing methods to create transparent 3D printed parts for a variety of applications, from optics to light pipes to fluidics. Methods range from quick solutions for adequate transparency, to niche techniques for creating optically clear parts.
Book a Free Consultation
Get in touch with our 3D printing experts for a 1:1 consultation to find the right solution for your business, receive ROI analyses, test prints, and more.
Applications of Transparent 3D Printing
Clear and transparent 3D prints are ideal for creating clear prototype parts, showing internal cavities and details, housing LEDs, creating windows, or printing see though anatomical models and medical devices.
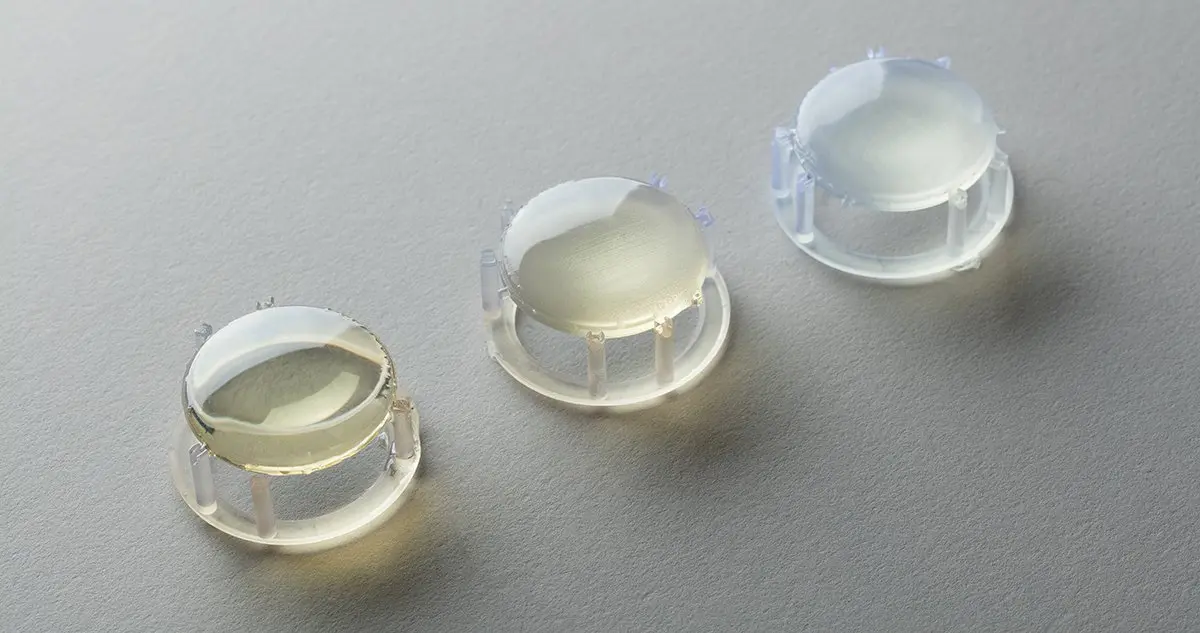
Formlabs and our customers have used Clear Resin to create a completely optically clear lens for a fully 3D printed camera, tiles for a Fresnel lens installation in Times Square, light pipes, prisms, millifluidic devices, and more.
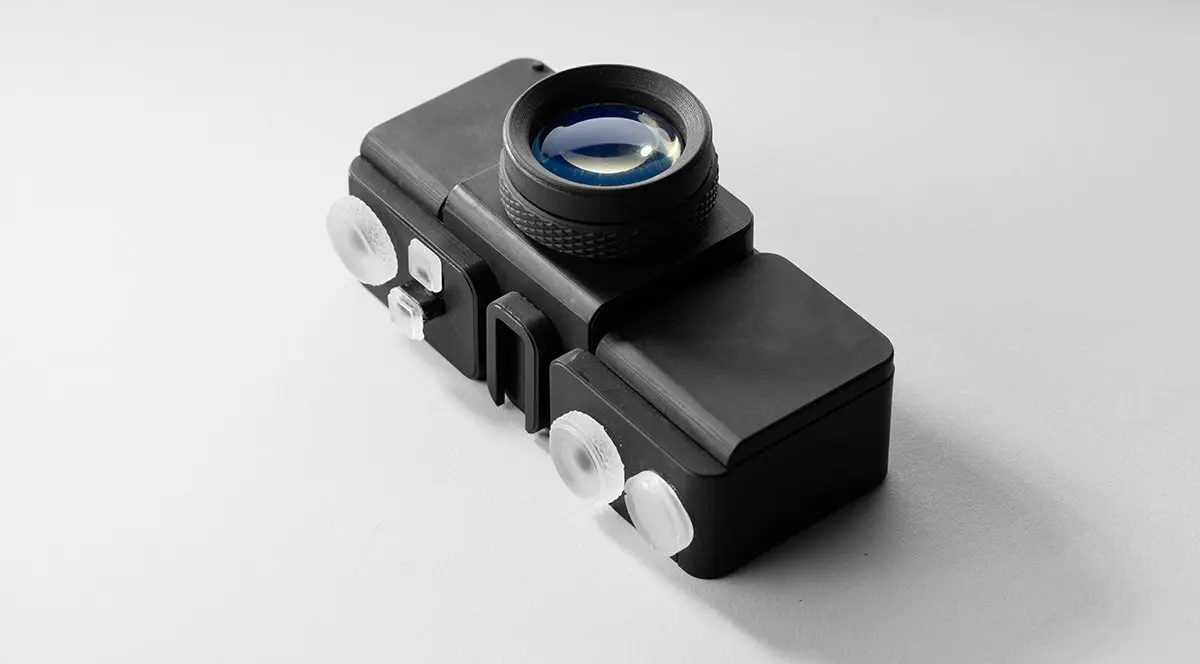
Formlabs applications engineer Amos Dudley designed and 3D printed a lens for a fully 3D printed camera.
Request a Free Clear Sample Part
Curious to see how transparent 3D prints SLA 3D printing is capable of? We’ll ship a free clear 3D printed part to your office.
FAQ: Can You 3D Print Acrylic?
Yes, but with caveats. Polymethylmethacrylate (PMMA), commonly known as acrylic, is a transparent thermoplastic that is commonly used as a more durable alternative to glass. While 3D printing acrylic is possible with fused deposition modeling (FDM) 3D printers, it's not really user-friendly as the material itself is toxic and prone to warping, while the 3D printed parts are only semi-translucent due to the lower resolution of FDM printers.
For a 3D printing acrylic-like fully transparent parts, we recommend printing on an SLA 3D printer with Clear Resin and then post-processing the 3D printed parts for full transparency using one of the methods mentioned in this article. Using an acrylic spray is one of the methods to ensure clarity.
Methods for Post-Processing Clear 3D Prints
We’ve tested several techniques for post-processing parts 3D printed in Clear Resin. In this post, we’ll cover manual sanding, clear coating, and resin dipping. Each finishing option requires varying levels of effort, depending on the degree of transparency and surface finish your part requires.
Manual Sanding and Polishing
Applications: Manual sanding and polishing can be effective for simple shapes with few details, but are less suited to finishing complex models. It is very difficult to reach total optical transparency with this method.
You’ll have to sand to extremely fine grits to manually finish a transparent part, but with some effort, you can sand and polish parts to be as clear as a magnifying glass. It is, however, very challenging to completely eliminate all layer lines via manual finishing—you may notice micro-scratches when holding the part at a shallow angle to the light.
Instructions: Use a range of incremental sandpaper grits to smooth your surface, then polish the part with acrylic cleaner and a microfiber cloth.
At around 3000 grit, transparent 3D printed parts become glossy and very smooth to the touch. By 12000 grit, they are reflective. Try using a range of sandpaper and micromesh pads with grits from 400 to 12000, in increments of 200, slowly and carefully to clean the parts between grit levels and to eliminate scratches from the previous level before moving on to the next.
Our support site offers a simple visual step-by-step guide for manual sanding, including an optional finish with acrylic spray.
Tip: If you only need semi-transparency, simply use mineral oil to create an even finish and hide any light spots on your part.
We’ve tested a variety of methods of polishing clear 3D prints, from hand sanding and spray coating to resin dipping.
Spray Coating
Applications: Spray coating is an easy, fast way to improve the clarity of parts without much reduction in detail. This method is effective for all kinds of models, as it's able to coat complex details that may be hard to reach with regular sanding and polishing.
Clear coating alone helps to conceal layer lines and protect parts from UV exposure, which can cause yellowing and unintended post-curing. If you’re looking for a smooth, glass-like surface finish, perform the manual sanding and polishing technique prior to coating; the more sanding that comes before clear coating, the better the clarity. This additional step is great for post-processing prototypes that look like fully transparent plastic, e.g., packaging, bottles, and microfluidics.
Instructions: There are several options for clear coating 3D prints, from inexpensive sprays to products that require a dedicated room and tools.
- General purpose clear coat spray paints: There is a wide variety of high quality and affordable sprays. We recommend using a 2K clear coat.
- Automotive sprays: High-solids acrylic urethane clearcoats offer very high gloss and are designed for air-dry and baking conditions, but require a spray gun and dedicated space for spraying, as well as a base coat.
For spray coating, start with a clean, dry part already washed in isopropyl alcohol (IPA). Do not post-cure the part ahead of spraying, as this can cause yellowing. Let the part air dry. Once it’s completely dry, apply two to three spray coats in a dust-free environment.
Tip: For a fee, auto body shops may do the coating for you with a spray like Lesonal Universal Clear. In most cases, these shops will use a light solvent, like naptha to clean and prepare the part’s surface prior to painting.

For an installation in Times Square, Window to the Heart, the Formlabs and Aranda/Lasch teams worked with an auto body shop to spray coat each tile in Lesonal Universal Clear.
Resin Coating
Applications: This method is best for when you need very transparent parts, and only works on flat or near-flat surfaces, such as a lens or a window into the interior of a part.
Resin dipping results in parts that are extremely smooth, with clear and sharp surface reflections.
This technique can be used to create an even smoother finish for parts printed in other SLA materials, although it can reduce detail.
Instructions: Apply Clear Resin to the part with drops from a syringe, or by dipping the part as as desired. The viscous resin will fill layers and scratches on the part, forming a completely smooth surface.
The layer of resin should be as thin as possible, while still eliminating layer lines. Pull off any bubbles with a syringe. Completely post-cure the part using the appropriate settings, then repeat the process for the other side, both dipping and post-curing.
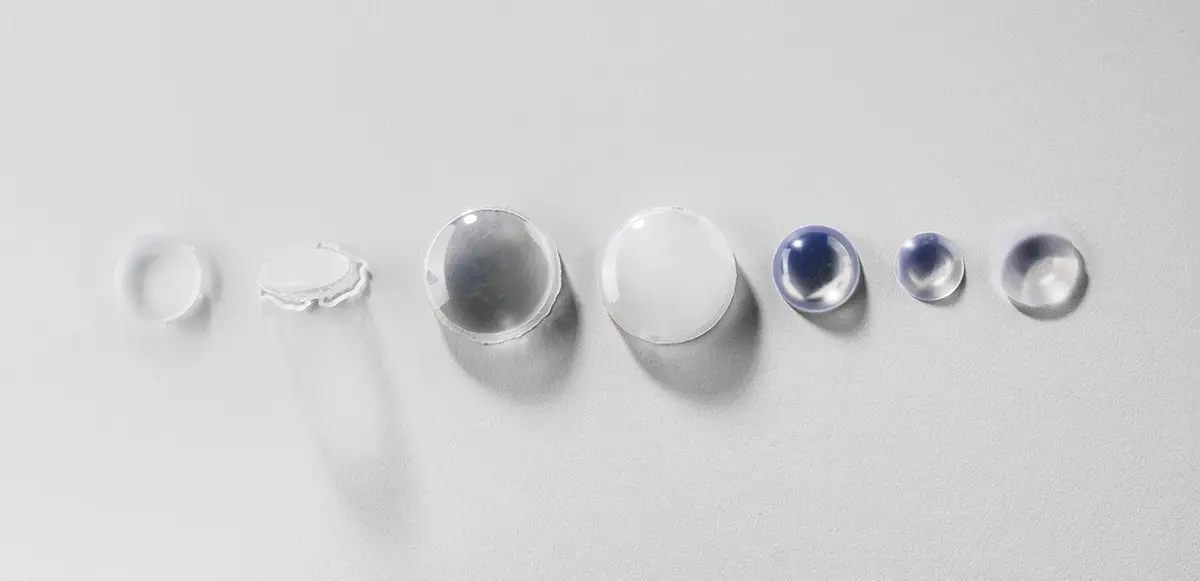
Three stages of resin-dipped lenses, with the final lens on the left.
Note: The dipping process alters focal length slightly for lenses. For our 3D printed camera lens, Formlabs applications engineer Amos Dudley designed and printed a lens testing device.
Learn More About SLA 3D Printing
With the Form 4 MSLA 3D printer, you can create clear and fully transparent 3D prints affordably and with minimal post-processing.
Download our white paper for a detailed overview of SLA ecosystems and the step-by-step 3D printing workflow.
Curious to see the quality and clarity firsthand? Request a free transparent 3D printed sample part.
Not sure which 3D printing solution fits your business best? Book a 1:1 consultation to compare options, evaluate ROI, try out test prints, and more.