The idea for a fully 3D printed camera—a machine with many complex components—has been floating around Formlabs since we first experimented with creating 3D printed lenses.
Our applications engineer Amos Dudley took on the challenge and created the first fully 3D printed, interchangeable lens camera, produced entirely on a Formlabs SLA 3D printer.

The first fully 3D printed, interchangeable lens camera was produced entirely on a Formlabs SLA 3D printer.
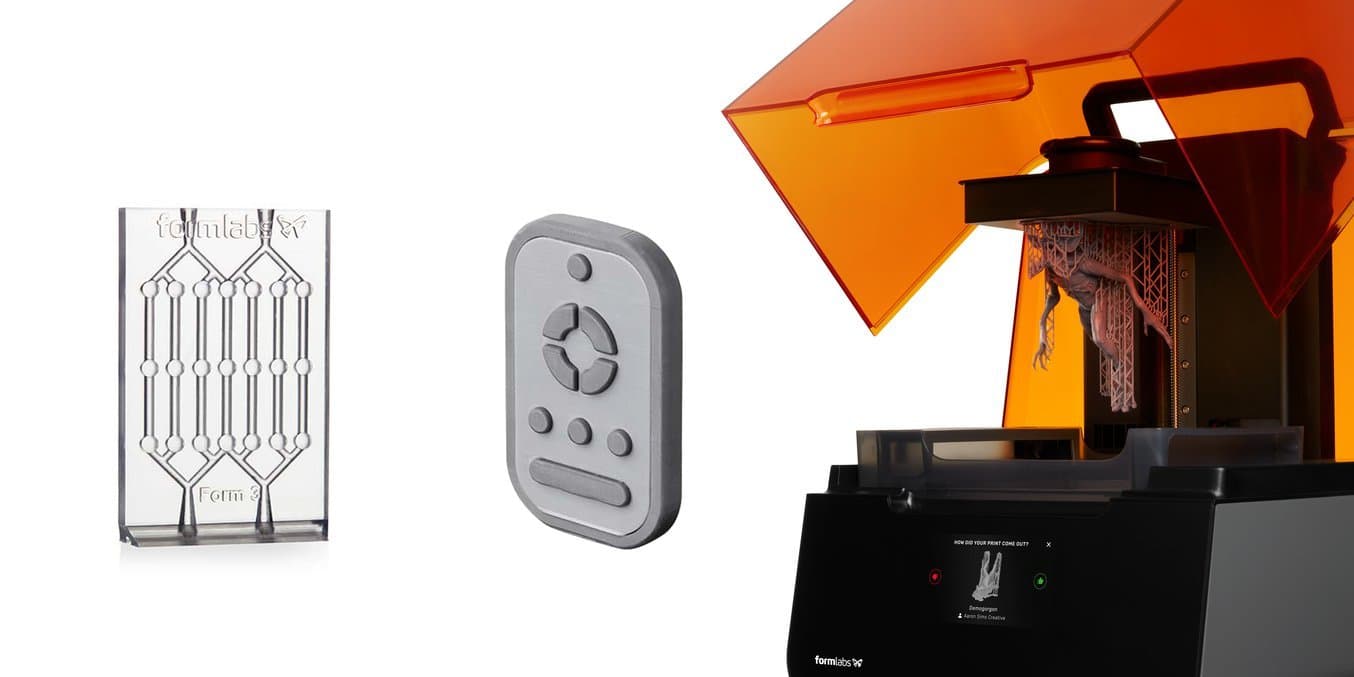
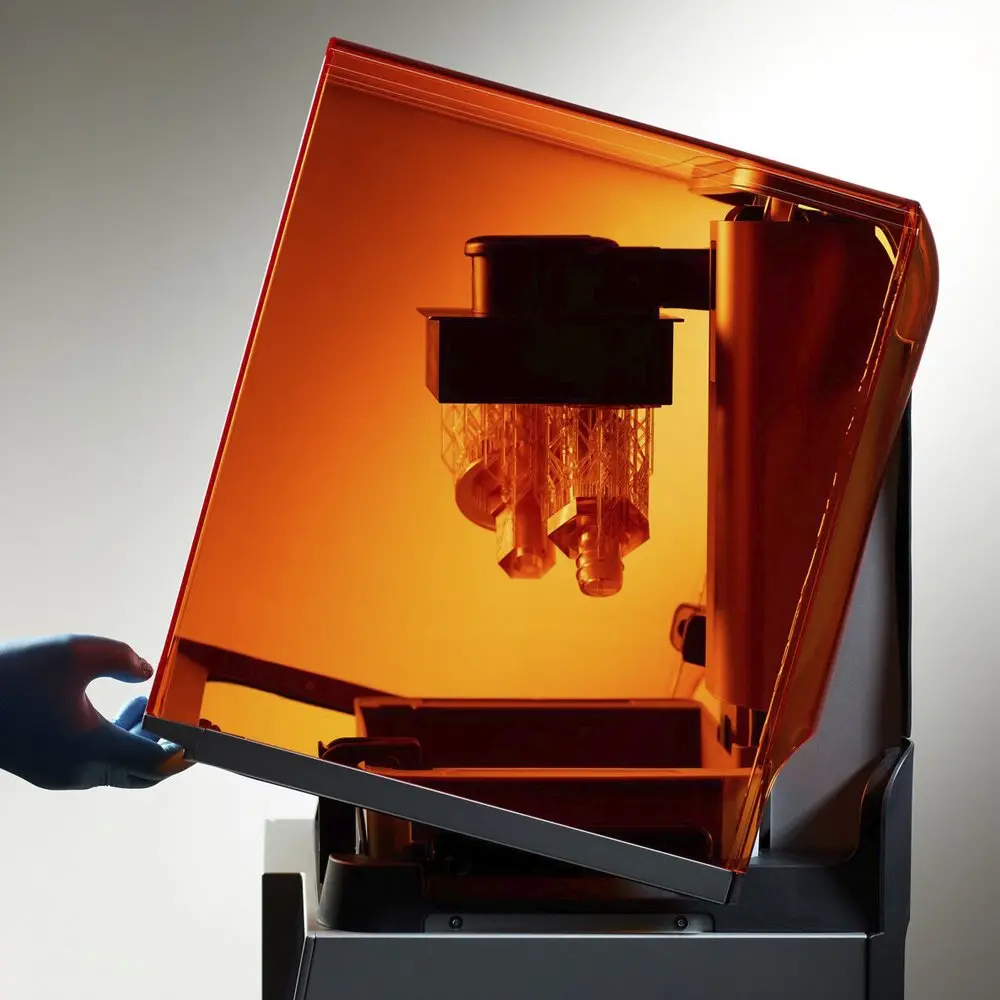
Formlabs Clear Resin and stereolithography (SLA) 3D printing can create transparent objects that, with some post-processing, can be made optically clear. Formlabs' latest SLA 3D printer, the Form 3+, takes clarity one step further by using a flexible resin tank that reduces peel forces, resulting in clearer parts with smooth surface finish.
A camera lens is an exciting test case for the possibility of optically clear prints because the results are so easily seen and measured on film.
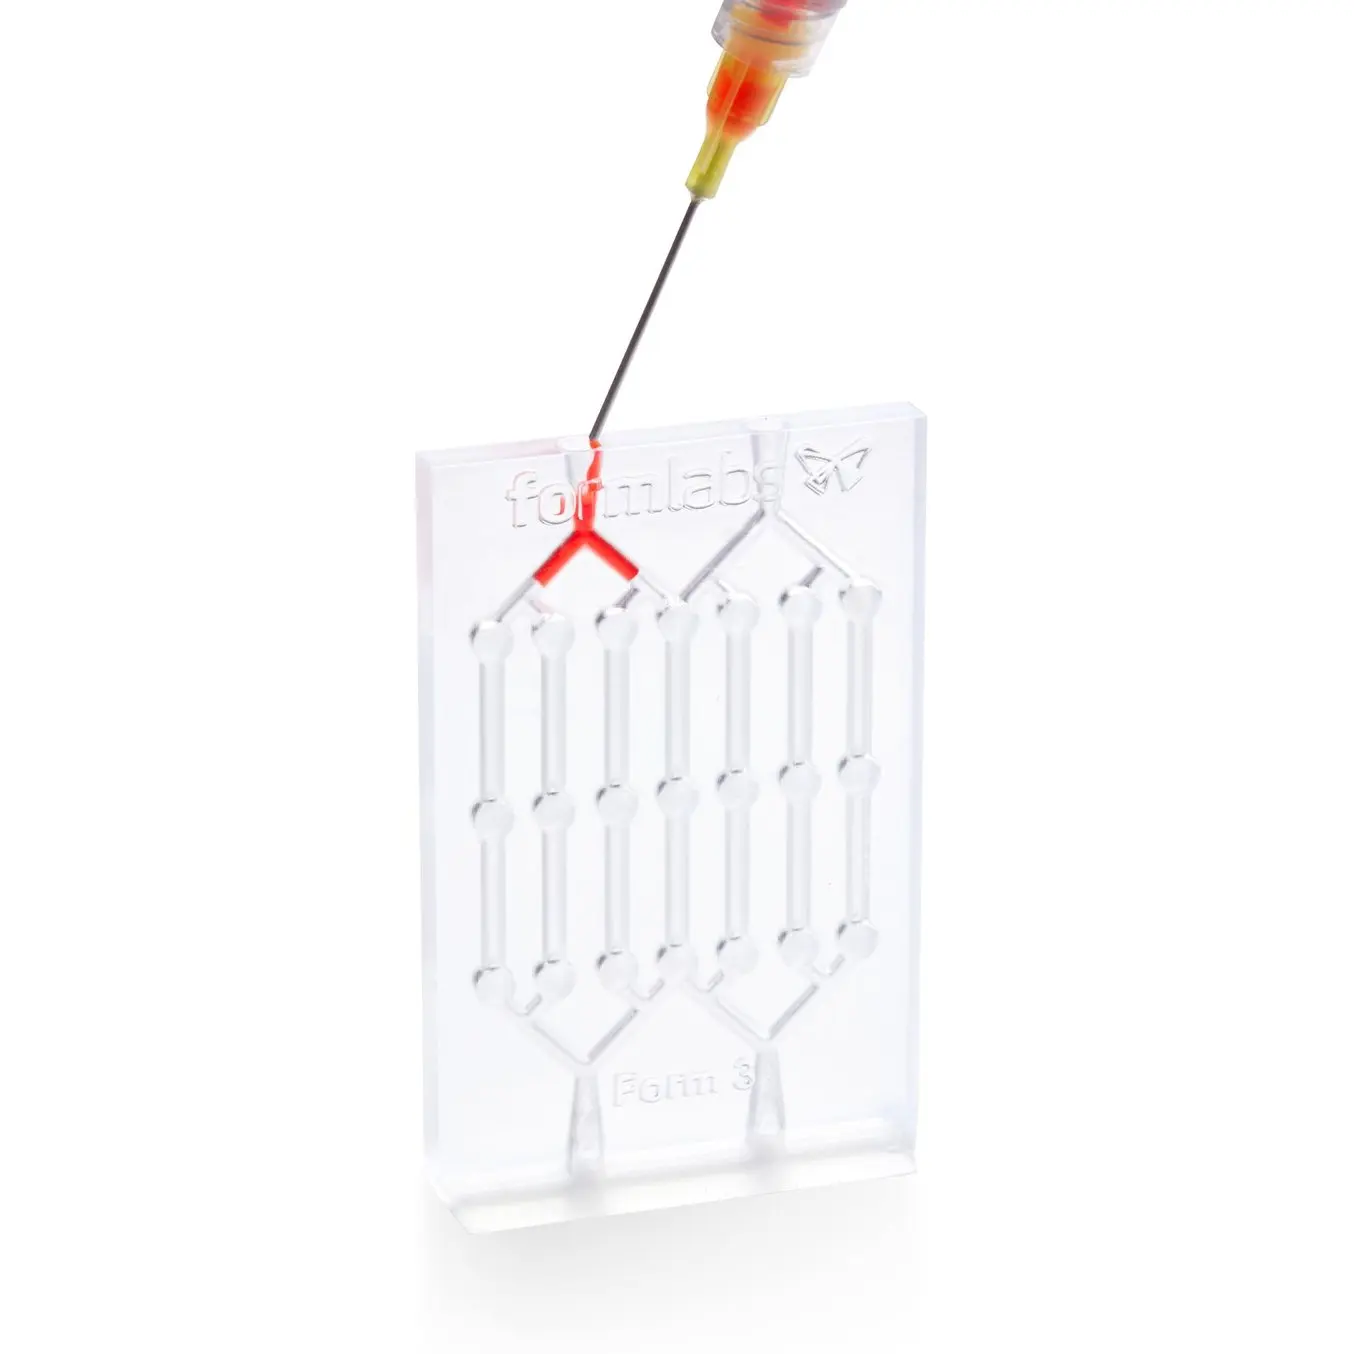
Read our guide for a list of finishing methods to create clear 3D printed parts for a variety of applications, from optics to light pipes to fluidics.
Request a Free Clear Sample Part
Curious to see how transparent 3D prints SLA 3D printing is capable of? We’ll ship a free clear 3D printed part to your office.
Step 1: Designing the Lens, Balancing Distortion
Making a functional lens starts with proper lens design. Optical design software helps lens designers predict the behavior of a lens and the constraints the lens will place on a camera.
Professional lens designers use optics packages such as Zemax and Code V, but these programs can cost thousands of dollars. Free, open-source software packages like Optical Ray Tracer are suitable alternatives.
Commercial camera lenses use multiple elements to correct for the optical distortions that commonly affect spherical lenses, such as spherical aberration, coma, and field curvature. For the sake of simplicity, the 3D printed camera is designed around a single spherical lens element.
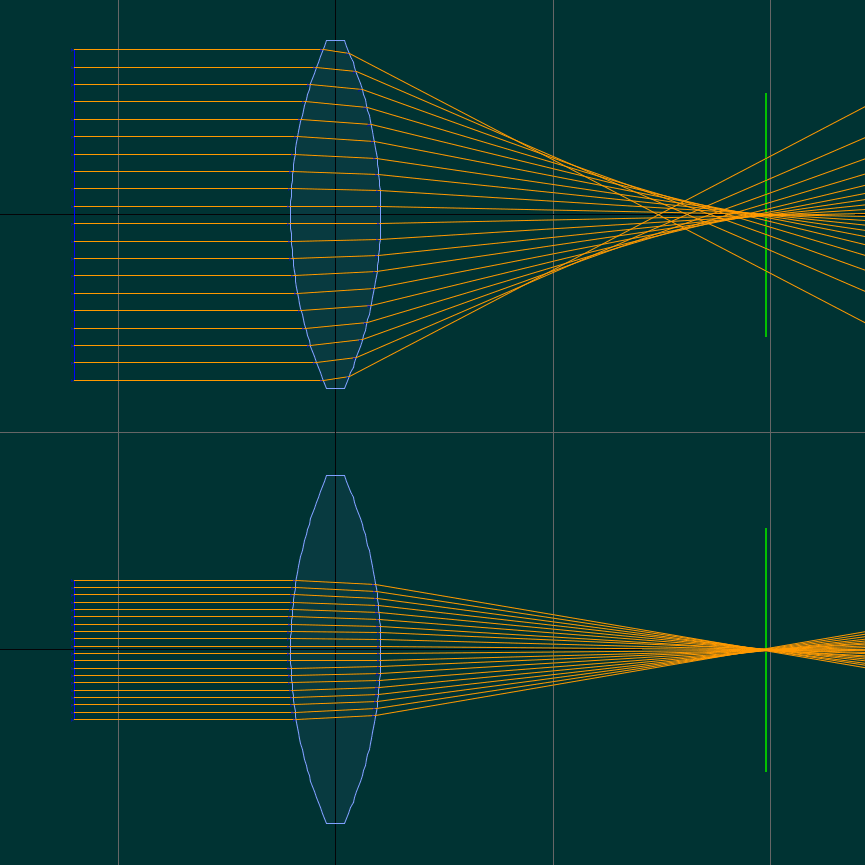
Each side of a spherical lens is a section of a sphere with a given radius. Inserting the refractive index value for Clear Resin (1.5403) into Optical Ray Tracer shows that a symmetrical lens with a spherical radius of 50 mm focuses at approximately 47.5 mm from the center of the lens.
A single objective lens for a camera needs to balance optical power with distortion. A low-power, long focal length lens will have less distortion, but a narrow field of view. It is difficult to aim a camera if the field of view of its lens is too narrow. Reducing the aperture size helps to eliminate some coma distortion, as seen above.
A good compromise between these factors is a focal length of 50 mm, which is wide enough to position a subject within the frame.
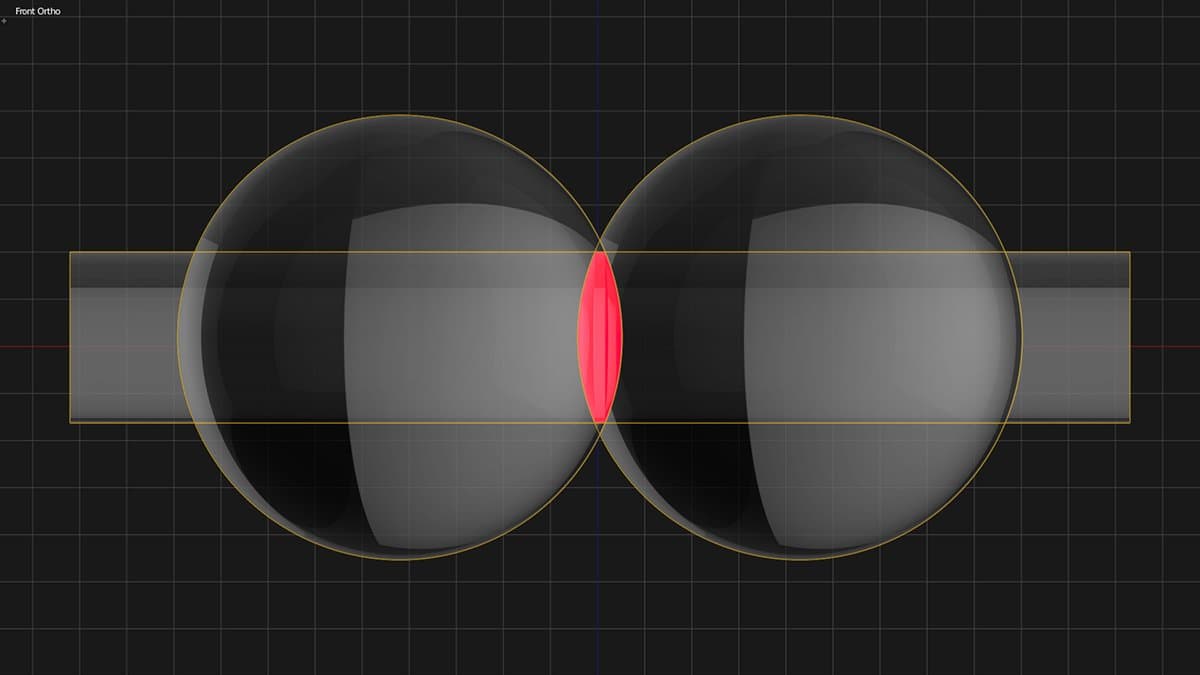
Once the lens is designed, it can be modeled in a CAD program. Since the lens is symmetrical, this is as simple as intersecting two 50 mm spheres at the right distance. The distance defines the radius and thickness of the lens, but doesn’t radically affect the optics. The lens was designed to be 40 mm in diameter with a 2 mm cylindrical edge.
Introduction to 3D Printing With Desktop Stereolithography (SLA)
Looking for a resin 3D printer to realize your 3D models in high resolution? Download our white paper to learn how SLA printing works and why it's the most popular 3D printing process for creating models with incredible details.
Step 2: 3D Printing Optics with a Formlabs 3D Printer
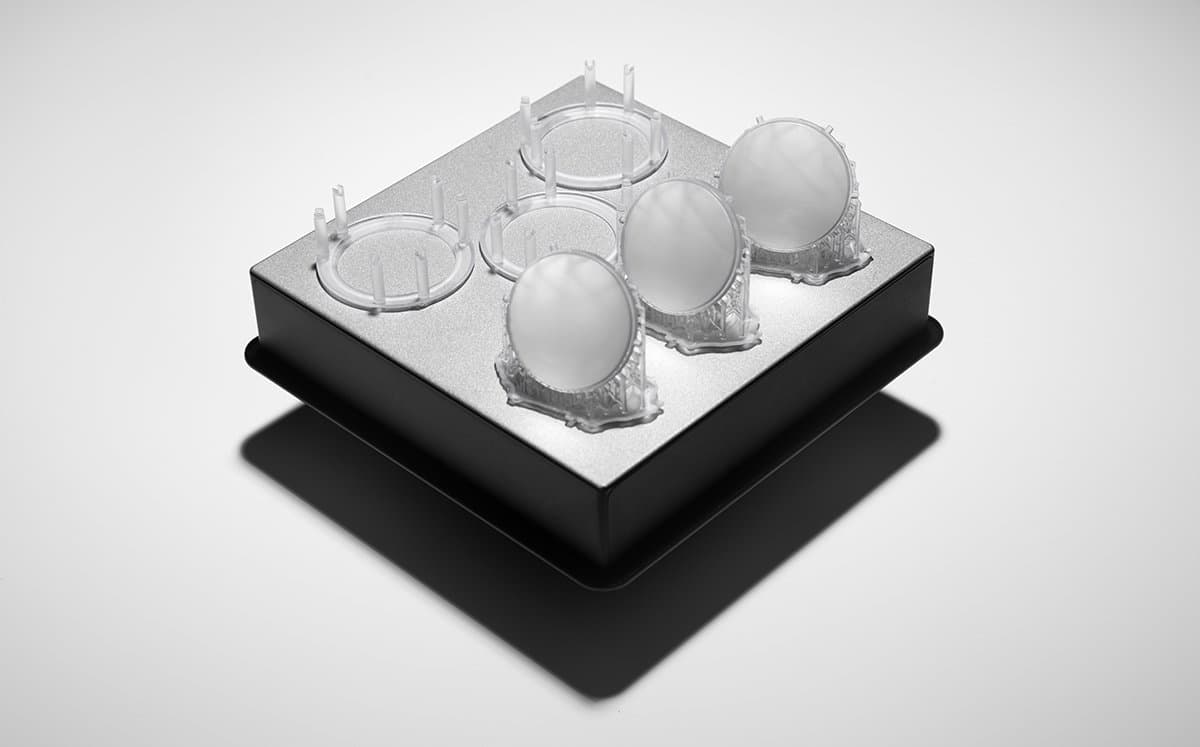
If 3D printing on a Formlabs SLA 3D printer, consider different orientations and resolutions for 3D printing your lenses:
- A lens 3D printed horizontally may have layer line artefacts toward the center of the lens’s axis.
- A lens 3D printed perfectly vertically may be subject to some distortion caused by the additive process.
The clearest lenses were printed at a 30° angle relative to the build platform, with supports placed only along the edge to prevent support marks on important lens surfaces.
Step 3: Addressing Challenges in Finishing
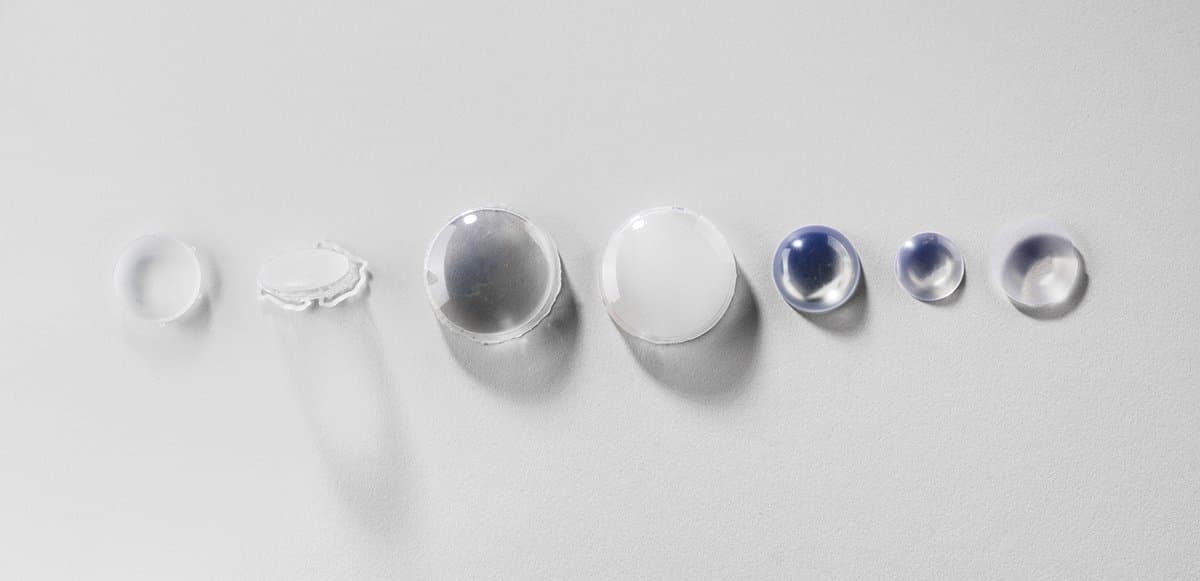
We tried three methods of polishing lenses to optical clarity: manual sanding, automated sanding, and dipping.
Attempt 1: Manual Sanding
We used a range of sandpaper and micromesh pads with grits from 400 to 12000, in increments of 200, and polished lenses to a very smooth finish. This was done slowly and with a lot of care to clean the lens between grit levels and to eliminate scratches from the previous level before moving on to the next.
At around 3000 grit, SLA 3D printed lenses become glossy and very smooth to the touch. By 12000 grit, they are reflective.
To make an optically clear 3D printed lens, all layer lines need to be completely eliminated, which wasn’t possible by hand. Even though the lenses were smooth to the touch, reflections still appeared blurry, and there were still micro-scratches visible when holding the lenses at a shallow angle to the light.
The lens was clear as a magnifying glass, but as a focusing lens it wasn’t accurate enough.
Attempt 2: Automated Sanding
It was hard to control the amount of material sanded off in the early stages of hand sanding, where the bulk of the layer lines were being removed. The next step was to try an automated method for reducing layer lines.
Amos designed and printed a lens polishing machine in hopes of reducing some of the error.
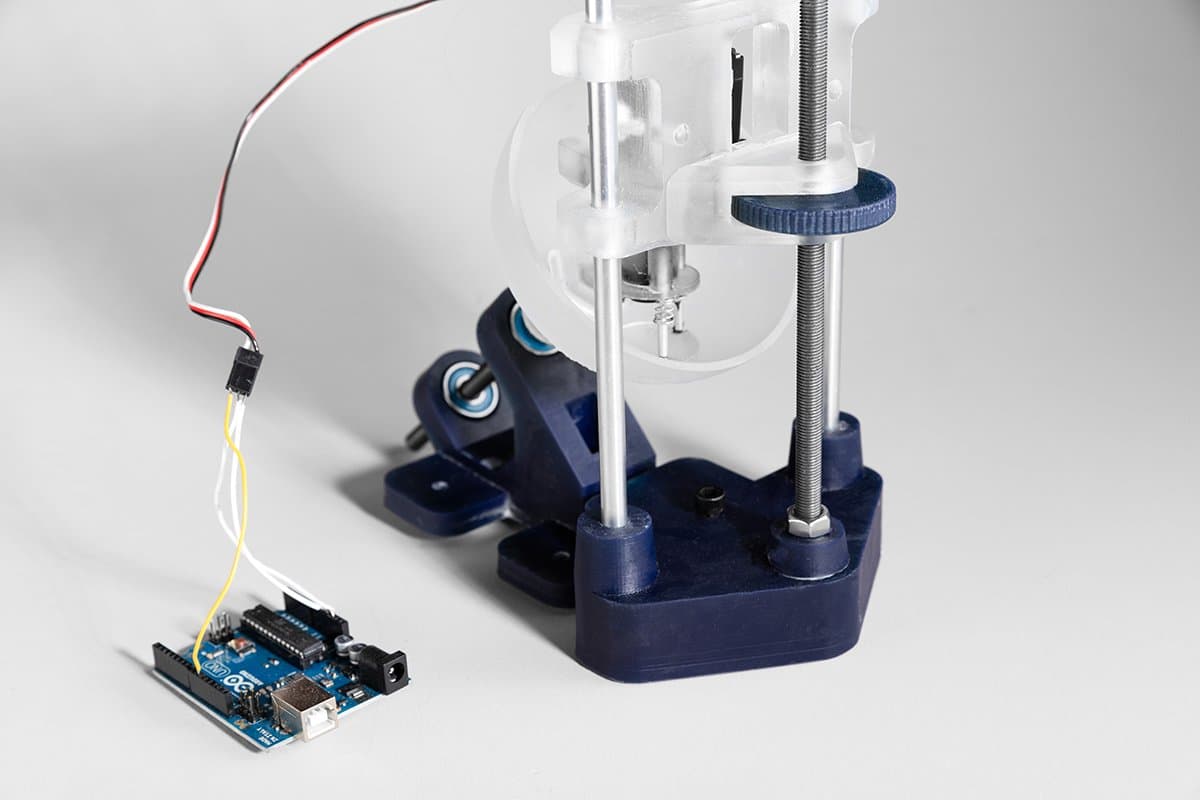
Within the lens machine, the lens is rotated against the inside of a dish with the same spherical radius. The dish also rotates, but off axis to the lens by 45 degrees, and at a different speed.
The lens is connected to a servo motor with a kinematic coupling that combines 3D printed parts, springs, and small rivets. The coupling keeps the lens firmly, but flexibly pressed against the dish and allows it to “wobble” as it rotates. The dish holds a small amount of water and diamond lapping compound as an abrasive, and is made of the same Clear Resin as the lens.
The machine quickly reduced layer lines, but it couldn’t easily be used for the whole process. The dish would have to be replaced between polishing layers so grit wouldn’t be transferred to finer levels of polishing.
Attempt 3: Dipping
While gluing some prints together, Amos noticed that 3D printed lenses became significantly clearer when coated in a viscous material like epoxy, and decided to dip the lenses in liquid resin and then post-cure them under UV light. The viscous resin filled layers and scratches, forming a completely smooth surface.
Resin has a tendency to form bubbles when agitated, such as by dipping a lens, but these can be removed by turning the lens upside down over the resin tank and letting the resin gather and drain from the center.
The layer of resin should be as thin as possible while still eliminating layer lines. The last remaining bubbles were pulled of with a syringe, and the lens was post-cured completely under a UV lamp before dipping the other side.
The Result
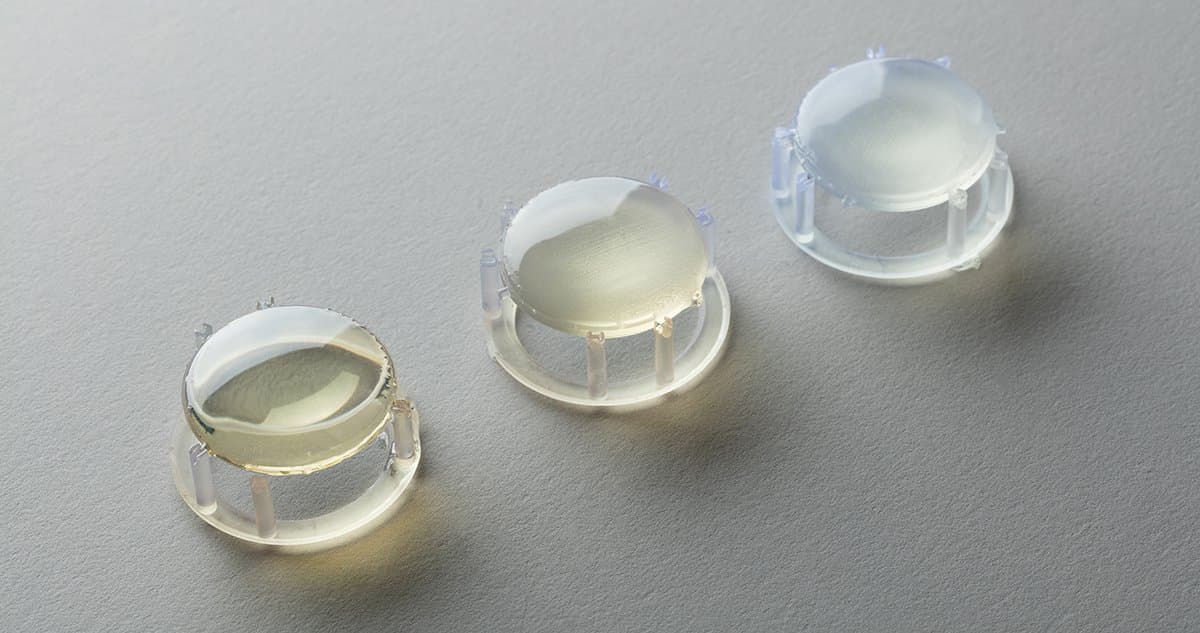
Resin-dipped 3D printed lenses are extremely smooth, with clear and sharp surface reflections. This technique can be used for other SLA prints as well to give them an even smoother finish, although it does tend to reduce detail.
The dipping process also alters focal length slightly, so Amos designed and printed a lens testing device. The device has screw threads that allow the lens to move closer and further from the imaging plane by turning the wheel, and experimentally check the focal distance of the lens.
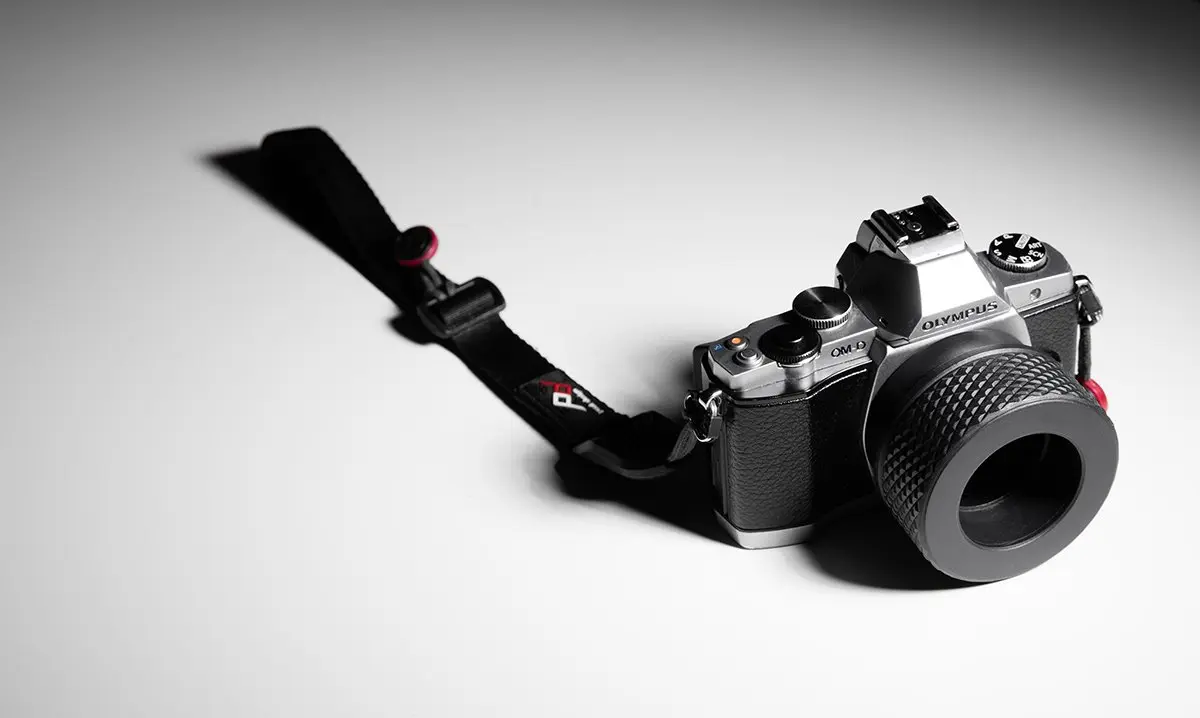
The 3D printed lens tester mounted to a digital camera for instant feedback.
Is it possible to make 3D printed optics and lenses with multiple elements and more functionality? Try 3D printing your own lenses and lens tester, or a whole camera if you’re adventurous!
Download the 3D printed camera .STL files on Pinshape.
Learn more about Amos’s process for designing the entire 3D printed camera on his blog, and see the camera in action in our blog post featuring photos taken by the world’s first 3D printed, interchangeable lens camera.
Curious the see and test 3D printed SLA parts firsthand? Request a free 3D printed sample part to your office.