Healthcare professionals use diverse imaging tools to measure and better understand physiological details for diagnostic procedures. Scanners and on-screen visualization tools utilize 2D and 3D graphics that can be manipulated in real time, transforming the way medicine is practiced. Although onscreen visualizations are crucial to medical practices, they have their limitations. According to research found in the Annals of Oncology, the same imaging results from different centers sometimes show different results due to biases between techniques or between interpretations. Other limitations include image noise and statistical differences that affect the integrity of imaging results. In order to enhance accuracy levels, medical innovation teams are turning to 3D printing and coloring stereolithography (SLA) 3D printed parts to complement medical imaging techniques.
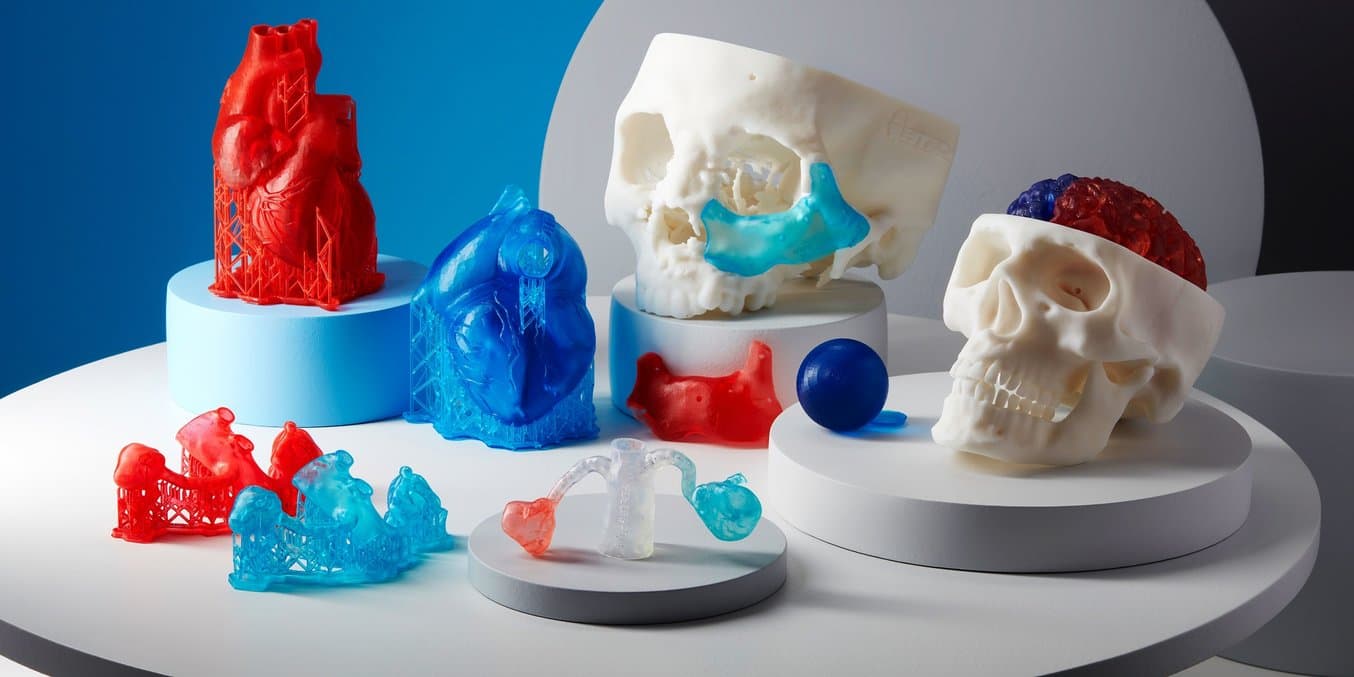
Radiologists, surgeons, and biomedical professionals are increasingly turning to 3D printing to create accurate 3D models of anatomical features. These 3D models are used in the diagnostic process and as educational tools for patients, highlighting the importance of high-performing pre- and post-processing techniques for printed anatomical models.
This post will discuss the steps required for coloring SLA printed medical parts. We also highlight various coloring techniques for certain applications and show how you can achieve the best results.

Talk to Our Medical Sales Team
Whether you need to make patient-matched surgical tools or are prototyping for a cardiac medical device, we’re here to help. Formlabs Medical team are dedicated specialists who know exactly how to support you and your company's needs.
Techniques for Achieving Color SLA Parts
While SLA 3D printing is renowned for its high levels of accuracy, it has well-documented limitations when it comes to printing a single part in multiple colors. The technology for printing in multiple colors in SLA does not exist. For multi-color capable material jetting or PolyJet printers, the initial purchase is typically upwards of a hundred thousand dollars, even before any service or maintenance costs. You can always use a service bureau to create your part, but including the current cost of materials, these can cost thousands of dollars per part as well.
By using the simple methods below, you can incorporate a Formlabs printer into your workflow to create colorful and detailed models for your healthcare needs.
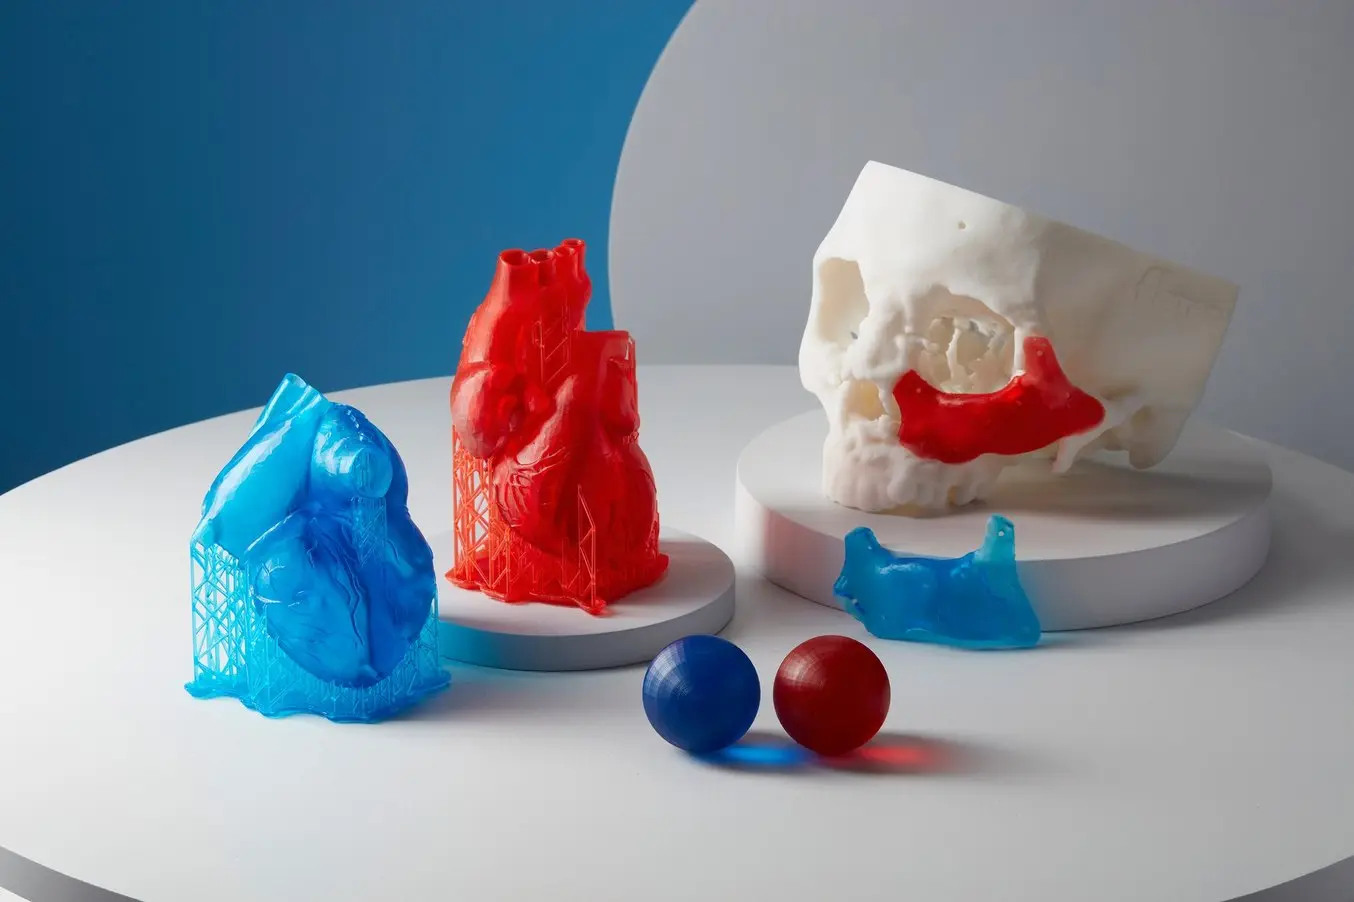
Printing With Color Resin
Color Resin can be used for the direct printing of full-color parts on Form 4 Series SLA 3D printers. This makes it possible to create full-color models, or print individual parts in different colors and then assemble them for a multicolor model.
Color Resin is a General Purpose Resin, following the same intuitive printing and post-processing workflows as other General Purpose Resins. Custom colors can be ordered in quantities as little as one liter, and can be selected by inputting a Hex code or RGB profile, or using a color picker.
Use cases: Printing specific regions of interest to be assembled with multi-part models, printing individual organs, printing individual vessels.
Pros: As easy as printing. No additional finishing steps required, saving time and materials. Color Resin can easily be reordered for exact color matching.
Cons: Only one color can be printed at a time, so multicolor models must be assembled.
Color Resin V5 is currently only available in the USA, with expansion to other regions coming in the near future.
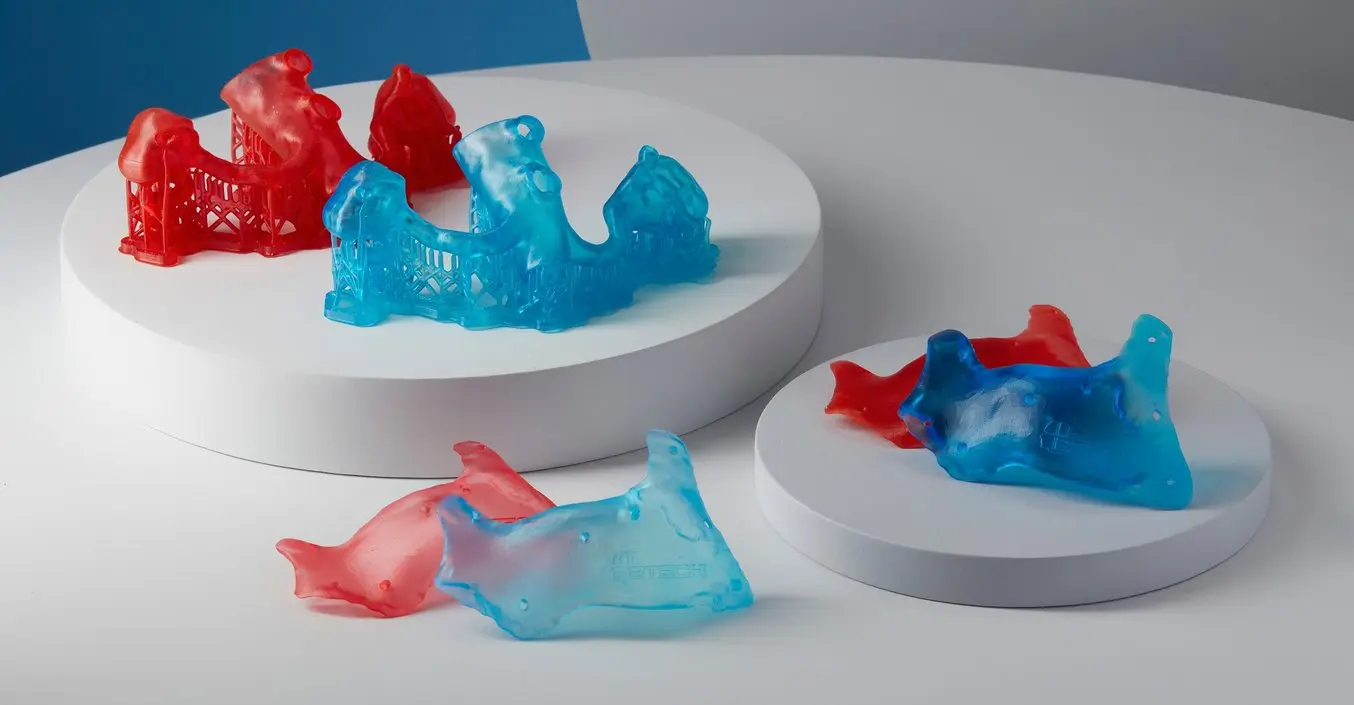
Printing With Color Kit
For Form 3 Series 3D printers, Color Kit is available for color printing. With a Color Base cartridge and five Color Pigments, color resin can be mixed according to tested recipes or customized, for the printing of color models or individual parts, which can be assembled.
Use cases: Printing specific regions of interest to be assembled with multi-part models, printing individual organs, printing individual vessels.
Pros: Easy setup, uniformly colored pieces, no extra post processing.
Cons: Each color must be mixed in the resin tank. Only one color can be printed at a time, so multicolor models must be assembled.
Printing With Dyed Resin
Clear Resin mixed with alcohol ink.
This process will highlight how to create translucent parts using our Clear Resin and alcohol ink. The process of printing with dyed resin starts with mixing alcohol inks of your chosen color to Clear Resin to obtain the desired color. Alcohol inks completely dissolve into Clear Resin, making it the ideal coloring agent to give you consistent colors throughout your print. To accomplish this, you will need the following tools:
- 10 mL Alcohol Ink
-
One Liter of Clear Resin
-
Syringe
-
Protective gloves
Start by measuring out 10 mL of alcohol ink using the syringe, then deposit the dye directly into the opened top of a cartridge of 1 L Clear Resin. Thoroughly shake the container for two minutes to ensure that the ink has completely mixed into the resin. You can pour a slight amount out to test if the ink has been thoroughly mixed.
The rest of the printing process will proceed as normal. Insert the newly mixed cartridge of material and a new tank into your printer. Make sure your file is set for Clear Resin, upload your print, and start your print from the printer. Use the Form Wash and Form Cure with the same instructions as with Clear Resin.
Use cases: Printing specific regions of interest to be assembled with multi-part models, printing individual organs, printing individual vessels.
Pros: Easy setup, uniformly dyed pieces, no extra post processing.
Cons: Must use the entire liter of resin with dye, dyed resin in Form Wash, one color per print.
Be advised that adding any new substance to your resin may increase the chance of print failures and will void the warranty of the printer if an issue arises as a result of this material.
We do not recommend dying Elastic Resin or Flexible Resin because of the difficulty in printing with this material in general. If you would like to dye Elastic or Flexible materials, please use the following instructions.
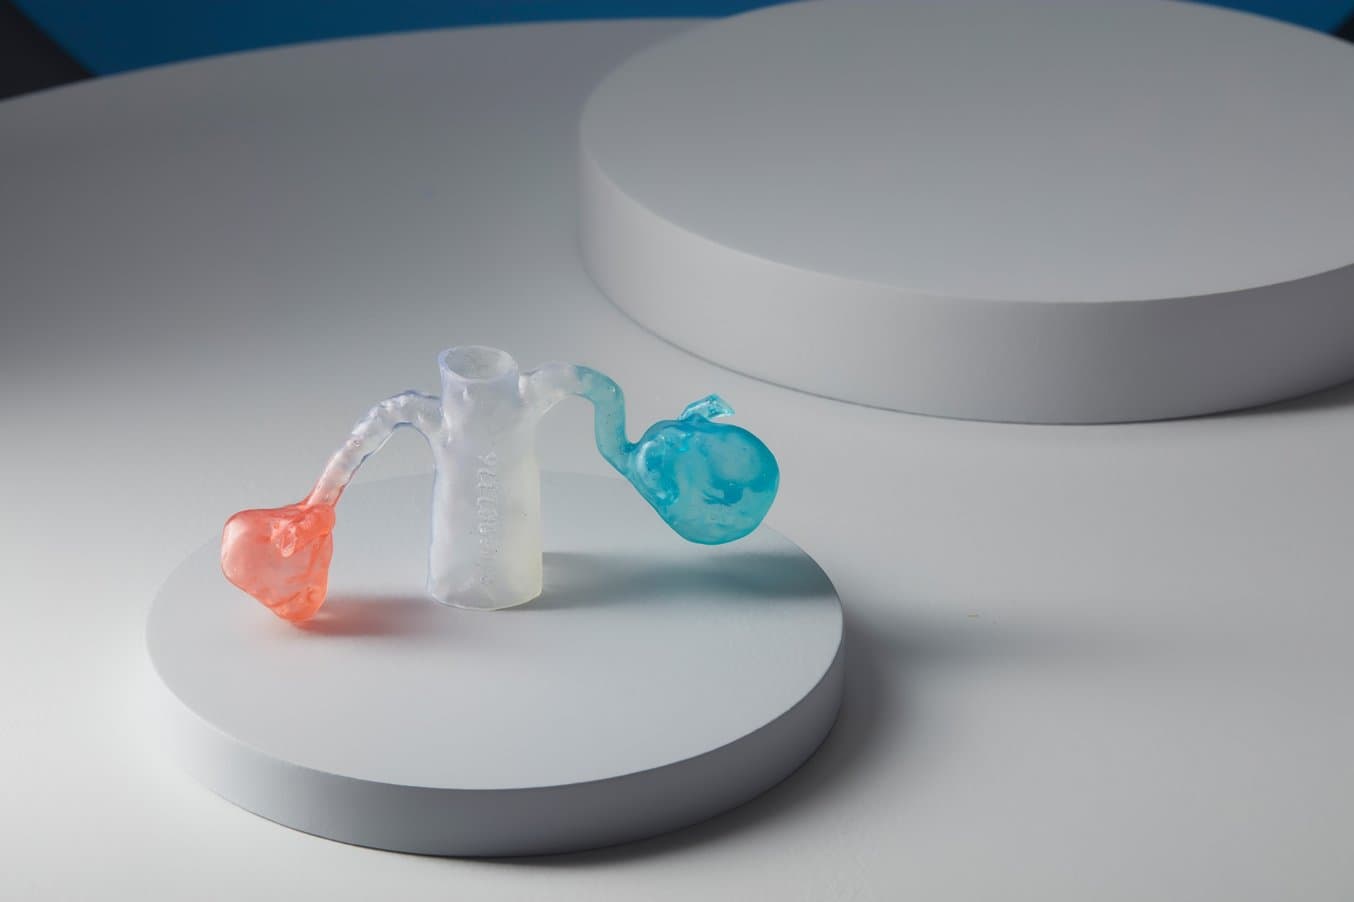
Dying SLA Parts After Printing
Elastic and Clear Resin dipped in alcohol ink / IPA solution. Credit: Renal Artery Aneurysms to Anish Ghodadra, MD, Yale New Haven Hospital.
If you don’t want to mix an entire batch of dyed material, but still want to dye your parts, you can apply the dye after printing. You can easily dip regions of interest into different dye solutions to obtain multi colored parts. Here are the tools you will need to dye your 3D printed parts:
-
Clear Resin, Elastic 50A Resin, or Flexible 80A Resin printed model
-
10 mL Alcohol Ink : 1 L IPA solution for lightly colored parts
-
20 mL Alcohol Ink : 1 L IPA solution for darker colored parts
-
Formlabs Finish Kit
-
Protective Gloves
Once your printed part is finished, use the Form Wash according to the instructions for the material. While the part is washing, measure your alcohol ink to IPA concentrations of 1:100 or 2:100 mL alcohol ink: IPA depending on desired color saturation. Ensure that you’re using enough of this solution to fully cover your parts in the Finish Kit. Lower your parts into the desired solution for 10 minutes. (Tested times of 20 and 30 minutes did not change the color of the dyed parts.) Remove the parts and leave them out to dry before using the Form Cure. Curing your part does not result in a loss of color. We recommend keeping supports on until the end, so that your part retains structural integrity and does not warp during the curing process.
Use cases: Dying specific regions of interest to be assembled with multi-part models, dying individual organs, and dying individual vessels.
Pros: Can dye a large number of parts at a time, no dye in the Form Wash, don’t use a cartridge of resin.
Cons: Slightly messy procedure.
Painting With Acrylic
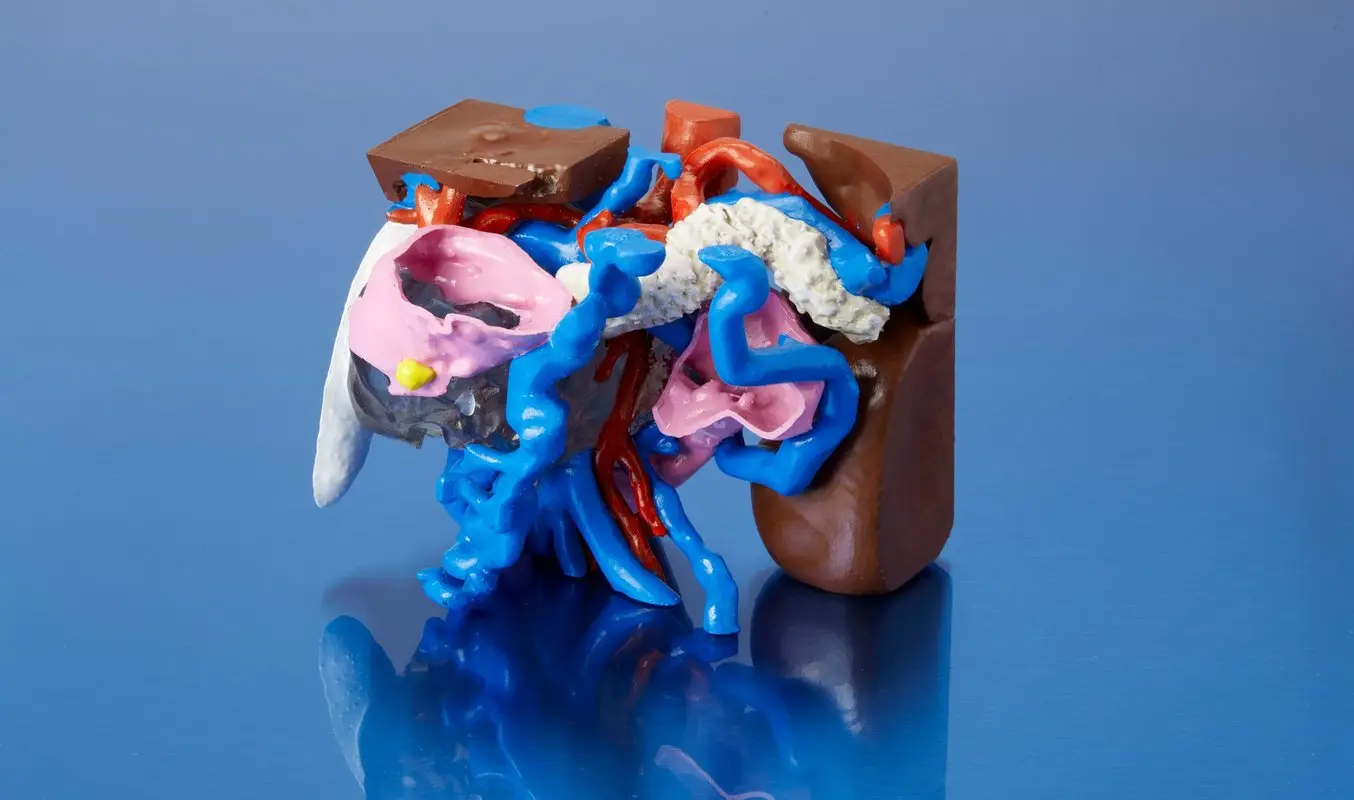
A fully colored pancreas model, created by USF Health.
For complex models with intricate details, it might only be possible to add some color with the use of paint. Although this process can be time-consuming and the result is determined by your painting abilities, it does offer more artistic license to the user. High detailed hand-painted models are excellent in resident education programs, where each blood vessel or organ can be painted different colors for easy classroom viewing.
Applying a primer can result in the loss of much needed detail on smaller parts, so we recommend using multi-material acrylic paint for its ability to adhere to non-porous materials, like our resin.
The tools you will need when painting SLA parts include the following:
-
Multi-material acrylic paint
-
Soft brushes, an airbrush, or a spray can
-
Gloves and mask
Follow these steps when coloring SLA parts using acrylic paint:
1. Once post-processing is done, supports have been removed, and the model is dust-free, secure the model for painting.
2. Apply the first coat evenly on the model’s surface using whatever tool you prefer. Airbrushes or spray cans are most highly recommended. See our Ultimate Guide to Painting 3D Models for videos.
3. Apply more coats of paint as needed according to the instructions from the manufacturer.
4. Painting offers the option of using as many colors as you like. For a multicolored model, use masking tape to “mask” off different sections of the print while applying paint. This can help you make hard, well-defined lines even when using a spray can or airbrush.
Tip: To achieve a glossy or matte finish, an even layer of clear coat or transparent matte coat should be applied to the surface of the 3D print after all the coloring is complete.
Use Cases: Complex medical models, models with external regions of interest, multi-part models.
Pros: Able to apply color to specific regions in any desired color.
Cons: Somewhat dependent on artistic ability, only works for models with external features.
Coloring Hollow Parts
If you would like to highlight internal regions of interest in a model, you can use the following method of hollowing and coloring. By hollowing the vessels, tumors, or other regions of interest, you can fill them each with a variety of paint colors to easily visualize internal regions of interest.
The process involves hollowing or making cavities within the region of interest and injecting the selected paint color into the hollowed spaced. The result is a realistic finish similar to actual blood vessels or valves within organs. To make use of this technique, some structural decisions must be taken before post-processing can occur.
Using your design software, hollow out the desired areas, making sure to leave an opening large enough to introduce paint. Multiple openings may be necessary to avoid air bubbles when filling complicated regions. Follow the normal procedure for printing and post-processing, ensuring that any hollow cavities are completely free of resin and IPA.
With your hollowed perforated 3D print in place, you will need the following tools:
-
Multi-material acrylic paint
-
Syringe or Pipette
-
Gloves
Now, you can proceed to apply these steps in coloring SLA prints:
1. Hold the part at an angle to ensure that the paint will reach every cavity.
2. Using a syringe of pipette, inject the paint into the hollow cavity, either filling the void completely or enough to coat the walls when shaken (for smaller cavities, you may need to thin your paint with a small amount of water before injecting).
3. Once the walls of the region are coated, allow any excess paint to drain and allow the part to sit as long as the paint drying recommendations.
4. Once dry, apply the surface finishing technique required to ensure an excellent finish.
Use cases: Visualizing internal vessels, tumors, or regions of interest.
Pros: Ability to clearly see internal regions of interest on Clear Resin prints.
Cons: Slightly more difficult procedure.
Start Printing
At Formlabs, we have seen first hand how 3D printing can open the door to high-impact medical applications, while saving significant time and costs from the lab to the operating room. Color greatly enhances the useability of 3D printed parts in both hospitals and medical education, and we hope this overview helps illustrate how easy it is to achieve color parts.
Request a free sample part to evaluate materials for yourself or contact sales to learn more.