Spray paint has an image problem. Most often seen on graffiti, dripping utility signs, and patch jobs on rusty cars, designers often use it for quick coverage and a flat surface instead of detailed, artistic effects. But with the right technique, spray paint creates smooth surfaces and deep color gradients.
If you’re an industrial designer, digital artist, character designer, or model builder, this guide is for you. You’ll learn how to achieve a glossy, smooth finish similar to a car surface—transforming your part from a simple 3D print to a final product ready to display, using any professional 3D printer.
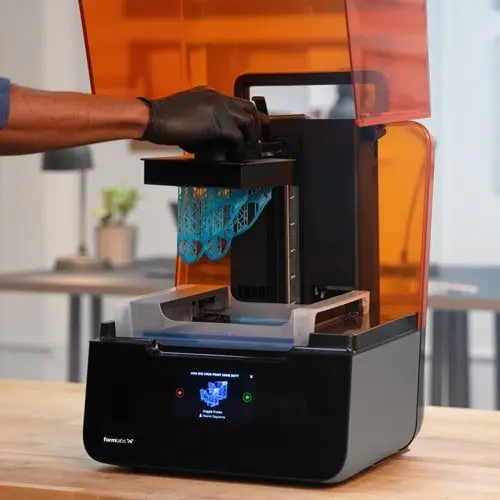
Introduction to 3D Printing With Desktop Stereolithography (SLA)
Looking for an industrial-quality 3D printer to realize your 3D models in high resolution? Download our white paper to learn how SLA printing works and why it's the most popular 3D printing process for creating models with incredible details.
How to Paint 3D Printed Parts
One step in the finishing process is the key to turning 3D printed objects into a professional product. Most beginners skip it, but all experienced model builders do it. It makes painting effortless and helps create a flawless final surface. This one step is priming.
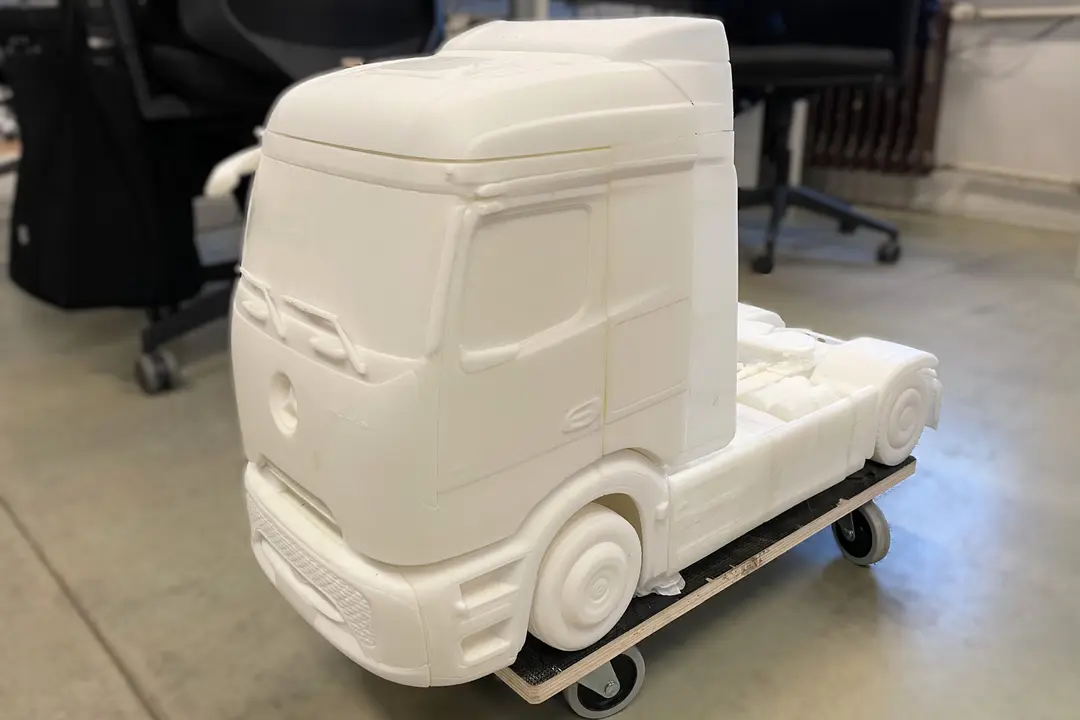
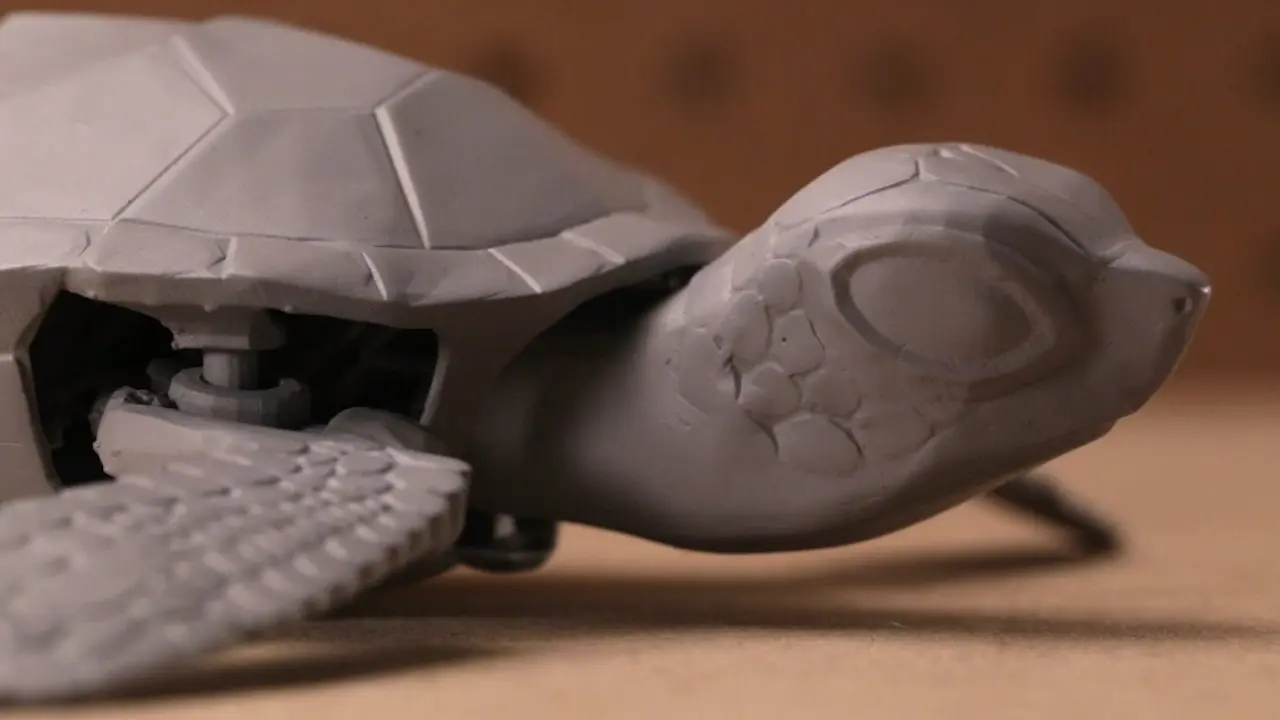
Adding a final coat of paint to a part creates presence and polish. But anyone who builds 3D printed models for a living knows that paint hides no flaws. Without treatment, small step-marks or support marks will show through on the final surface, along with any large triangles visible in the 3D printed mesh. Depending on the 3D printing process you used, there might also be clearly visible layer lines. If the end goal is to create a show-stopping object, then primer is essential.
The goal of priming is to create a pristine print surface before painting. The neutral gray of a primer highlights imperfections in a model and preps them to be sanded or filled with modeling putty. It makes the painting process much cleaner and the outcome more professional (especially with glossy surfaces).
Prior to priming, the surface should be smooth. While primer will fill in very small cracks and holes, using a thin coat of paint will retain surface details.
For SLA resin 3D printers, this involves removing the support structures and sanding down the support marks. For FDM printers, when painting PLA or ABS 3D prints with large layer heights, sanding the entire model might be necessary before painting to make sure that the layer lines aren't visible. A heavy primer can be used as an alternative to sanding, but this might obscure any intricate details in your part.
After sanding and adding an initial coat of primer, inspect the surface again for imperfections. Most primers have an extremely flat finish that highlights intricate details under direct light. Apply a final coat of primer and after the manufacturer specified drying time, the part is ready for painting (a quick, final polish is not a bad idea).
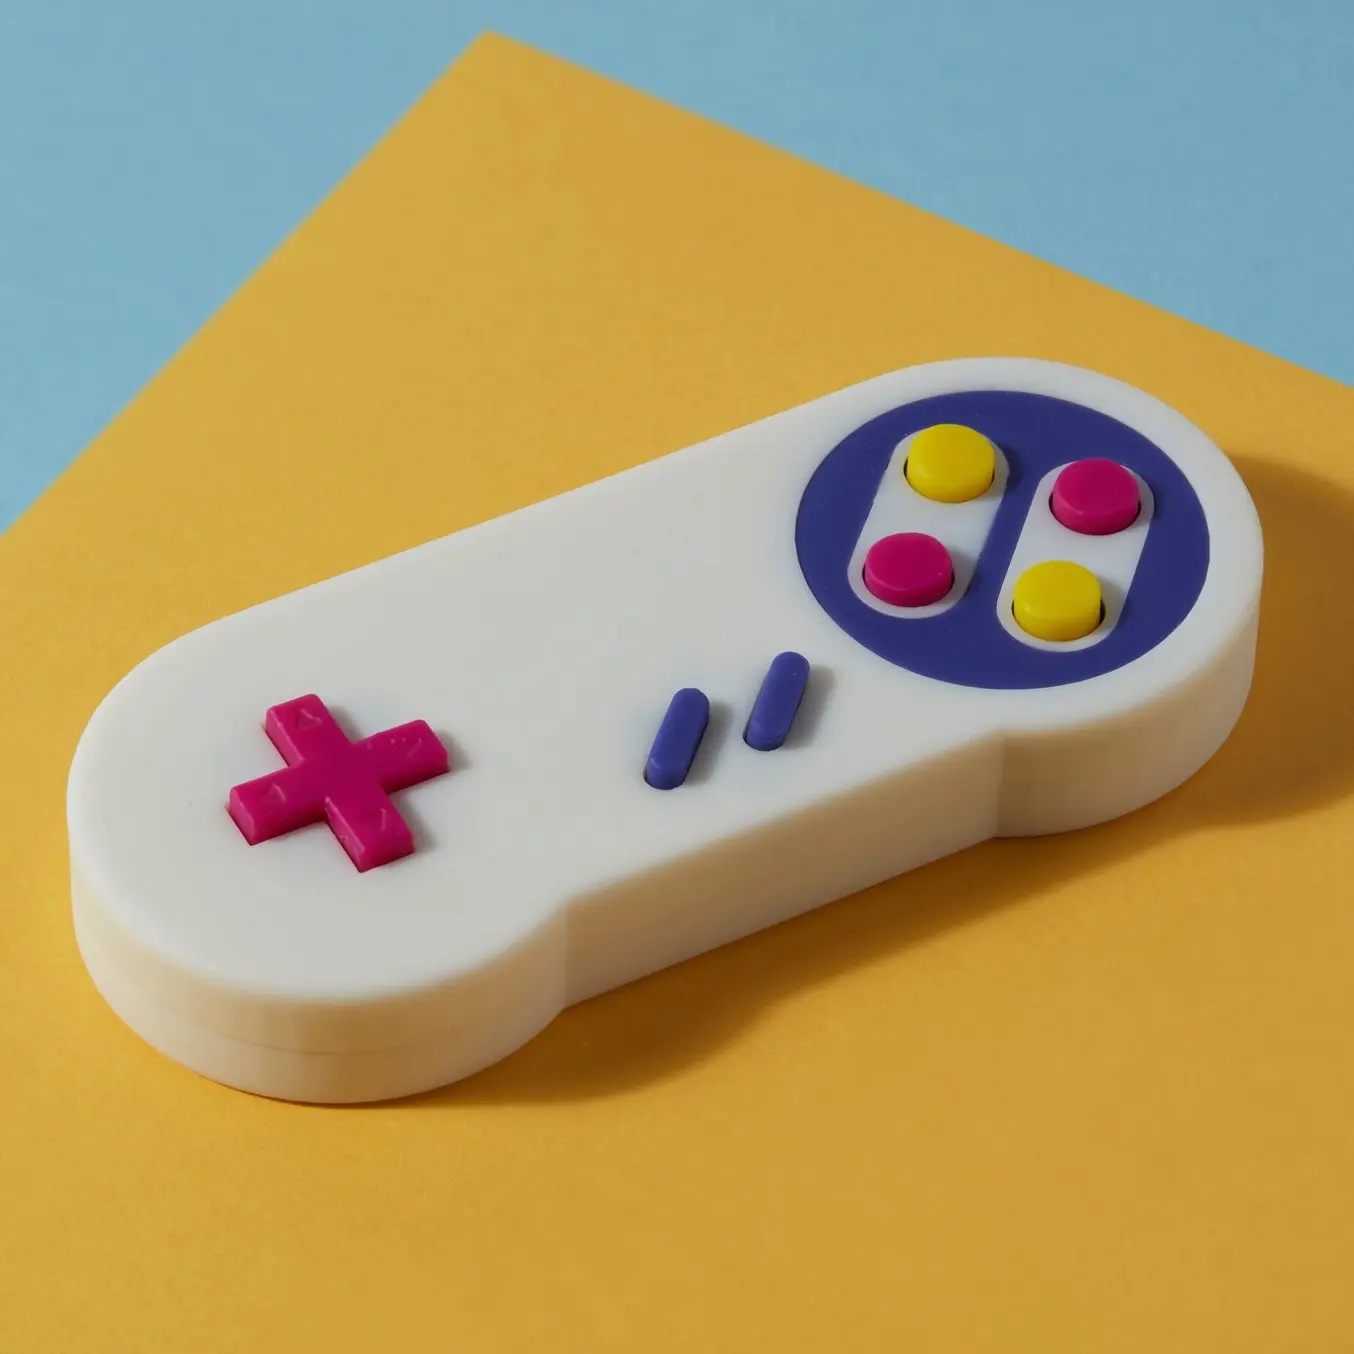
3D Print in Color With Color Kit
The first integrated color mixing solution for resin 3D printers, Color Kit enables SLA 3D printing in a range of colors without the manual work of finishing and painting.
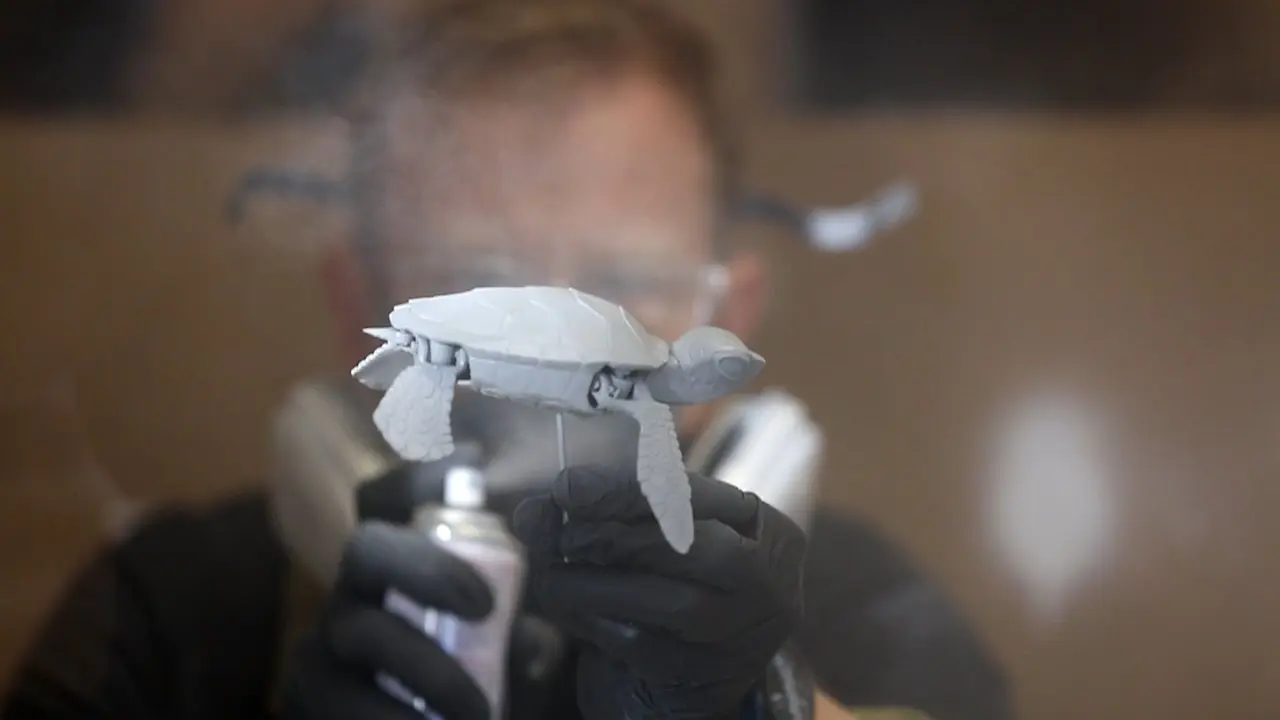
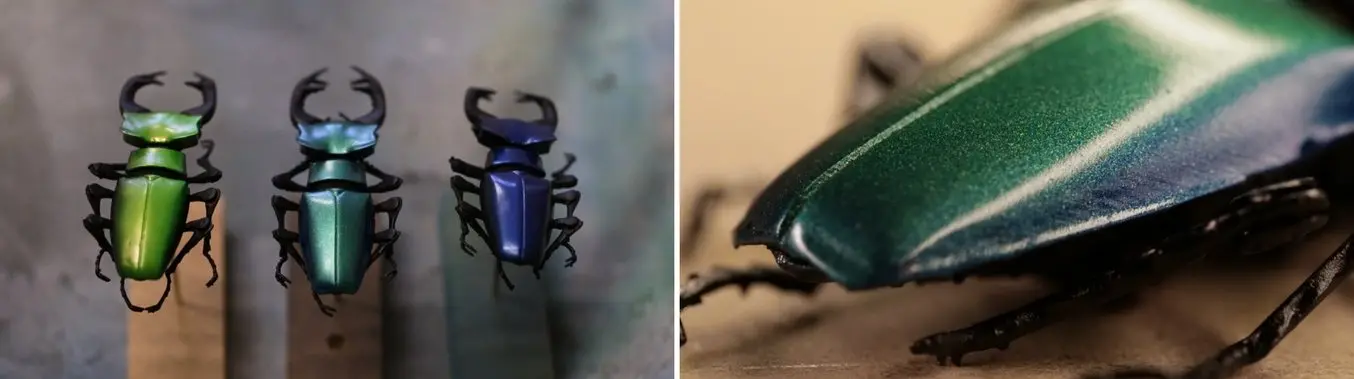
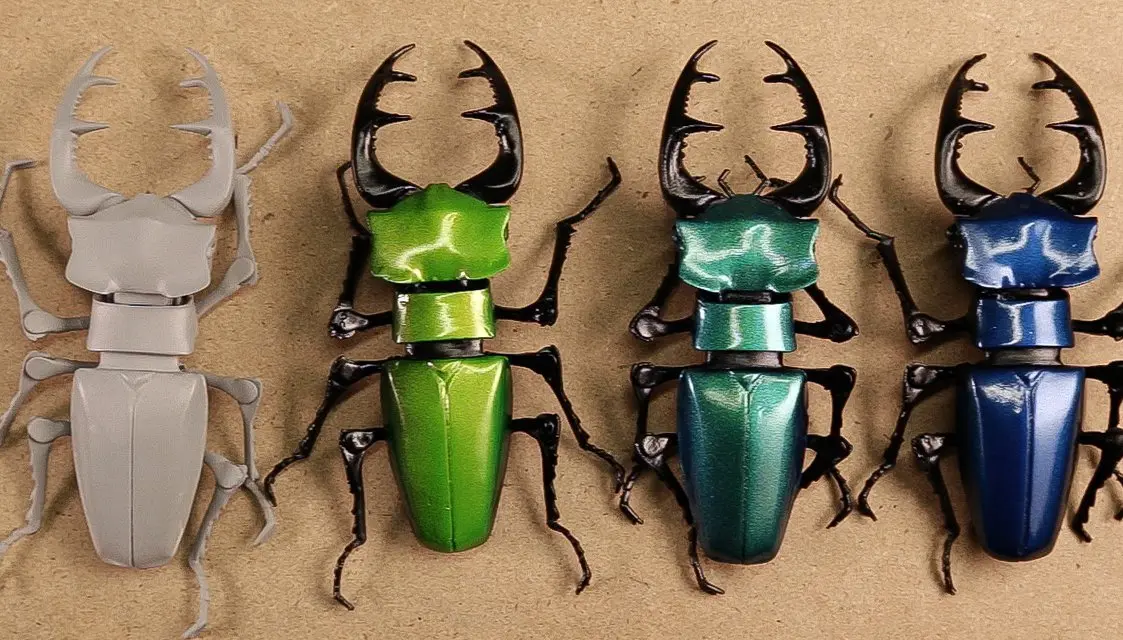
After priming, spray painting 3D printed models is a surprisingly quick process (with the right technique). For a glossy finish, you must build up thin layers of even paint in multiple coats over a pretreated surface. Thin coats allow under painted layers to show through, creating a rich, deep color. To spray thin coats, hold the paint can nozzle very close to the model and move quickly. Rotate the model to keep coats even.
Between paint coats, remember to buff and polish the paint surface. This maintains a smooth surface that will look glossy under the final clearcoat.
To get the richest color, add an undercoat or base layer. An undercoat is a colored paint that blocks the neutral color of the primer. Generally, it takes 2 to 3 thin layers to fully cover a surface. Black is a popular undercoat for darker tones, while white is ideal for light colors.
Between layers, masking preserves details in a particular color. Don’t leave general purpose masking tape on for more than a few days. Paint manufacturer Tamiya recommends that you complete spray painting in a single session.
After masking, the topcoats add the final color. Imagine these layers as a light glaze over the undercoat. The thinner the topcoat, the more the undercoat shows through. Between applications, let the paint sit for a few minutes to see if the color is saturated enough.
When you’re satisfied with the color, it’s time to move on to clear coating. Apply the clearcoat in 1 or 2 thin, even layers. With a polished surface, you want just enough to let all the microdrops of clearcoat run together, forming a glossy shell over the part. While not necessary, you can polish the surface with an ultrafine grit polishing cloth or wax with carnauba polish to add an extra layer of protection.
After painting, give the model time to dry. There’s no hard and fast rule, but letting the model rest for at least a week will allow the paint to thoroughly harden. If you need to move the model before then, wear gloves and use a delicate touch to avoid damage.
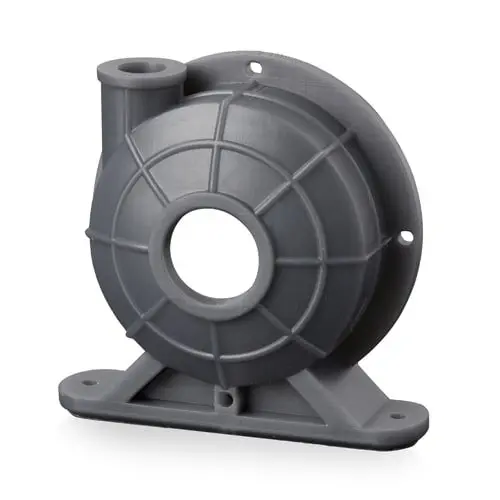
Request a Free Sample Part
See and feel Formlabs quality firsthand. We’ll ship a free sample part to your office.
Step by Step: Priming 3D Printed Parts
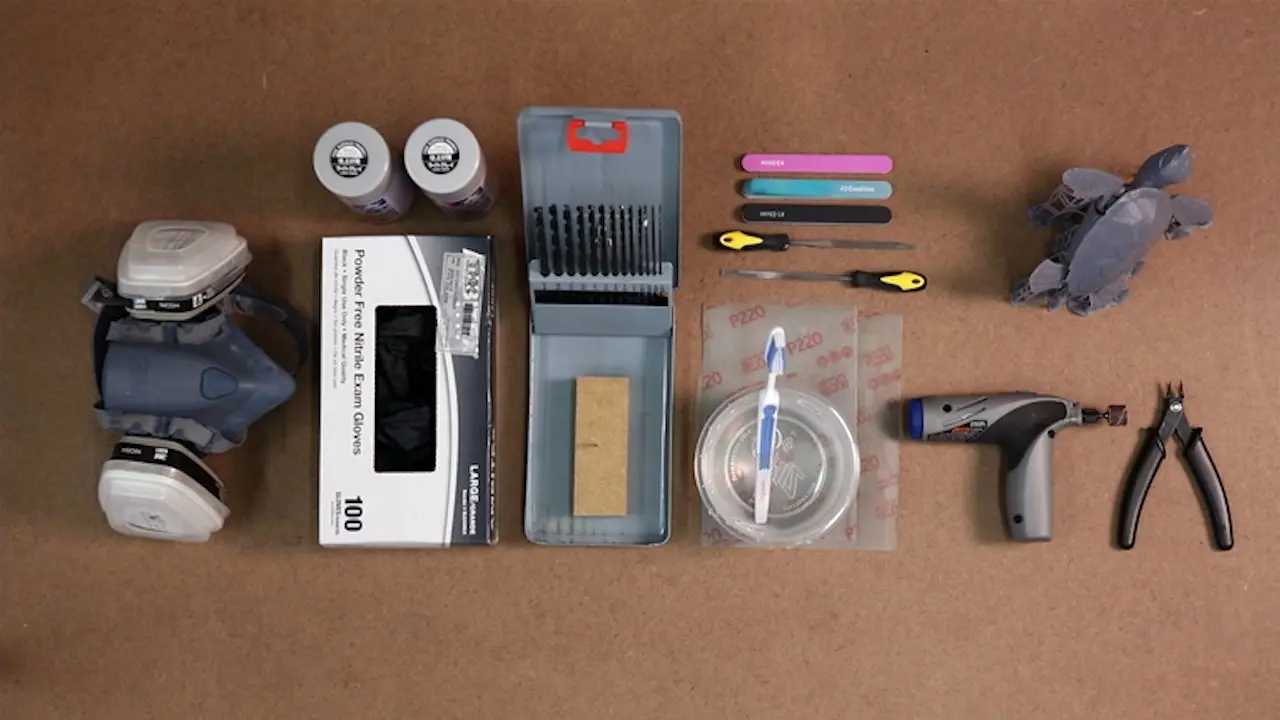
Materials
Primer
Primer is a special type of paint that adheres strongly to the part and provides a uniform surface for paint to bond with. Different primers have different uses. A spray-on primer is the best way to paint your printed parts because it quickly covers a surface with an even coating. Brush-on primers are available, but they are tricky to work with and better for fine touch ups. For best results, choose a primer and paint that are plastic compatible and from the same brand. We like Krylon and Montana (though both are thick formulas), but nothing really compares to Tamiya brand model paint - it goes on extremely thinly and evenly, preserving delicate surface details.
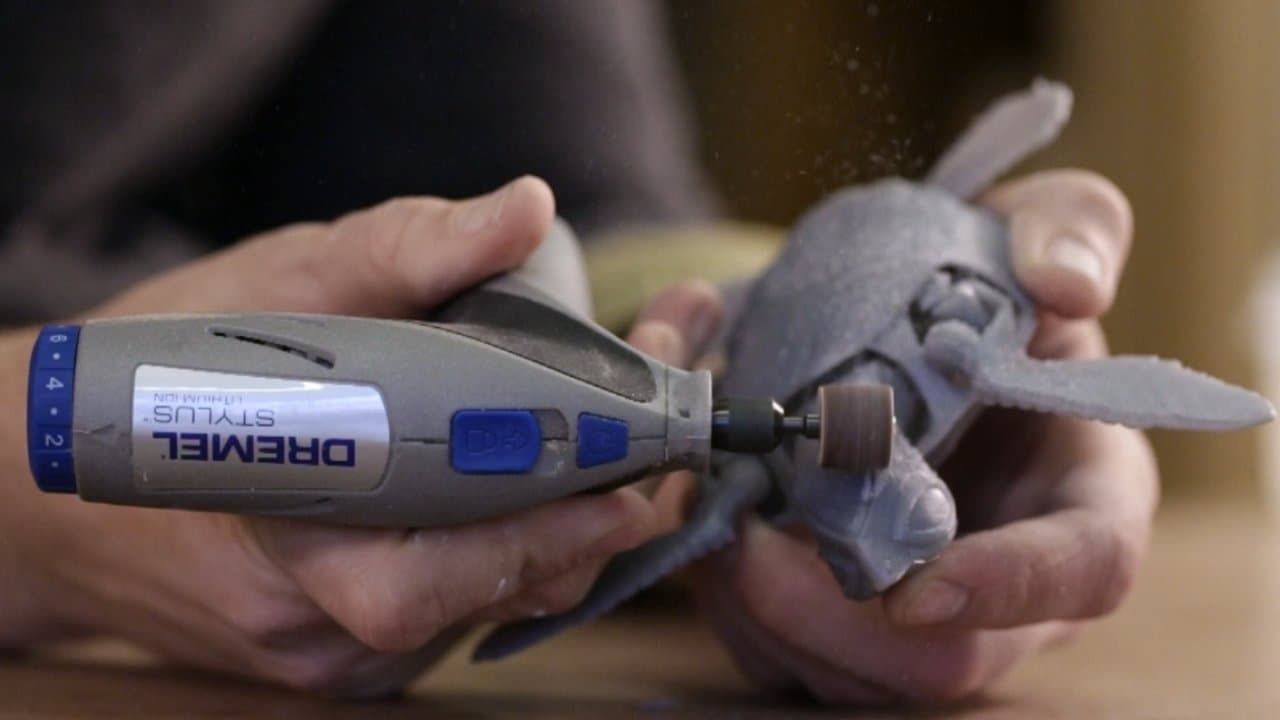
Rotary Tool
Because sometimes you want to sand fast. With interchangeable bits, rotary tools offer a variety of options for sanding and polishing parts. Drum sanding bits quickly sand down supports, while steel wire brushes smooth surface marks. Rotary tools are rough, so you will still need sandpaper for a smooth finish. There are plenty of great brands: Dremel and Craftsman are popular in the states, Proxxon in Europe. To avoid scorching your part, turn down the RPMs to the minimum (usually 500-1000) and use a light touch.
Hand Files
Not as clumsy or as random as a palm sander. A more elegant tool…for a more civilized age.
One of the most simple yet effective tools, a hand file removes supports and sands down surfaces. Using a firm grip, you can remove marks with more control than with a rotary tool. Keep a wire brush on hand and clean the file’s teeth often (otherwise plastic and resin will gum up teeth). Like a rotary tool, a hand file will leave a rough surface, so it’s best for removing the larger support marks.
Sand Paper
The most unglamourous tool in the shop, sandpaper has come light years in the last decade with the release of flexible sanding sheets. Available at home improvement stores, flexible sanding sheets last 15 times longer than paper ones. They don’t curl, puncture or crease.., and they hey can be used wet, which reduces dust and prevents buildup in the sanding tooth. Because they flex, they can easily reach small interior spaces and rounded surfaces.
Dust Removal
Even after wet sanding, some dust will remain. Remove buildup with water and a soft scrub brush (an old toothbrush works). For serious cleanup, an inexpensive sonicator can quickly remove fine particles caught in corners and cracks of a surface. If you work in an area with hard water, using deionized or distilled water will prevent spotting between painting.
Tack Cloth
Tack cloth is a soft, slightly sticky cotton cloth designed to remove remaining dust and leave a clean surface for painting. Let your model dry before using the tack cloth — the waxy surface does not work well with water.
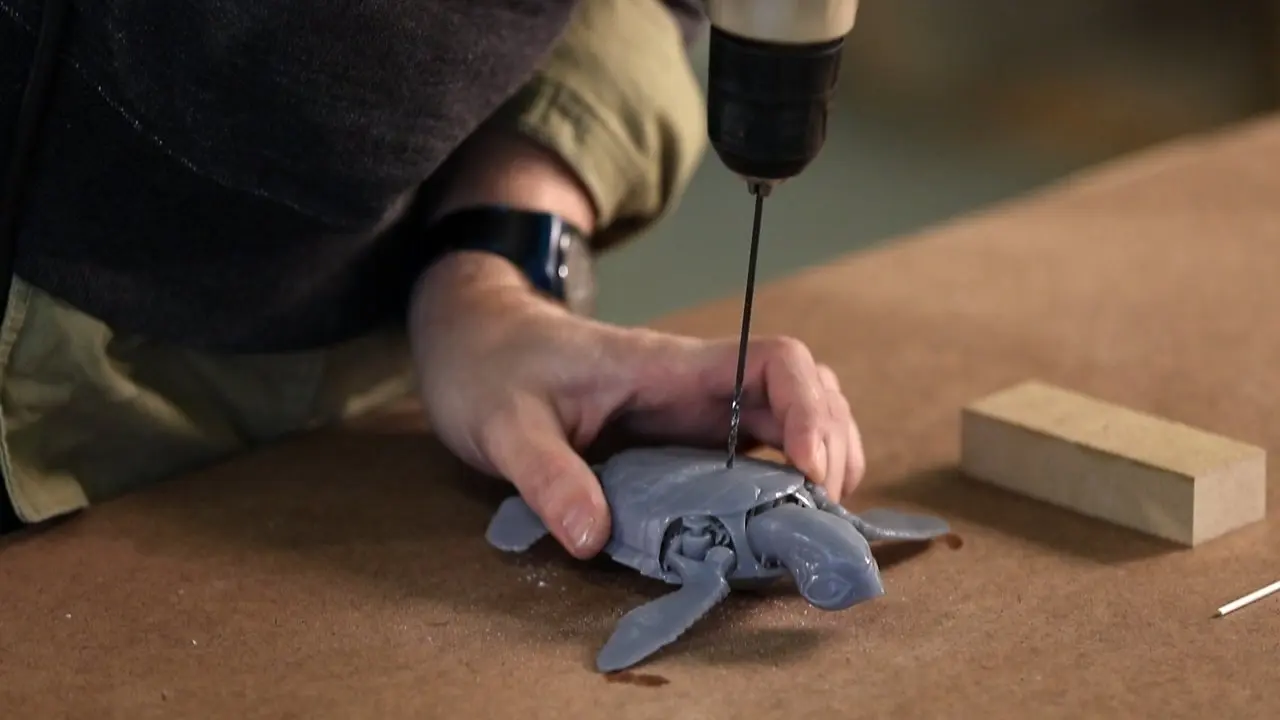
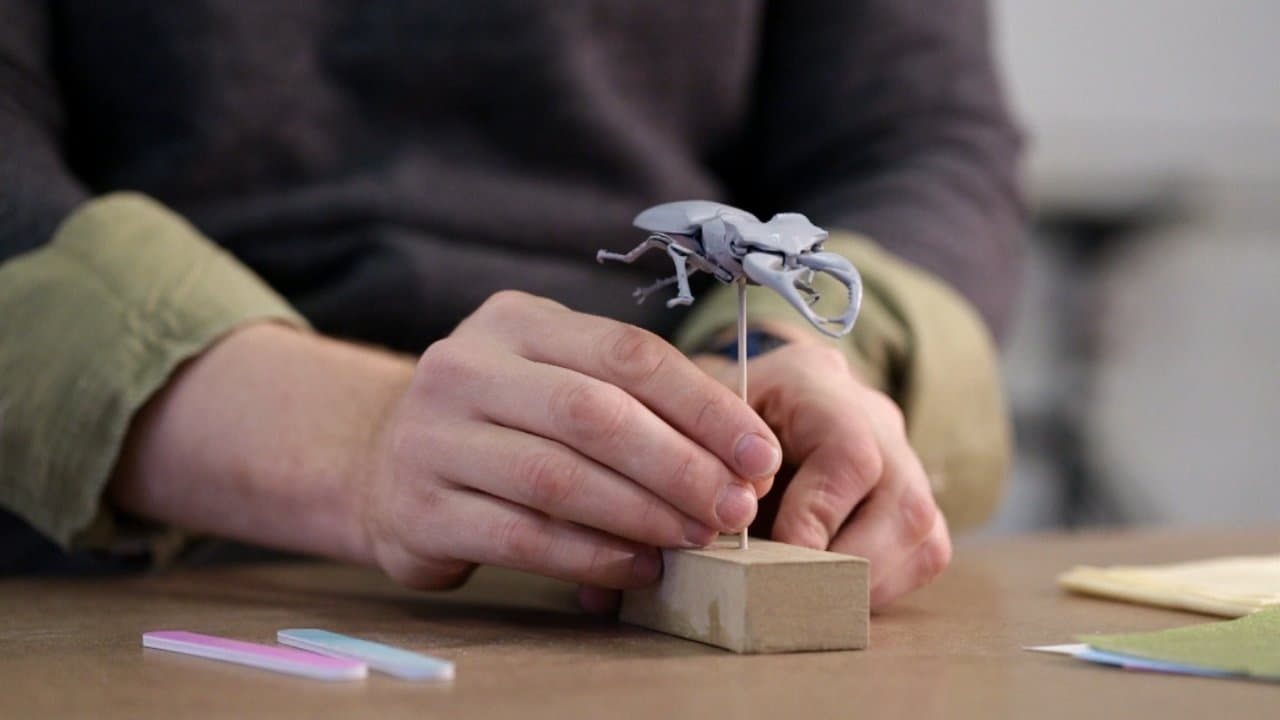
Painting Block, Dowels & Drill
This simple trick will save you grief in the spray booth (we were excited when we saw this technique in a modelmaking how-to video by Adam Savage). By mounting your 3D print on a dowel (often you can use a preexisting hole in the part), you can quickly maneuver while spraying, allowing you to get to all sides and into the nooks and crannies of the part without creating any fingerprints. When you want to add an even coat to all sides of your model, this is pretty essential. We recommend ordering a variety of size of dowels. To minimize the hole size on a part, start with a small size and work your way up until the model feels firmly seated. Drill a corresponding hole in a block of wood or MDF and insert the part with the dowel - now you can keep the model hands free while spraying.
Safety Equipment
Spraypainting means working with airborne particulates and solvents, both of which pose health hazards. Remember to use a NIOSH approved respirator and work in a well ventilated workspace. While painting, wear nitrile gloves to avoid spraying paint on your hands and and also protect your model from fingerprints.
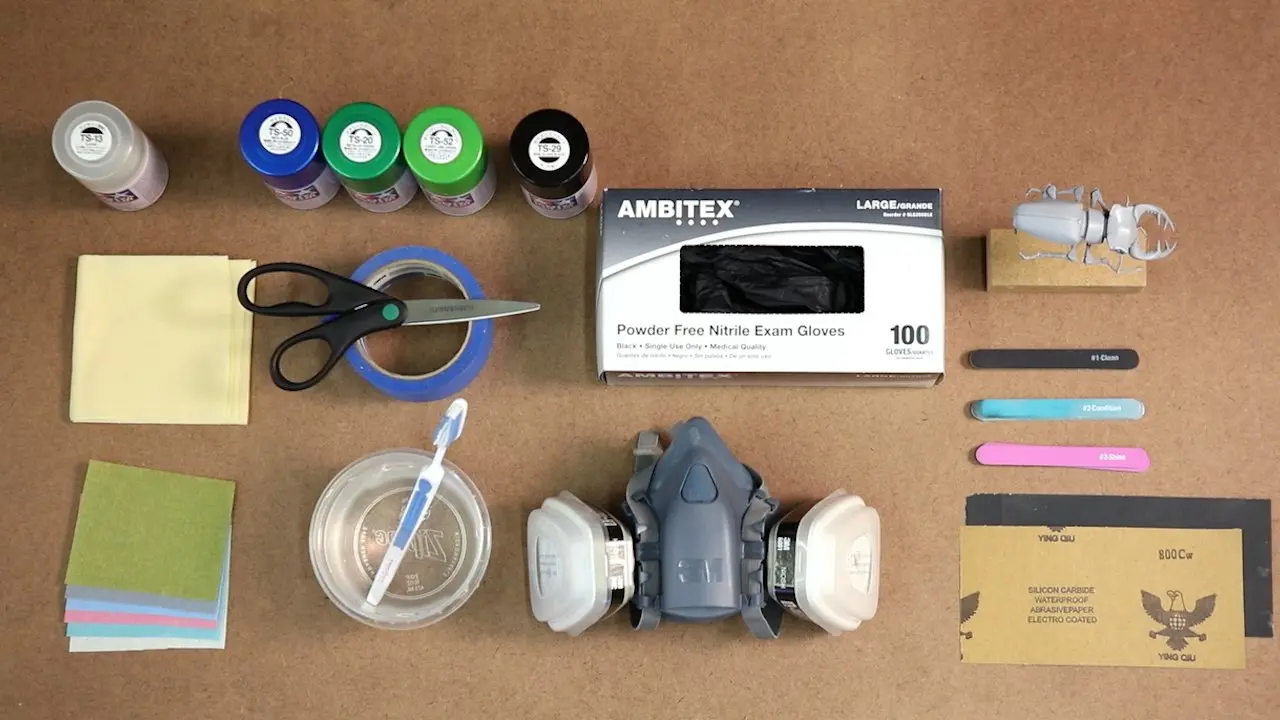
Tool Checklist
- Tamiya primer
- Rotary tool
- Hand files
- Sandpaper or flexible sanding strips (220/320, 400/600 grit)
- Water
- Soft brush with fine bristles
- Tack cloth
- Wood painting block (sized slightly larger than model)
- Drill and drill bit
- Dowels to hold model
- Safety Equipment: gloves and mask
Priming Steps
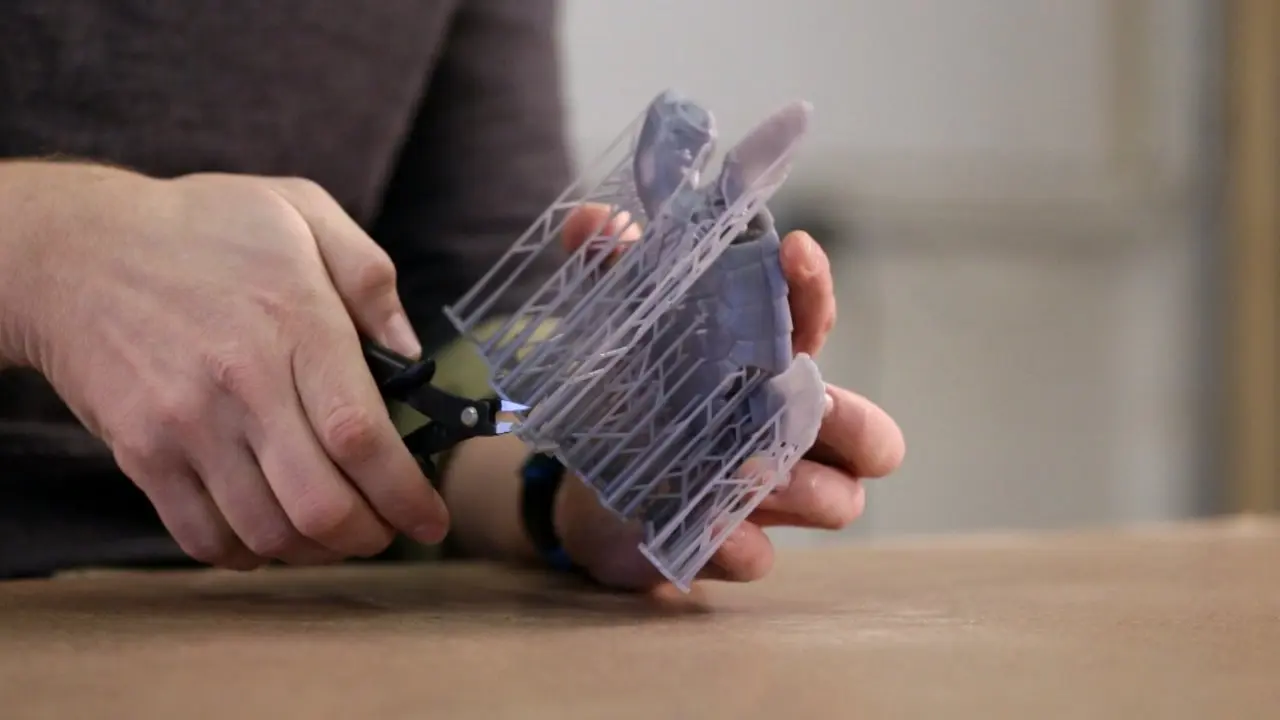
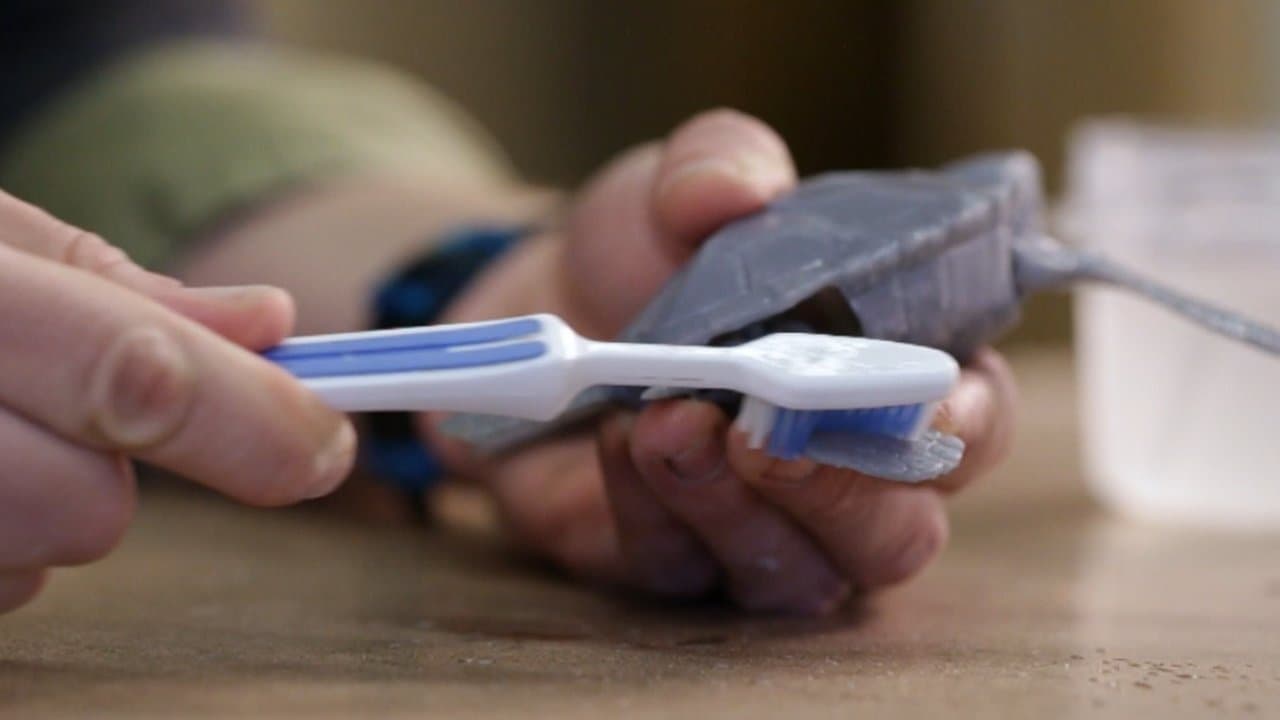
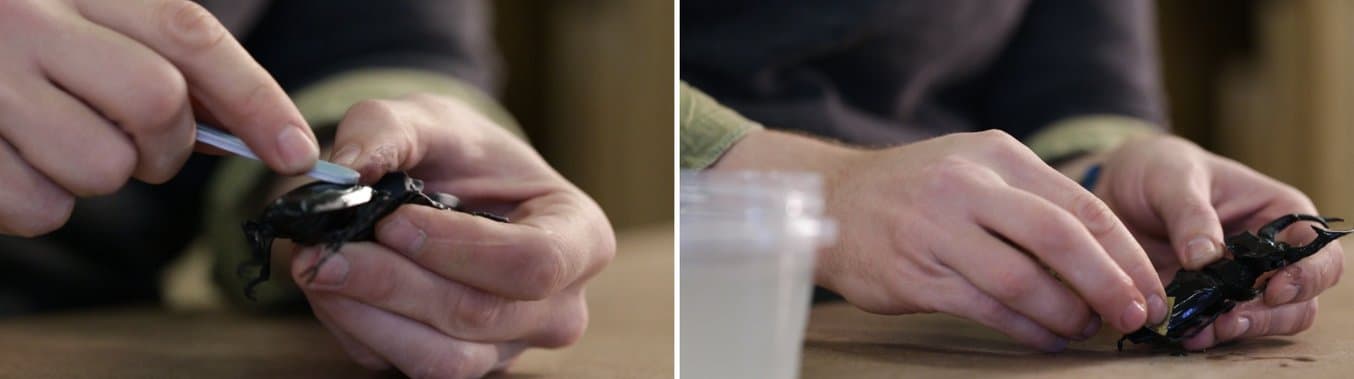
1. Remove supports from your part
Use a set of flush cutters to remove sections, or peel off supports by hand. With delicate pieces, an exacto knife or razor blade can be carefully used to cut away support tips.
2. Sand down support marks.
Using a rotary tool, hand file, or even 220 grit fine sandpaper, gently remove support marks from the model.
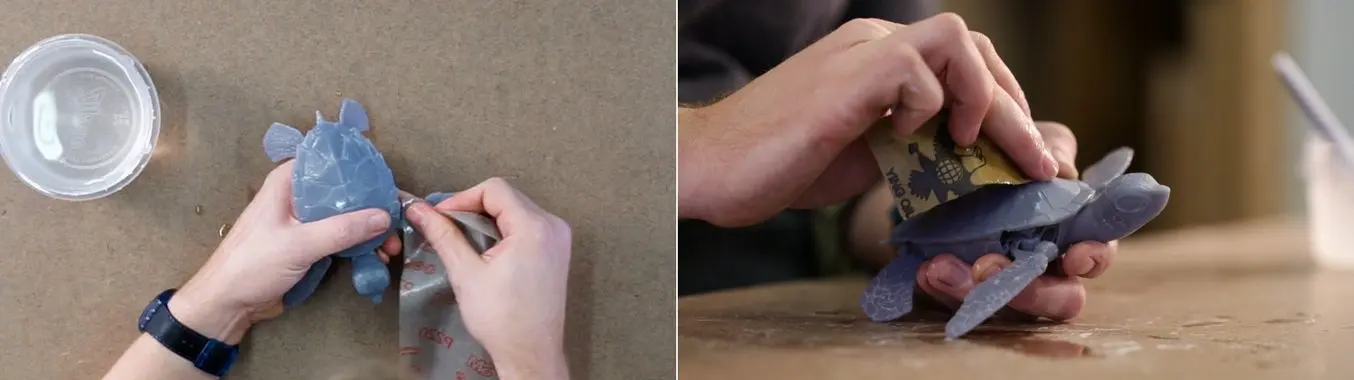
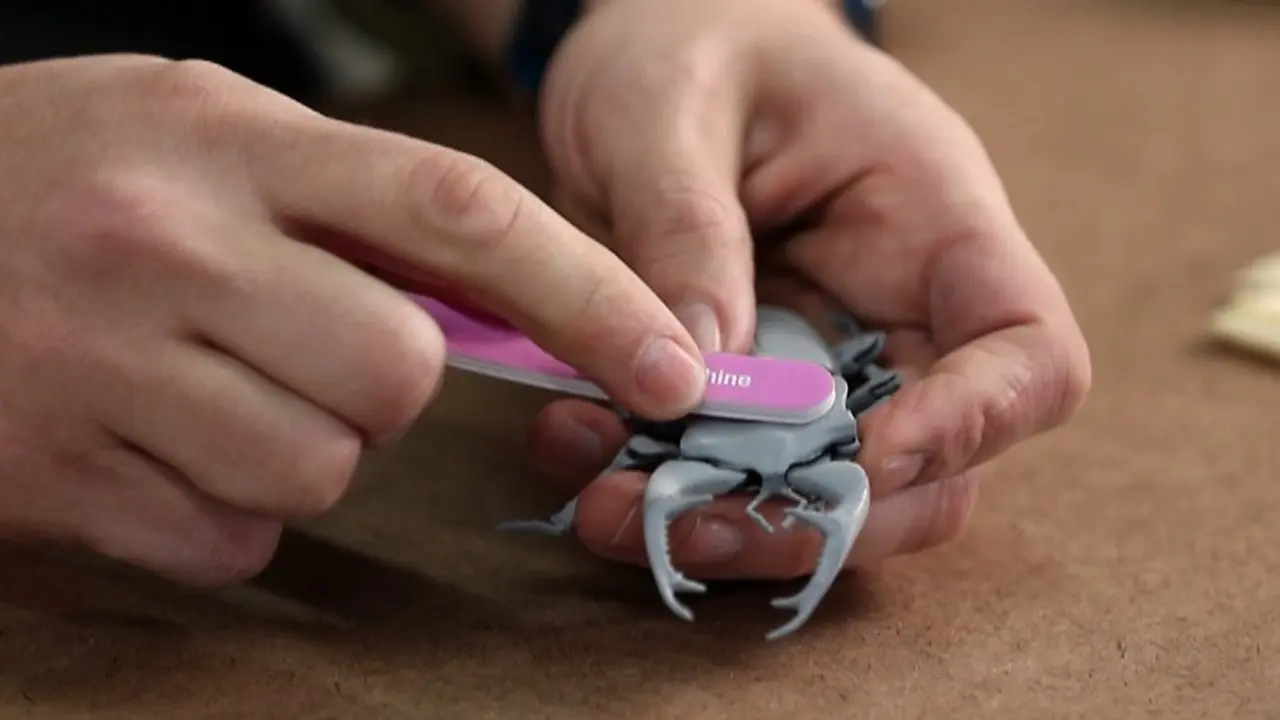
3. Sand and smooth surface.
The degree to which the surface is smoothed in this step will impact the finish of the final part. Beginning with 220 or 320 grit sandpaper or flexible sanding strips, gently sand the entire surface of the model to remove any filing or tooling marks. Follow up with 400 or 600 grit.
4. Mount the part.
Drill a starter hole in an inconspicuous spot and mount your part on a thin dowel, then insert the dowel into the paint block.
5. Wash the surface to remove dust.
Use a brush and water to wash away any dust. You may prefer to use deionized or distilled water (available from a grocery store) to thoroughly clean the surface without leaving any spots.
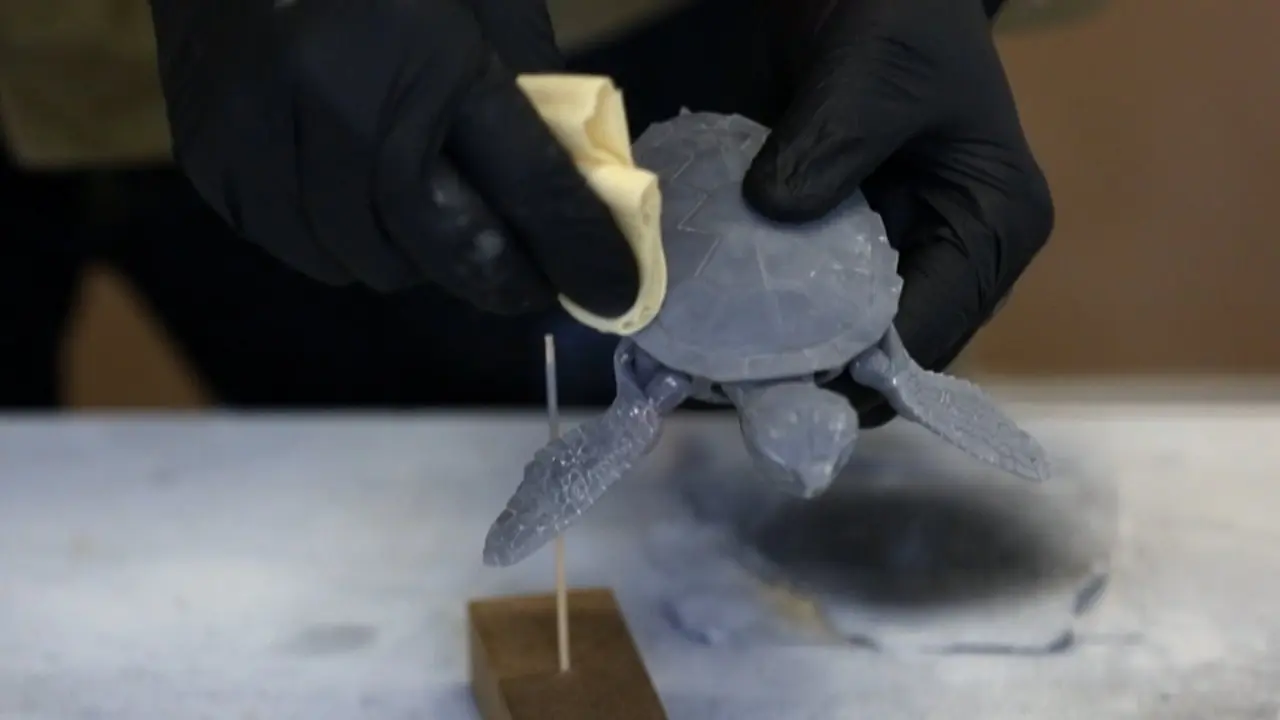
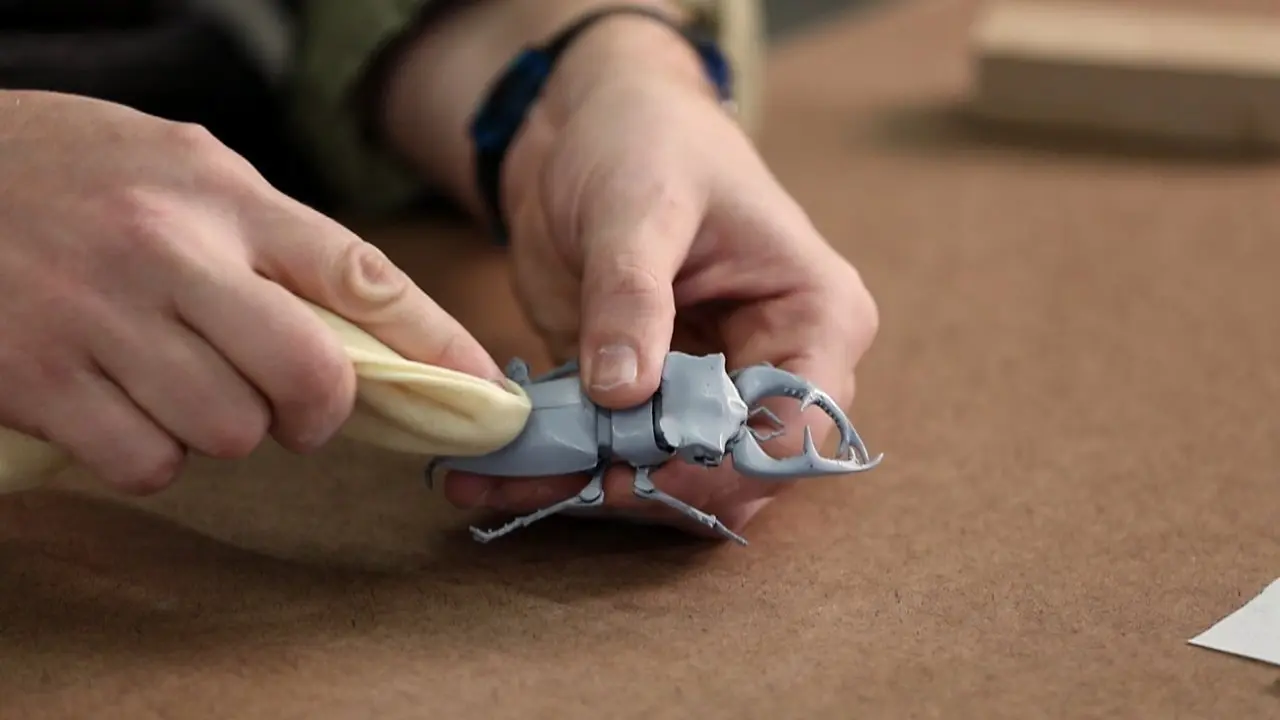
6. Wipe down the surface with a tack cloth.
While wearing nitrile gloves, gently run the tack cloth over the surface of the model using long, gentle strokes. Try to use a continuous direction, but don’t forget to wipe in the small cracks in the model.
7. Mix the primer.
Gently swirl the spray primer for 2 to 3 minutes in a circular motion. Avoid shaking as this can mix the propellant into the solvent, resulting in bubbles in the coat when sprayed. The goal is to fully dissolve the pigment within the solvent. After a minute of swirling, you should hear the mixing ball (called the “pea”) smoothly rolling around the inside of the can, indicating all the paint has mixed in.
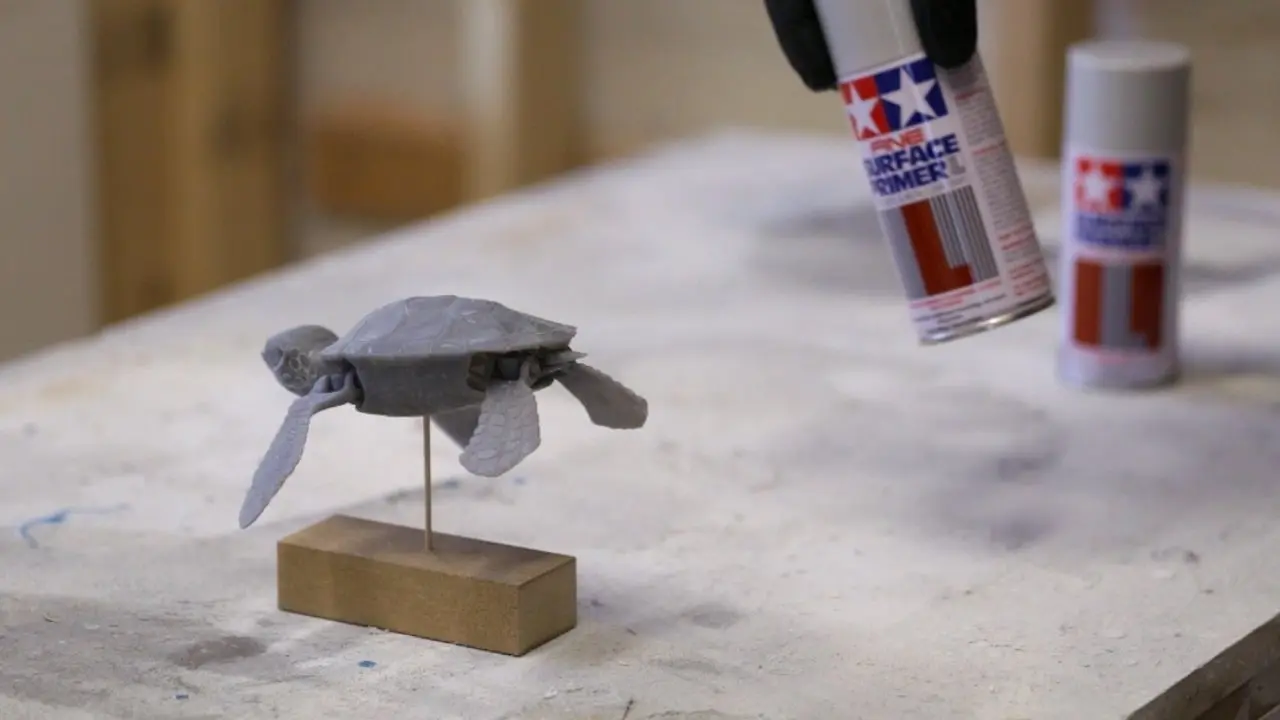
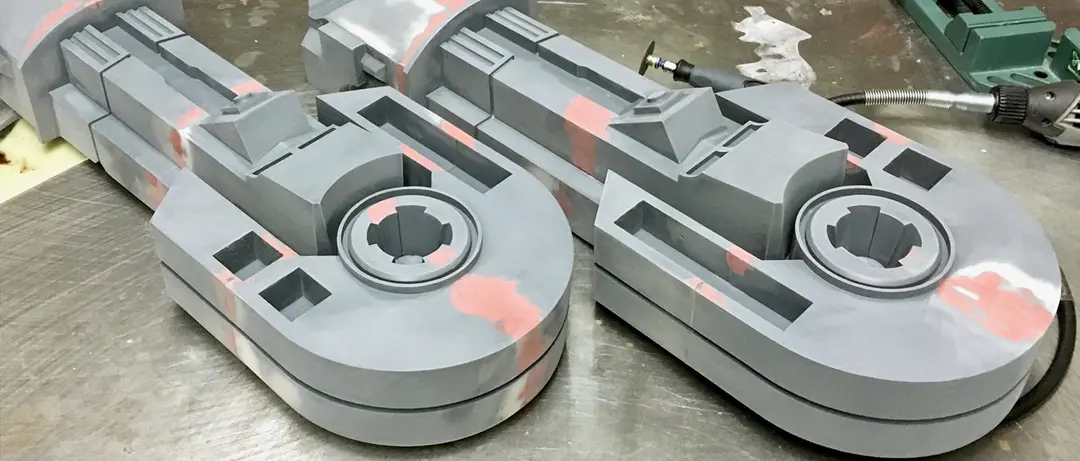
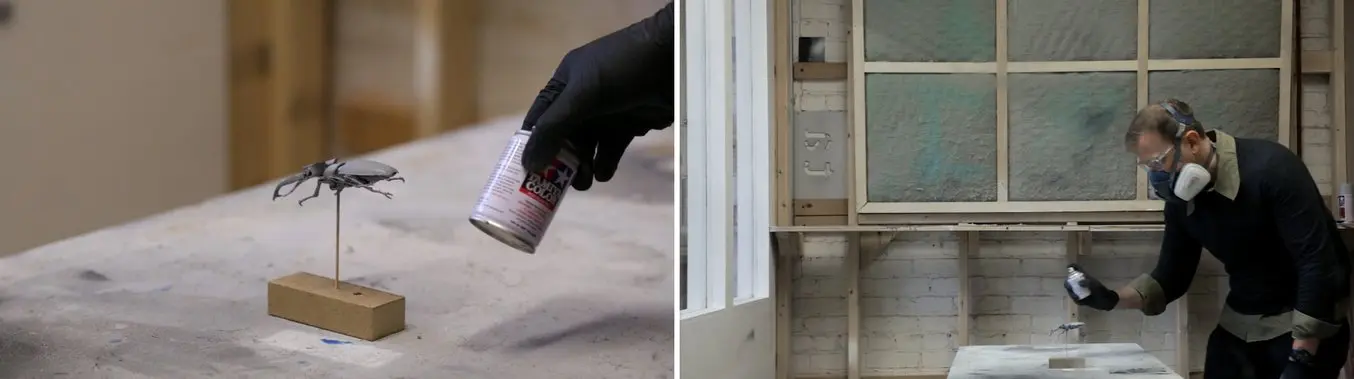
8. Spray the first coat of primer.
Spray in short, rapid strokes, 6-8” from the part. Start each stroke before the part and end the stroke after the part. Moving quickly, rotate the part while spraying, Avoid allowing spray to pool on the part - it’s better to start with a very thin base coat and slowly build up opacity.
9. Inspect the first coat.
With the primer on, inspect for any areas that need additional sanding or filing. If necessary, rework and polish the part with fine (>600 grit) sandpaper. If sanding is necessary, be sure to repeat steps 5-6 to clean off dust before respraying.
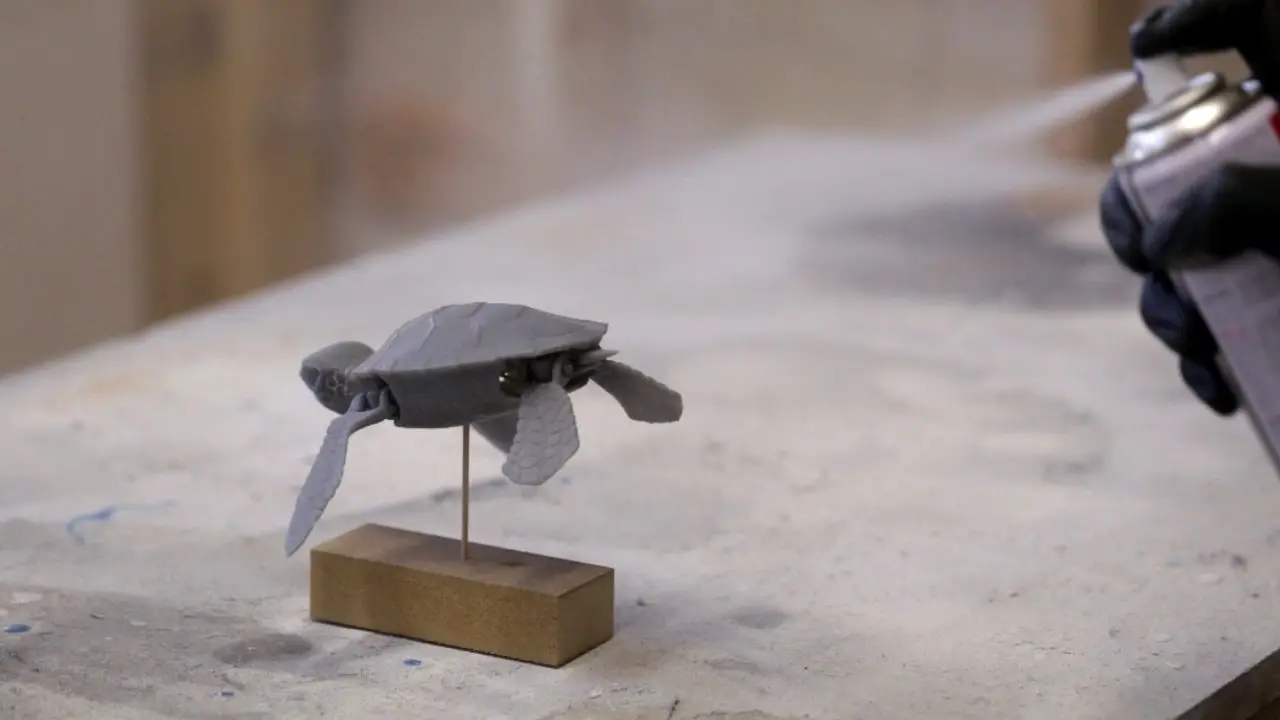
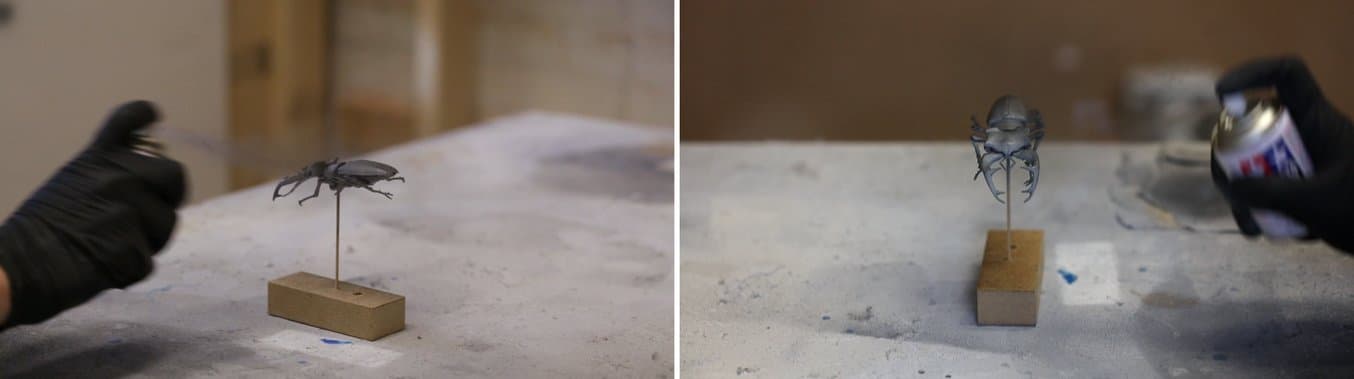
10. Spray the final coat of primer.
Add another coat of paint using rapid strokes, making sure to keep the coat light and finish as soon as the color is opaque. Too much paint here will fill in your fine details, so make sure to avoid the tendency to add too thick of a coat.
With the final coat added, you’re ready to move on to spray painting your part! In the next installment of this guide, we’ll go over how to add a model-smooth paint job and finish with a clear coat to protect the paint job.
Step by Step: Painting 3D Printed Parts
Materials
Paint
Choose thin paint that’s easy to control. Hardware store paint (or even fine art paints designed for rough surfaces) are the opposite of what you want. They tend to clump and form thick, rough layers. This is because they’re designed for quick, single use application. For the best detail, we recommend Tamiya spray paints. They offer a wide range of colors, including opalescent and glitter effects. The paints go on thin and provide great coverage. Tamiya paint is available on Amazon and specialty hobby shops. The TS line of synthetic lacquers works well on Formlabs resin and lets you transition to clearcoat or even hand-painted acrylic.
Buffing Sticks
Nail buffing sticks apply a polished finish on a primed and sanded part. Look for them in any drug store. Make sure you get the kind that come in a 3 stage system—skip the heaviest grit and move straight to the buffing and polishing sticks.
Fiber Backed Polishing Paper
A recent innovation, polishing paper comes in grits much like sandpaper, but it's much finer. The fiber backing lets you bend and flex the surface, while the fine grit is perfect for polishing topcoats and clearcoats.
Tack Cloth
Tack cloth is a cotton cloth with a waxy coating that removes dust and hair from a surface before painting. With a folded cloth, use long, gentle strokes on the surface, moving in a single direction.
Masking Tape
For most single-session paint jobs, standard blue painter's tape works best. Make sure to secure the edges by running a plastic part like a credit card over them to keep any paint from seeping underneath.
Clearcoat
While clearcoat won’t fix a poorly primed surface, it will help even out some surface imperfections and give you a choice of gloss or matte finishes. Using a Tamiya clearcoat will guarantee compatibility with your paint layers. If you’re working with another spray paint, check with the manufacturer for clearcoat recommendations.
Safety Equipment
Spray painting means working with airborne particulates and solvents that pose health hazards. Remember to use a NIOSH approved respirator and work in a well-ventilated workspace. While painting, wear nitrile gloves to prevent spray paint on your hands (and model).
Tool Checklist
- Paint (undercoat colors and topcoat colors)
- Buffing Sticks
- Fiber Backed Polishing Paper
- Tack Cloth
- Masking Tape
- Clearcoat
- Safety Equipment: gloves and mask
Painting Steps
1. Start with a primed and mounted part.
If you haven’t removed supports and sanded the surface yet, get all the details in our priming how-to.
2. Buff and polish the primed surface.
Using the nail buffing sticks, gently polish the surface starting with level #2 (buff) and finishing with level #3 (polish). Afterwards, the surface will look glossy.
3. Clean off the dust.
Run a tack cloth gently over the surface of your model to remove any residual dust. Use a light touch and move in the same direction of the surface.
4. Get ready to paint.
Suit up with your respirator and gloves. Stir your paint by gently swirling the internal mixing bead (called a “pea”) in the can for 2 to 3 minutes. The goal is to gently mix the pigment without shaking up the gaseous propellant, since this can cause bubbles in your spray.
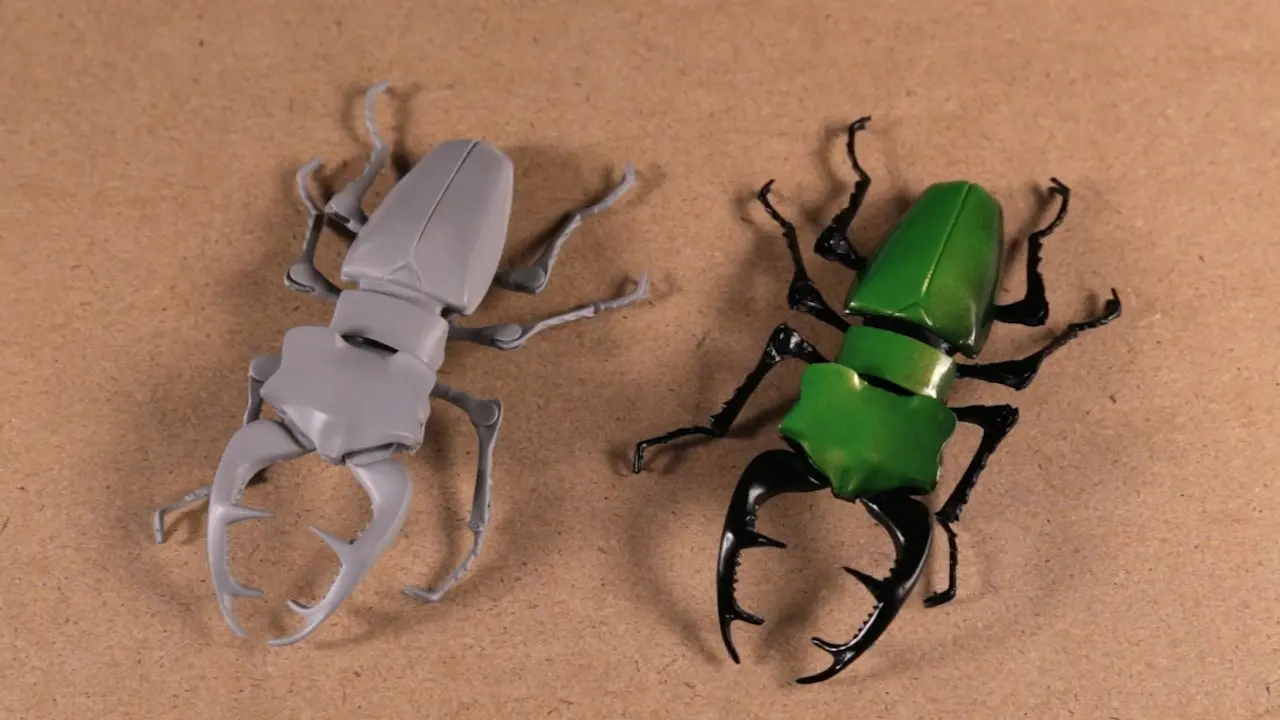
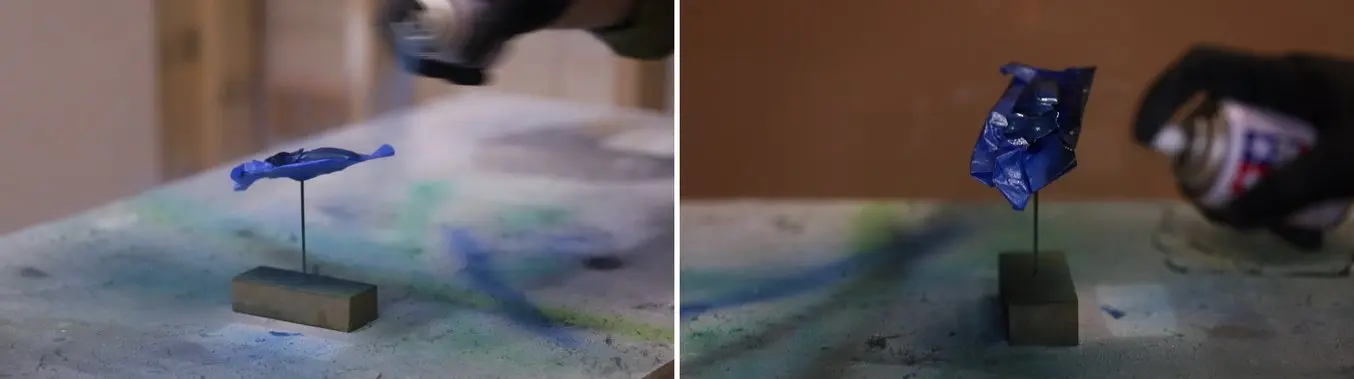
5. Spray on the undercoat.
Always start and end your spray off of the model to get the most even finish. Keep the nozzle about 6” away and move quickly across the surface while rotating the direction of spray around the model. Your first few layers should look translucent. Once you have an opaque coat, let the painted model sit for 20 to 30 minutes to give the thin layer of paint time to dry. 2 to 4 layers will form an even coat.
6. Polish between layers.
Using the finest sanding paper and polishing stick, lightly treat the model between coats of paint. This will continue to refine the surface. Do this between each step from now on.
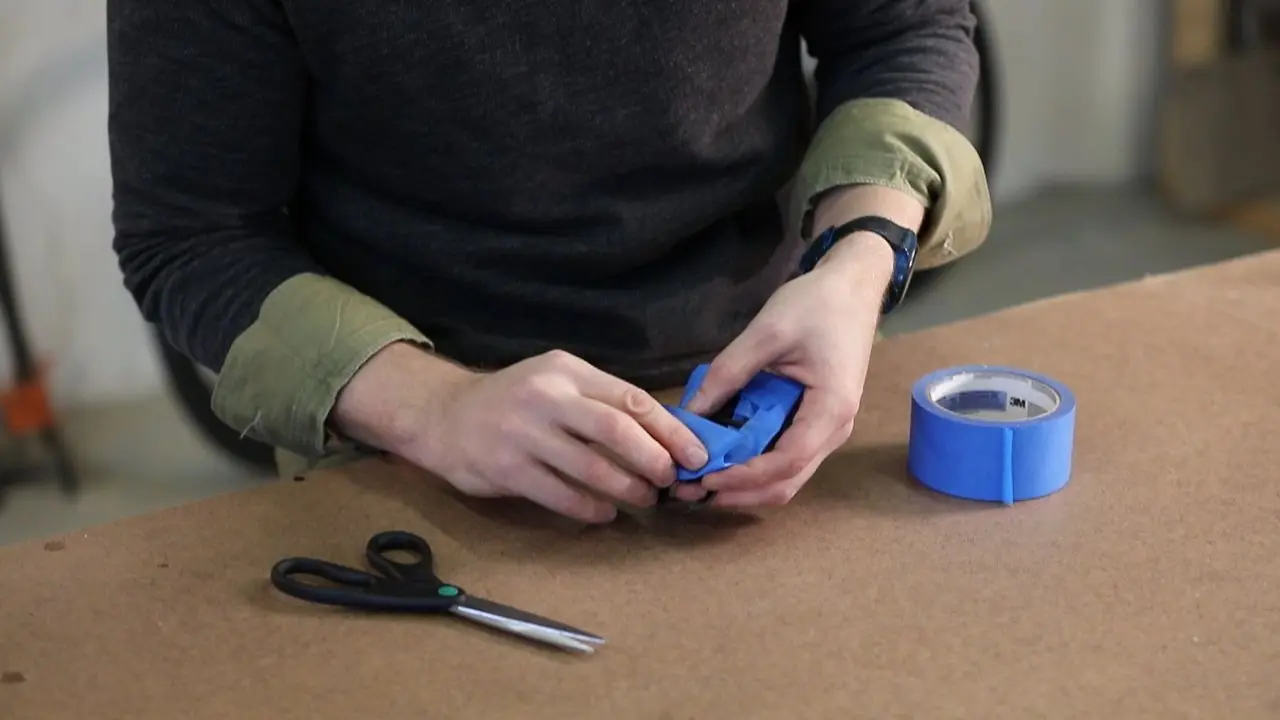
7. Mask off areas you want to preserve in the undercoat.
Cut the masking tape with scissors or an X-Acto knife. Apply the tape firmly. Press down on the edges to keep paint from seeping underneath.
8. Apply the topcoat (optional).
By applying a contrasting color, you can create gradients or rich color blends. If you want the undercoat to show through, go easy on the paint — 1 to 2 light coats is enough.
9. Finish with clearcoat.
If you’ve polished the model between steps, then 1 to 2 light coats of clearcoat will make the surface look glossy (the topcoat will be nearly glossy by itself after polishing). Matte coats are also available and will protect your model for years.
Send us a tweet or post on Instagram (@formlabs) to show us your work.
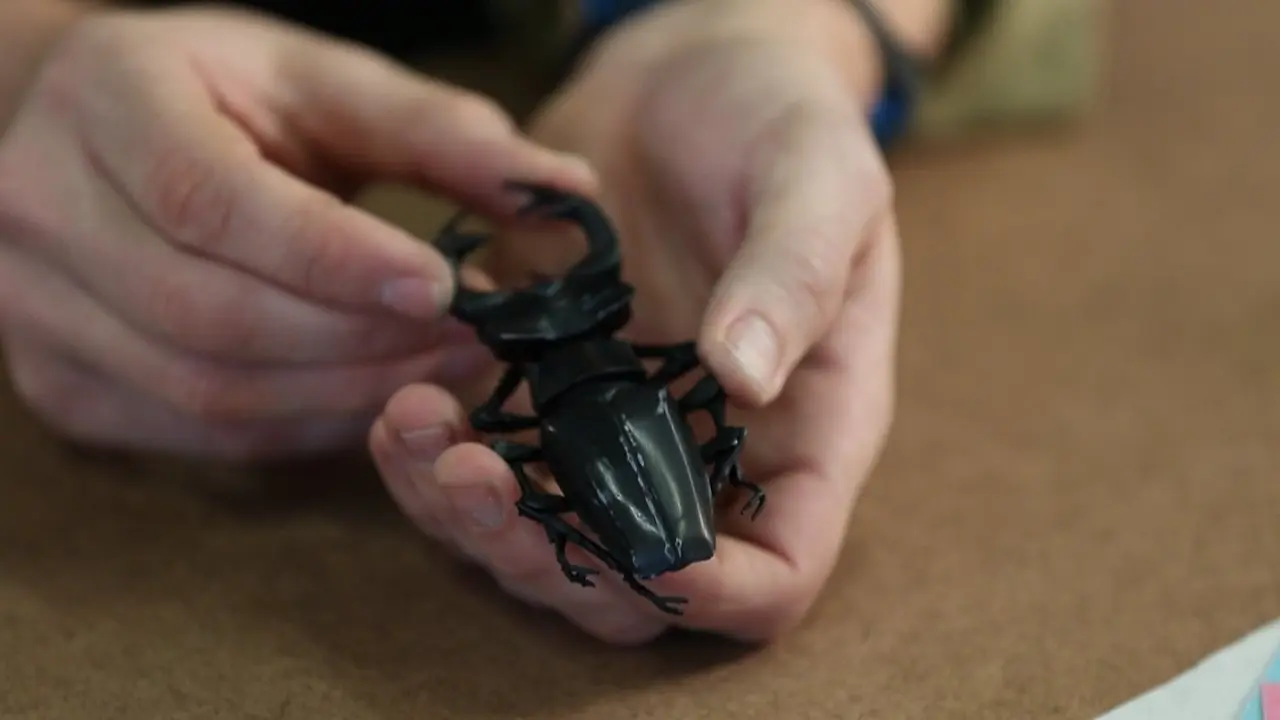
We’d like to thank our friend and colleague Brian Chan (@chosetec) for the incredible Articulated Stag Beetle and Articulated Baby Turtle models. Support his designs at his Shapeways shop.