Customize Parts and Increase Efficiency With New PreForm Features & Shareable Print Settings
Formlabs seeks to bring the same ease of use and intuitive workflows to print setup as we do to the rest of our innovative 3D printing ecosystems. Each new version of our free PreForm print preparation software upgrades your experience, broadening the tools available to users, speeding up printing, increasing print success, and easing post-processing workflows.
The latest PreForm update includes new print setup features. Part Cages for our Fuse Series selective laser sintering (SLS) 3D printers increase job success, batch production, and traceability when post-processing small or delicate parts. For both Fuse Series SLS 3D printers and Form Series stereolithography (SLA) 3D printers, hollowing parts and drilling drain holes decrease material usage for faster printing and reduced costs.
Texturing and labeling are the newest Model Manipulation features, directly affecting the surface of a 3D printed part. Texturing enables the addition of textures and patterns to parts, so you can achieve the surface finish of injection-molded end-use parts. Labels improve part traceability throughout post-processing and delivery for more streamlined workflows.
Product Demo: Form 4L and Form 4BL
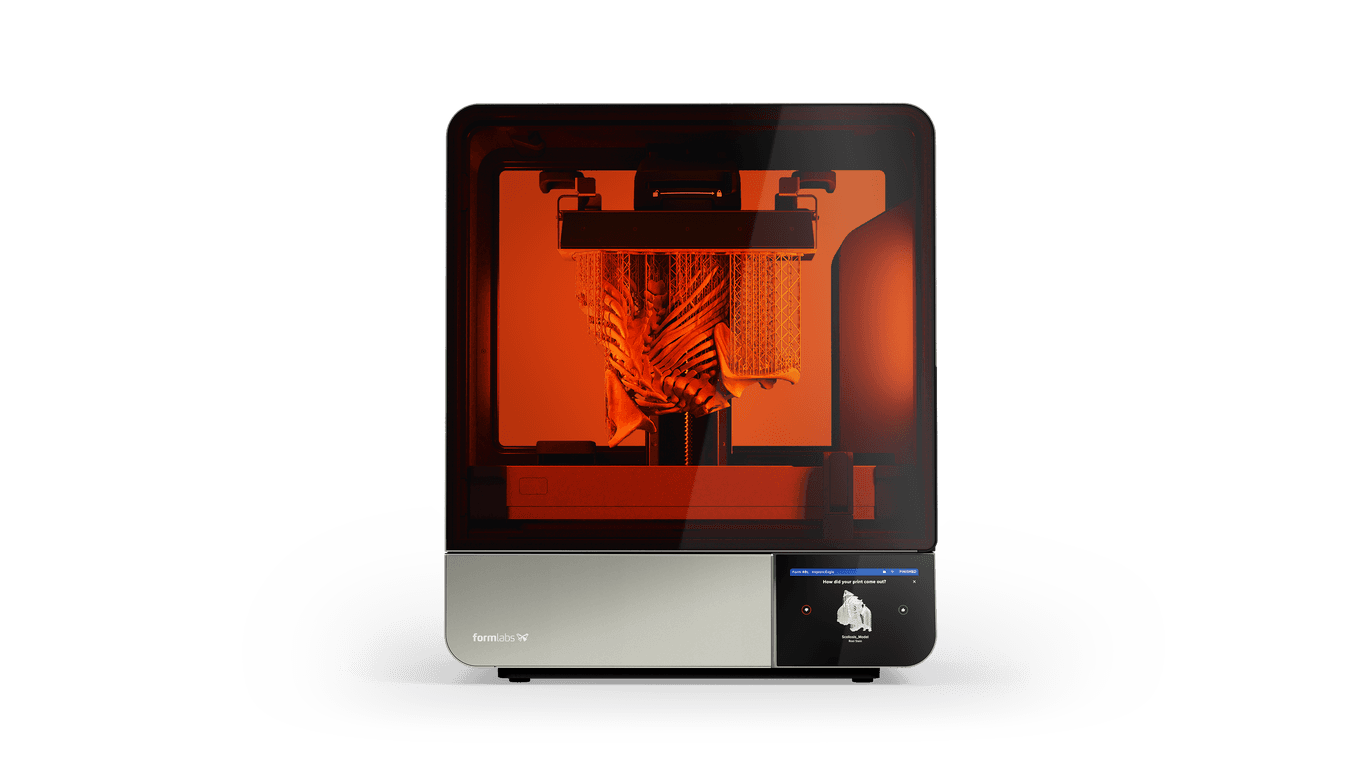
See how Form 4L and Form 4BL can enable new levels of productivity and innovation through its unmatched speed, accuracy, and reliability.
New Print Preparation Features
Manage Parts With Part Cages for SLS
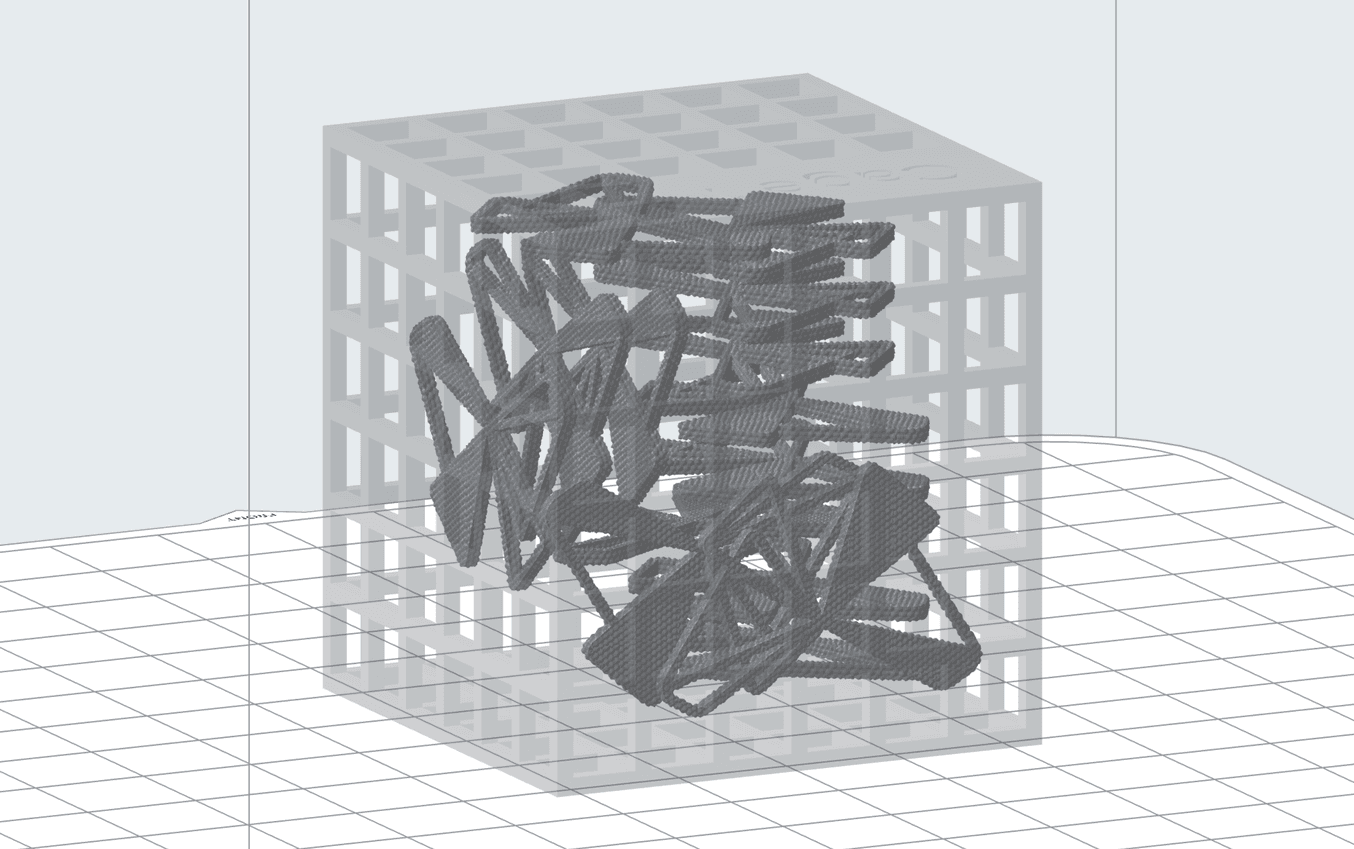
Post-processing small or fragile SLS 3D printed parts can be tedious and time-consuming, requiring focus and additional care. Part Cages allow for batch post-processing of small parts, reducing the time spent cleaning each individual part. Simply shake out the powder when sifting and media blast before breaking open the cage using a pair of pliers or a Dremel. When it comes to fragile parts, suspending them in a Part Cage can reduce the damage to parts when cleaning with other parts.
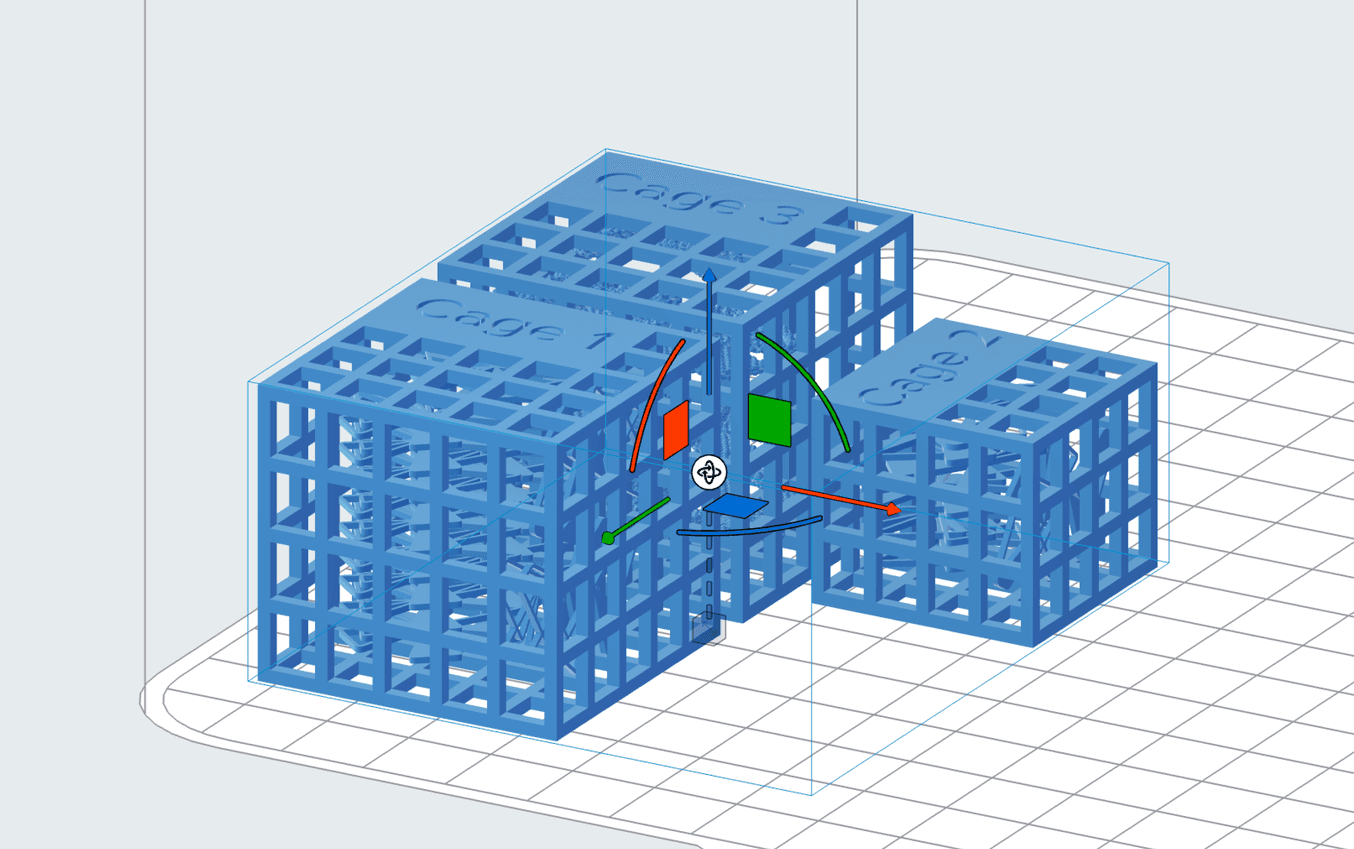
Using Part Cages can streamline post-processing workflows and make batch processing of SLS parts more efficient.
We recommend the following when using Part Cages:
- Using a wall thickness of 1.5 mm for most cages helps the structure stay intact during post-processing while being easy enough to break open afterward. Most users use pliers or a Dremel to open cages, but at 1.5 mm, cages can often be opened with your hands in most cases. Eye protection should always be worn when opening cages.
- Always try to make sure your bar spacing — the size of the holes in your cage — is less than or equal to the size of the parts in your cage so they do not fall out. Larger holes are easier to clean and use less powder.
To learn more ways to level up the post-processing of SLS 3D printed parts, check out our webinar on advanced post-processing techniques.
Hollow Models and Add Drain Holes to Reduce SLA Material Usage
Hollowing models creates an internal cavity that reduces the amount of material used for a print. Hollow parts aren’t as strong as solid parts, so it is recommended that hollowing be used for models and not functional parts. When using hollowing, it’s strongly recommended to add drain holes to the model using the Hole feature to ensure resin can flow out of the hollow cavity, thereby preventing print failures.
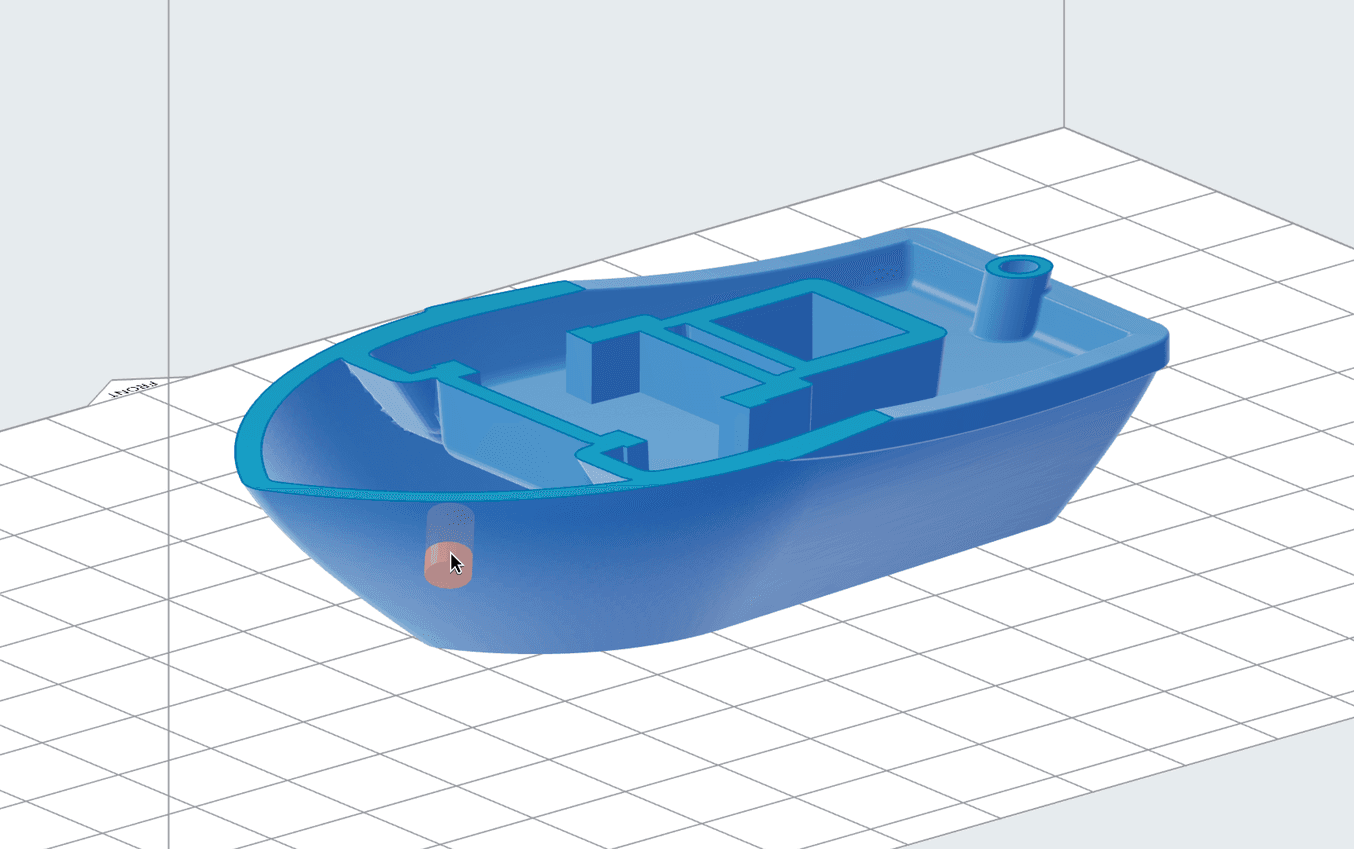
Add drain holes to hollow models in PreForm to drain resin and reduce the risk of print failure.
In addition to using drain holes to enable the resin to escape hollow parts, you can also use them when cups — areas where liquid resin can pool — are detected in a build and there’s no way to reorient the model to avoid them. PreForm will alert you to the presence of cups, with yellow shading indicating the cup's location.
To ensure a successful print, there are a few guidelines to keep in mind when creating hollow models or adding drain holes to a model:
- Don’t make the walls too thin as this has the potential to lead to print failures.
- Adding drain holes is strongly recommended when using hollowing for SLA 3D printing. When printing hollow parts with SLA, failure to use the Holes feature in hollow parts can cause resin to collect in the hollow cavity and can cause print failures.
- Place the drain hole at the bottom of the part so the resin can flow out with gravity.
- Placing too many drain holes may reduce the structural integrity of the part, potentially leading to print failures.
New Model Manipulation Features
Texturing Parts
In February, we released Formlabs Texture Engine, a free, web-based tool built to apply textures and patterns to the surface of 3D printed models. The latest update adds this tool to PreForm, enabling the addition of textures and patterns to models directly in PreForm.
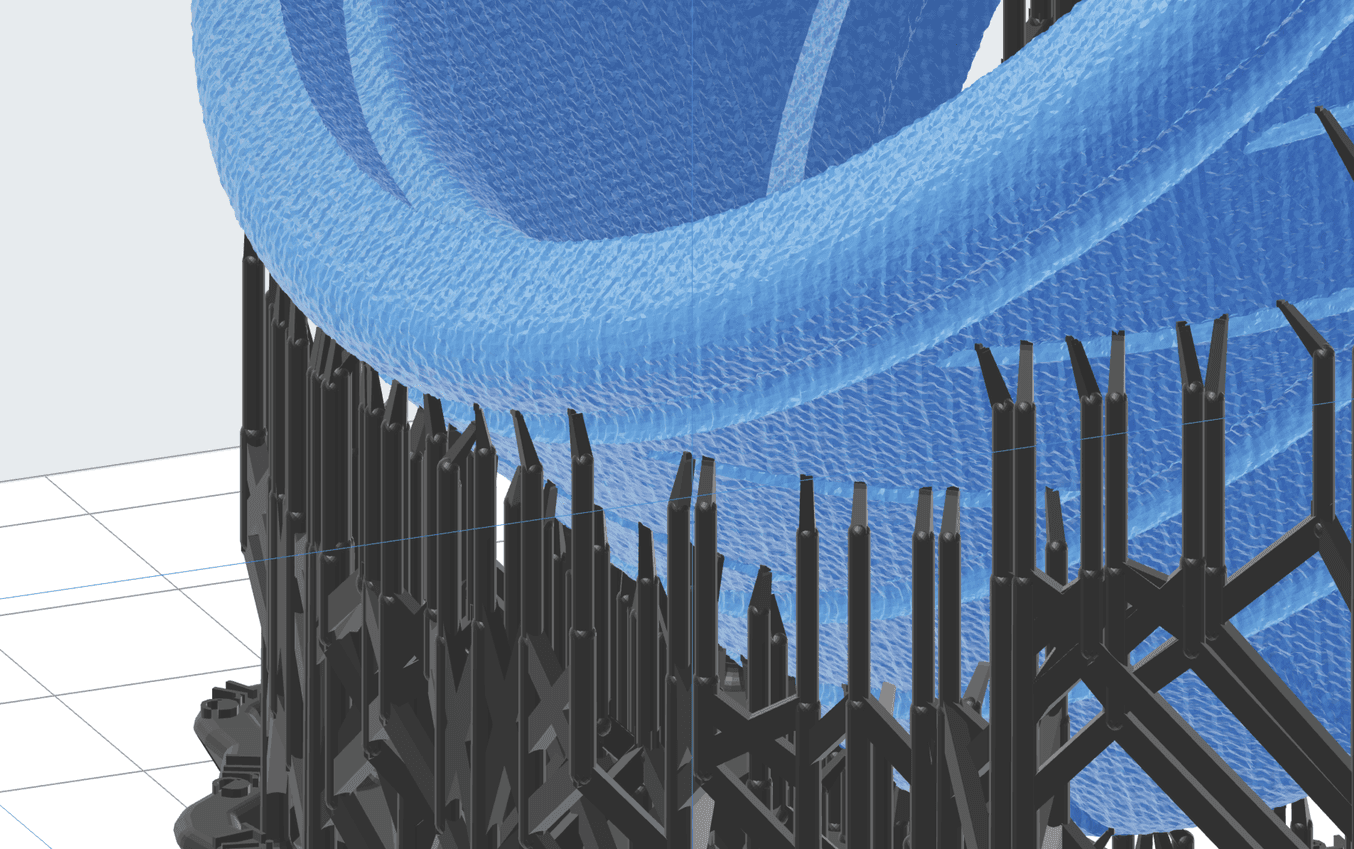
Adding textures and patterns to models directly in PreForm enables the customization of the look and feel of 3D printed parts.
Texturing changes the look and feel of 3D printed parts, so you can achieve a custom finish. We recommend experimenting with patterns and textures, and customizing and changing settings to see what works best for your application. Note that due to the power of this tool, complex textures might slow down PreForm performance.
Adding Labels
Prior to this update, users wishing to add labels to parts for customization or part tracking needed to add this information to a model before bringing it into PreForm for print setup. Now, it’s easy to add labels anywhere on a model within PreForm.
Labels can be embossed or engraved on models. Users can scale the size of the label, place it anywhere on a model, and even control the depth of engraved text or the height of embossed text.
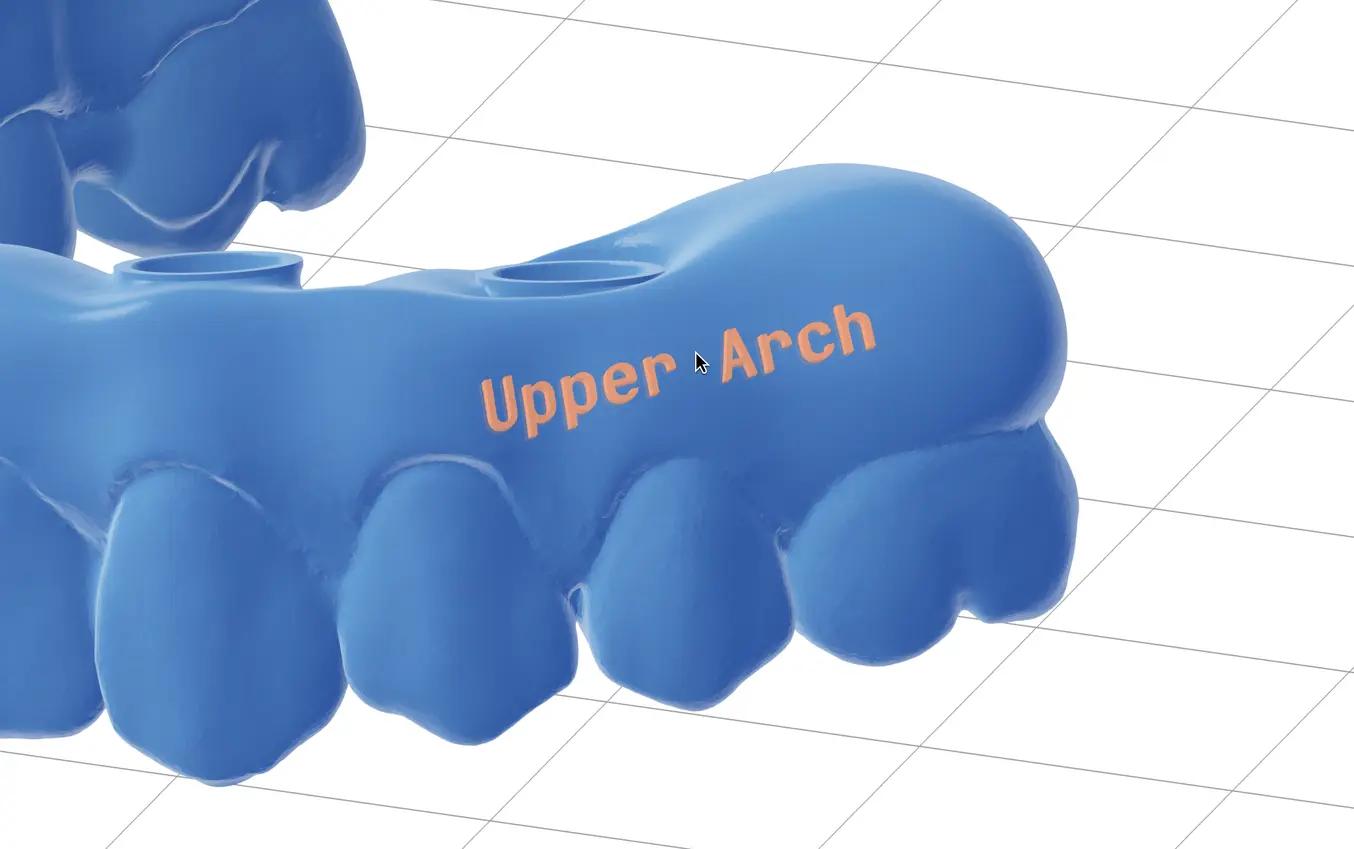
Labeling parts helps with tracking, leading to streamlined workflows and increased efficiency.
In healthcare settings, labels are used to track parts from model through post-processing to finished part, ensuring customized, patient-matched parts reach their intended recipient. However, labeling parts can benefit numerous industries, minimizing communication errors and increasing efficiency.
Enhance customization by personalizing parts with serial numbers, customer names, or other relevant information to improve part management, for easier identification throughout the production process. Rather than risk mixing up paperwork, relaying messages, or dealing with workflow disruptions, labeling ensures parts move through post-processing as efficiently as is possible while reducing the potential for errors.
Print Settings Editor
PreForm’s Print Settings Editor enables users to dial in precise print parameters. These specialized profiles can then be saved and applied to future prints or shared with other users.
“We really like how there are so many options for putting energy dosing into the different parts of the print. You can have the outside cured differently than the inside, and the support structure can be cured differently. This is really advantageous for us.”
Aaron Vaughn, Manager of Material Science and Technology, Poly-Med
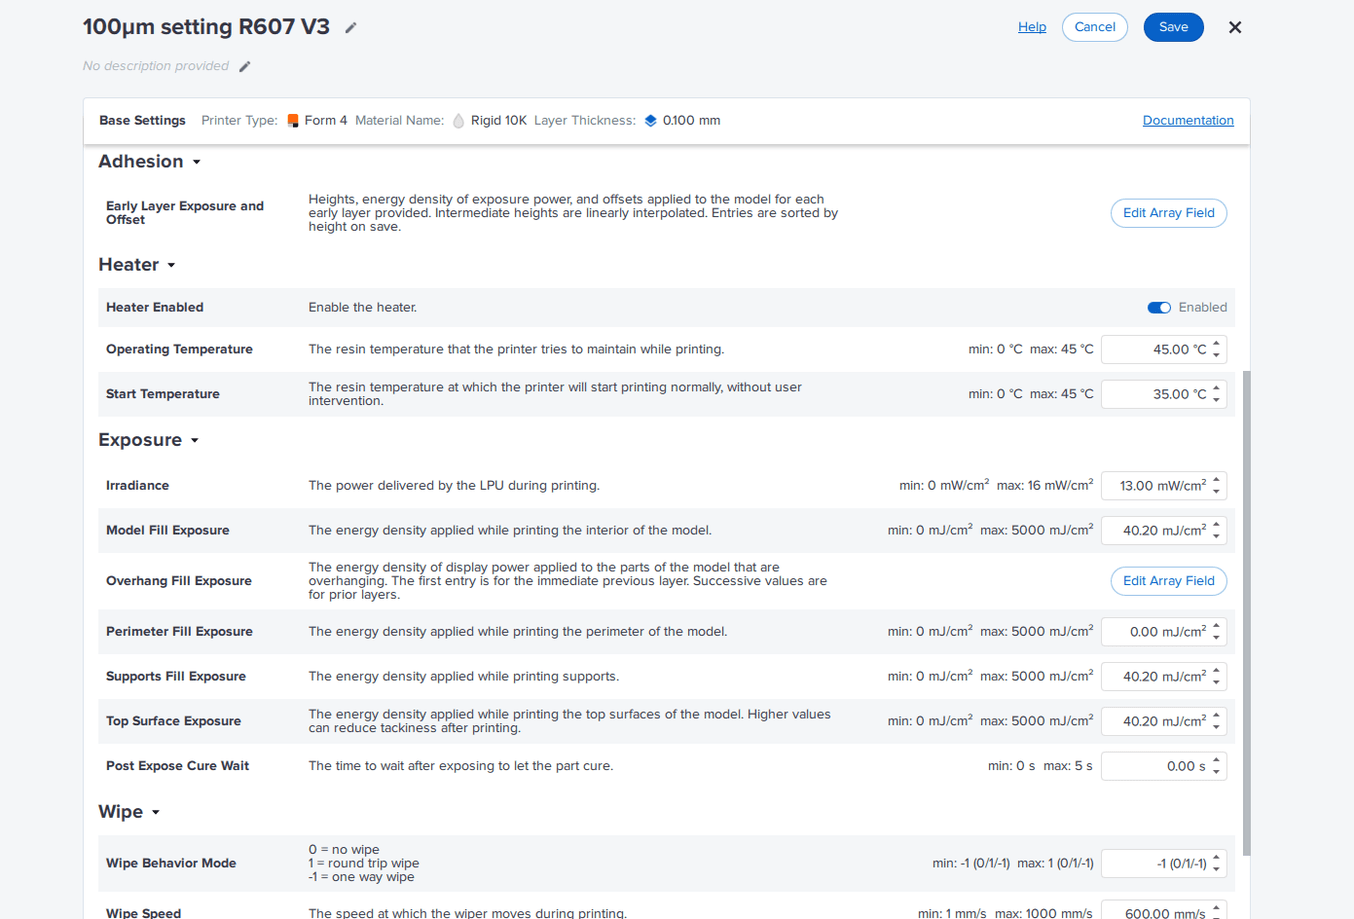
The Print Settings Editor empowers PreForm users with nuanced controls.
“Settings Editor definitely opens up a lot. It allows us to reach the printer's full potential.”
Perry Derenoncourt, Additive Manufacturing Technician, restor3d
For users printing in Open Material Mode (OMM), Print Settings Editor enables the development of parameters for third-party resins or custom resins. However, it can also be used by those printing with Formlabs Resins who want more control of layer height, exposure time, or other parameters. A complete list of print setting parameters is available here.
Learn more about Open Material Mode or discover how Print Settings Editor is empowering medical device companies.
Start Applying New Features
Free PreForm software makes it easy to automatically prepare your 3D models for printing in minutes. New features improve your ability to customize models and increase workflow efficiency, so you can produce the parts you want at lower costs. Additionally, integrations and partnerships with leading CAD software streamline the process of moving from design to print for an efficient, intuitive workflow.
To start using new features, existing PreForm users can navigate to the Help menu and click Check for Updates. For new users, download our free PreForm software.
