Required supplies:
Formlabs:
- Replacement impeller (RP-WA2-IMP-01)
Third-party:
- 2 mm hex driver
- Small flat-blade screwdriver
- Nitrile gloves
- Solvent storage container (15 L)


La Form Wash (2.ª generación) contiene un rotor que agita el disolvente de la cubeta de lavado para ayudar a limpiar las piezas impresas. Los daños en el rotor de la Form Wash (2.ª generación) pueden hacer que la unidad emita fuertes chasquidos o no funcione correctamente.
Utiliza esta guía para reemplazar el rotor de la Form Wash (2.ª generación).
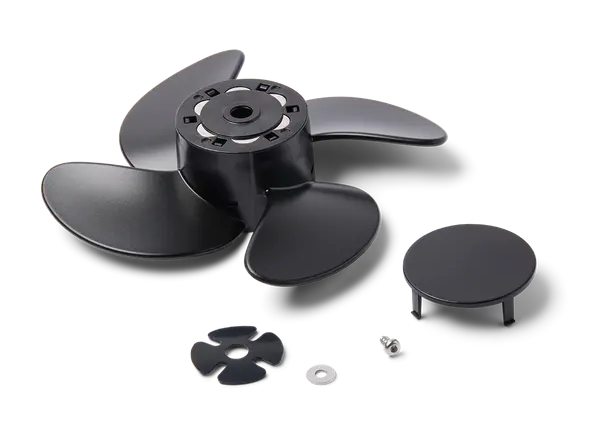
Required supplies:
Formlabs:
Third-party:
Tiempo estimado: 30 minutos
Preparación del espacio de trabajo
Resumen: Prepara la Form Wash y un espacio de trabajo nivelado para reemplazar el rotor.
ADVERTENCIA:
Las resinas pueden causar irritación en la piel o una reacción alérgica cutánea. Usa guantes cuando manipules resina líquida o superficies cubiertas de resina. Lávate la piel con abundante jabón y agua.
Step 1: Raise the Form Wash elevator
Turn the Form Wash knob to select Raise on the display. Push the knob to confirm. The Form Wash raises the elevator and basket out of the wash bucket.
Step 2: Remove the wash bucket and inner lid
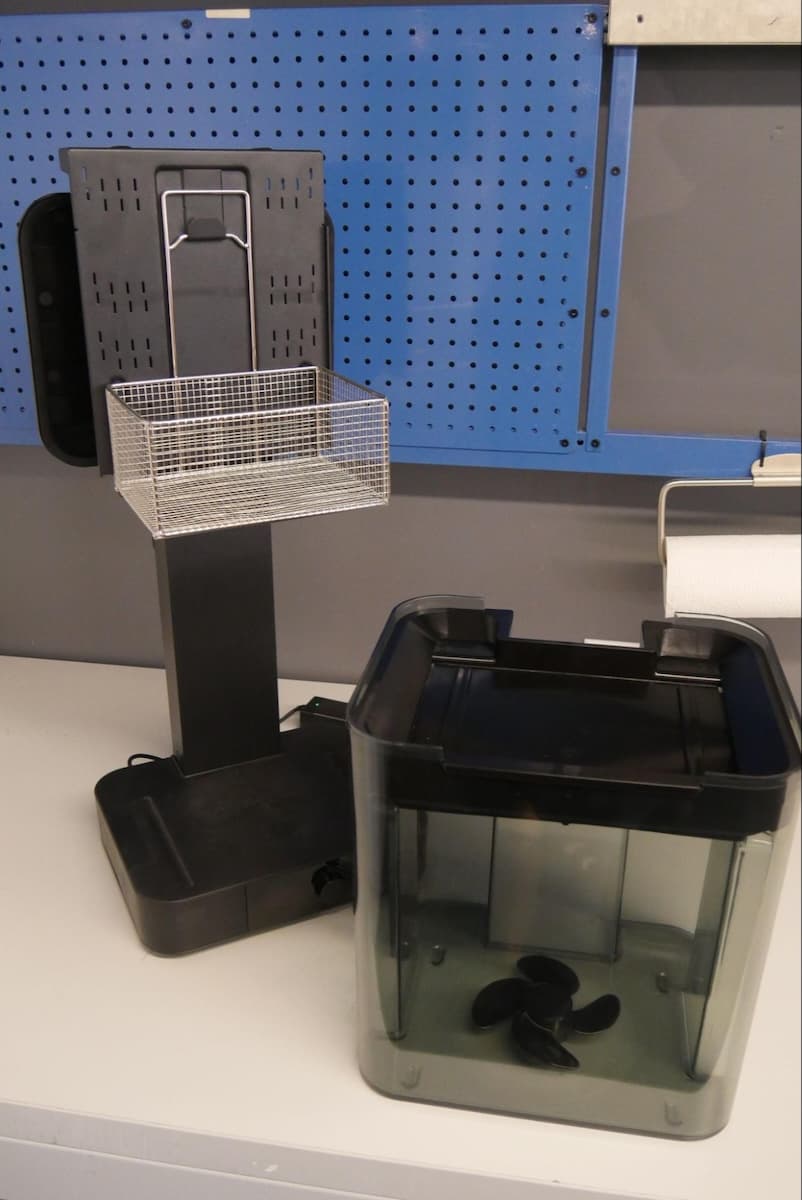
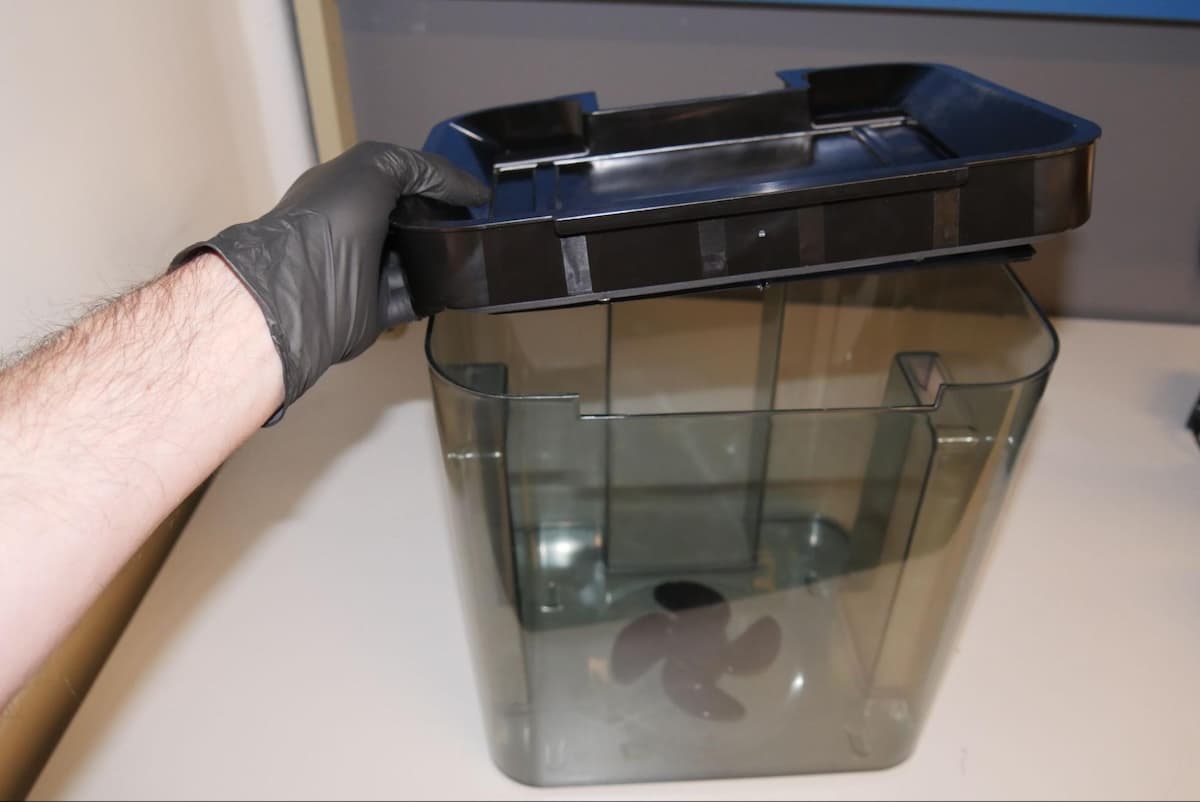
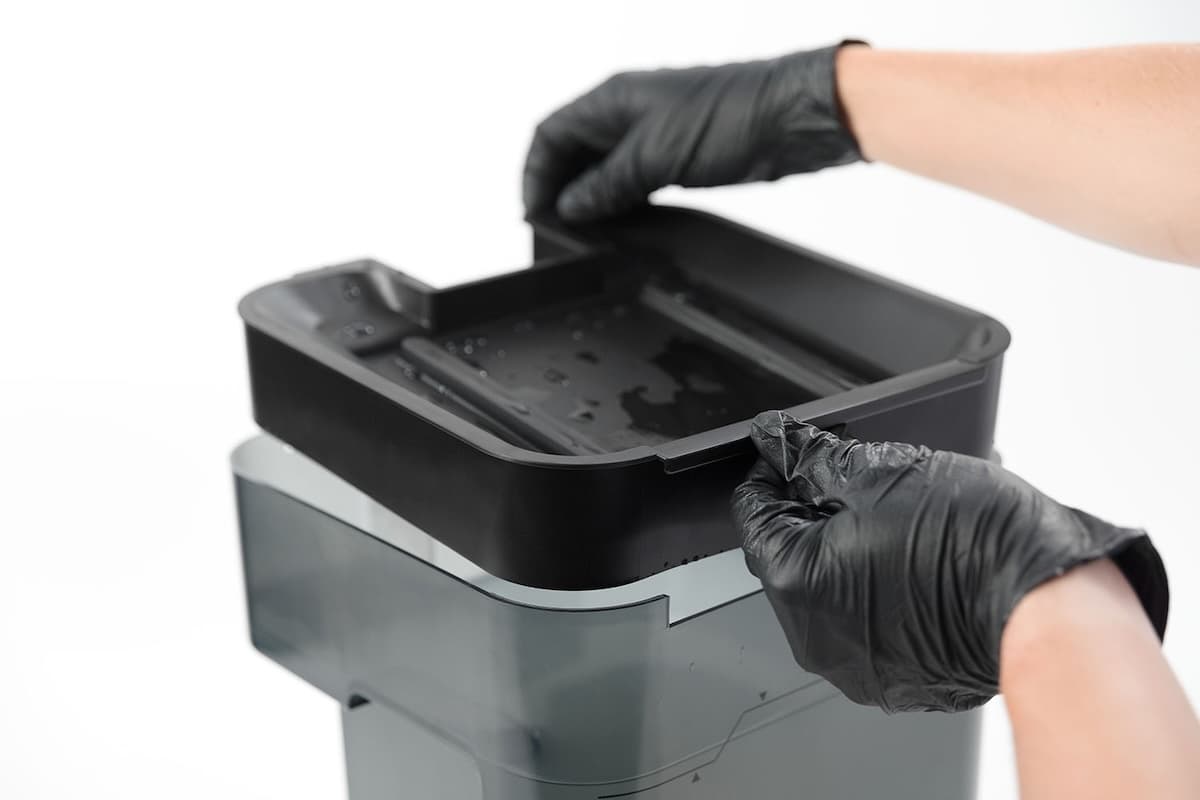
Retira la cubeta de lavado de la base y déjala a un lado sobre una superficie estable y plana. Levanta la tapa interna para quitarla y déjala a un lado.
Paso 3: Transfiere el disolvente usado a un recipiente vacío
Vierte o sifonea el disolvente de la cubeta de lavado a un recipiente vacío con una capacidad de al menos 15 l.
PELIGRO:
El alcohol isopropílico es inflamable. Mantén los recipientes cerrados y fuera del alcance de los niños.
Paso 4: Enjuaga la cubeta de lavado
Enjuaga la cubeta de lavado con agua y, a continuación, limpia los restos que queden con un papel absorbente.
Sustitución del rotor
Overview: Remove the impeller and install the replacement impeller.
Using a small flat-blade screwdriver or other similar tool, pry the cap loose from the impeller.
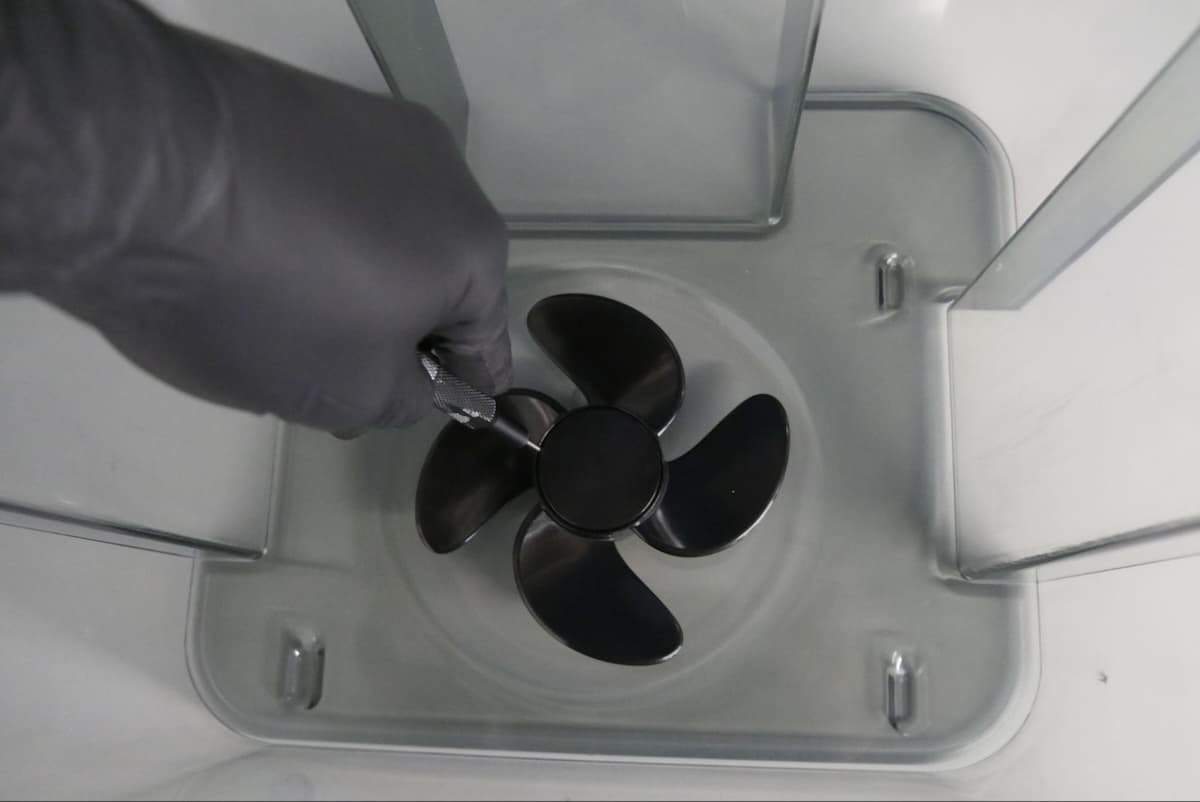
Step 2: Remove the impeller
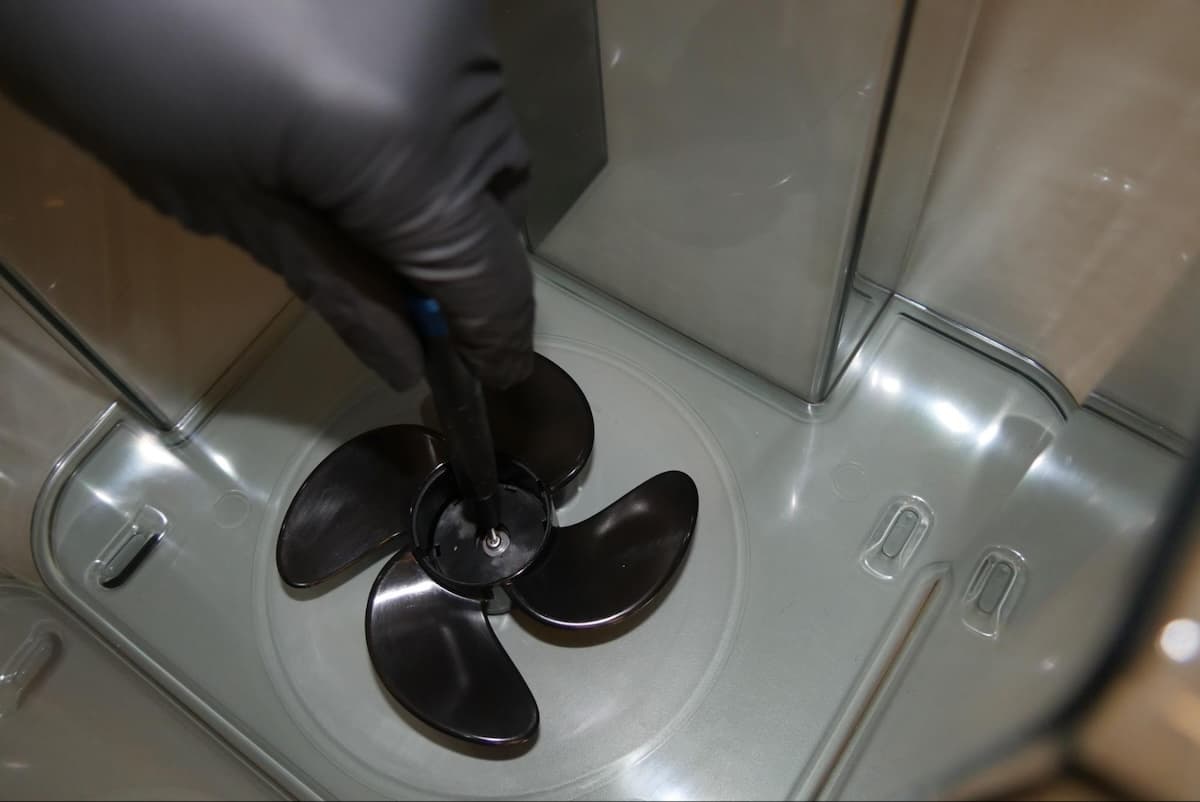
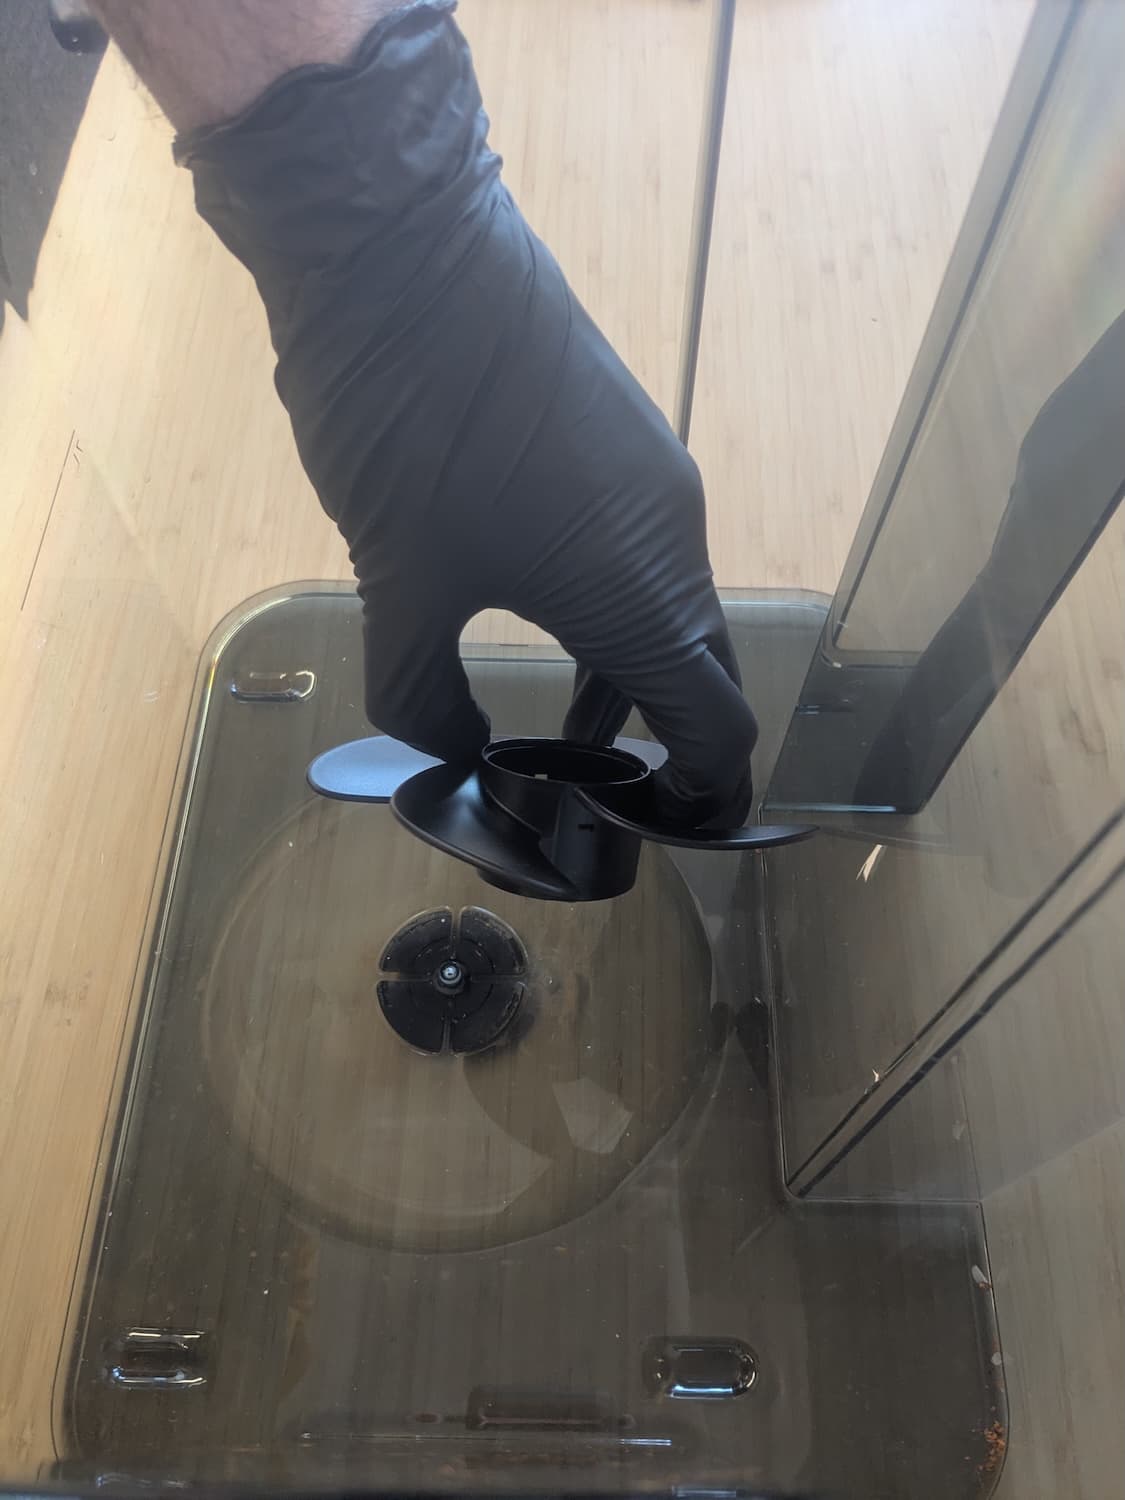
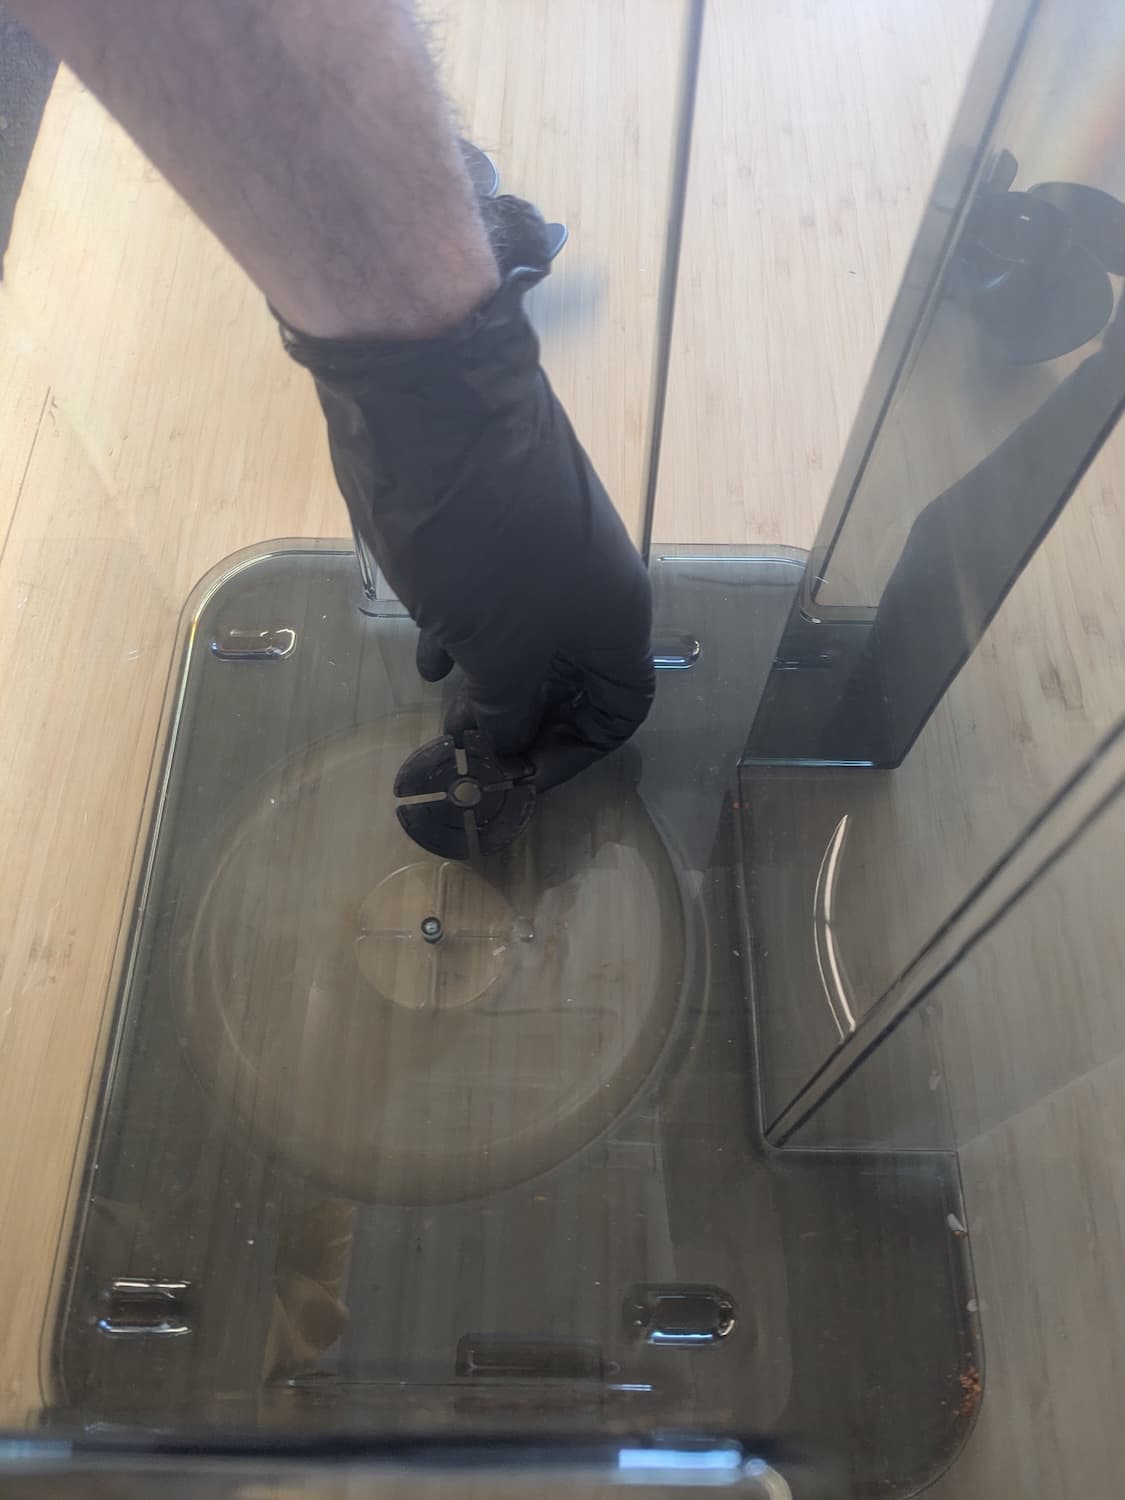
The impeller is secured by one screw with a washer. Use a 2 mm hex driver to remove the screw. Remove the washer, the impeller, and the flat four-lobed bearing below the impeller. Set the components aside for disposal.
Step 3: Install the replacement impeller
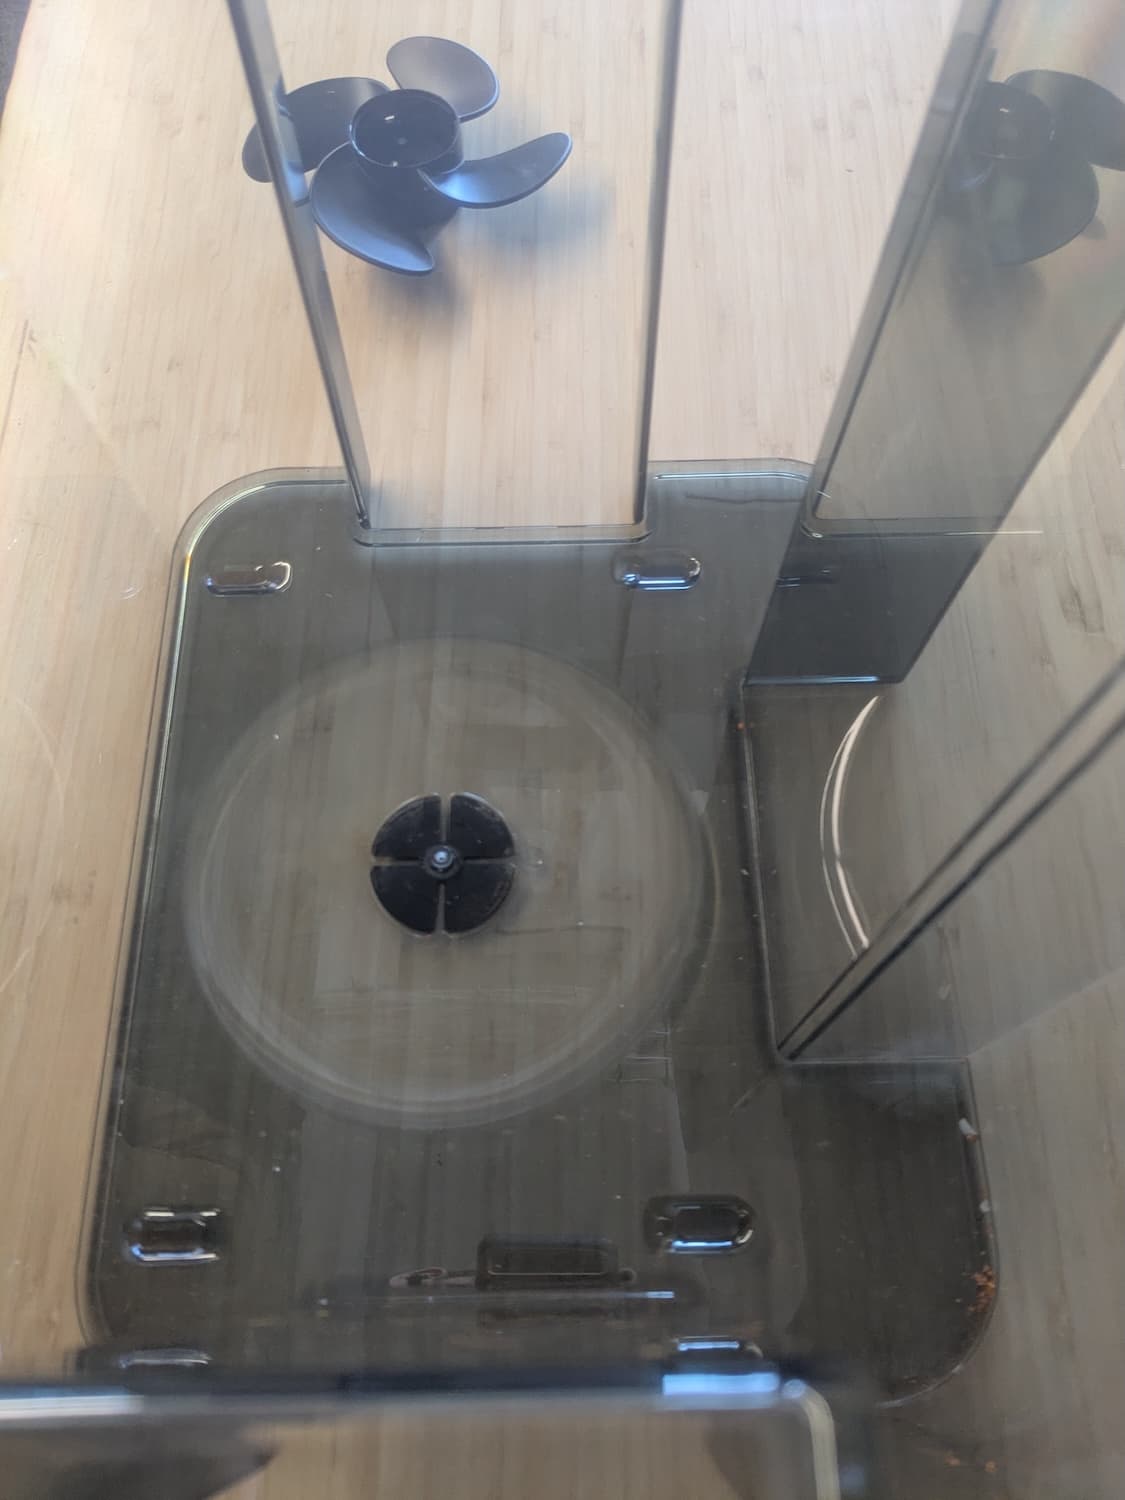
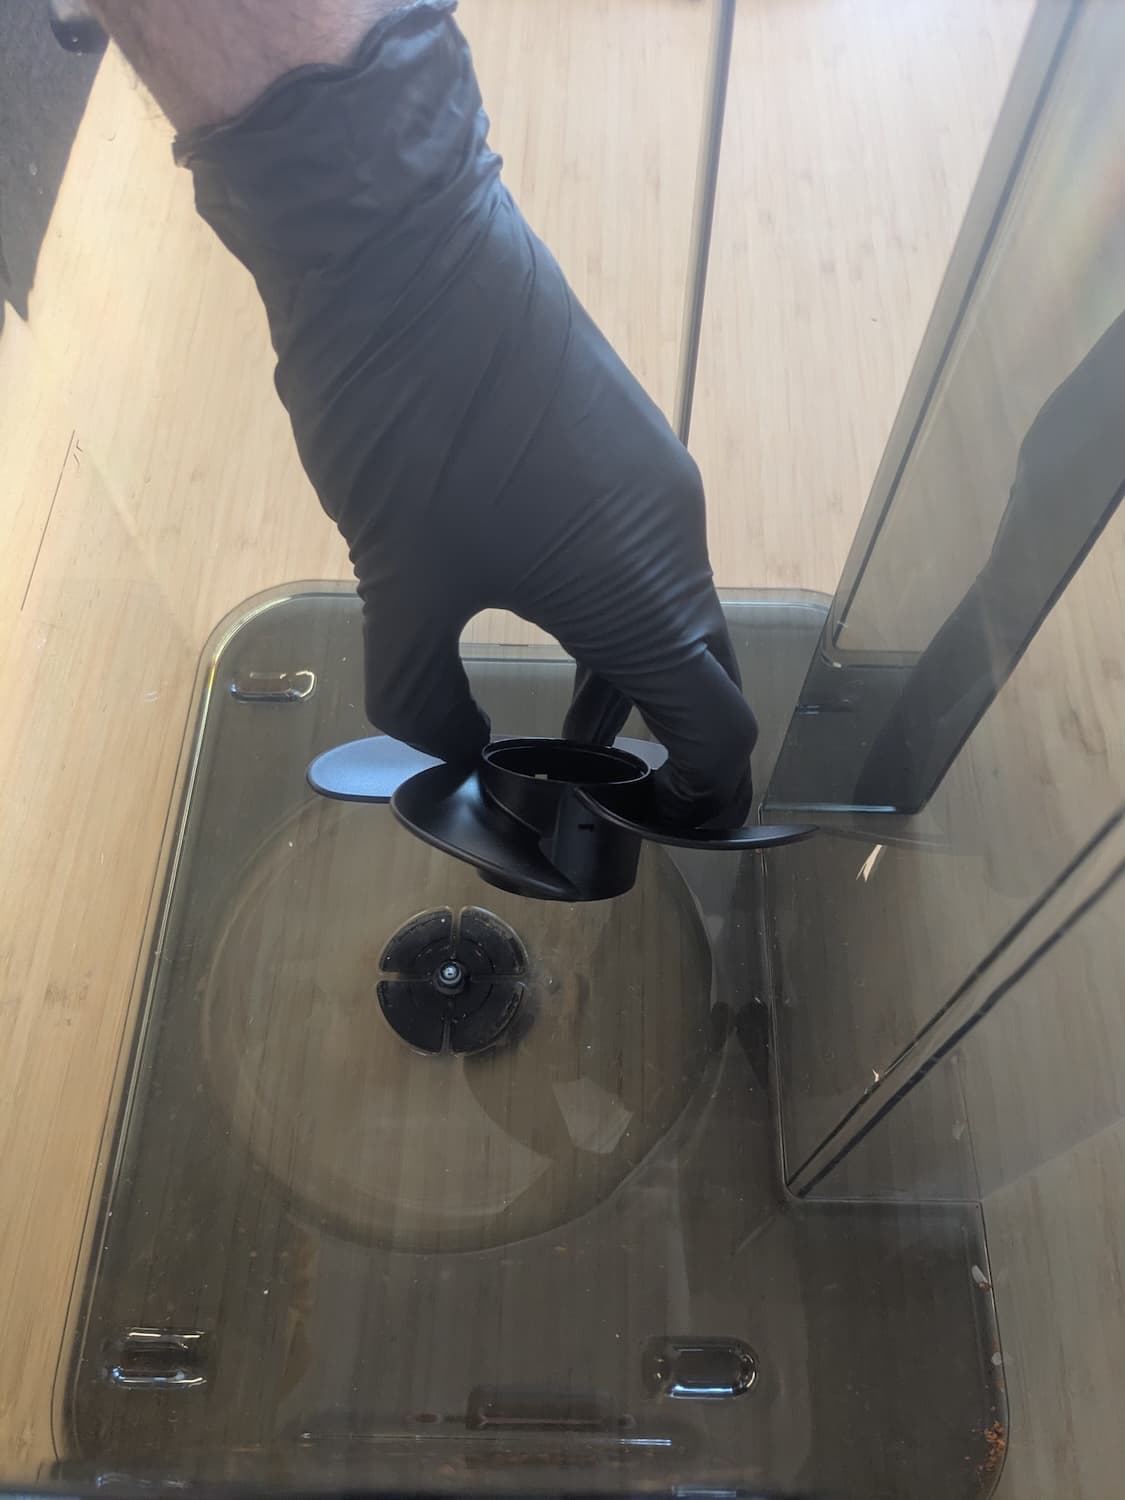
The wash bucket has an engraved depression shaped to hold the flat four-lobed bearing. Place the new bearing into this depression. Insert the new impeller into the wash bucket. Align the impeller’s screw hole with the corresponding screw hole in the wash bucket. The impeller should sit flat against the bottom of the wash bucket.
Step 4: Reinstall the impeller screw
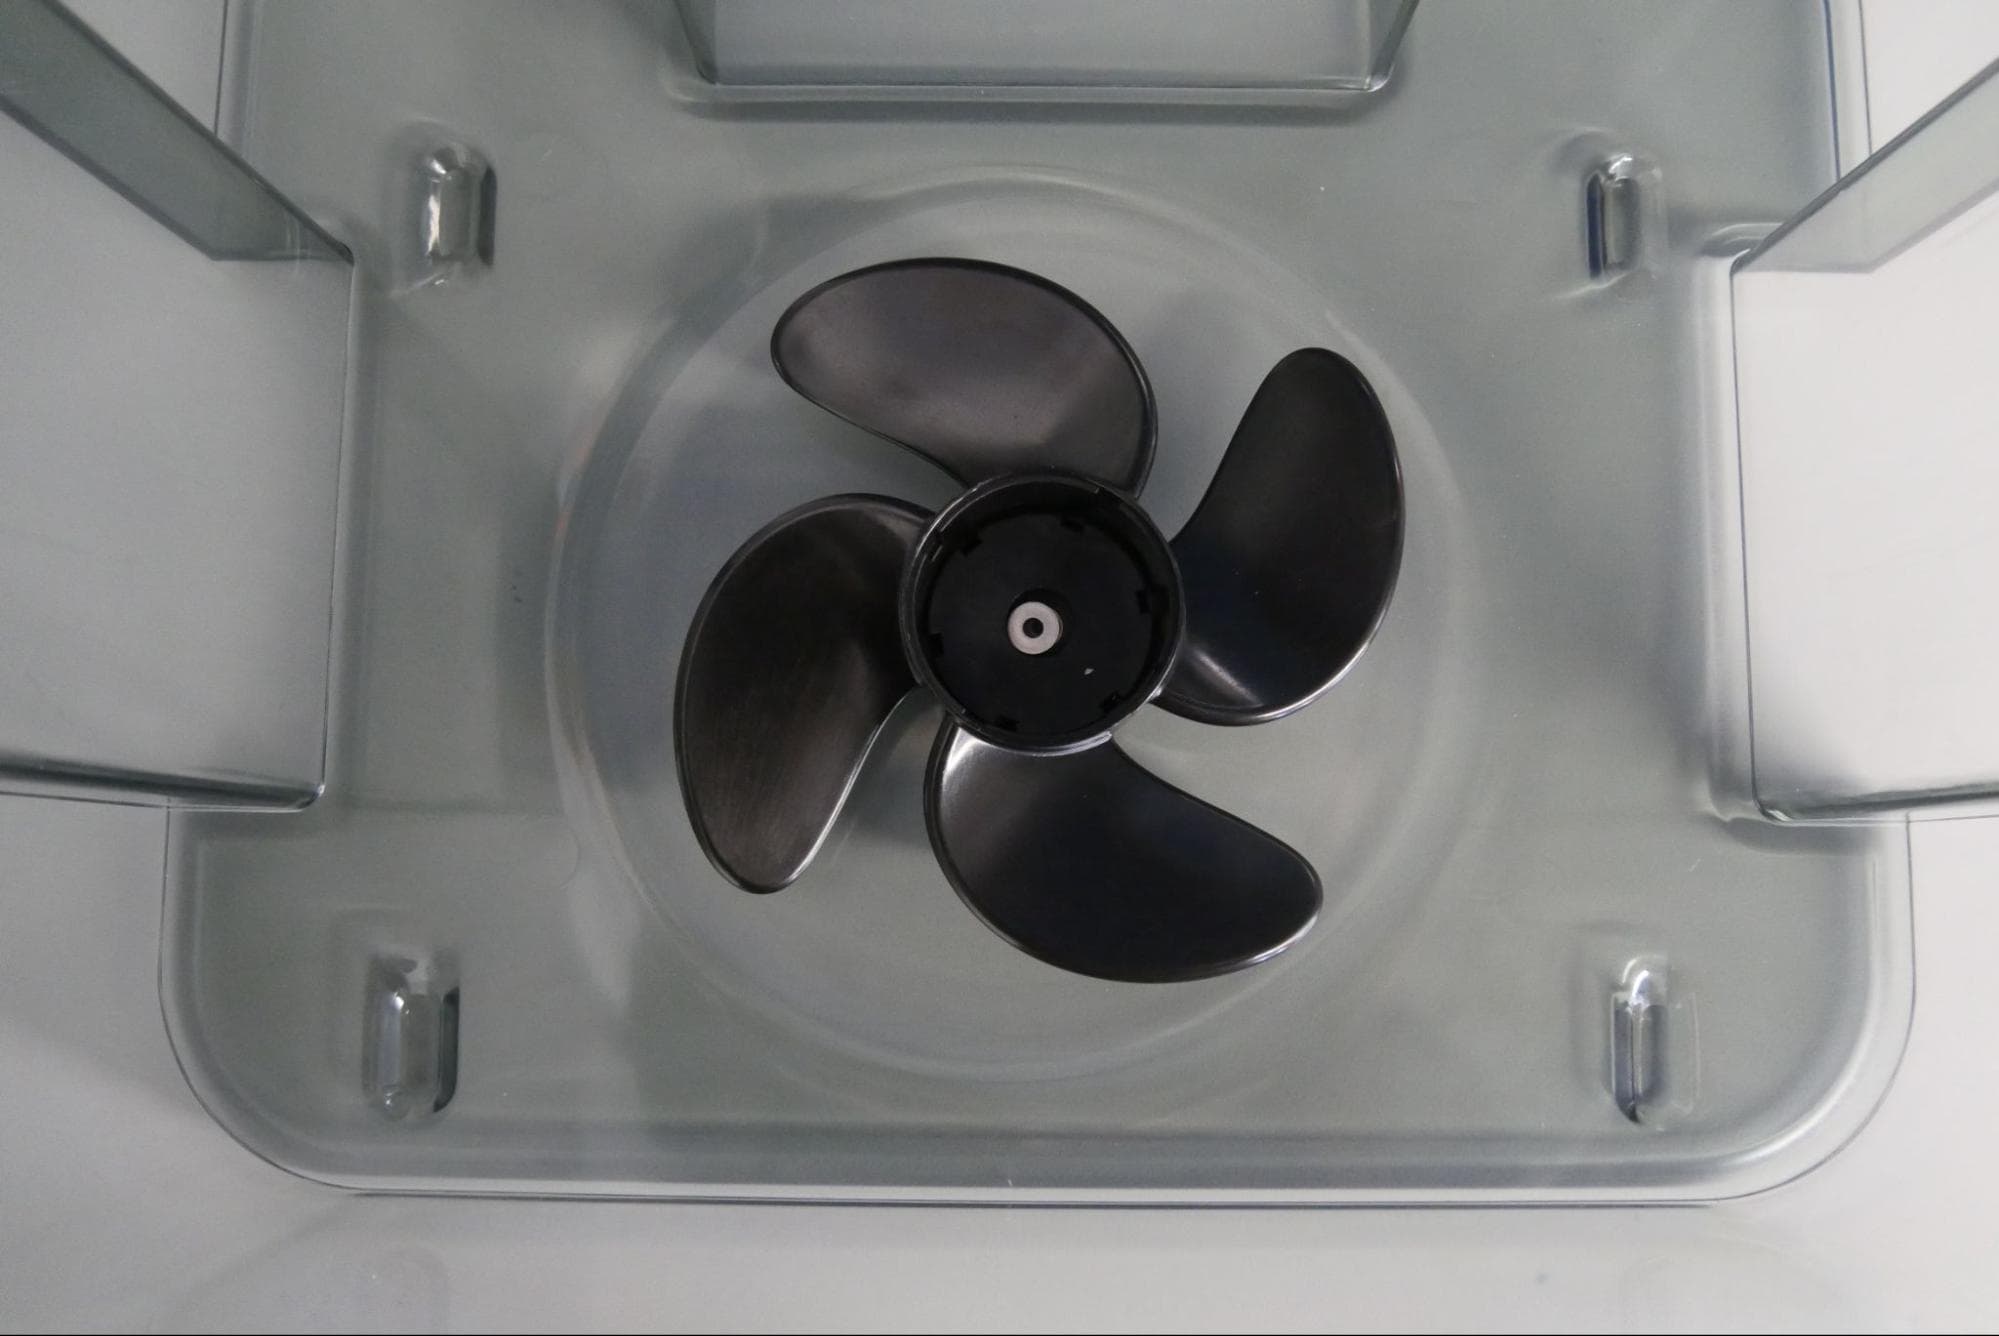
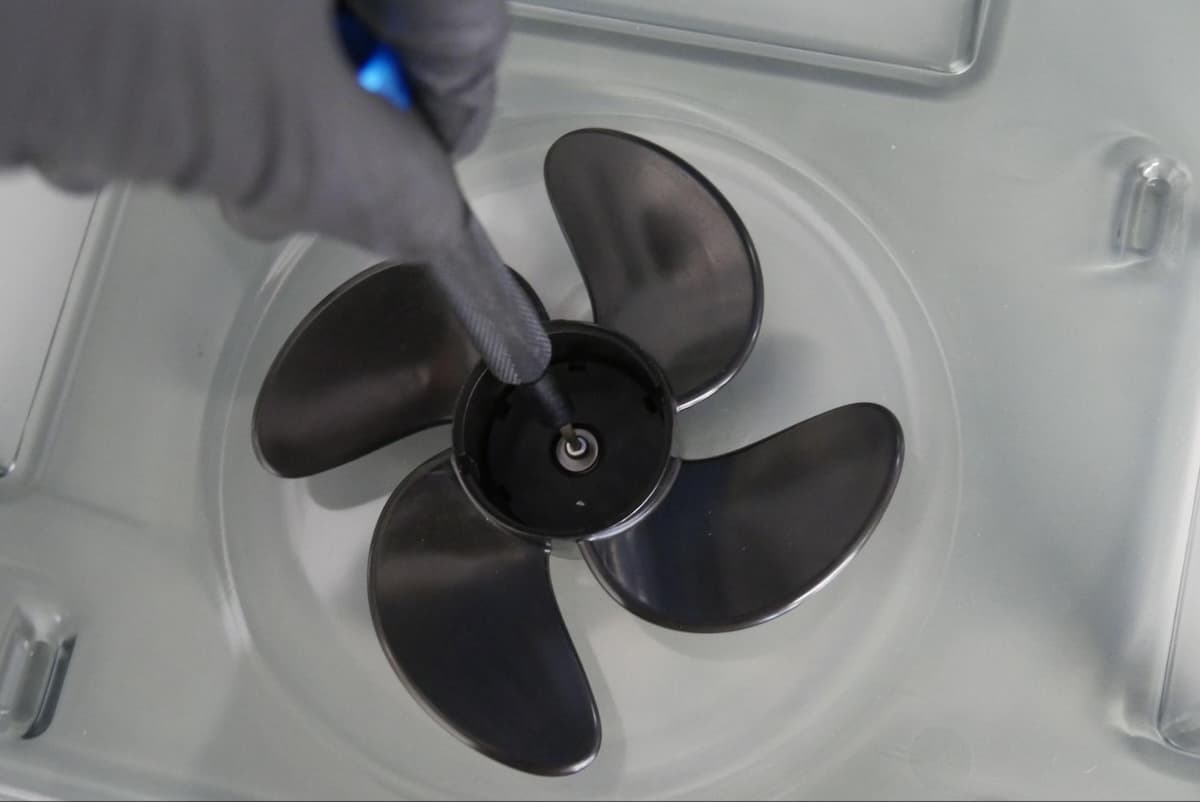
Place the washer onto the impeller’s screw hole. Thread the screw into the Form Wash impeller’s screw hole. Using a 2 mm hex driver, tighten the screw until finger tight. Take care to not overtighten or strip the plastic threads in the wash bucket.
Spin the impeller by hand. It should spin freely. If it does not, loosen the screw half a turn and check again. Repeat as needed.
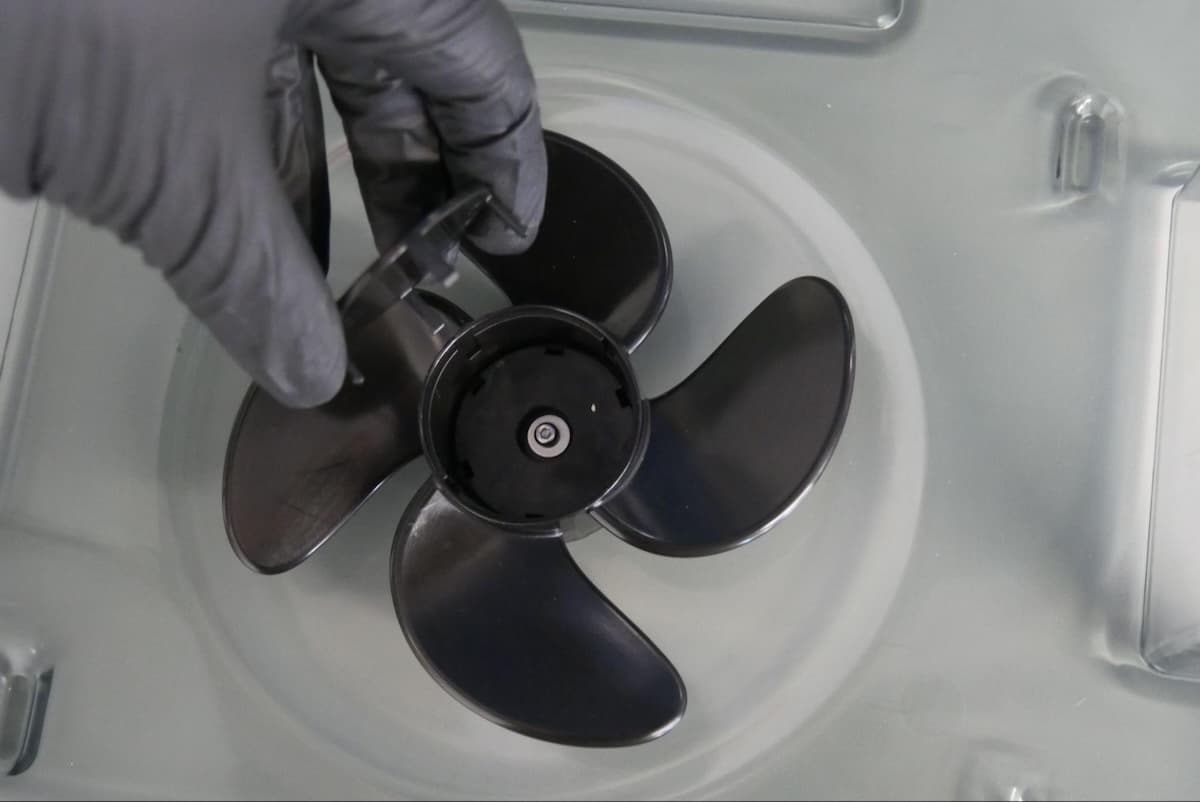
Align the posts on the impeller cap with the grooves of the impeller. Gently press the impeller cap into place.
Finalización de la reparación
Overview: After installing the new impeller, power on the machine and perform final checks.
Step 1: Refill the wash bucket
Refill the wash bucket to your desired fill level.
Align the front edge of the inner lid with the wash bucket’s edge and lower the inner lid directly into the top of the wash bucket.
Insert the wash bucket into the Form Wash.
Turn the Form Wash knob to select Lower on the display. Push the knob to confirm. The Form Wash lowers the elevator and basket into the wash bucket.
Step 5: Test the repair
Turn the knob to navigate the display menu and set the Time. Push the knob to select or confirm. Select Start. Check to see that the wash cycle starts normally and that the Form Wash does not make any unusual noises and that the impeller is moving properly. Contact Formlabs Support or your authorized reseller to share the results of the procedure.