
Over the last decade, perception of 3D printing within the jewelry space has dramatically shifted. Hardware that was once viewed as experimental can now be found in the workshops of jewelers across the globe.
With intuitive, affordable 3D printing options readily available, the benefits of implementing additive manufacturing for jewelry design and investment casting are clearer than ever. High-quality stereolithography 3D printing is now accessible and scalable for jewelers at all levels.
To arm jewelers with the most consistent and reliable casting materials, Formlabs recently released Castable Wax Resin. Made up of 20% wax, the unique new formula allows a cleaner burnout protecting the most delicate of designs.

In this post, designer and goldsmith Abbas Saleh shares his insights and tips working with the new resin. Previously involved in all steps of jewelry production for companies like Adidas, Red Bull, and the National Art Museum in Vienna, Saleh has perfected the art of combining digital technology with trusted goldsmithery techniques.
Webinar: How to Print and Cast With Castable Wax Resin
Want to learn about Castable Wax Resin in more detail? Watch the on-demand webinar to hear directly from Saleh about the 3D printing applications for jewelry production, and how the technology can complement your current workflow. Here you’ll learn about everything from design prototypes and client try-ons, to vulcanization and casting masters.
![[Webinar] How To Print and Cast Jewelry With Castable Wax Resin](https://archive-media.formlabs.com/upload/castable_wax_landing_page_image_-_thumbnail.jpg)
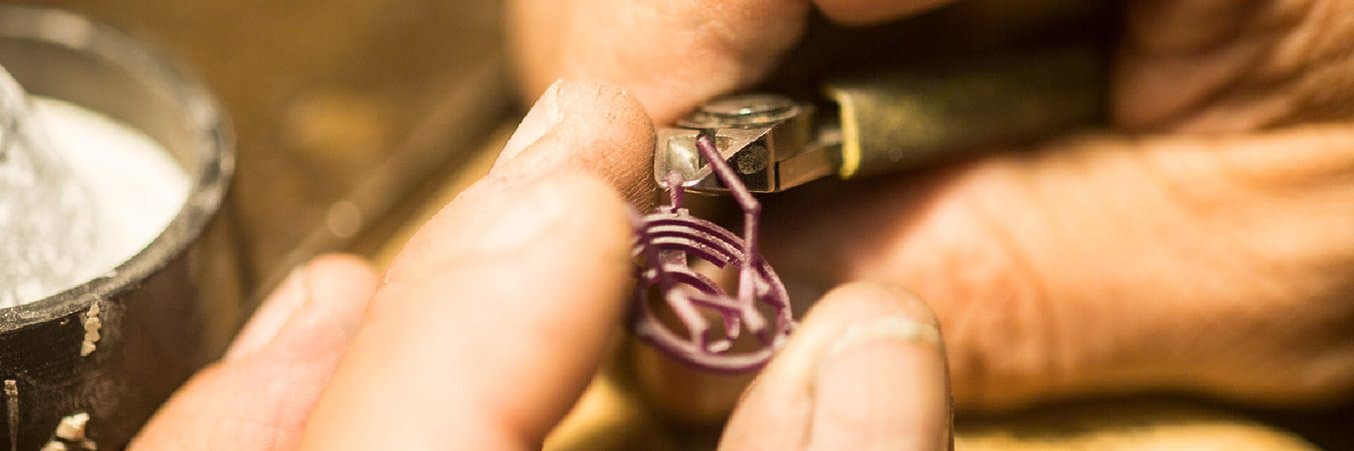
Cleaner Burnout, Less Finishing With New Castable Wax Formula
As a trained goldsmith and a mentor in CAD software, Saleh understands each stage of jewelry production and knows how to integrate digital tools like 3D modeling and printing into traditional craftsmanship. Frustrated with resins expanding during the burnout process and breaking the delicate details of his molds, Saleh tested the latest Castable Wax formulation on his Form 2 stereolithography (SLA) 3D printer.
He found the unique properties of the resin protected the delicate shape of his molds throughout the burnout process, helping him produce beautiful, intricate designs in a fraction of the time. As a keen advocate of 3D printing, Saleh appreciates the benefits that printing castable parts in-house can bring to a jewelry business–in cost, time, and helping to maintain a competitive edge.

Same Day Castings, No Post-Cure
What sets this material apart from other casting resins is its high green strength, which allows users to print delicate filigree and pavé geometries without the need for post-curing. This is the result of the wax composition of the resin, which allows for a cleaner burnout and helps protect each detail of the mold.
The new resin also allows for a quicker workflow. Castable Wax Resin is suitable for a standard burnout schedule, or a short 8-hour burnout schedule using strong investments like R&R Ultravest Maxx, which are developed specifically to withstand faster heating for photopolymer casting.
Direct Investment Casting With Castable Wax Resin and the Form 2

Designing Models for Casting With Fusion 360 and PreForm
For Saleh, designing a ring usually begins with selecting the gem. He starts by measuring and photographing the stone and reconstructing the shape in Fusion 360. This ensures the final shape fits perfectly and there are no costly surprises further down the line. To accurately capture all the measurements of the stone, Saleh suggests jewelers either invest in a 3D scanner, or visit a stonesetter who can do this on their behalf.
Next, Saleh creates several different iterations of the same design–this is the perfect time to collect input from client and colleagues, as changes can be made seamlessly before starting the production process.
Having mentored designers and jewelers across the world, Saleh understands that transitioning to a digital workflow can be a large investment of time at first. That is why Fusion 360 is his software of choice–it’s user-friendly and integrates seamlessly with Formlabs PreForm print preparation software.

Saleh next imports file directly from in Fusion 360 to PreForm. With PreForm, jewelry designers can achieve the best possible print by selecting the optimal layer resolution and print speed for the design. Saleh recommends 50 microns for faster prints, or 25 microns to capture finer details in Castable Wax Resin.

Want to know more about using supports in PreForm to prepare your design for printing? Watch the webinar for a step-by-step guide.
3D Printing Parts After Preparation in PreForm
Now the design is ready to print. For this step, you'll need the Form 2, a cartridge of Castable Wax Resin, and a Form Wash if you’d like to clean your parts more effectively.

Once the part is ready, remove from the build platform and lift it into the Form Wash. Form Wash is an automated cleaning solution, agitating a tank of isopropyl alcohol to clean your prints. To ensure you don’t over-wash your parts, the platform automatically raises your parts after they're done to prevent them from becoming soft.
Now the printed part is ready to cast using the traditional workflow. Watch the webinar for Saleh's top tips on preparing the casting tree, preparing for the burnout and to polish and finish the models.

Saving Time and Production Costs With In-House 3D Printing
For Saleh, it’s not just about being innovative and improving his current workflow. Bringing 3D printing to the forefront of his jewelry business has helped him significantly reduce production time and cut costs. On average, a ring produced in-house by Saleh’s Form 2 3D printer costs him a fifth of what it would to outsource.
“Printing and casting in-house is the only way for me to stay flexible as a jeweler. Traditional workflows don’t allow for last minute iterations as on your design process you have to sketch and then create what you’ve drawn. Having a Form 2 allows me to limit the time I spend making changes to the jewelry, and saves four days each time I produce a small tree of 10-15 rings.“ Saleh said.
Advanced materials and affordable in-house 3D printers are changing the way jewelry manufacturers and designers work, bringing industrial quality to the desktop and making it easier to produce and fit complicated geometries that once required hours of meticulous labor.
If you’d like to explore Castable Wax Resin’s crisp accuracy and smooth surface finish firsthand, request a free sample pavé ring.