
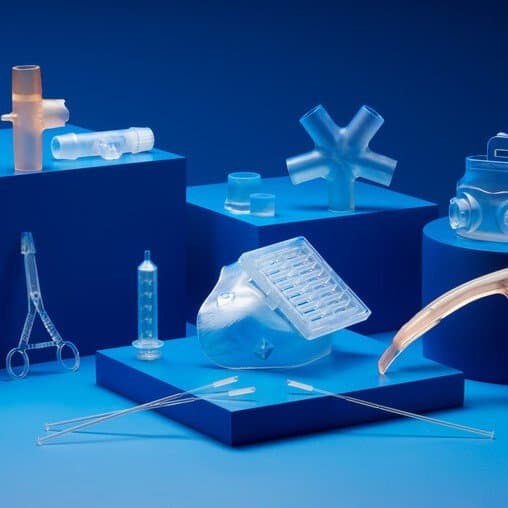
The perfect prototype is one that will be mistaken for a marketed product. Medical device prototypes in particular need to fit the organic shapes of the human body, and so must strike the perfect balance between size, weight, and shape while being fully functional for tests and iterations.
The UK based medical device design company Coalesce Product Development develops drug delivery devices including inhalers and injectors, as well as fixtures and test equipment. With stereolithography (SLA) 3D printing, they found a tool for creating complex, customized forms that are robust, durable, and easy to post-process.
In this interview, Vinnay Chhabildas, an industrial designer at Coalesce, explains how 3D printing medical device prototypes in-house allows the company to go from design to product look-a-like in a few days instead of weeks, and at the fraction of the cost compared to outsourcing and silicone molding.
Why does Coalesce opt to 3D print its medical device prototypes?
Medical devices often have complex 3D forms that are difficult to prototype using traditional methods. 3D printing allows us to take complex, customized forms, developed in CAD, and turn them into physical prototypes in a short period of time.
These prototypes might be external forms for human factors evaluation, internal mechanisms for technical evaluation, or even jigs and fixtures that are used with test apparatuses.
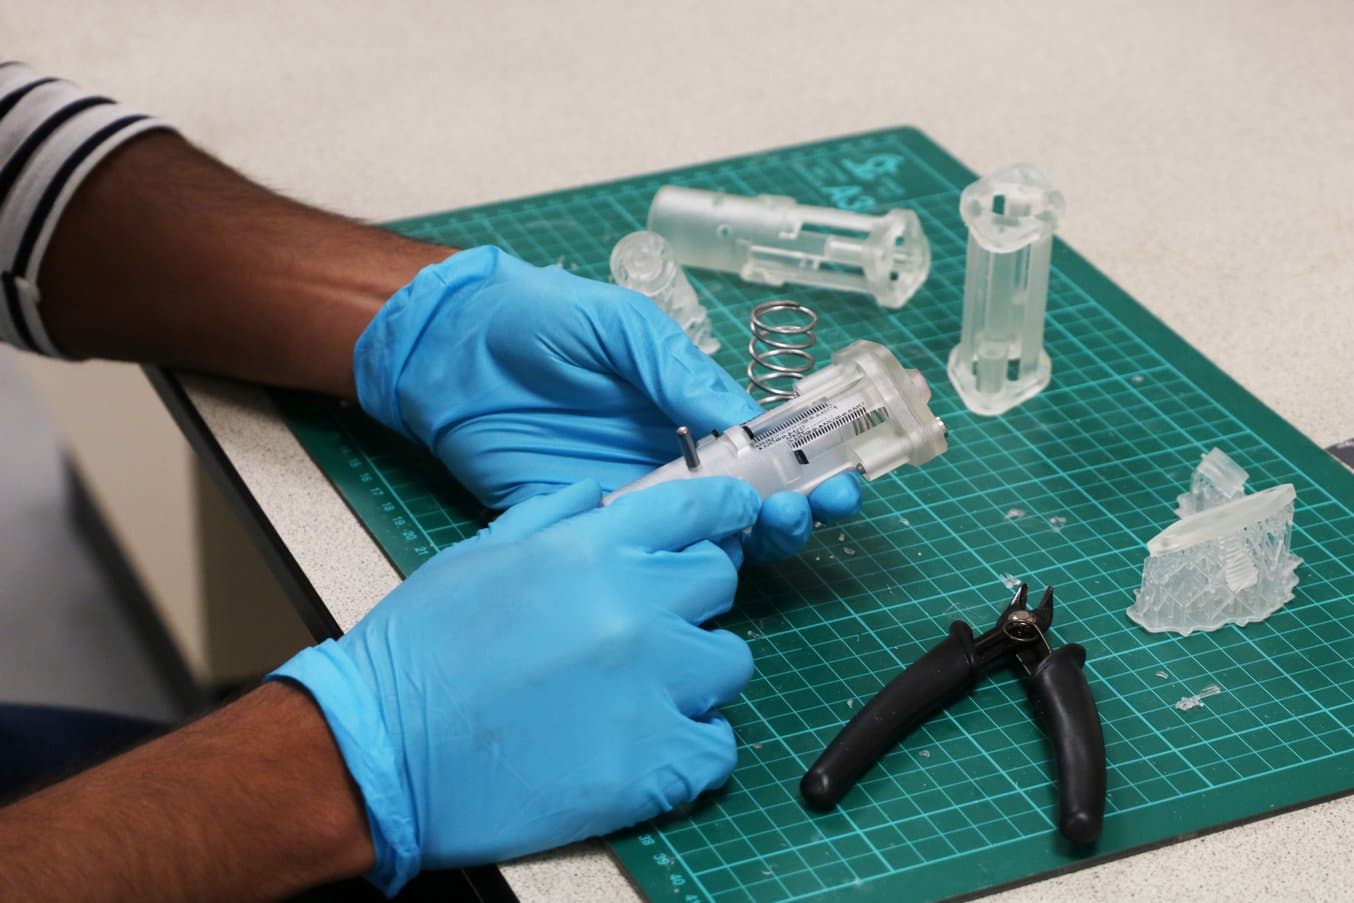
Coalesce uses 3D printed prototypes for testing both design and functionality. Chhabildas used these parts printed in Clear Resin to test how fast different springs fire.
How did 3D printed prototypes help you develop your Breath Profiling Device?
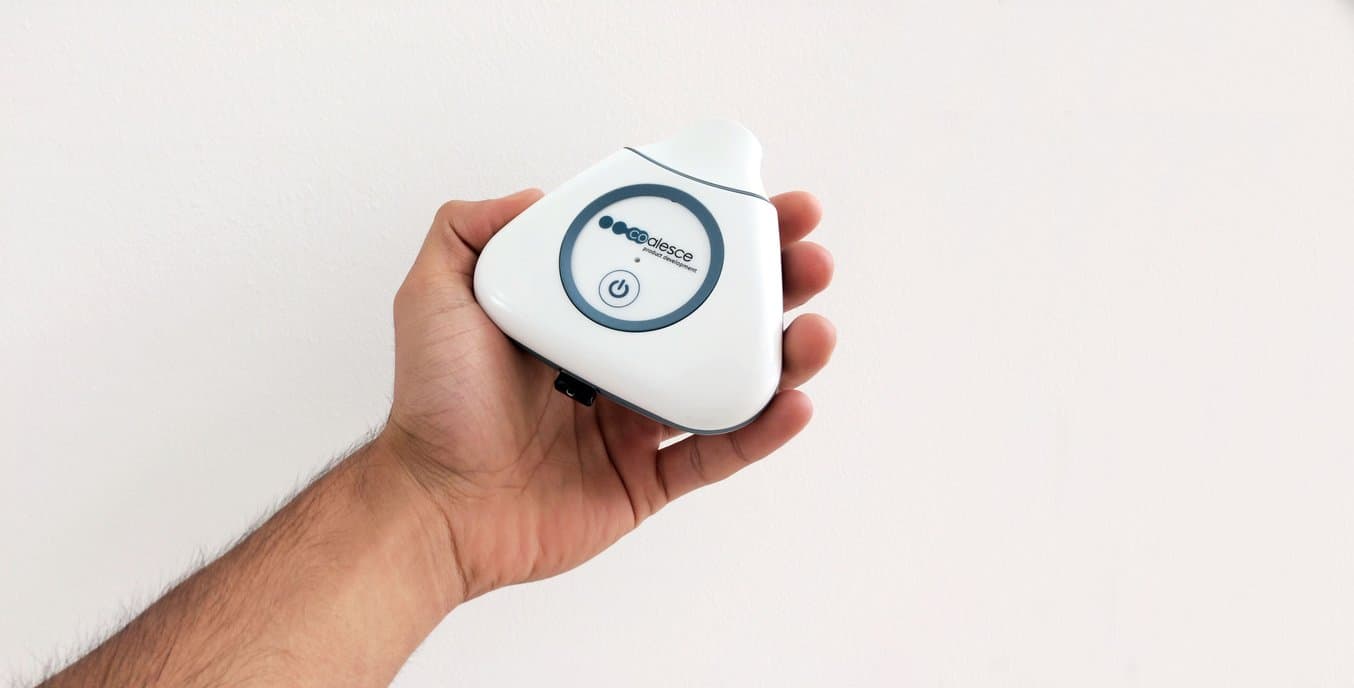
Our Breath Profiling Device (BPD) was designed to digitally asses an asthma patient’s inspiratory flow profile. Spirometry machines, which are used by clinicians to measure a patient’s lung function, tend to be either expensive and bulky, or portable but low-tech. The BPD is an inexpensive and portable alternative to spirometry machines.
Initially, the 3D printed prototypes were used to develop the product’s architecture. When the design was stable, the printed parts were painted and taken to the Drug Delivery to the Lungs (DDL) conference.
The prototypes looked so good that they were mistaken for a marketed product. Eventually the device prototypes were used in a clinical study.
Head over to our priming and painting guides to learn how to turn 3D prints into perfect prototypes.
Coalesce’s Breath Profiling Device was 3D printed in White Resin at 25 microns.
What impact has in-house 3D printing had on your prototyping process?
Before we invested in the Form 2 printers, we relied entirely on outsourced prototyping. Rather than make several iterations in a day as we can with the Form 2, the iterative cycles were longer, and we had less control over the amount of hand finishing of critical geometry.
Using third party vendors is approximately 20 times more expensive than the raw cost of printing the parts in-house. For example, the caseworks of the BPD cost ~£11 to produce on the Form 2 compared to around £250 had we outsourced it. However, the real benefit is the time-savings: the parts took us only 8 hours to print and we could finish and paint the prototypes within a few days. This would take an external contractor a week or two.
Comparison of cost to prototype a painted casework.
| In-house 3D printing | Outsourced 3D printing | |
|---|---|---|
| Cost | ~£11 | ~£250 |
| Lead time for 3D printing | 8 hours | 1-2 days |
| Lead time for finished part | 1-2 days | 1-2 weeks |
Why did you choose stereolithography 3D printing technology?
Coalesce has been working with outsourced SLA service providers for many years. We have experimented with other prototyping solutions as well, such as fused deposition modeling (FDM) 3D printing, but we found that it cannot match SLA in terms of surface quality.
Stereolithography offers a good balance of feature resolution, surface finish, durability, choice of materials, and dimensional accuracy. Because we develop devices with moving parts, we needed an effective way to prototype small mechanisms in-house. We kept an eye on advances in 3D printing technology over the past few years, and we liked the Formlabs approach. When the Form 2 was released we ordered one immediately, followed by a second just a few weeks later.
Both of our Form 2 machines are in almost constant use. We have learned how to get the best results from the machines and the materials, and how to finish the parts to make them look as close to manufactured parts as possible. We can design parts with functioning clips, or even add threaded inserts so parts can be screwed together.
Varying the materials we use also helps us to create the frictional characteristics we need to verify that our mechanisms are working as intended. If a mechanism works in SLA, it is almost certain to work when it is molded.
Editor’s Note: Since this story, we have launched the Form 3B, in-house 3D printer optimized for biocompatible and engineering materials.
Explore how adding screw threads to your 3D printed parts can help you create functional prototypes.
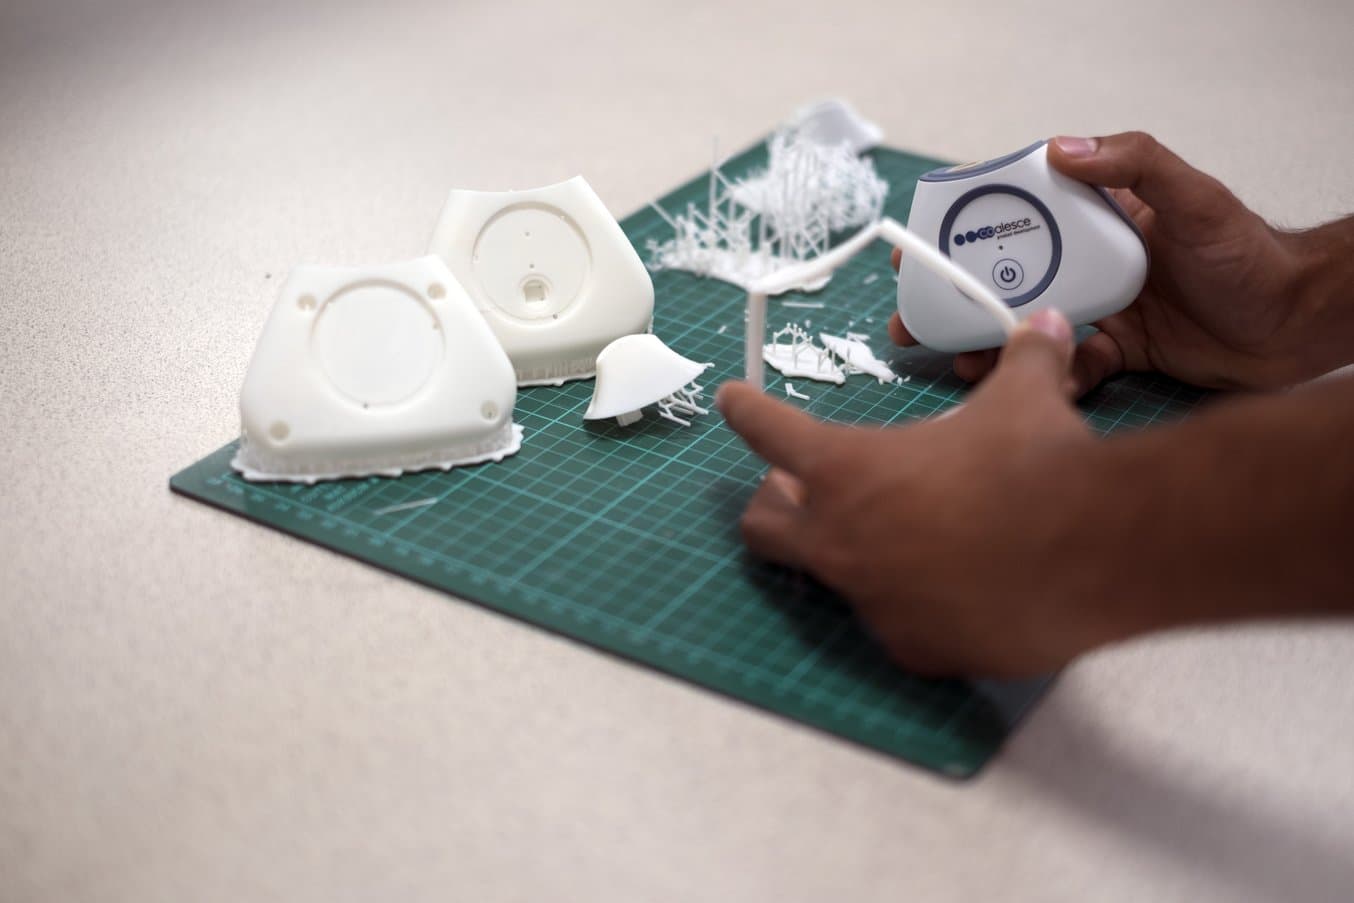
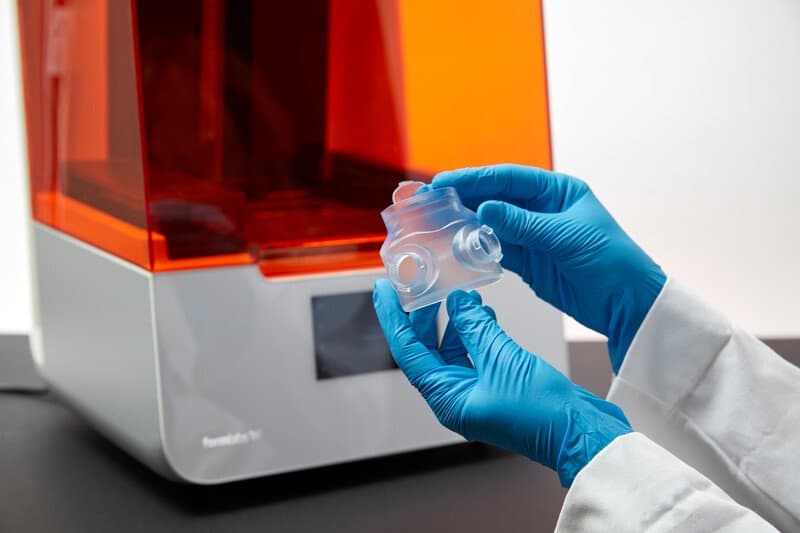
In the post-processing phase, Chhabildas removes the supports and prepares the 3D printed parts for priming, painting, and assembly.
How and when do you incorporate different types of materials into your prototypes?
Black, White, and Clear Resins are the materials that we use most frequently, although we also use Flexible and Tough.
In most cases, we are trying to replicate the characteristics of an injection molded plastic part and Black, White, and Clear Resins are well-suited to this job. If we intend to apply high mechanical forces to a part (for example, a test fixture) then we will use Tough Resin. If we want to replicate the characteristics of a silicone or elastomeric part (for example, a mouthpiece seal) then we will use Flexible Resin.
Editor’s Note: Since this story, we have launched a set of biocompatible materials for the medical industry. We develop and manufacture these in an ISO 13485 certified facility.
How present is 3D printing in industrial design today? What do you see for the future?
When earning my industrial design and technology degree at Loughborough University, I learned that 3D printing has been a mainstay of industrial design for many years.
However, what has changed in recent years is that 3D printing technology has improved and become more accessible. With something like the Form 2, the technology is directly at an industrial designer’s fingertips and has become an integral part of day-to-day work processes.
Deep-dive into our free white paper about Engineering Fit: Optimizing Design for Functional 3D Printed Assemblies.
The technology will continue to rapidly evolve and advances in machine design and materials will open up new opportunities for industrial design, especially in the complex world of medical device development.
See what you can create with a Formlabs 3D Printer
Explore our medical materials library to discover the one that fits your needs.
Learn More About Stereolithography 3D Printing
Would you like to turn your digital concept into precise prototypes? Learn about stereolithography (SLA) 3D printing and find out more about Formlabs’ Form 3B 3D printer by talking to our medical sales team.