

WHITE PAPER
Formlabs Logo

Adding texture to surfaces in PreForm

Adding texture to surfaces in PreForm

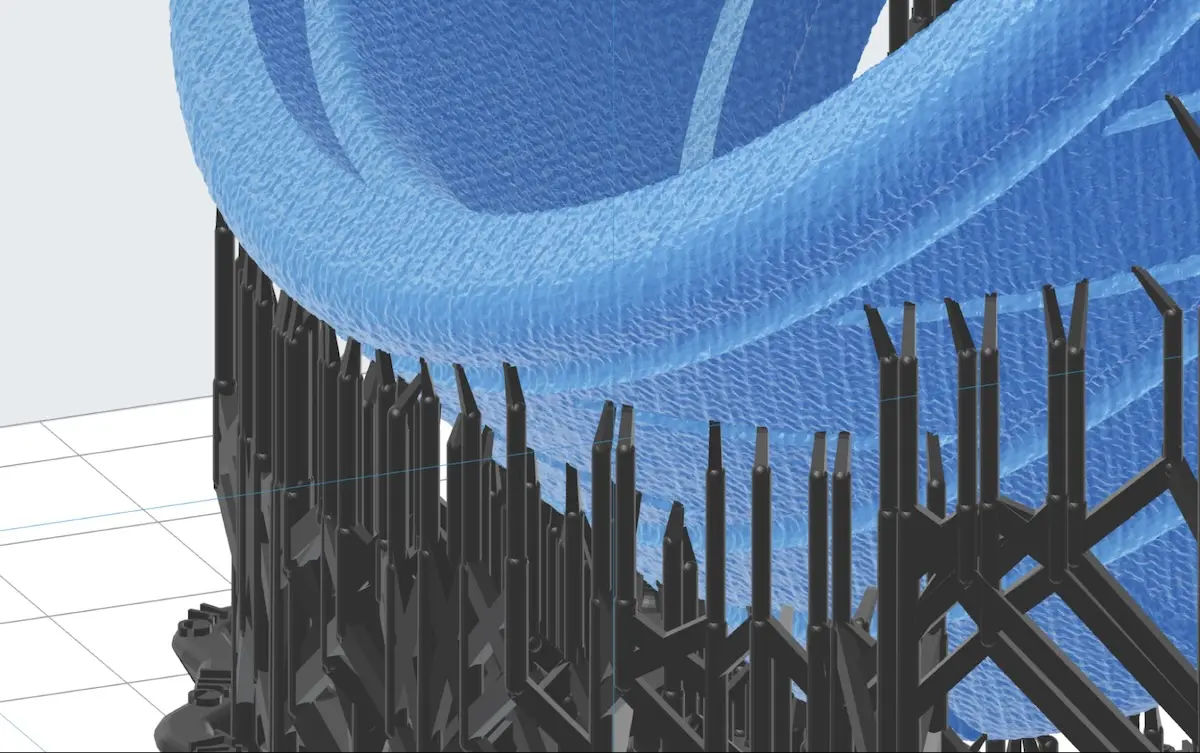
Starting with version 3.41.0, add surface texture to models in PreForm. With PreForm 3.48.0 or later, you can add texture to specific model faces.

For your documentation and reference, you can download PNG versions of the preset textures here.

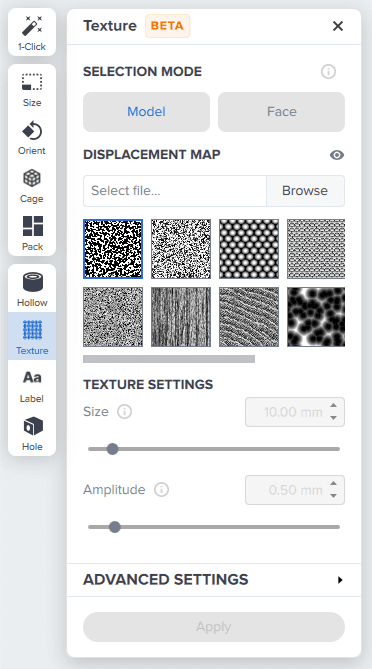
Adding texture to an entire model

alttext
PreForm Texture menu

Adding texture to specific model faces

The Face selection mode offers precise control of texture placement, enabling improved aesthetics, finish, and functionality on desired surfaces without compromising other critical features in the model like mating surfaces, snap fits, or holes. PreForm does not detect faces automatically; it must be provided with a file that has separate faces already defined.

To add texture to specific model faces with the Texture tool:

  1. In your 3D modeling software of choice, apply a color to each face or set of faces you want to be able to texture separately.
  2. Export your models in a format that includes color and material metadata, such as STEP (AP 242 and later) or OBJ.
    • In some CAD programs, you must enable a setting to export color information. For example, in SolidWorks, check the Export appearances option.
  3. Import the models into PreForm.

Tip:

For OBJ files:

  • Your modeling software should generate an OBJ file and an identically-named MTL file that contains material information. For PreForm to access this material information, the MTL file must have the same name and be in the same folder as the OBJ file.
  • Some OBJ generators may create faulty OBJ files. Repairing these files with PreForm will remove the color information used for face texturing. To avoid this, either generate your model with a different application or select Ignore when PreForm displays a Broken Models Detected error.
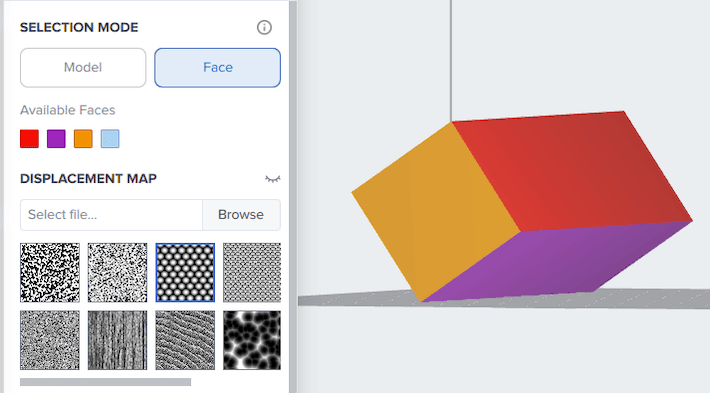
  1. Click Texture on the toolbar to the left of the 3D scene. The Texture panel appears.
  2. Set the Selection Mode to Face. The colors you defined in your modeling software are shown under Available Faces. The face groups are also shown in those colors on the model.
    • If you have selected multiple models with defined faces, PreForm shows all face colors from the selected models.
    • If no models are selected, PreForm shows all face colors from all models.
  3. Select an available color.
  4. Select or upload a texture Displacement Map. Click Browse to select a texture image in JPG or PNG format or use one of the preset textures available.
  5. Set the parameters for the texture.
  6. Click Apply. The texture is applied to the selected face group on the selected models.
    • If no models are selected, PreForm applies the texture to all models with that face color.
  7. Repeat steps 6–9 as desired for any other face groups.
Model with available face groups shown

Texture settings

The following settings are available when applying a texture to a model:

SizeSet the size of the surface texture relative to the model.
AmplitudeSet the depth of the surface texture.

Advanced settings

Texture OffsetA negative number means the texture will cut into the model. A positive number means the texture is raised above the existing surface.
Min Z-HeightSet a point on the Z-axis below which the texture will not be applied.
Max Z-HeightSet a point on the Z-axis above which the texture will not be applied.
Max Edge LengthThe length of the longest triangle in the model. Smaller triangles mean higher resolution but a larger file size.
Max Triangles

A model with more triangles or smaller triangles can show more detail but results in a larger file and more memory usage. If you encounter performance issues when working with textured models, reduce the Max Triangles value.

The Max Triangles setting is a cap, so if PreForm cannot satisfy the Max Triangles and Max Edge Length settings simultaneously, Max Triangles overrides Max Edge Length.

Skip downward facing trianglesToggles whether PreForm should apply texture to triangles whose normal vector faces downward. Enabling this option reduces the impact of surface texture on support requirements.