Tip:
The Layer Thickness value depends on which printer and resin is selected in PreForm. Select a printer, then follow the steps below to select a Resin and set the Layer Thickness.

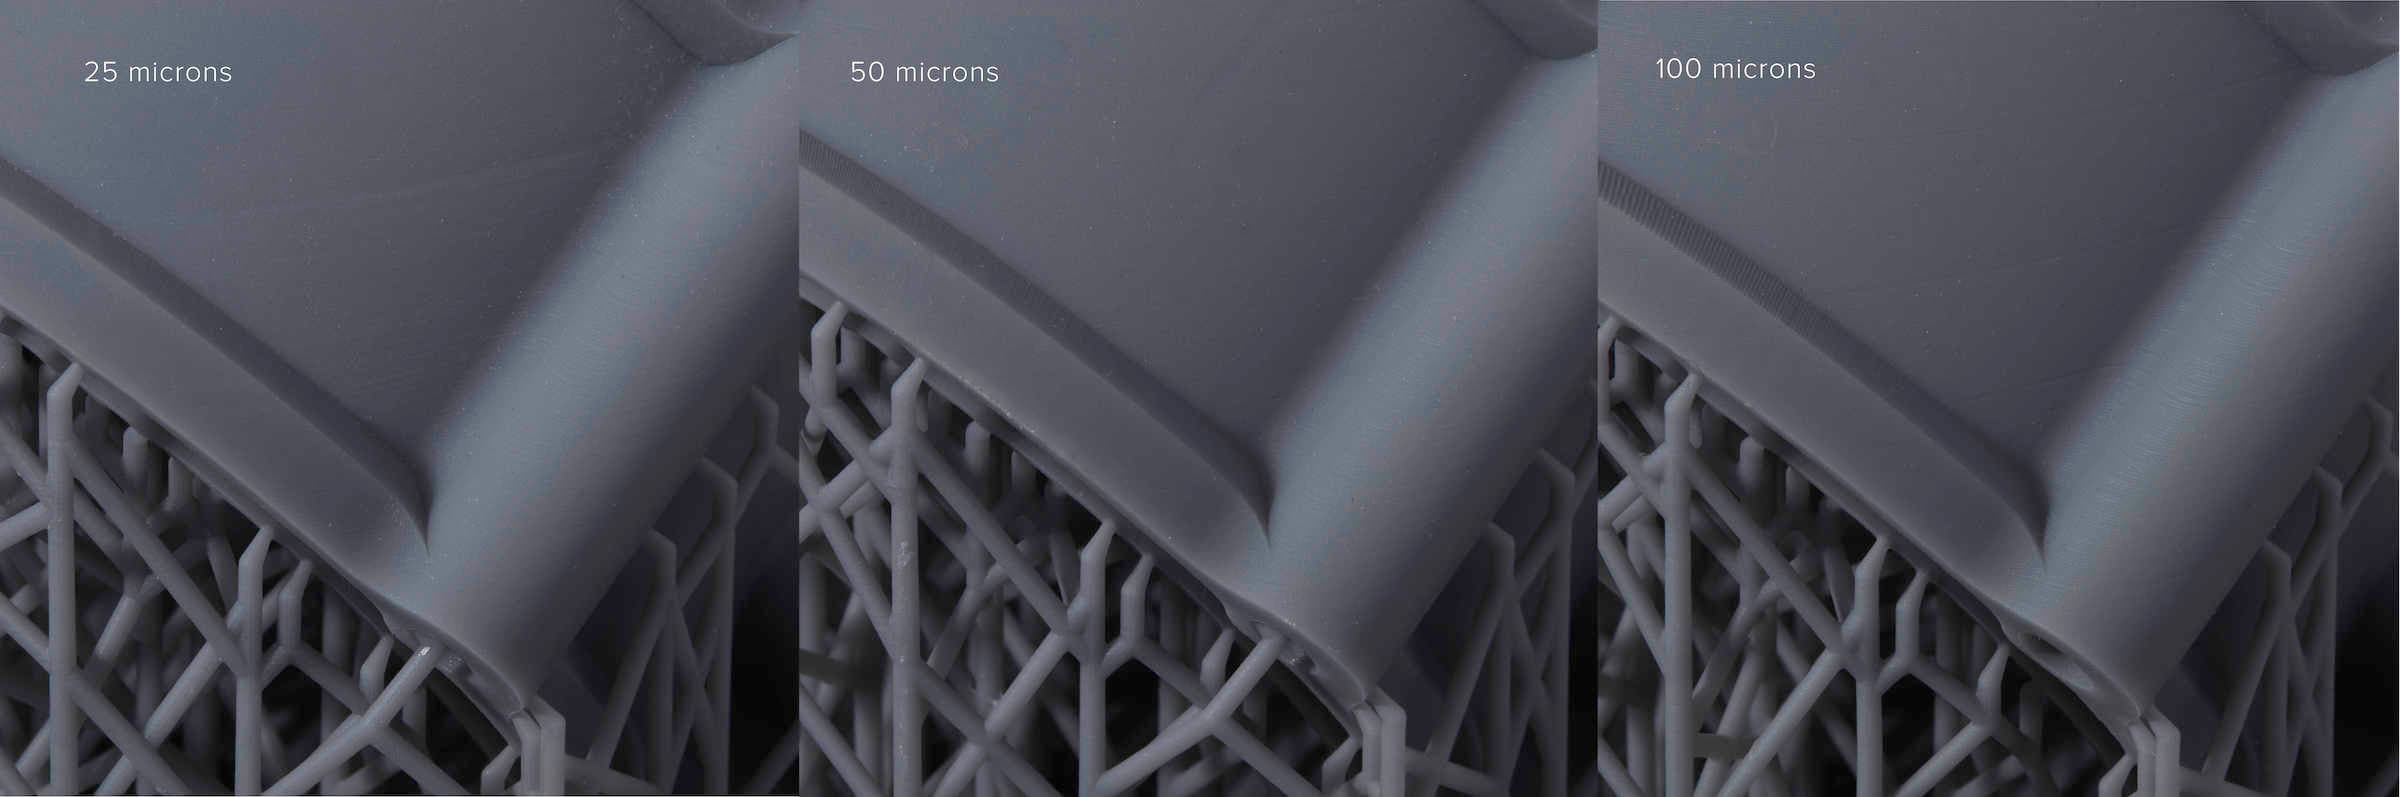
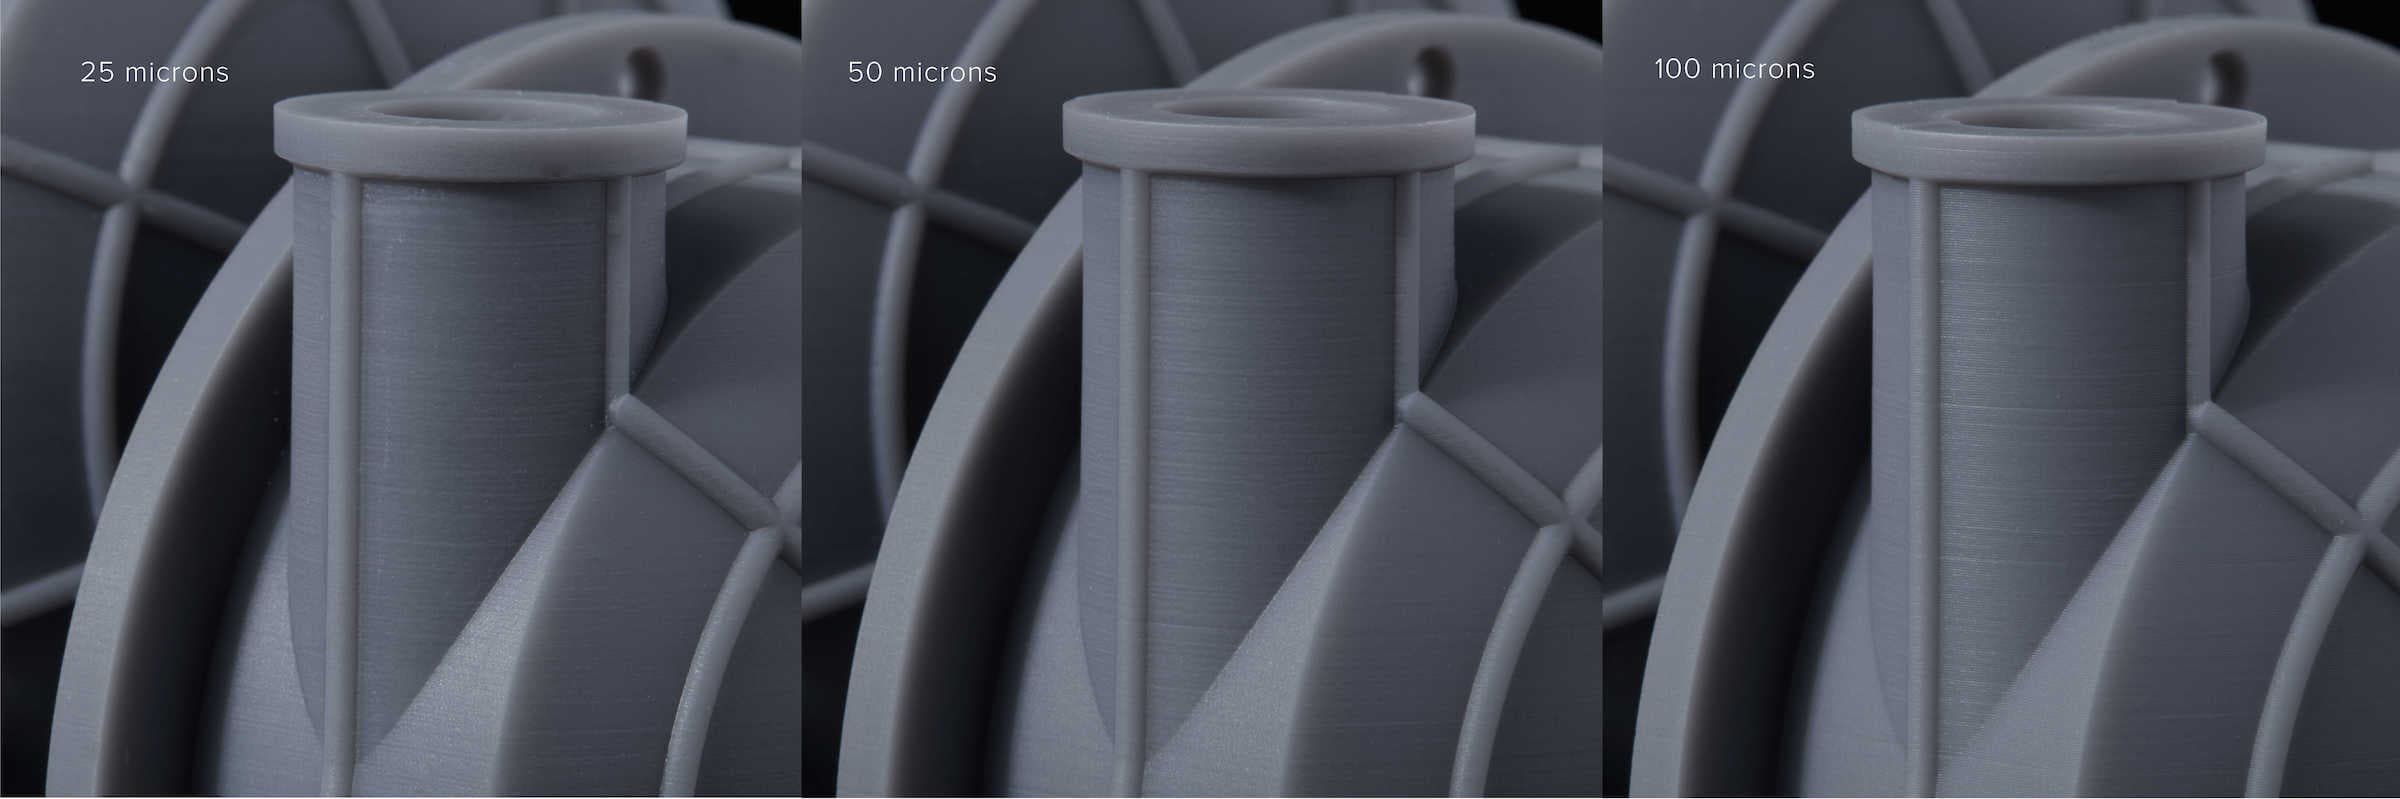
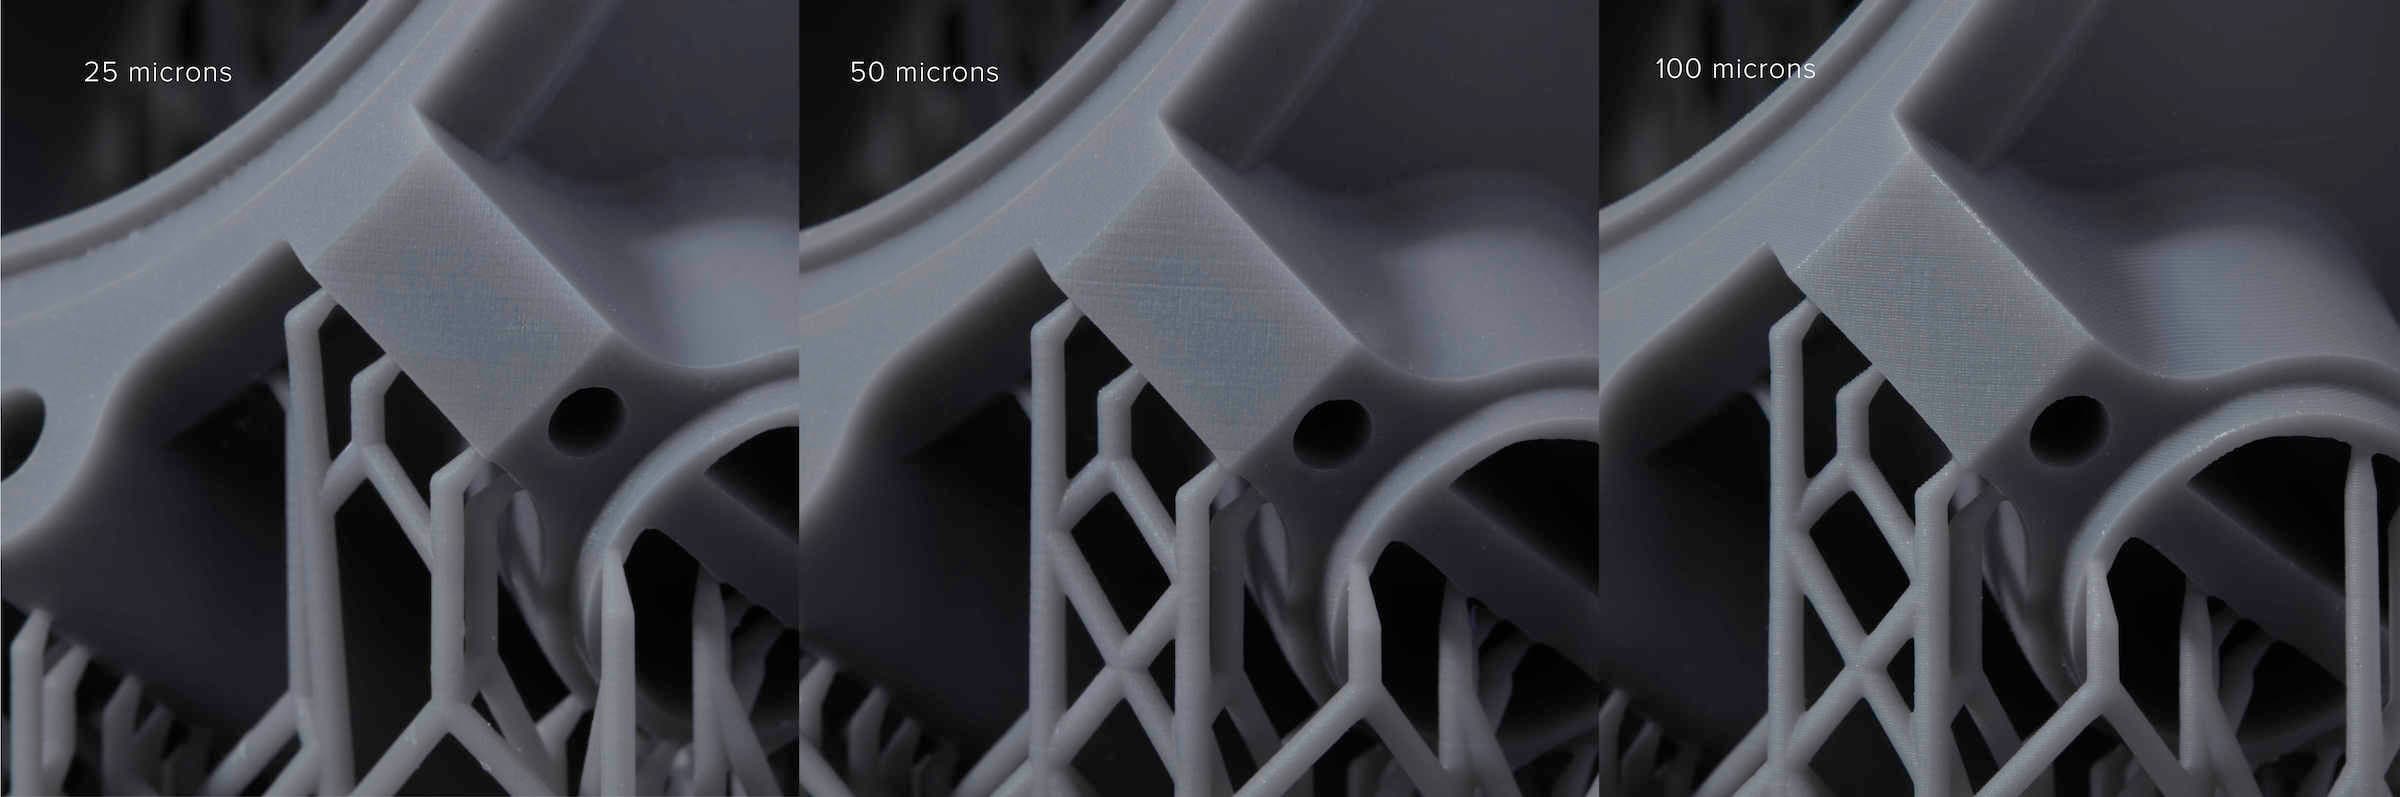
Layer thickness affects both the speed and quality of a print. Thicker layers print faster, but sacrifices detail. Thinner layers print more slowly, but are able to capture finer details. Most materials have a variety of layer thickness settings to choose from, so there’s always an option to suit your needs.
In PreForm, open a model, select a printer or add a printer manually, then select the material (resin type and version) and the layer thickness for your next print job. Adjust the layer thickness settings to improve print speed, or to optimize print quality.
Selecting resin and layer thickness
Layer Thickness is measured in fractions of a millimeter, often given in microns. 1 micron (µm) is equal to 0.001 of a millimeter (mm). To provide a sense of scale, 100 microns is the same thickness as a sheet of paper or a human hair.
Tip:
The Layer Thickness value depends on which printer and resin is selected in PreForm. Select a printer, then follow the steps below to select a Resin and set the Layer Thickness.
To set the Layer Thickness:
Note:
Supports generate differently depending on the selected material and layer thickness.
Adjustable layer thickness selection
Adaptive layer thickness is a setting that balances speed and quality to give you the best of both worlds. When PreForm detects curves, slopes, or other features that would be negatively impacted by layer thickness, it processes them in thinner layers. When PreForm detects walls, columns, and other vertical shapes that can be printed as a single large part, it automatically increases the layer thickness. PreForm can seamlessly switch between layer settings, so you don't create large differences in layer thickness.
Layer Thickness is set to Fixed by default. Selecting the Adaptive setting automatically changes the layer thickness during the print job depending on the geometries between the layers. To select Adaptive layer thickness :
Note:
The Adaptive layer thickness toggle may not be available for all materials or printers. If the Adaptive toggle is not available for your selected resin or printer, select a fixed Layer Thickness to print the entire part at a single thickness.
Setting layer thickness to improve speed
Thicker layers reduce Print Time. Setting the Layer Thickness value to 100 microns (0.1 mm) or greater reduces the overall number of layers that need to be printed.
To set Layer Thickness for the shortest Print Time:
Setting layer thickness to optimize quality
Thinner layers capture fine details. Setting the Layer Thickness value to 25 microns (0.025 mm) reduces the distance between each layer. With more layers making up each feature, the resulting part has a smooth surface finish and fine details.
To set Layer Thickness for finer details:
Tip:
Keep Print Time in mind. Prints with a 25 micron layer thickness take roughly four times as long as prints with a 100 micron layer thickness.