
Tip:
Contact Formlabs Support or your authorized reseller immediately if the resin spill is extensive or if resin may have reached inside the printer. Provide photos of the resin spill.

Promptly clean and inspect the printer after a resin spill to minimize any cosmetic or functional damage to the printer. Learn about the primary causes of resin spills and how to prevent spills.
Tip:
Contact Formlabs Support or your authorized reseller immediately if the resin spill is extensive or if resin may have reached inside the printer. Provide photos of the resin spill.
What to do immediately after a resin spill
1. If a print is in progress, cancel the print on the touchscreen.
2. Clean the resin spill as soon as possible.
3. If cleaning the resin spill immediately is not possible, keep the orange cover closed to prevent ambient light from curing the resin.
Small resin spills on the printer exterior are harmless and can occur during normal use. If resin spills are frequent, learn how to reduce the likelihood of spills.
More extensive resin spills that reach the optical window or the inside of the printer may require additional cleaning and support to assess and reduce potential damage. Resin inside the printer may contaminate or erode critical components. For more extensive spills, photograph the spill and contact Formlabs Support or your authorized reseller for further assistance.
Cleaning resin spills
Notice:
Wear gloves during this procedure. Wash skin with hand soap and water after handling resin. Do not use IPA to remove resin from skin.
Recommended supplies:

Step 1: Prepare the printer
1. Disconnect the power cable from the printer.
2. Remove the build platform first to avoid dripping resin onto the optical window.
3. Wipe off any resin on the build platform surface. Ambient light cures liquid resin left on the build surface, which renders the build platform unusable.
4. Remove the resin cartridge and close the vent cap.
5. Remove the resin tank and cover it with the plastic lid. Make sure the tank is not leaking and set it aside on a clean paper towel.
6. If the resin spill is extensive, take photos of the spill to share with Formlabs Support.
Step 2: Inspect and clean external surfaces
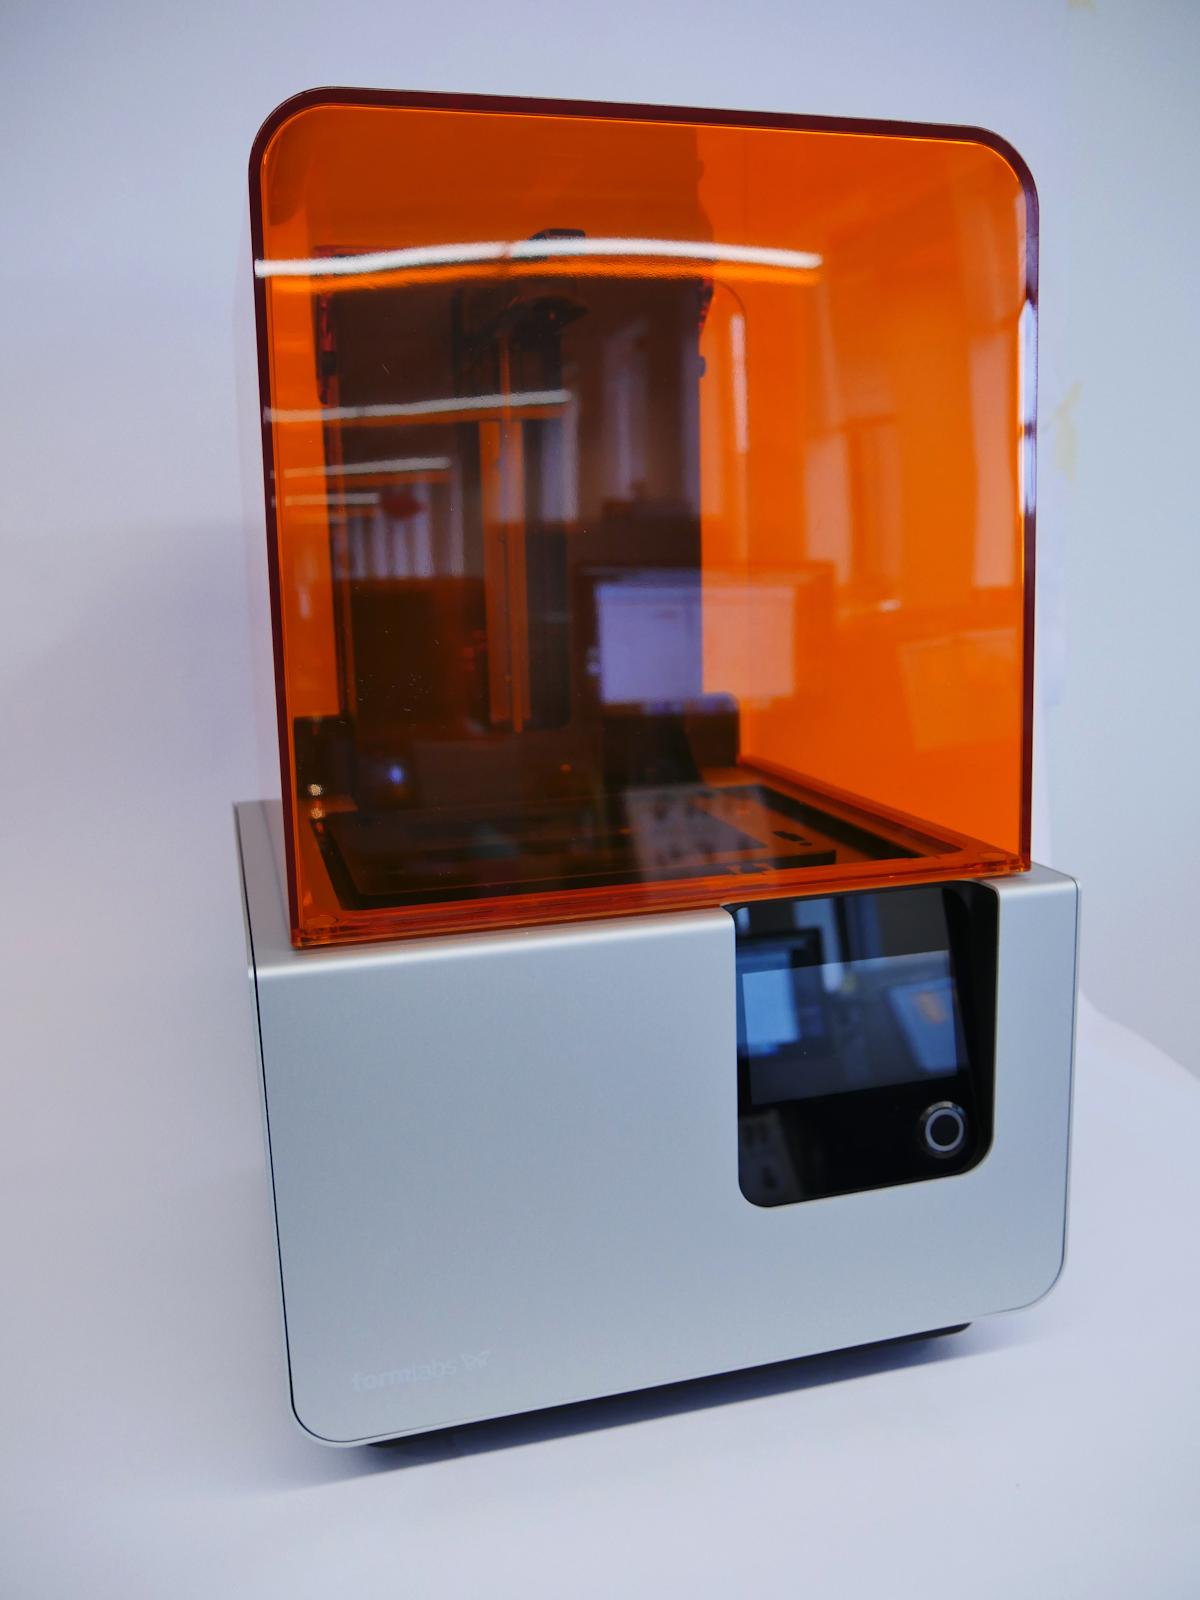
1. Inspect both the inside and the outside of the orange cover.
2. Clean any liquid resin from the orange polycarbonate with soapy water and paper towels.
Notice:
Do not clean the polycarbonate orange cover with IPA or other chemicals because this can cause cracks. To prevent damage to the cover, use only Novus 1 or a similar plastic cleaner.
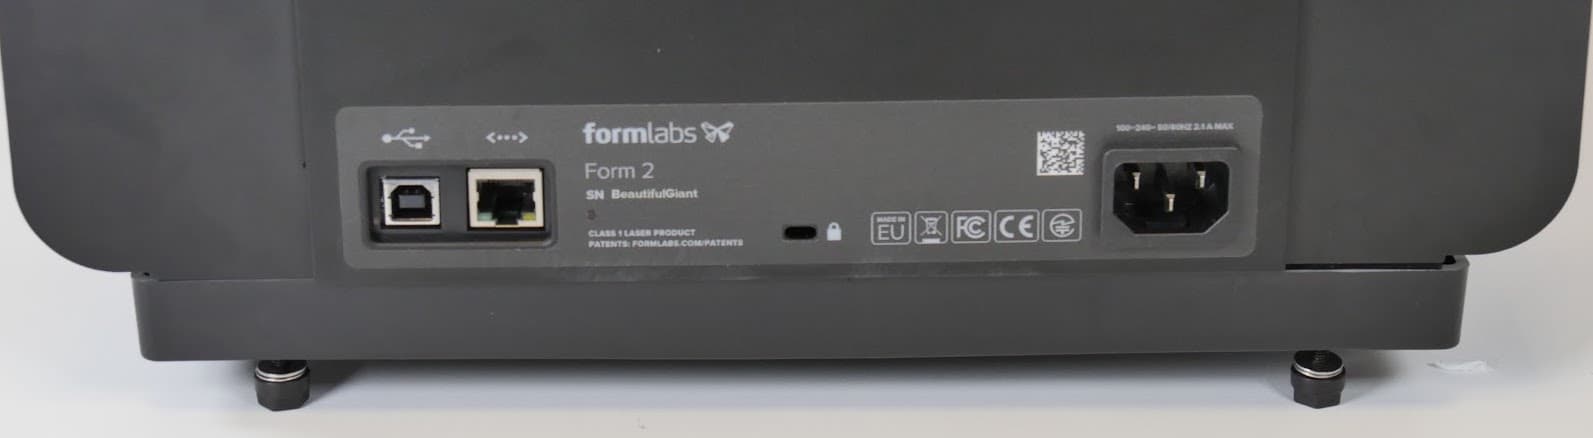
USB port, ethernet port, power jack
Step 3: Inspect and clean components under the cover
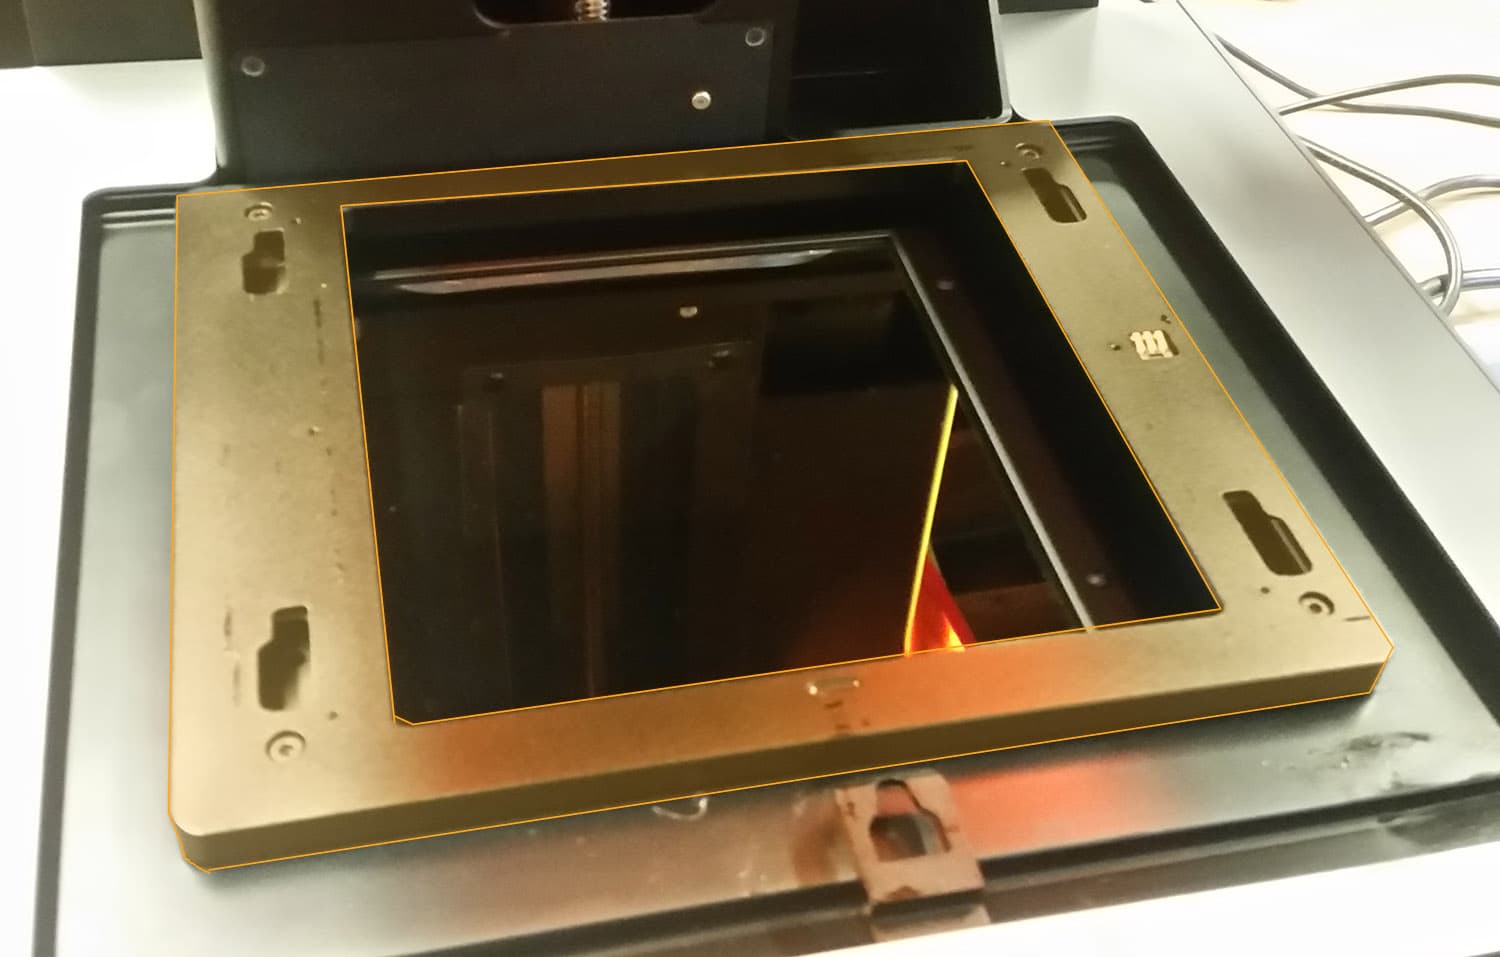
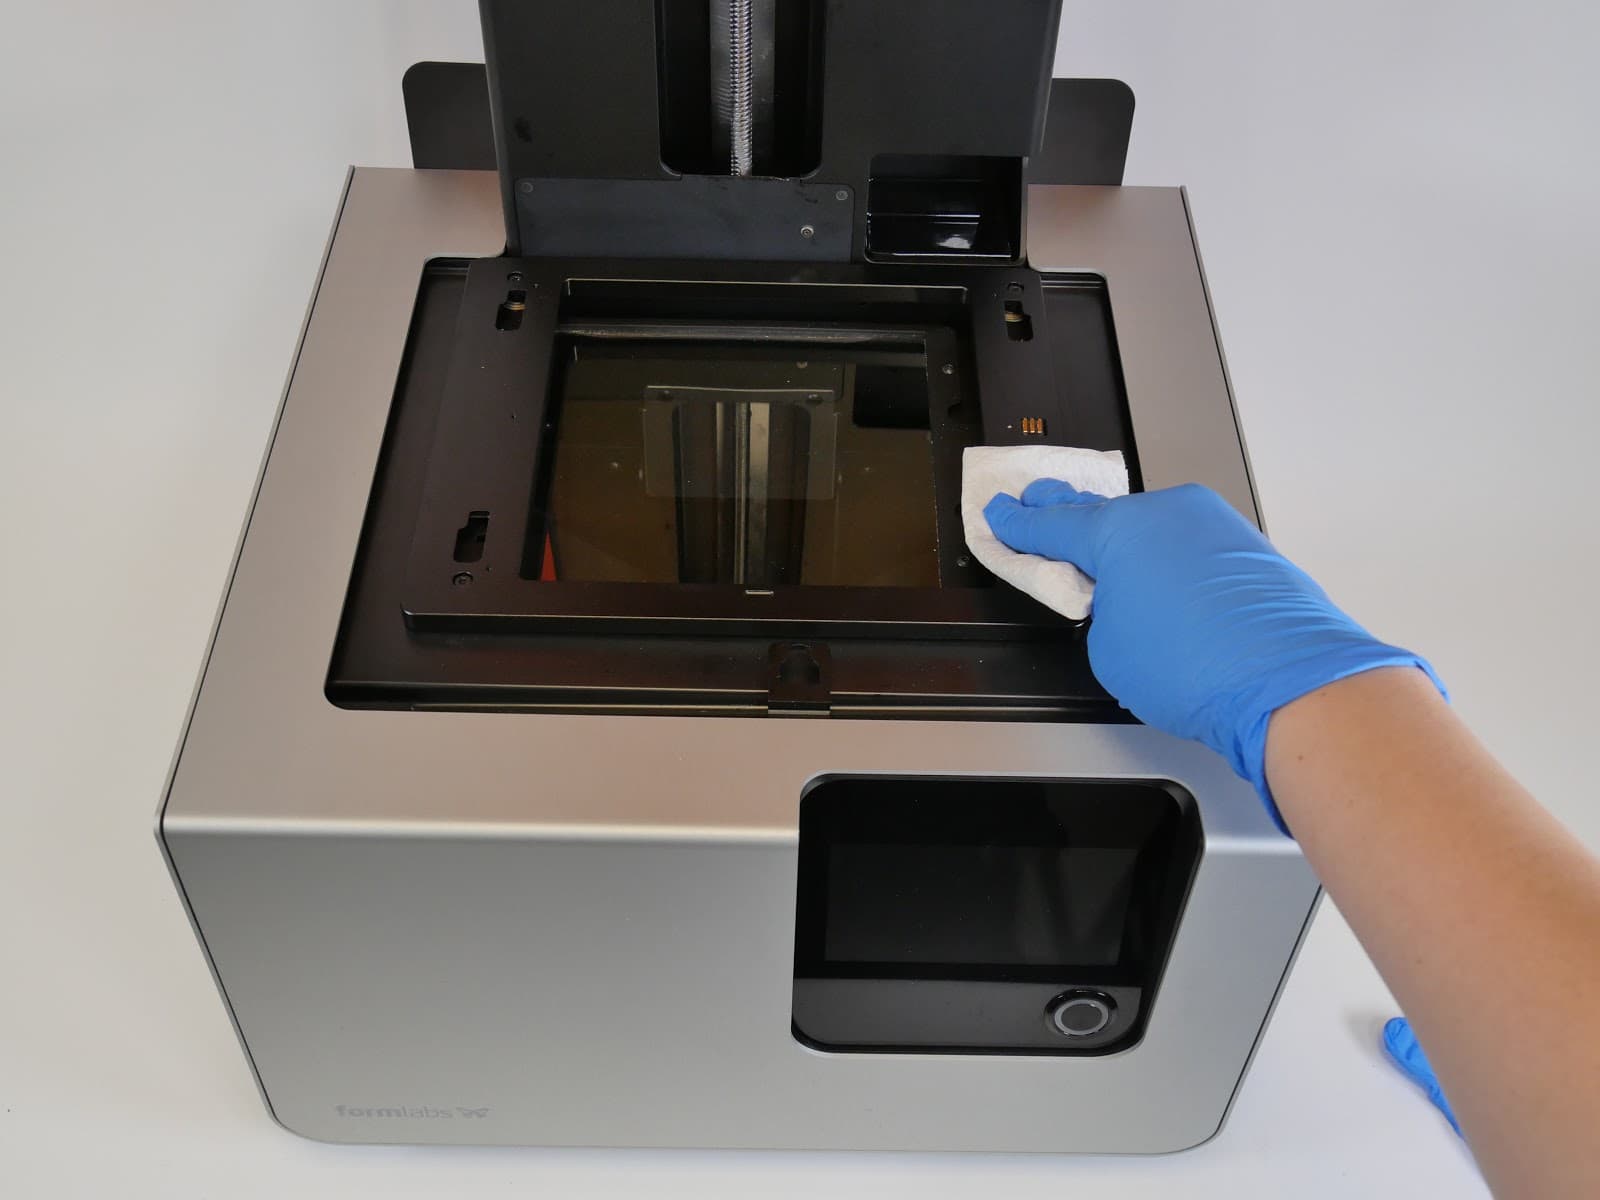
Open the cover to inspect the following components under the cover: the tank carrier, the shuttle cover, the tank spring fingers, the LevelSense board, and the optical window.
Tank carrier and shuttle cover
Notice:
Never tamper with the star-shaped Torx screws or attempt to remove the tank carrier. Tampering with the tank carrier screws may void your warranty and may require returning the Form 2 for re-calibration.

Notice:
Do not clean the thermopile, the silver sensor on the LevelSense board. If the thermopile becomes contaminated, the printer may not be able to sense resin temperatures.
Visually inspect the optical window with an oblique light source. Follow Formlabs instructions for Cleaning the glass optical window.


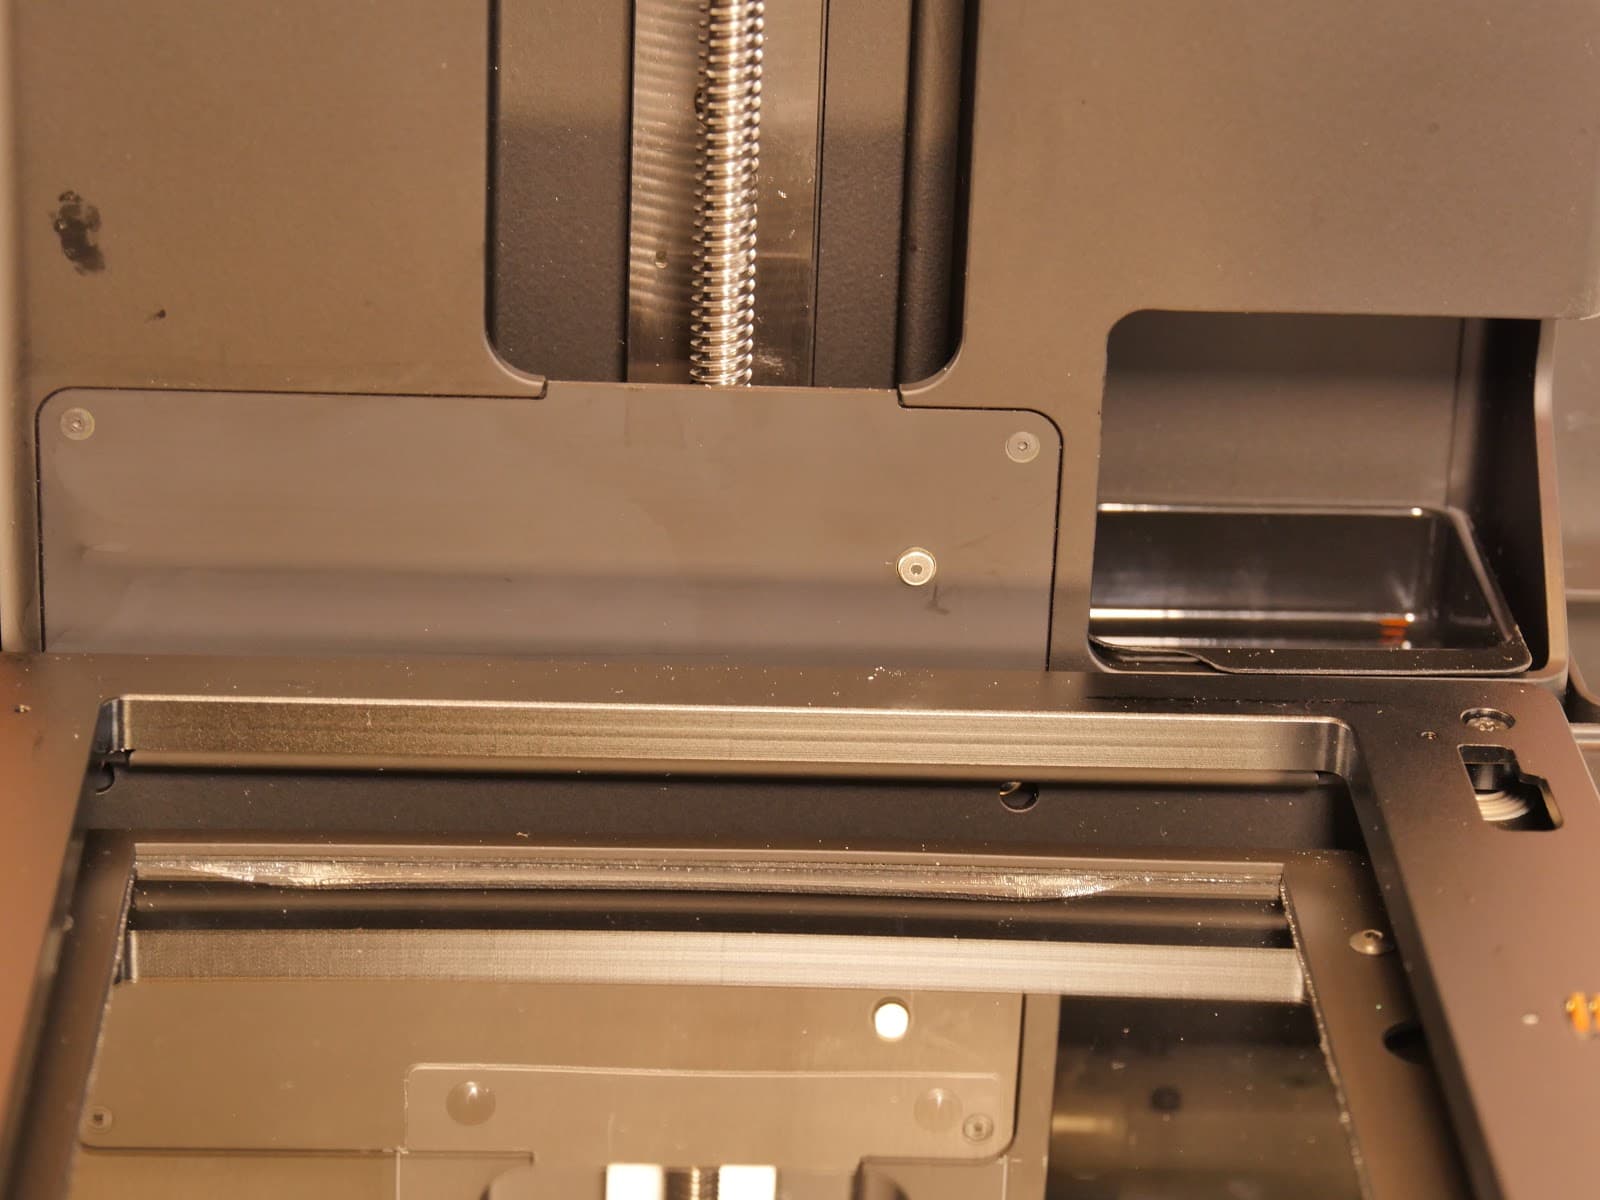
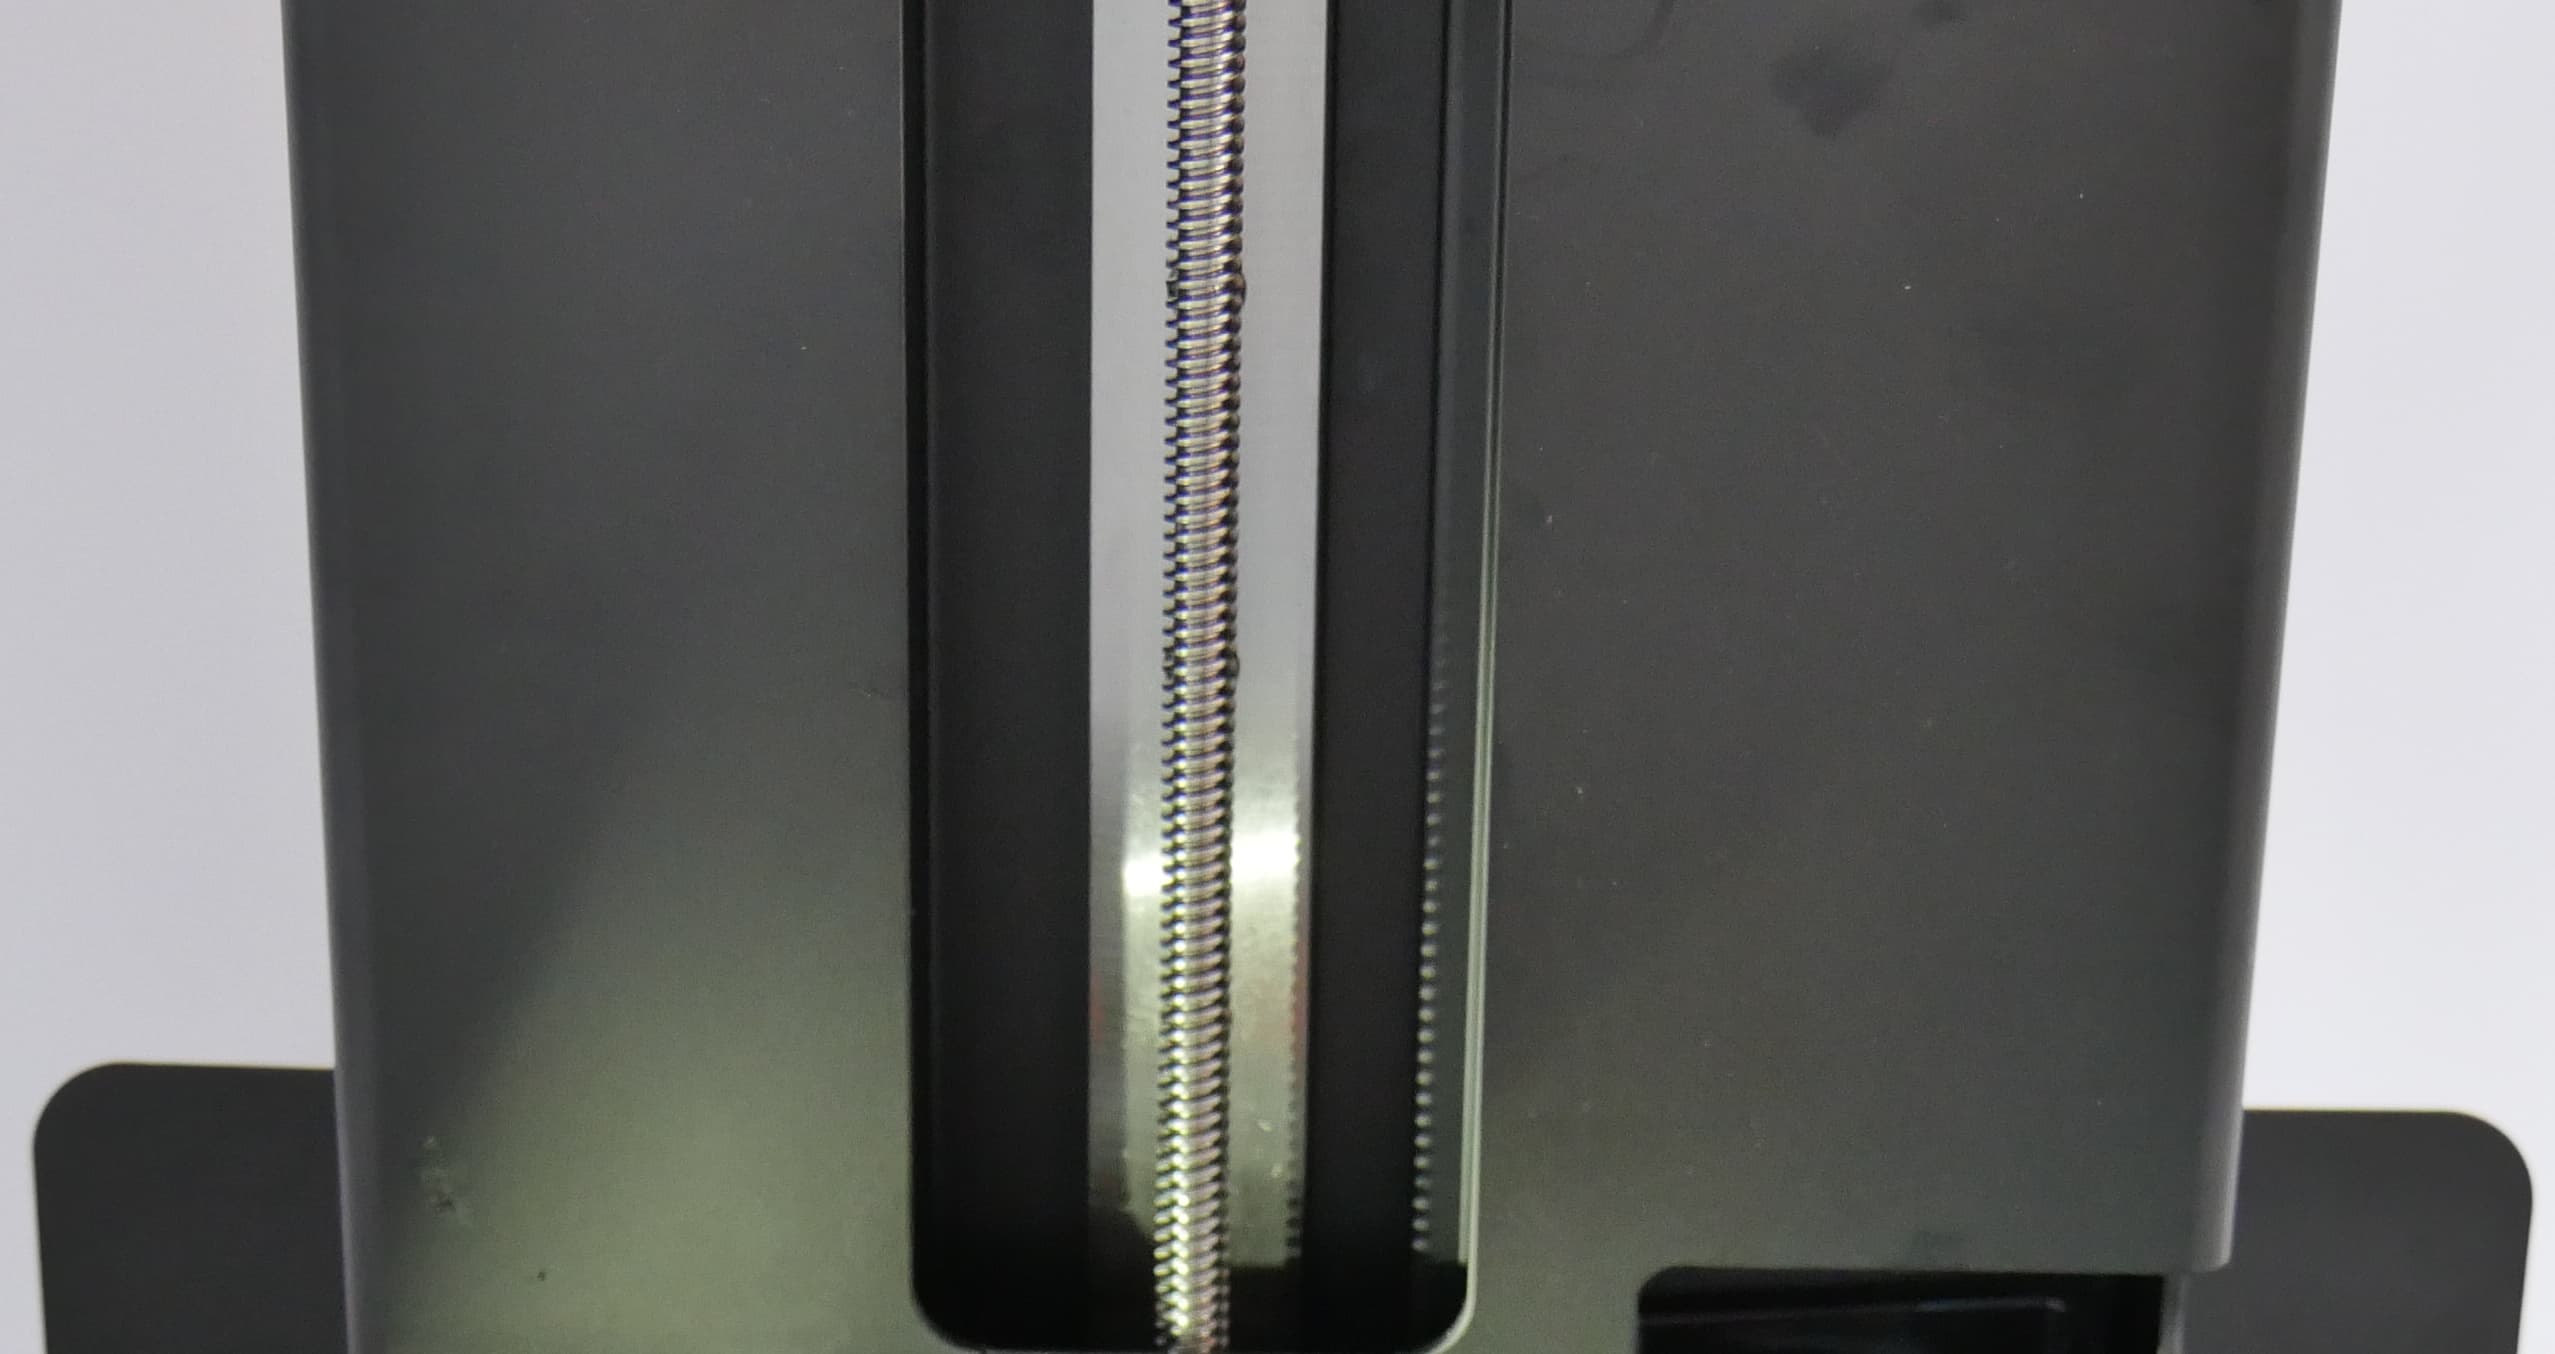
Step 4: Inspect the Z axis
Z-tower and drip catcher

Z-motor and lead screw
Tip:
If the lead screw is cleaned with IPA, lubricate the lead screw with Super Lube with Syncolon or another PTFE lubricant grease of any brand before printing again to prevent build platform movement issues.
Inspect the resin tank using a spatula to check for any failed prints or damage to the tank.
Remove any failed prints and filter the resin.
Dispose of the tank if there is significant wear or damage to the elastic layer or if resin leaks through cracks in the tank.
Step 5: Inspect the resin tank
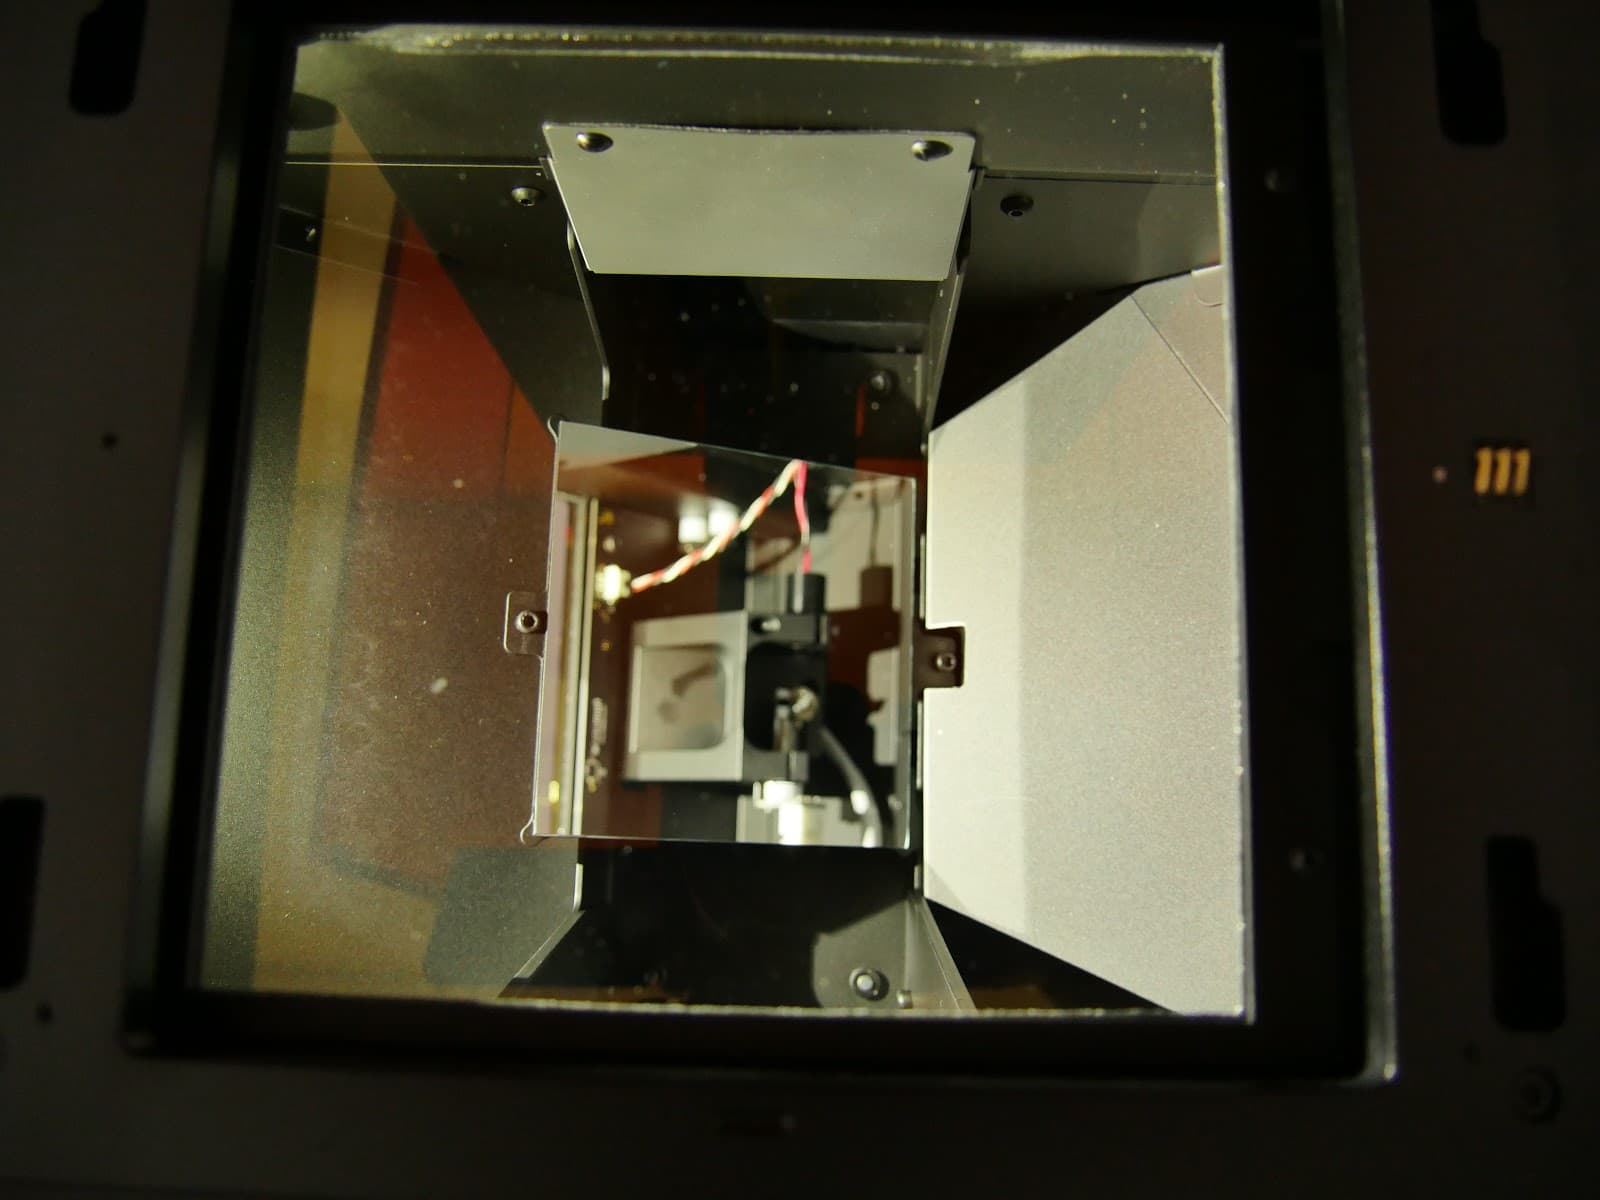
Step 6: Inspect the optical cavity
Cleanup
Always dispose of resin and any supplies contaminated with it according to the SDS. Put the container of soapy water and any soiled paper towels or swabs in a window or other sunny space for a day or two so that the resin cures in ambient light. Once the resin cures, dispose of it with regular household waste.
Notice:
Allow all components to dry completely before reconnecting the printer to power.
Contacting Formlabs Support for resin spills
Contact Formlabs Support or your authorized reseller if the resin spill is extensive or if resin has reached the inside of the printer. Include the following with the support request:
Preventing resin spills
Learn how to recognize common causes of resin spills and how to minimize the likelihood of resin spills.
While resin spills occur for a variety of reasons, the most common reasons are failed prints in the resin tank, damage to the resin tank, and damage to the resin cartridge bite valve.
Failed prints
When a print fails, the entire print or a part of the print may fall into the resin tank. The wiper may catch this part or push it to one side and cause resin to spill.
To avoid print failures, exercise these best practices:
Damaged resin tank
A damaged resin tank can cause resin to leak onto the printer. Storing resin in a standard Resin Tank for longer than one month can cause cracks to form in the orange polycarbonate tank frame. Learn more about proper storage for standard resin tanks and for Resin Tanks LT.
Damaged bite valve
A damaged bite valve on the resin cartridge can cause the printer to dispense too much resin, which can cause the resin tank to overflow. Learn how to inspect and protect the bite valve.