
Supplies:
Formlabs:
Third-party:
- Rheolube 362HB lithium grease or similar lithium grease specifically intended for use with ball bearings
- Paper towels
- Nitrile gloves

Over time, the anti-backlash nut on the Z-axis lead screw can degrade and leave a black residue in the grease on the lead screw. This debris can cause the build platform mount to stall or generate noise during printing.
Use this guide to clean and lubricate the Z-axis lead screw on a Form 4.
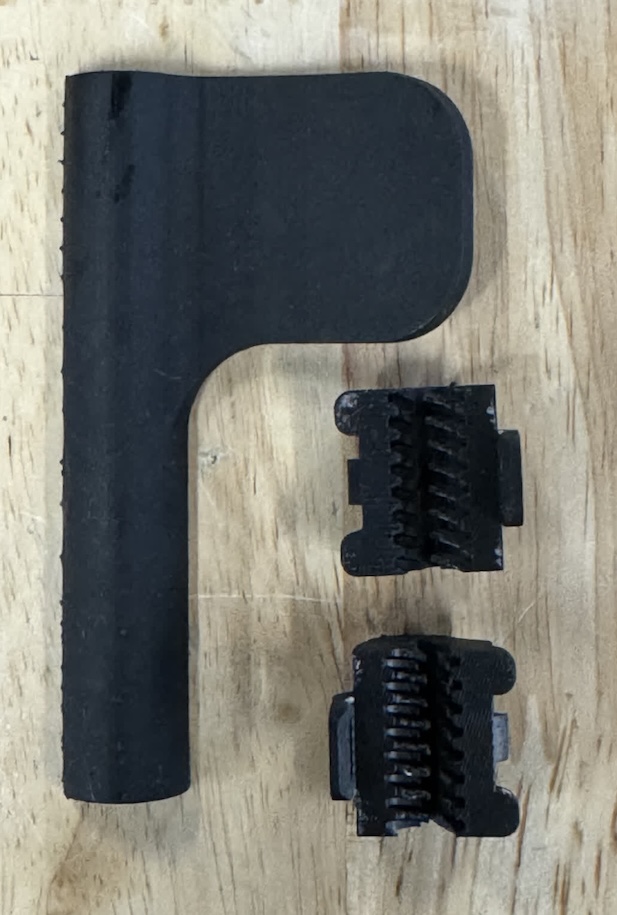
Supplies:
Formlabs:
Third-party:
Estimated time: 5–10 minutes
Warning:
Resin may cause skin irritation or an allergic skin reaction. Wear gloves when handling liquid resin or resin-coated surfaces. Wash skin with plenty of soap and water.
Preparing the workspace
Overview: Prepare the Form 4 and a dust-free workspace for cleaning and lubricating the Z-axis lead screw.
Step 1: Remove the build platform
Remove the build platform first to avoid dripping resin into the printer cavity.
Step 2: Remove the resin cartridge
Remove the resin cartridge and close the vent cap to prevent resin from dripping off the bite valve and into the printer.
Step 3: Remove and store the resin tank
Unlatch the mixer and resin tank. Remove the resin tank and cover it with its lid. Set the tank aside on a clean, flat surface.
Notice:
Wear gloves and hold the resin tank by the tank grips on either side to avoid contamination or damage to the underside of the tank.
Step 4: Unplug the printer
Disconnect the power cable before continuing with maintenance. Do not perform maintenance on the printer while it is connected to power.
Warning:
Moving parts and lead screws present crushing and tangling hazards. Be sure that the printer is unplugged from its power source and powered down before interacting with the lead screw.
Step 5: Prepare the workspace
Clear a workspace around your printer. Ensure that the workspace is well-ventilated and free of dust.
Cleaning the Z-axis lead screw
Overview: Remove the contaminated grease from the Z-axis lead screw.
Step 1: Wipe the Z-axis lead screw
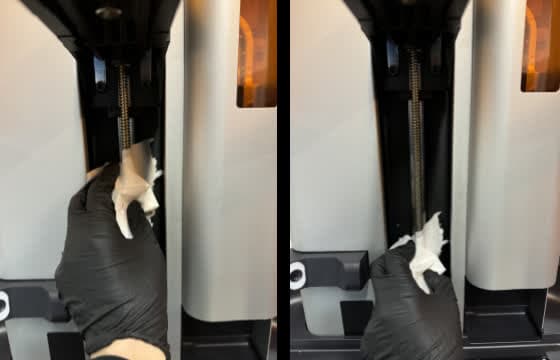
Gently wipe down the Z-axis lead screw with a dry paper towel.
Step 2: Attach the lead screw thread cleaning tool
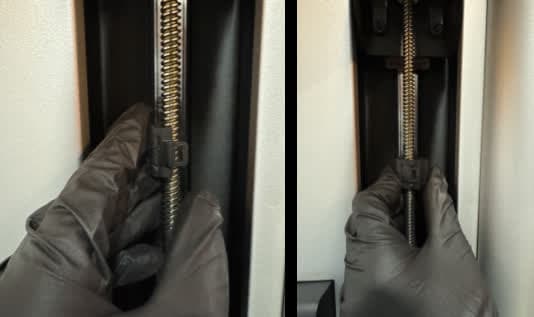
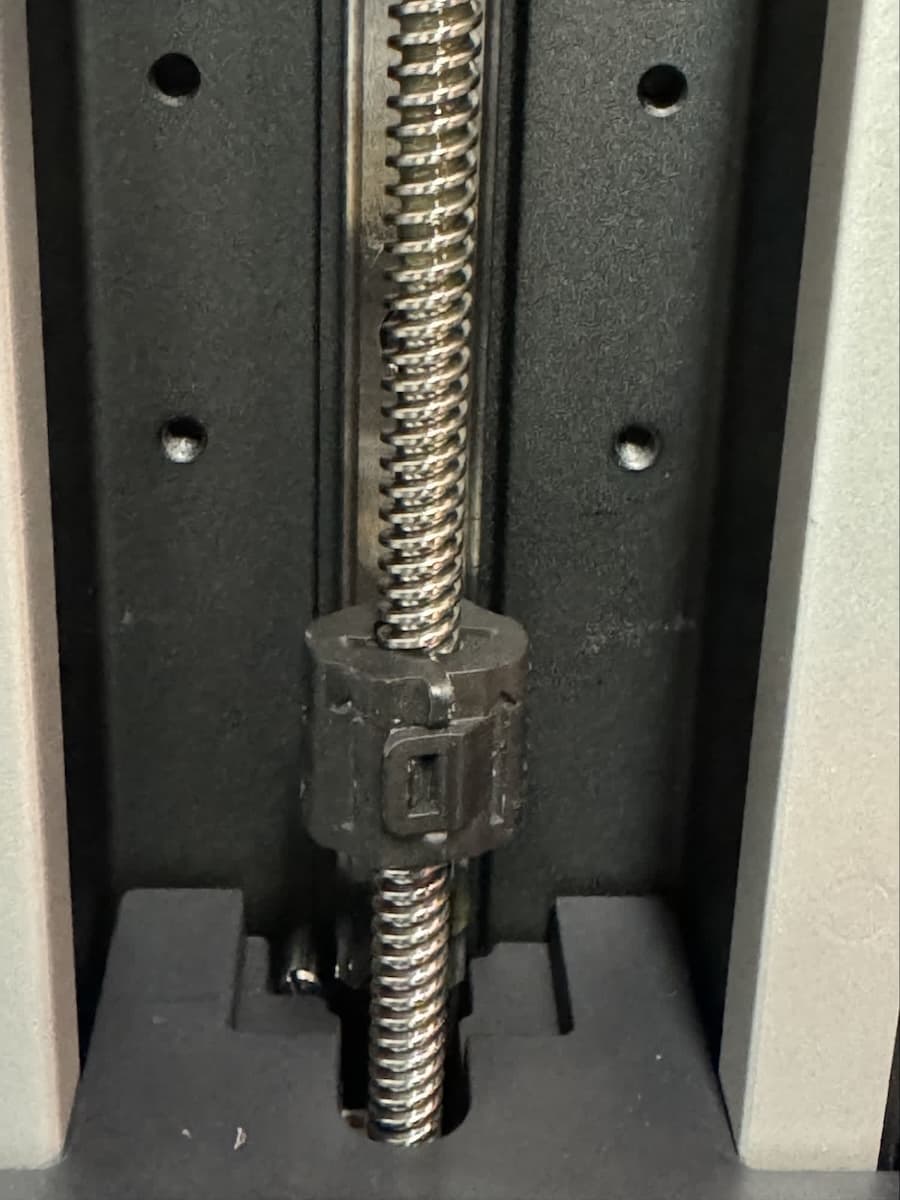
Seat one half of the lead screw thread cleaning tool on the threads at the top of the Z-axis lead screw. Snap the other half of the tool onto the first half, fully enclosing the lead screw. When installed correctly, the arrow on the tool points upwards. The tool should snap closed without significant resistance and should spin freely on the lead screw.
Step 3: Rotate the lead screw thread cleaning tool
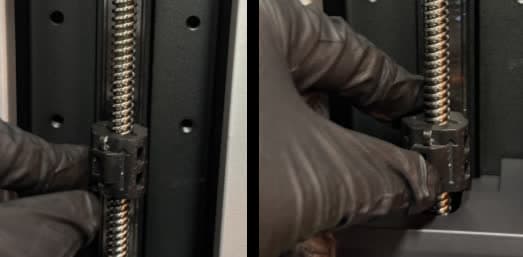
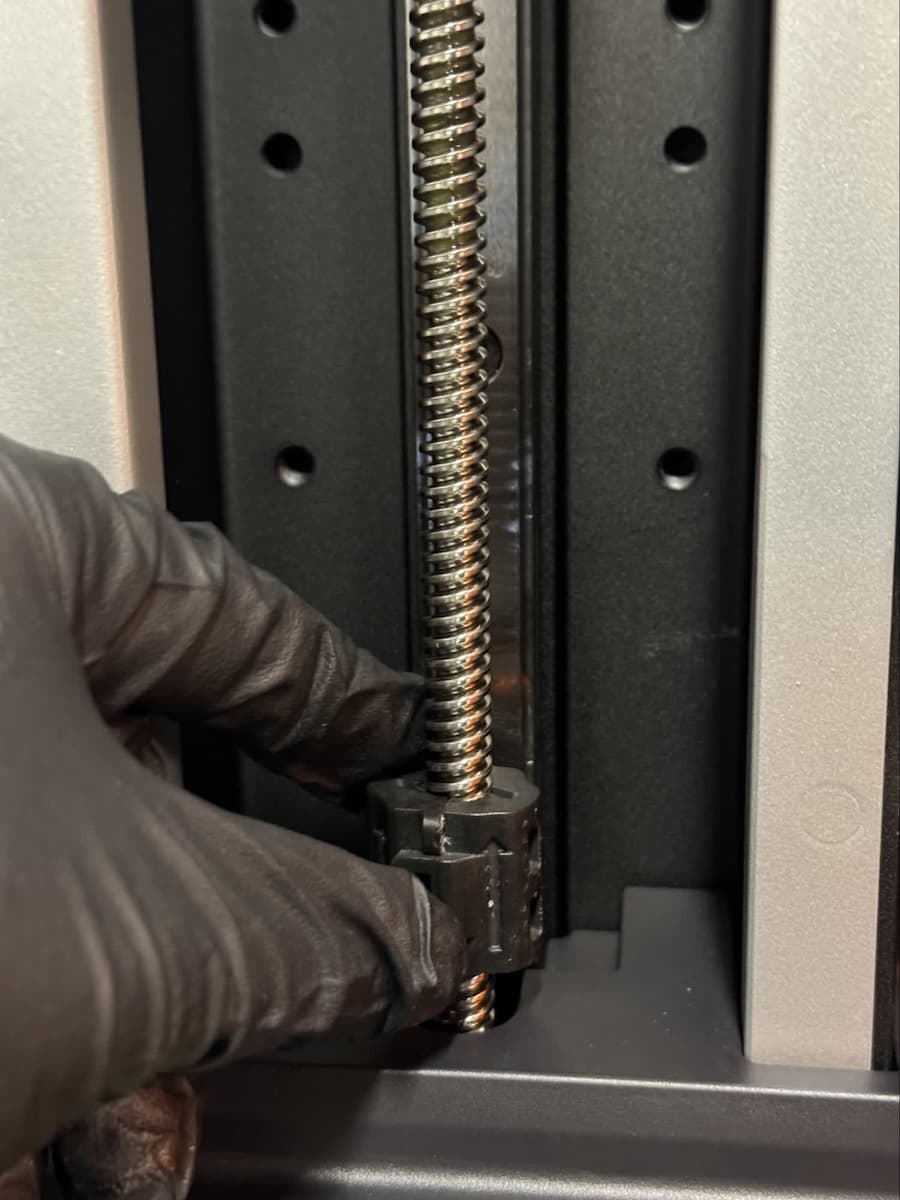
Starting from the top of the lead screw, rotate the top of the thread cleaning tool clockwise. The thread cleaning tool moves down the Z-axis lead screw toward the bottom of the printer.
Continue rotating the thread cleaning tool until it reaches the bottom of the lead screw.
Step 4: Remove the thread cleaning tool
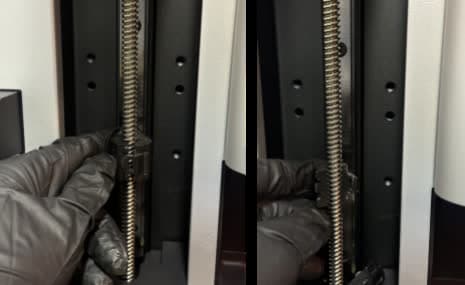
Unclip the thread cleaning tool from the lead screw. Set the tool aside.
Step 5: Wipe the Z-axis lead screw again
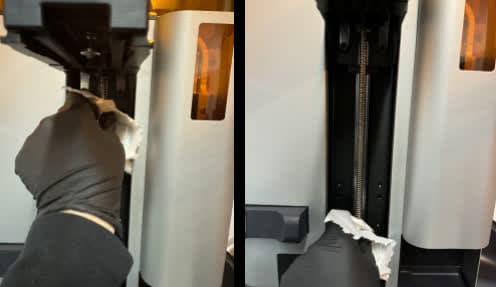
Gently wipe down the Z-axis lead screw with a dry paper towel.
Lubricating the Z-axis lead screw
Overview: Apply new lubricant to the Z-axis lead screw.
Warning:
Lithium-based grease may cause skin irritation or an allergic skin reaction. Wear gloves when applying grease to the Z-axis lead screw.
Step 1: Prepare the applicator
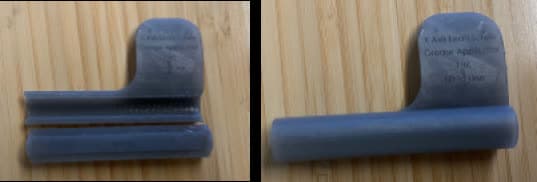
Remove the provided applicator from its packaging. In some regions, the applicator comes with a bead of grease pre-applied. If you have purchased your own lithium-based grease, place a small amount of grease on a clean applicator such as a tongue depressor or paint stirrer.
Step 2: Spread the grease along the lead screw
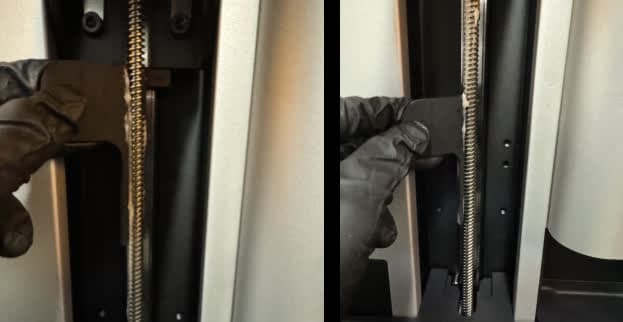
Using the applicator, spread the grease evenly along the Z-axis lead screw.
Finalizing the repair
Overview: After cleaning and lubricating the Z-axis lead screw, perform final checks.
Step 1: Power on the printer
Close the printer door and connect the power cable to the printer and the power supply. The printer initializes.
Step 2: Test movement along the Z-axis lead screw
Run a test print. The build platform descends once preprint is complete, spreading the grease along the lead screw. Ensure the build platform moves smoothly, without making noise or stalling. Contact Formlabs Support or your authorized reseller to share the results of the procedure.