Caution:

Do not use compressed air or an air gun to clean the print enclosure, build chamber, or any other component. Mobilizing loose particles increases the risk of unintentional inhalation or ingestion.

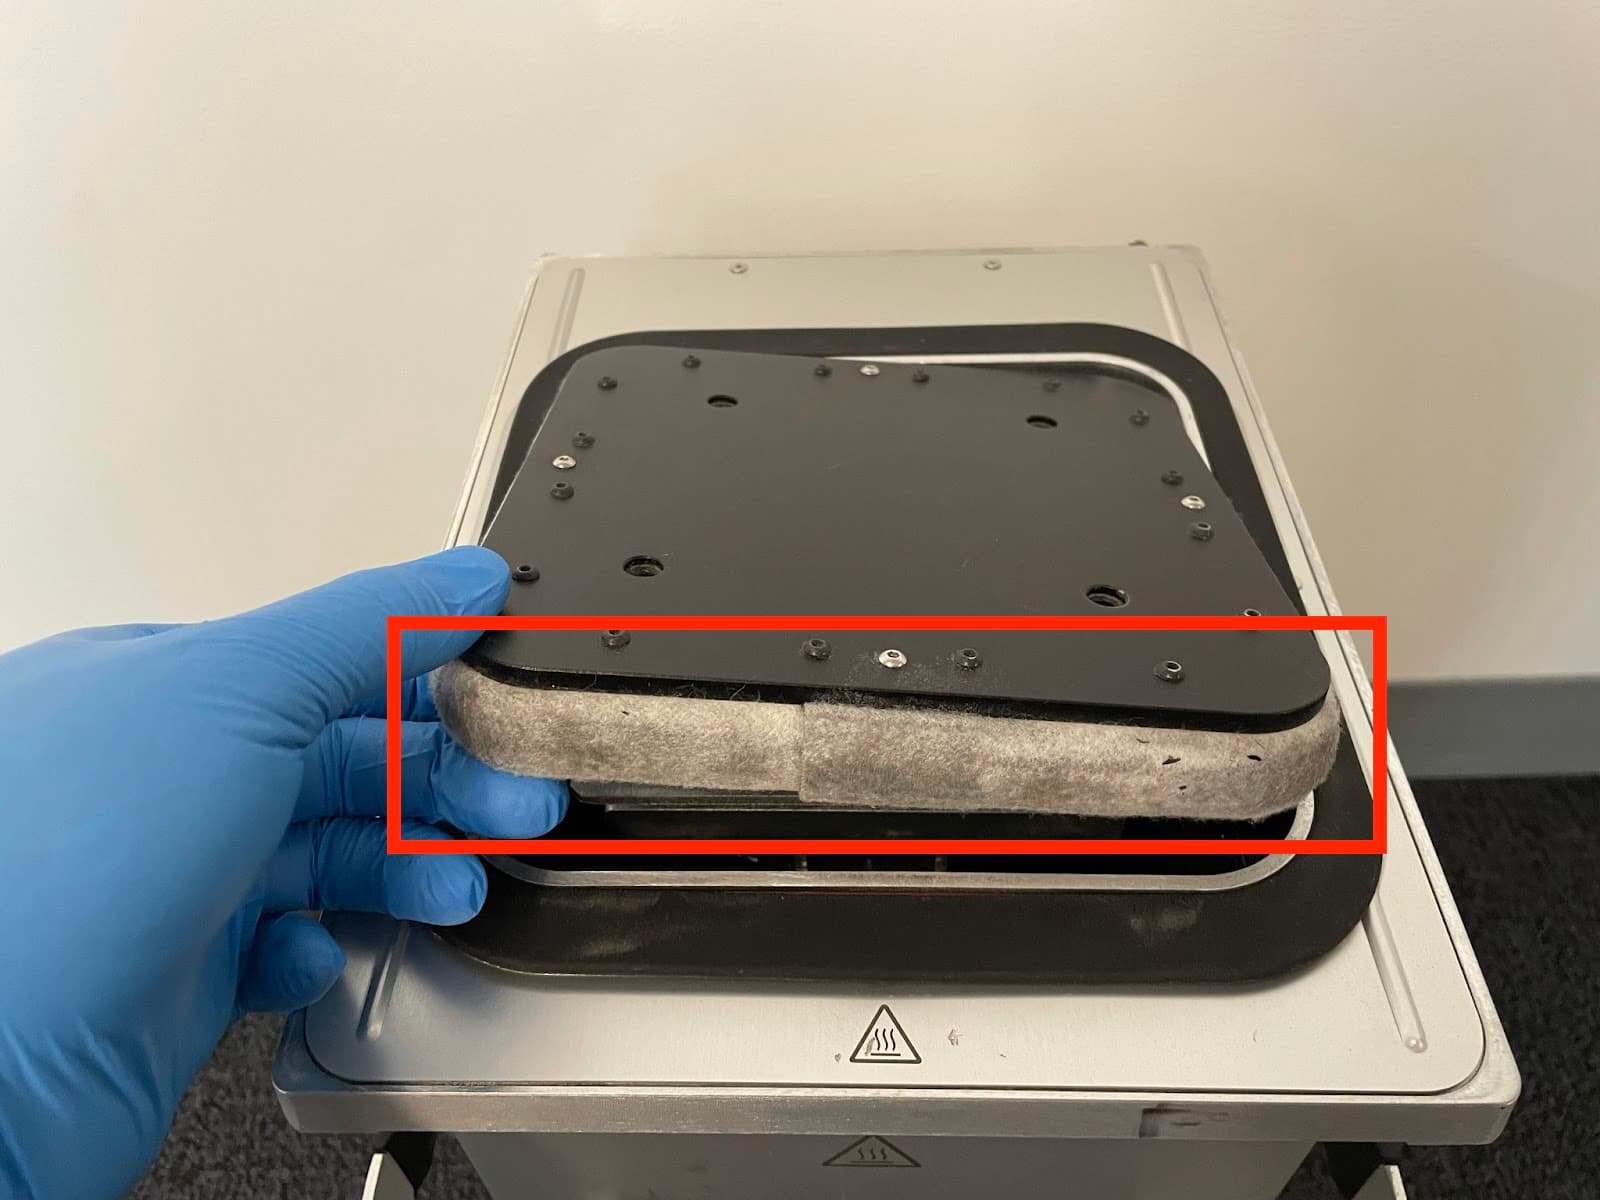
On Fuse 1 generation build chambers, the felt seal around the print bed prevents powder from leaking from the build chamber during and after printing. Over time, the felt can become occluded with powder, which can prevent the print bed from moving properly. Clean the build chamber felt seal after 500 hours of printing to prevent layer registration issues and Z-axis jamming.

Caution:
Do not use compressed air or an air gun to clean the print enclosure, build chamber, or any other component. Mobilizing loose particles increases the risk of unintentional inhalation or ingestion.
Required supplies
Estimated time: 10 minutes
Supplies:
Cleaning the felt seal
Step 1: Empty the build chamber
If the build chamber has recently been used for a print and contains a powder cake, empty the build chamber using a Fuse Sift.
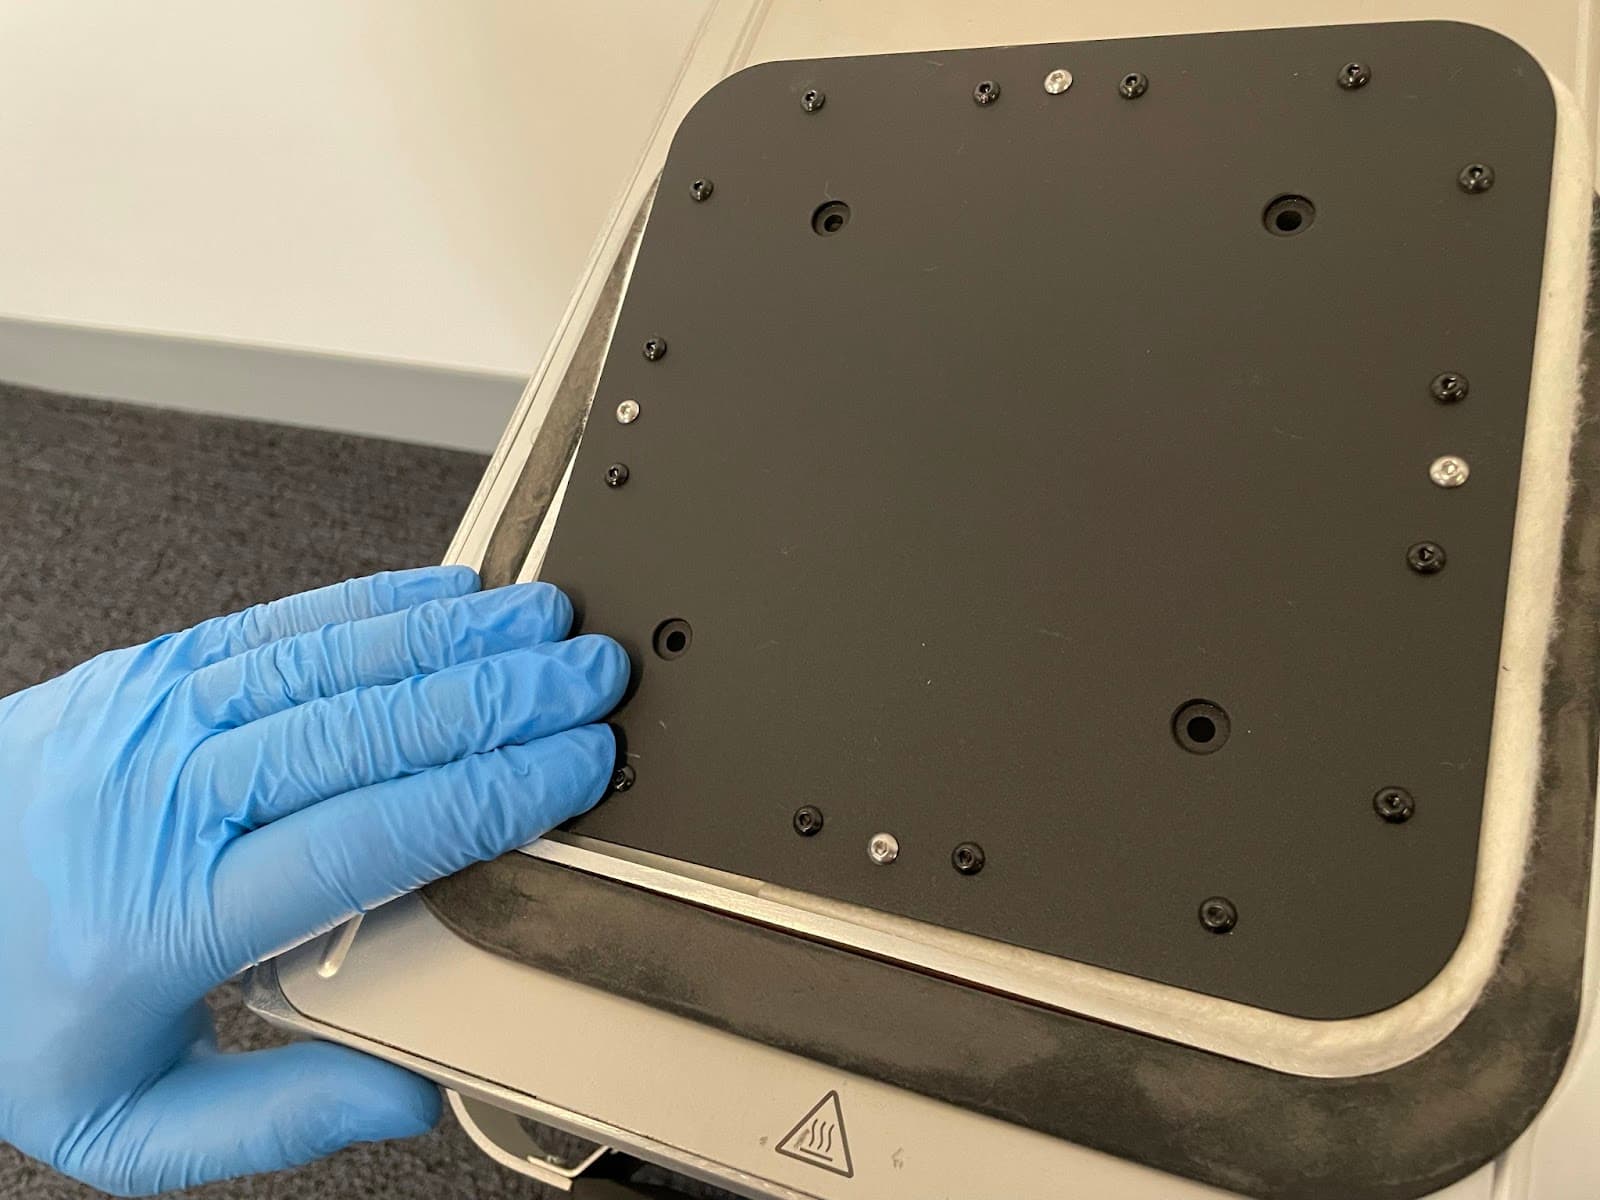
Step 2: Remove the print bed
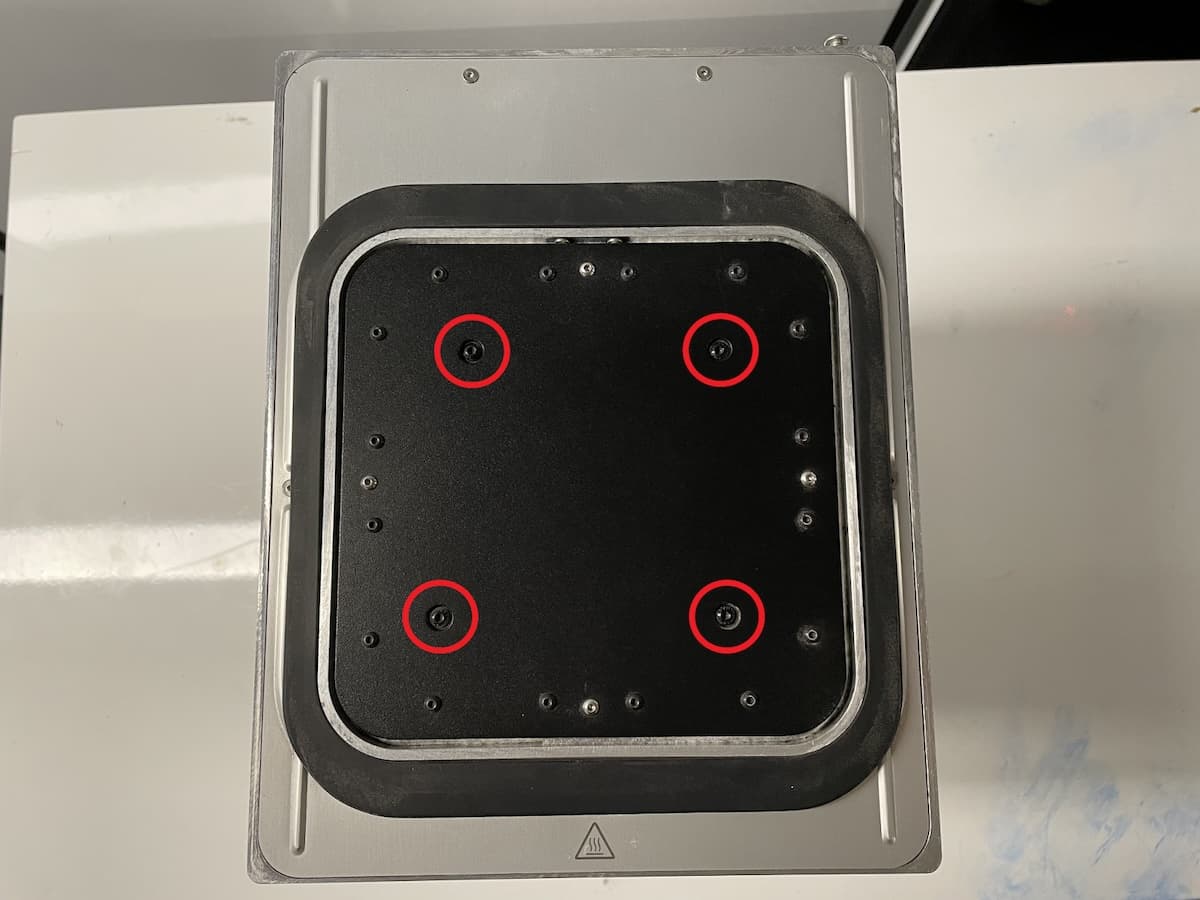
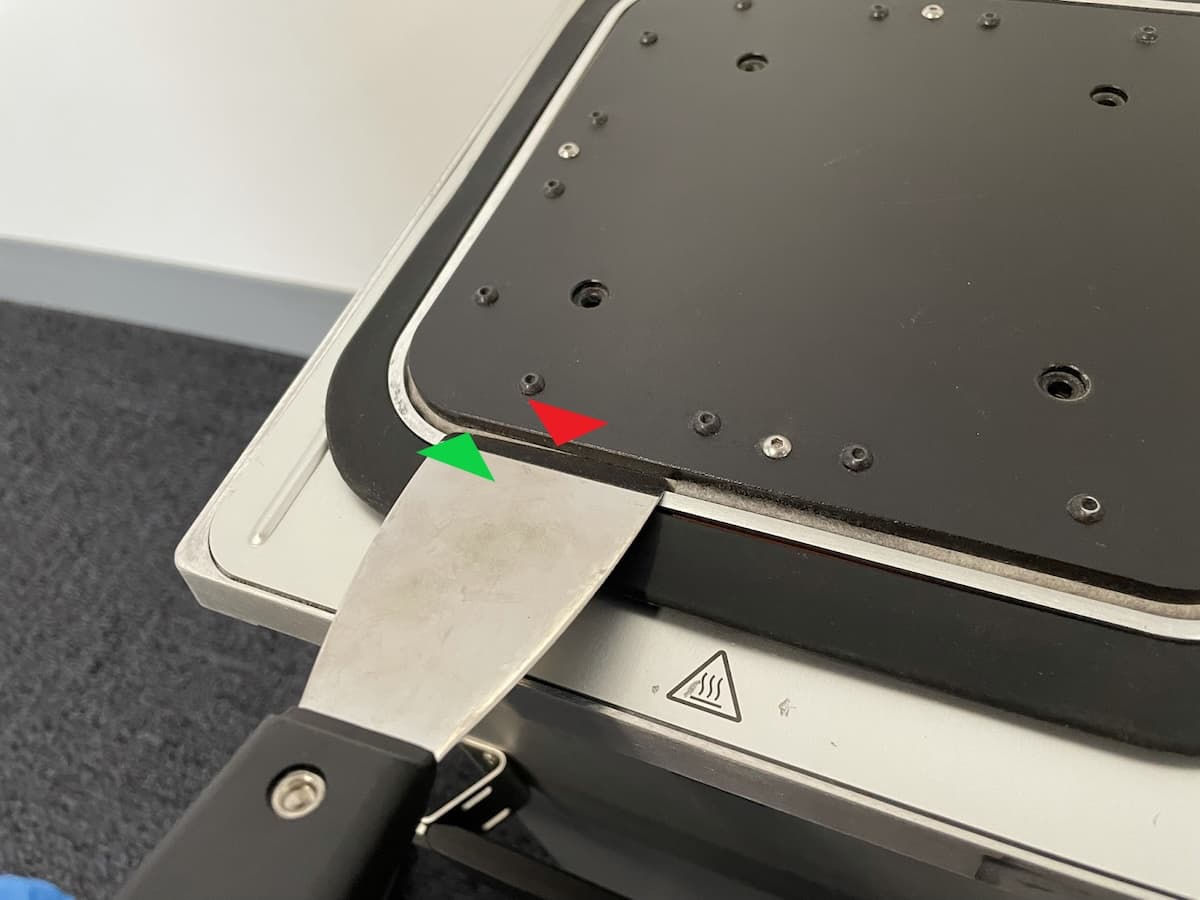
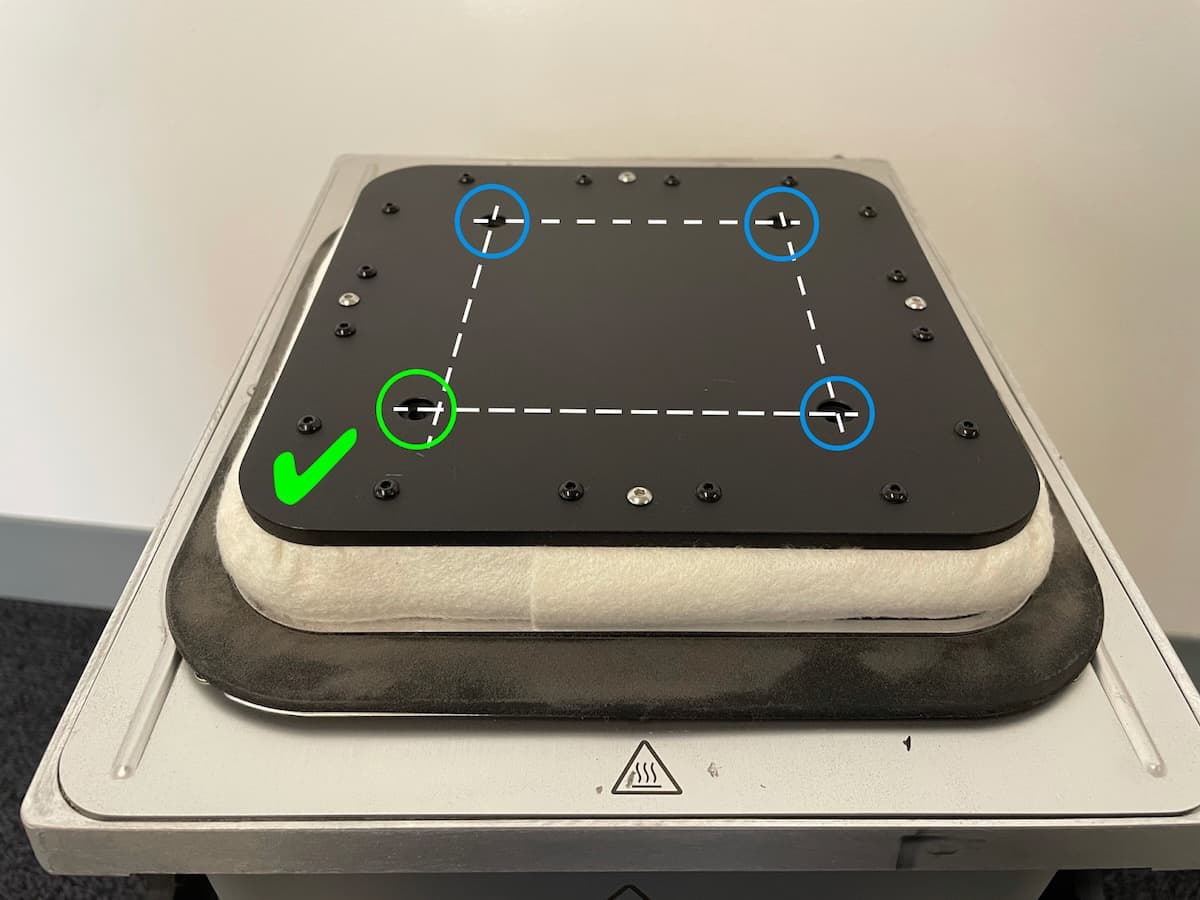
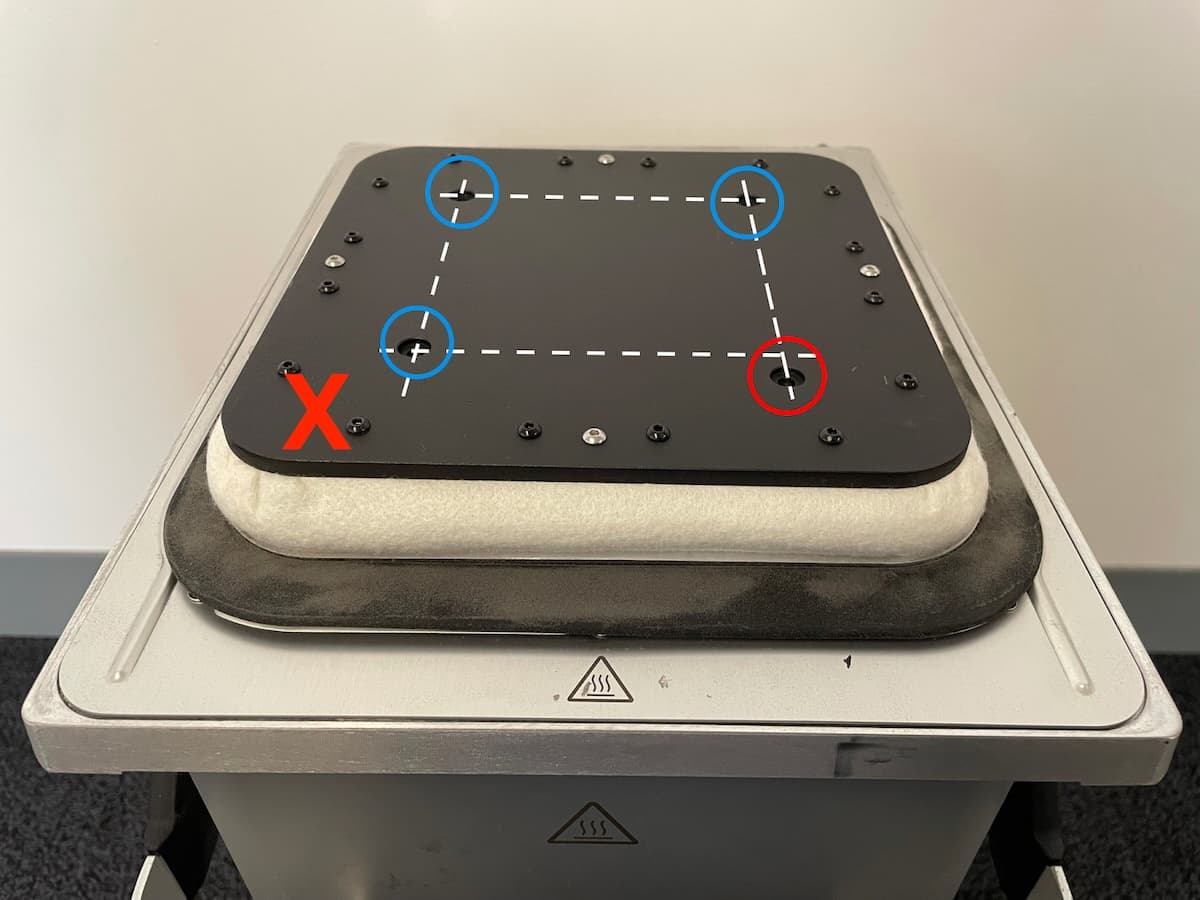
Step 3: Vacuum the felt seal
Using a vacuum cleaner with a crevice attachment, vacuum as much powder from the felt seal as possible. You may need to use a scrubbing motion to break apart clumps of powder.
Note:
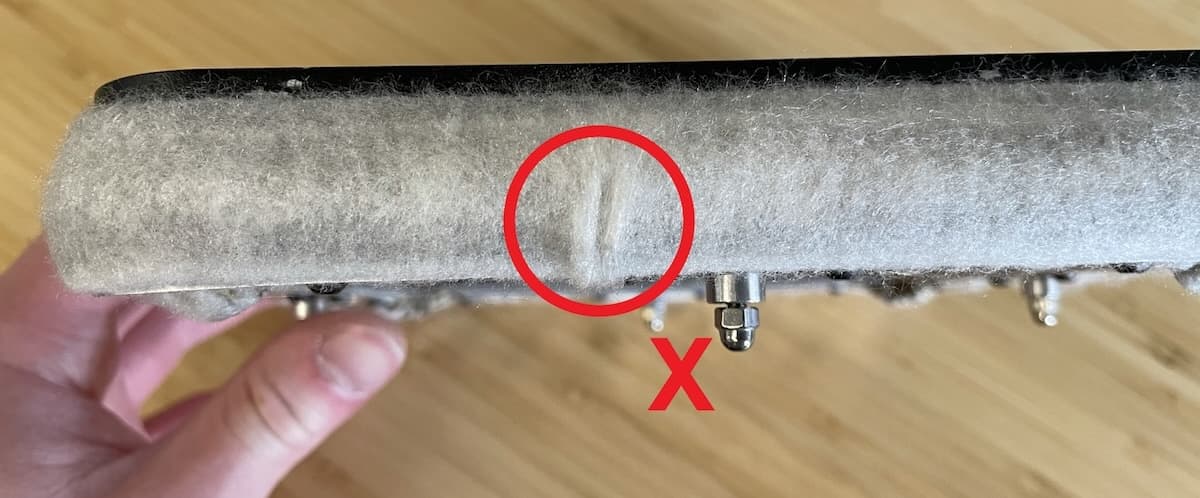
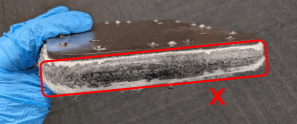
If there is obvious damage to the felt, such as a tear or melted material that is impossible to remove, replace the print bed assembly. The print bed assembly is available from the Formlabs Store. Follow the guide Replacing the Fuse 1 generation build chamber print bed [EN] [DE] [ES] [FR] [IT] [JA] [ZH] to replace the component.
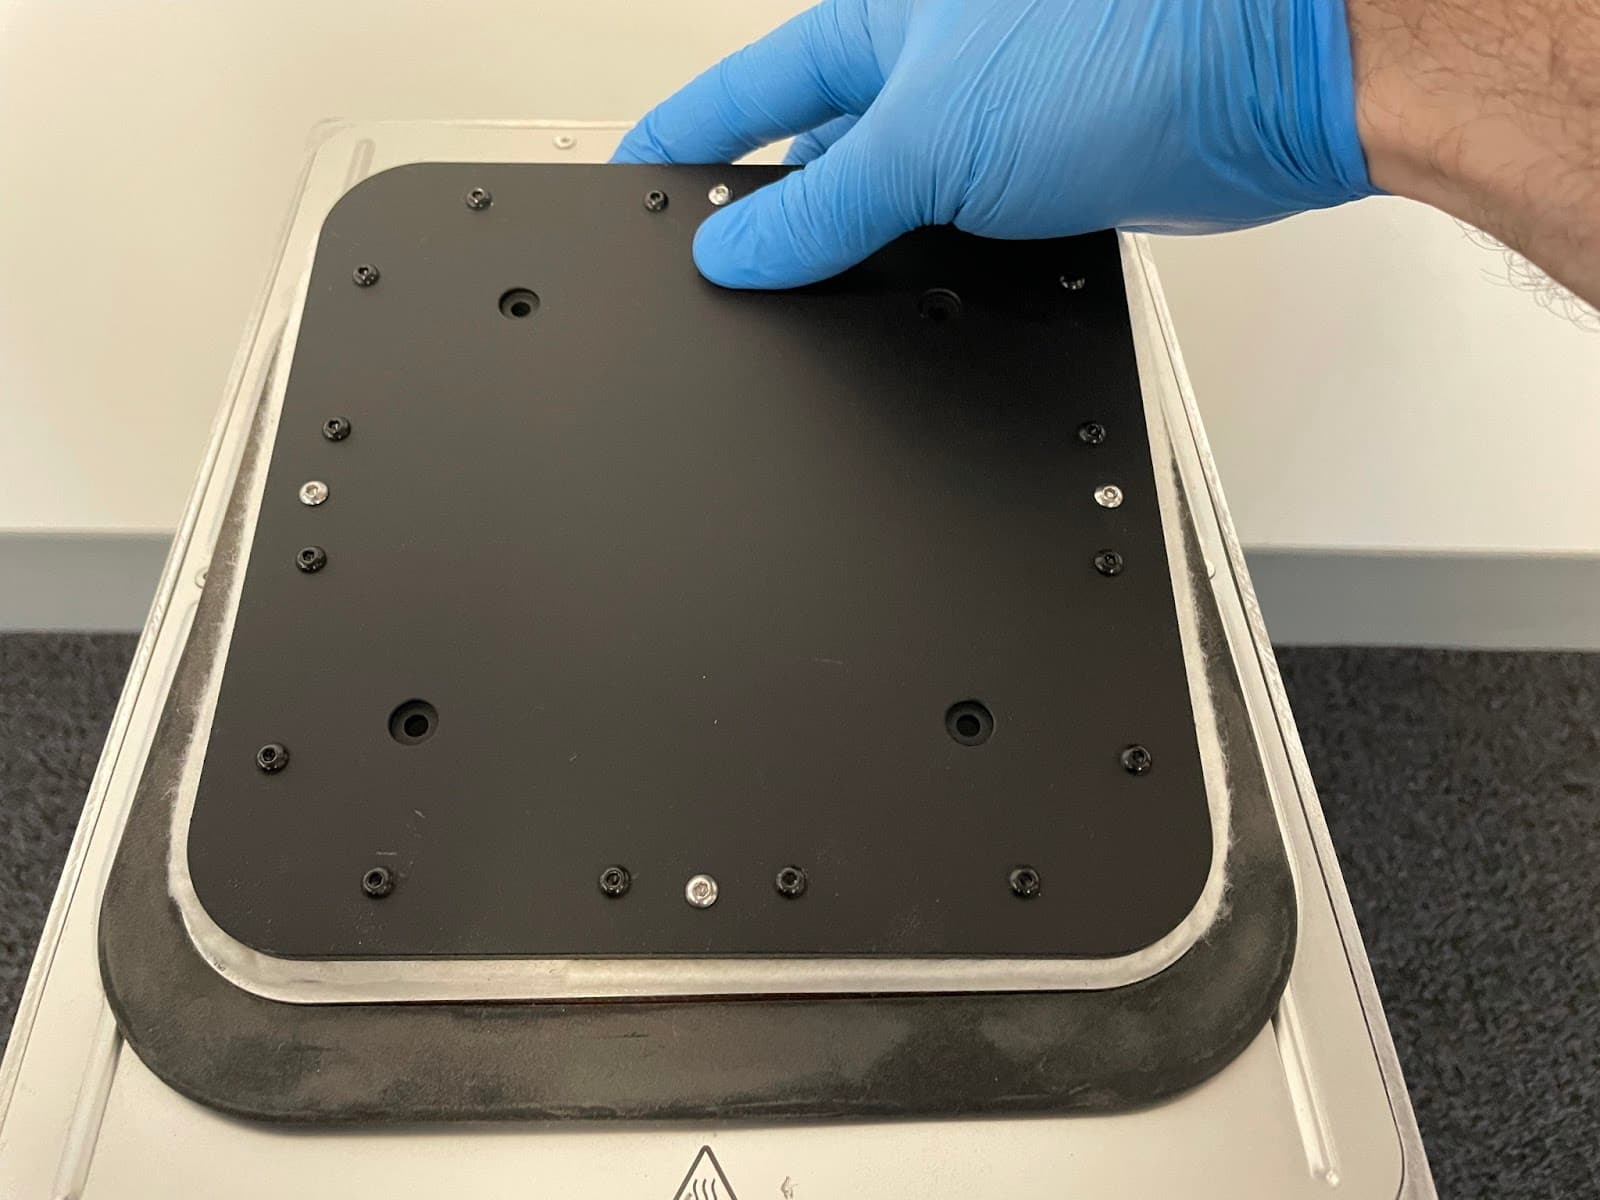
Step 4: Replace the print bed