WHITE PAPER
Formlabs Logo

Introduction to casting with Formlabs resins

Introduction to casting with Formlabs resins

Direct investment casting, or lost wax casting, is a popular moldmaking technique that can be used to fabricate small and large parts in a wide variety of metals. Originating over 5,000 years ago, casting enables creators to work with a wide variety of materials and is one of the easiest ways to make metal parts.

In investment casting, a hollow mold is created from a hand-sculpted or 3D printed master pattern. The master is immersed in a refractory casting material (or "investment"), which dries and hardens. The wax or 3D printed pattern is burned out, leaving a negative mold of the design. Metal is poured into this hollow cavity to create the final part.

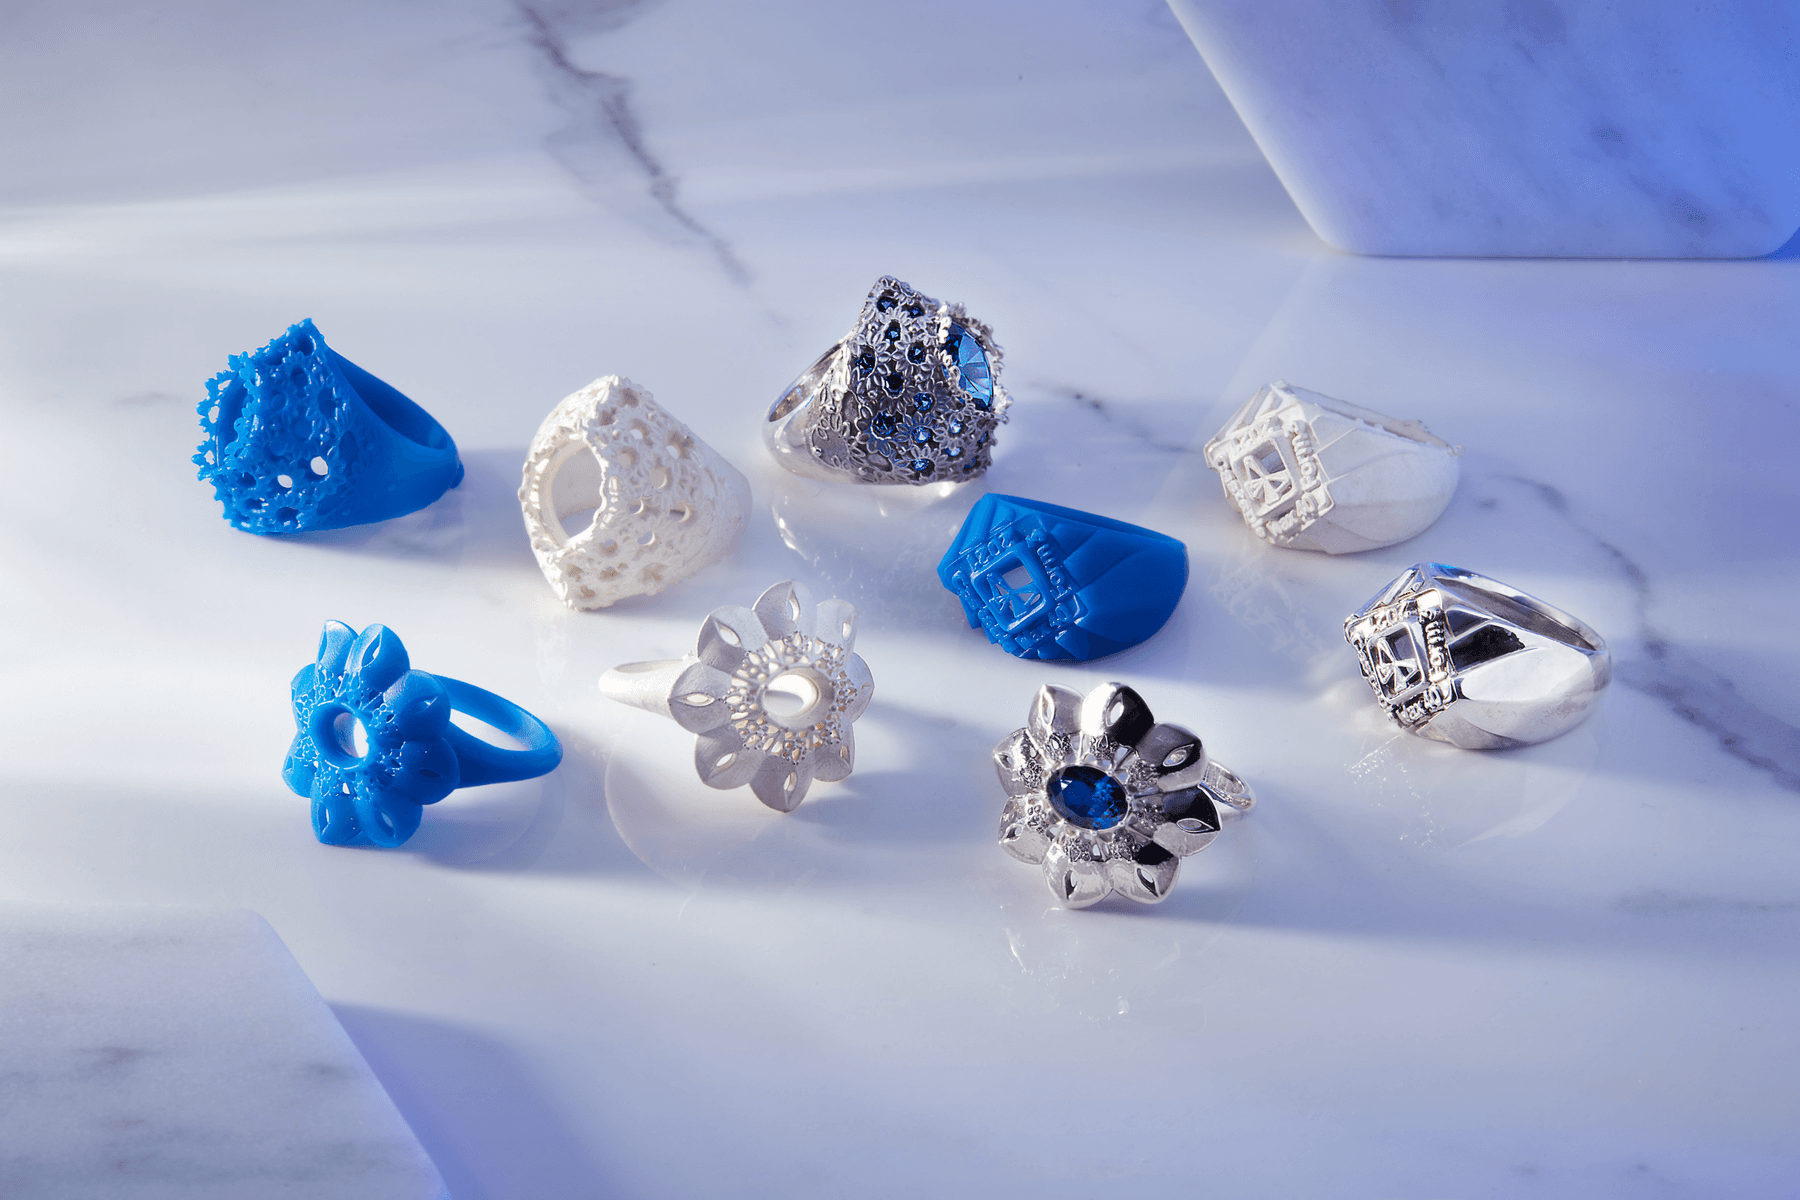
Rings printed in Castable Wax Resin (left) and Castable Resin (right)

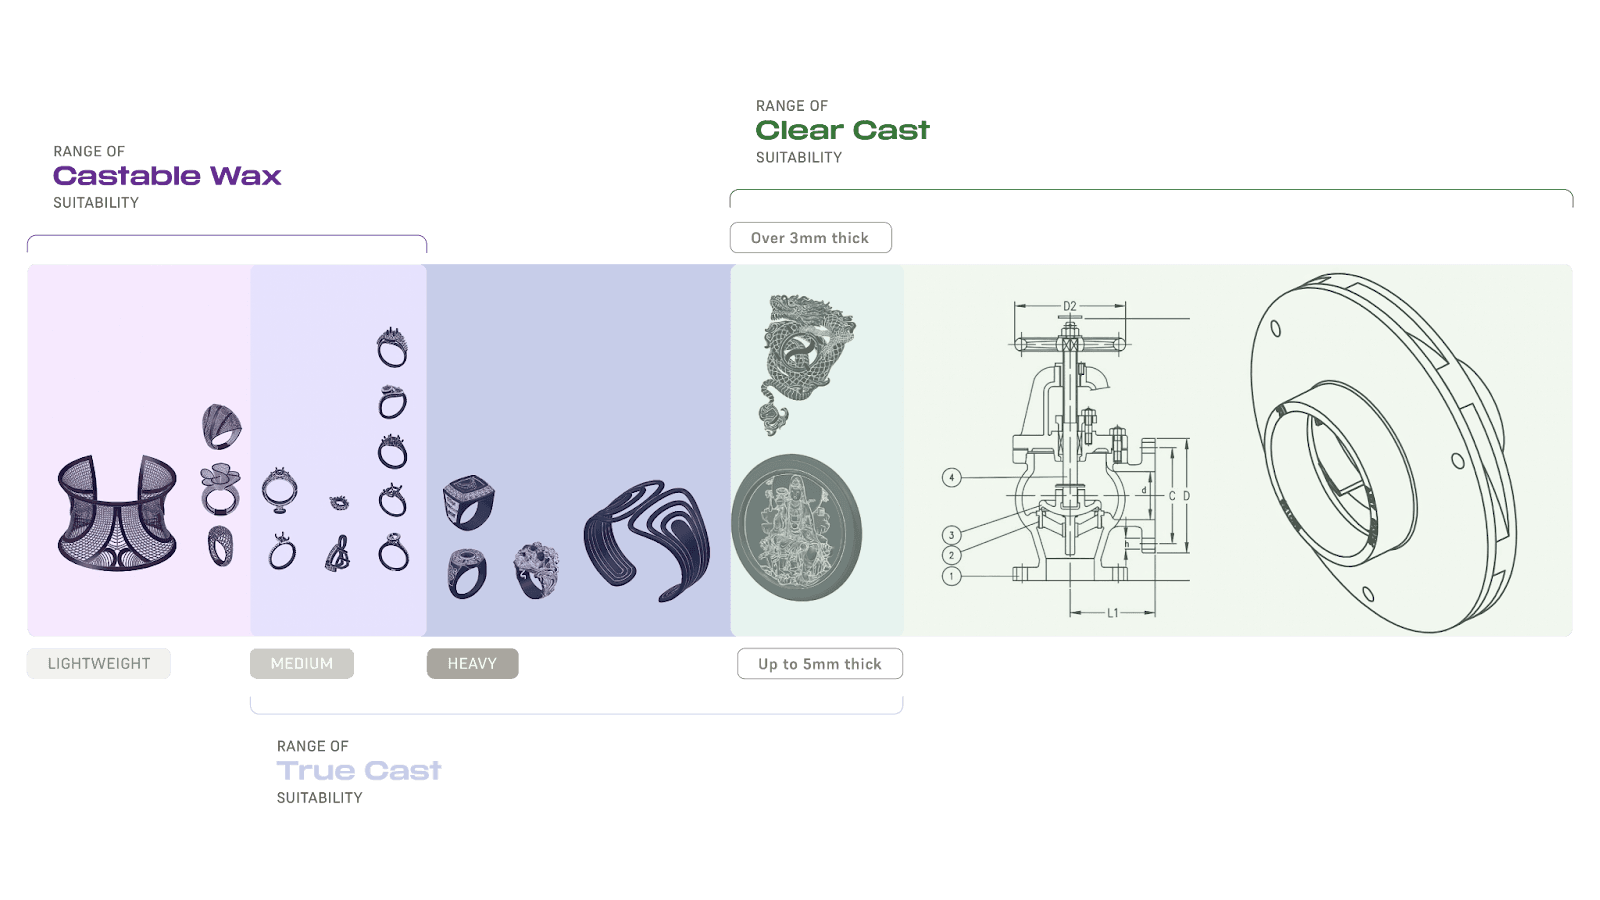
When choosing a casting resin, take the casting properties of each material into consideration. For smaller parts or wire filigree, use Castable Wax Resin. For medium to heavy jewelry or small engineering components, use True Cast Resin. For larger investment casting, use Clear Cast Resin.

Suitability range for Formlabs castable resins

Wash and dry 3D printed parts thoroughly before sprueing and casting, and follow the investment manufacturer's instructions during the burnout process.

WhitePaperWarning

Sprueing parts

Sprue parts that are fully dry. Add wax sprues and gates to the print, similar to lost-wax casting. If a printed part is difficult to sprue, use epoxy or superglue to attach printed parts to the wax sprue.

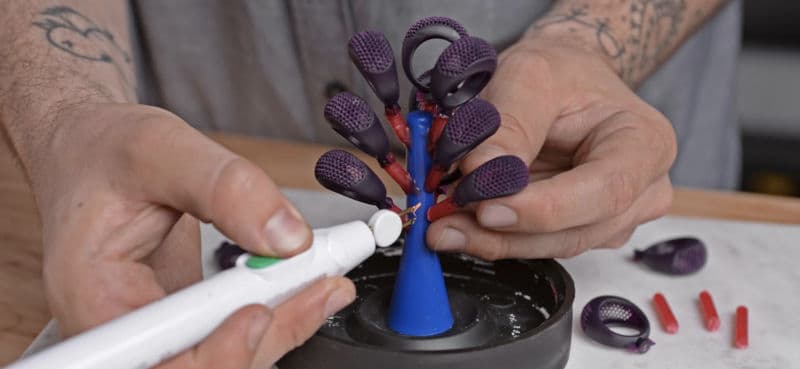
Attaching printed parts to sprues

Attach the post-processed prints to a main wax sprue tree with sticky sprue wax. Melt the wax to create smooth junctions between each printed pattern and its feed sprue (printed in Castable Wax Resin V1 above).

Use wax sprues for main sprues and large feeds. Design and print feed sprues from the main sprue to small details in the model as part of the model.

Ideal sprue positioning varies with part geometry. Place thicker parts at the bottom and thinner parts at the top of the tree.

Space 3D printed pieces further apart on the tree than typical for a tree of wax pieces. More investment in the gaps between parts helps resist any thermal expansion.

Tips for creating a casting tree

  • Use wax sprues for main sprues and large feeds. Design and print feed sprues from the main sprue to small details in the model as part of the model.
  • Ideal sprue positioning varies with part geometry. Place thicker parts at the bottom and thinner parts at the top of the tree.
  • Space 3D printed pieces further apart on the tree than typical for a tree of wax pieces. More investment in the gaps between parts helps resist any thermal expansion.
  • If using wax sprues, create the thickest sprues possible, and place the sprues on the thickest part of the model as long as the sprues do not interfere with the design.
  • For printed sprues, match the sprue diameter to the cross-section of the adjacent part for even expansion during the cast.
  • Whether using wax sprues or sprues printed directly on the part, place sprues for the shortest exit path of material. Make the path of airflow inside the cast as short as possible. Smaller trees with less resin burn out more easily.
  • Formlabs does not recommend dipping Castable Wax 40 patterns into a "casting barrier" film. Casting barrier films may interfere with the ability of the resin to lose liquid wax during heating.
  • If possible, hollow out thicker parts—see the whitepaper Jewelry 3D Printing: Basic Design Parameters, Supports, and Orientation [EN]. Add ventilation holes within the design to ensure sufficient airflow during burnout. Close these holes with wax before adding sprues to avoid the investment getting inside the model.
Preparing the investment and mold

Formlabs recommends Certus Prestige Optima jewelry investment for both Castable Wax 40 Resin and Castable Wax Resin. Castable Wax 40 Resin will give you more freedom in investment materials. If you are casting especially difficult designs, consider upgrading to a stronger phosphate bonded investment material, such as Nobilium Microfire. When using alternative investments, incorporate the manufacturer's burnout recommendations.

Tip:

Large or thick parts benefit from a stronger investment. When casting bulkier parts, adjust the ratio of water in the investment mixture. Dissolve boric acid (1% of water weight) into investment water before mixing to increase mold strength.

The workflow for mixing the investment and preparing the mold depends on the investment and flask size. Follow the investment manufacturer's instructions and adjust the burnout schedule as needed.

Warning:

Follow safety recommendations from the investment manufacturer.

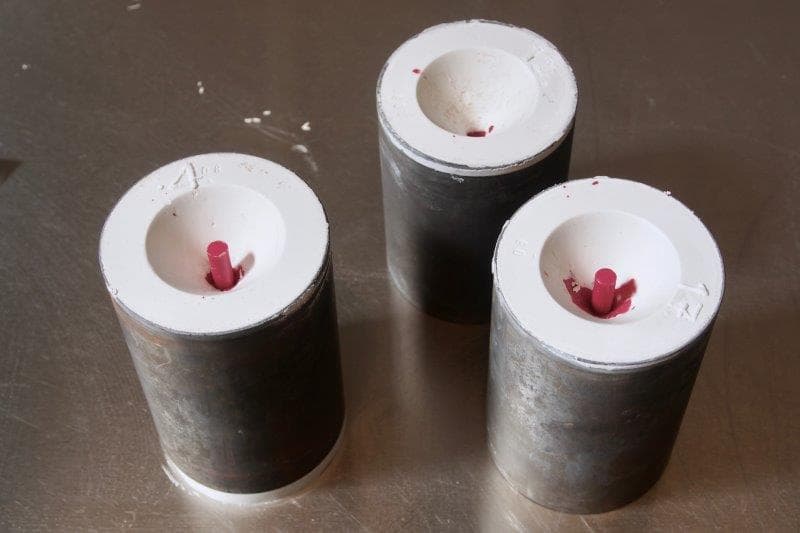
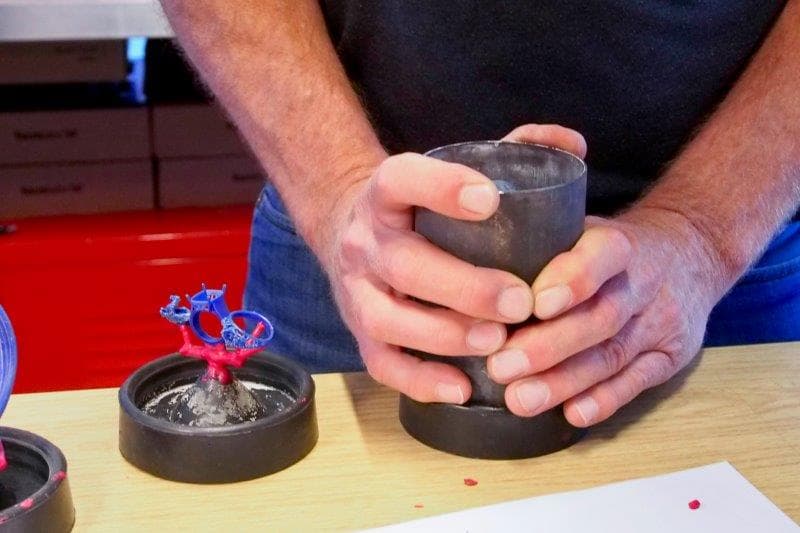
Step 1: Attach a casting flask

Attach a casting flask to the sprue base. If the flask is perforated, wrap the flask with clear packing tape to contain the investment.

Attaching a casting flask to the sprue base

Step 2: Mix the investment

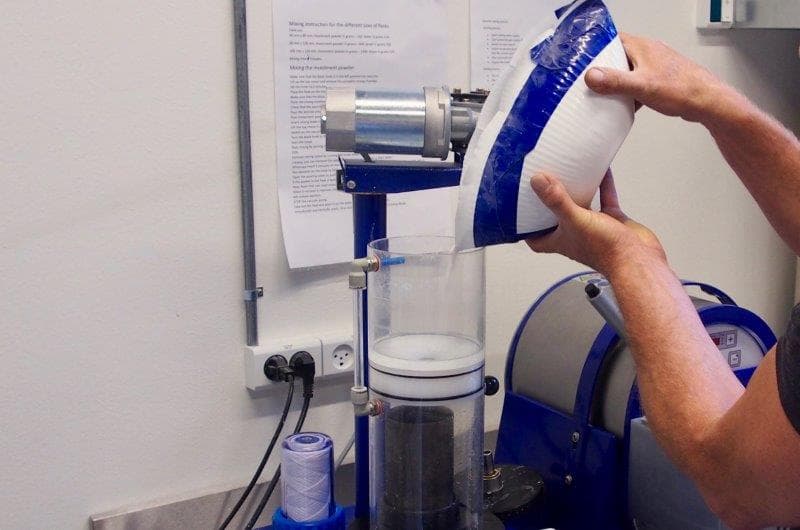
Mix the investment according to the manufacturer's instructions. Mix with a slow speed until the powder is completely wet.

Mixing the investment

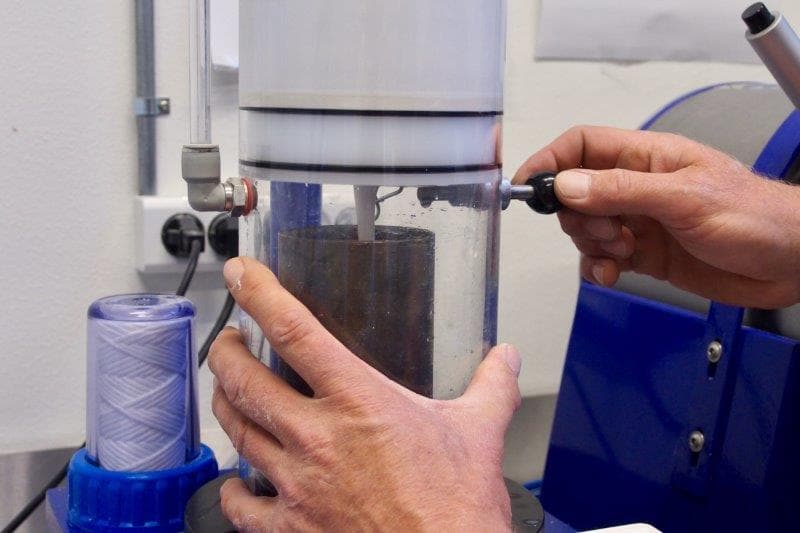
Step 3: Pour the investment

Slowly pour the investment down the side of the flask, avoiding the pattern tree. A smooth pour is less likely to trap bubbles. Use a vacuum chamber to extract any bubbles from the flask. Allow the investment to harden and dry.

Pouring the investment down the side of the flask

Step 4: Degas

Degas according to the manufacturer's instructions. Maintain the maximum possible vacuum to avoid air bubbles in the cast.

Degas according to manufacturer's instructions

Step 5: Allow the flask to set for 2–6 hours

Carefully remove rubber sprue base from the flask and allow it to set in a vibration-free environment for 2–6 hours. Follow the investment manufacturer's safety recommendations. Formlabs recommends wearing a dust mask or respirator.

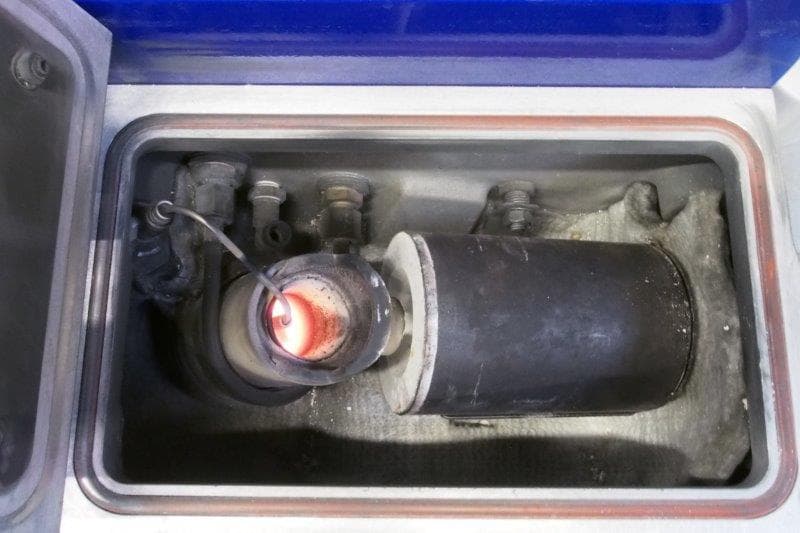
Burnout overview

Adjust the process outlined here to develop a burnout schedule suited to individual equipment, setup, and materials.

Standard burnout schedule:

  • Suitable for all casts
  • Suitable for large trees
  • Provides maximum possible investment strength and complete burnout of the finest details using Certus Prestige Optima or similar investment materials


Short burnout schedule:*

  • Suitable for thin or small parts that weigh less than 1 g per piece with a low total flask volume (flask less than 6 in or 15.24 cm tall)
  • Provides faster cycle times for smaller geometries and investment materials that can withstand faster heating

* The short burnout schedule has been validated with Castable Wax Resin & Castable Wax 40 Resin. If using Castable Resin, use the standard burnout schedule.

To fully enable the gas transition, maximize the airflow by adding venting, by active ventilation, or by blowing out molds when possible. Ideally, the thermal expansion of the investment should be well suited to the thermal expansion of your 3D printed material. To transition from primarily a wax-based casting process, adjust the process accordingly to achieve a successful cast.

Tips for mastering the burnout process:

  • Use the Formlabs recommended burnout schedule as the starting point for your burnout. Adjust the burnout schedule according to the investment manufacturer's instructions.
  • Adjust the ramp rate and hold times dependent on part geometry, total volume, and flask size. Adjust final hold temperature dependent on metal casting temperature.
  • Calibrate your oven regularly to allow for the most accurate display of cycle times and temperatures.
  • Compare the casted part to a printed model after casting. If pieces appear to be missing from the casted part, there is likely ash remaining in the investment cavity before casting. In this case, review and adjust the burnout steps.
  • If the oven has a suction feature, set it for the maximum suction to create higher airflow throughout the oven.
  • If the oven is full of flasks, there will be less effective airflow per flask. Attach an oxygen generator to the oven to increase the airflow.
  • Maximize the airflow and ventilation during burnout. Adjust the burnout schedule for temperature fluctuations as a result of increasing airflow.

Casting

A photo showing casting, with the metal being poured into the investment

Remove the mold from the furnace and cast metal. Centrifugal or vacuum casting processes can be helpful in quickly filling the mold. Centrifugal or vacuum casting machines such as the Neutec J2R (USA) and the Indutherm MC-series (EU) are simple to use and highly controllable.

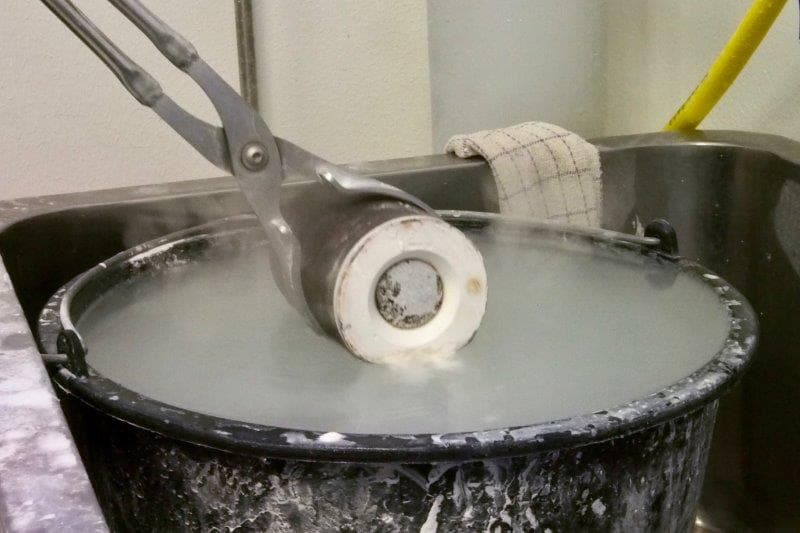
Quenching after casting

Quench and devest the flask, then process the cast parts.

Precious metal compatibility

Formlabs has tested gold, silver, and bronze castings from Castable Wax 40 and Castable Wax patterns. Metal compatibility is foremost a property of the investment. Different metals require varying degrees of temperature resistance from the investment.

Formlabs direct-casting resins require temperatures of at least 732 °C to complete burnout. Ask the manufacturer if you are unsure about resin compatibility with a specific investment.

Additional resources

Learn more about 3D printing, jewelry design, and casting in the Formlabs jewelry resources.

Special thanks to Lars Sögaard Nielsen and the KEA (Copenhagen School of Design and Technology) for letting Formlabs document their casting process.

Acknowledgments

Special thanks to Lars Sögaard Nielsen and the KEA (Copenhagen School of Design and Technology) for letting Formlabs document their casting process.