
Tip:
Some compression is normal. The first few layers will always be thinner than the rest of the part.

“Overcompression” describes a print defect in which reduced space between the build platform and resin tank causes the initial layers to be very thin. The rest of the part prints, but the initial layers are flattened and may be very difficult to remove from the build platform.
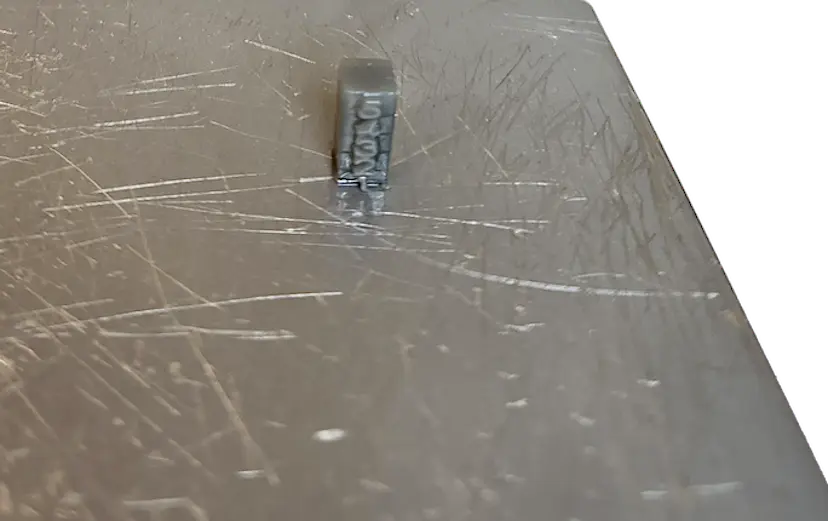
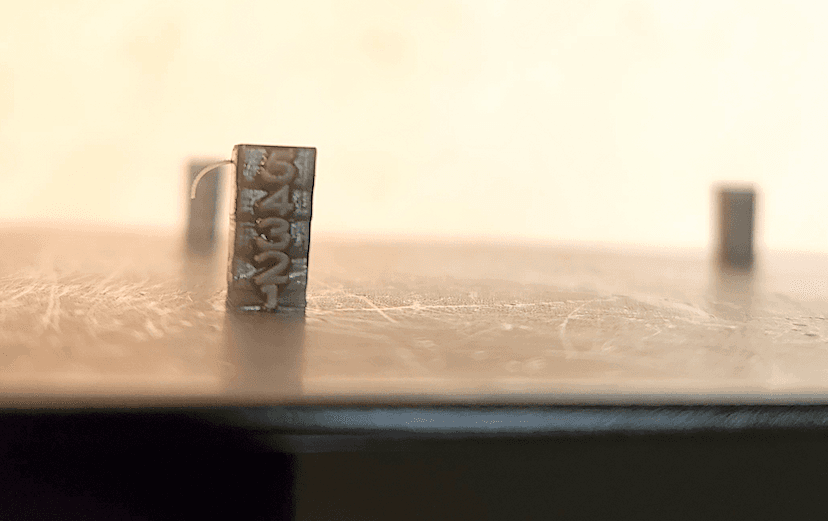
Tip:
Some compression is normal. The first few layers will always be thinner than the rest of the part.
Visual symptoms
Common causes
Overcompression is caused by insufficient space between the build platform and the elastic layer or the flexible film in the resin tank.
Troubleshooting steps
Adjust the Z-axis
Note:
Make sure that your firmware and PreForm versions are up to date. To check your printer’s firmware version, refer to the support article Checking the firmware version for Formlabs SLA printers. To update your PreForm version, refer to the FAQ article How do I update PreForm?.
When experiencing overcompression on a Formlabs SLA printer, you can slightly raise the build platform and correct consistent, small-scale errors in part adherence or dimensional accuracy issues.
Contacting Formlabs Support
If the troubleshooting steps above do not resolve the print failure, contact Formlabs Support or your authorized reseller.
To help us provide the fastest and most effective response to your issue, please follow these steps: