
Required resources
- Spray primer
- Sandpaper or flexible sanding strips (220/320, 400/600 grit)
- Soft toothbrush
- Tack cloth
- Drill
- Dowel
- Wood block
- Safety equipment: gloves and mask
- Flush cutters (optional)
- Rotary tool or hand file (optional)

Required resources
Step 1: Remove supports
Use a set of flush cutters or your hands to remove supports.
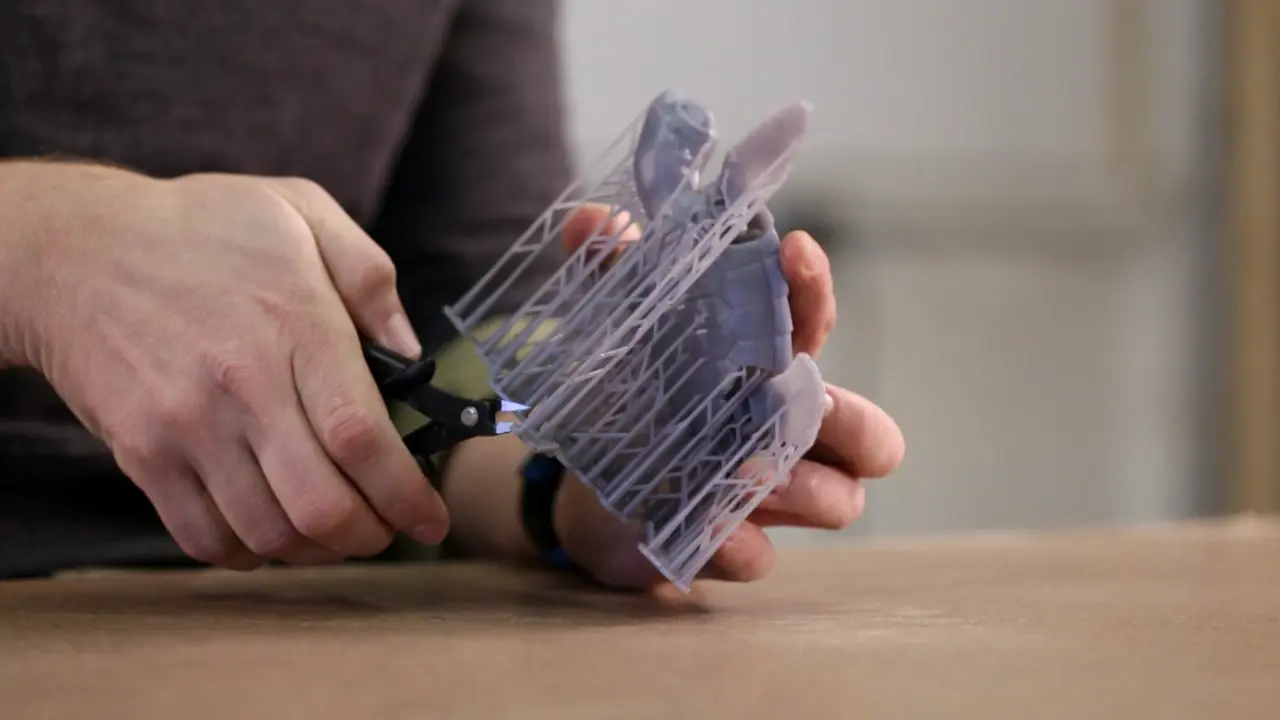
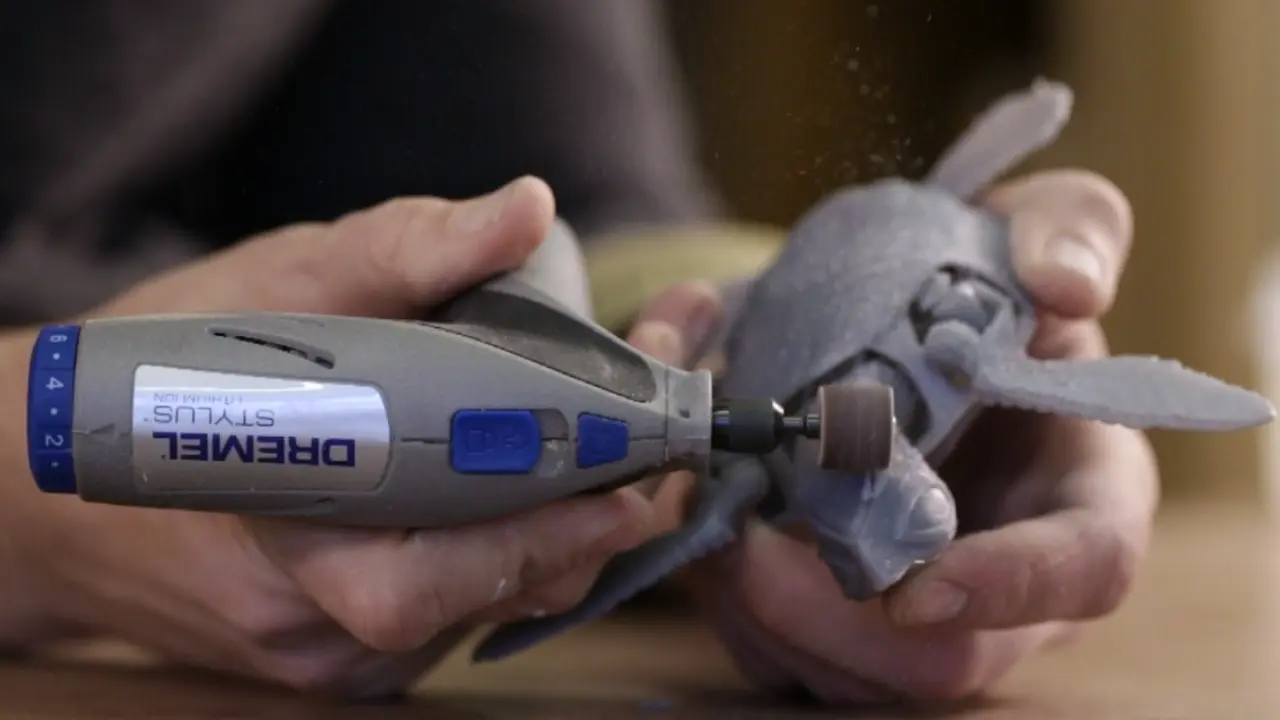
Step 2: Sand down support marks
Use a rotary tool, hand file, or 220-grit sandpaper to remove support marks.
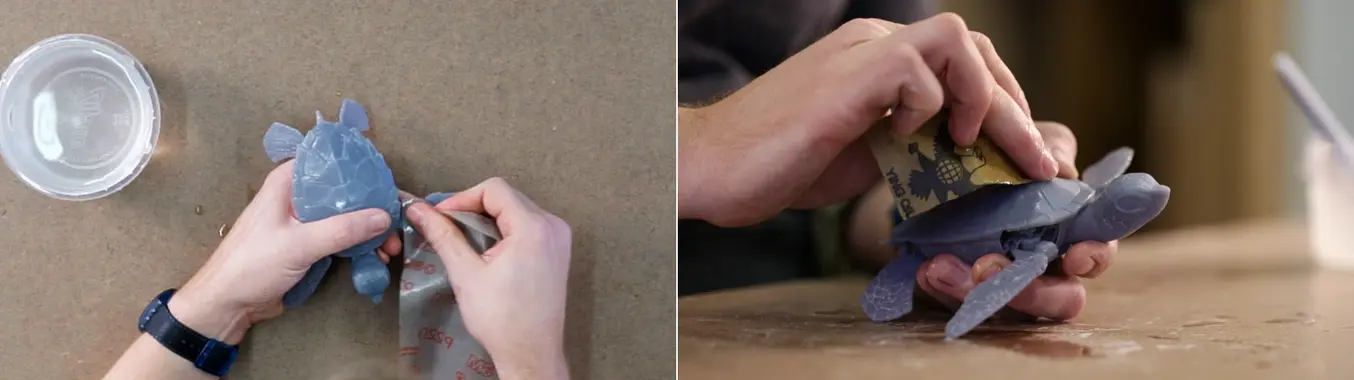
Step 3: Sand the surface
Sand the surface with 220 or 320 grit sandpaper or flexible sanding strips. Follow up with 400 or 600 grit.
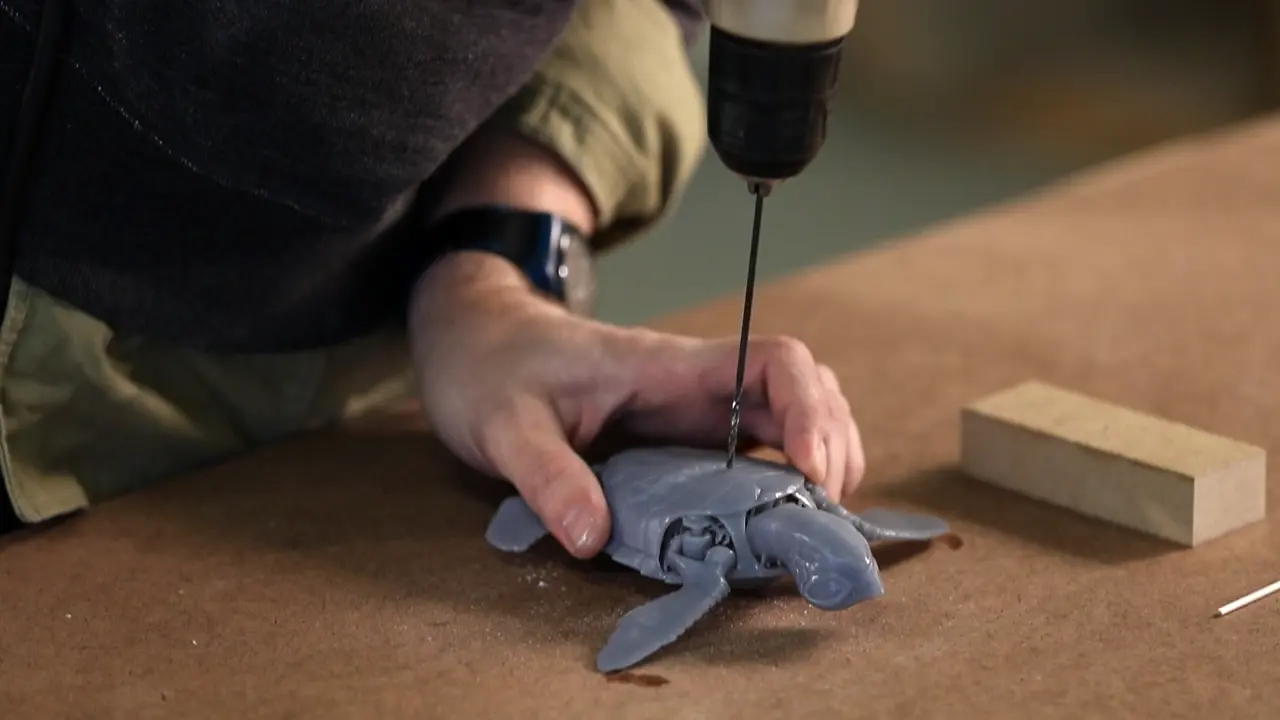
Step 4: Mount the print
Drill a starter hole in an inconspicuous spot and mount your print on a thin dowel. Insert the dowel into the wood block.
Step 5: Wash the surface
Use a toothbrush and water to wash away dust.
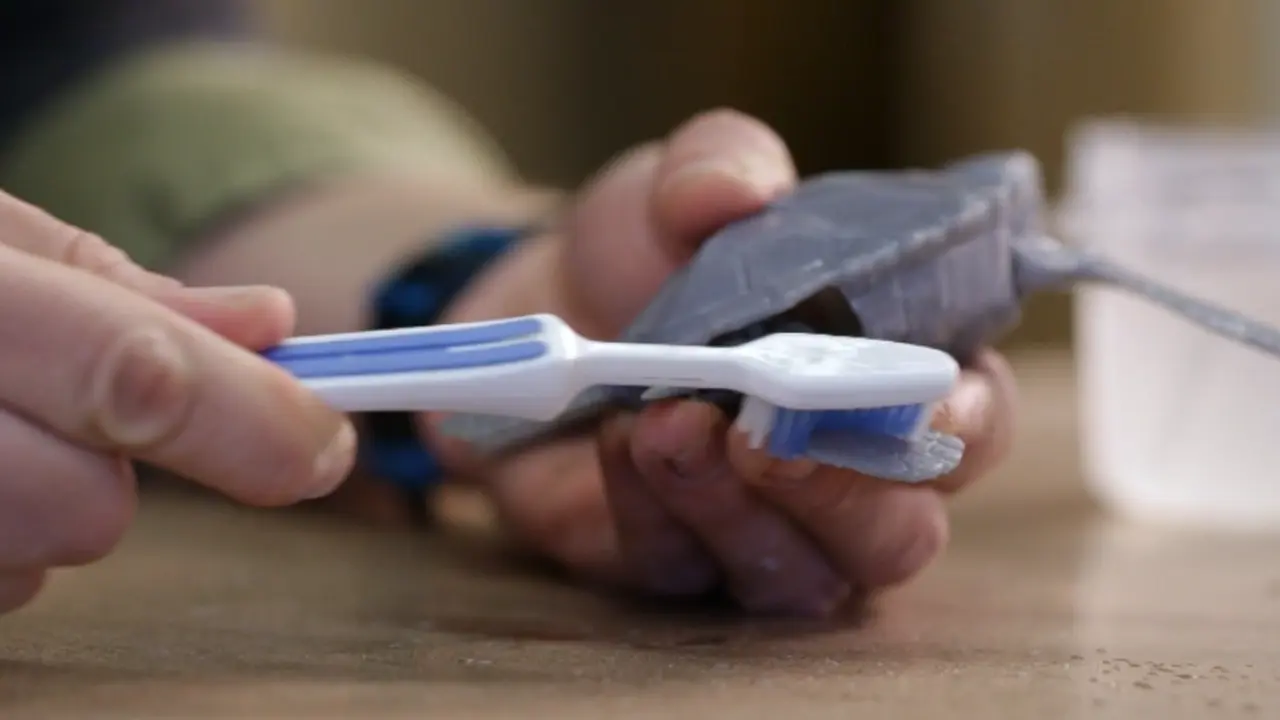
Step 6: Wipe the surface
Run the tack cloth over the surface using long, gentle strokes.
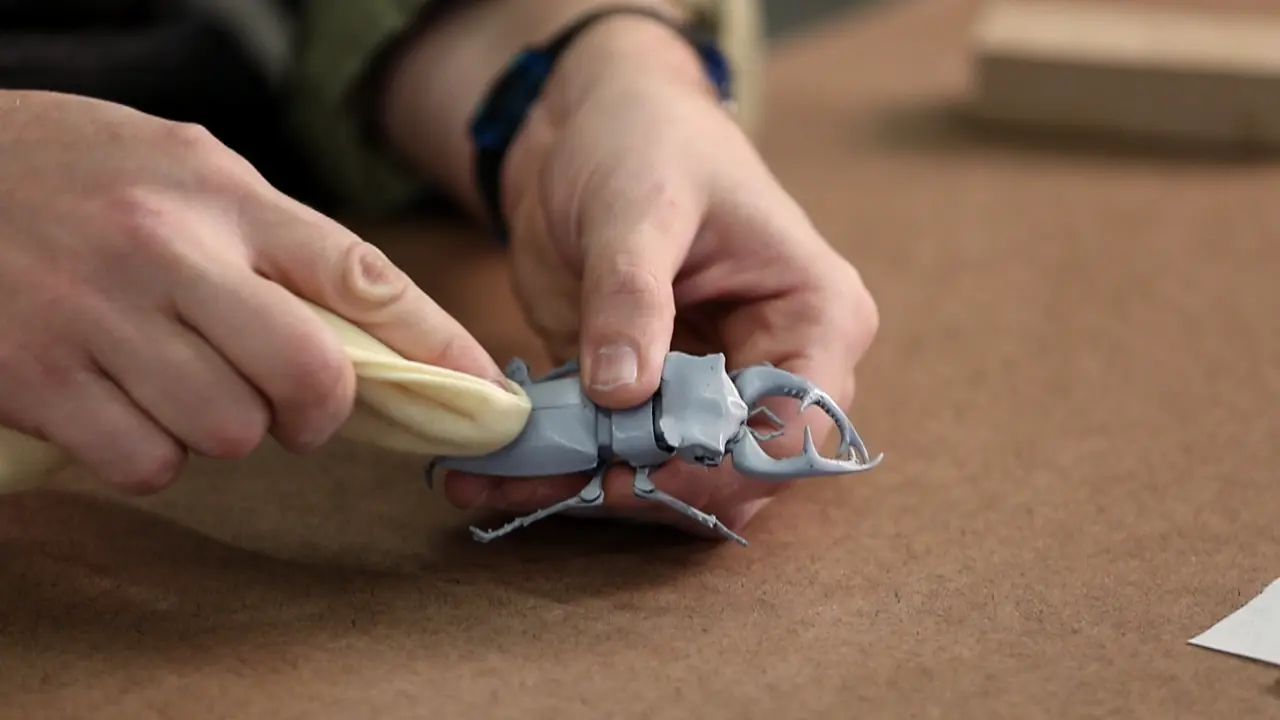
Step 7: Mix the primer
Gently swirl the primer for 2 to 3 minutes in a circular motion. Avoid shaking the can to prevent bubbly paint.
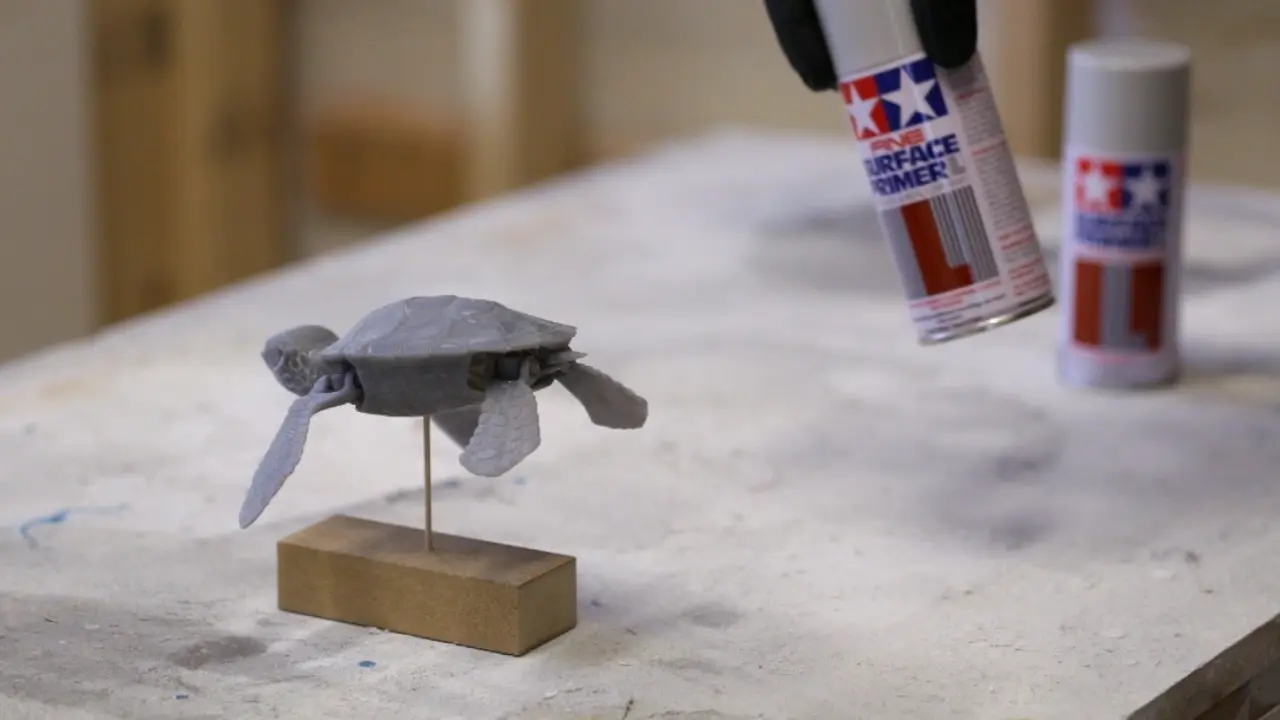
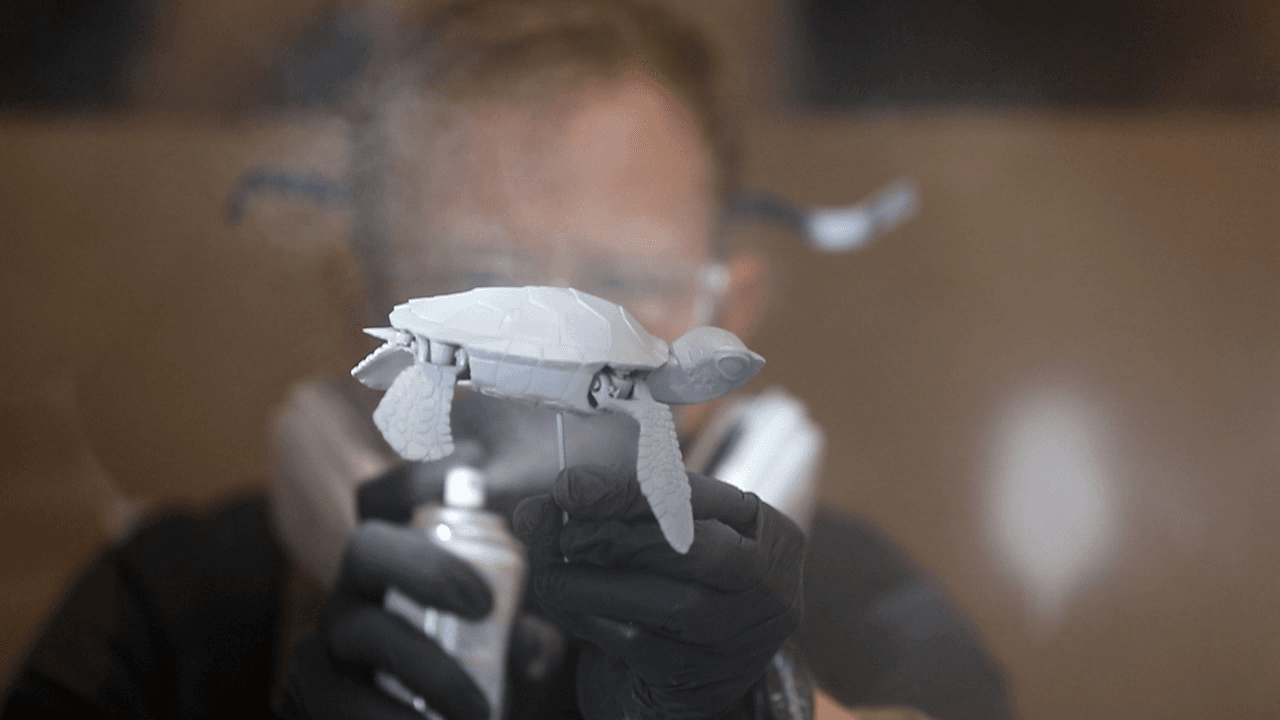
Step 8: Spray the first coat of primer
Spray in short, rapid strokes, 6 to 8 inches away from the part. Start each stroke before the part and end after the part.
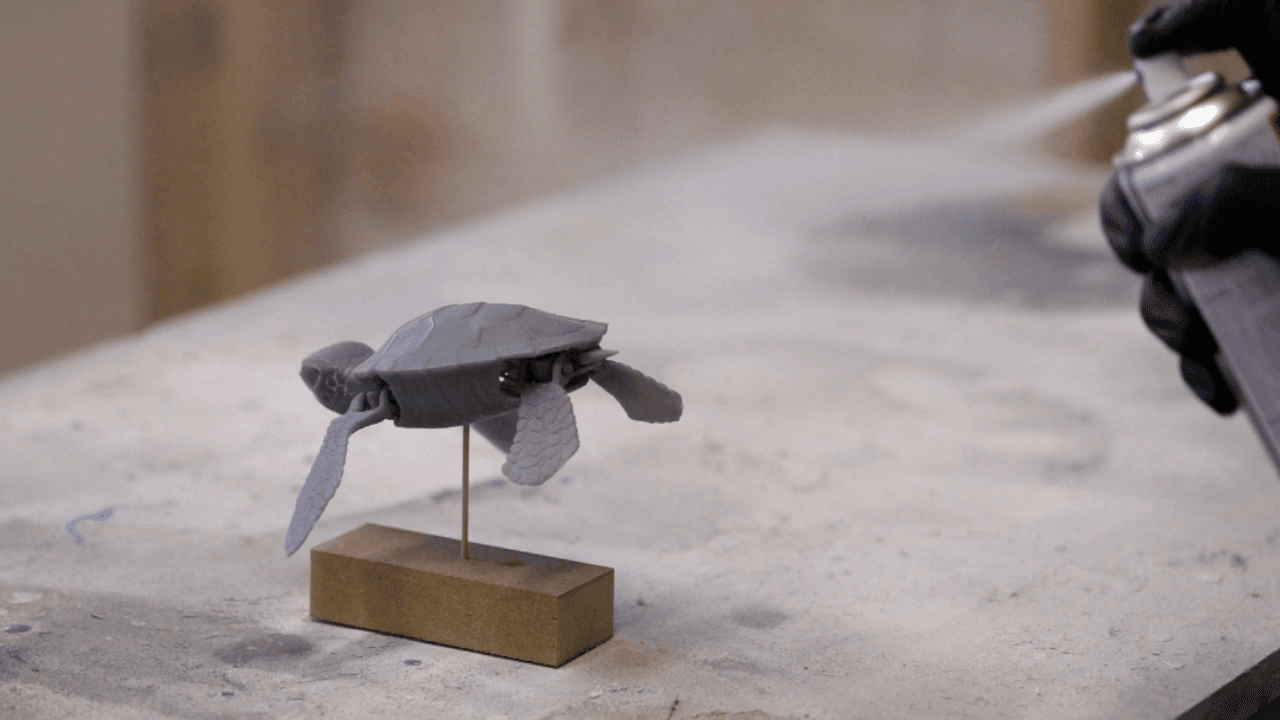
Inspect the first coat for any areas that need additional sanding or filing. If necessary, rework and polish the part with fine sandpaper. After sanding, repeat steps 5 to 6 to clean off dust before respraying.
9. Spray the final coat of primer
Add another thin coat of paint.
Next: Painting prints