
Note:
The last supported Form 1+ version of PreForm is version 2.20.0.

Various factors can cause a print to fail or come out imperfectly. Use the advice here to resolve issues with print errors on your Form 1+. Make sure to share your own knowledge in the Formlabs Community Forum.
For prints that fail in progress, follow these steps:
Nothing adheres to the build platform
In this case, the base has partially or fully peeled away from the build platform. This is often a problem when your resin tank isn't clean. If the resin tank is crystal clear, work with base thickness and the fine tuning feature to calibrate your build platform's height. Be sure to:
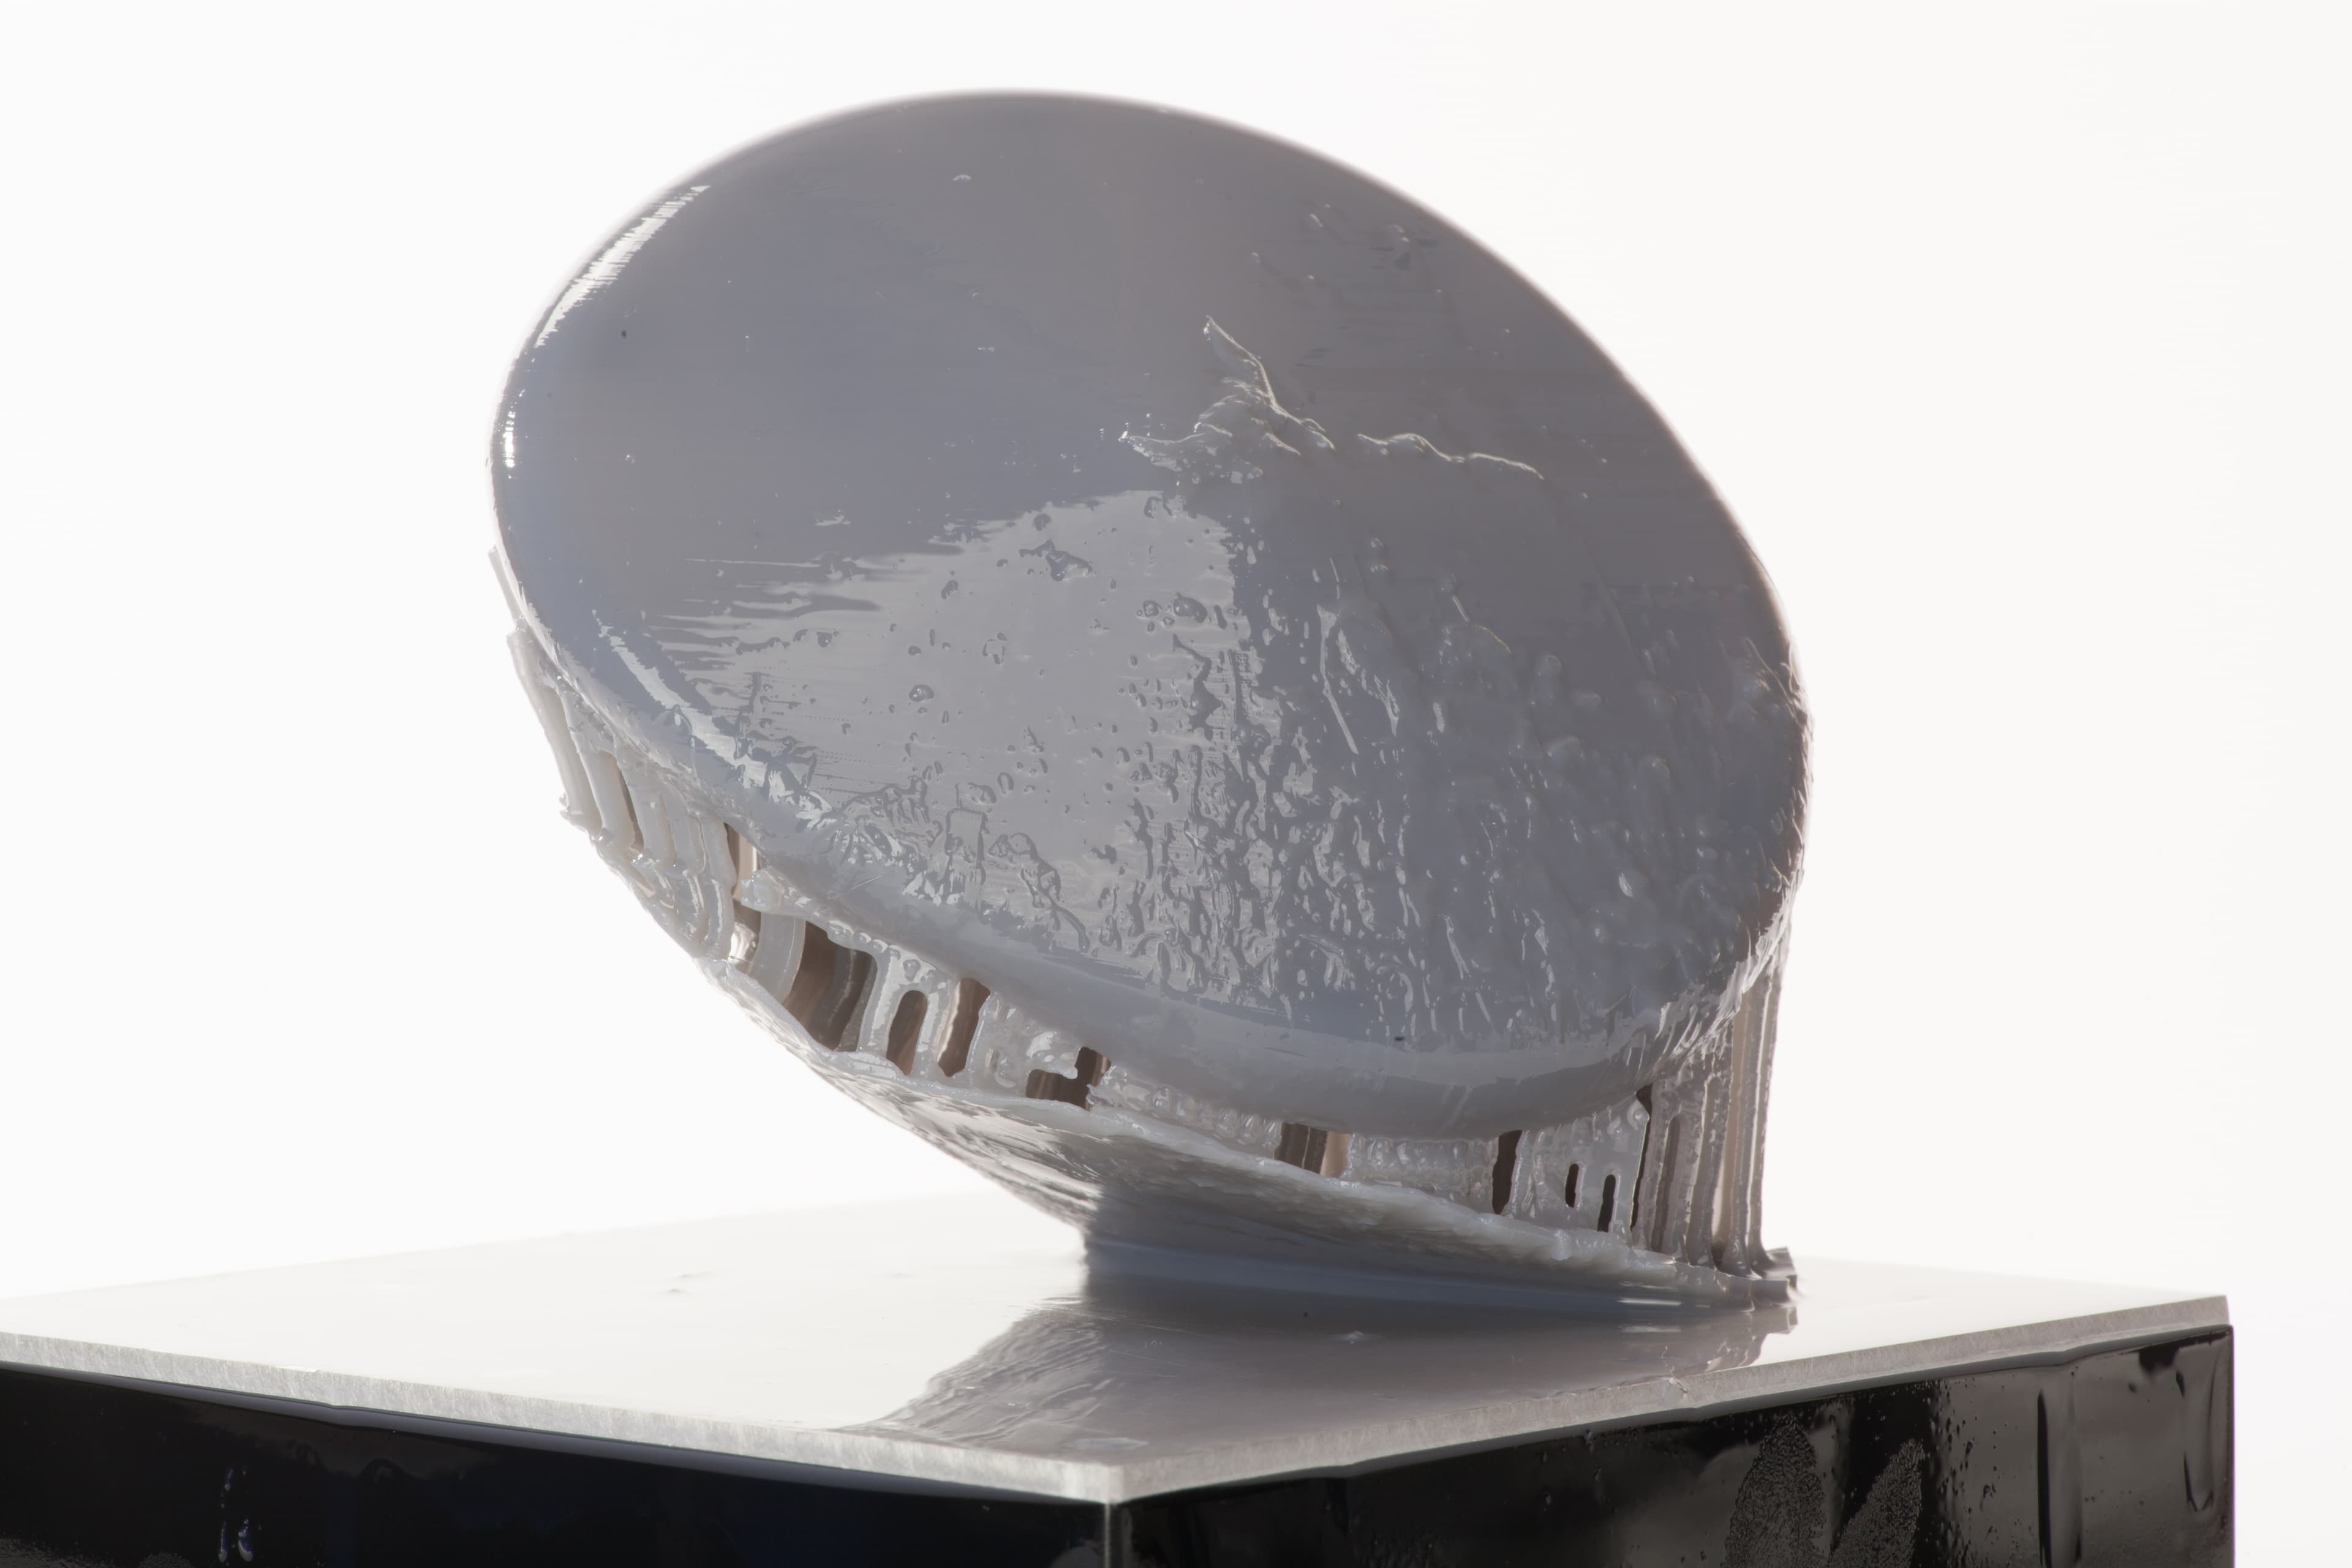
If you've had this problem while trying to print very small parts, you may have more success by trying another print location. Particularly, if printing in the middle of the build area, try moving to parts to the hinge side.
No supports
Sometimes the base will print but the supports do not. When this happens the base may be too thin. Increase the base thickness under advanced support settings.
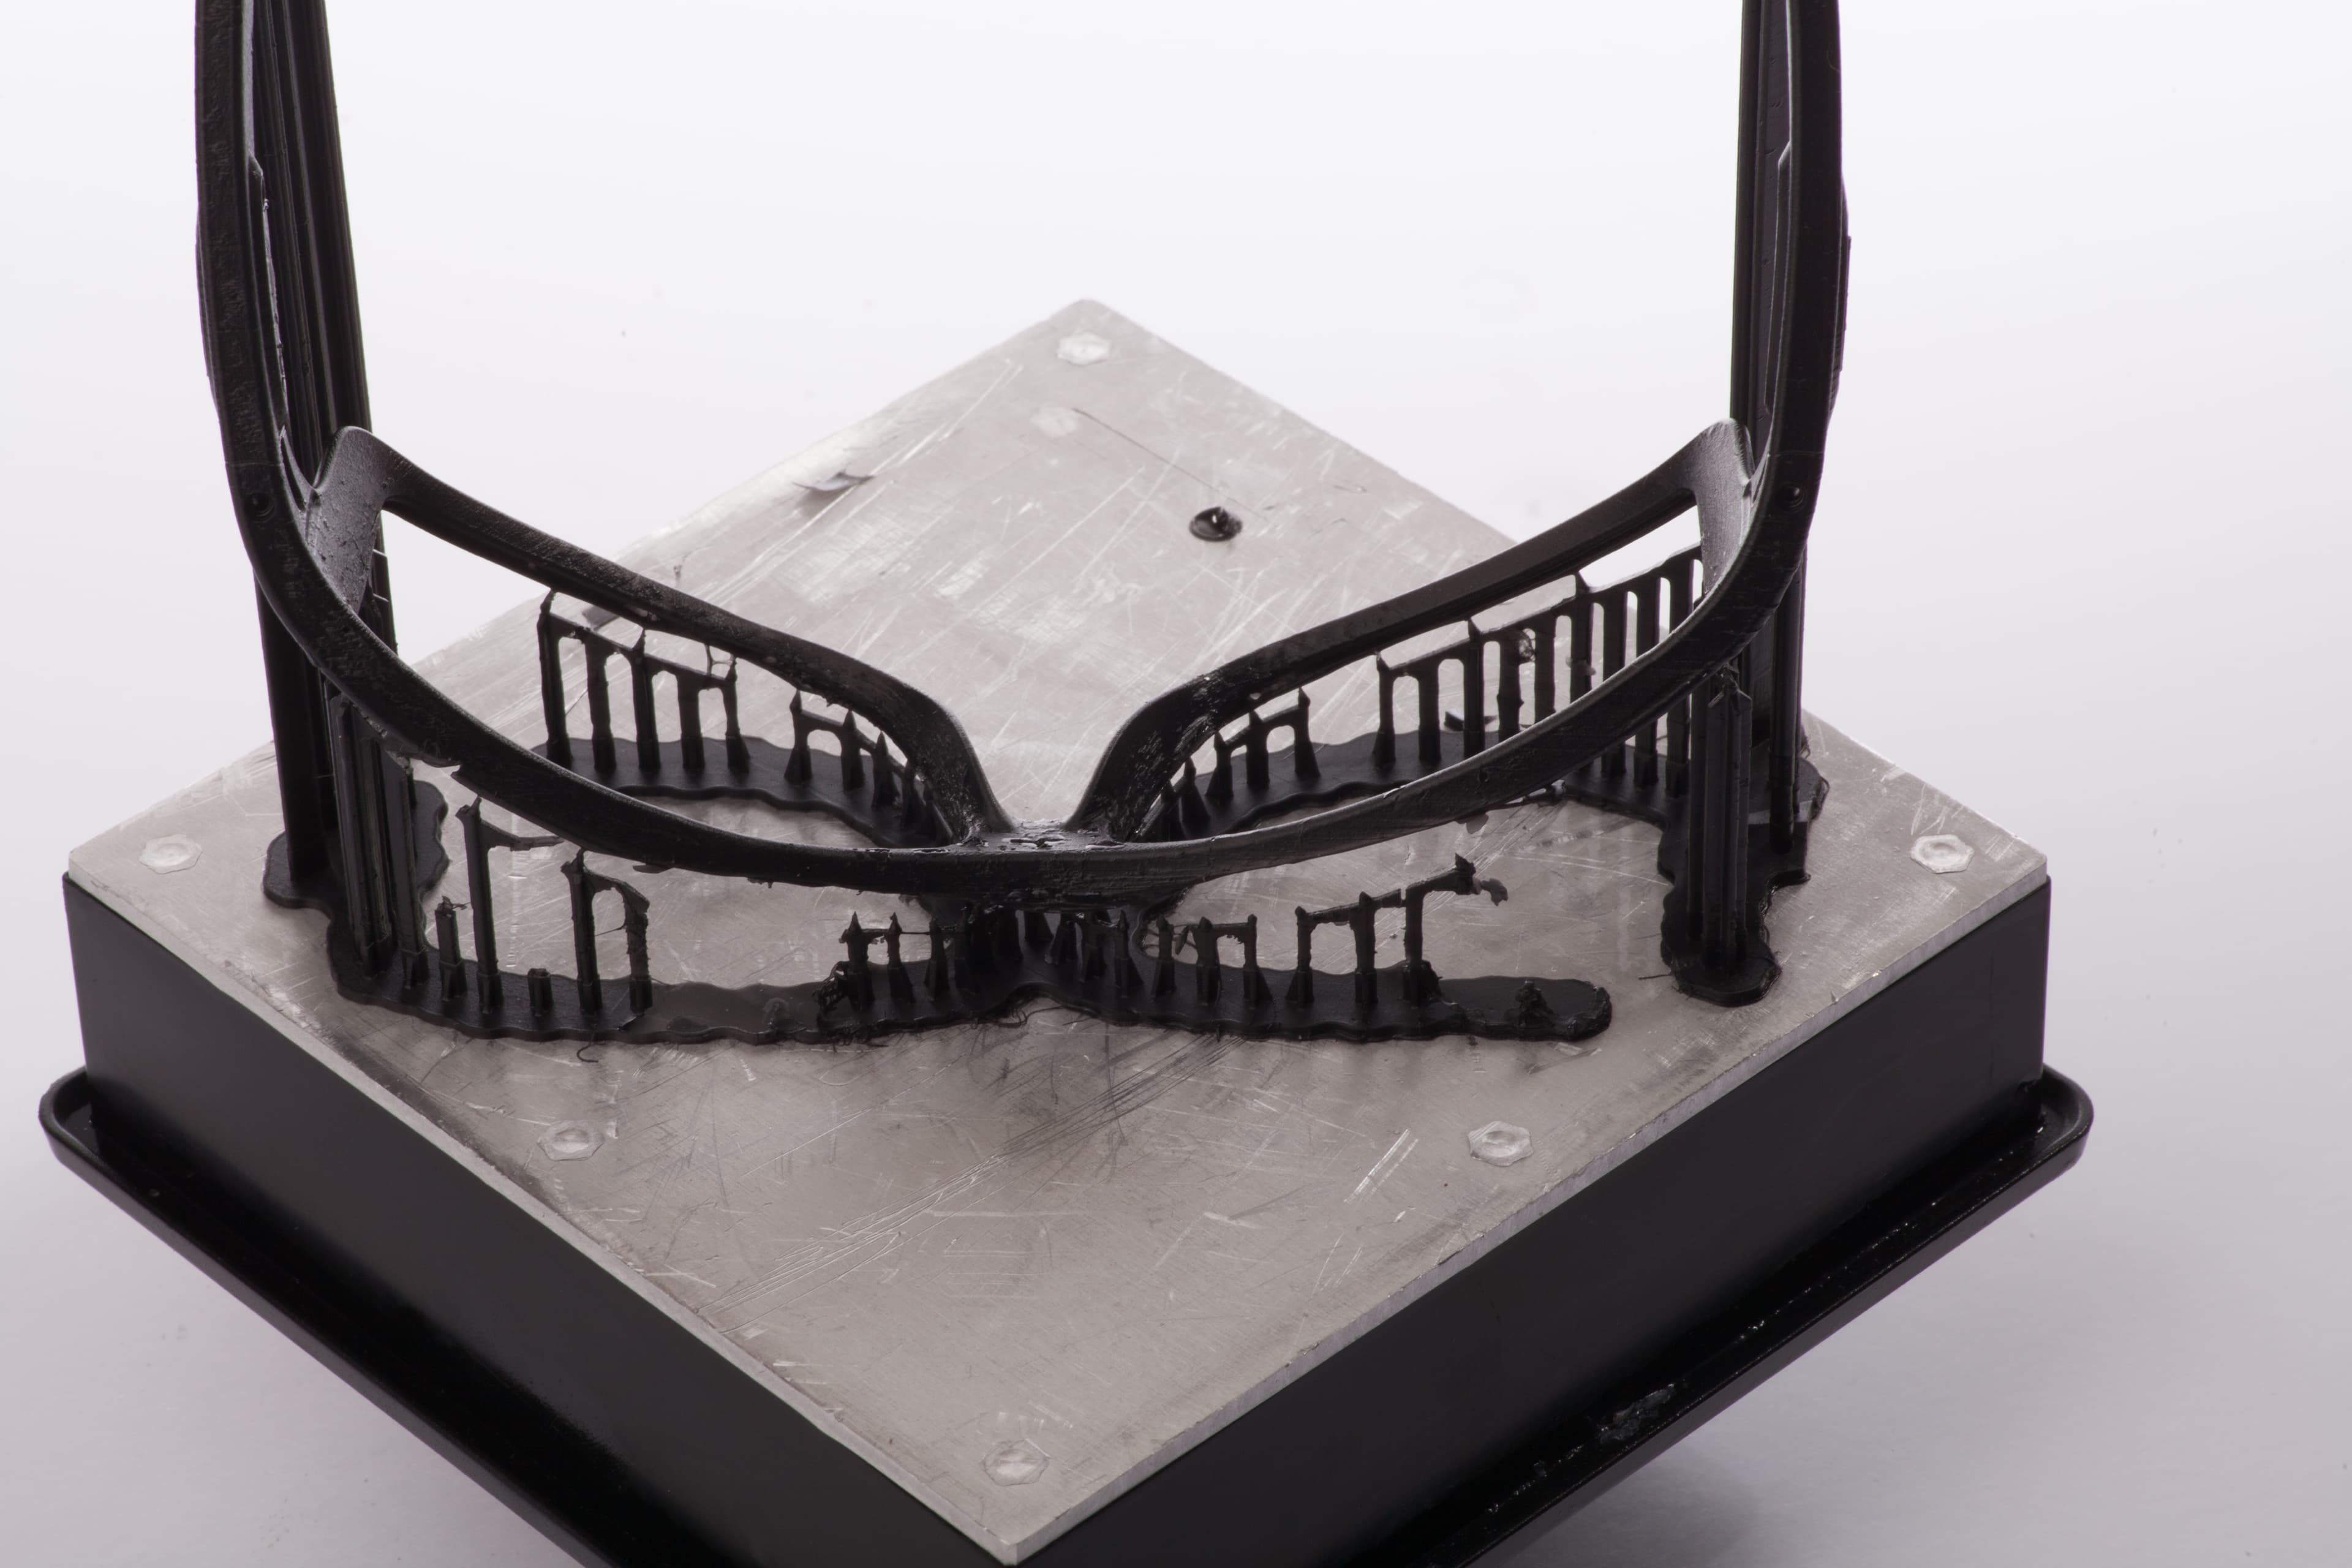
Part separates from supports
If the part was pulled from the supports, that usually means that the support tips were not strong enough. Try experimenting with the advanced support settings specifically by:
Holes or fractures
Several factors can cause holes or missing features:
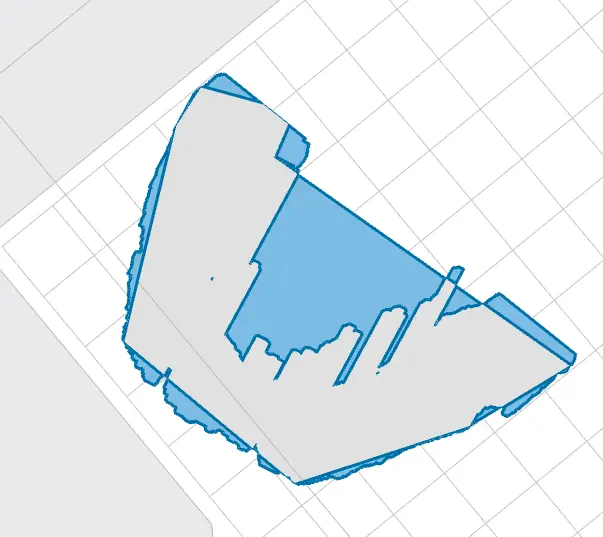
Damaged resin tank: a cloudy or damaged resin tank can inhibit the laser and cause gaps in your print. Try printing on a different location of the build platform or replacing the resin tank.
Dirty optics: a dirty optical window or smudged/dusty mirror(s) can cause print defects. If your part prints with a clean uniformly circular hole through the entire model, that is usually caused by a piece of dust in the optical path.
If you've checked all of the above issues, try printing the part in a new orientation. Sometimes, hollowing the part may lead to better results.
Rashing and ragging
Rashing occurs when your model comes out with a granular, bad surface finish. Ragging is more extreme and visually obvious, with the print exhibiting large or small flaps of material extruding from the sides of the model.
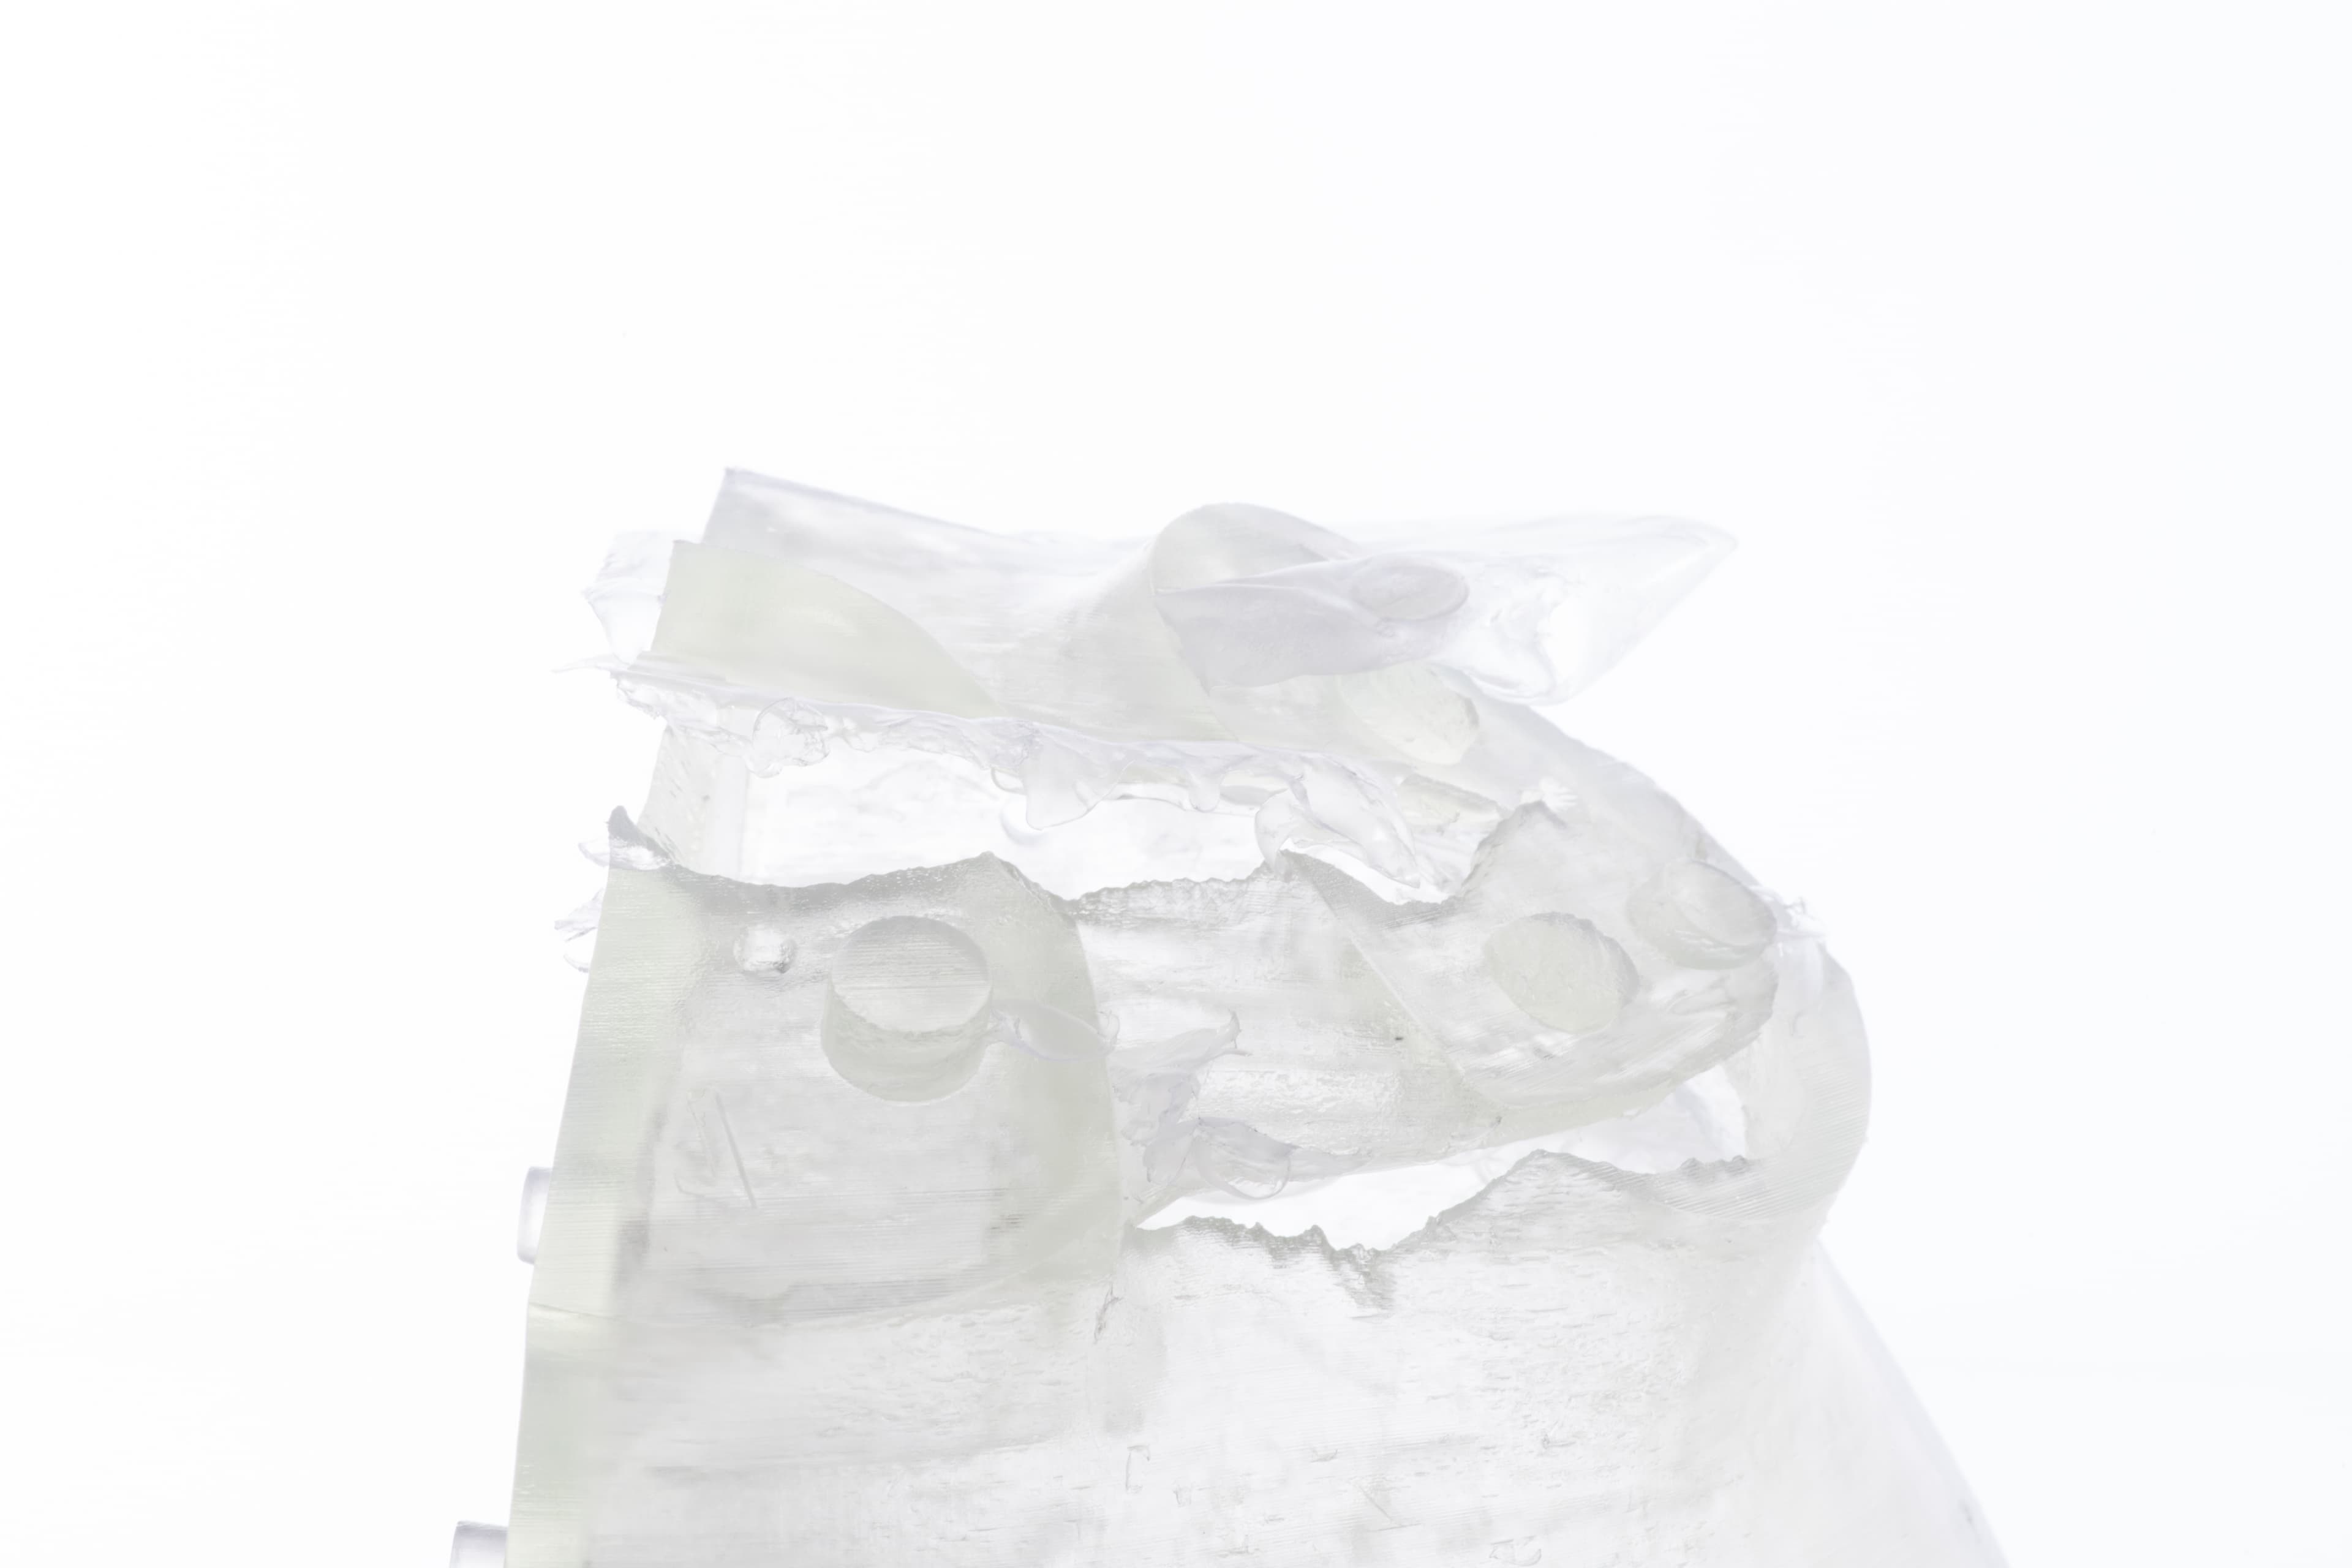
Both rashing and ragging are caused by dirt or dust in the optical path. If your model comes out with rashing or ragging, go through the following cleaning steps:
If you are still having printing problems, try using a new resin tank. Contact Customer Support if your prints come out with ragging even with the new tank.
Tip:
Make sure to shake your resin before your pour it in the tank and mix before each print. A consistent chemical concentration is essential for quality prints.
Dimensional inaccuracies
Several factors can cause dimensional inaccuracies:
Undercuring
Undercuring will cause your print to come out looking mushy because not enough laser power is getting to the part. Normally, this is caused by ghosting in the resin tank. To make sure your parts fully cure, use a new resin tank when you notice ghosting or cloudiness.
Explosions from cupping
If you are printing a hollow object but have no drainage for it, it may “explode,” with a small failure propagating throughout the part. To ensure your hollow model prints successfully, change its orientation or add a hole for drainage.
Shifting
If your model prints with the layers appearing to shift back and forth, check to see if your build platform is loose. If the build platform is secure and you are still having printing problems, contact Customer Support.
Stretching or offset
When you model comes out skewed or offset on the build platform, run a test print and send photos along with a copy of your .form file to Customer Support.