
Required supplies:
Formlabs:
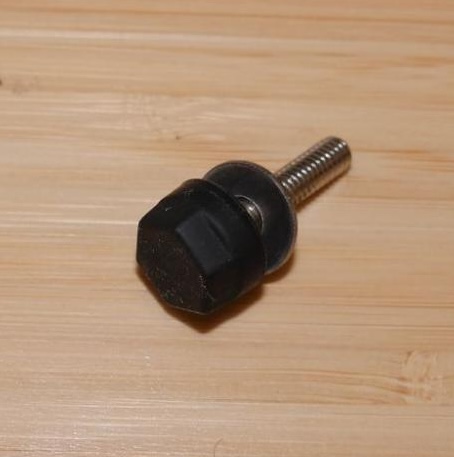
- Replacement leveling foot
Third-party:
- Nitrile gloves

The Form 3 has four adjustable feet that raise the printer off the work surface and allow it to be leveled before printing. If one or more of the leveling feet is damaged or missing, it may be difficult to keep the printer level.
Use this guide to replace a leveling foot on your Form 3.
Required supplies:
Formlabs:
Third-party:
Estimated time: 5–10 minutes
WARNING:
Resin may cause skin irritation or an allergic skin reaction. Wear gloves when handling liquid resin or resin-coated surfaces. Wash skin with plenty of soap and water.
Preparing the workspace
Overview: Prepare the Form 3 and a dust-free workspace for replacing the leveling foot.
Step 1: Remove the build platform
Remove the build platform first to avoid dripping resin onto the LPU or into the printer cavity.
Step 2: Remove the resin cartridge
Remove the resin cartridge and close the vent cap to prevent resin from dripping off the bite valve and into the printer.
Step 3: Remove and store the resin tank
Remove the resin tank, place it in the resin tank case, and cover it with its lid. Set the case and tank aside on a clean, flat surface.
NOTICE:
Wear gloves and hold the resin tank by the tank grips on either side to avoid contamination or damage to the underside of the tank.
Step 4: Unplug the printer
Disconnect the power cable, Ethernet cable, and USB cable before continuing with maintenance. Do not perform maintenance on the printer while it is connected to power.
Step 5: Prepare the workspace
Clear a workspace around your printer. Ensure that the workspace is well-ventilated and free of dust.
Removing the leveling foot
Overview: Remove the leveling foot you plan to replace.
Move the printer to the edge of the workspace so that you can access the leveling foot that you plan to replace.
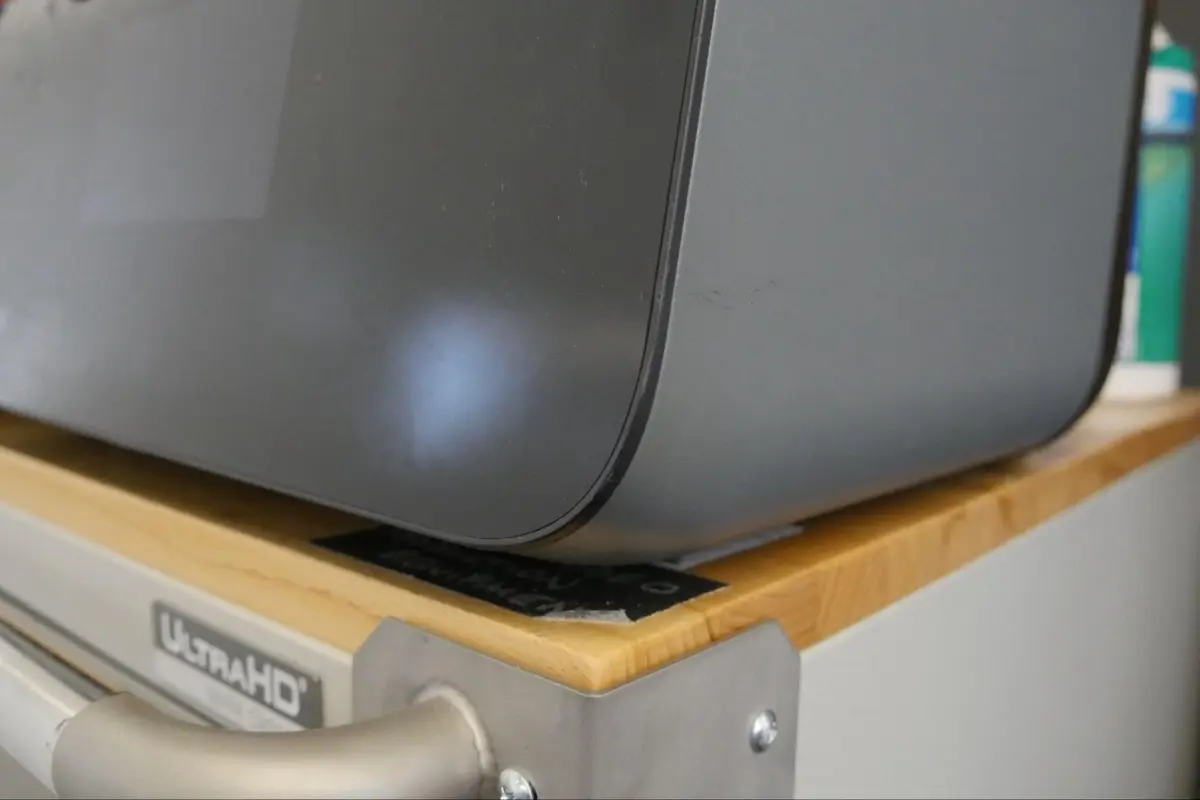
Carefully slide the leveling foot that you plan to replace off the work surface so you can access it freely. Ensure that the other three leveling feet remain firmly on the work surface and that the printer is not in danger of tipping or falling.
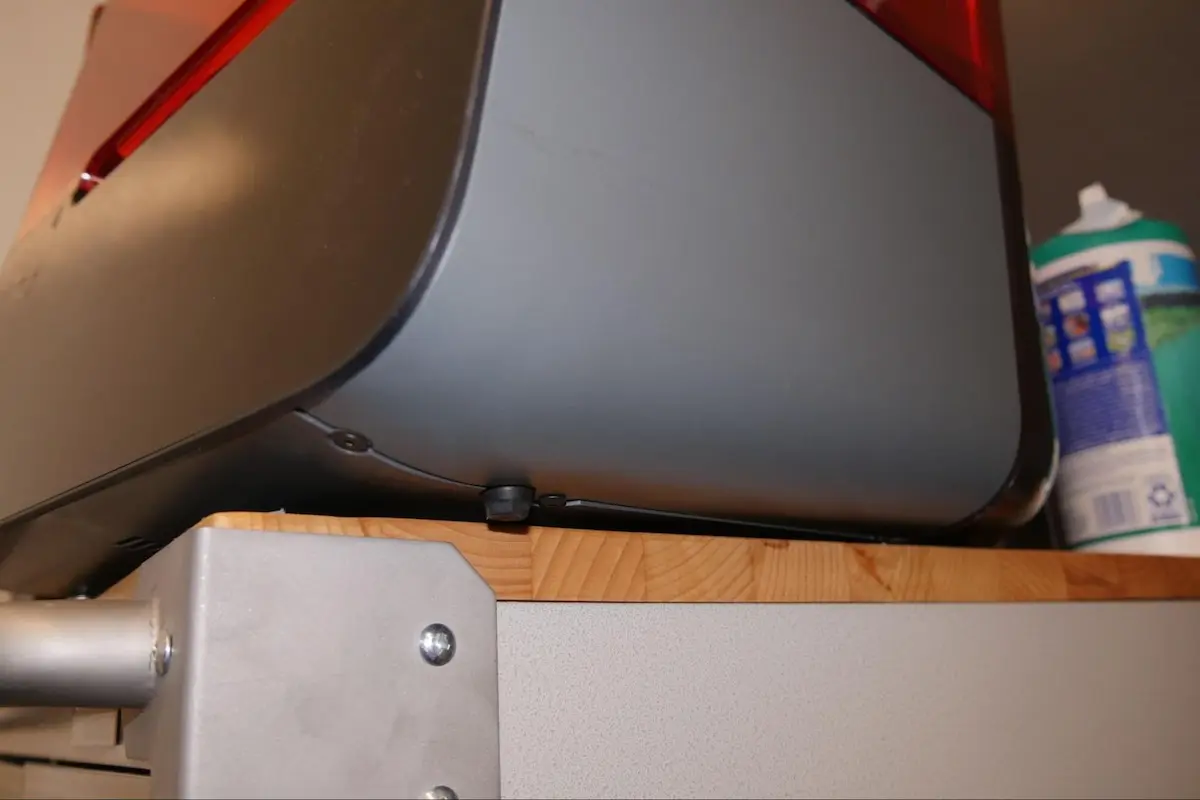
Step 3: Remove the leveling foot
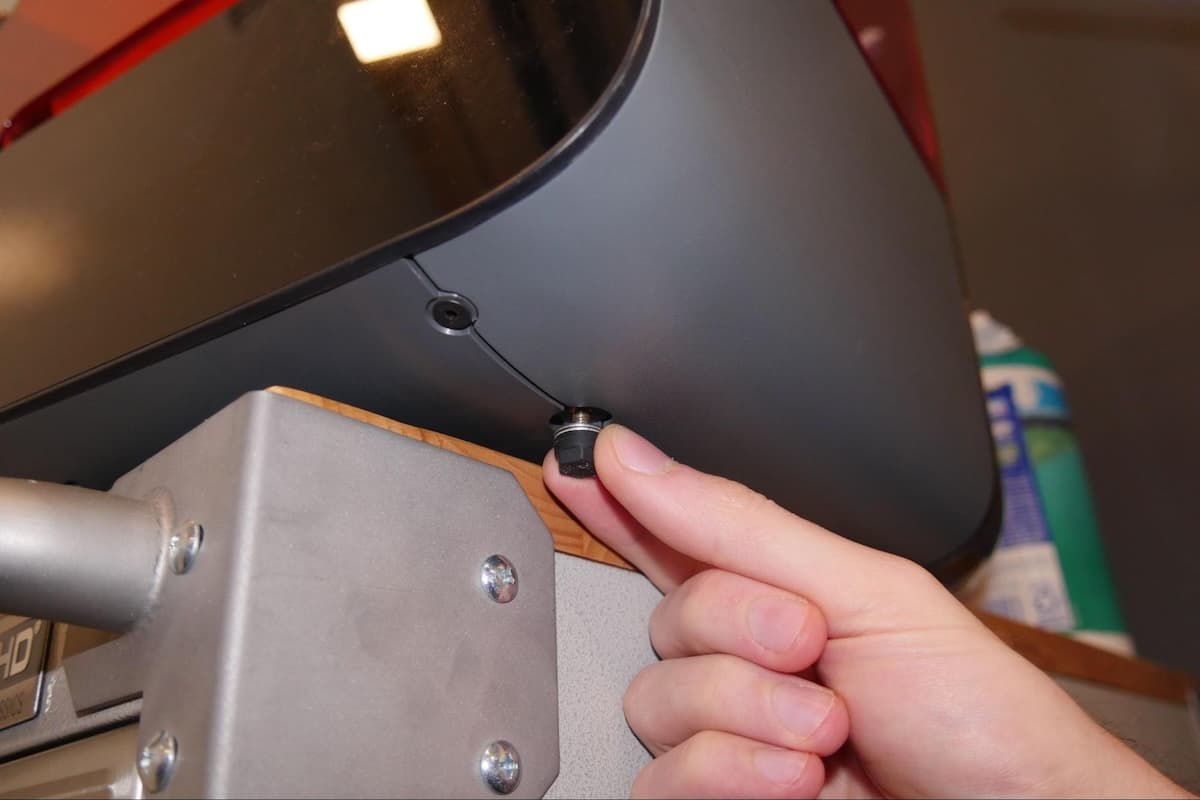
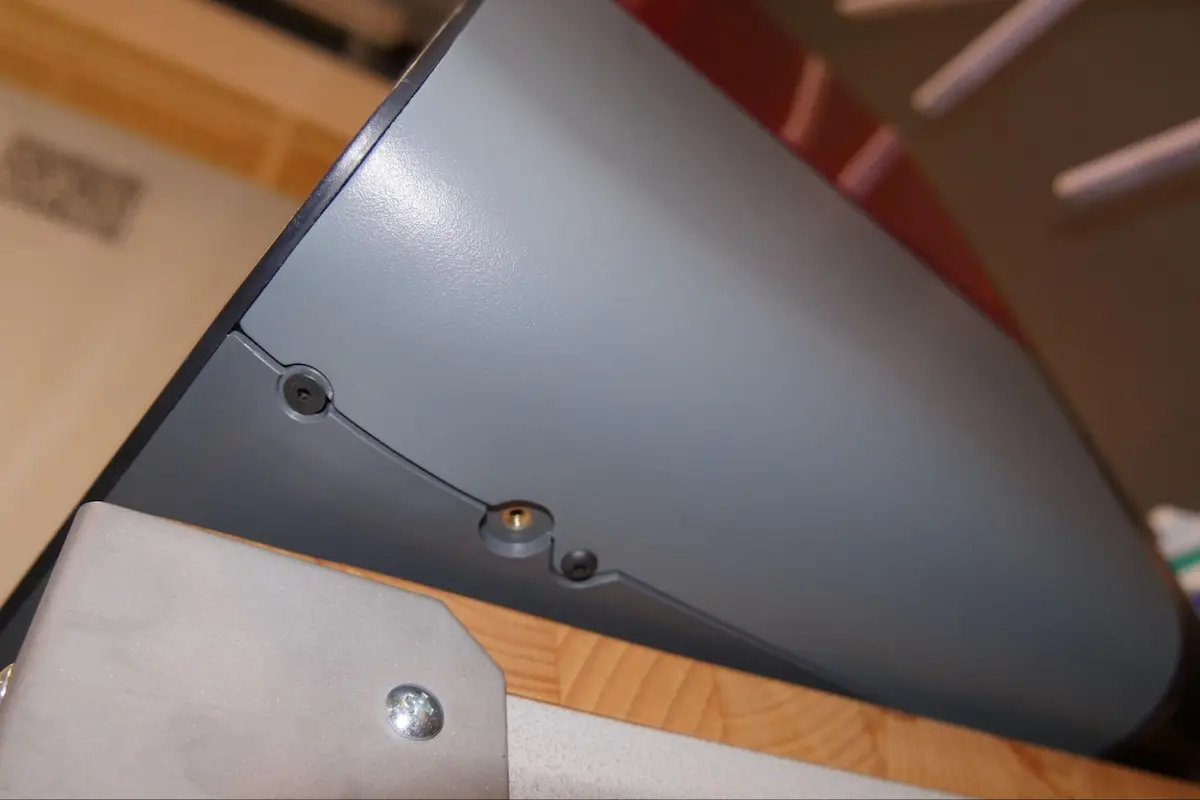
Unscrew and remove the leveling foot. Place the leveling foot aside.
Installing the replacement leveling foot
Overview: Screw the replacement leveling foot into the printer.
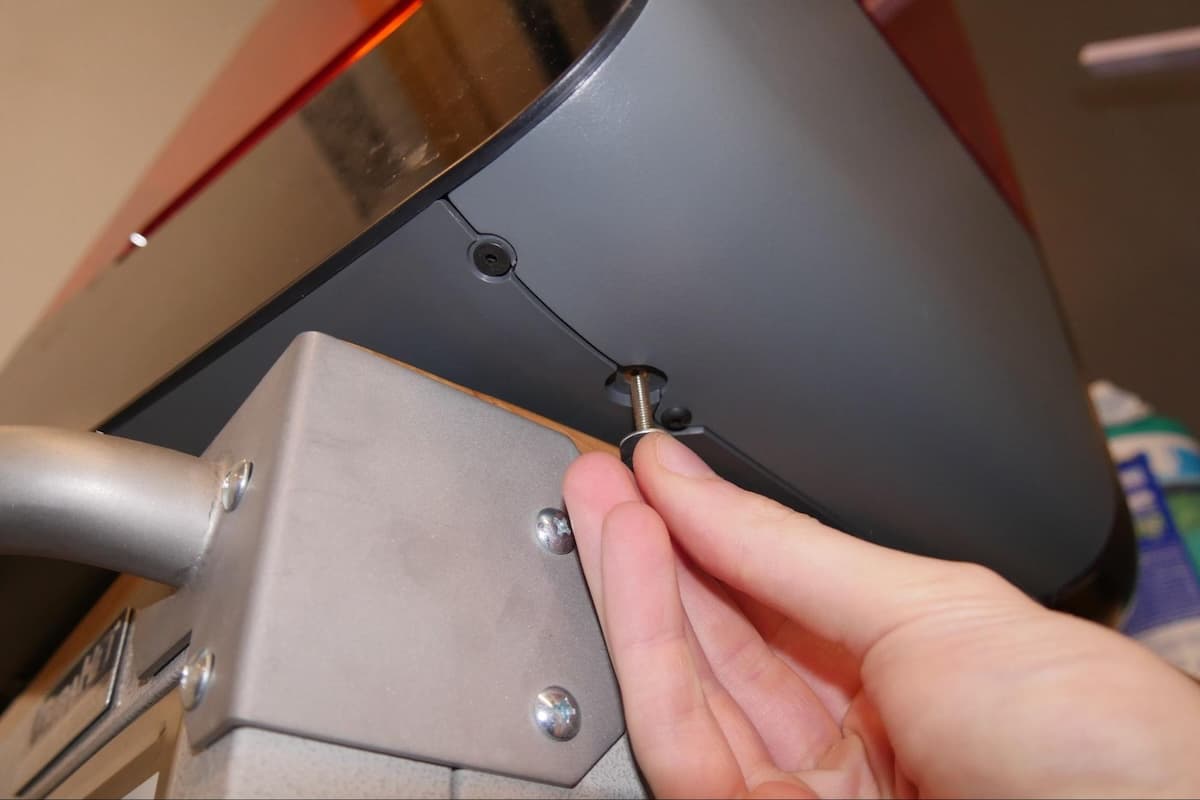
Thread the replacement leveling foot into the threaded insert in the bottom of the printer. Tighten until the leveling foot is secure and can bear the weight of the printer.
Finalizing the repair
Overview: After replacing the leveling foot, perform final checks.
Step 1: Reposition the printer
Slide the printer back onto the work surface so that it sits on all four leveling feet.
Step 2: Power on the printer
Connect the power cable to the printer and the power supply. The printer will initialize.
Step 3: Level the printer
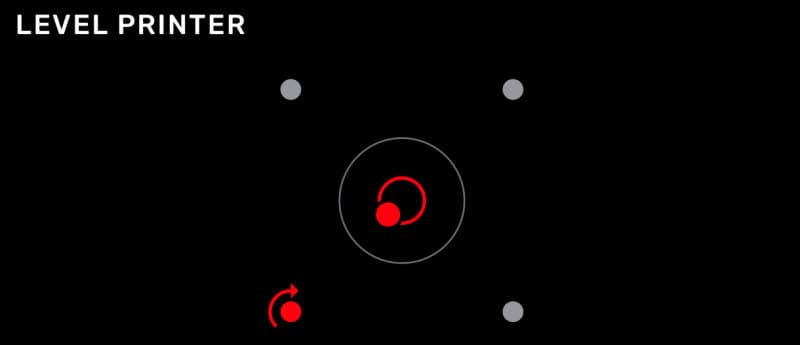
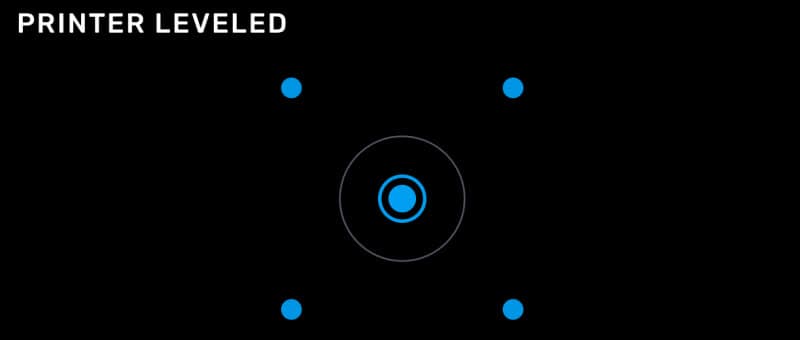
On the touchscreen, tap the wrench icon. The Settings screen appears. Tap Maintenance > Printer Leveling. Follow the instructions on the touchscreen to adjust the leveling feet until the printer is level.