
Required Supplies:
Formlabs:
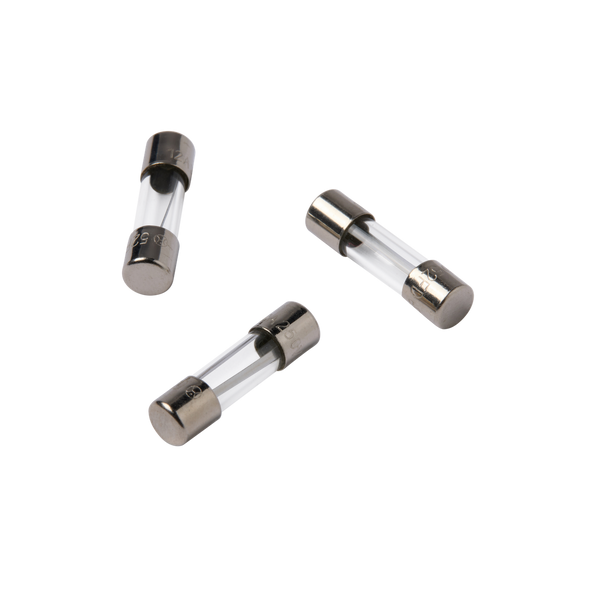
- Fuse
Third-party:
- Nitrile gloves
- Flat head screwdriver
- Anti-static grounding strap

The fuse prevents power surges or short circuits from damaging the Form Cure. If the fuse malfunctions or blows, it may indicate another issue with the device. Replace the fuse to restore proper functionality.
Use this guide to replace the Form Cure (2nd Generation) fuse.
Required Supplies:
Formlabs:
Third-party:
Estimated time: 20 minutes
Notice:
Formlabs devices contain sensitive electronic components. Ground yourself before touching any electronics in the machine by using an antistatic wrist band or touching a grounded piece of metal.
Preparing the workspace
Overview: Prepare the Form Cure (2nd Generation) and workspace for replacing the fuse.
Step 1: Prepare the workspace
Clear a workspace around your machine. Ensure that the workspace is well-ventilated and free of dust.
Step 2: Unplug the machine
Turn off the machine using the power switch on the back of the unit. Disconnect the power cable before continuing with maintenance. Do not perform maintenance on the machine while it is connected to power. Wait five minutes after disconnecting the machine from power before proceeding.
Danger:
Performing maintenance on the machine while it is plugged in increases the risk of electric shock. Never remove the machine's shells while it is plugged in. Never reconnect the machine to power while the shells are uninstalled.
Removing the fuse
Overview: Remove the fuse box to access and remove the blown fuse.
Step 1: Position the machine
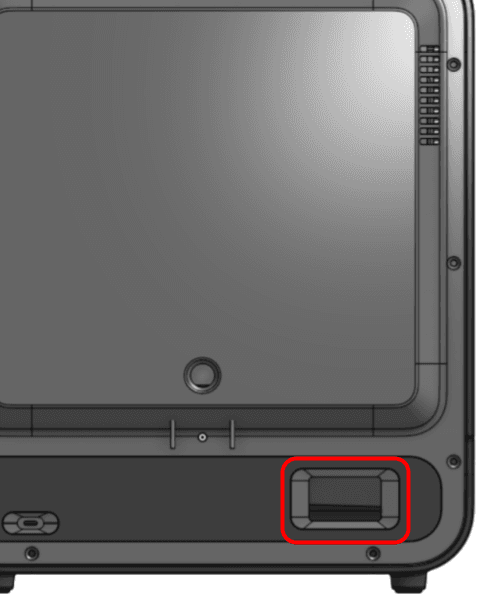
Position the Form Cure on the workspace to access the rear of the machine.
Step 2: Remove the fuse box
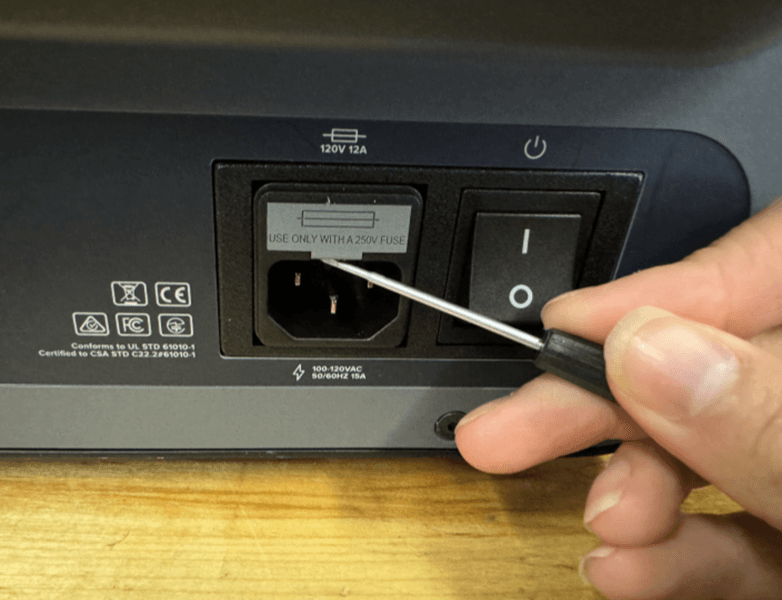
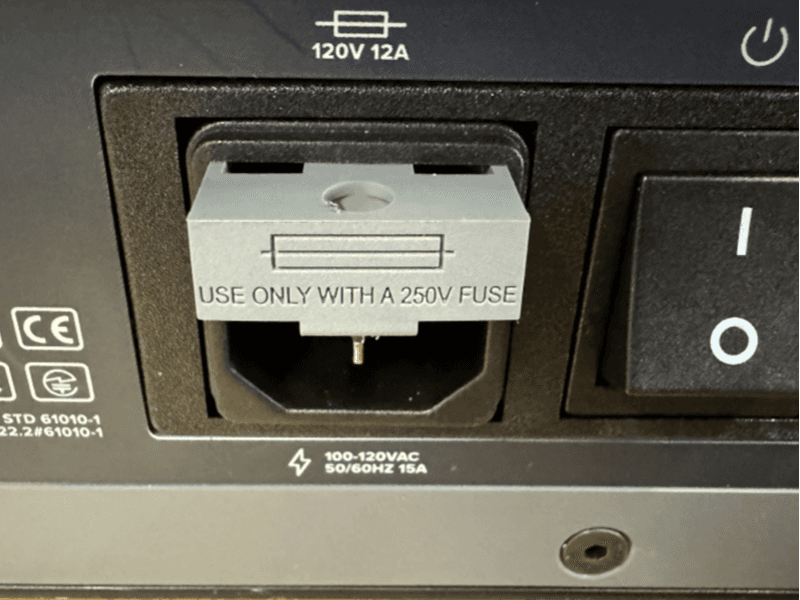
Using a flathead screw driver, gently push up against the fuse box to lever it out of the machine. Once there is sufficient leverage, remove the fuse box from the machine.
Step 3: Inspect the fuse box
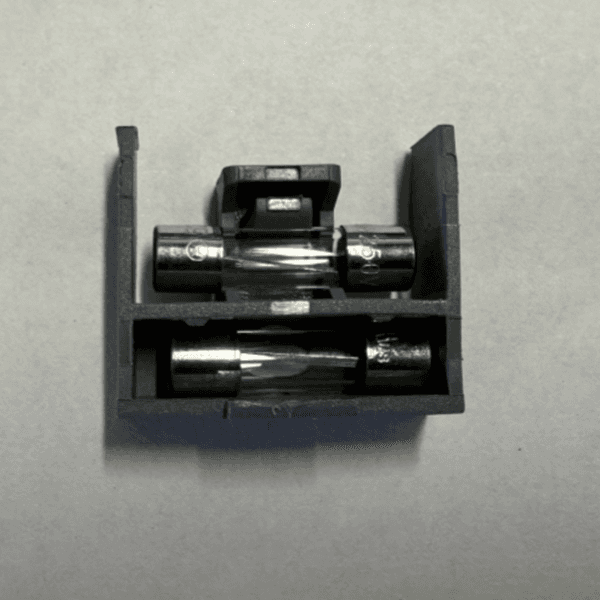
The fuse box contains two fuses: an installed fuse on the bottom and a replacement on the top. If there is only one fuse, purchase additional replacement fuses.
Step 4: Remove the blown fuse
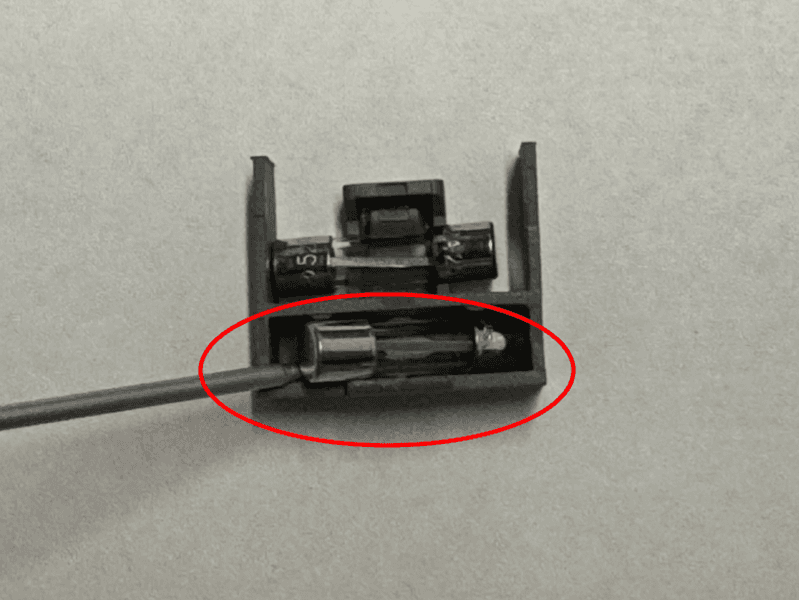
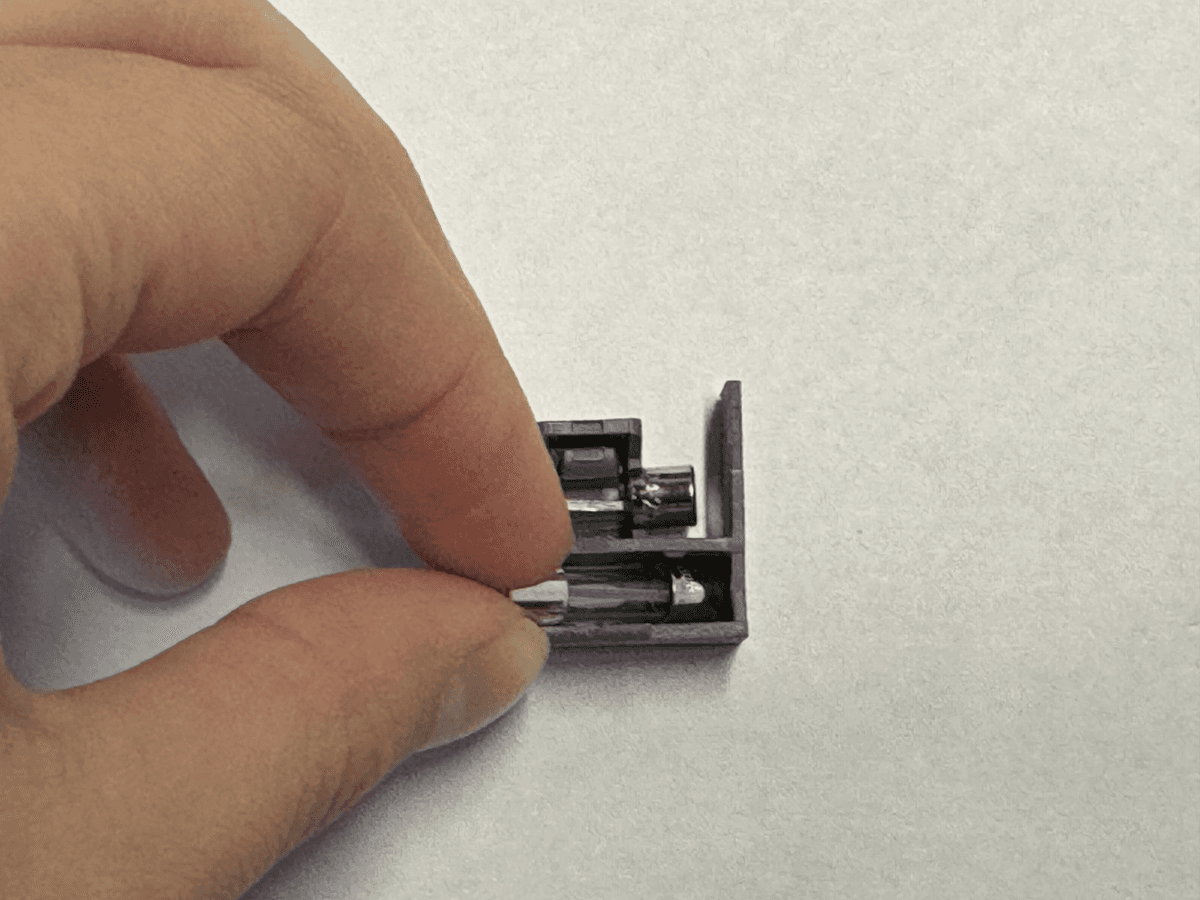
Using a flathead screw driver, gently pry the blown fuse from the fuse box. Set the blown fuse aside for disposal with electronic waste.
Installing the replacement fuse
Overview: Install the replacement fuse and reinstall the fuse box.
Step 1: Remove the replacement fuse
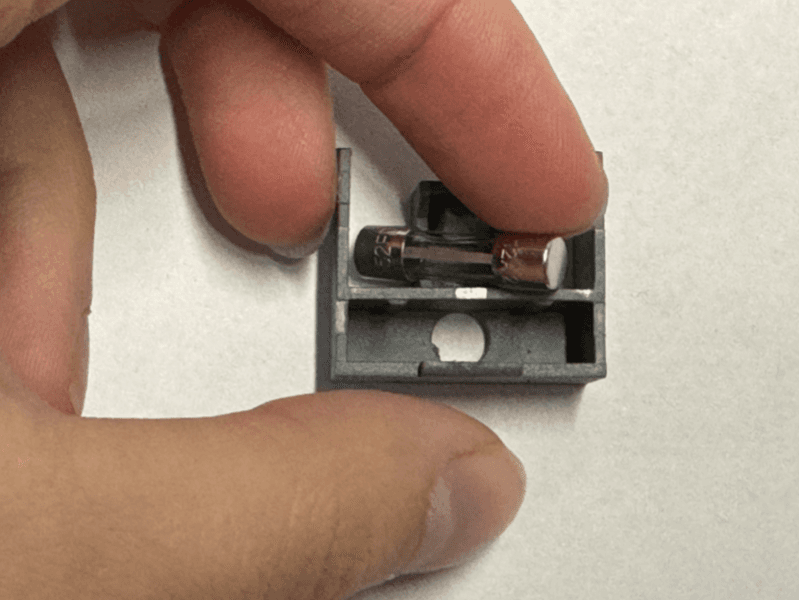
Using a finger, gently pry the replacement fuse from the fuse box. Take care when removing the replacement fuse to prevent damage.
Step 2: Install the replacement fuse
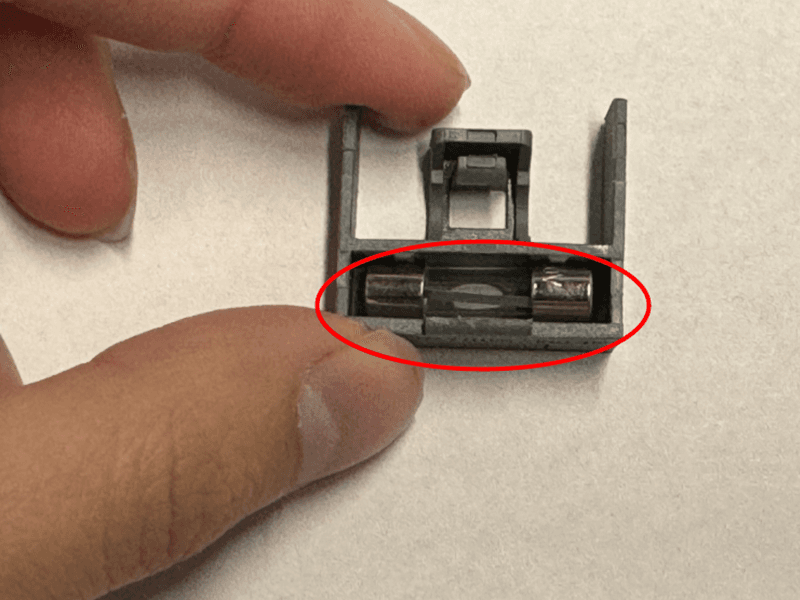
Gently push the replacement fuse into the fuse box. Ensure the fuse is fully seated. Take care when installing to prevent damage.
Step 3: Reinstall the fuse box
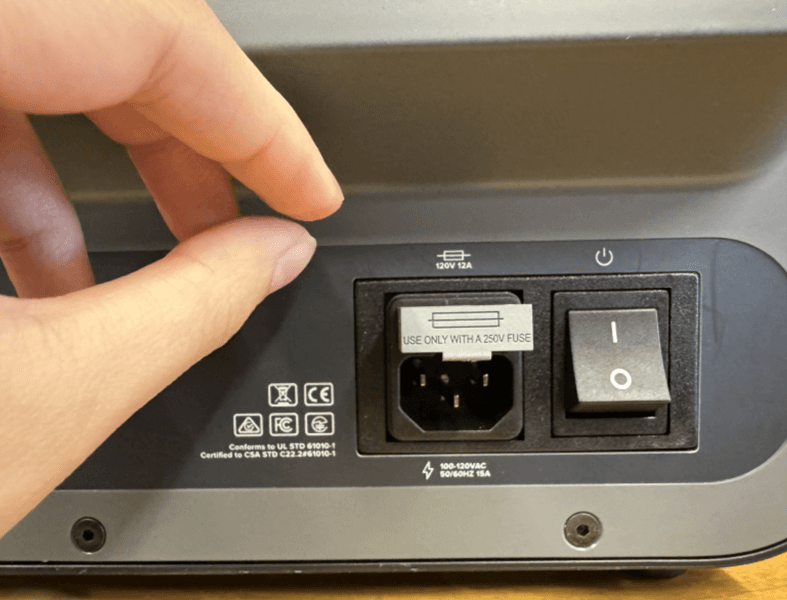
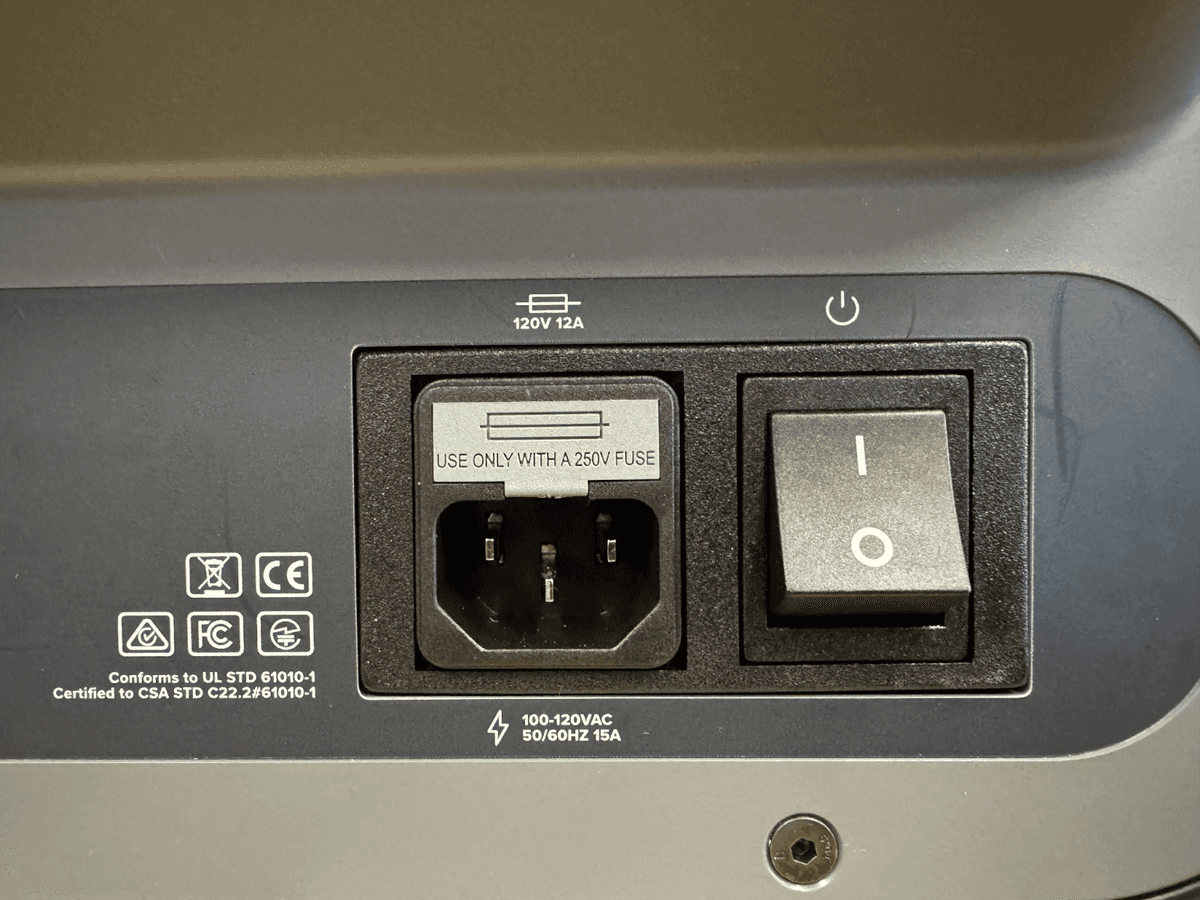
Press the fuse back into the machine in the correct orientation until it lays flush with the machine.
Finalizing the repair
Overview: After installing the replacement fuse, power on the machine and perform final checks.
Step 1: Power on the machine
Connect the power cable to the Form Cure and the power supply. Flip the breaker switch on the back of the unit to the ON position to turn on the machine. The Form Cure initializes.
Step 2: Test the repair
Start a post-cure cycle. Contact Formlabs Support or your authorized reseller if the issue persists.