
Required supplies:
Formlabs:
- Replacement impeller (RP-WA2-IMP-01)
Third-party:
- 2 mm hex driver
- Small flat-blade screwdriver
- Nitrile gloves
- Solvent storage container (15 L)

The Form Wash (2nd Generation) contains an impeller that agitates the solvent in the wash bucket to help clean printed parts. Damage to the Form Wash (2nd Generation) impeller may cause the unit to make loud clicking sounds or fail to operate properly.
Use this guide to replace the Form Wash (2nd Generation) impeller.
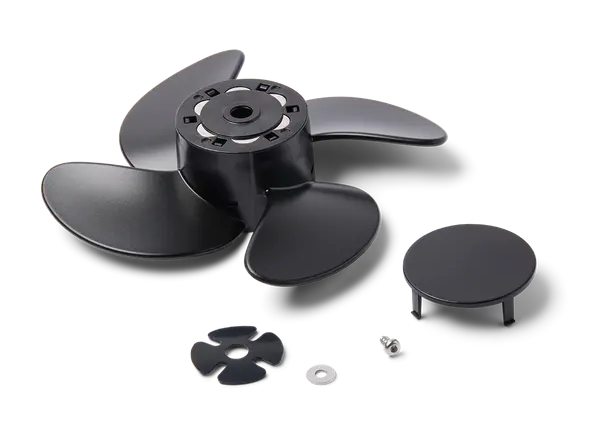
Required supplies:
Formlabs:
Third-party:
Estimated time: 30 minutes
Preparing the workspace
Overview: Prepare the Form Wash and a level workspace for replacing the impeller.
WARNING:
Resin may cause skin irritation or an allergic skin reaction. Wear gloves when handling liquid resin or resin-coated surfaces. Wash skin with plenty of soap and water.
Step 1: Raise the Form Wash elevator
Turn the Form Wash knob to select Raise on the display. Push the knob to confirm. The Form Wash raises the elevator and basket out of the wash bucket.
Step 2: Remove the wash bucket and inner lid
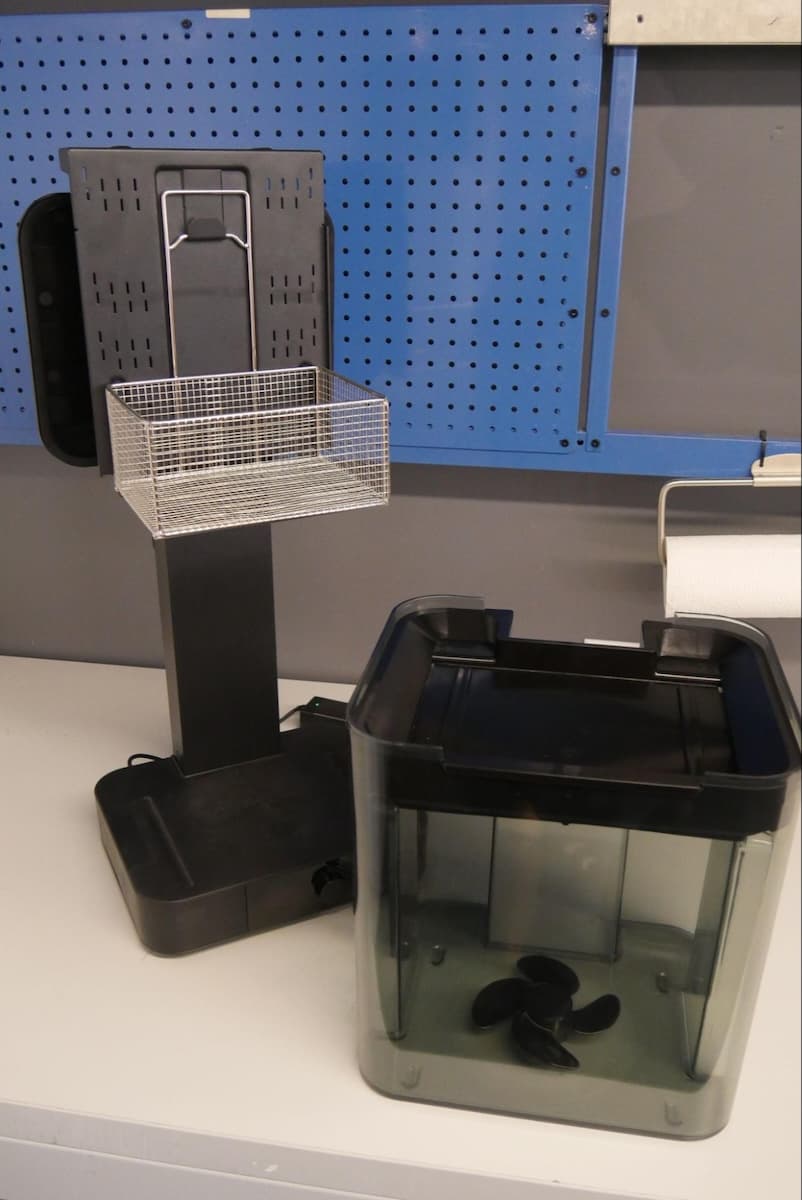
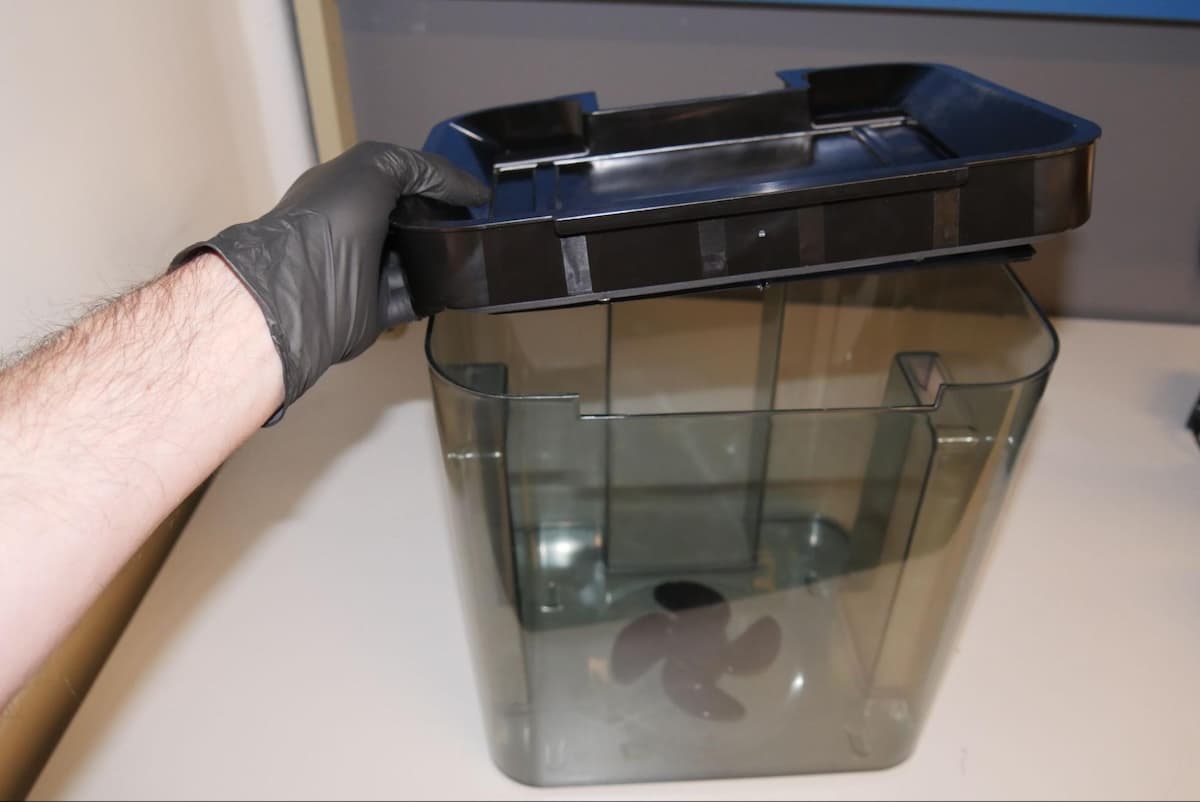
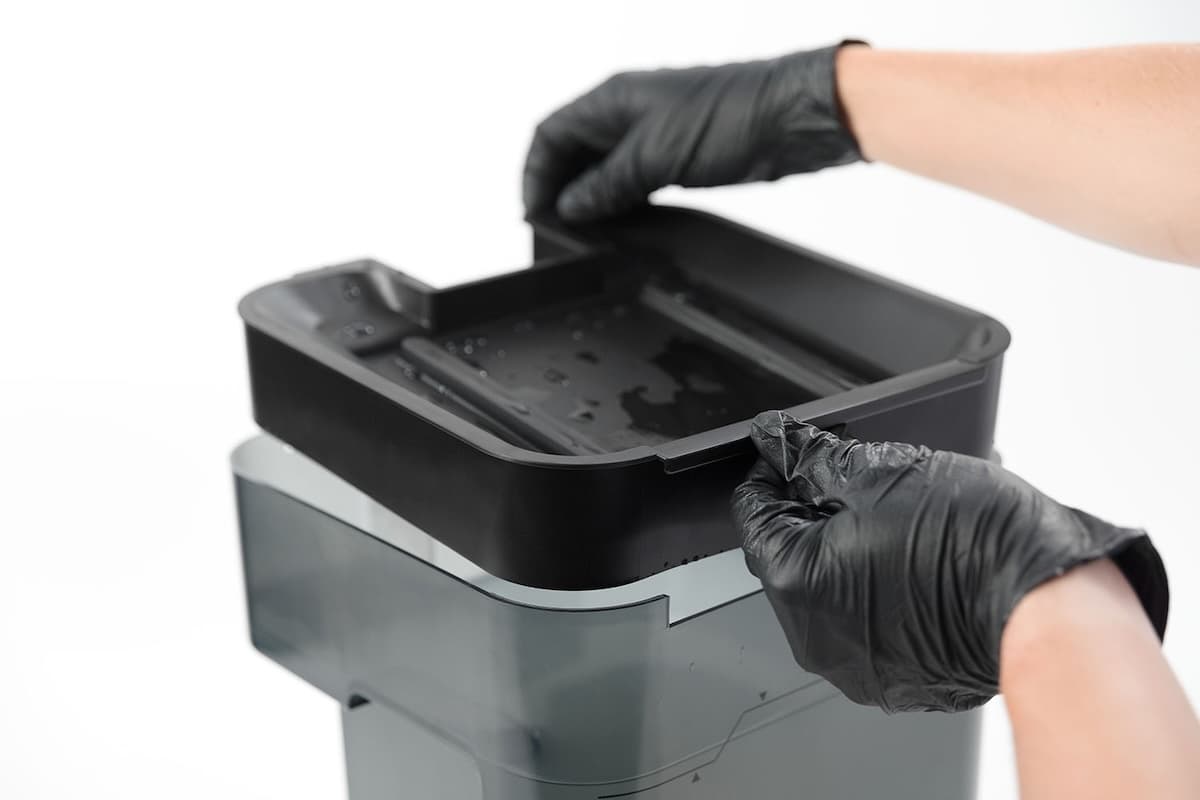
Remove the wash bucket from the base and set the bucket aside on a stable, flat surface. Lift the inner lid to remove it and set aside.
Step 3: Transfer used solvent to an empty container
Pour or siphon the solvent from the wash bucket into an empty container with a capacity of at least 15 L.
DANGER:
Isopropyl alcohol is flammable. Keep containers closed, and keep out of the reach of children.
Step 4: Rinse the wash bucket
Rinse the wash bucket with water, then wipe any remaining residue with a paper towel.
Replacing the impeller
Overview: Remove the impeller and install the replacement impeller.
Step 1: Remove the impeller cap
Using a small flat-blade screwdriver or other similar tool, pry the cap loose from the impeller.
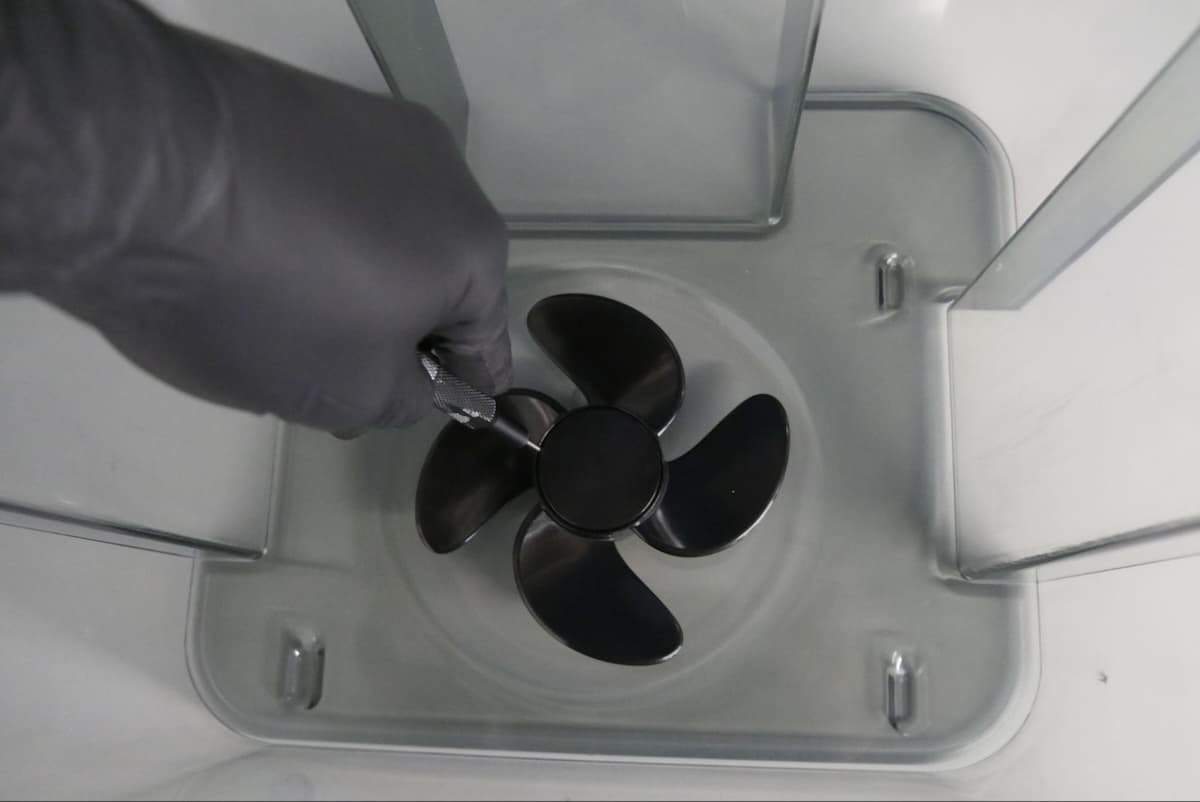
Step 2: Remove the impeller
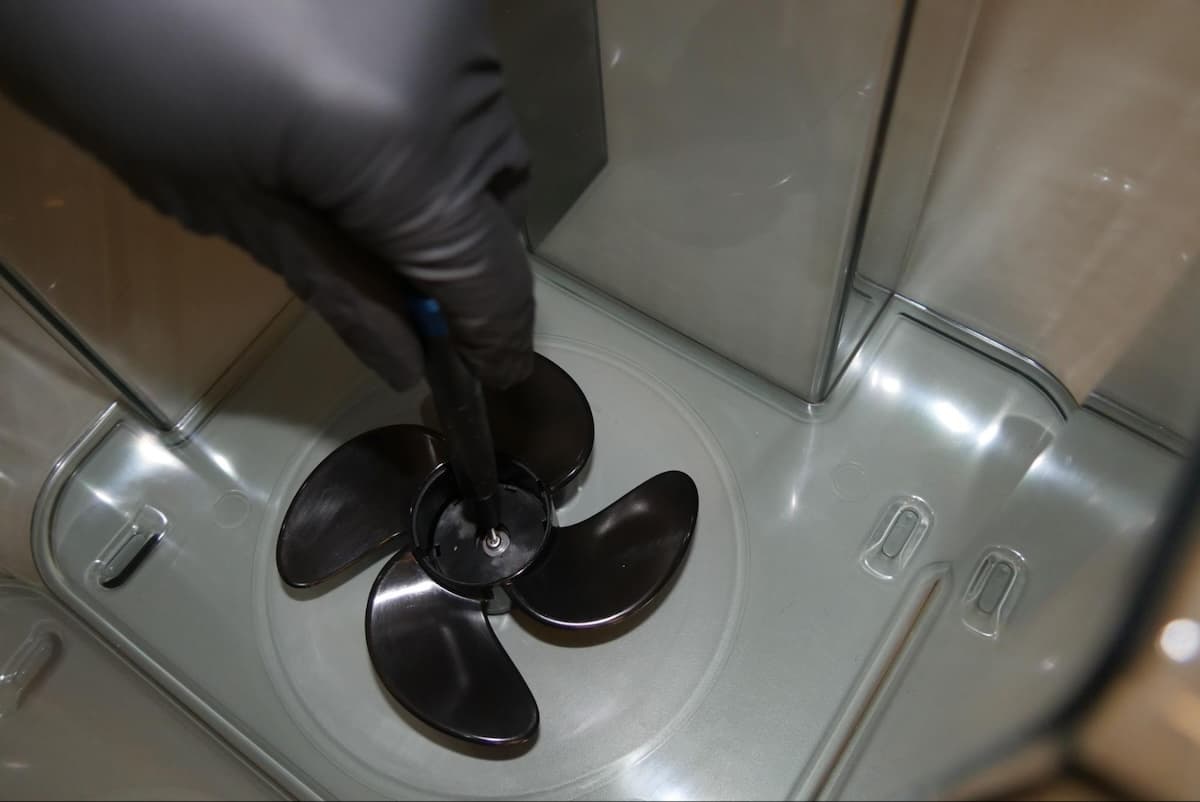
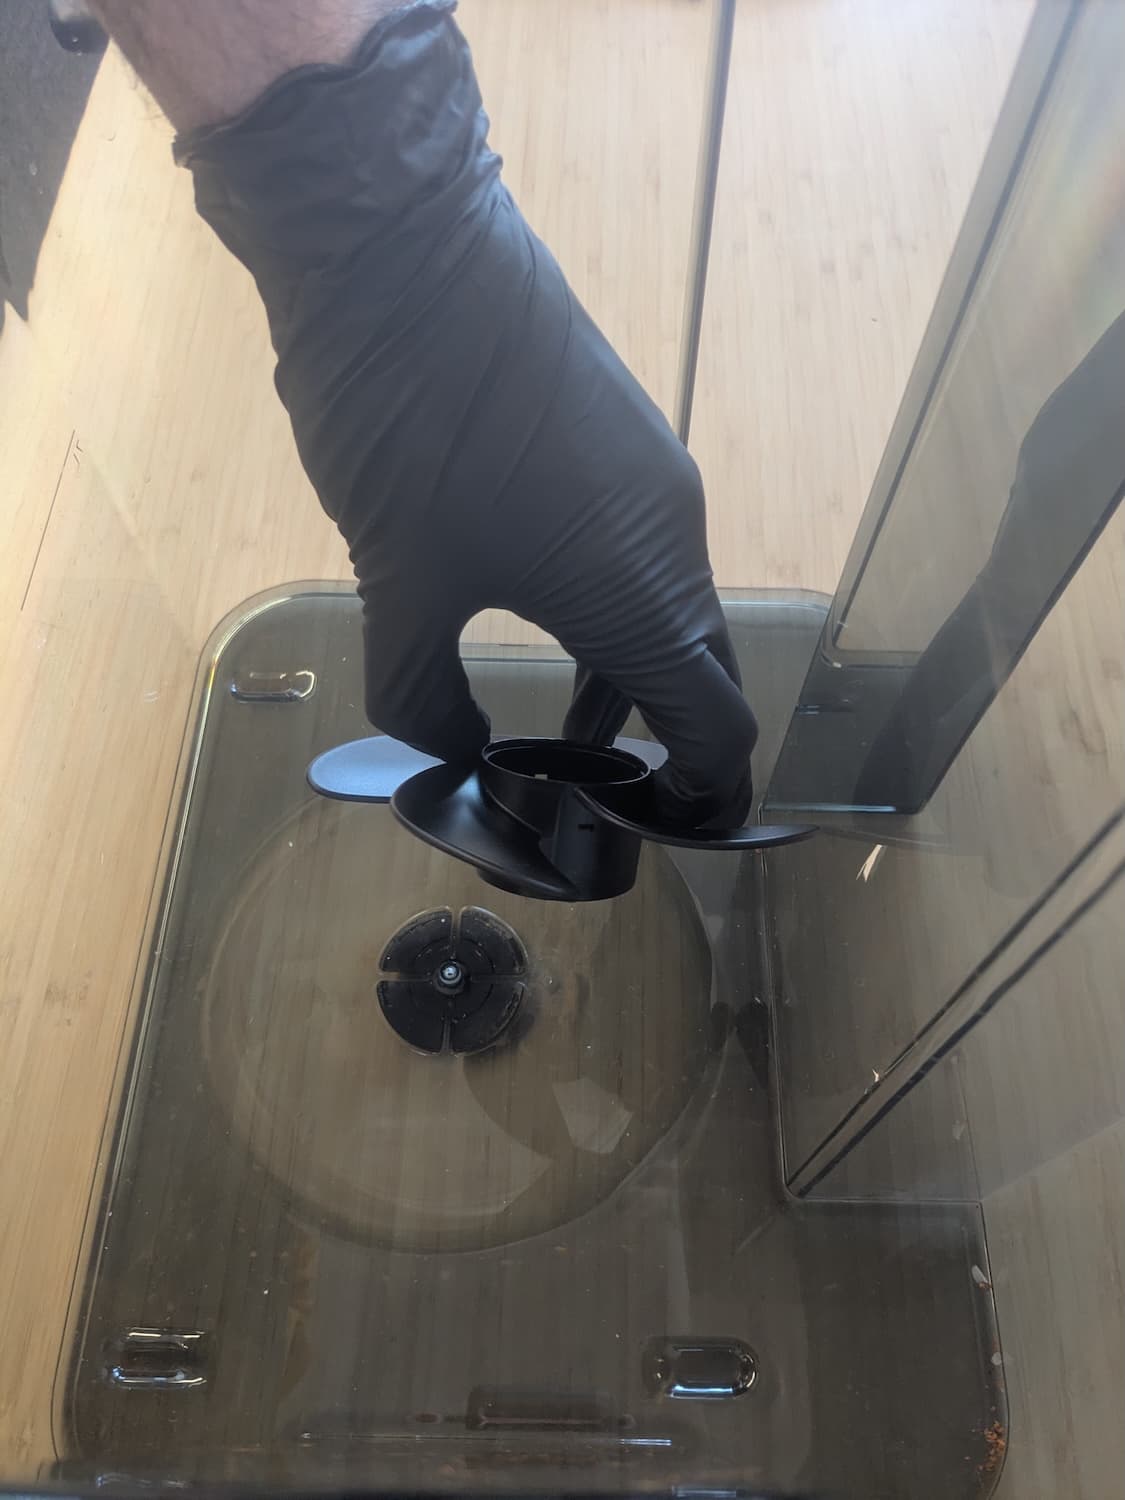
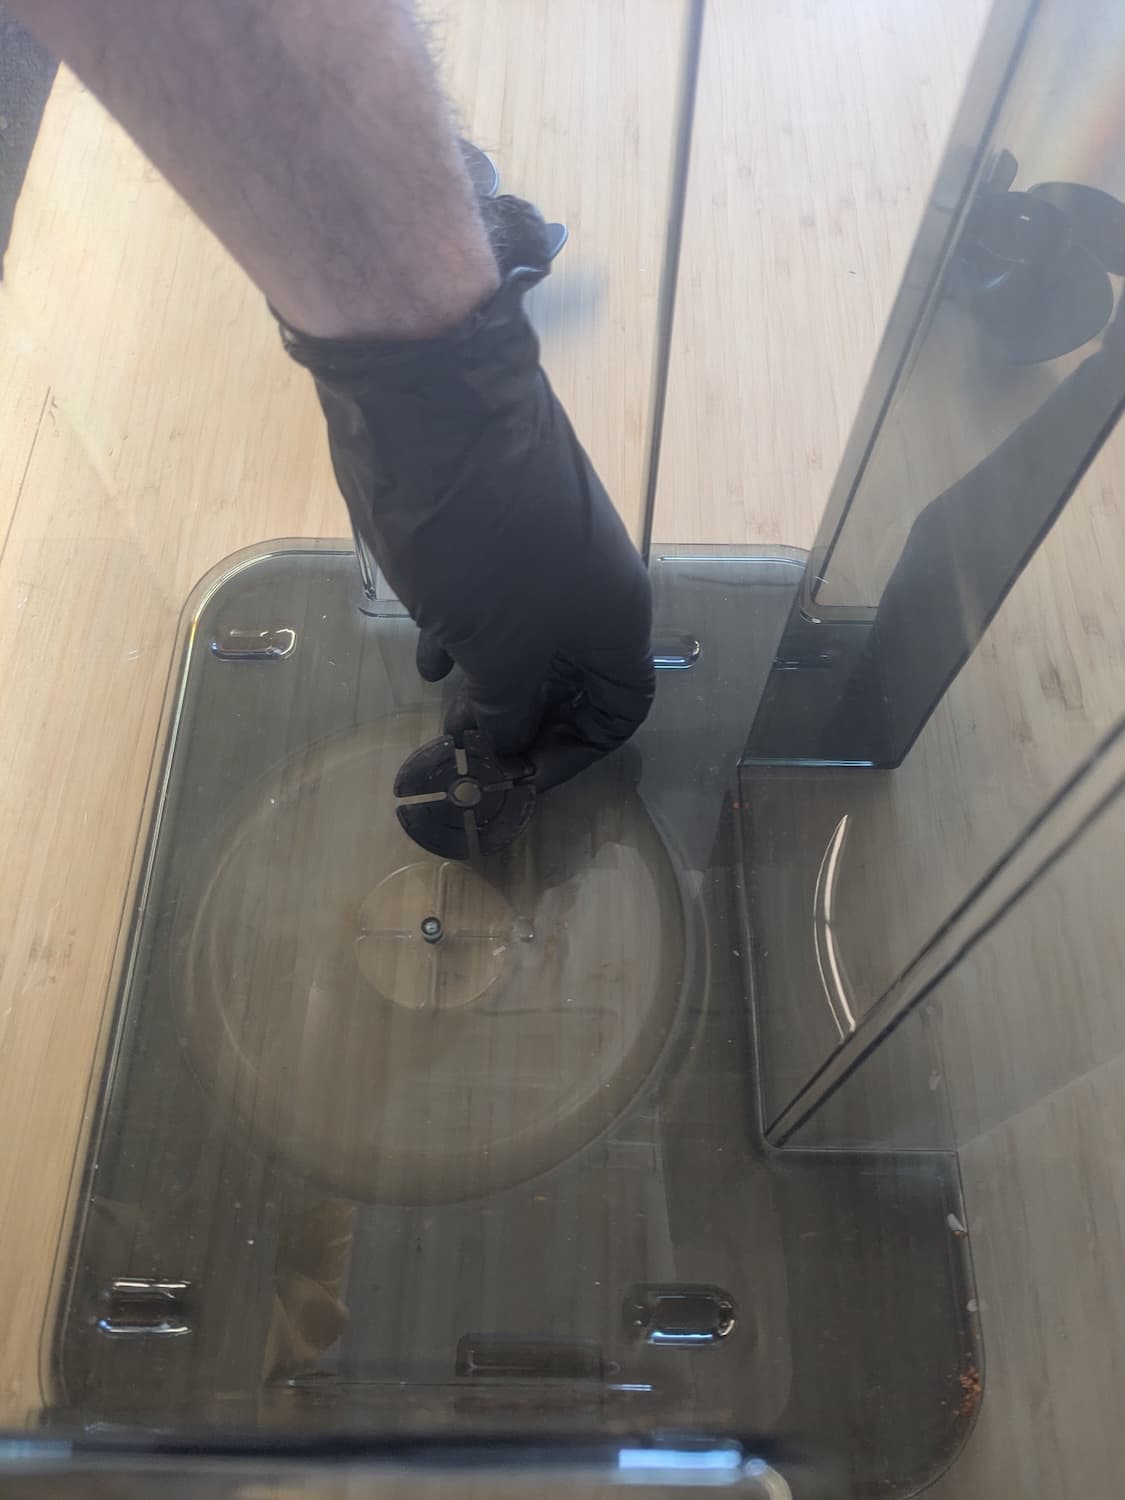
The impeller is secured by one screw with a washer. Use a 2 mm hex driver to remove the screw. Remove the washer, the impeller, and the flat four-lobed bearing below the impeller. Set the components aside for disposal.
Step 3: Install the replacement impeller
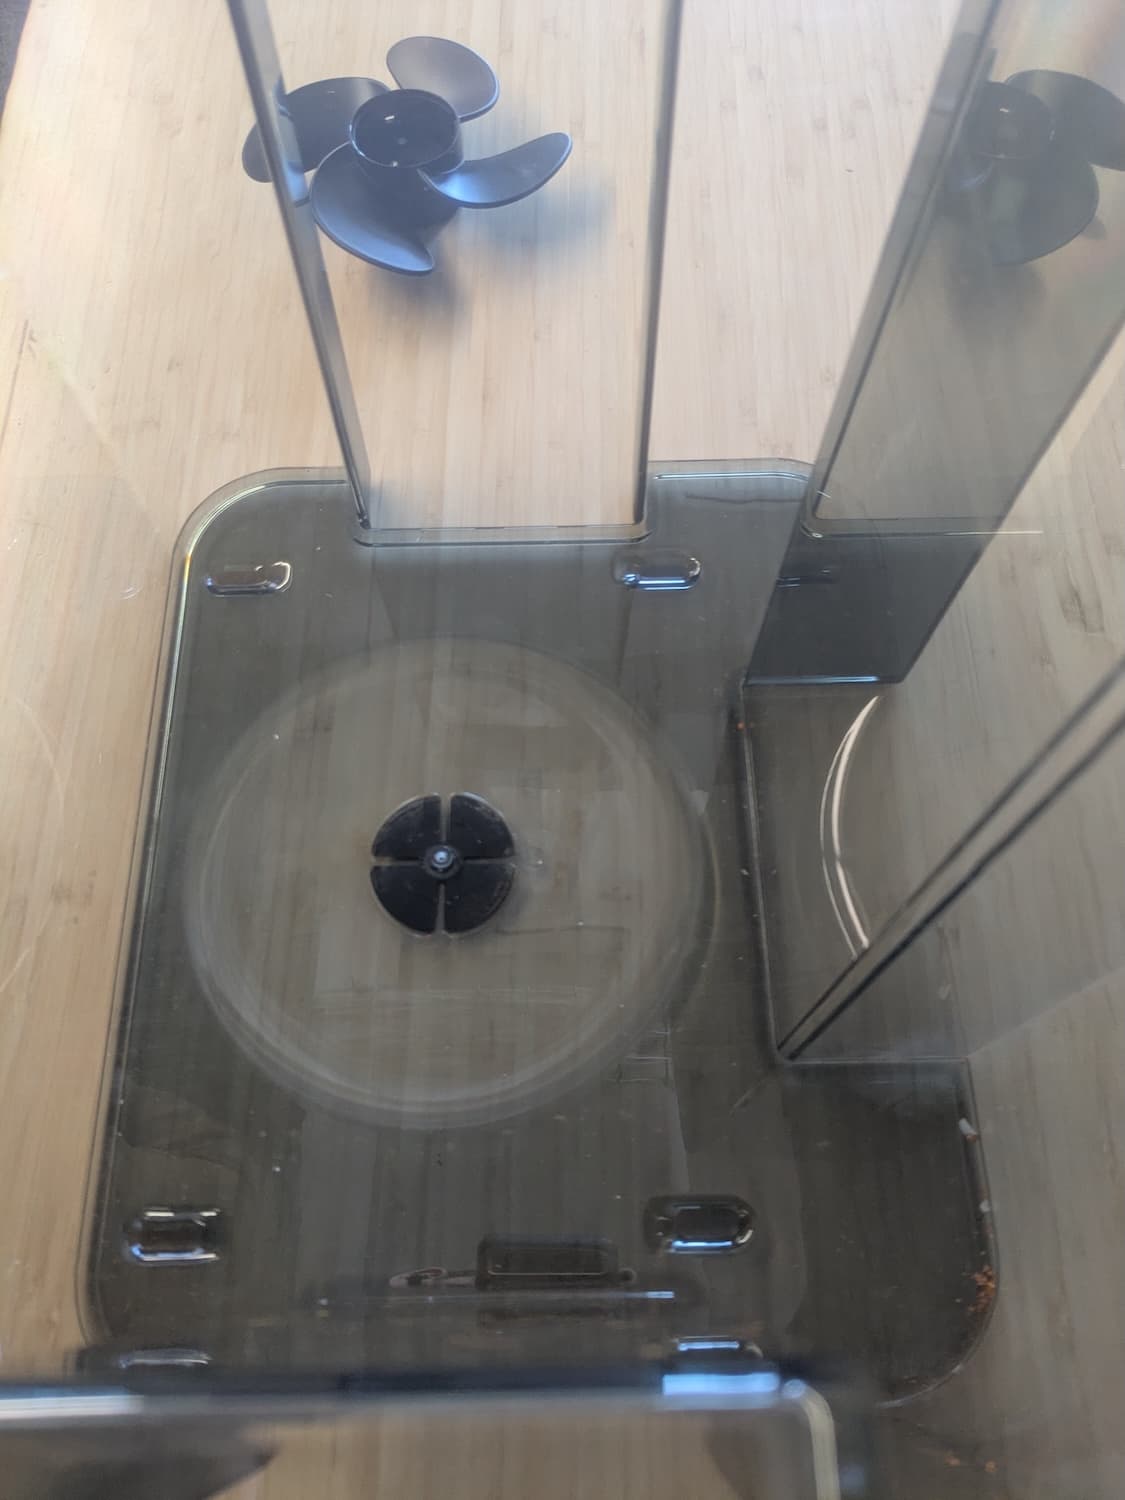
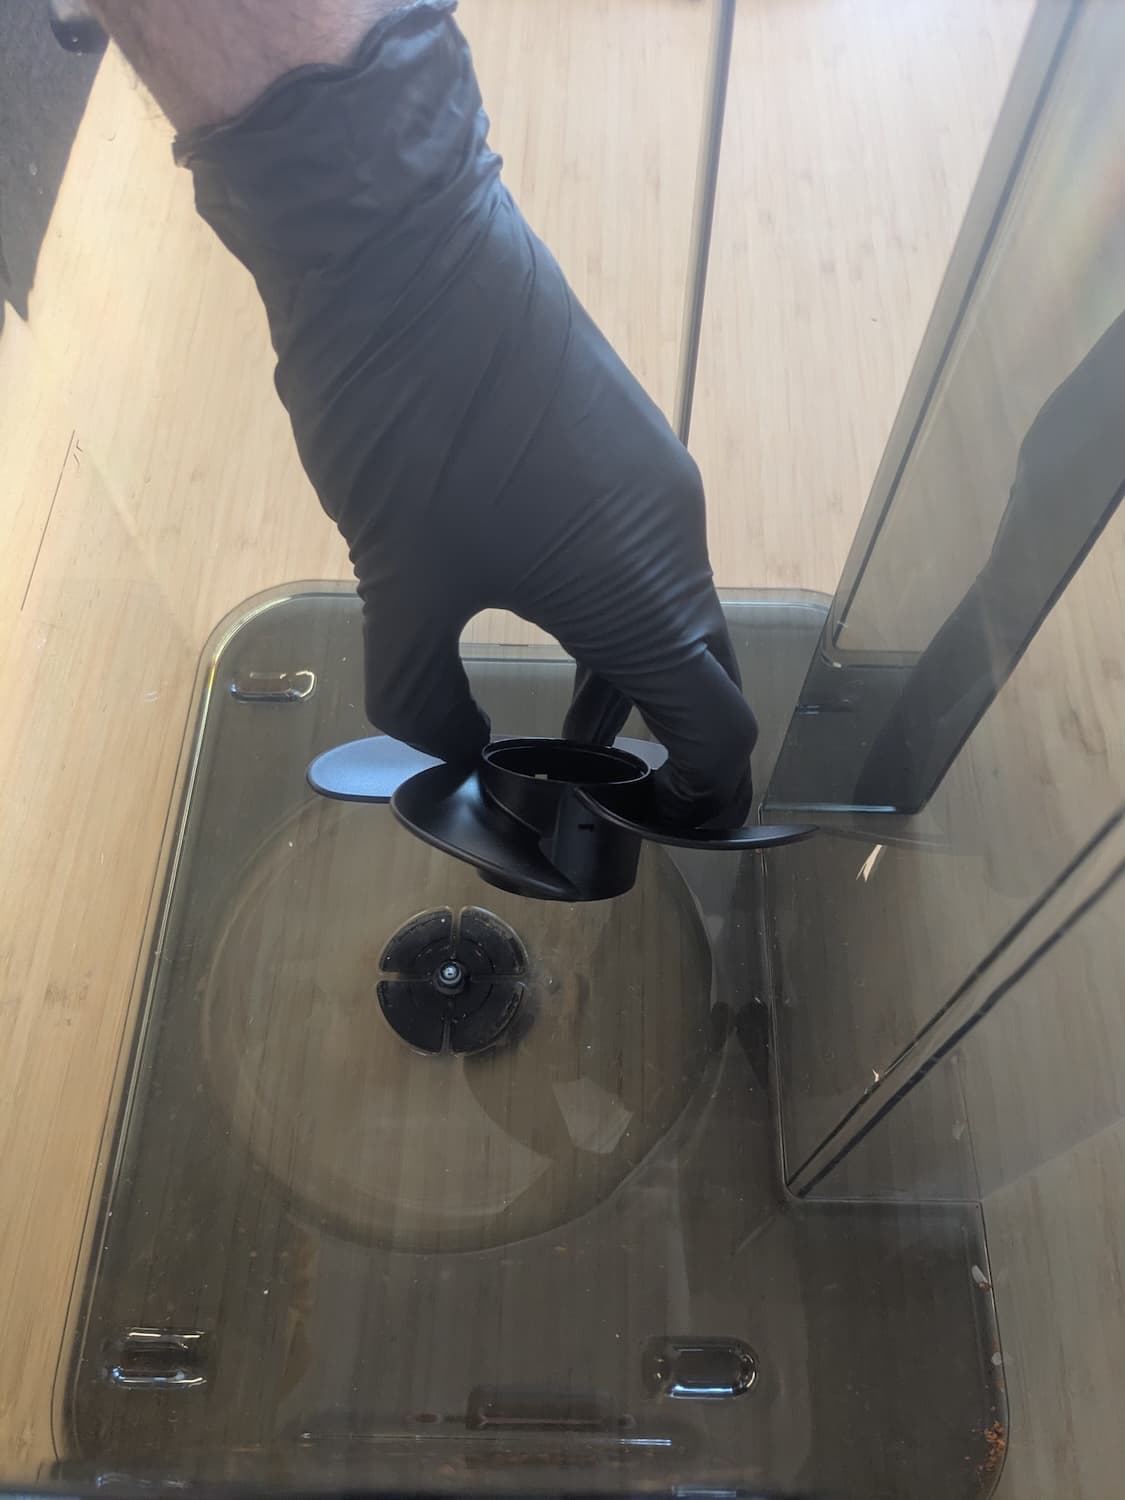
The wash bucket has an engraved depression shaped to hold the flat four-lobed bearing. Place the new bearing into this depression. Insert the new impeller into the wash bucket. Align the impeller’s screw hole with the corresponding screw hole in the wash bucket. The impeller should sit flat against the bottom of the wash bucket.
Step 4: Reinstall the impeller screw
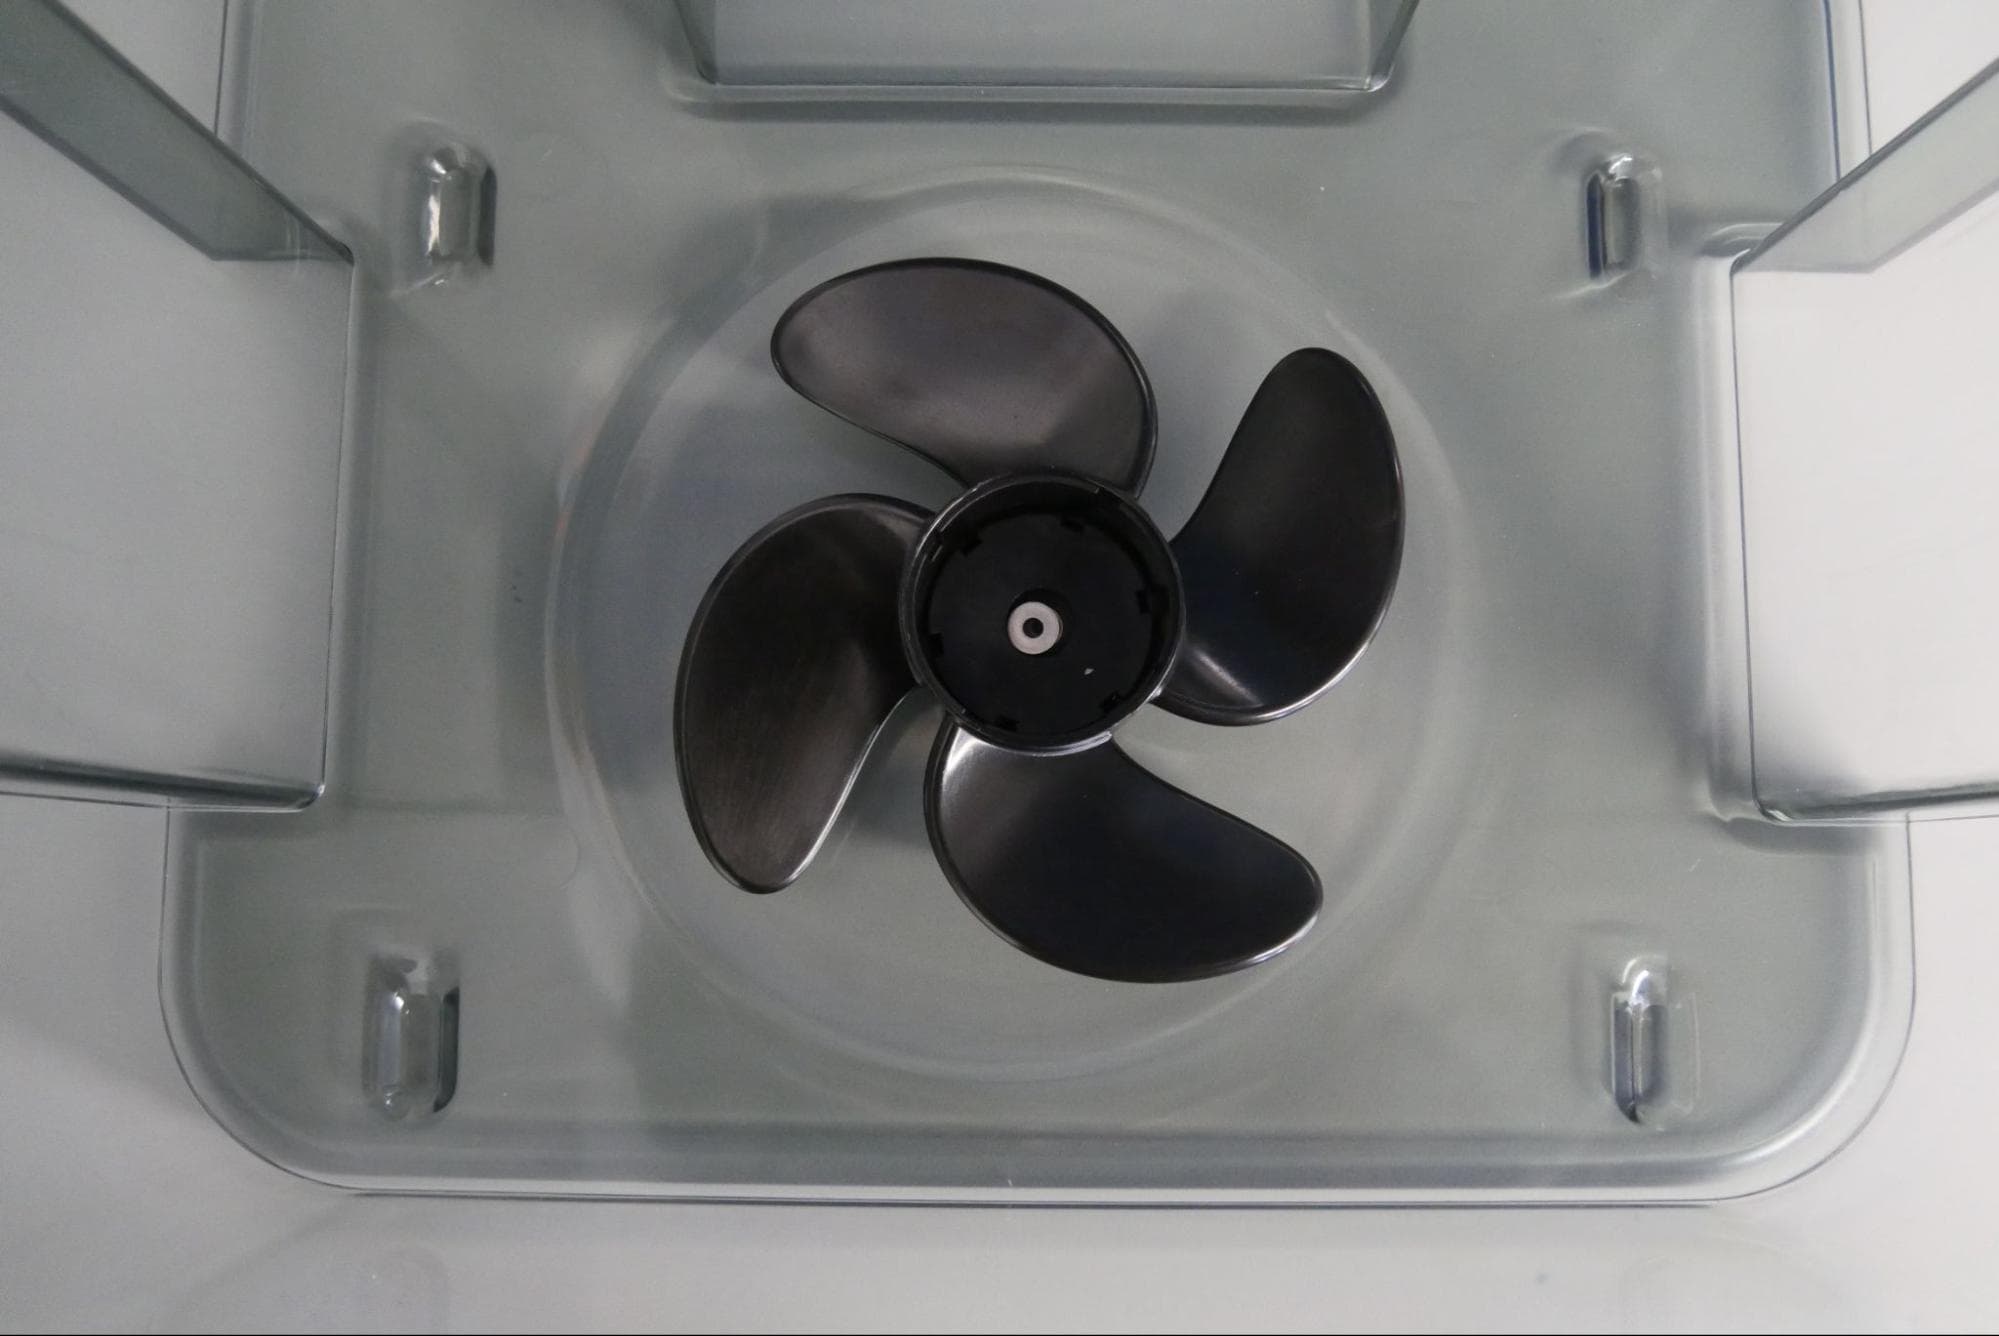
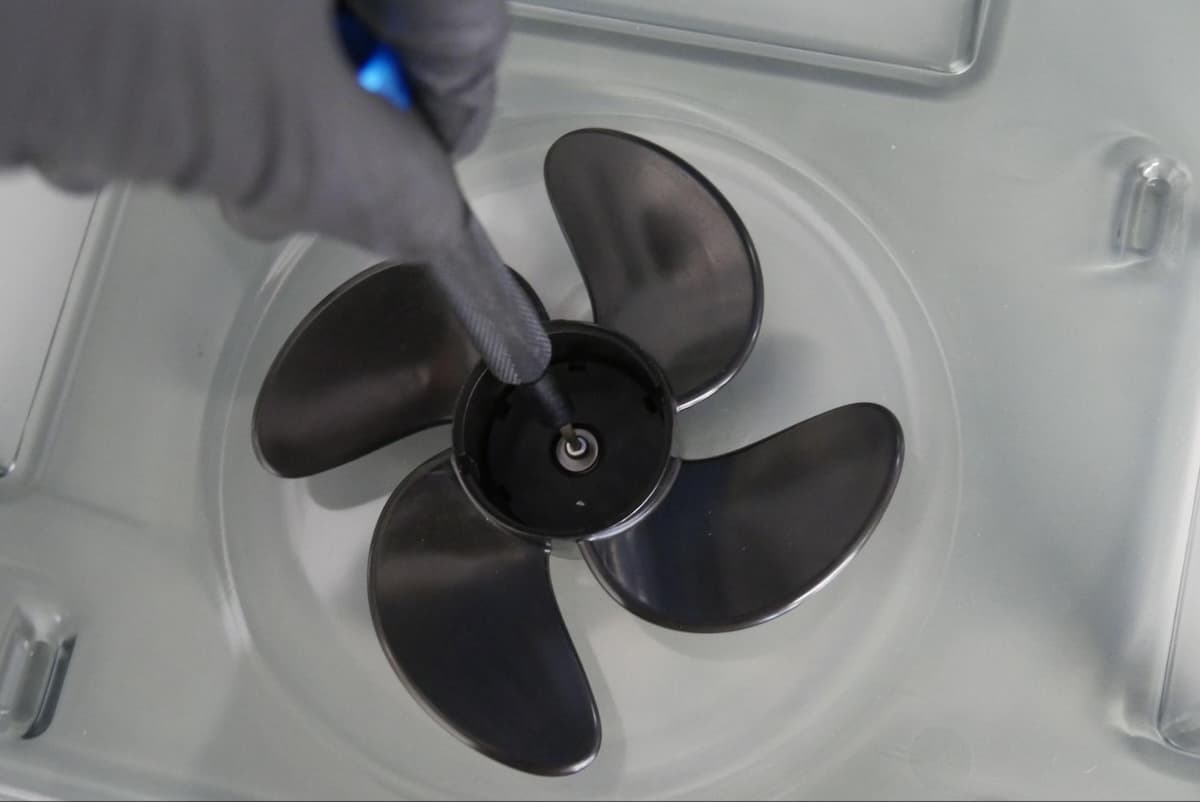
Place the washer onto the impeller’s screw hole. Thread the screw into the Form Wash impeller’s screw hole. Using a 2 mm hex driver, tighten the screw until finger tight. Take care to not overtighten or strip the plastic threads in the wash bucket.
Step 5: Check impeller spin
Spin the impeller by hand. It should spin freely. If it does not, loosen the screw half a turn and check again. Repeat as needed.
Step 6: Mount the impeller cap
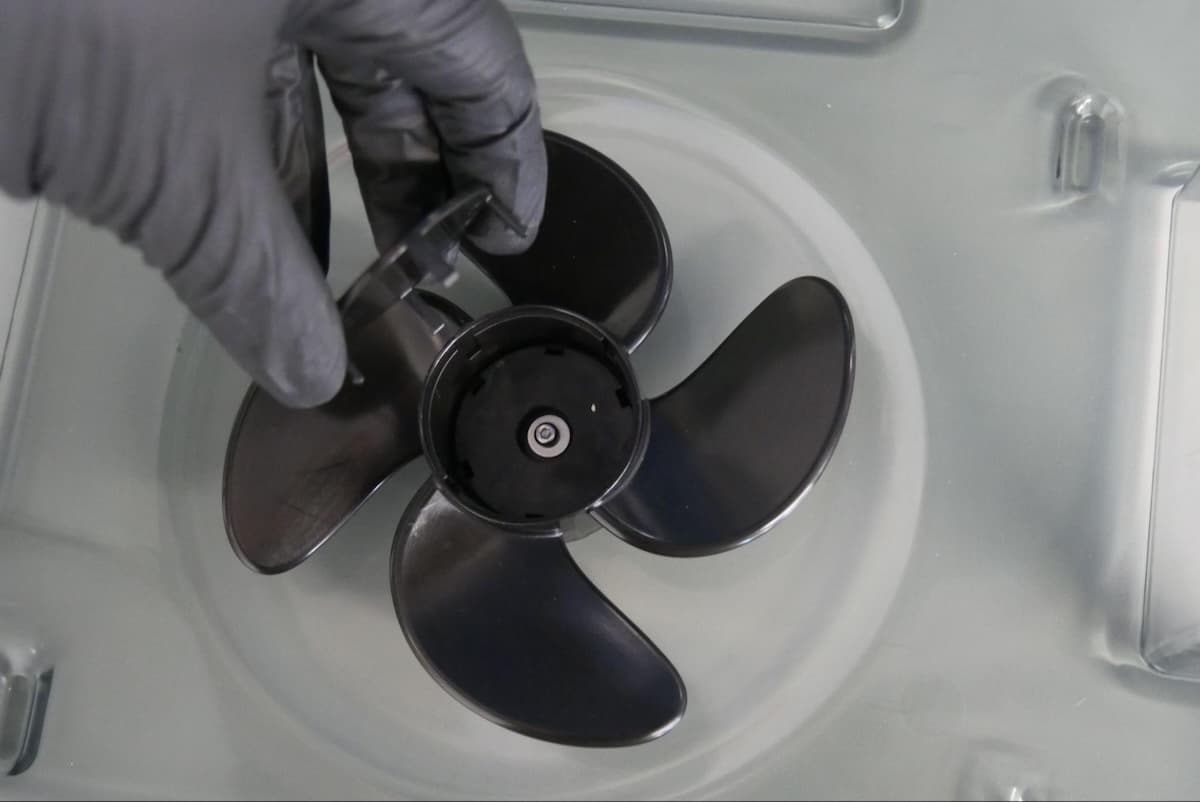
Align the posts on the impeller cap with the grooves of the impeller. Gently press the impeller cap into place.
Finalizing the repair
Overview: After installing the new impeller, power on the machine and perform final checks.
Step 1: Refill the wash bucket
Refill the wash bucket to your desired fill level.
Step 2: Reinstall the inner lid
Align the front edge of the inner lid with the wash bucket’s edge and lower the inner lid directly into the top of the wash bucket.
Step 3: Reinsert the wash bucket
Insert the wash bucket into the Form Wash.
Step 4: Lower the elevator
Turn the Form Wash knob to select Lower on the display. Push the knob to confirm. The Form Wash lowers the elevator and basket into the wash bucket.
Step 5: Test the repair
Turn the knob to navigate the display menu and set the Time. Push the knob to select or confirm. Select Start. Check to see that the wash cycle starts normally and that the Form Wash does not make any unusual noises and that the impeller is moving properly. Contact Formlabs Support or your authorized reseller to share the results of the procedure.