
Required Supplies:
Formlabs:
- Replacement Fuse 1 generation build chamber inner gasket
Third-party:
- 2 mm hex driver
- Paper towels
- Nonreactive nitrile gloves
Estimated time: 10–15 minutes

Over time, the inner gasket or volcano seal on the build chamber may degrade. To inspect the inner gasket, gently pull back on the black external frame gasket where it meets the build chamber lip. If the inner gasket exhibits cracks or discoloration, it should be replaced.
Use this guide to replace the build chamber’s inner gasket.
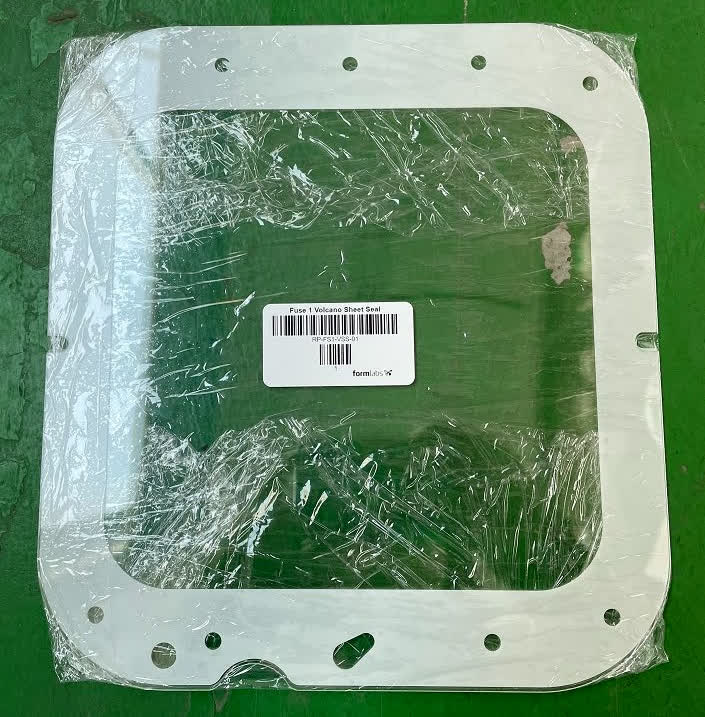
Required Supplies:
Formlabs:
Third-party:
Estimated time: 10–15 minutes
DANGER:
Read and follow all safety instructions and warnings in the operator manual. Replacement with incorrect parts can lead to burns, shock, fire, or explosion. Dispose of all parts in accordance with local regulations.
Preparing the workspace
Overview: Prepare the build chamber and a dust-free workspace for cleaning and replacing the Fuse 1 generation build chamber inner gasket.
WARNING:
Do not perform this procedure if the build chamber was used for printing less than six hours prior. Failure to do so may result in serious burns. Allow the build chamber and print enclosure to fully cool to room temperature before touching or inspecting any printer components.
Step 1: Empty the build chamber
If the build chamber has recently been used for a print and contains a powder cake, empty the build chamber using a Fuse Sift.
Step 2: Raise the print bed
Even if the build chamber is already empty, fully raise the print bed using the controls on the Fuse Sift or by tapping Settings > System > Motor Moves on the printer touchscreen. It is normal for powder to fall out from the bottom of the build chamber and accumulate on the work surface when removing the print bed.
Step 3: Vacuum the build chamber
Use the vacuum attached to the Fuse Sift to clean the build chamber. If the build chamber is inserted into the Fuse Sift, push the Vac button on the control panel or tap the vacuum hose icon on the touchscreen to turn the vacuum on.
Vacuum the print bed and the top of the build chamber to remove any loose powder and prevent contamination of the new print bed or your workspace. If the build chamber is not currently inserted into the Fuse Sift, remove the vacuum hose from the port on the side of the Fuse Sift so that it can reach the build chamber, then turn on the vacuum.
Step 4: Prepare the workspace
Clear a workspace around your build chamber. Ensure that the workspace is well-ventilated and free of dust.
Removing the build chamber inner gasket
Overview: Remove the build chamber’s top cover to access and remove the inner gasket.
Step 1: Remove the top cover screws
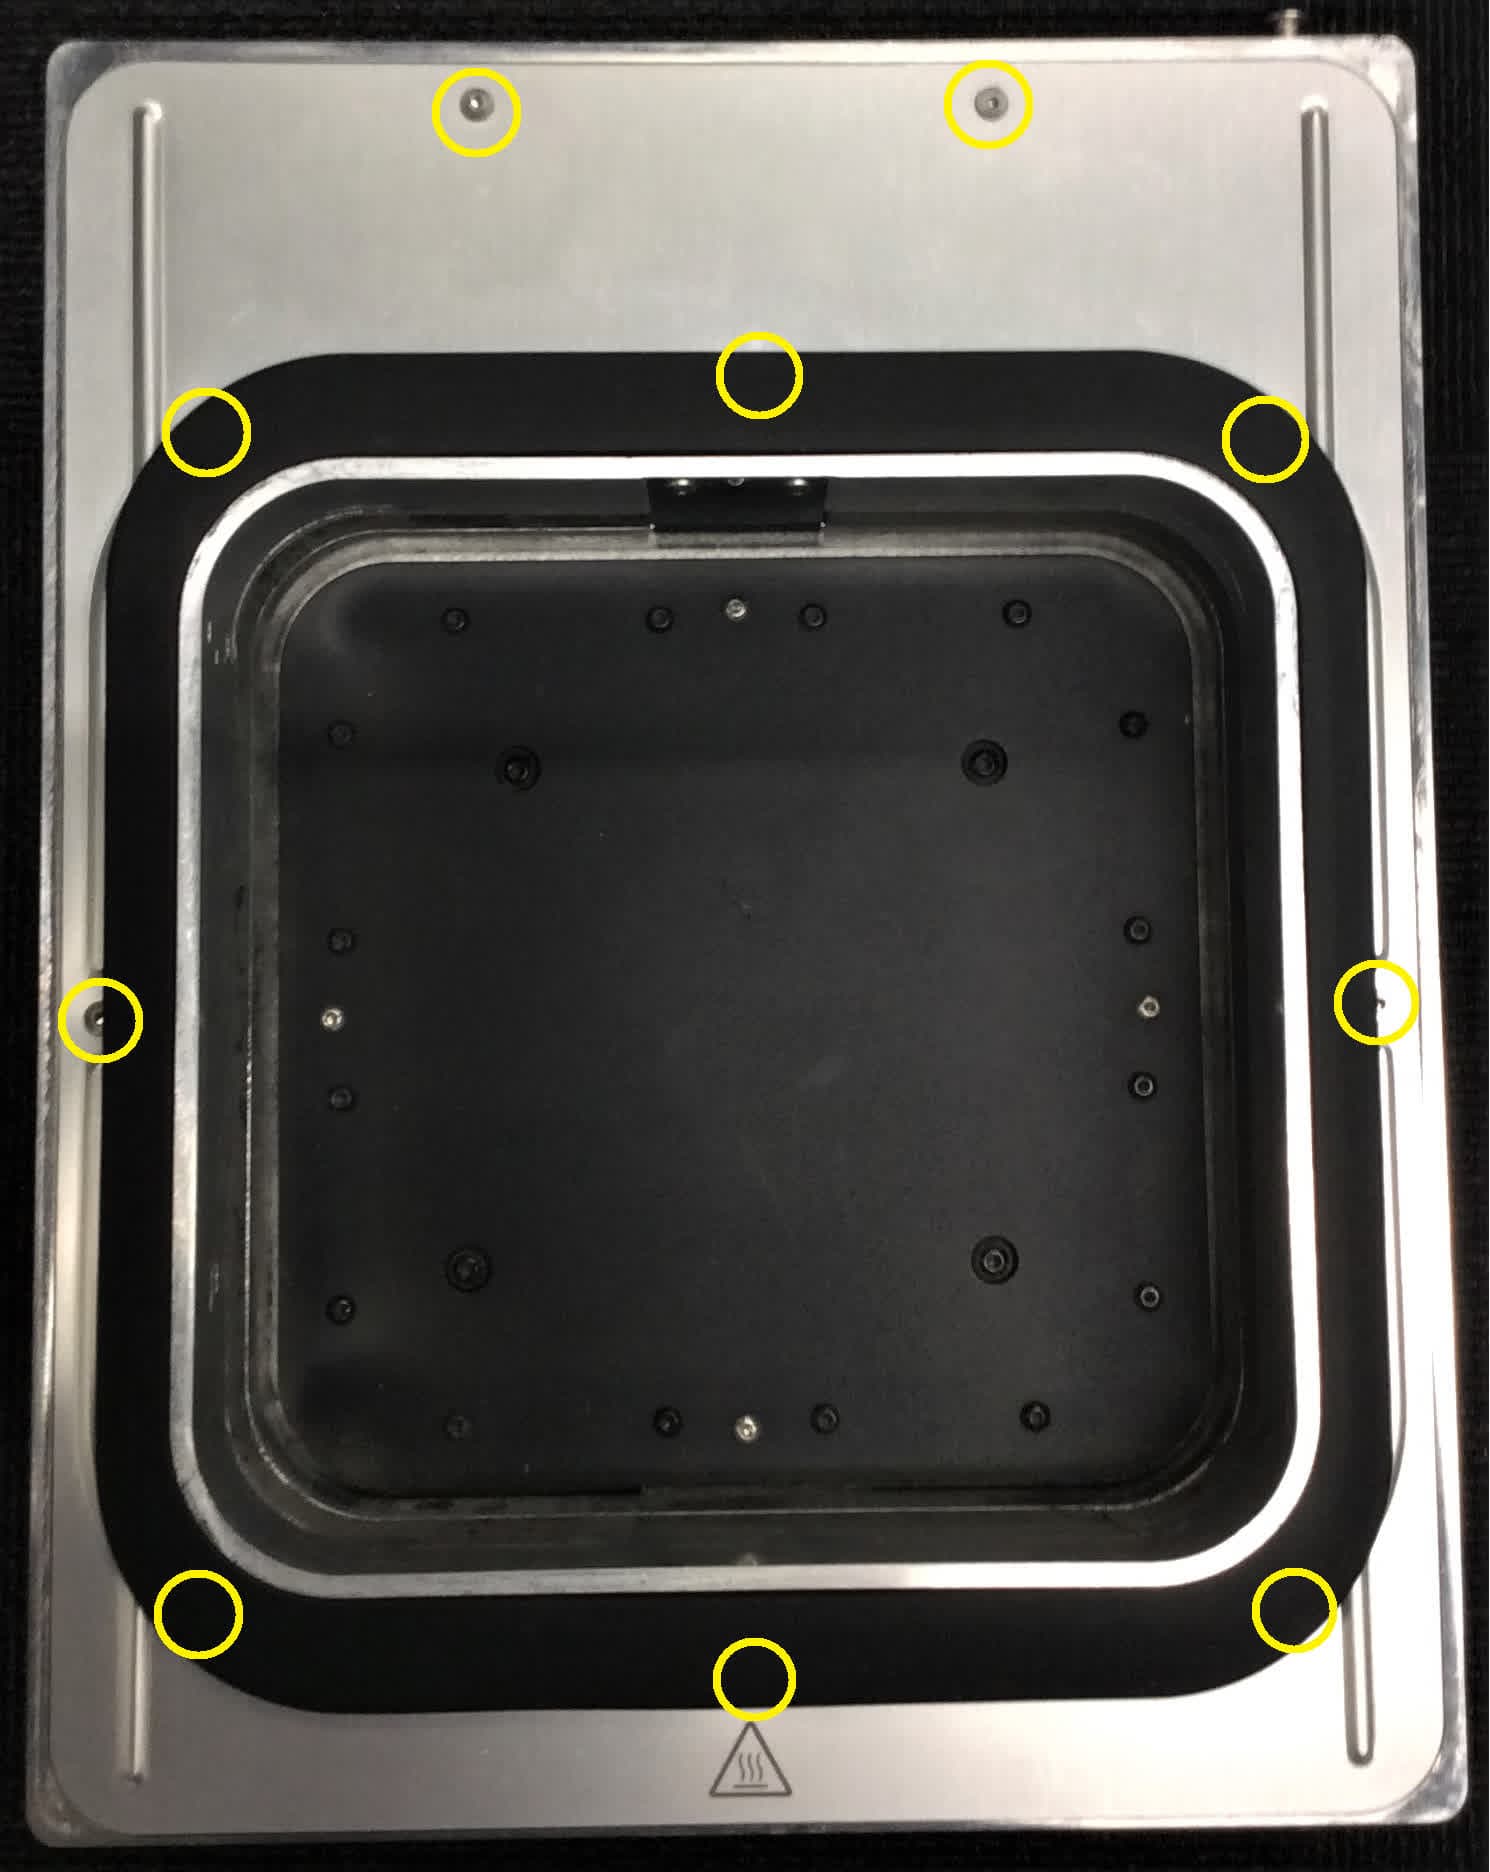
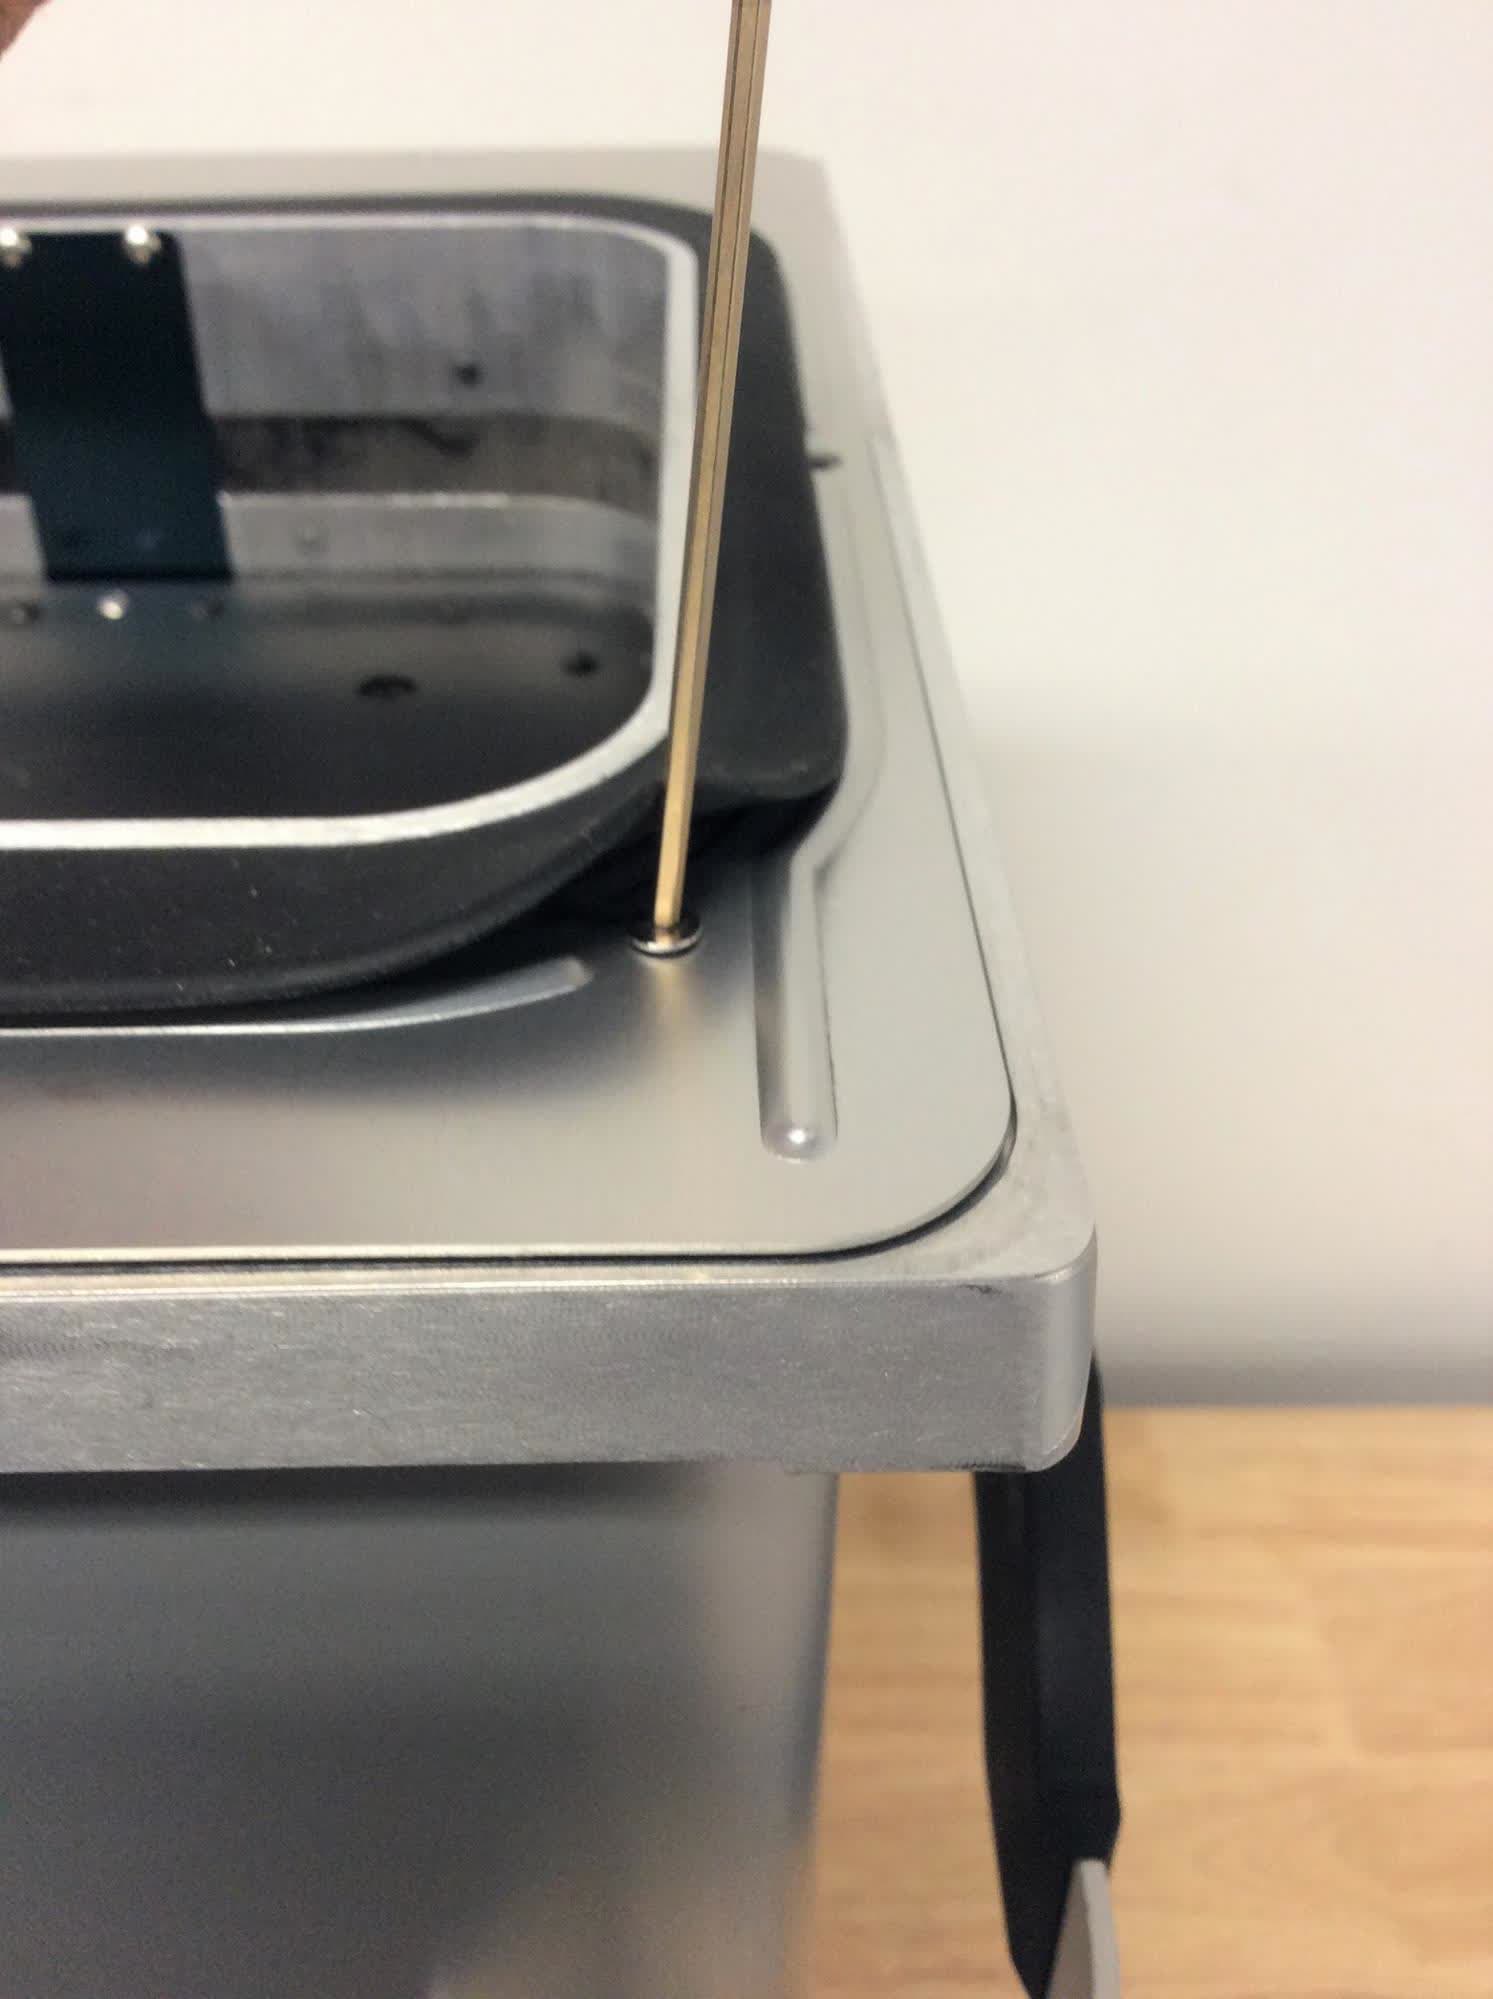
Using a 2 mm hex driver, loosen and remove the 10 M3 × 5 mm screws securing the build chamber’s top cover to the build chamber’s body. Set the screws aside.
Remove the top cover and build chamber external frame gasket from the build chamber.
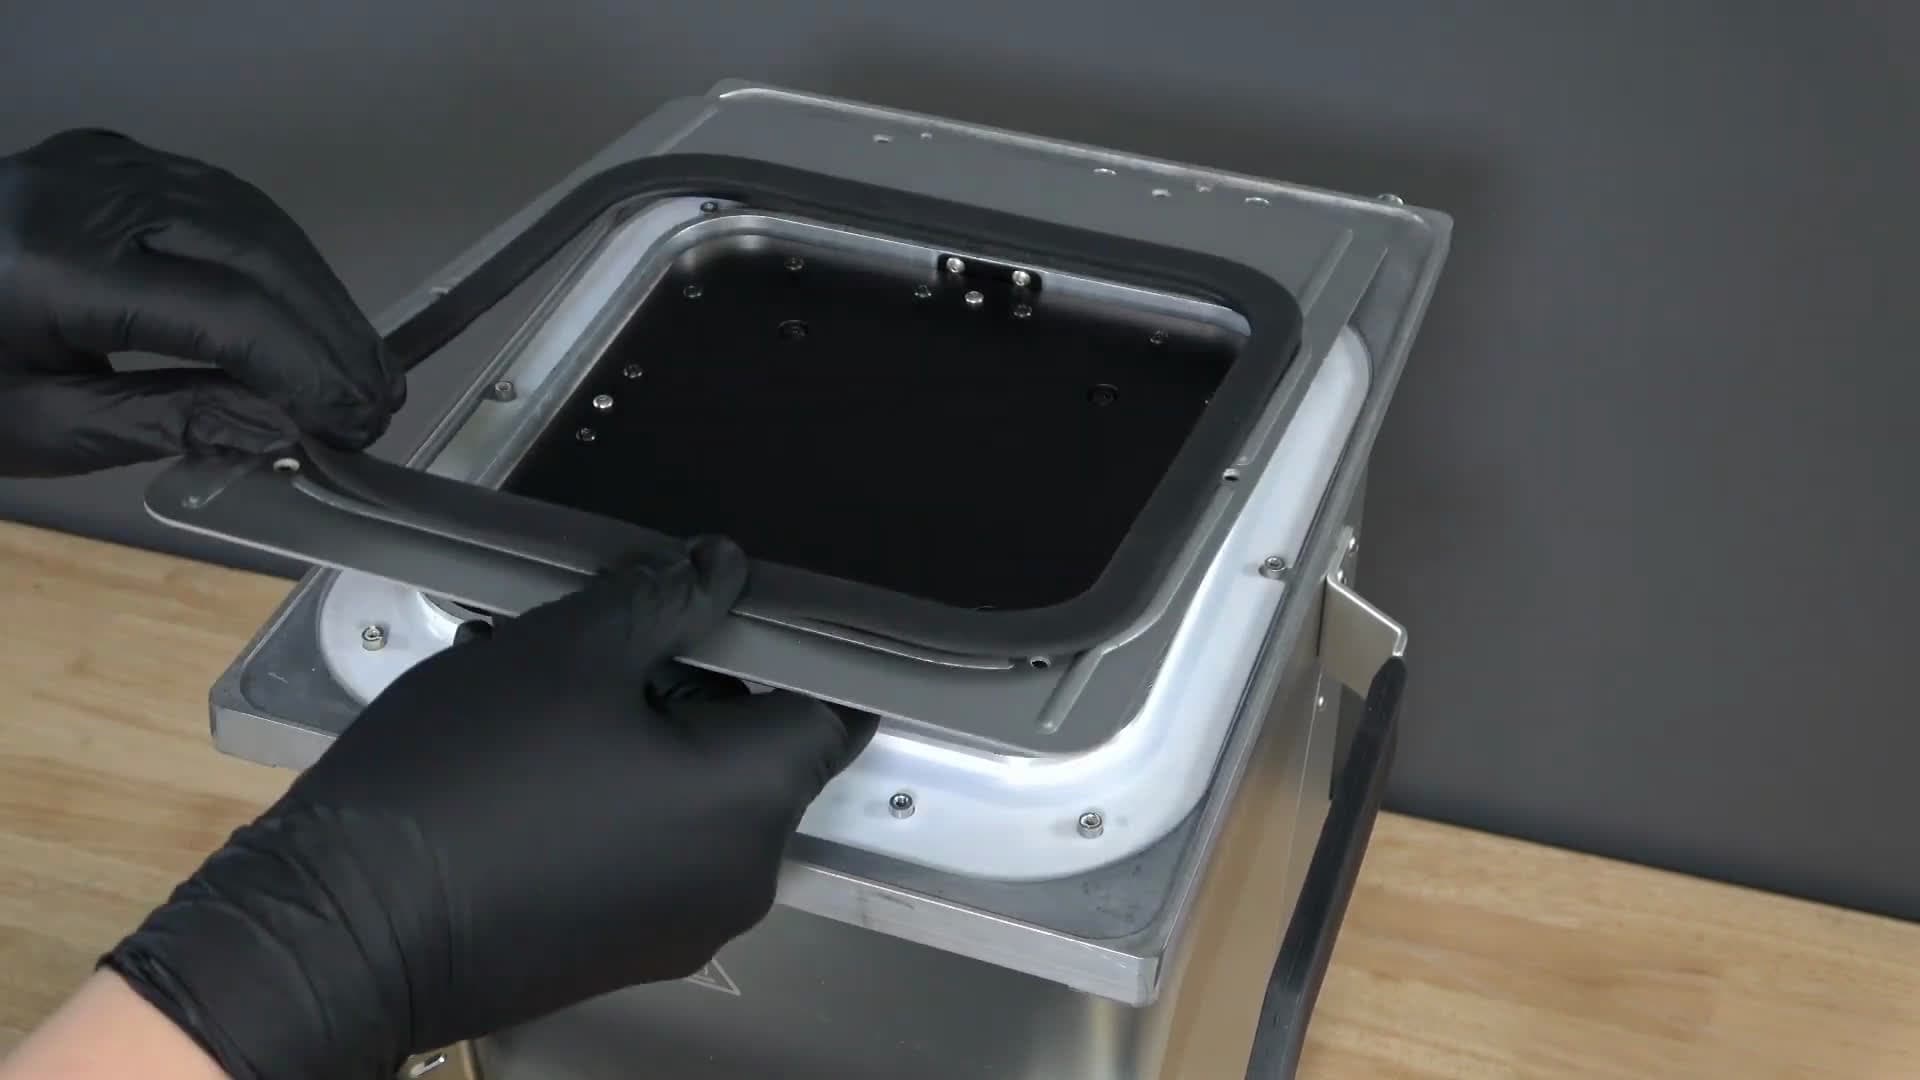
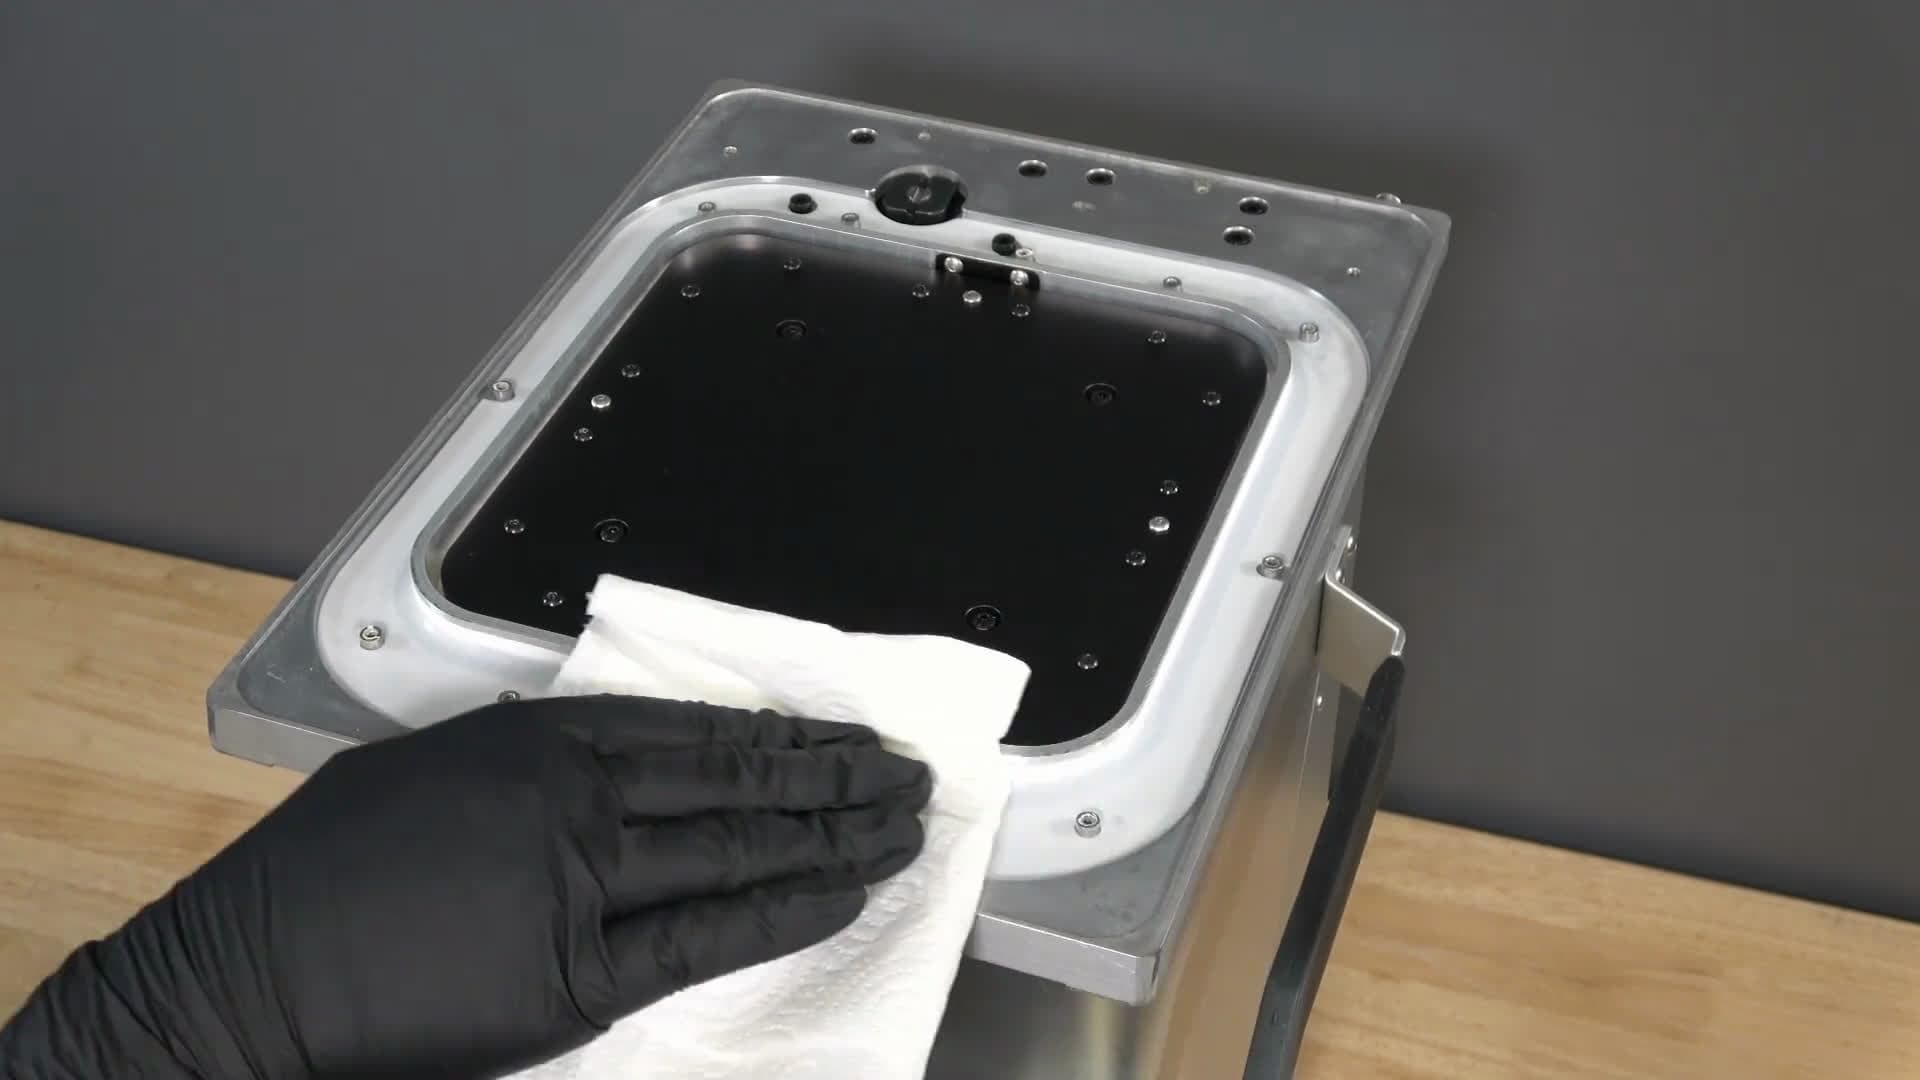
Use a clean paper towel to clean any powder off of the inner gasket below the top cover.
Step 4: Separate the inner gasket from the build chamber
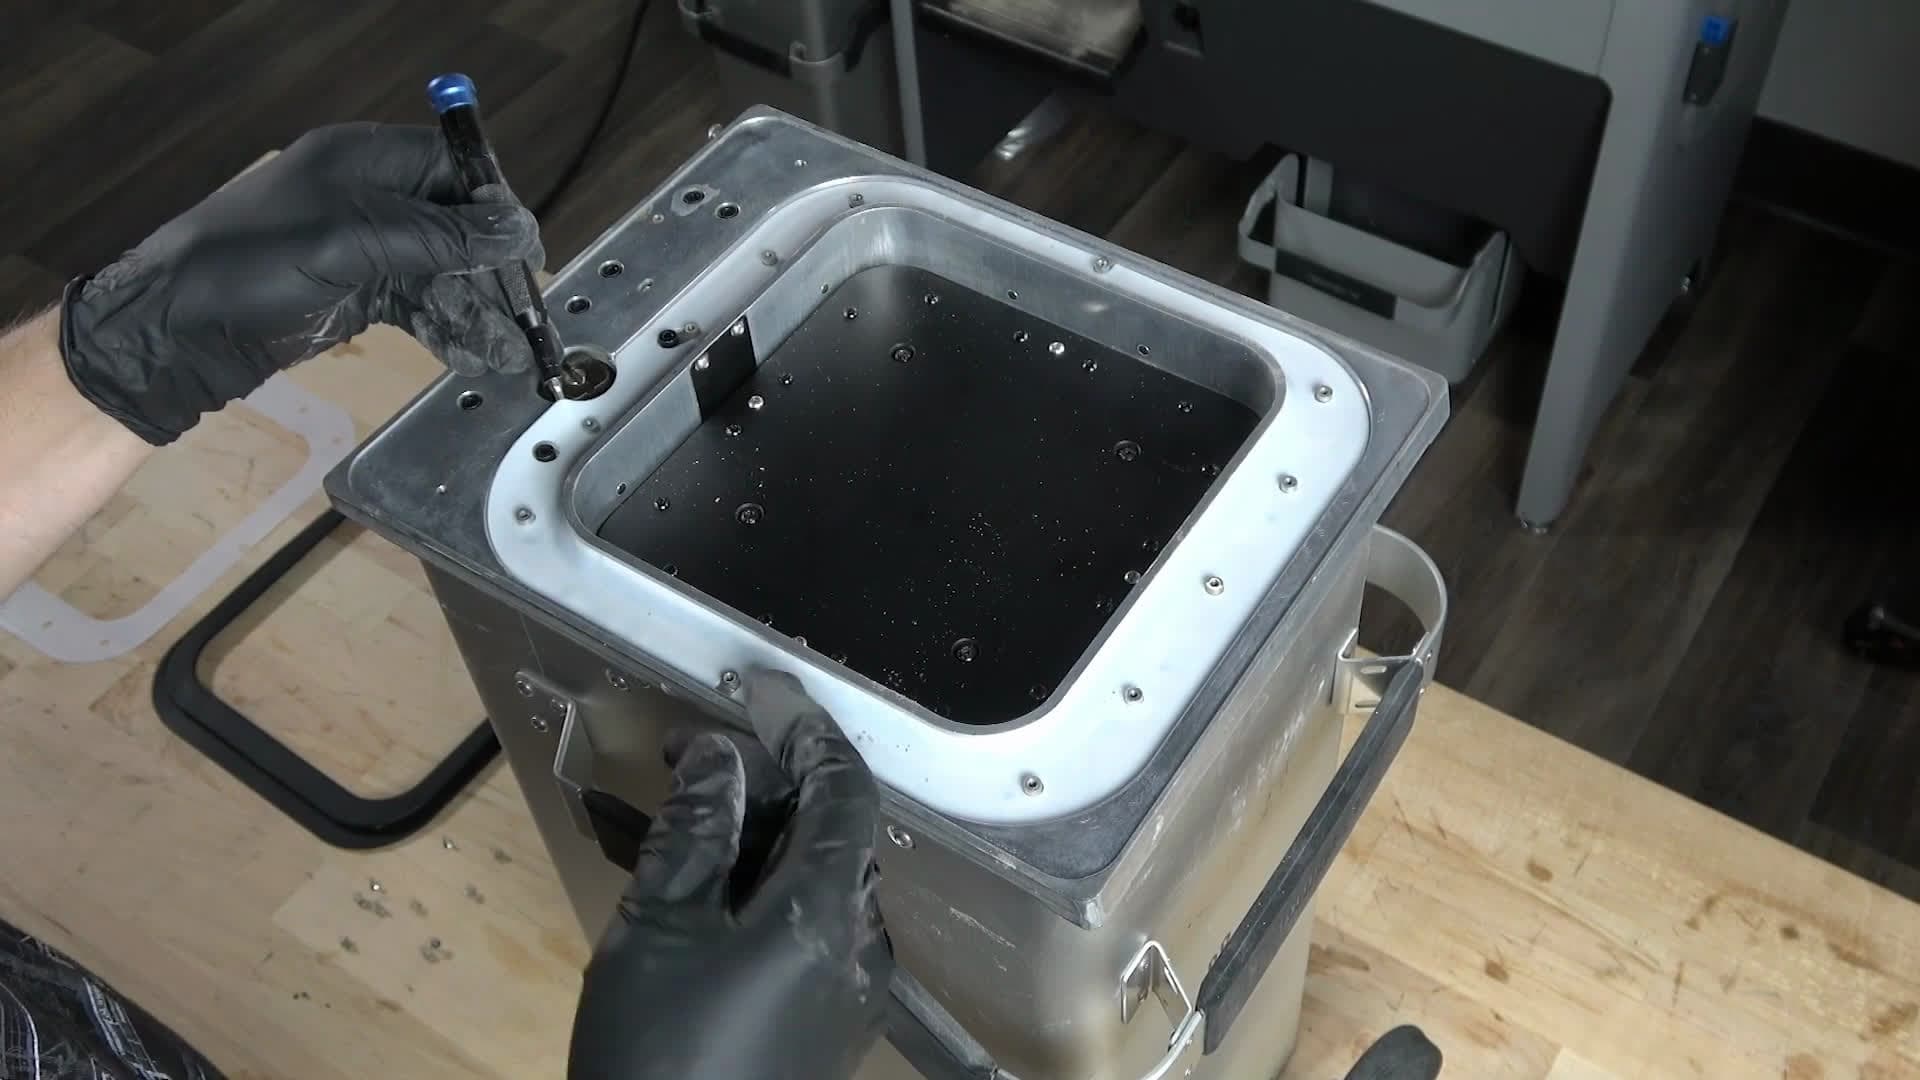
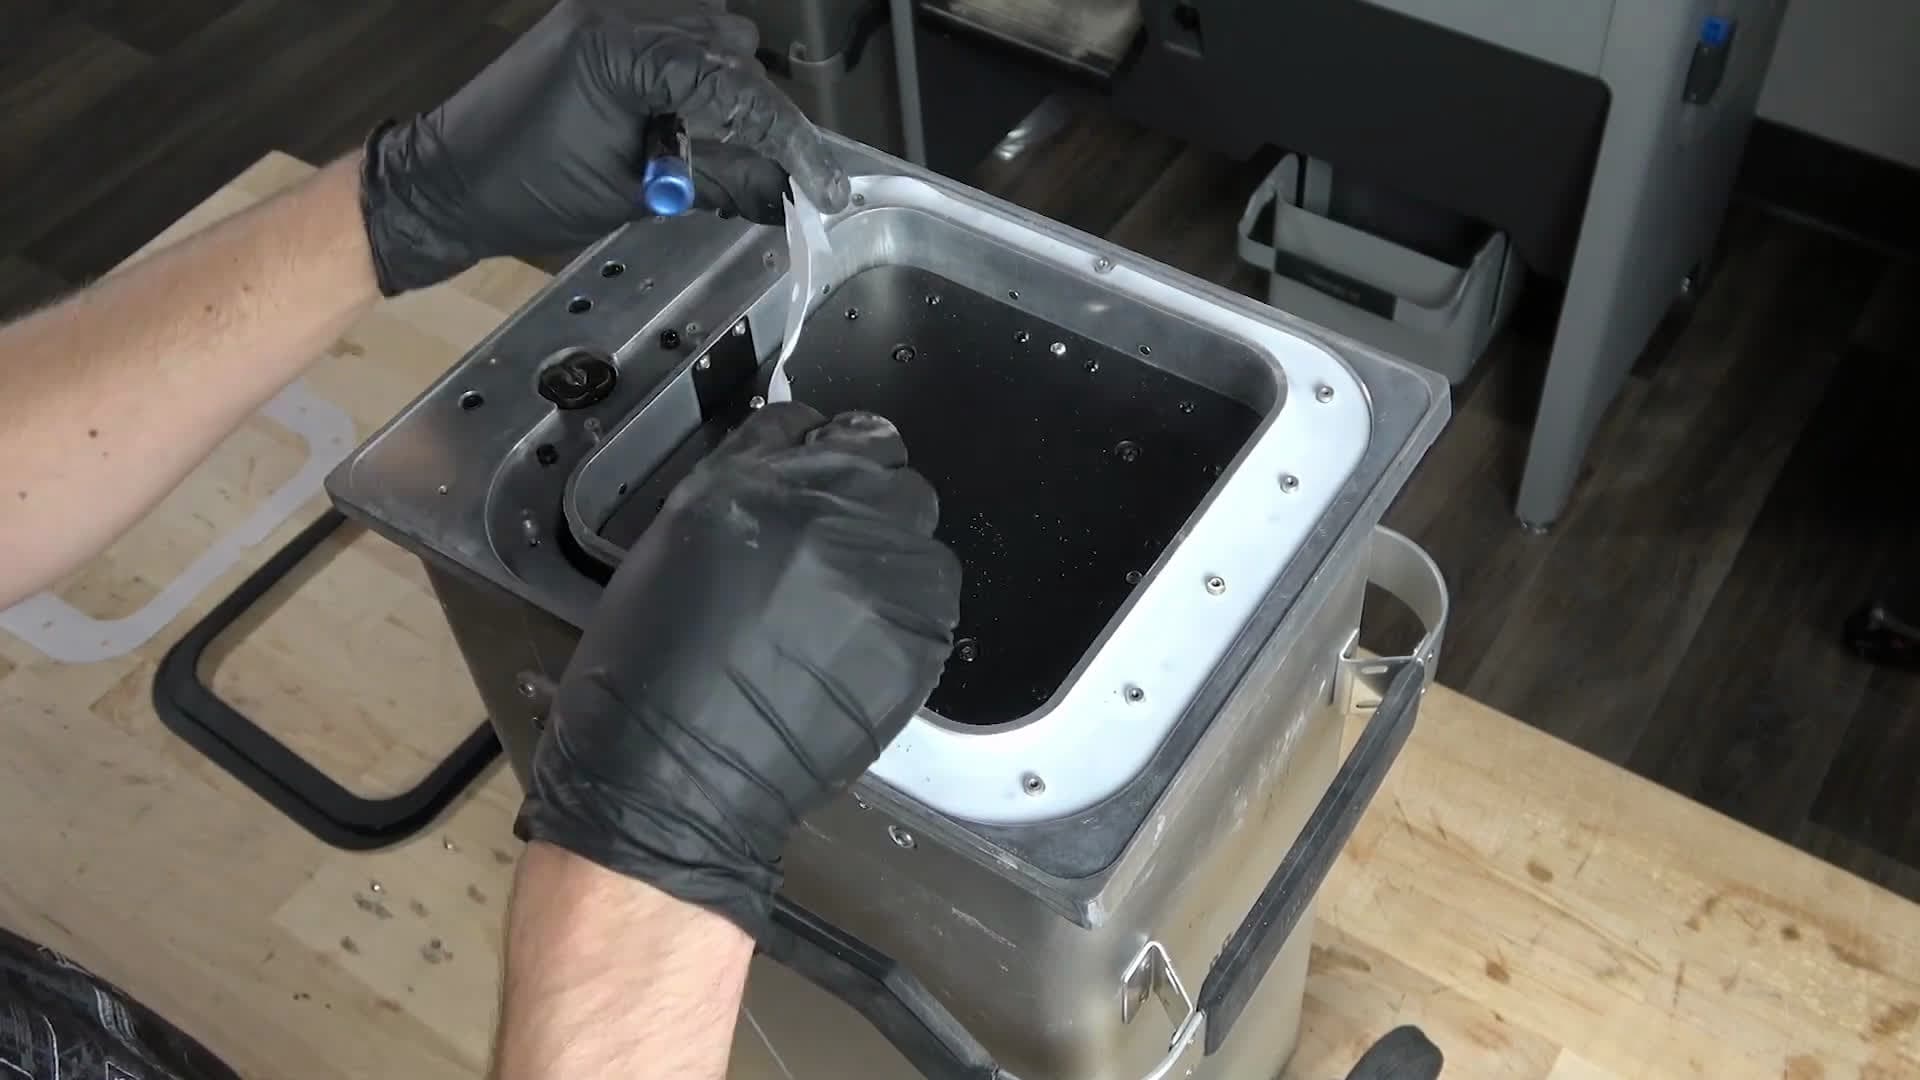
Peel the inner gasket away from the build chamber.
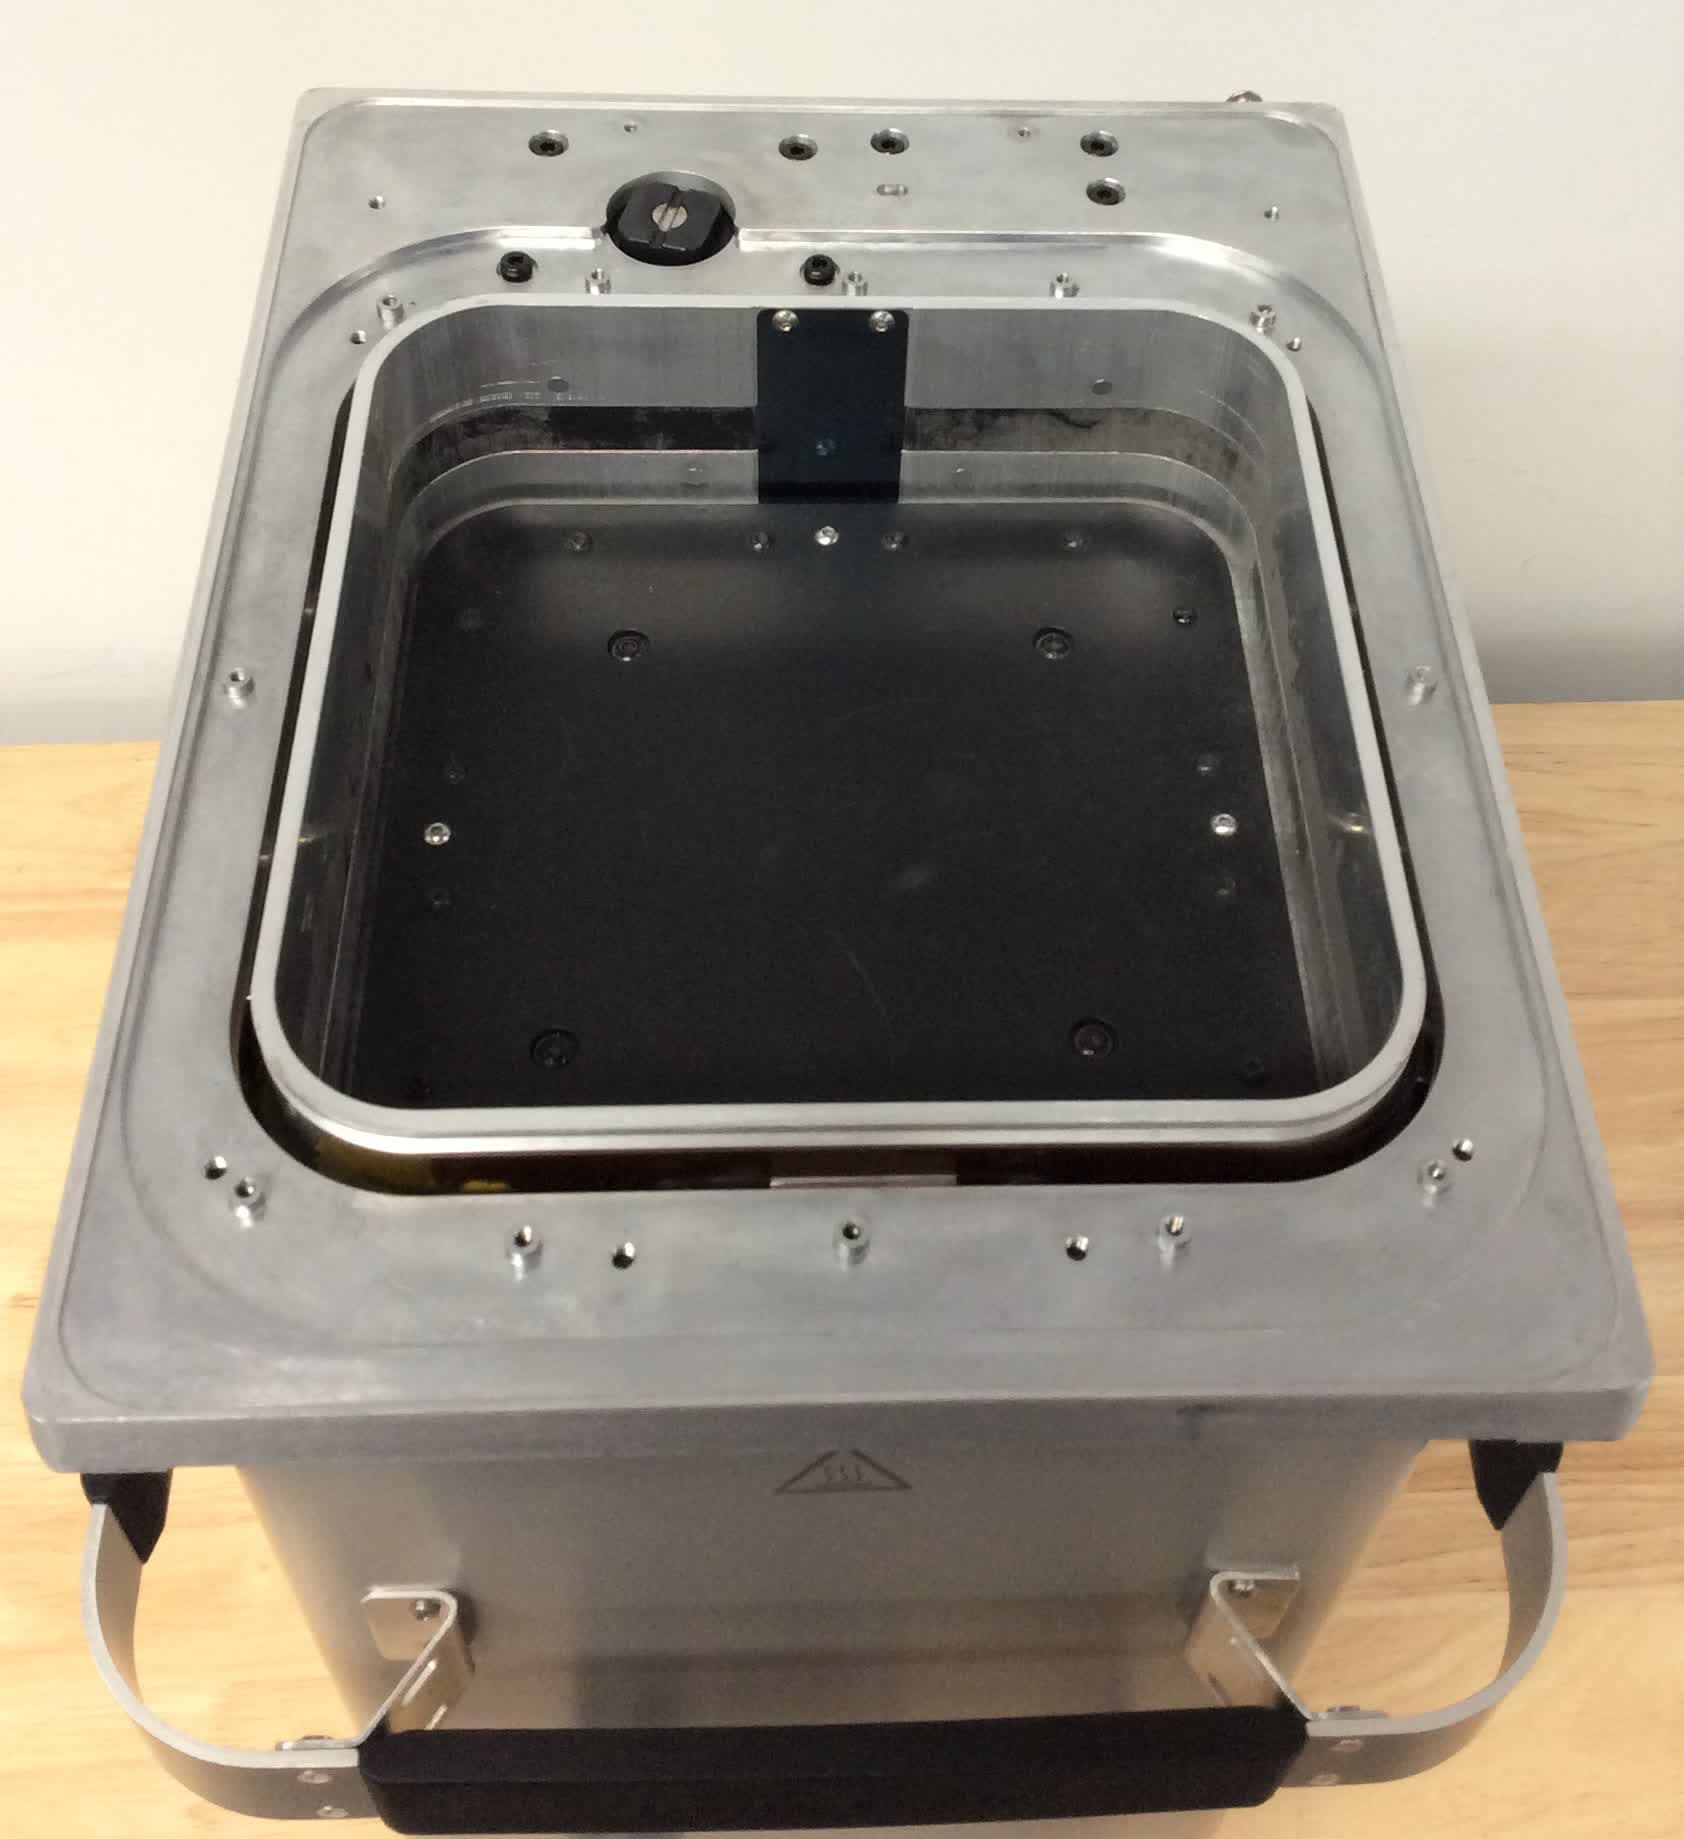
Use a clean paper towel to wipe away any powder that may have accumulated underneath the inner gasket. Ensure the machined build chamber surface is clean and free of debris.
Installing the replacement inner gasket
Overview: Install the replacement inner gasket.
Step 1: Inspect the replacement inner gasket
Inspect the replacement inner gasket for any contamination or debris. Use a clean paper towel to wipe it clean.
Step 2: Place the replacement inner gasket on the build chamber surface
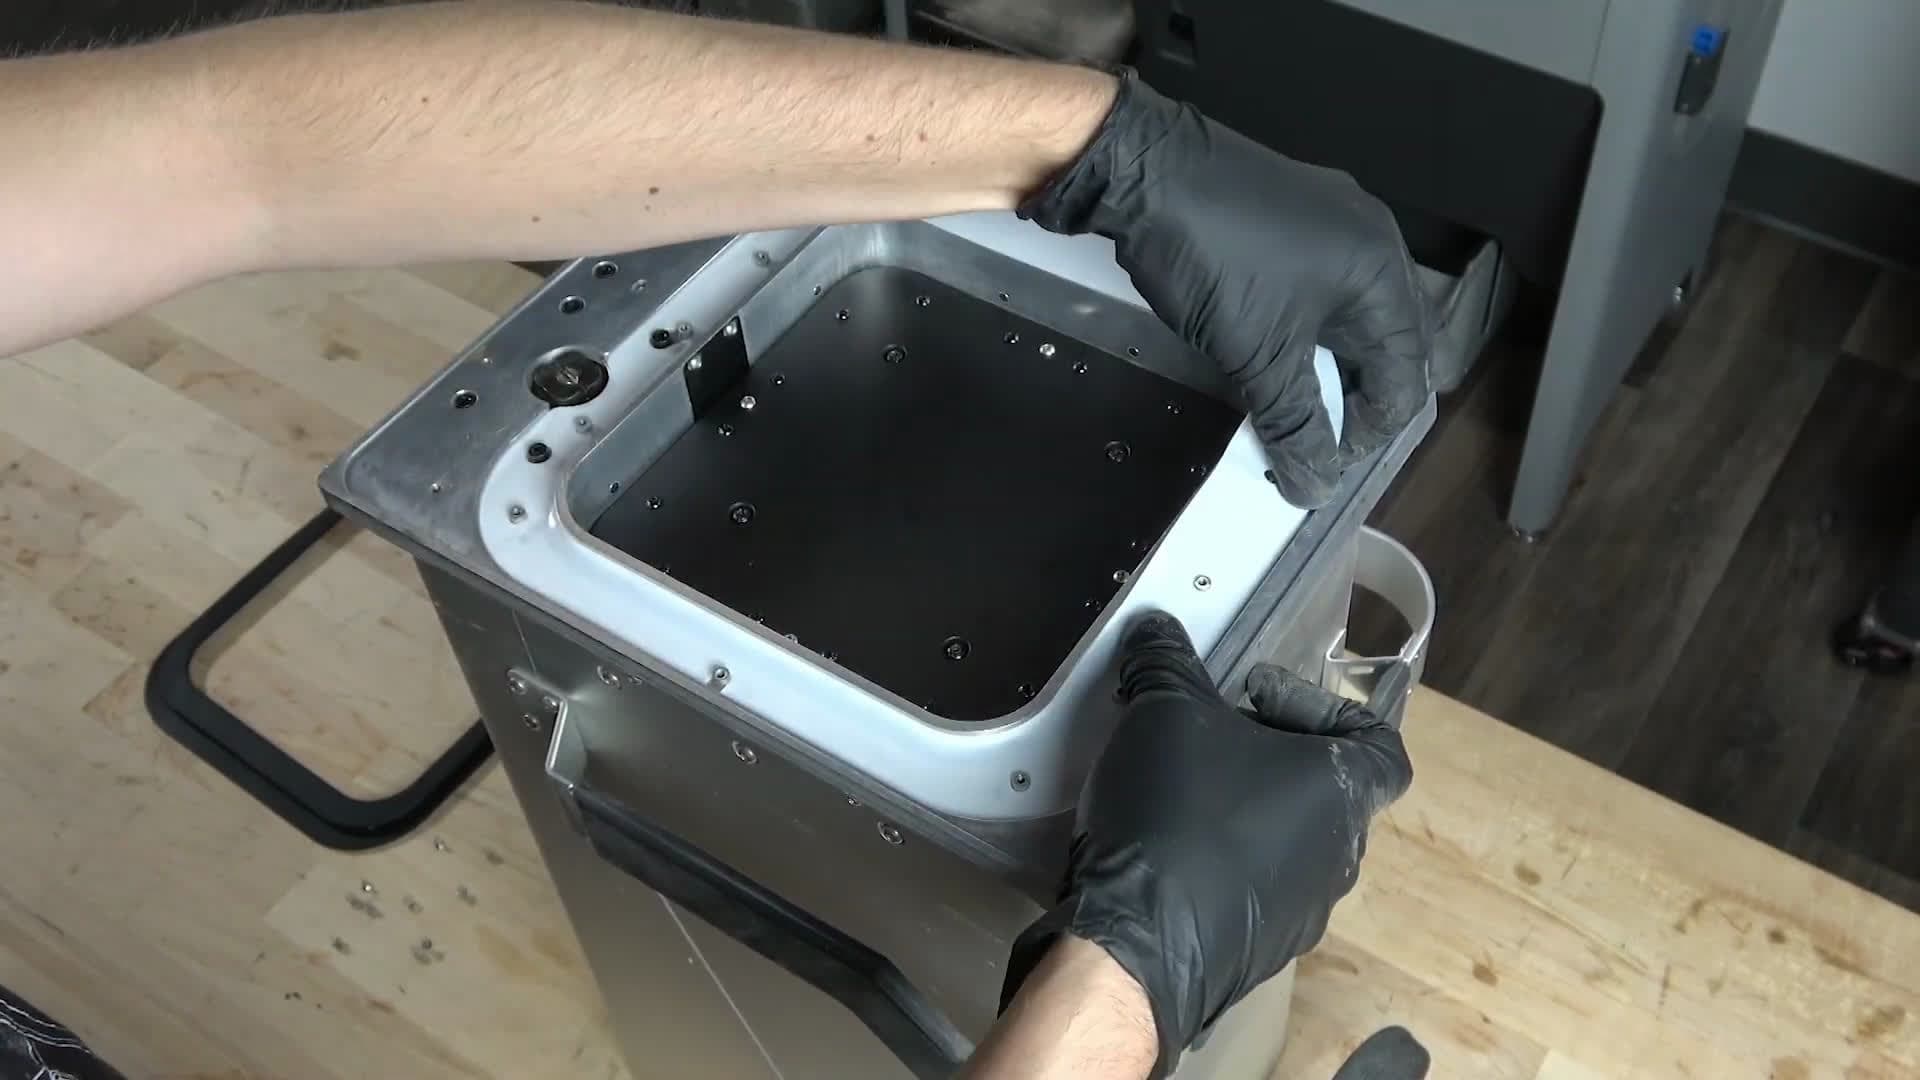
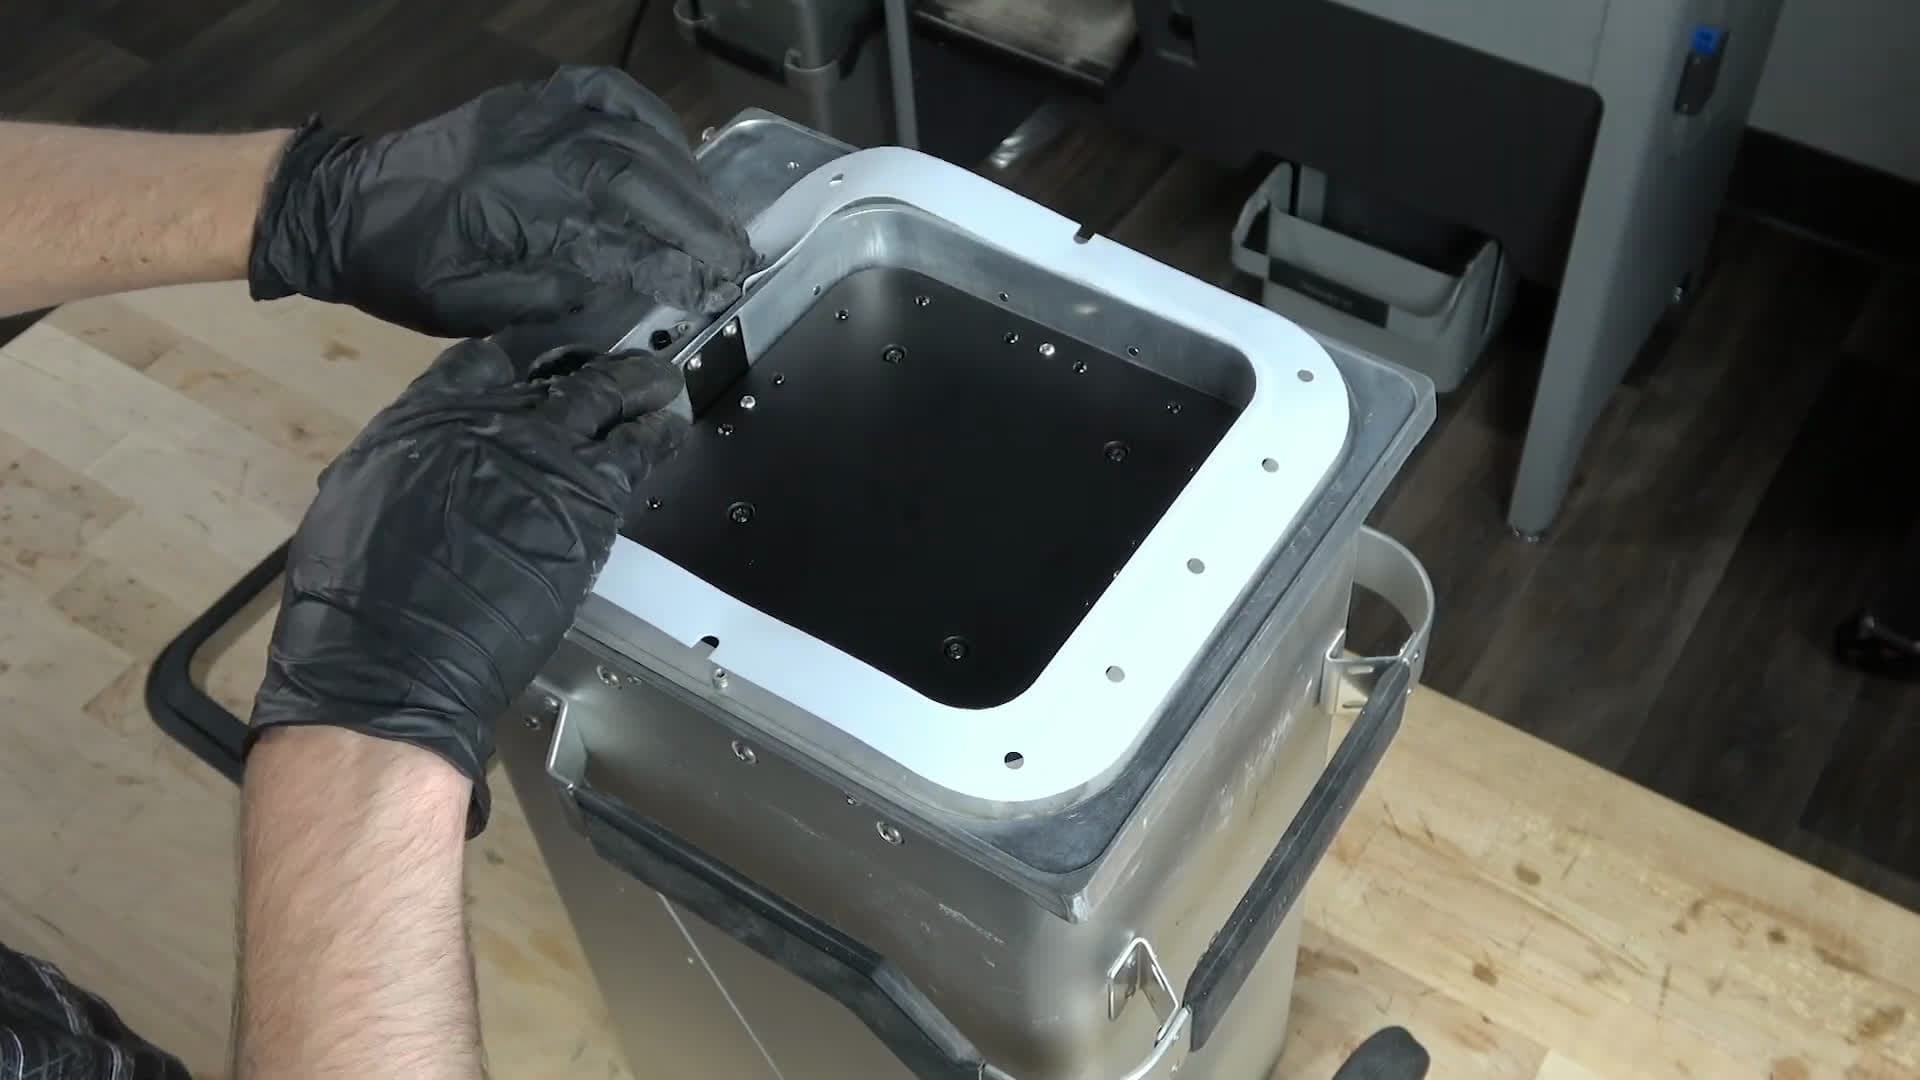
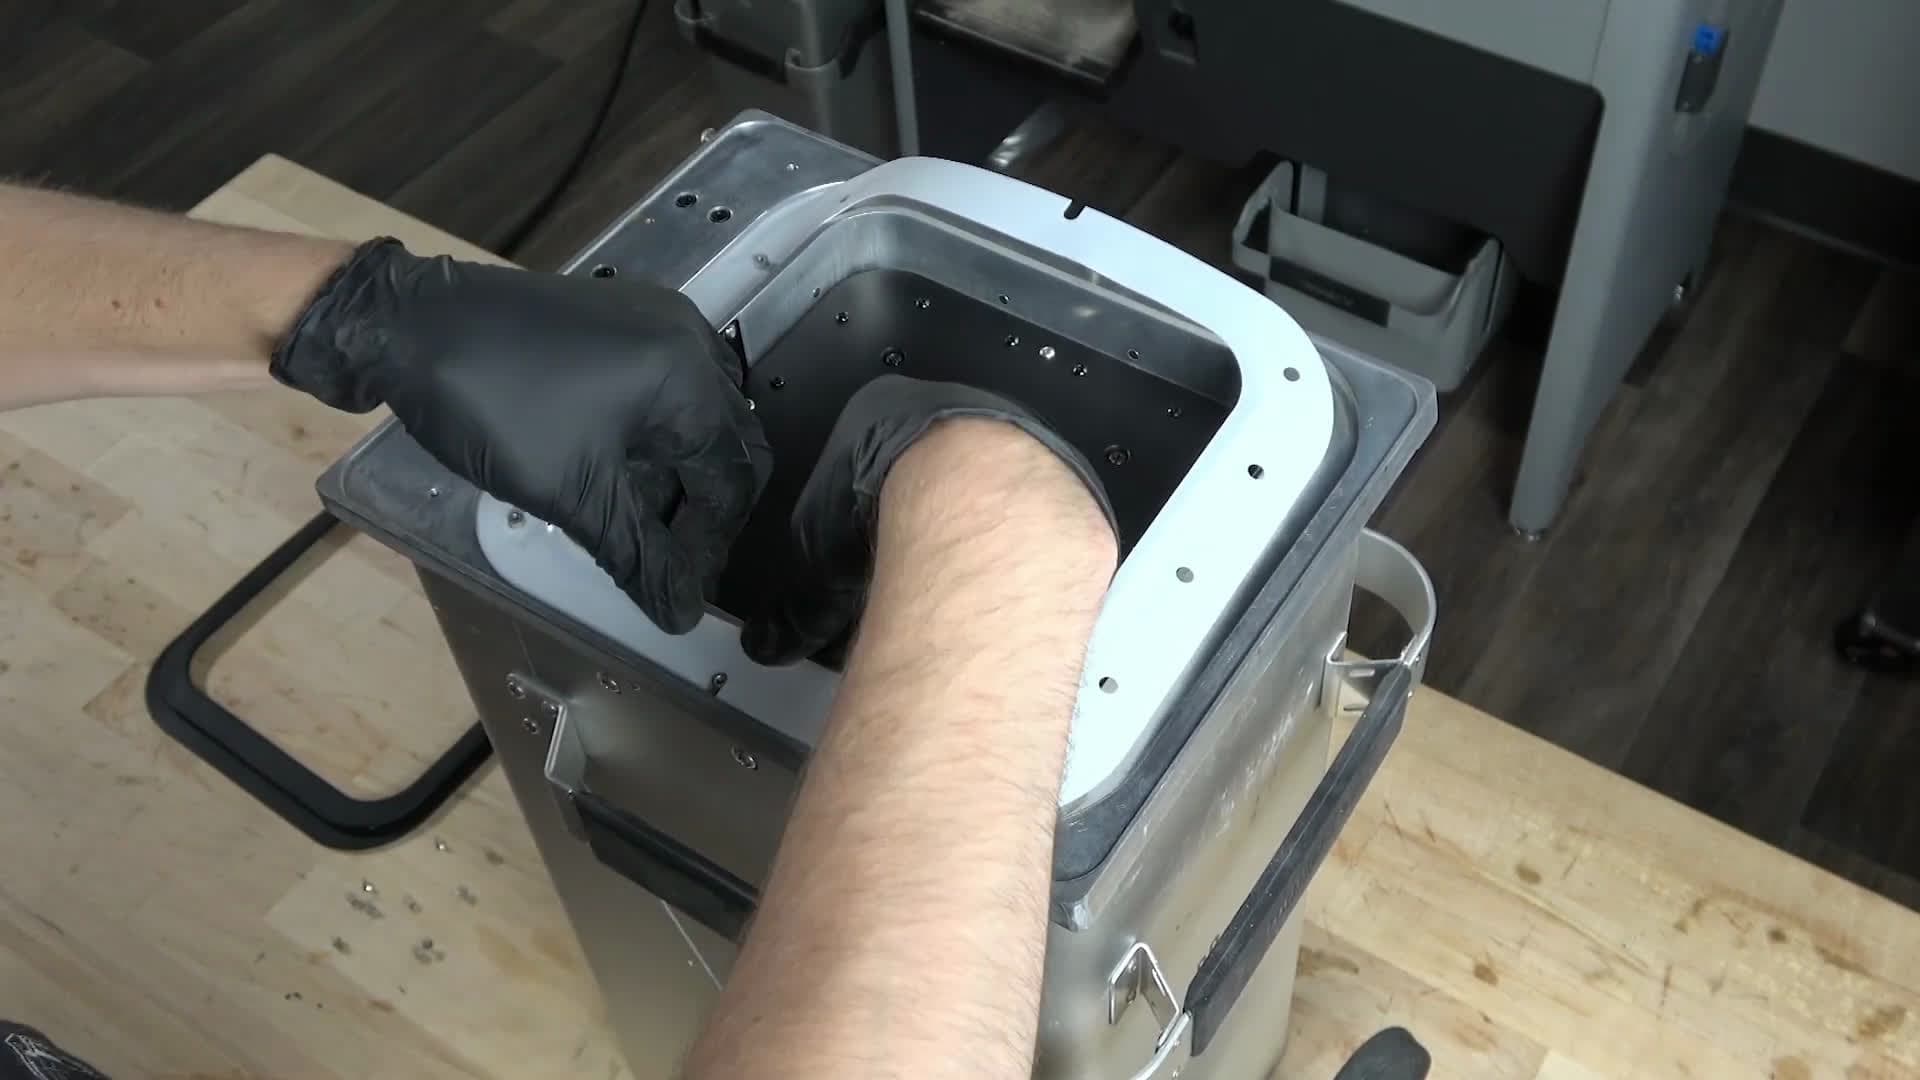
Place the replacement inner gasket on the machined build chamber surface. Take care to orient the print bed correctly. The inner gasket only fits over all standoffs and holes in one orientation.
Make your way around the gasket, stretching it into place over the inner wall of the build chamber.
Step 3: Inspect the inner gasket fit and position
Correct inner gasket position
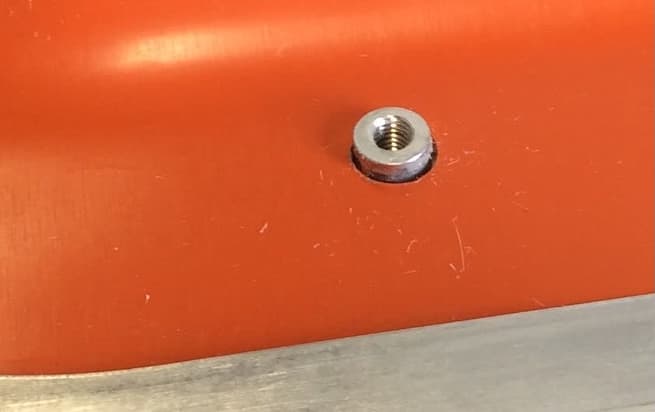
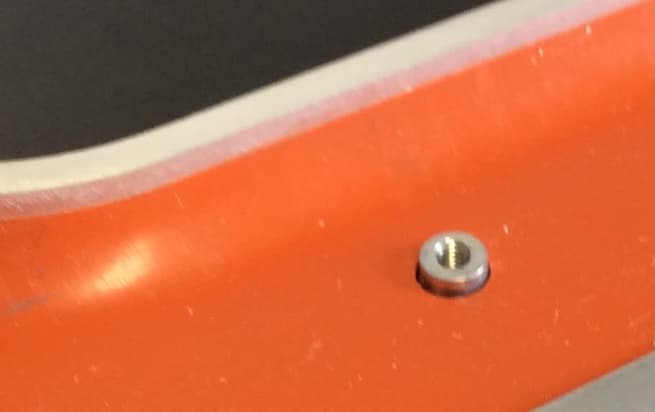
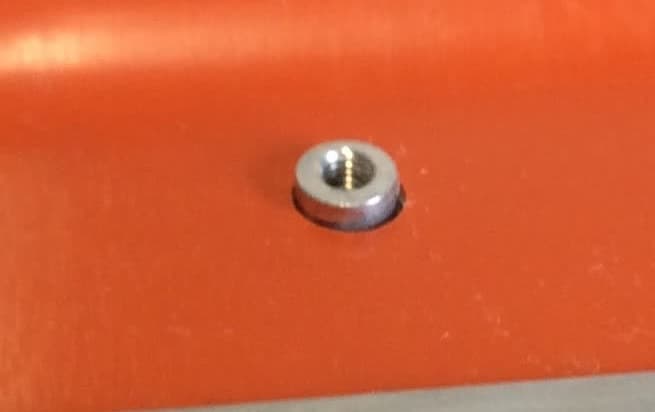
Incorrect inner gasket position
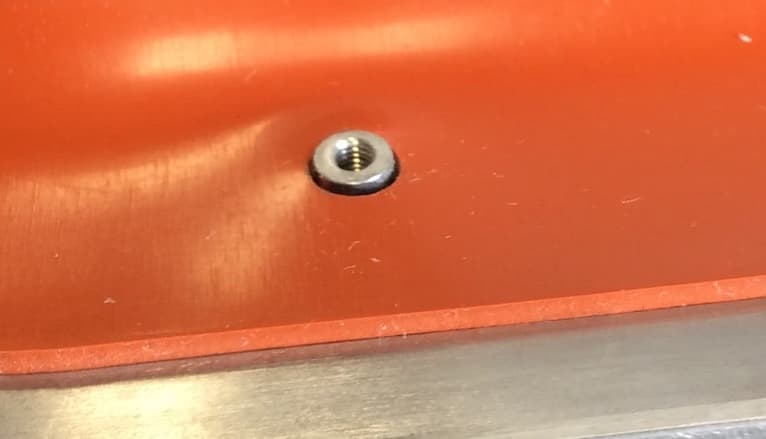
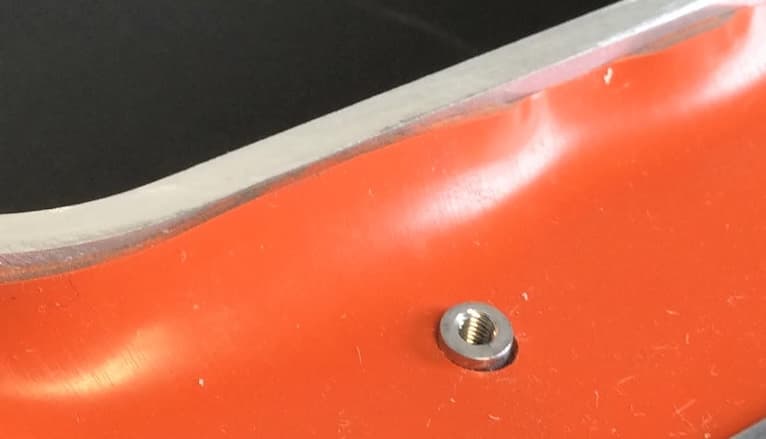
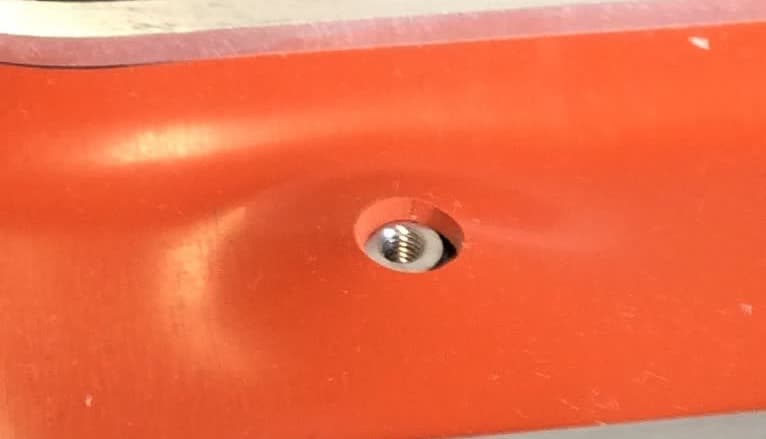
Inspect all surfaces of the seal and ensure the following:
Note that while the gasket shown here may be a different color than your build chamber's original gasket or the replacement, the inspection criteria are the same.
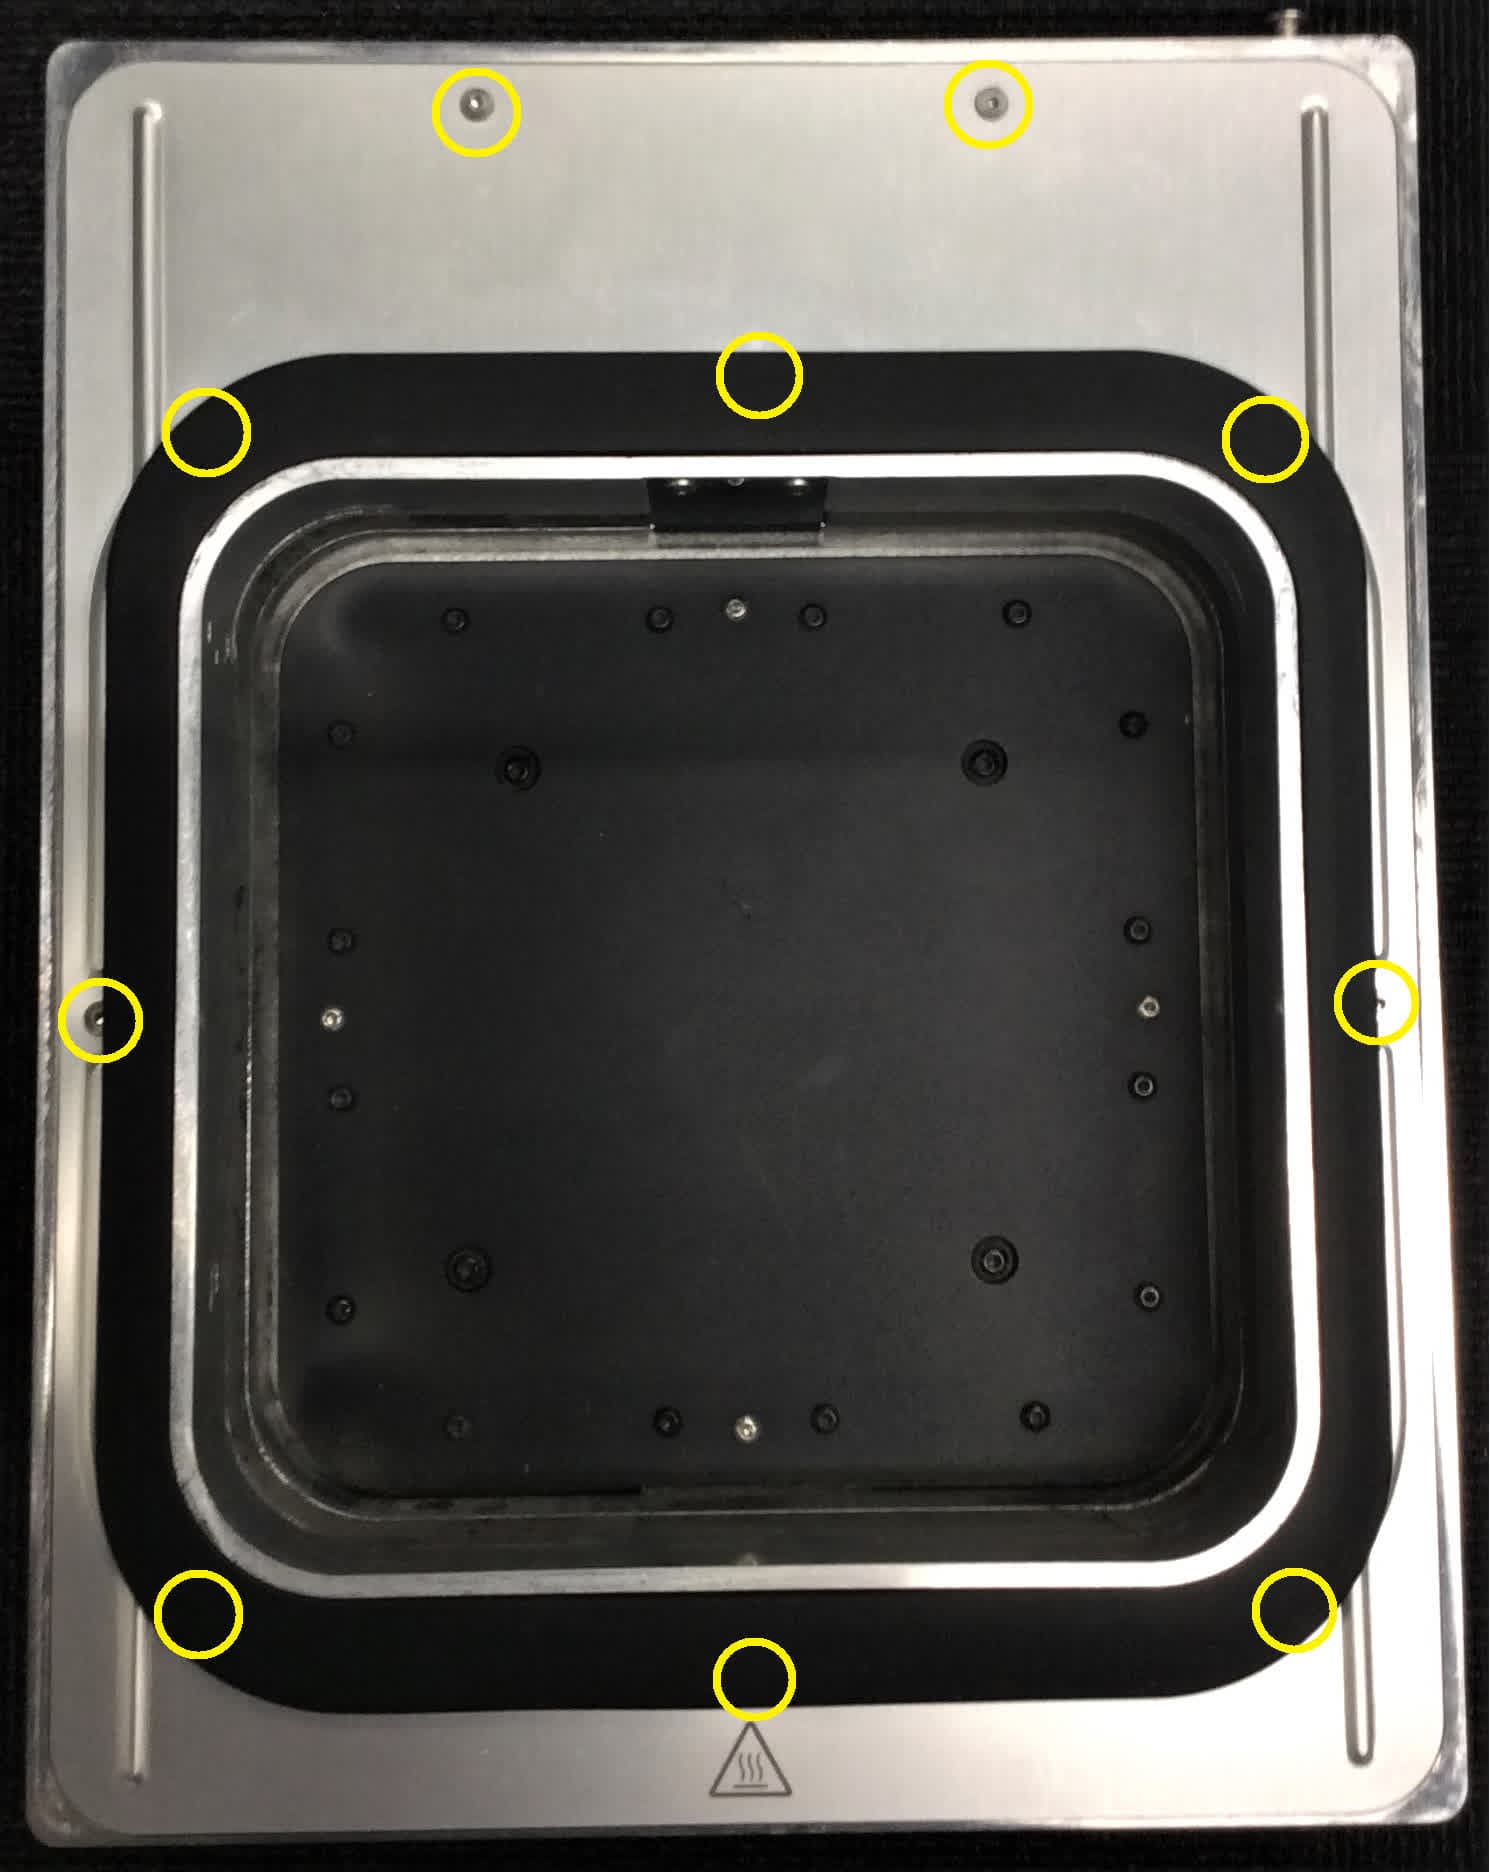
Position the top cover and external frame gasket on top of the build chamber. Ensure that the screw holes in the external frame gasket are aligned with the holes in the top cover and the standoffs on the top surface of the build chamber and that the gasket is not being pinched. Adjust the assembly as needed. Once all of the screw holes are properly aligned, thread one screw into each of the 10 screw holes. Tighten the screws with a 2 mm hex driver until finger tight.
Finalizing the repair
Overview: After replacing the build chamber inner gasket, clean the build chamber and perform final checks.
Step 1: Clean the build chamber and work surface
Clean the build chamber and work space of any powder that may have come loose during maintenance to prevent powder contamination.
Step 2: Test the build chamber
Insert the build chamber into the printer and start a print. Monitor the build chamber to ensure that the print bed moves smoothly and that the printer dispenses powder into the build chamber normally. Contact Formlabs Support or your certified service provider to share the results of the procedure.