WHITE PAPER
Formlabs Logo

Replacing the Fuse 1 generation build chamber plug case

Replacing the Fuse 1 generation build chamber plug case

The build chamber plug case is a protective shell that covers the wires running from the build chamber plug to the sensors and heaters within the build chamber. It also serves as part of the print enclosure seal during a print. If the build chamber plug case is damaged, the build chamber may not function properly.

Use this guide to clean and replace the Fuse 1 generation build chamber plug case.

Required supplies:

Required supplies:

Estimated time: 5–10 minutes, plus time to print and post-process the replacement plug case
Preparing the workspace

Overview: Prepare the build chamber and a dust-free workspace for replacing the Fuse 1 generation build chamber plug case.

Warning:

Do not perform this procedure if the build chamber was used for printing less than six hours prior. Failure to do so may result in serious burns. Allow the build chamber and print enclosure to fully cool to room temperature before touching or inspecting any printer components.

Step 1: Print the replacement plug case

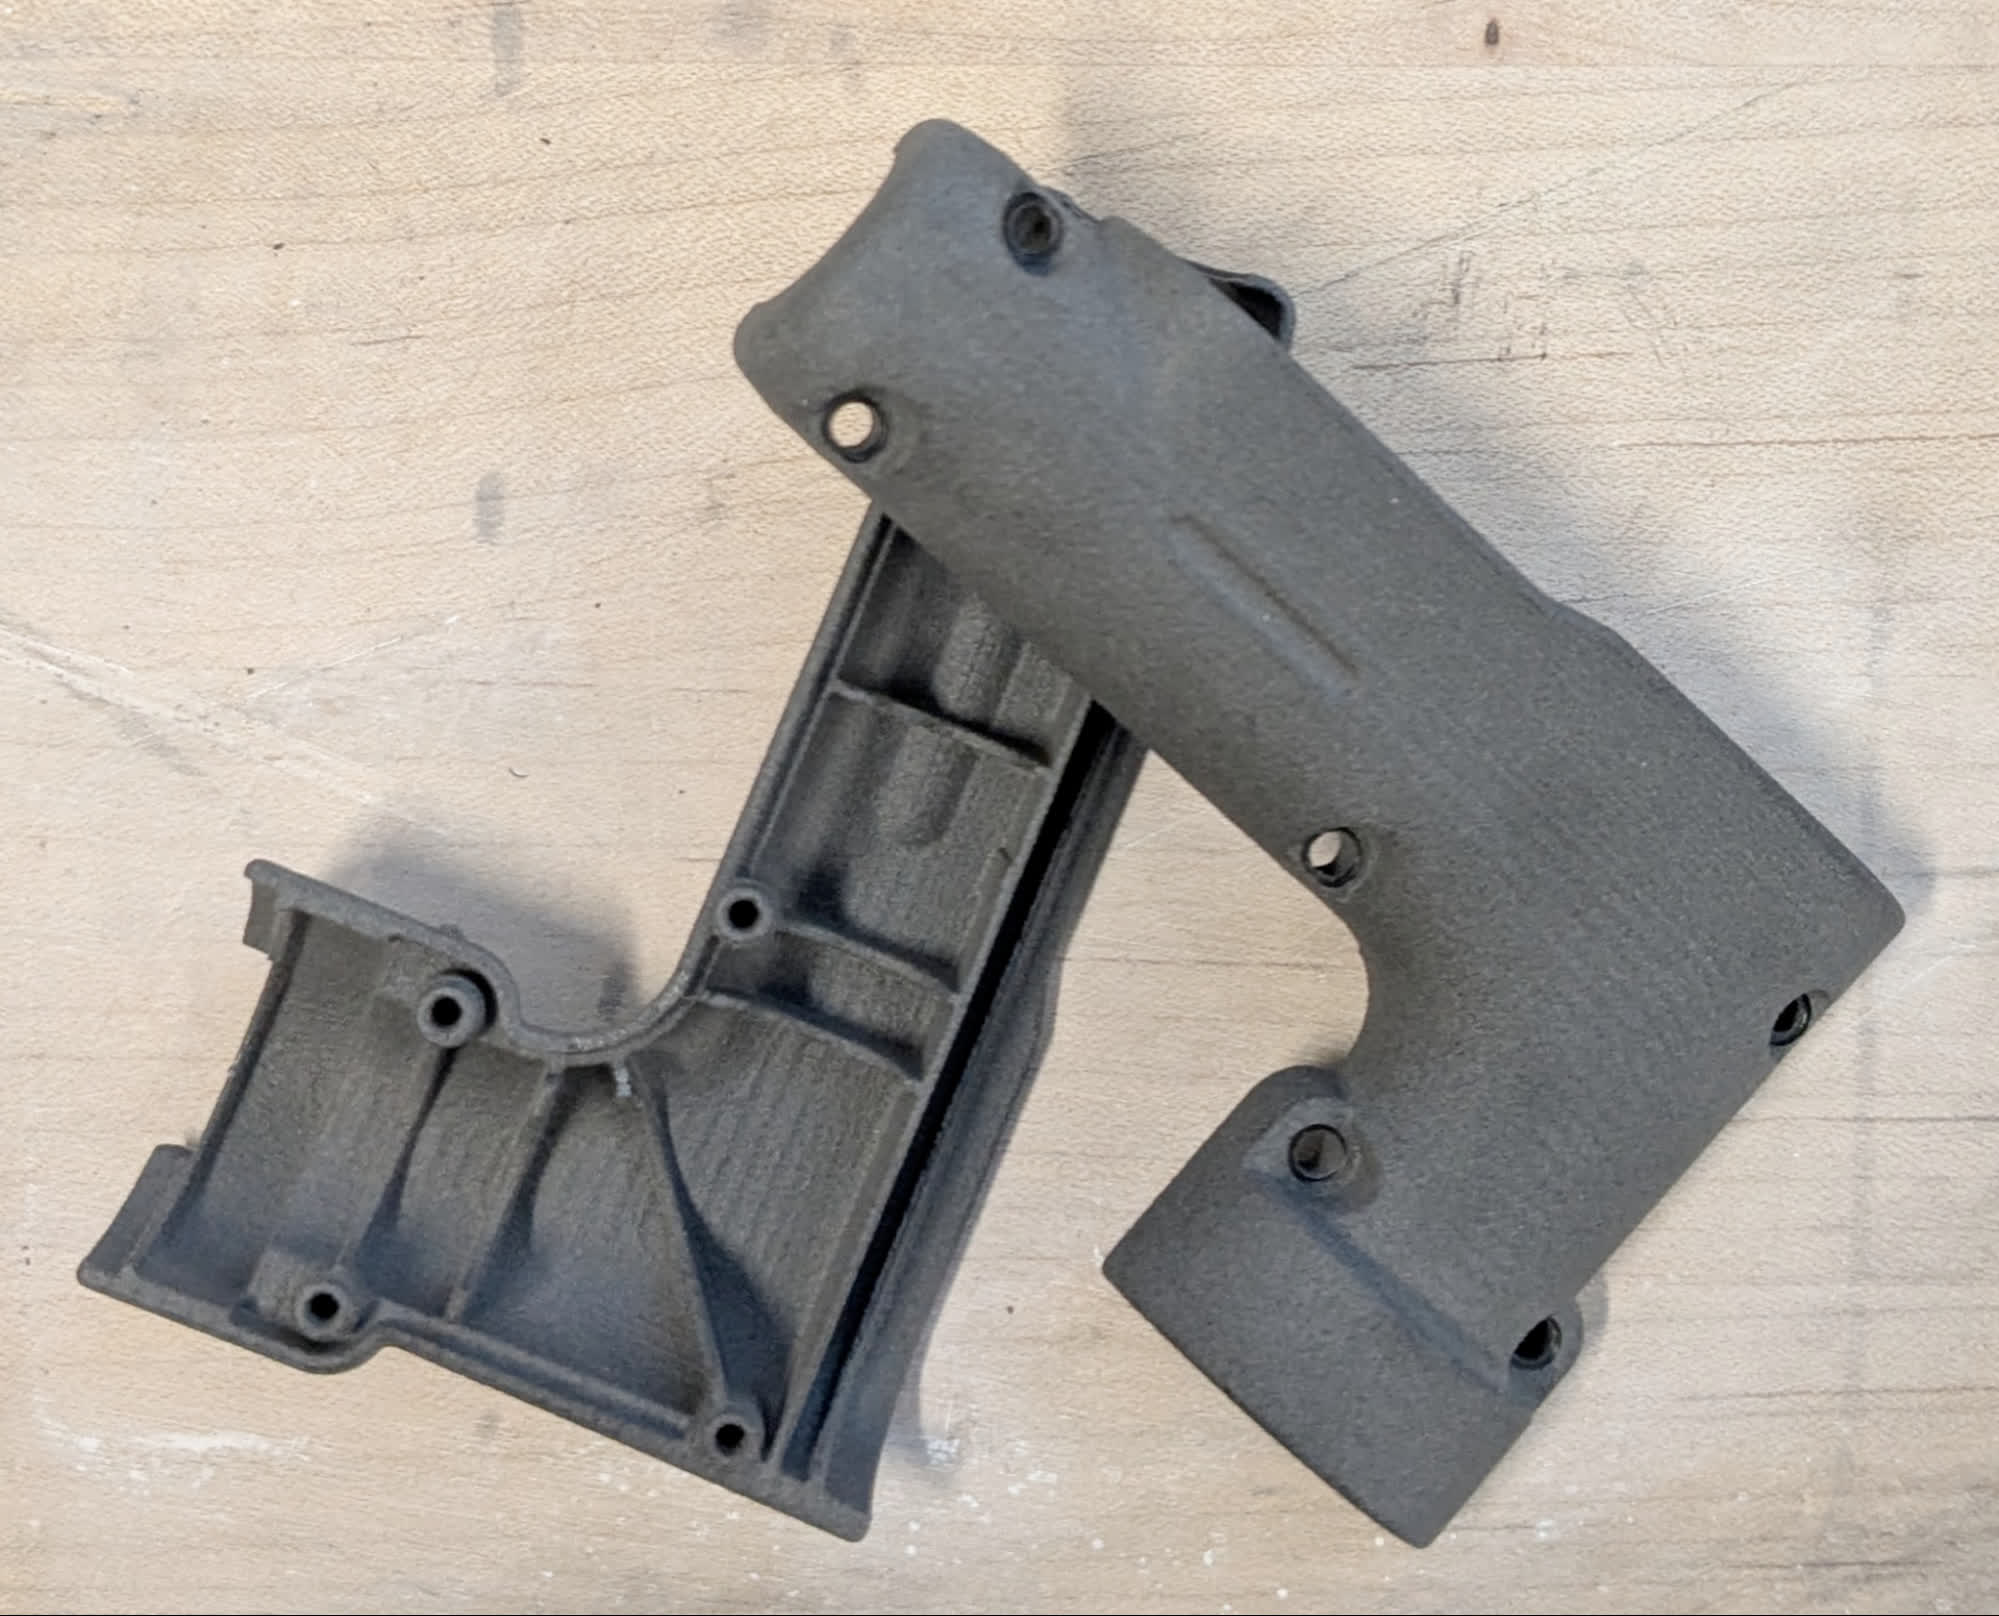
Print out and fully post-process the replacement plug using a Formlabs SLA or SLS printer. For best results, Formlabs recommends one of the following materials:

Step 2: Prepare the workspace

Empty the build chamber, if needed. Clear a workspace around your build chamber. Ensure that the workspace is well-ventilated and free of dust.

Removing the build chamber plug case

Overview: Remove the plug casing from the build chamber plug.

Step 1: Remove the build chamber plug case screws

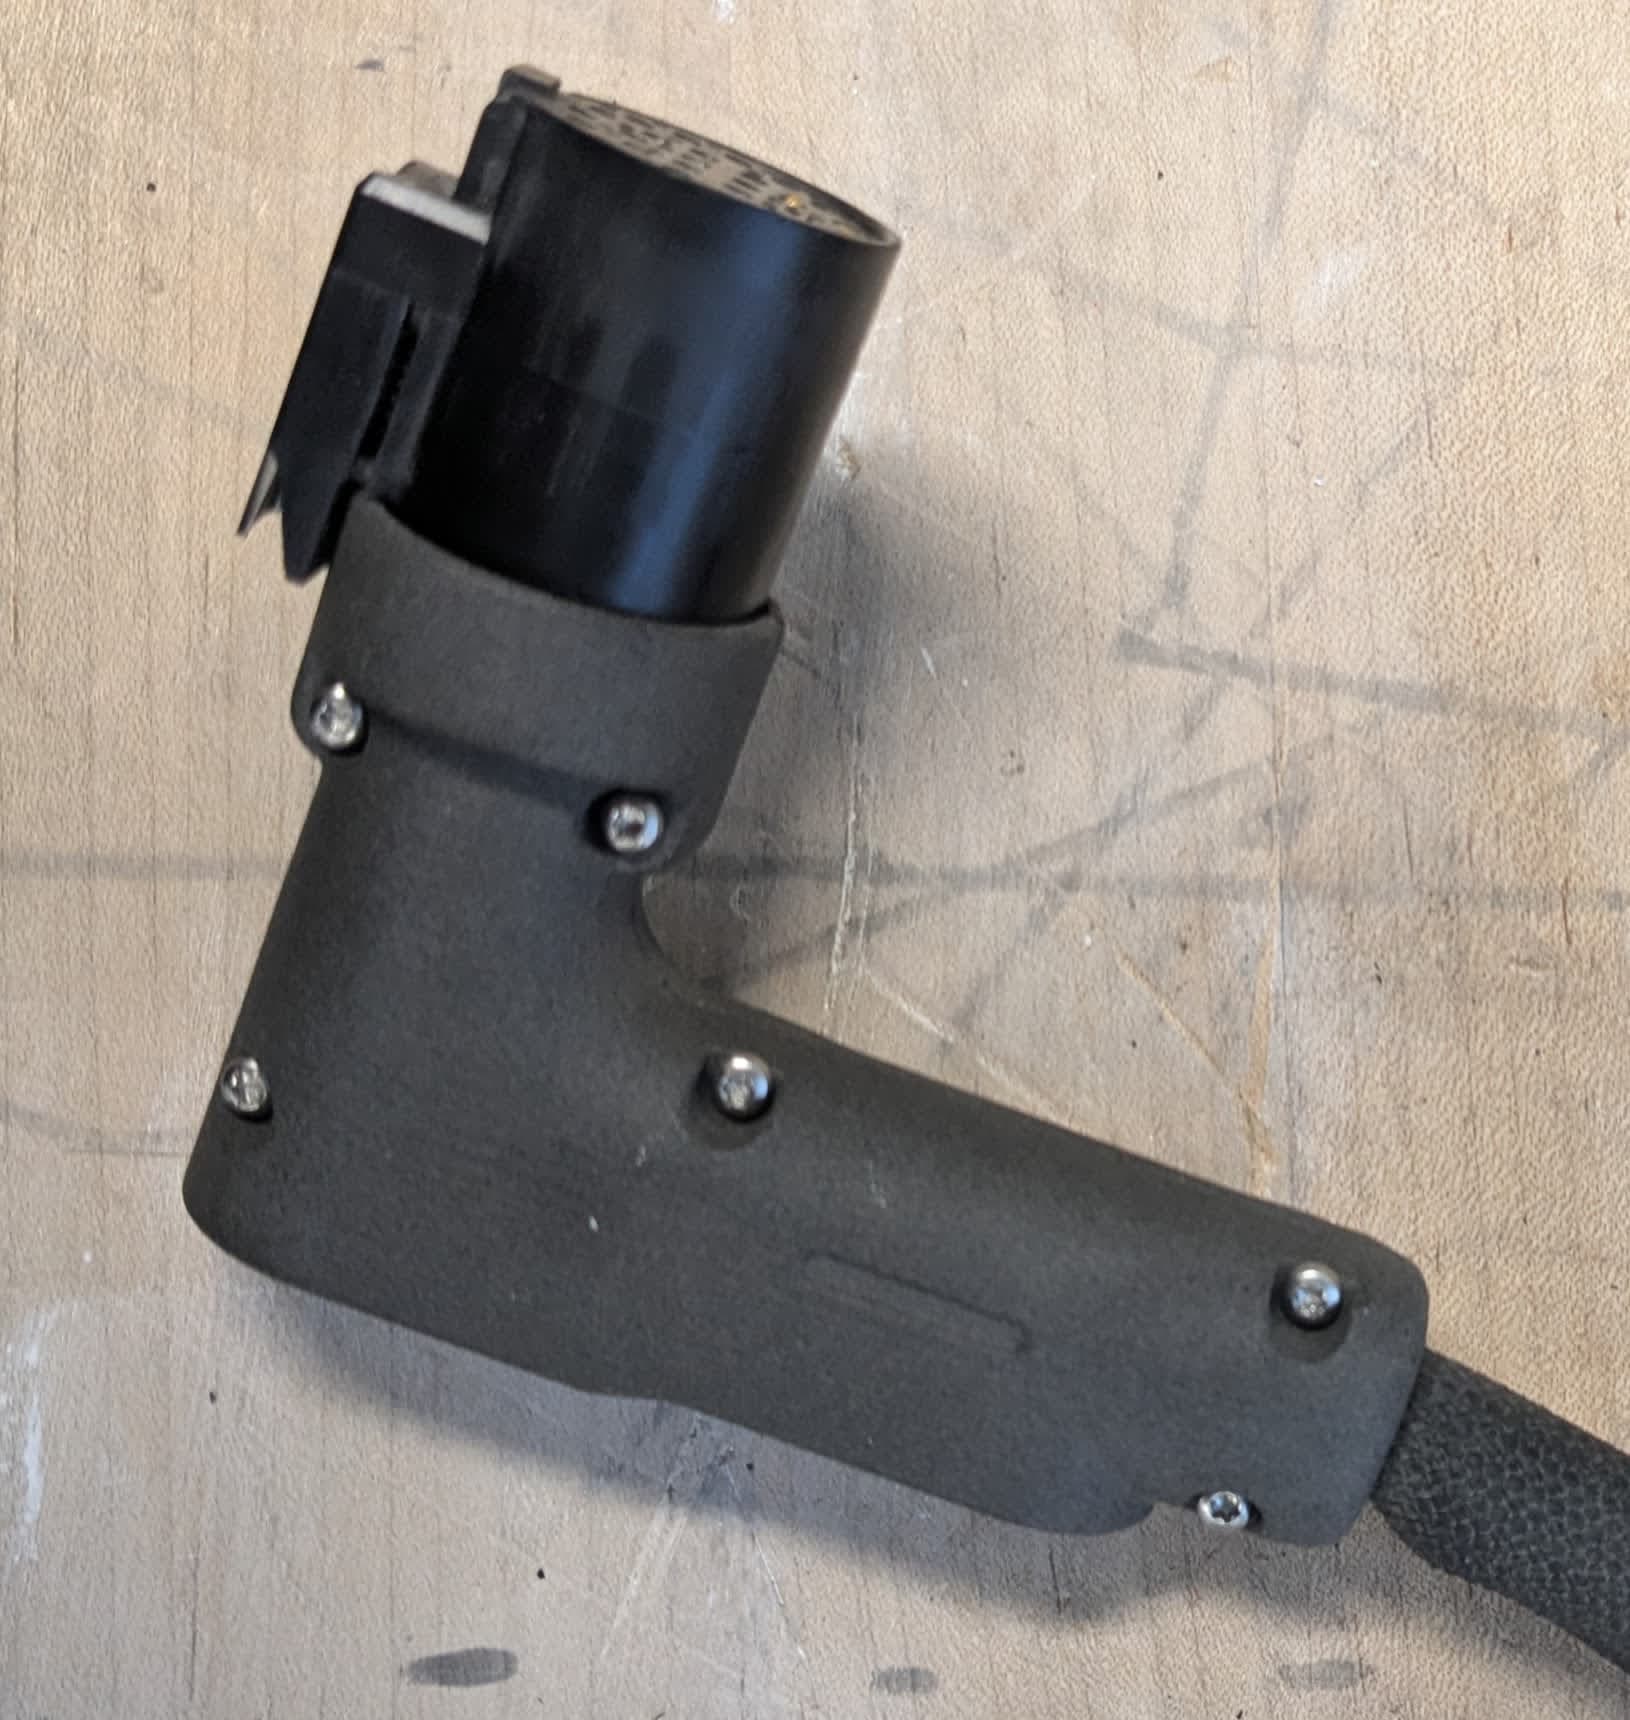
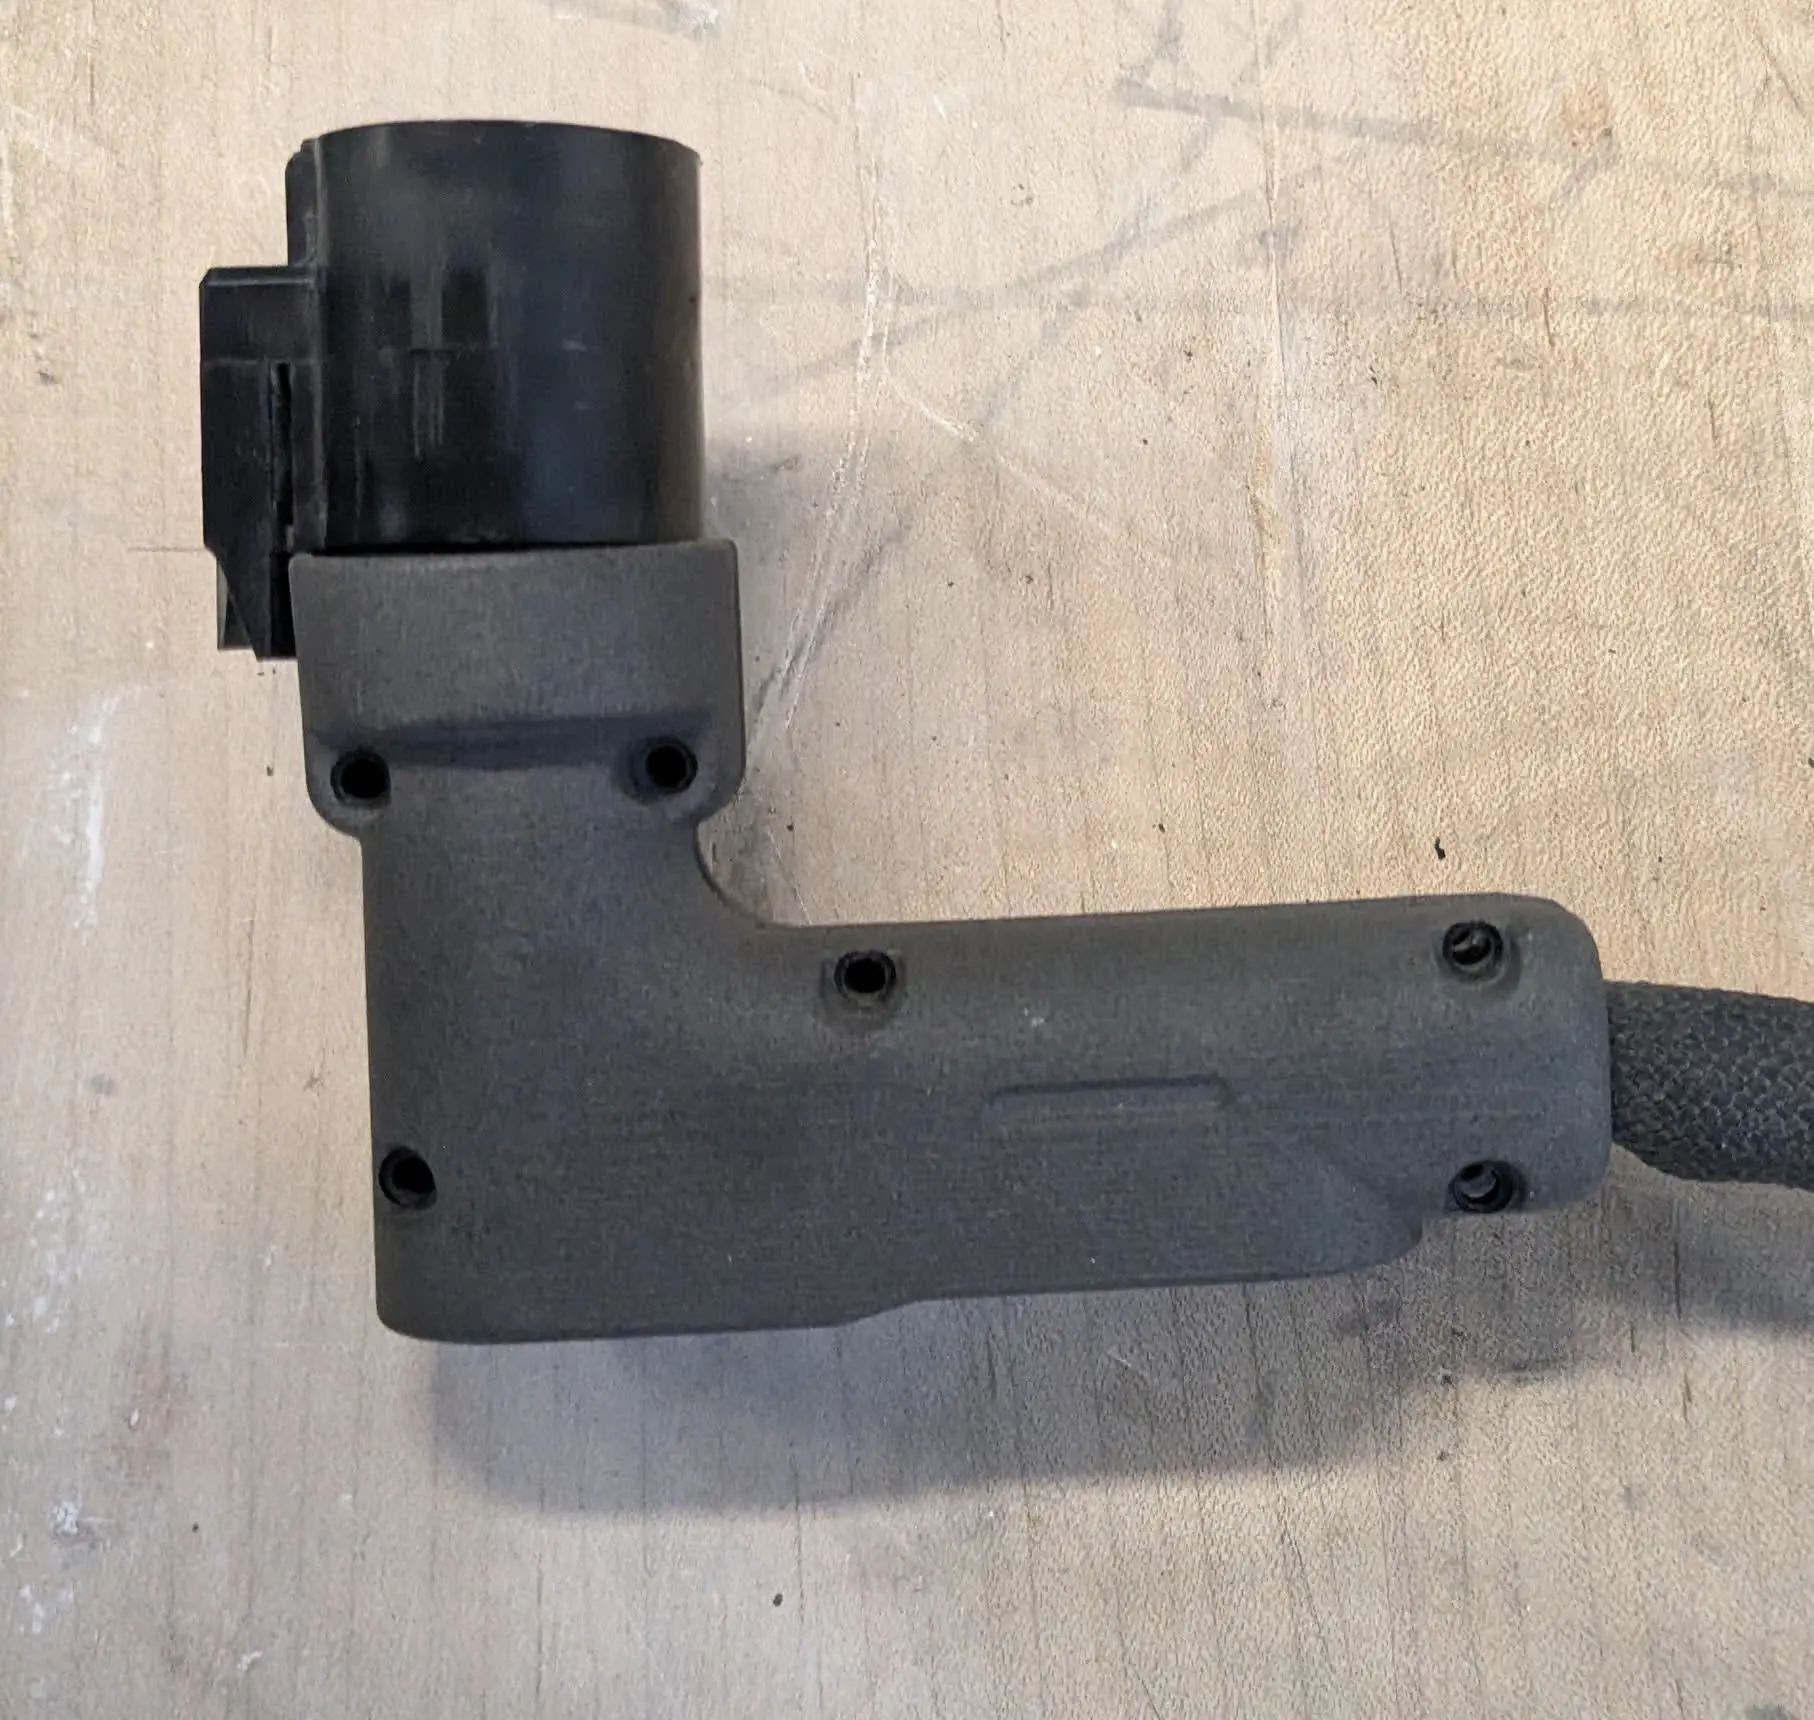
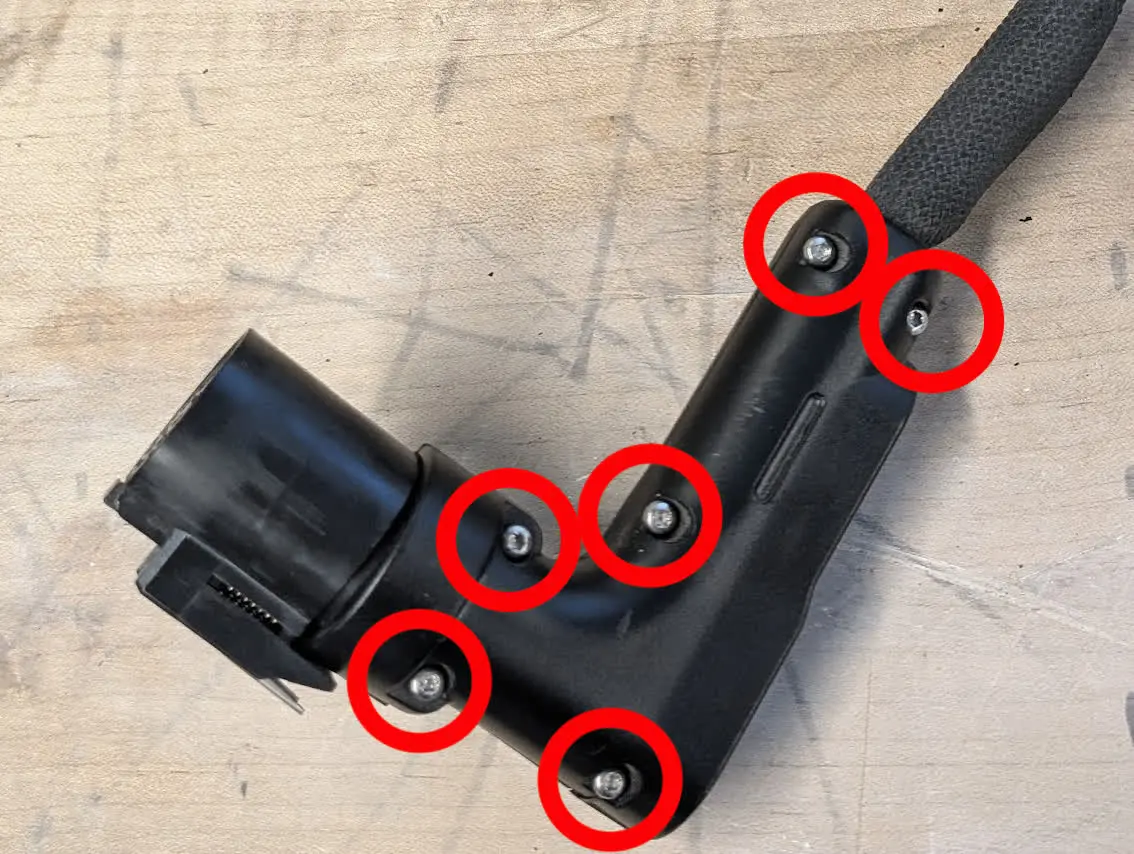
Unplug and remove the build chamber from your printer or Fuse Sift, if you have not already. Using a T8 Torx driver, loosen and remove the six M2.63 × 10 mm rounded head screws securing the build chamber plug casing to the build chamber plug.

Step 1: Remove the build chamber plug case screws

Step 2: Remove the plug case

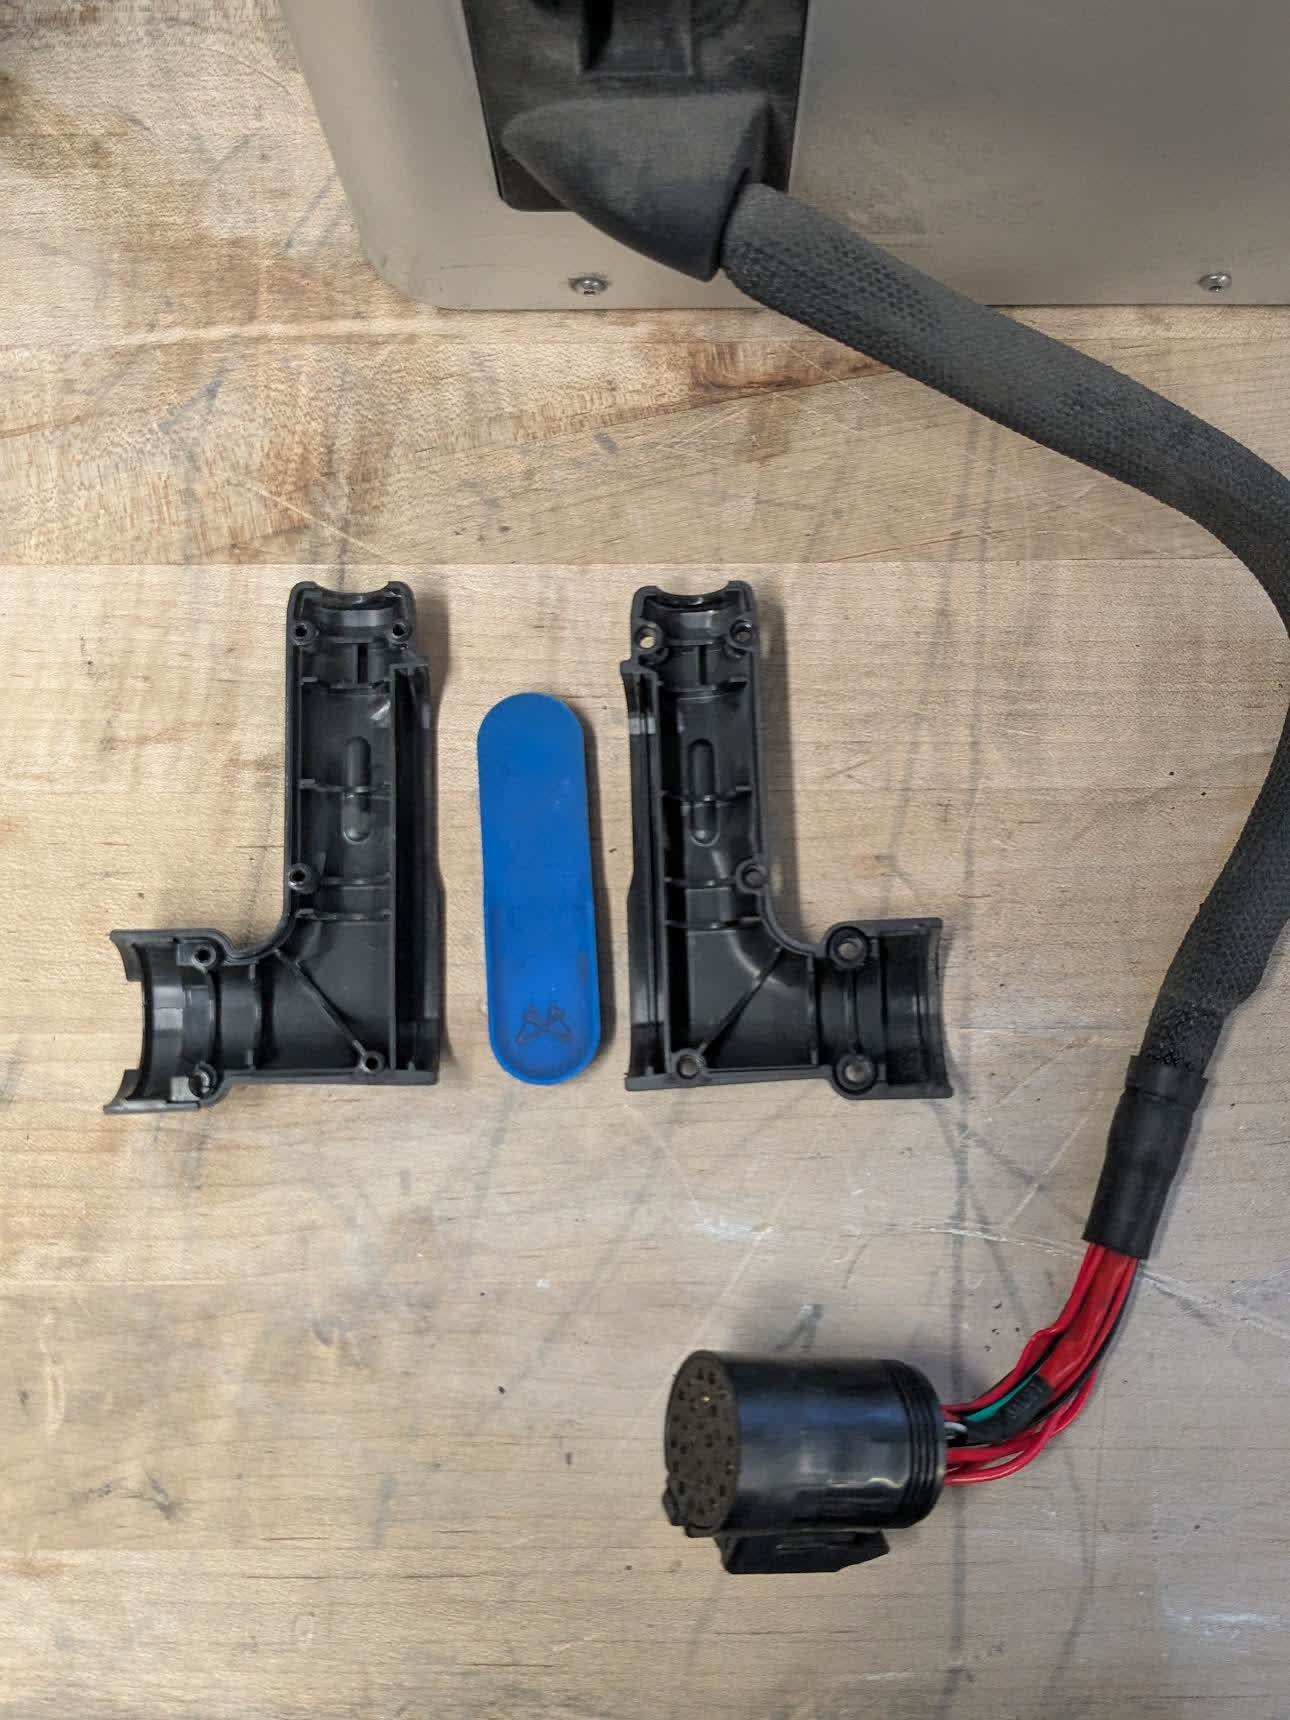
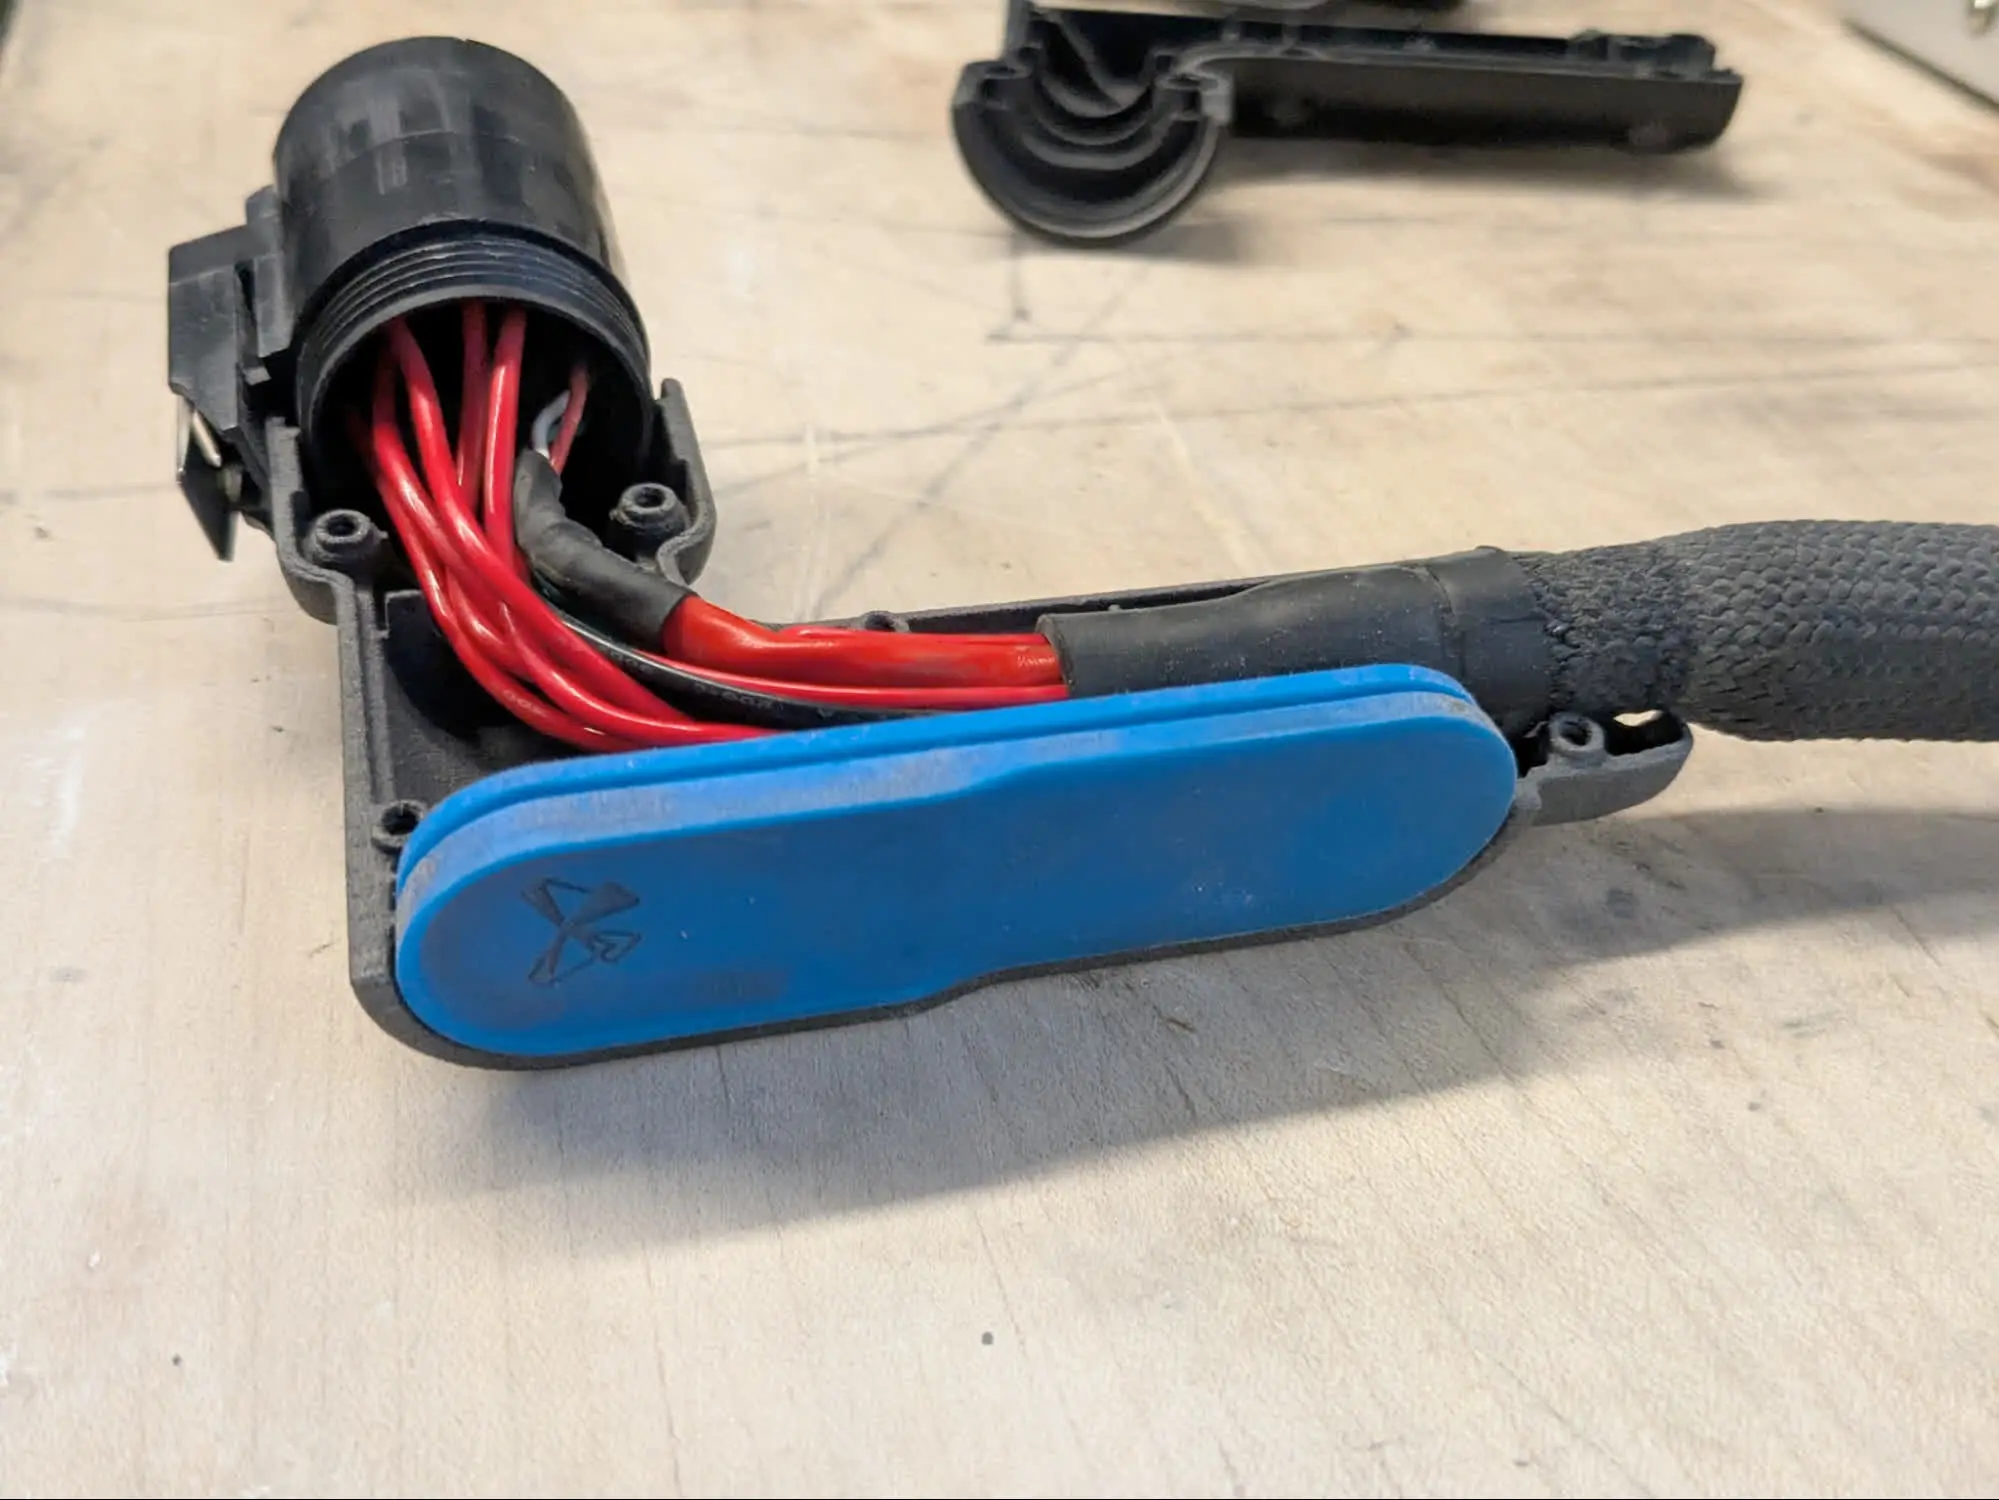
The build chamber plug case has three parts: the plug top, plug bottom, and the plug face. Separate the plug top and bottom to release the rubber plug face. Set the plug face aside on a clean, dry surface. Dispose of the top and bottom parts of the casing.

Step 2: Remove the plug case

Note:

It may be necessary to clean the plug face. Use a cloth to wipe down the face with a small amount of ethanol. Let the face dry fully before reinstalling.

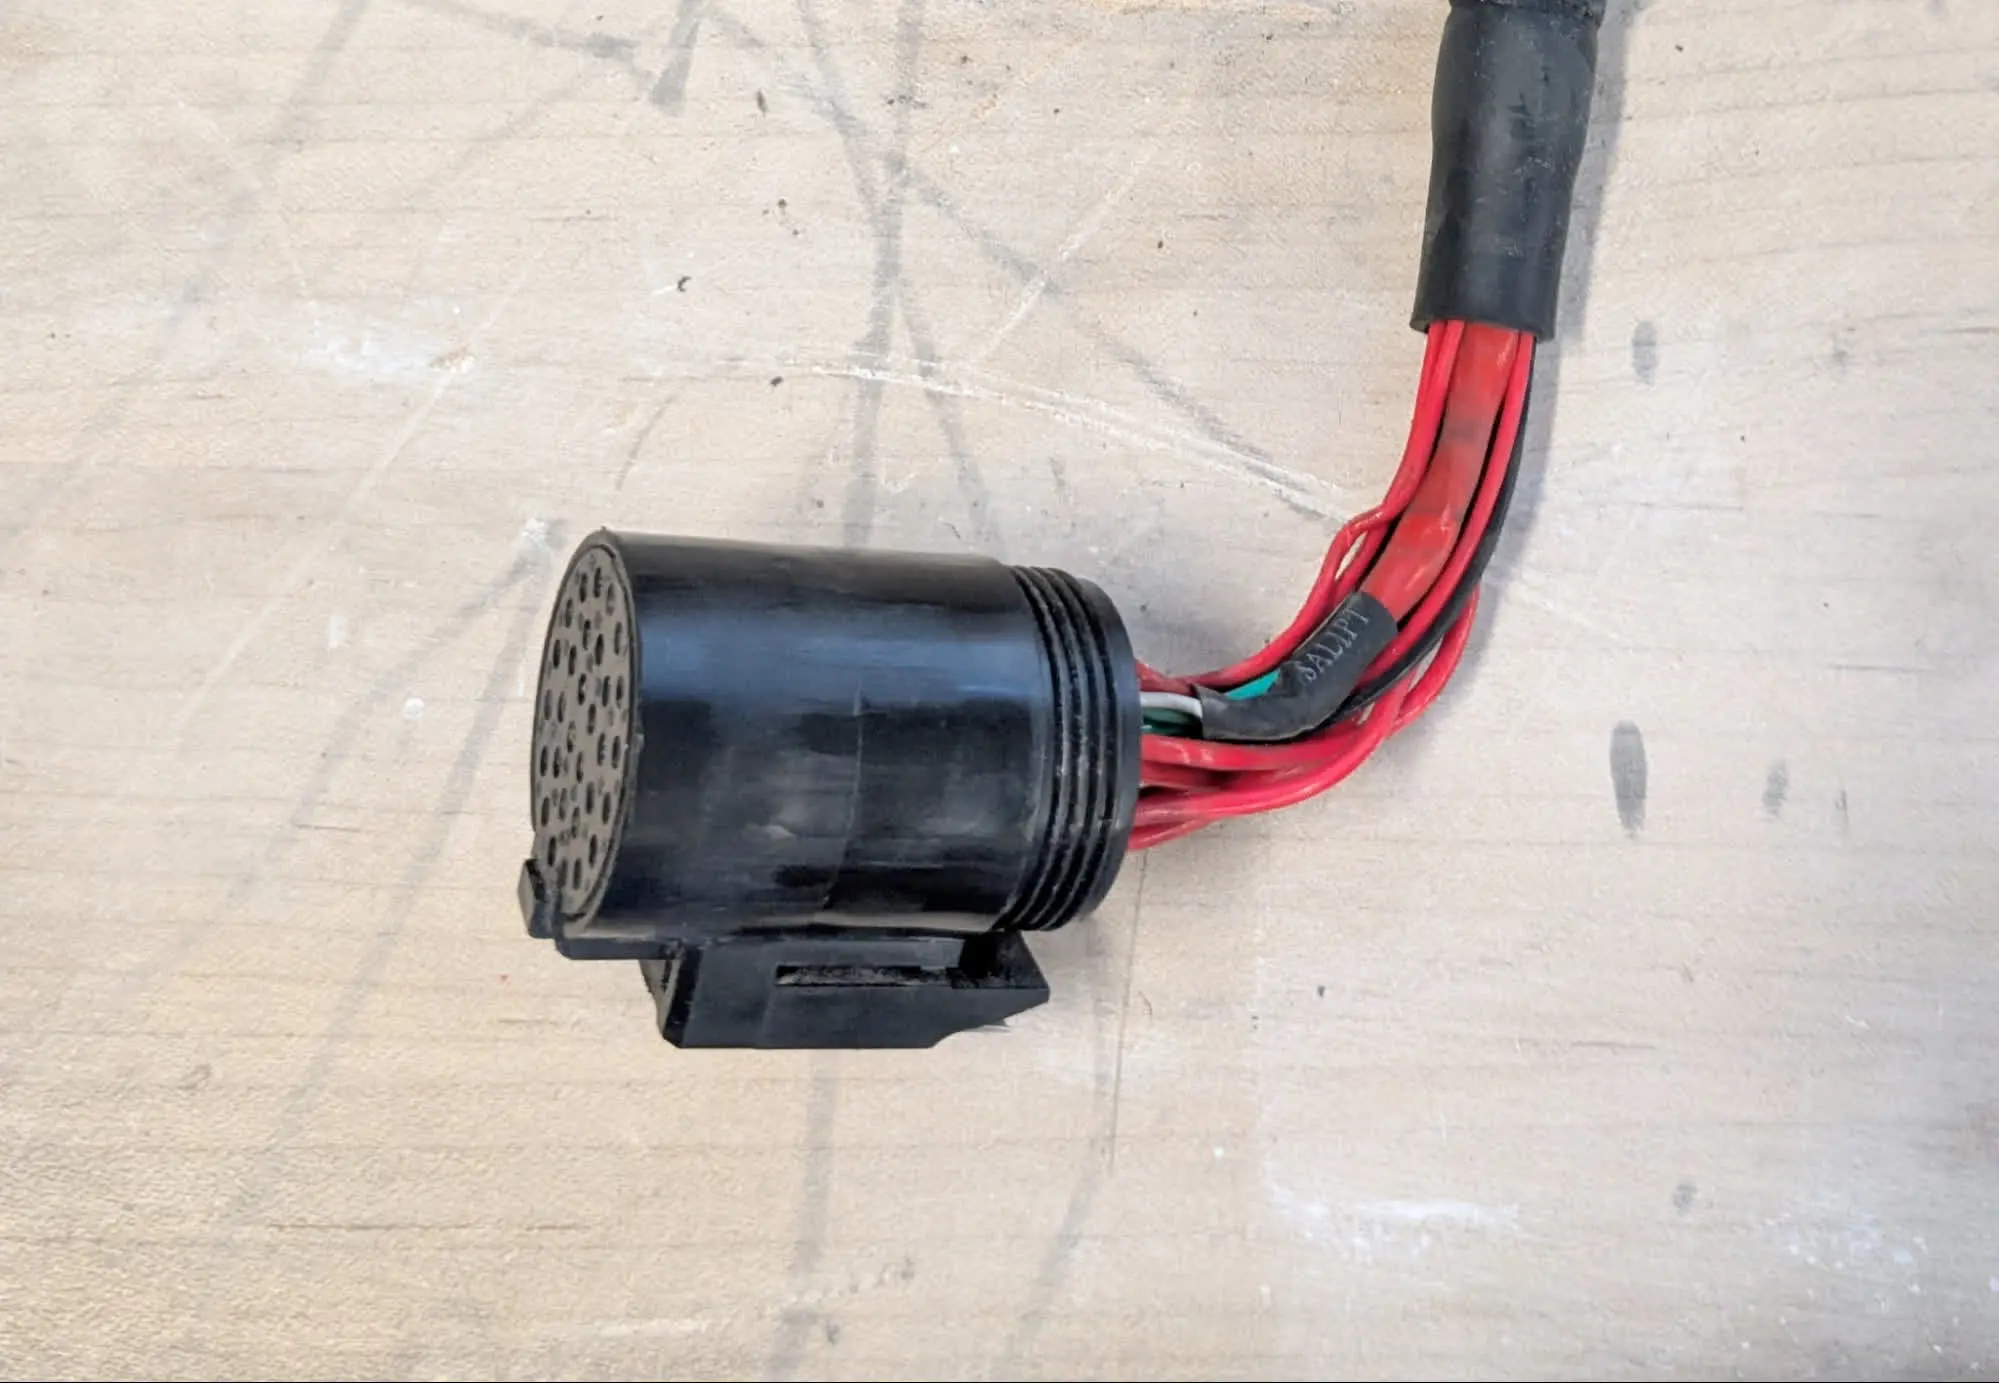
Step 3: Inspect the wire harness

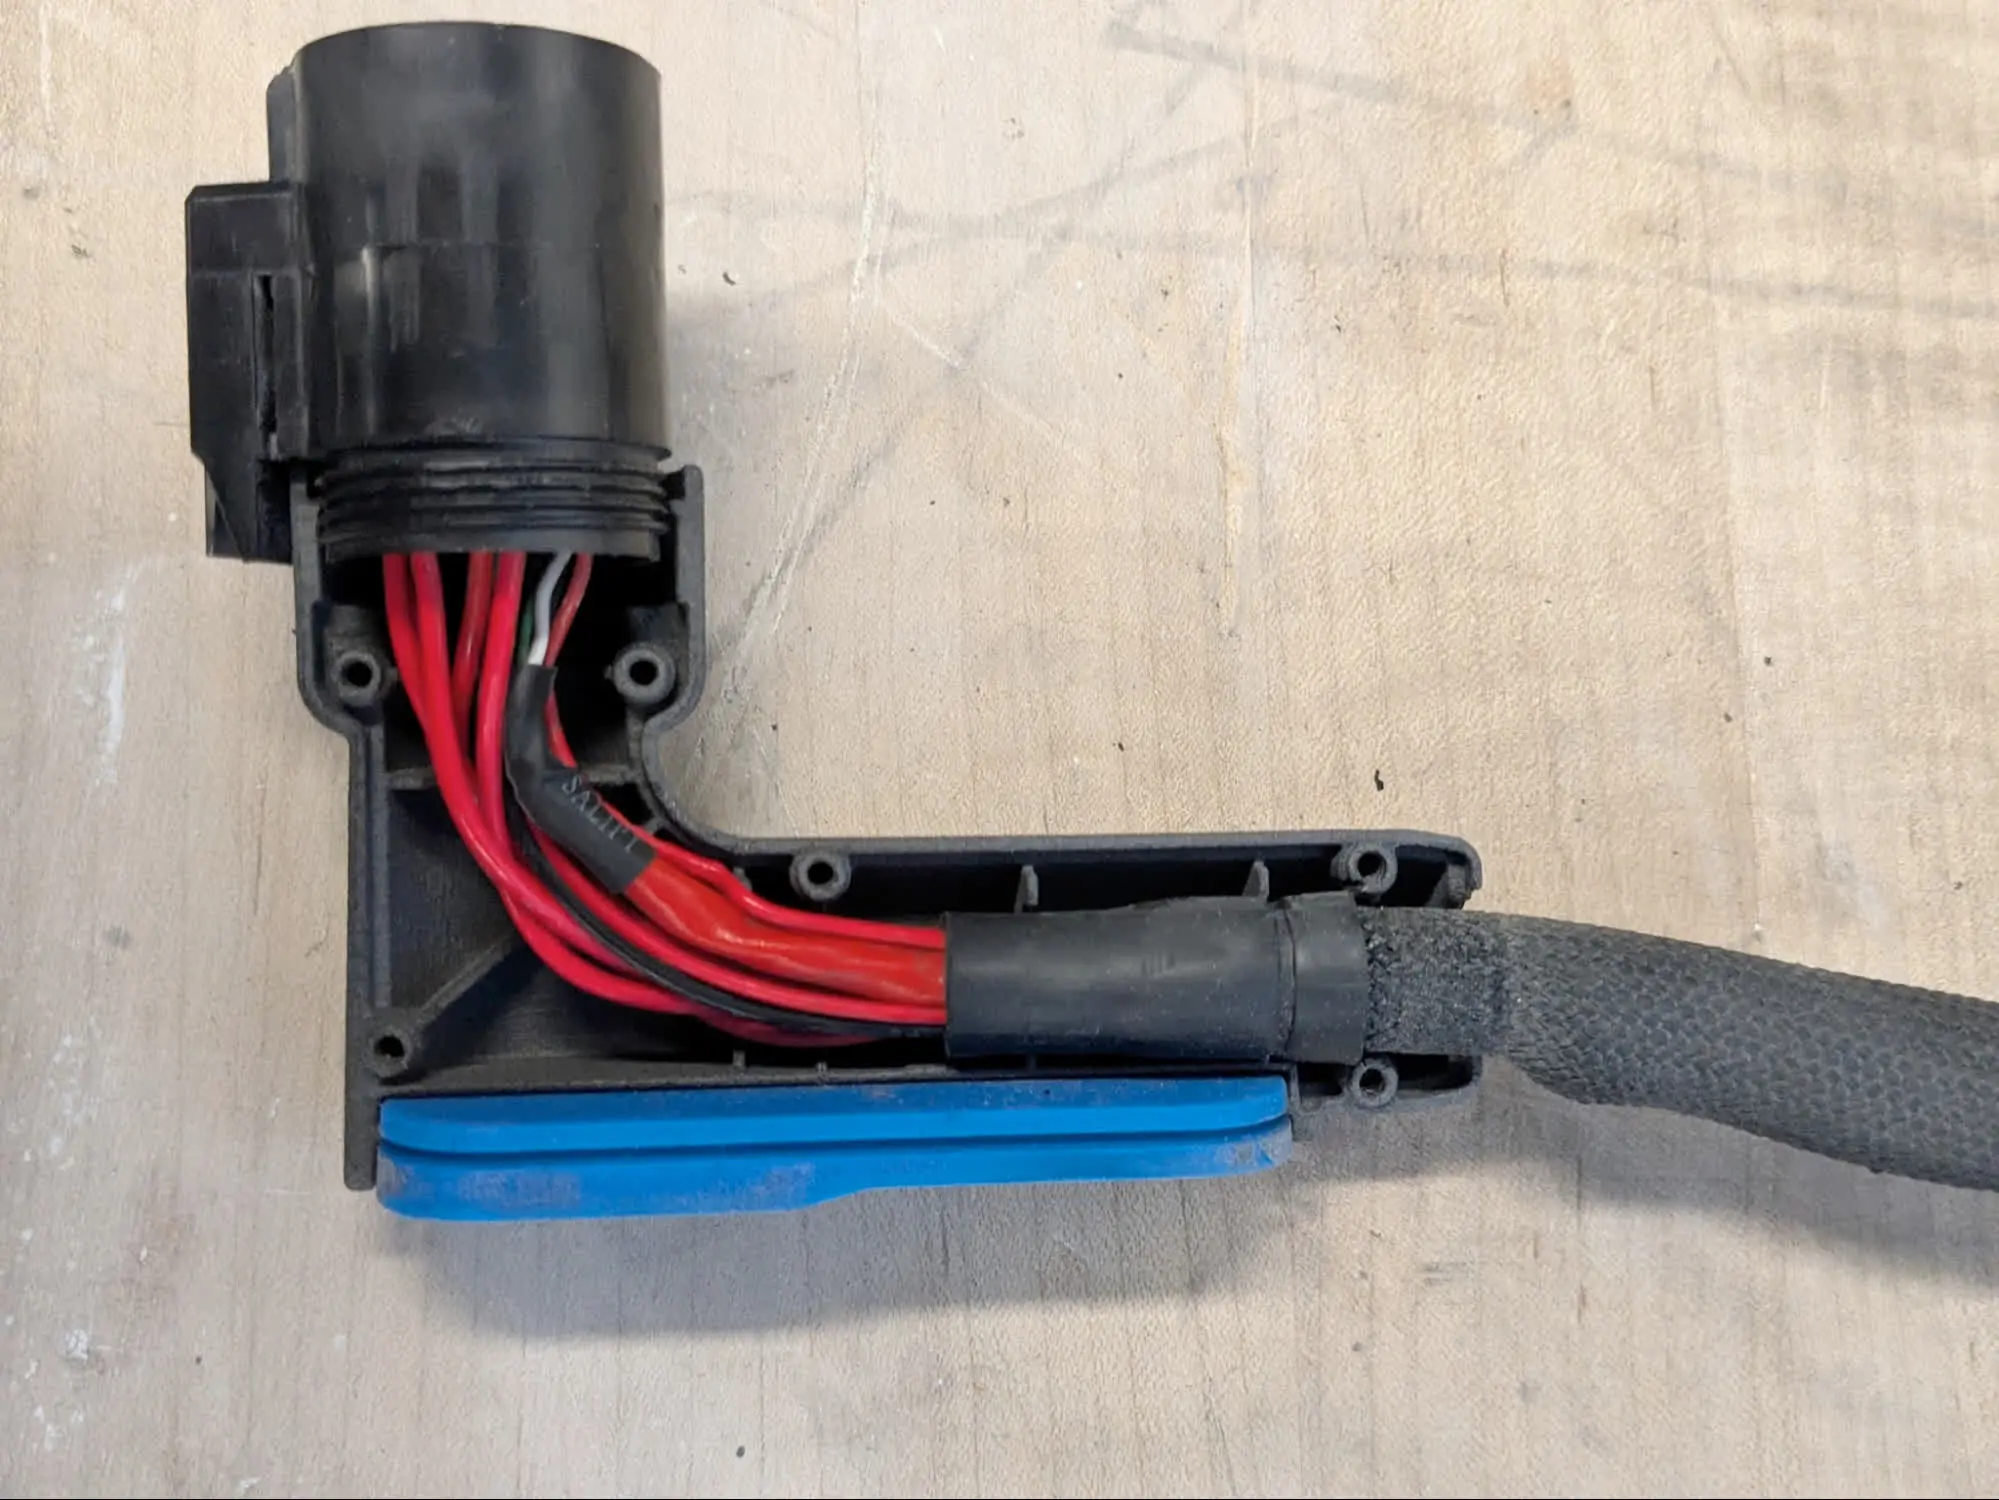
With the case removed, inspect the internal wires for breaks or kinks. If any of the wires are broken or kinked, contact Formlabs Support or your certified service provider.

Step 3: Inspect the wire harness

Install the replacement build chamber plug case

Overview: Install the plug case on the build chamber plug.

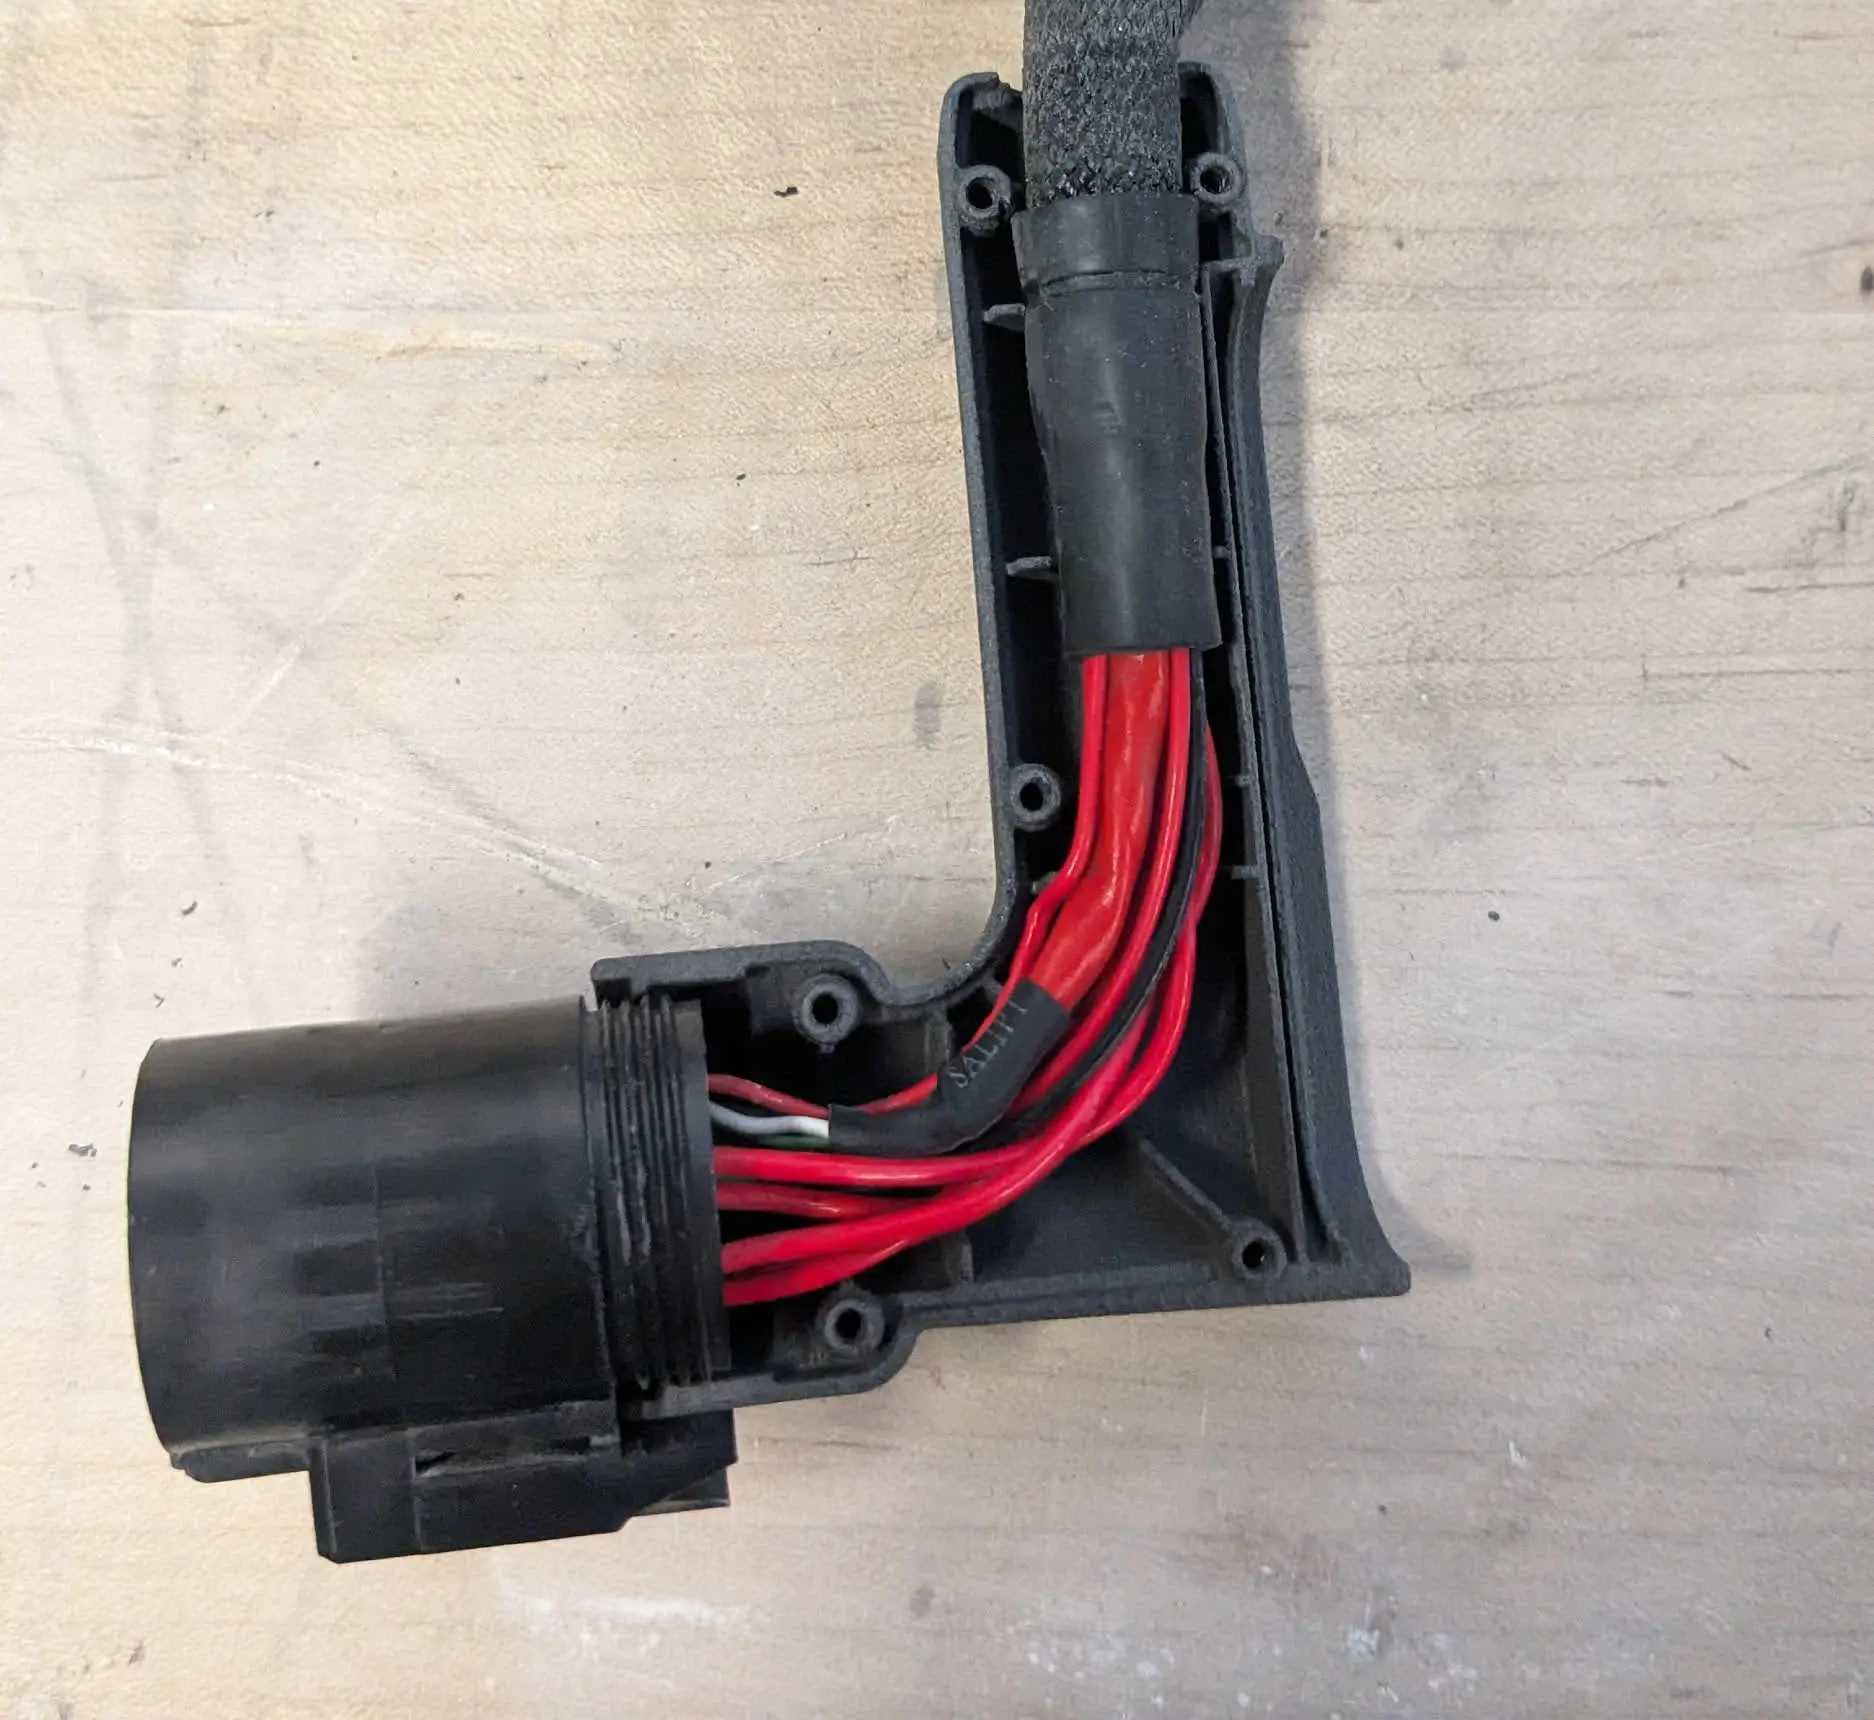
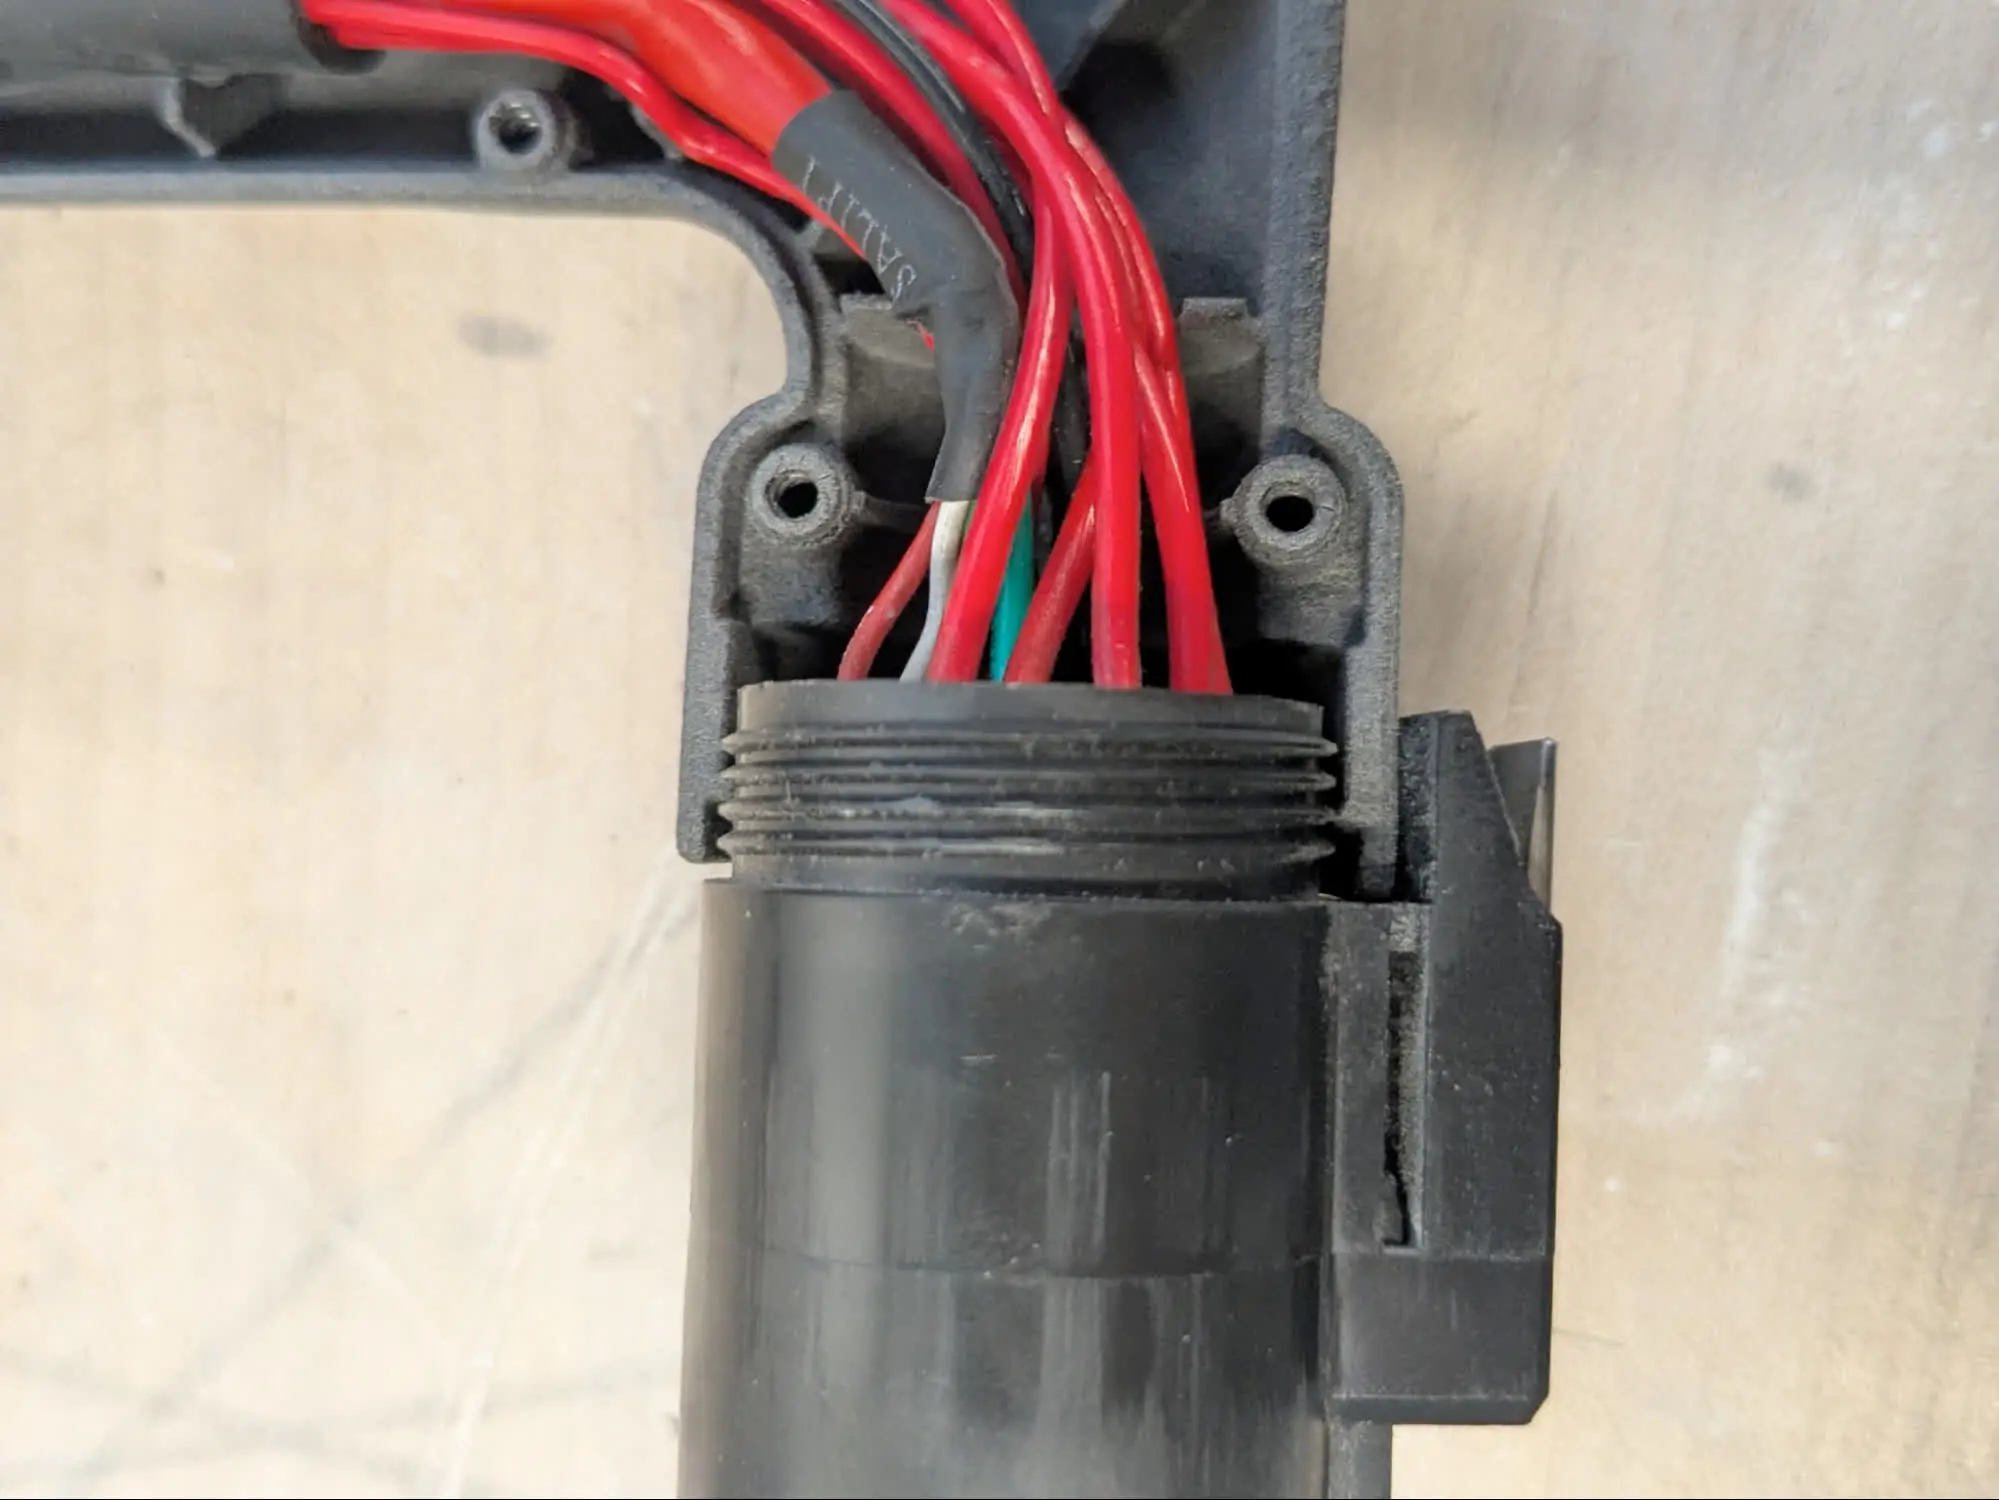
Step 1: Insert the socket in the new plug case

Step 1: Insert the socket in the new plug case

Align the new plug case with the wire harness. the wires should fit neatly within the curvature of the case and sit clear of the screw holes. the front face of the plug case should touch the plug socket under the release tab.

Step 2: Install the plug face

Step 2: Install the plug face

Seat the plug face groove onto the ridge on the plug case. The Formlabs butterfly logo should face outward and point in the same direction as the plug socket release tab.

Step 3: Close and secure the plug case

Step 3: Close and secure the plug case

Align the two halves of the plug case and close it around the wire harness. Ensure that none of the wires are pinched between the two halves of the plug case. Thread one M2.63 × 10 mm rounded head screw into each of the six screw holes in the plug case. Using a T8 Torx driver, tighten the screws until snug.

Finalizing the repair

Overview: After installing the build chamber’s plug case, clean the build chamber and perform final checks.

Step 1: Clean the build chamber and work surface

Clean the build chamber plug and work space of any powder that may have come loose during maintenance to prevent powder contamination.

Step 2: Test the build chamber

Insert the build chamber into the printer. Check that the printer recognizes that the build chamber has been inserted. Start a print and check that it runs normally.