Replacing the Fuse 1's intake filter
Replacing the Fuse 1's intake filter
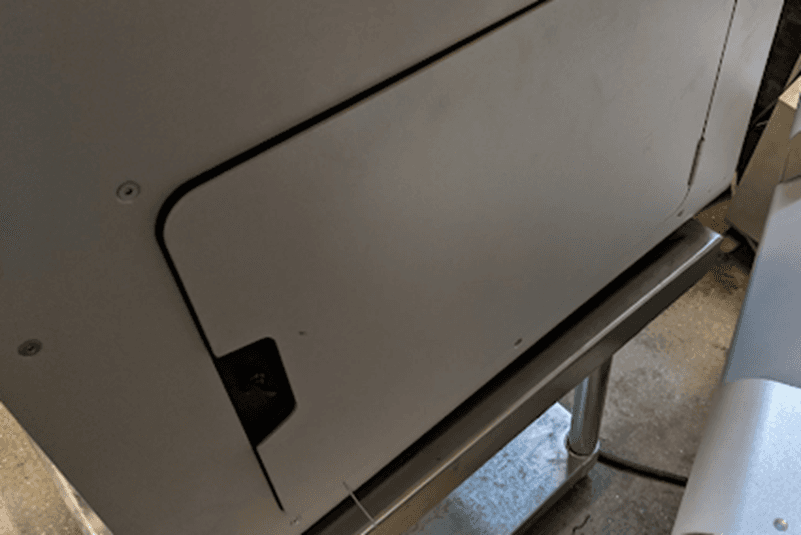
The intake filter is located behind a cabinet door on the right side of the printer. After 2400 hours of printing, old filters should be replaced. Turn off the fans and remove the filter by twisting it counterclockwise.
Filter lifetimes and other maintenance steps are tracked by the printer and can be viewed on the touchscreen. It is highly recommended to use the touchscreen prompts as you change filters, as it logs the ‘new’ filter status and highlights when the filter needs cleaning at an appropriate frequency.
The rate of cleaning is dependent on the age of the filter:
- Both the intake and exhaust filters should be cleaned after every one to two full build volume prints or 30 hours of printing, whichever comes first.
- Purge the exhaust lines after 20 full build volume prints or 900–1000 hours of printing, whichever comes first, to remove blockages and ensure optimal airflow through the exhaust system.
- Old filters that have experienced 2400 hours of printing should be replaced.
Removing and replacing the intake filter
Turn off the air system before removing the intake filter for replacement
Step 1: Turn off the filter system
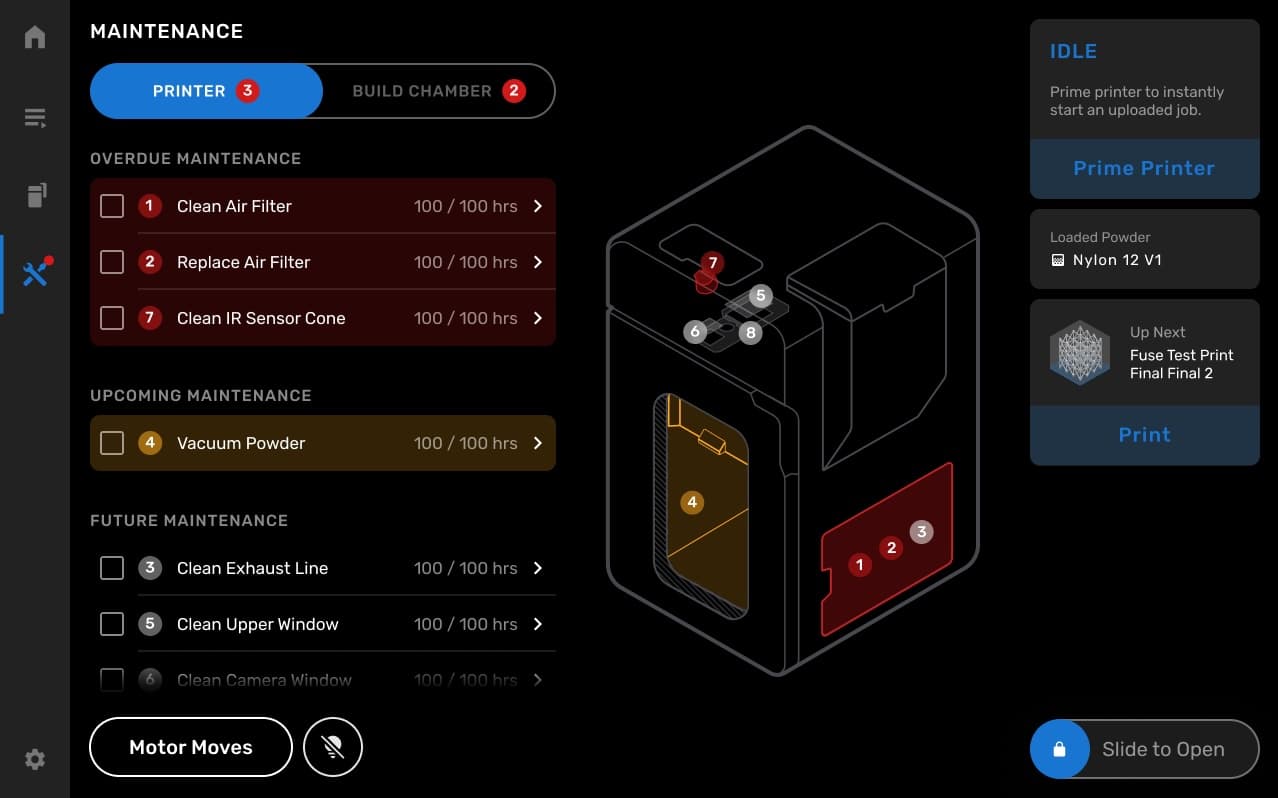
On the touchscreen, tap Printer Status > Maintenance > Replace Air Filter to turn off the air system.
Step 2: Open the filter cabinet door
Open the filter cabinet door on the right side of the printer. The intake filter is the conical filter on the left side.
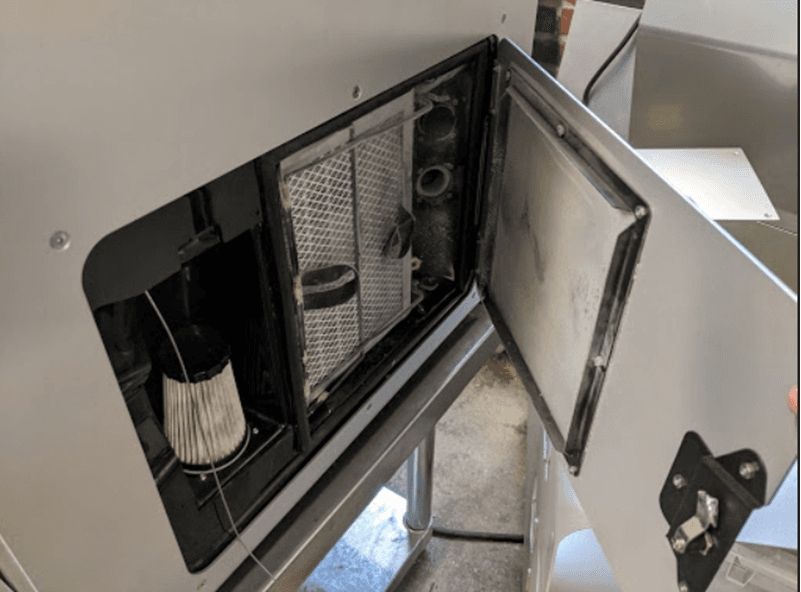
Step 3: Remove the intake filter
Twist the intake filter in a counterclockwise direction to remove the filter:
- Grip the base of the conical filter.
- Gently twist in a counterclockwise direction to disengage the snap-fit tabs.
- Set the intake filter aside.
Step 4: Install the new intake filter
Install the new intake filter by aligning the tabs on the collar with the corresponding grooves on the mount inside the cabinet and turning in a clockwise direction.
Step 5: Close the filter cabinet door
Close the cabinet door.