
Required supplies:
Formlabs:
- Replacement blast gun handle (RP-FB-HANDL-01)
- T20 Torx driver (provided with the Fuse Blast)
Third-party:
- T25 Torx driver
- Nitrile gloves

The Fuse Blast blast gun and ionizer are mounted on a handle that slides onto the blast arm. The handle allows for easy positioning of the blast gun for both automatic and manual blasting. If the handle is faulty or damaged, it will be more difficult to effectively clean your printed parts.
Use this guide to replace the Fuse Blast blast gun handle.
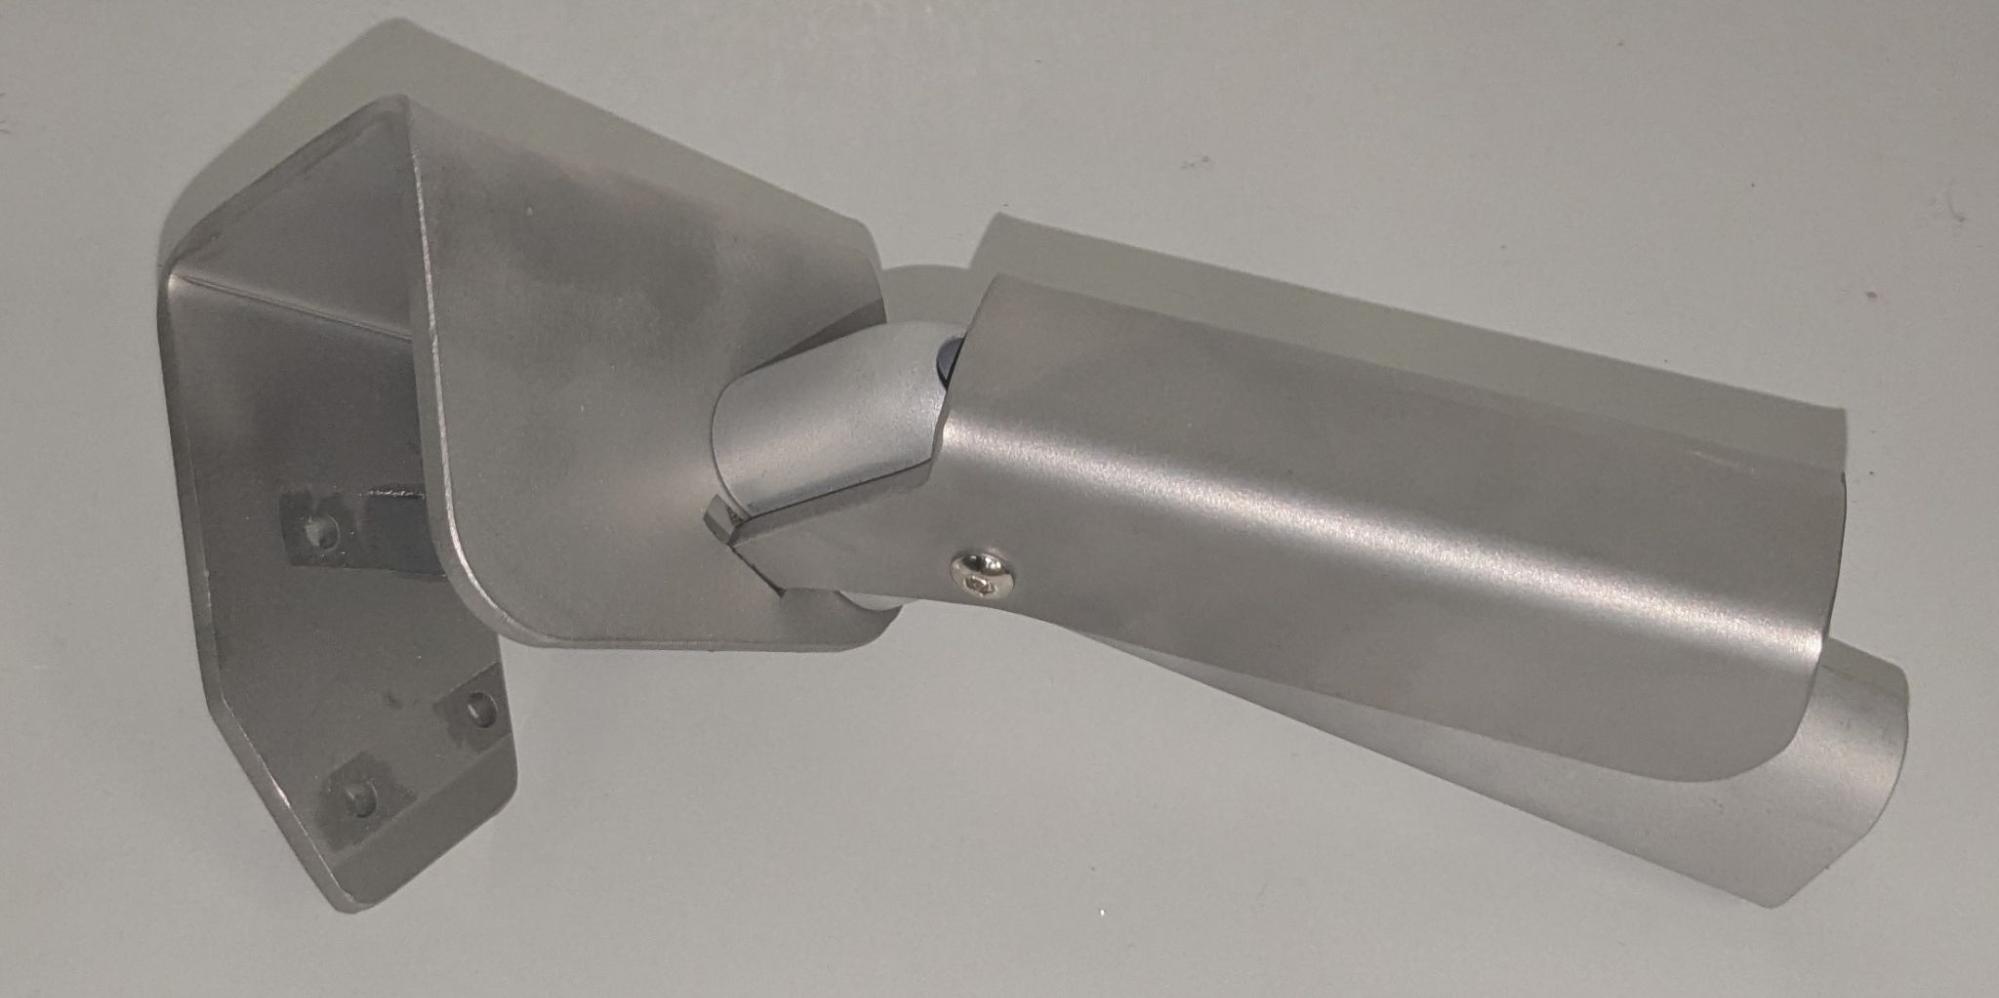
Required supplies:
Formlabs:
Third-party:
Estimated time: 5–10 minutes
Preparing the workspace
Overview: Prepare the Fuse Blast and a clean workspace for replacing the blast gun handle.
Step 1: Prepare the workspace
Clear a workspace. Ensure that the workspace is well-ventilated, level, and clean.
Step 2: Unplug the machine
Disconnect the power cable from the machine before continuing with maintenance. To prevent any accidental activation of the blast gun while you are working, do not perform maintenance on the machine while it is connected to power.
Removing the blast gun handle
Overview: Uninstall the blast gun and ionizer from the original blast gun handle, then remove the handle from the Fuse Blast.
Step 1: Remove the ionizer
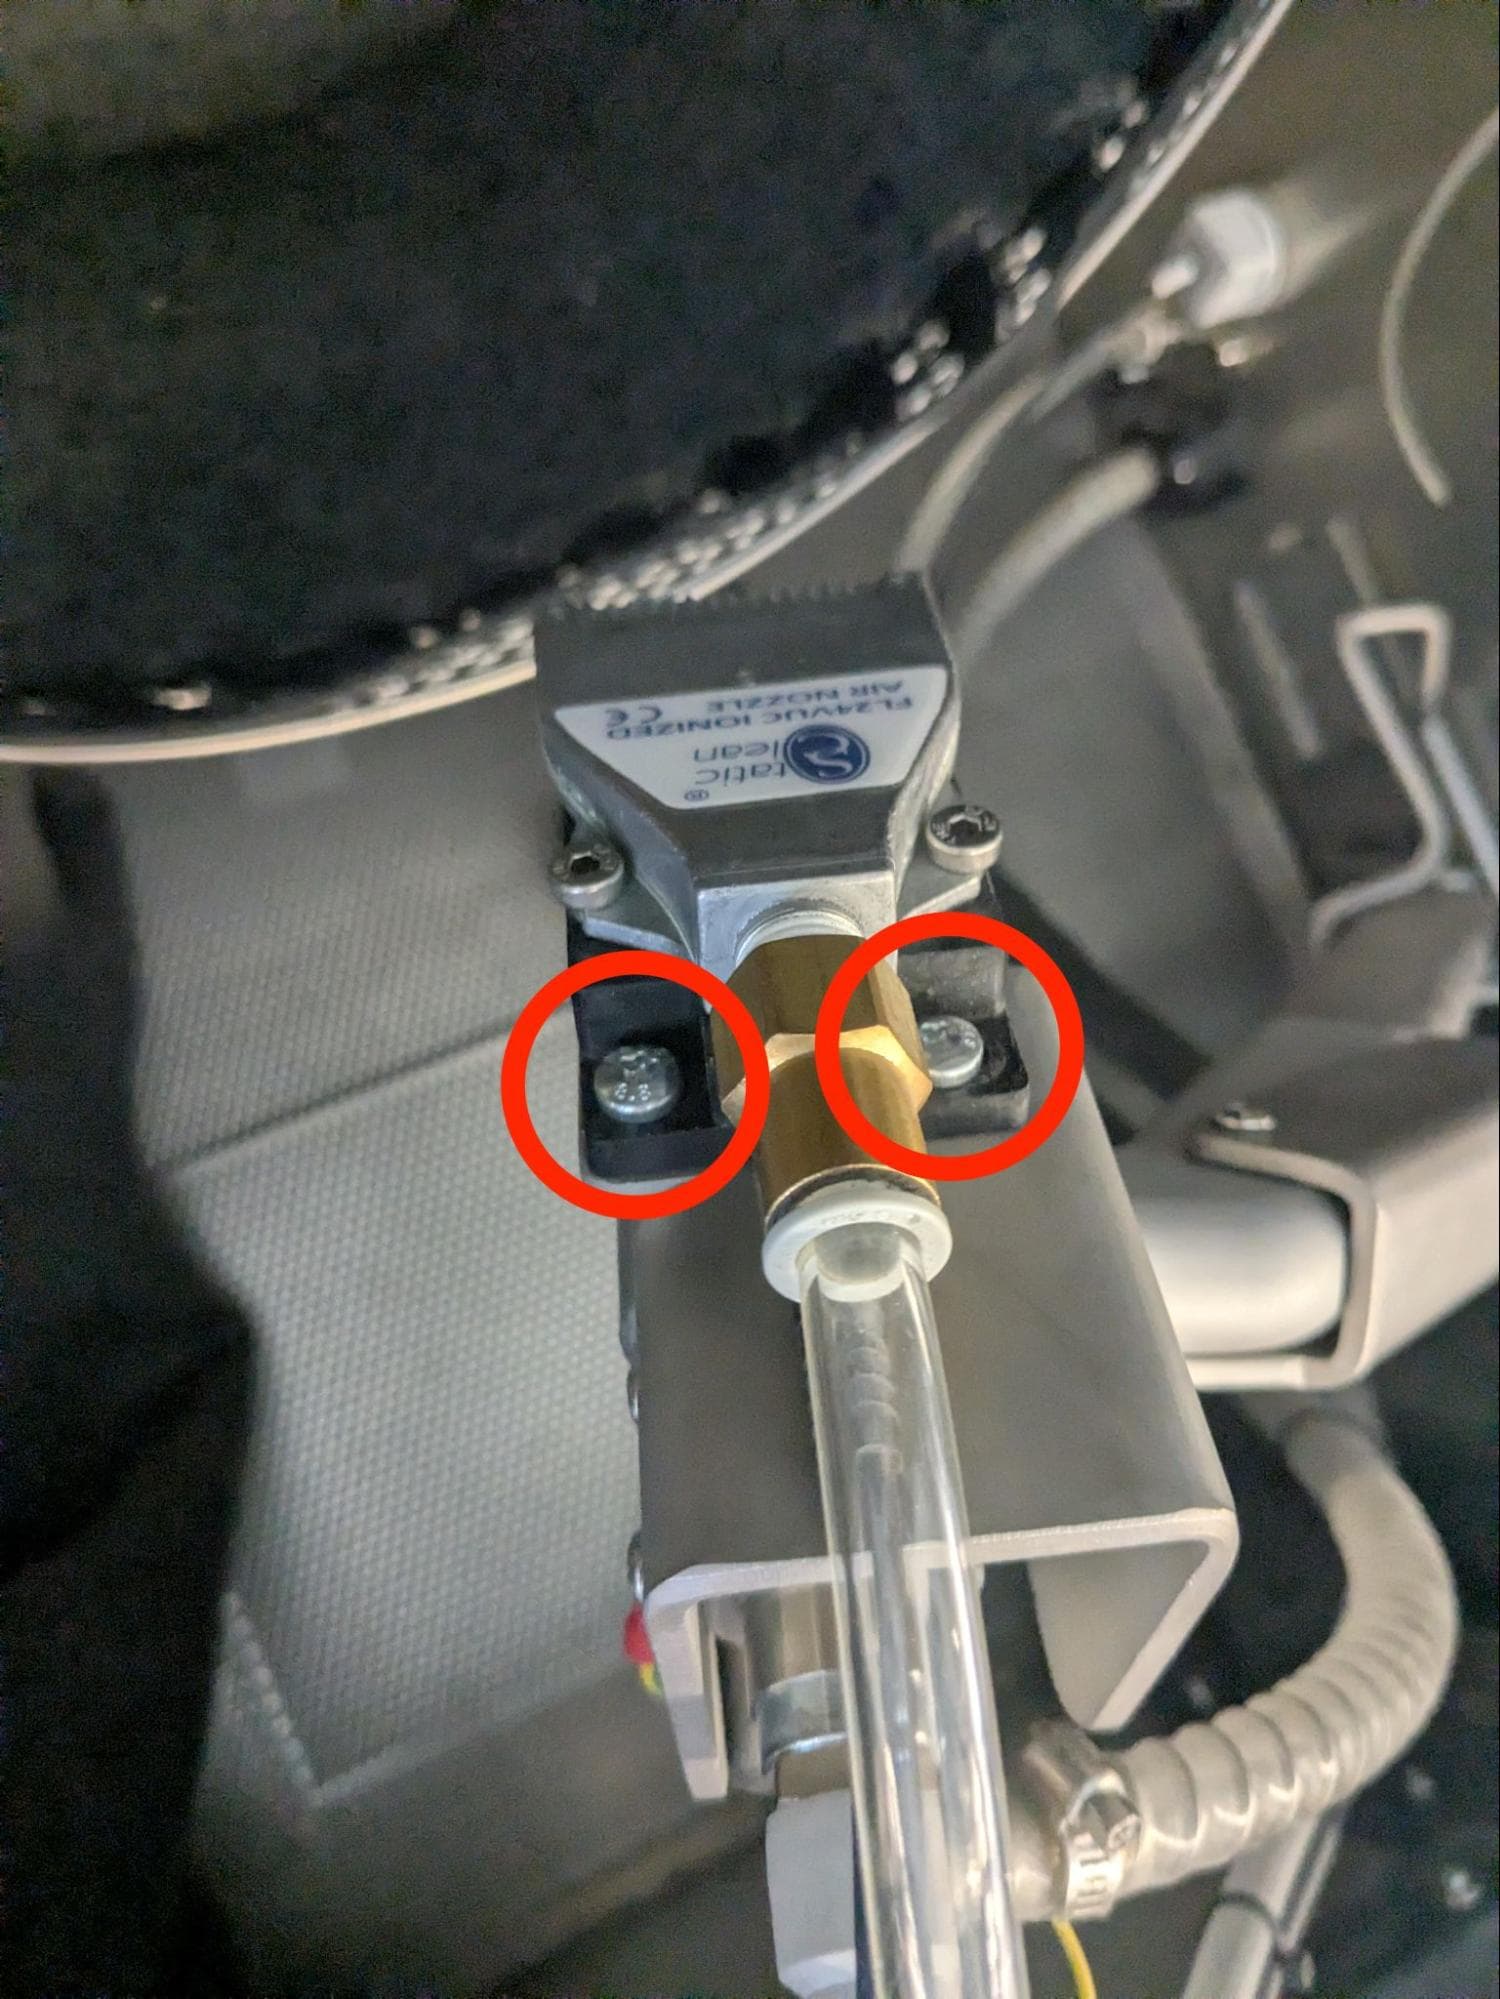
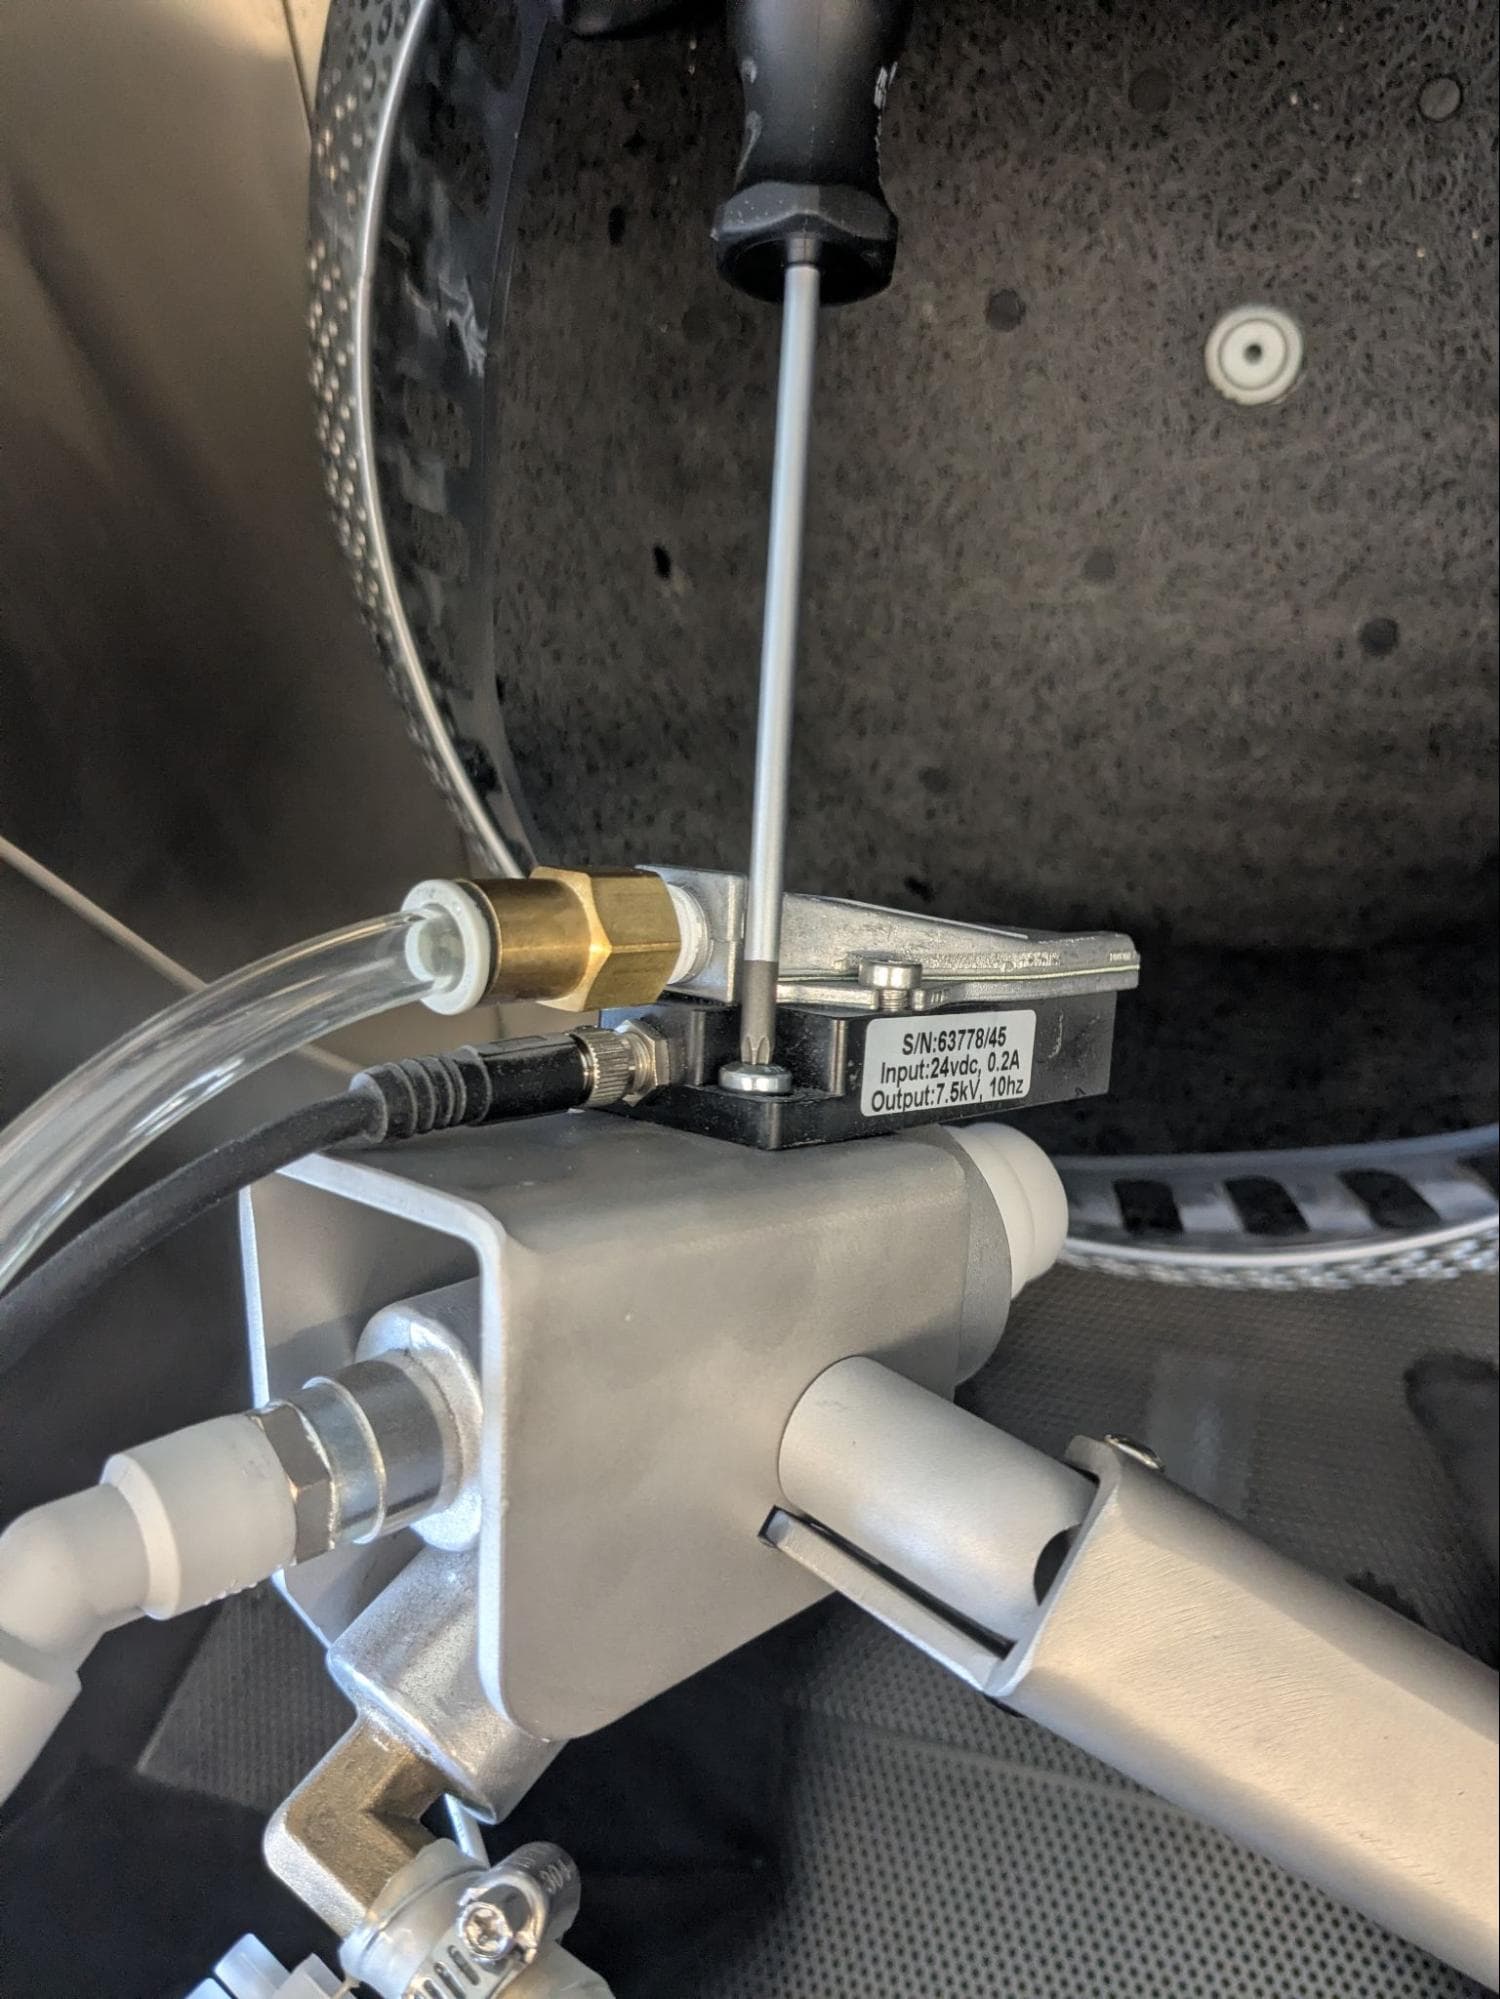
The ionizer is secured to the blast gun with two screws. Using a T25 Torx driver, loosen and remove the screws. Set the screws aside.
Step 2: Remove the blast gun
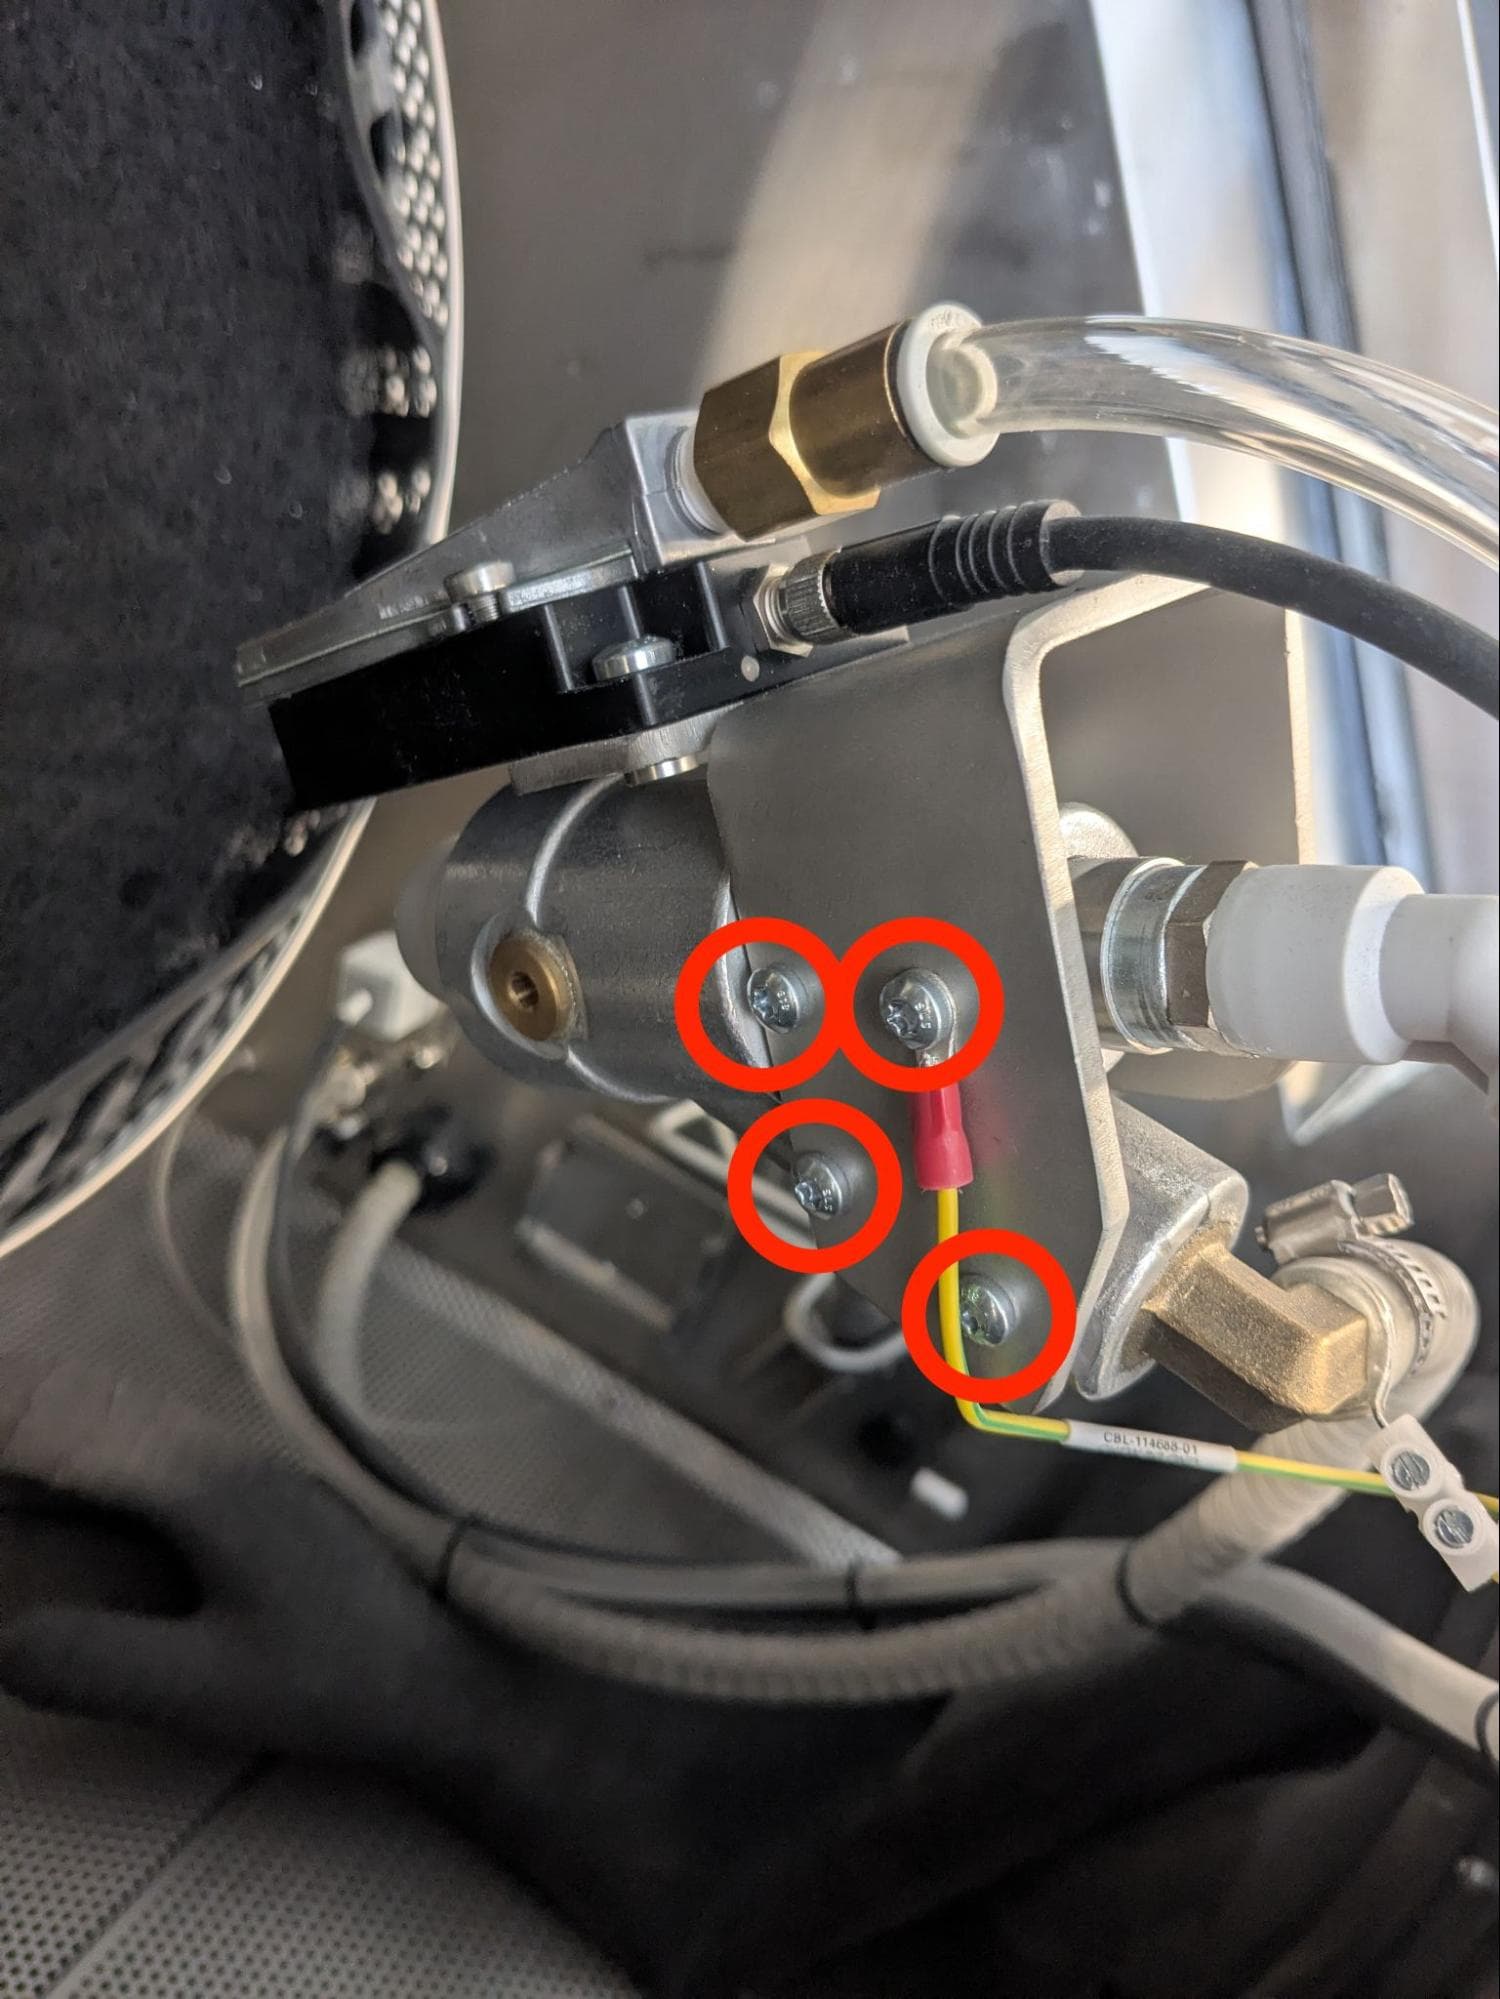
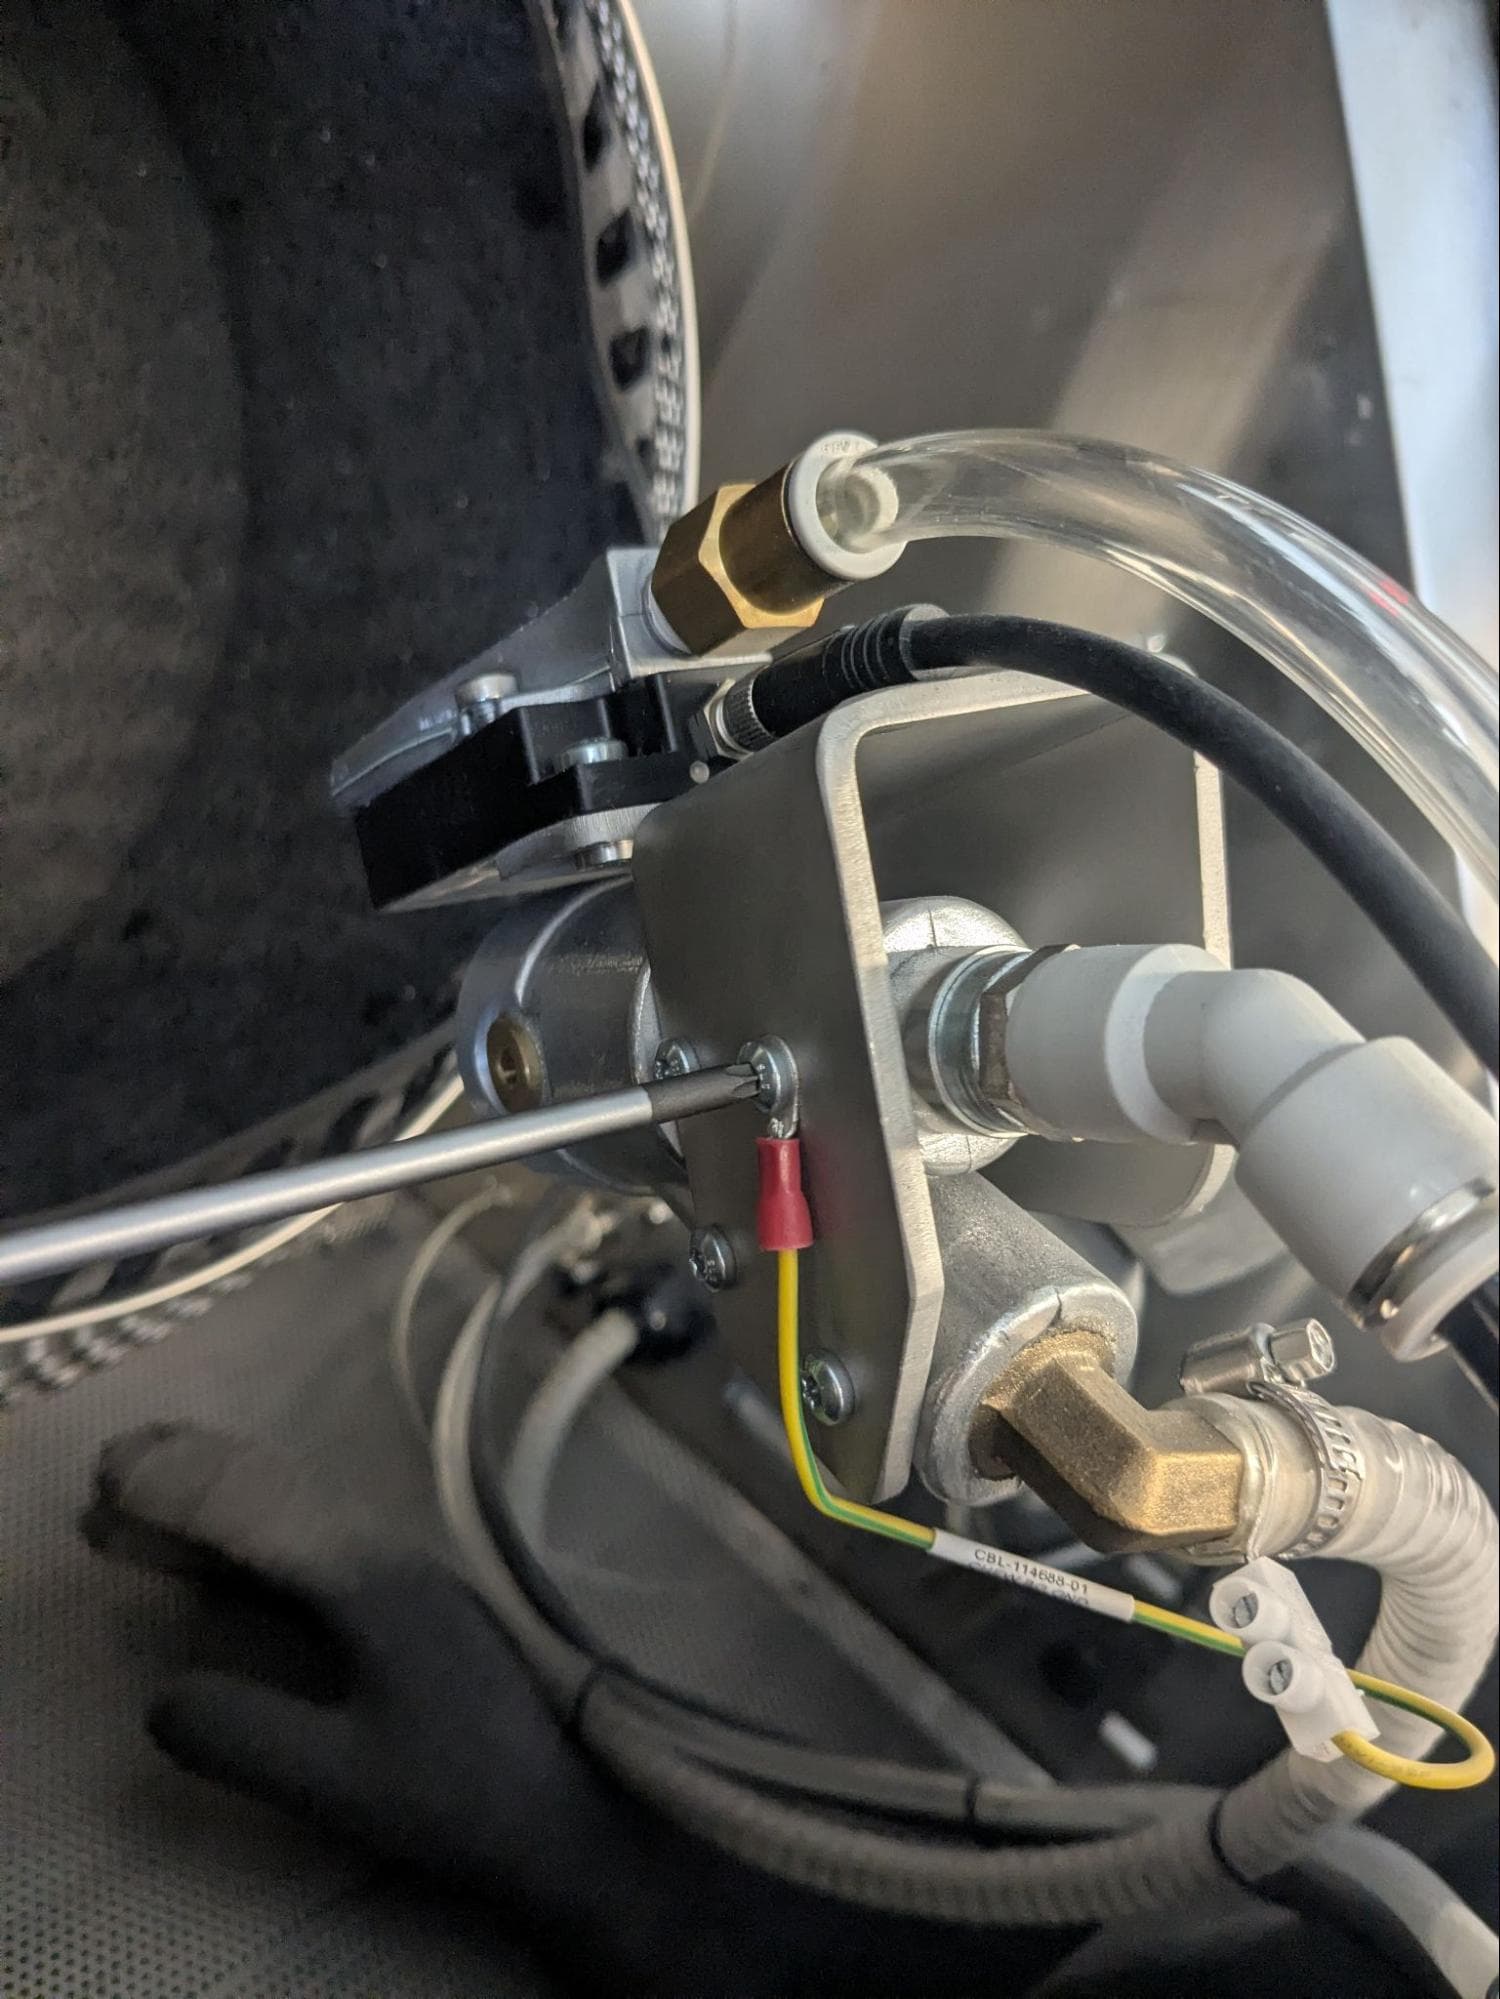
The blast gun is secured to its handle with four screws. Using the T20 Torx driver included with the Fuse Blast, loosen and remove the screws. Note that a grounding wire is secured to the handle by one of the mounting screws. Set the screws aside.
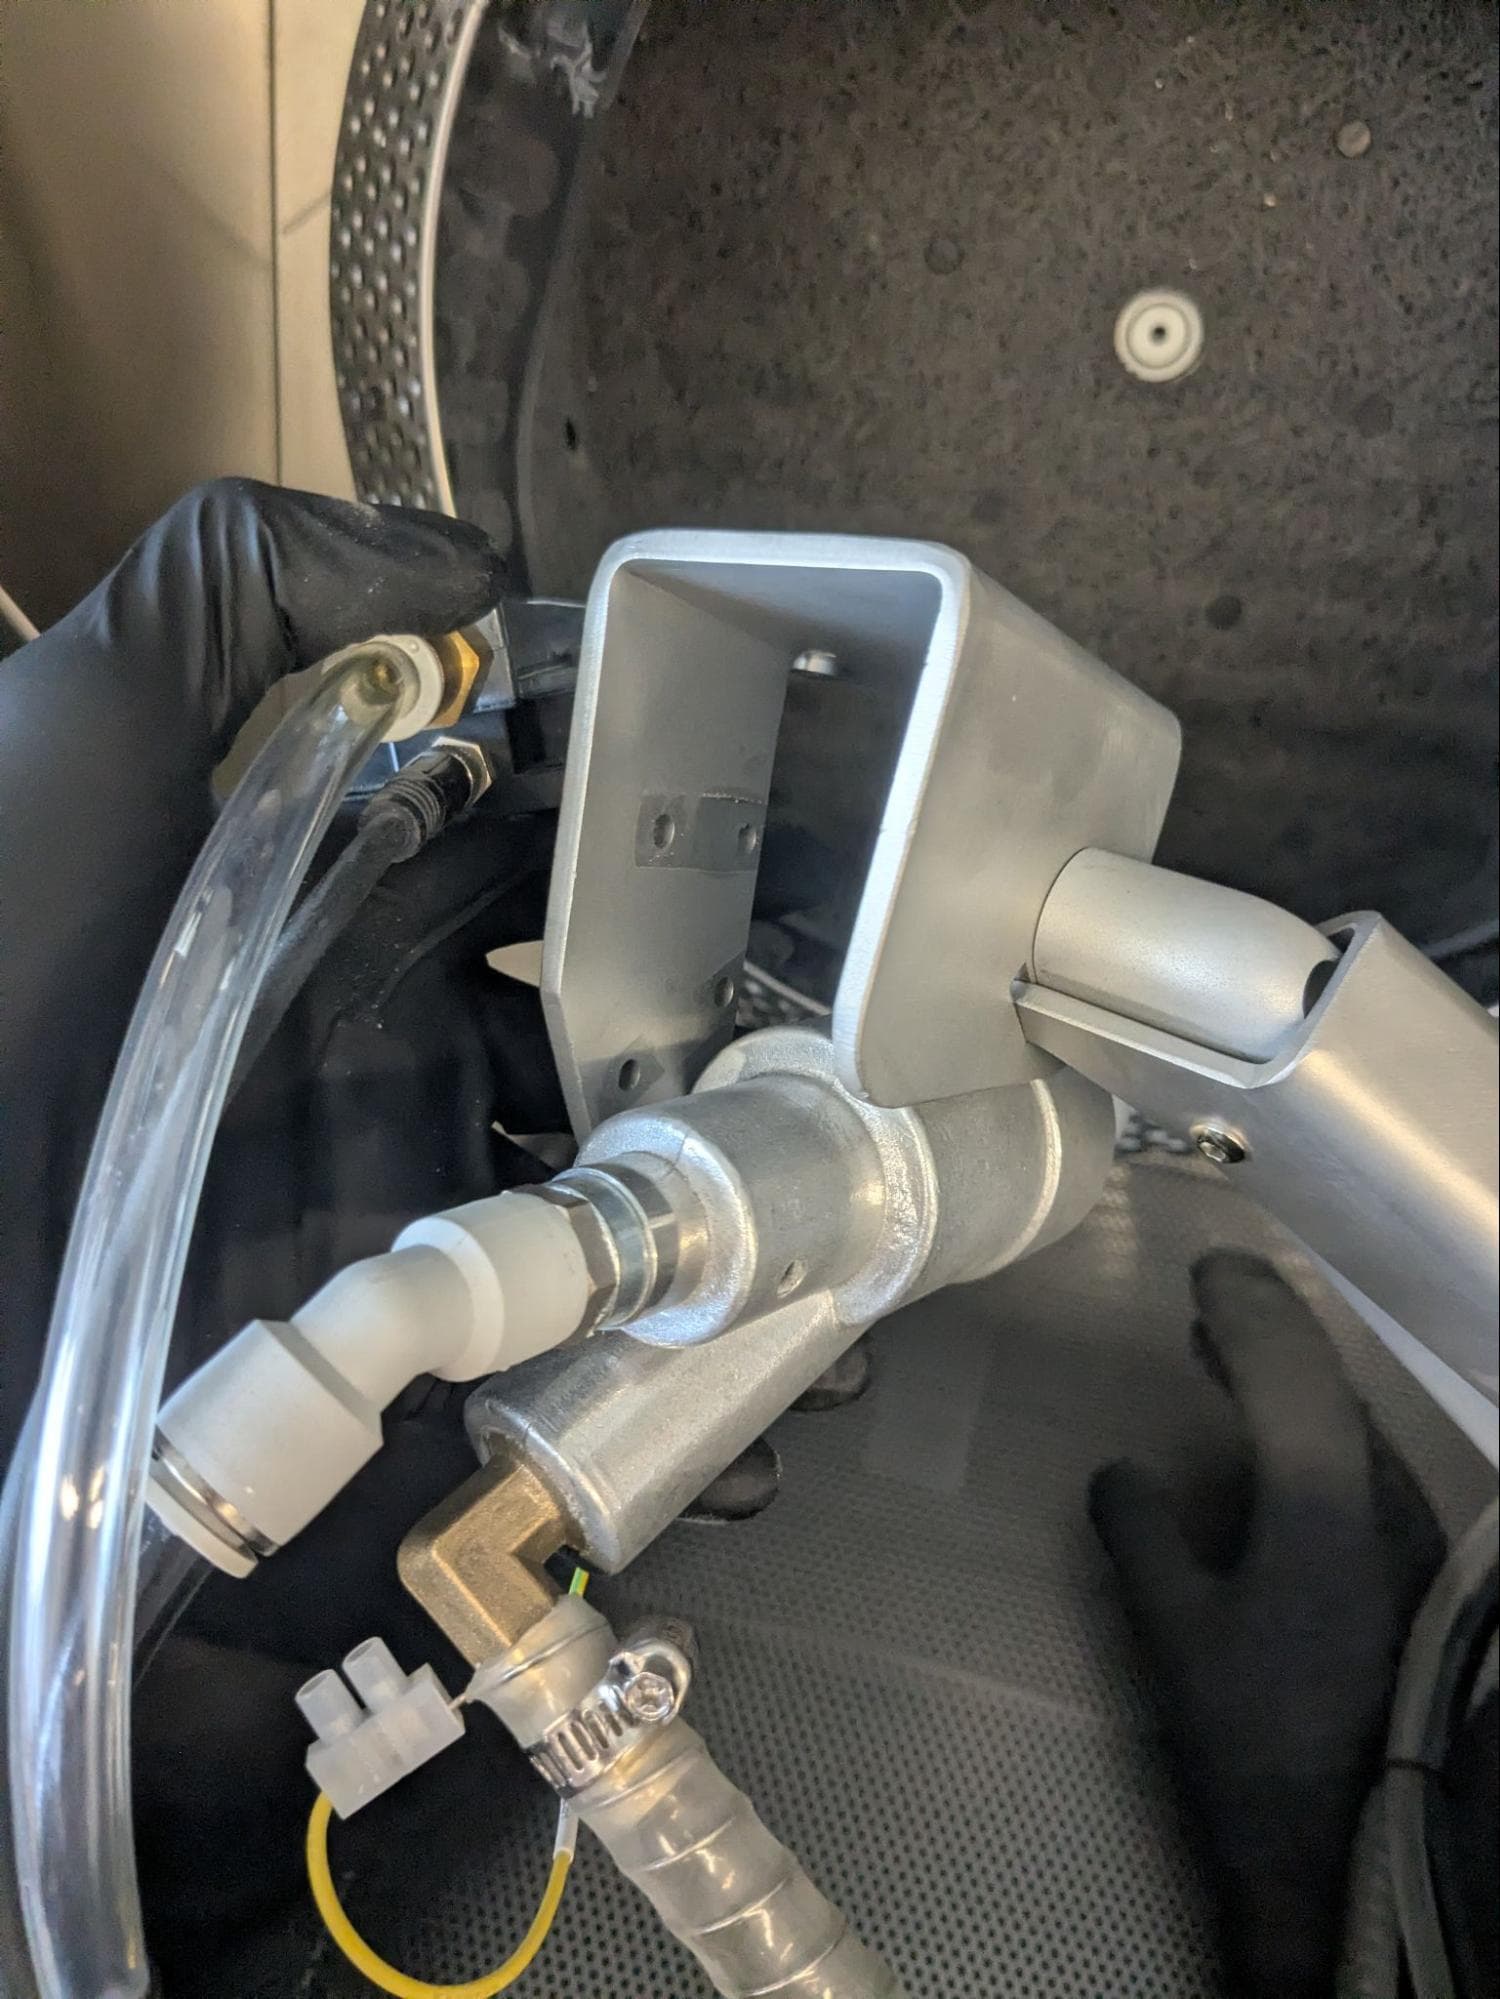
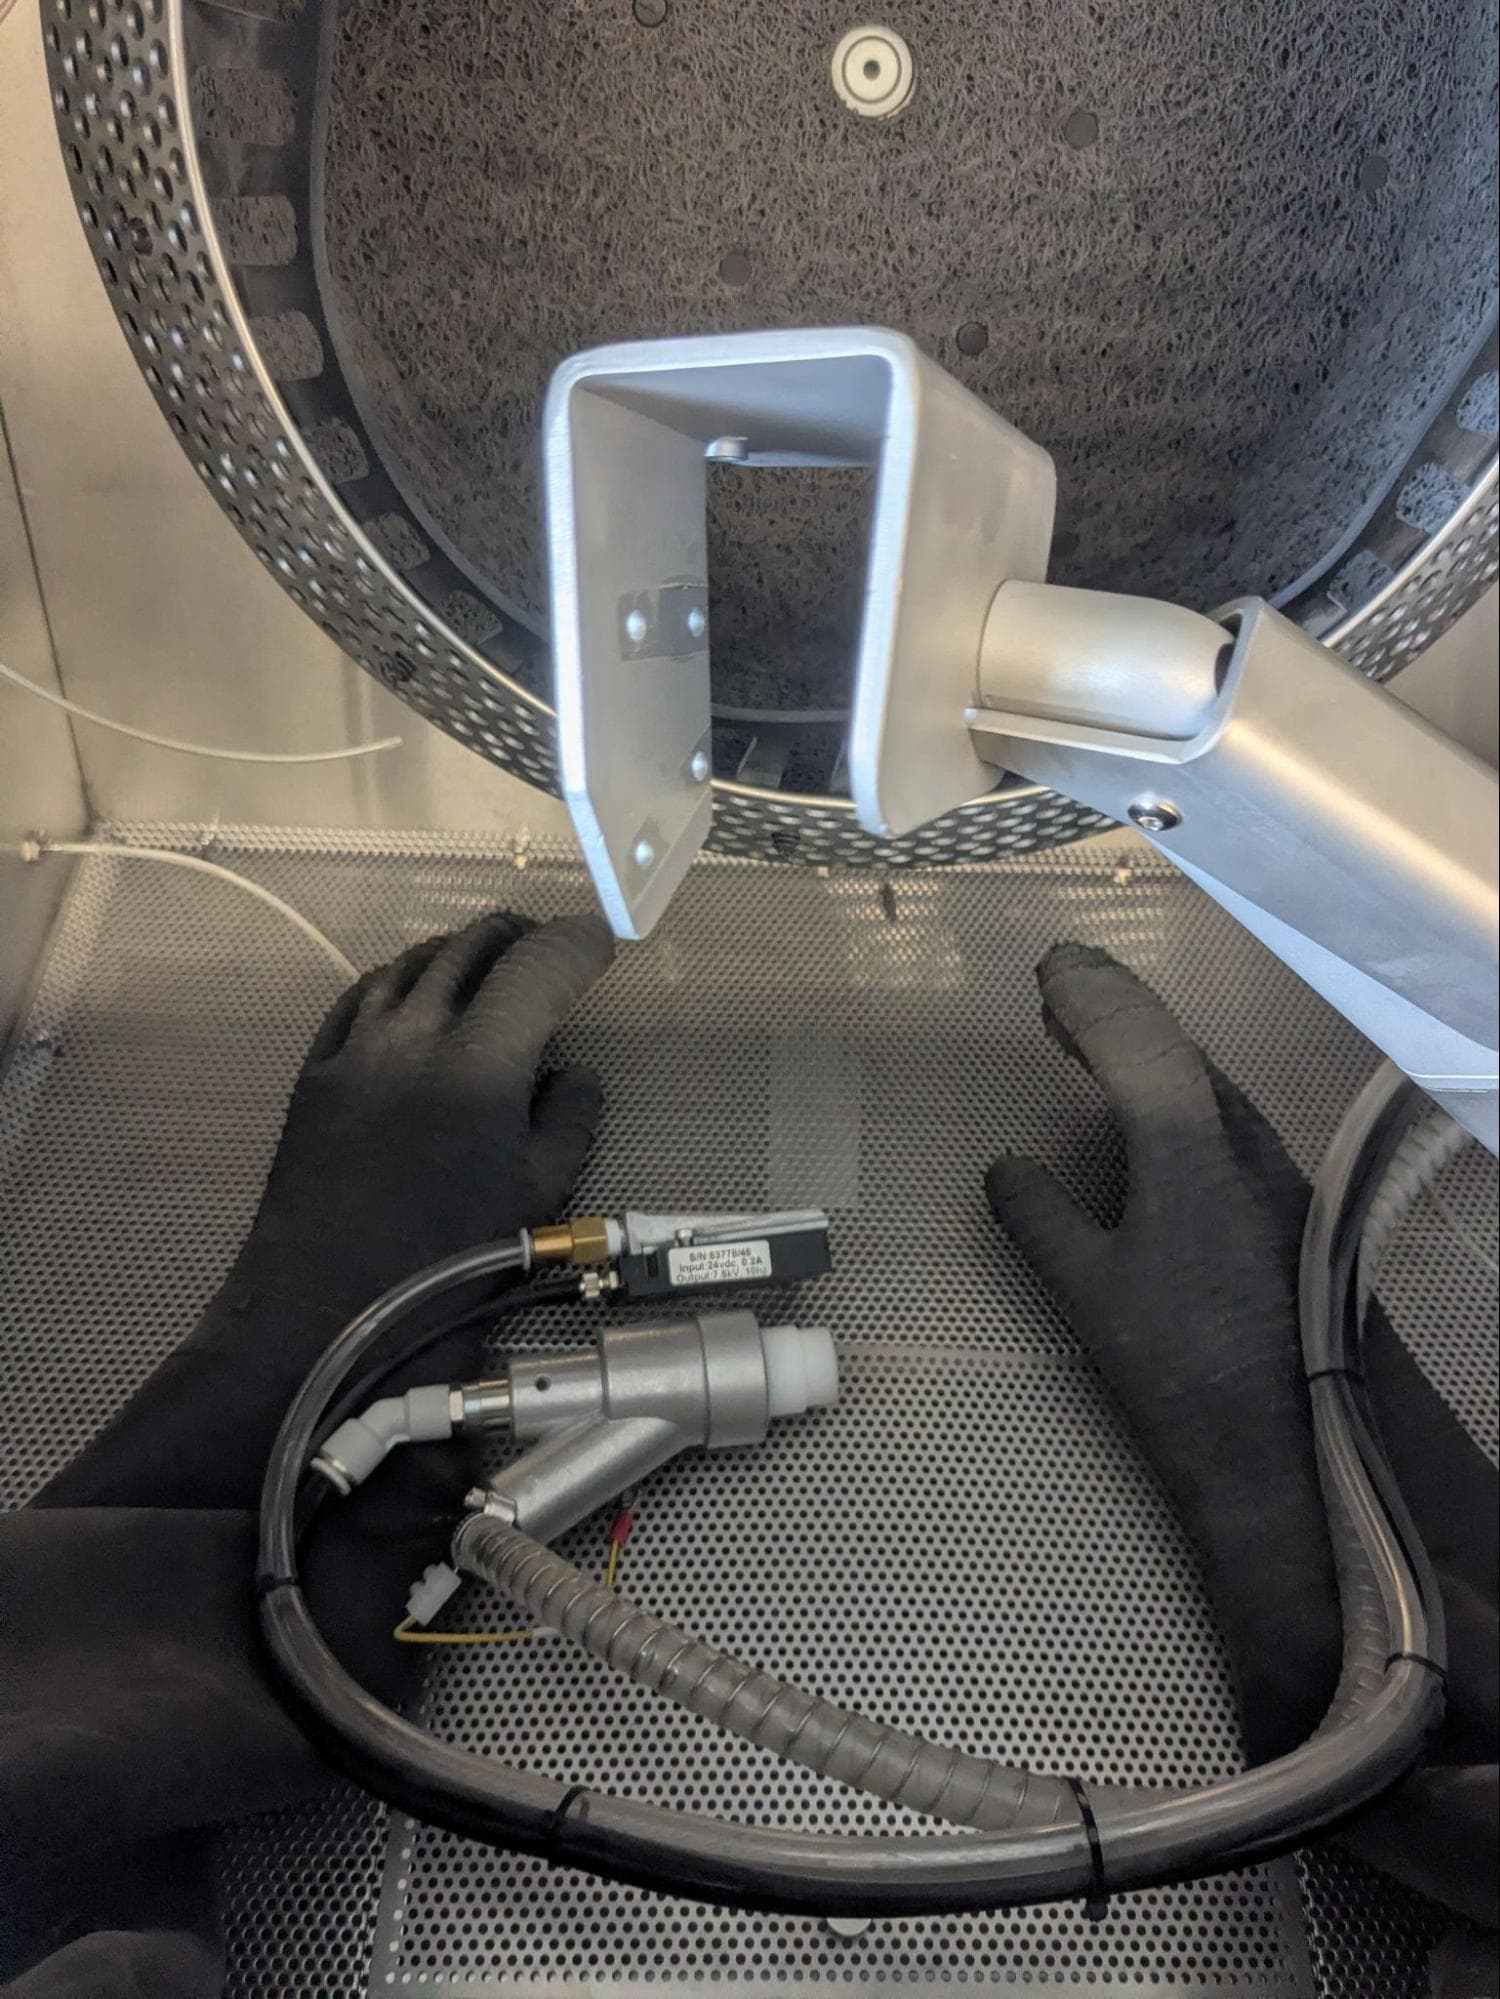
Separate the blast gun and ionizer from the blast gun handle and gently place them down in the Fuse Blast.
Step 3: Remove the blast gun handle
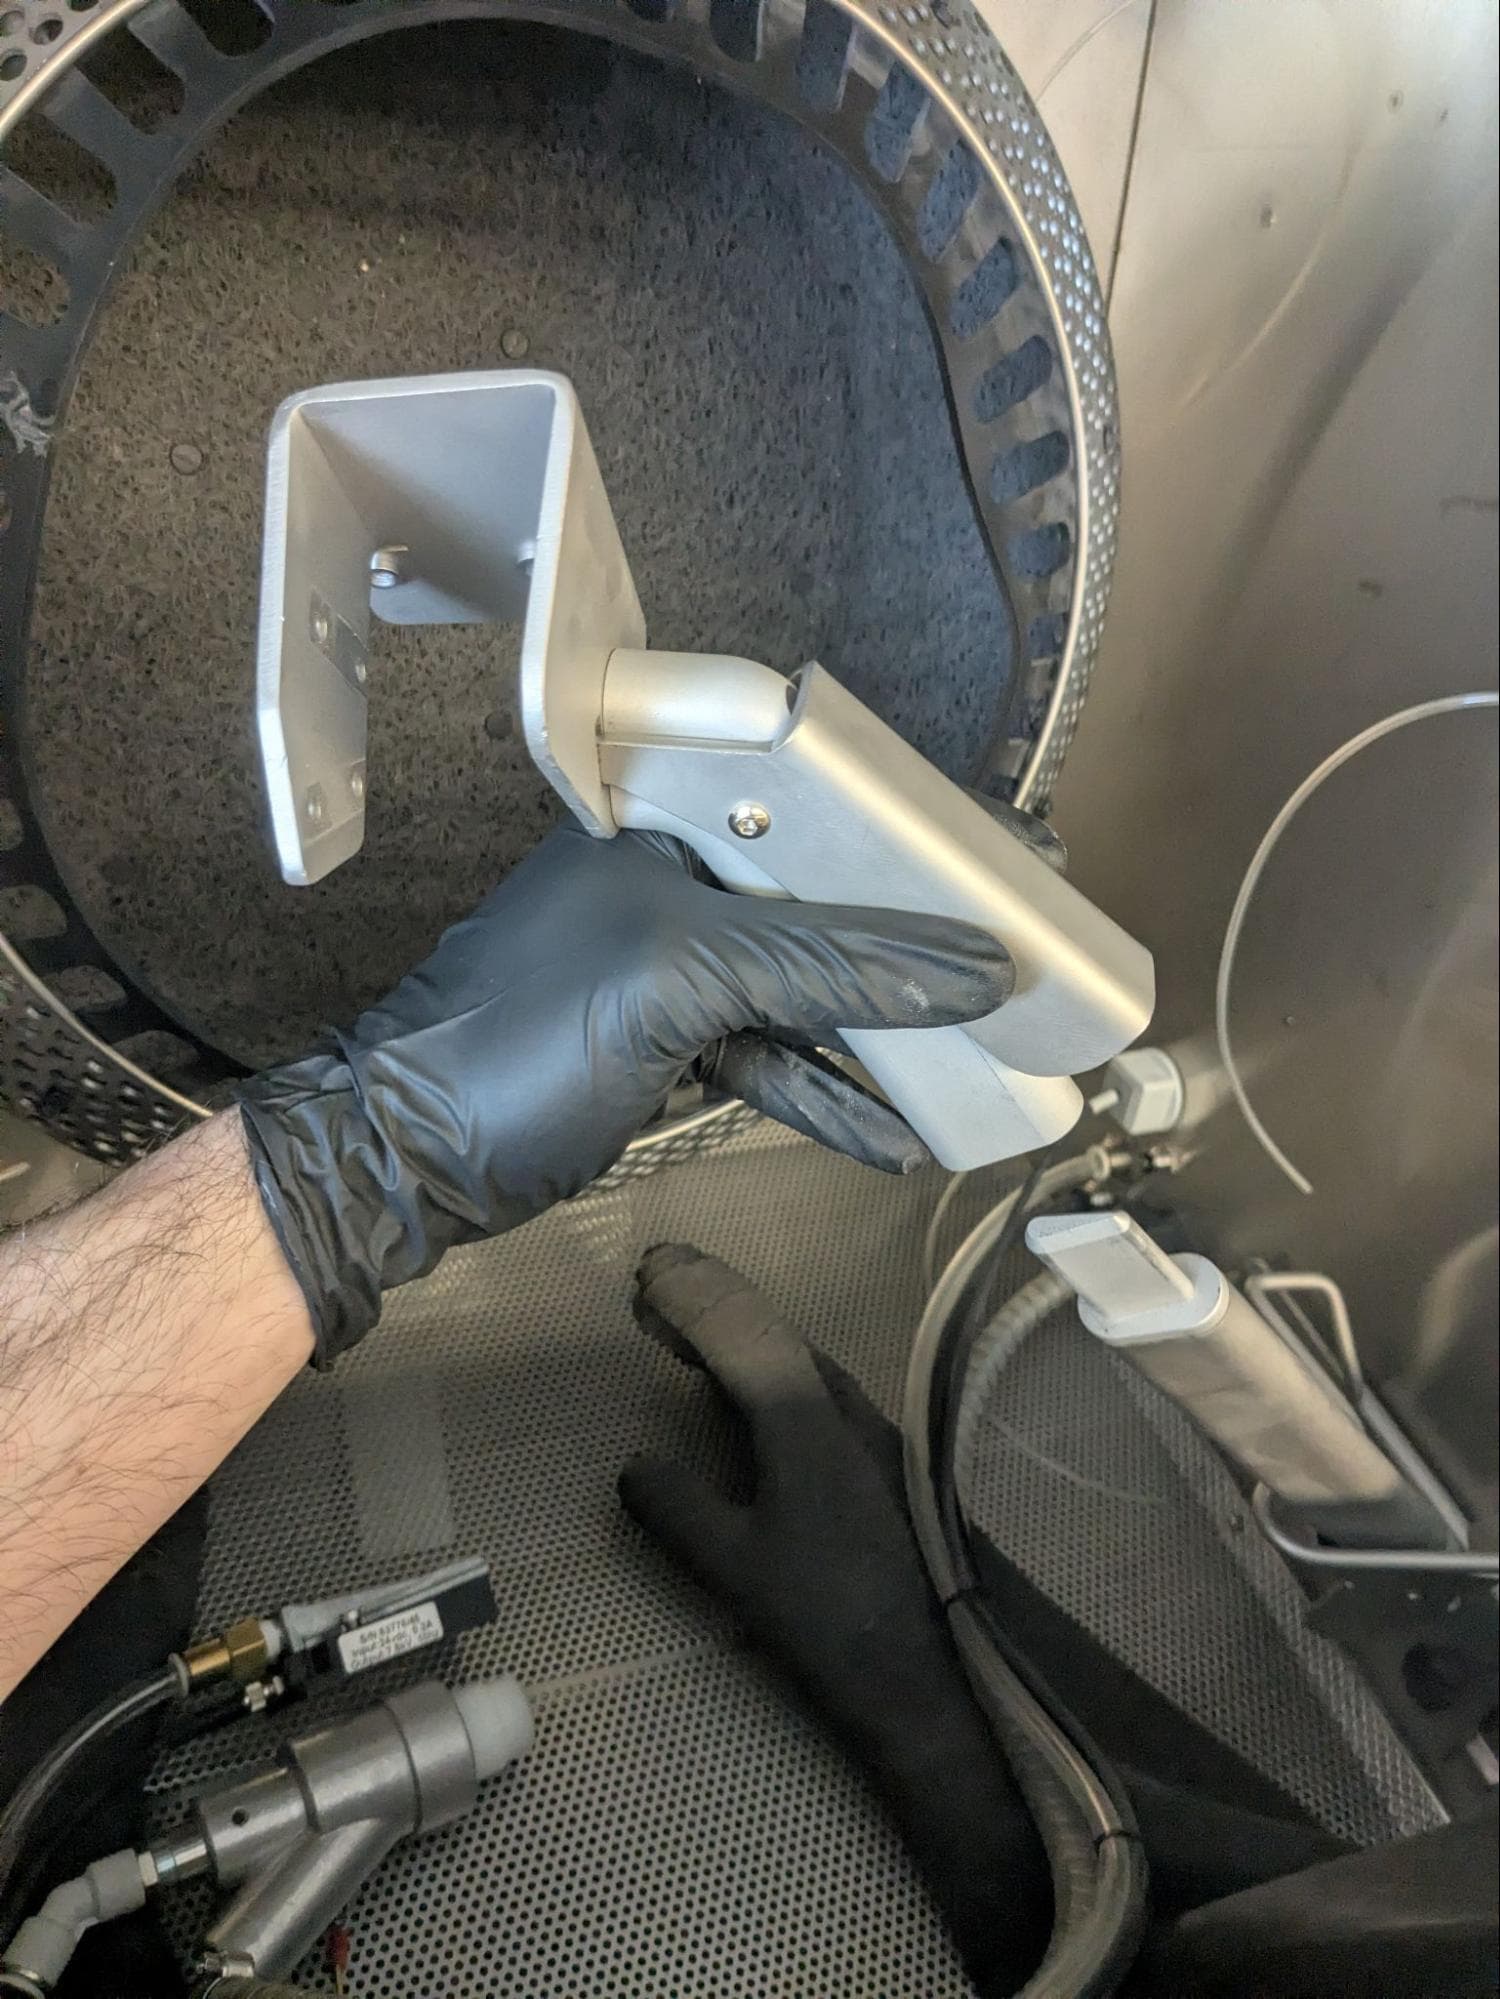
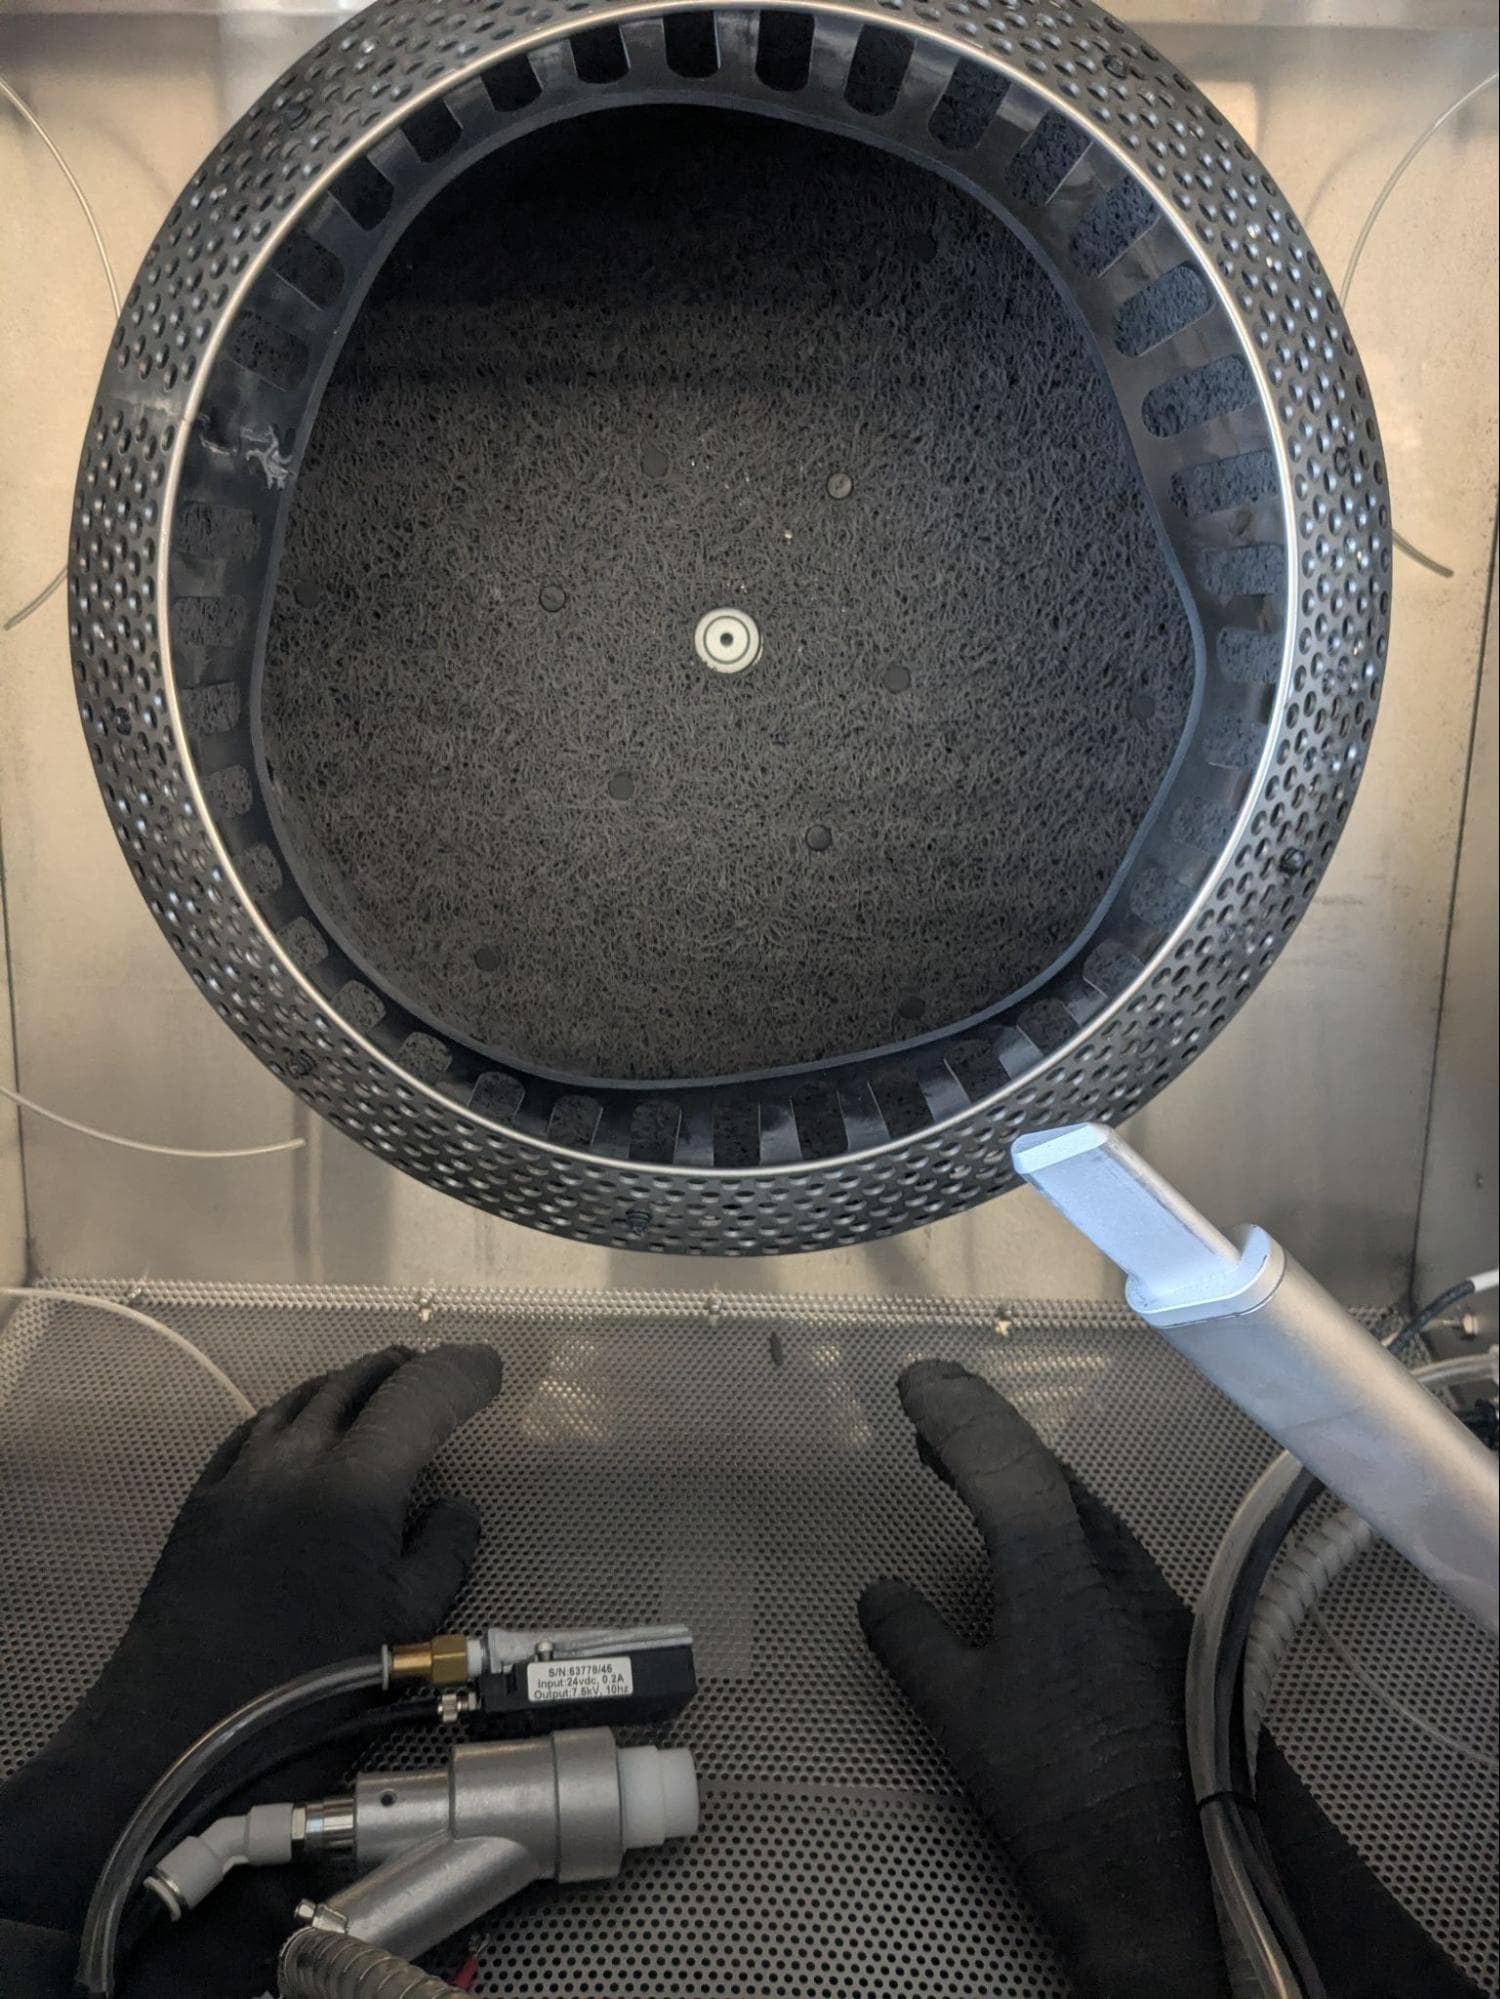
Pull the blast gun handle off the arm and set it aside for disposal.
Installing the replacement blast gun handle
Overview: Mount the blast gun and ionizer onto the new blast gun handle, then install it in the Fuse Blast.
Step 1: Mount the blast gun handle
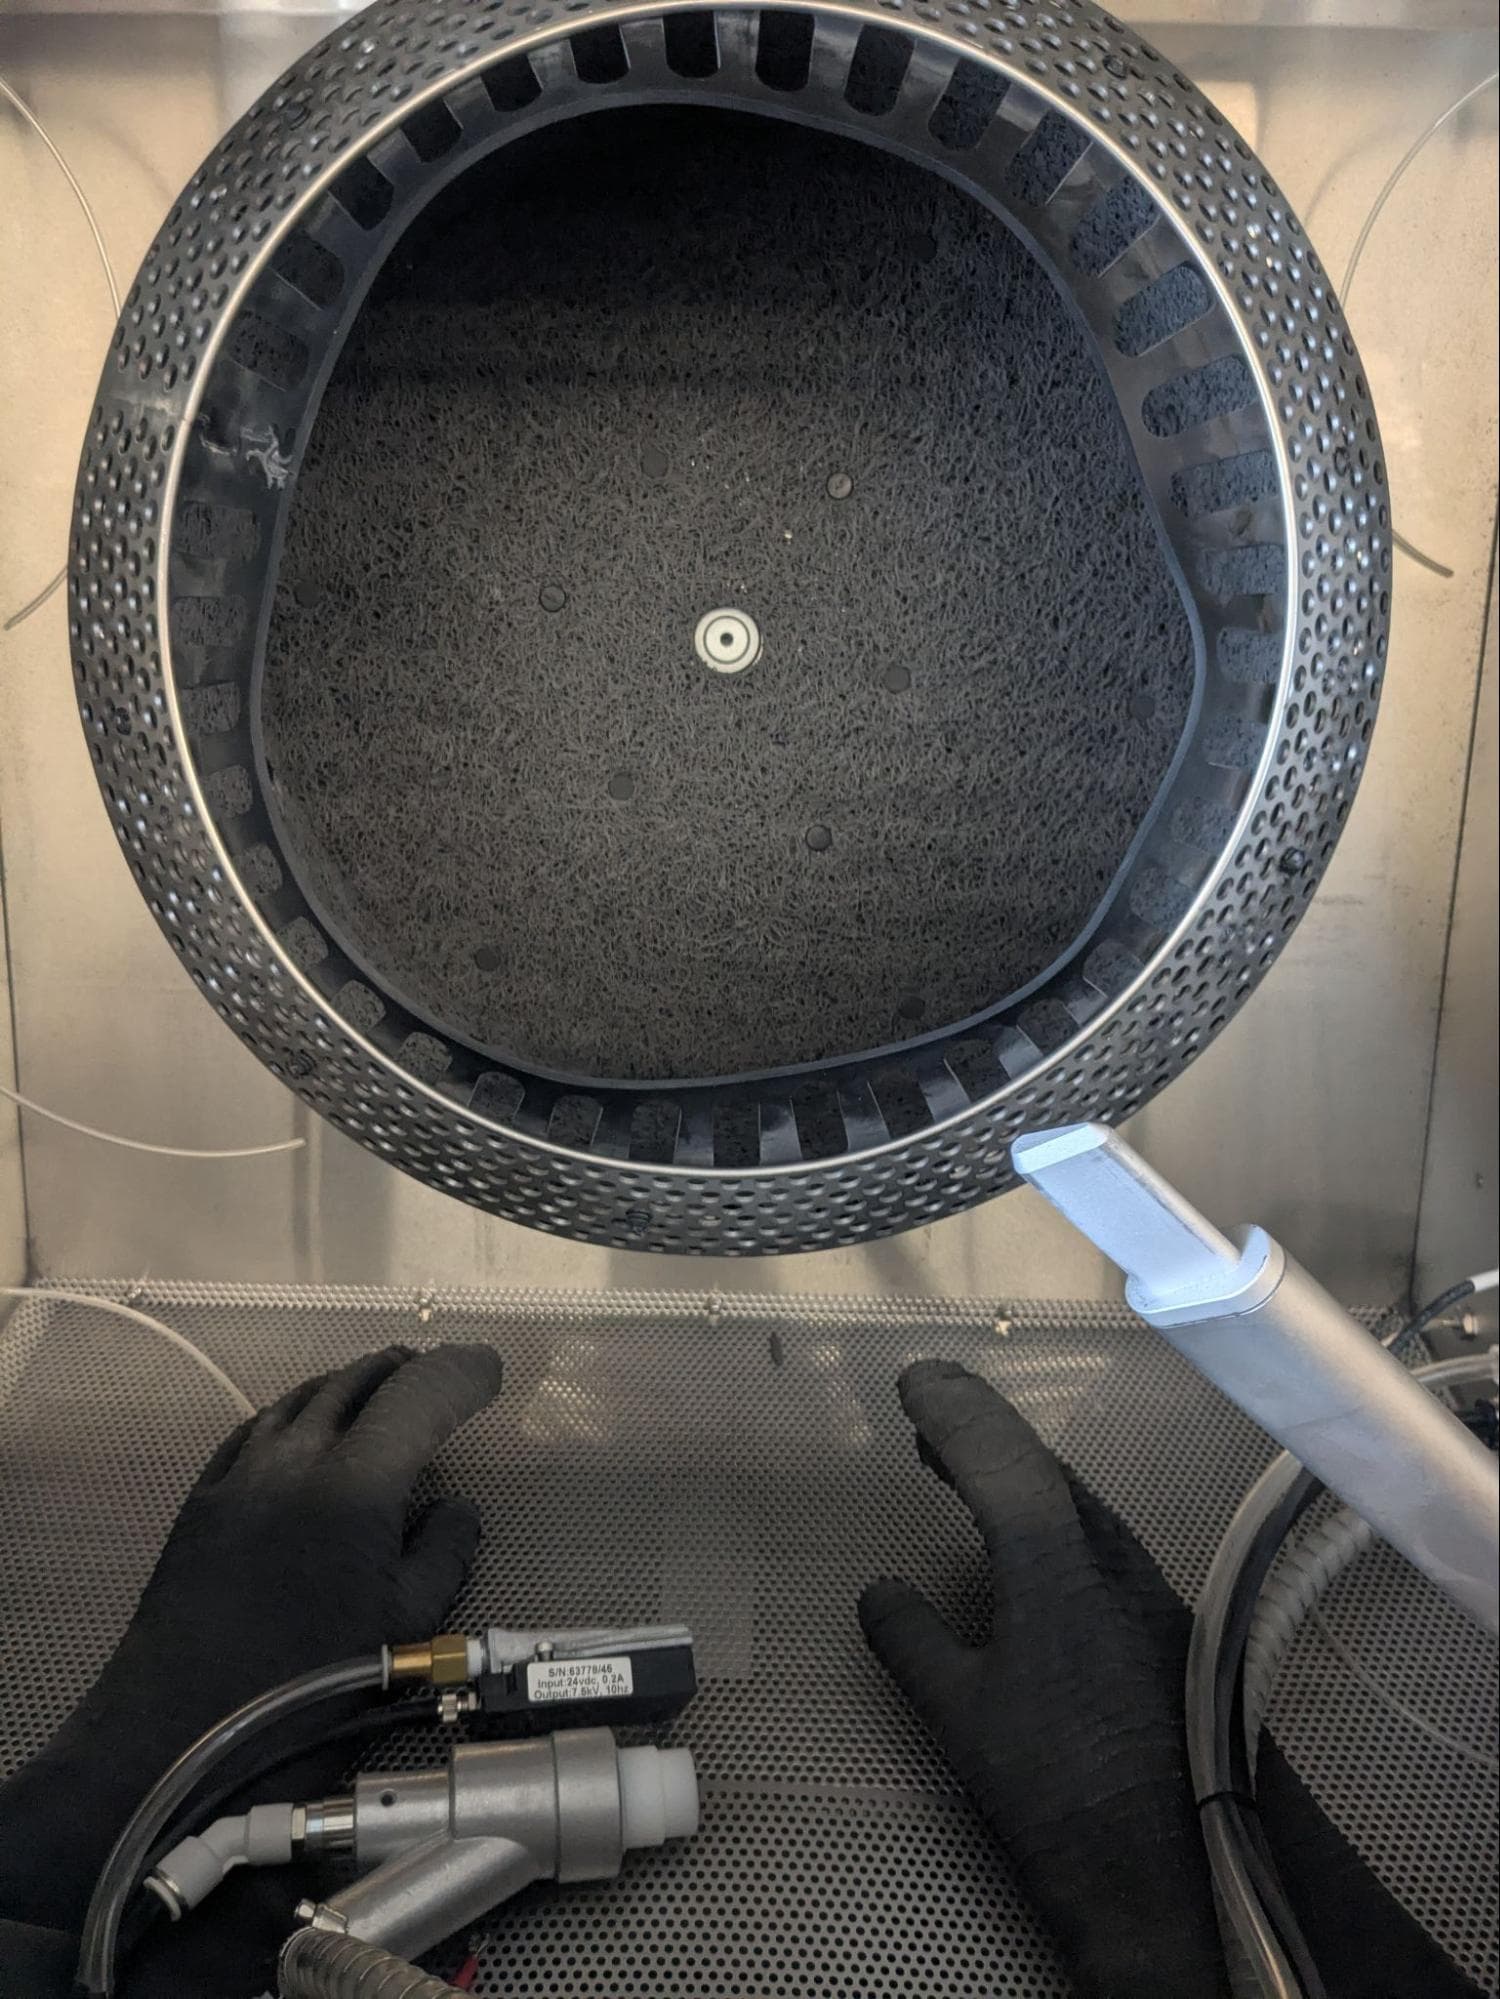
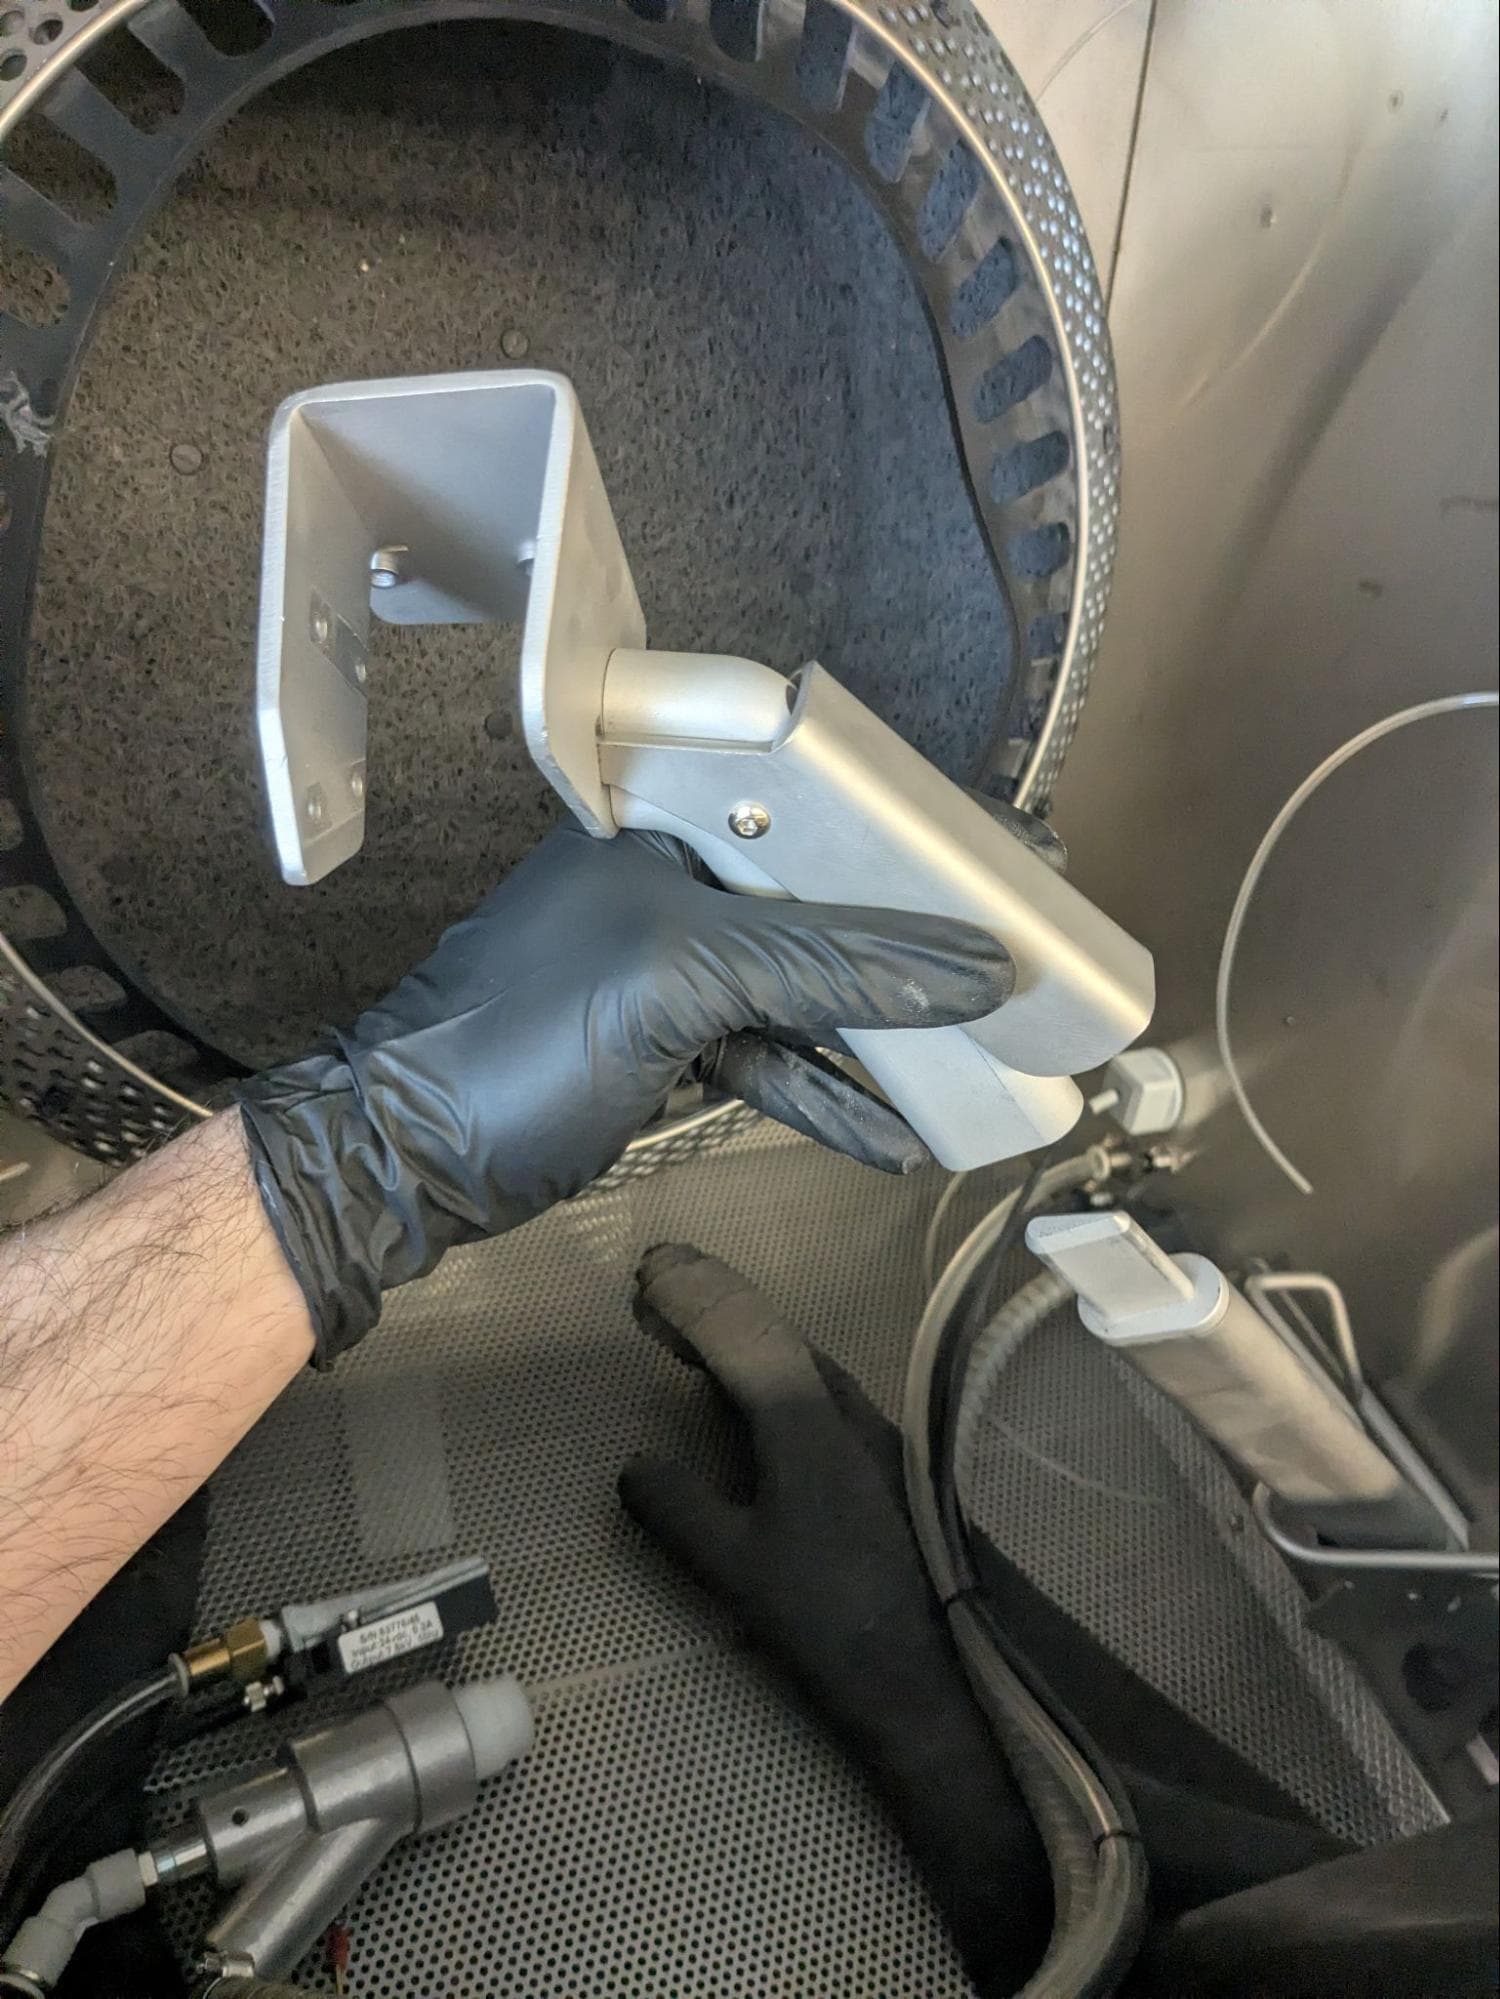
Orient the blast gun handle with the locking lever on the right. Slide the handle onto the blast arm.
Step 2: Mount and secure the blast gun
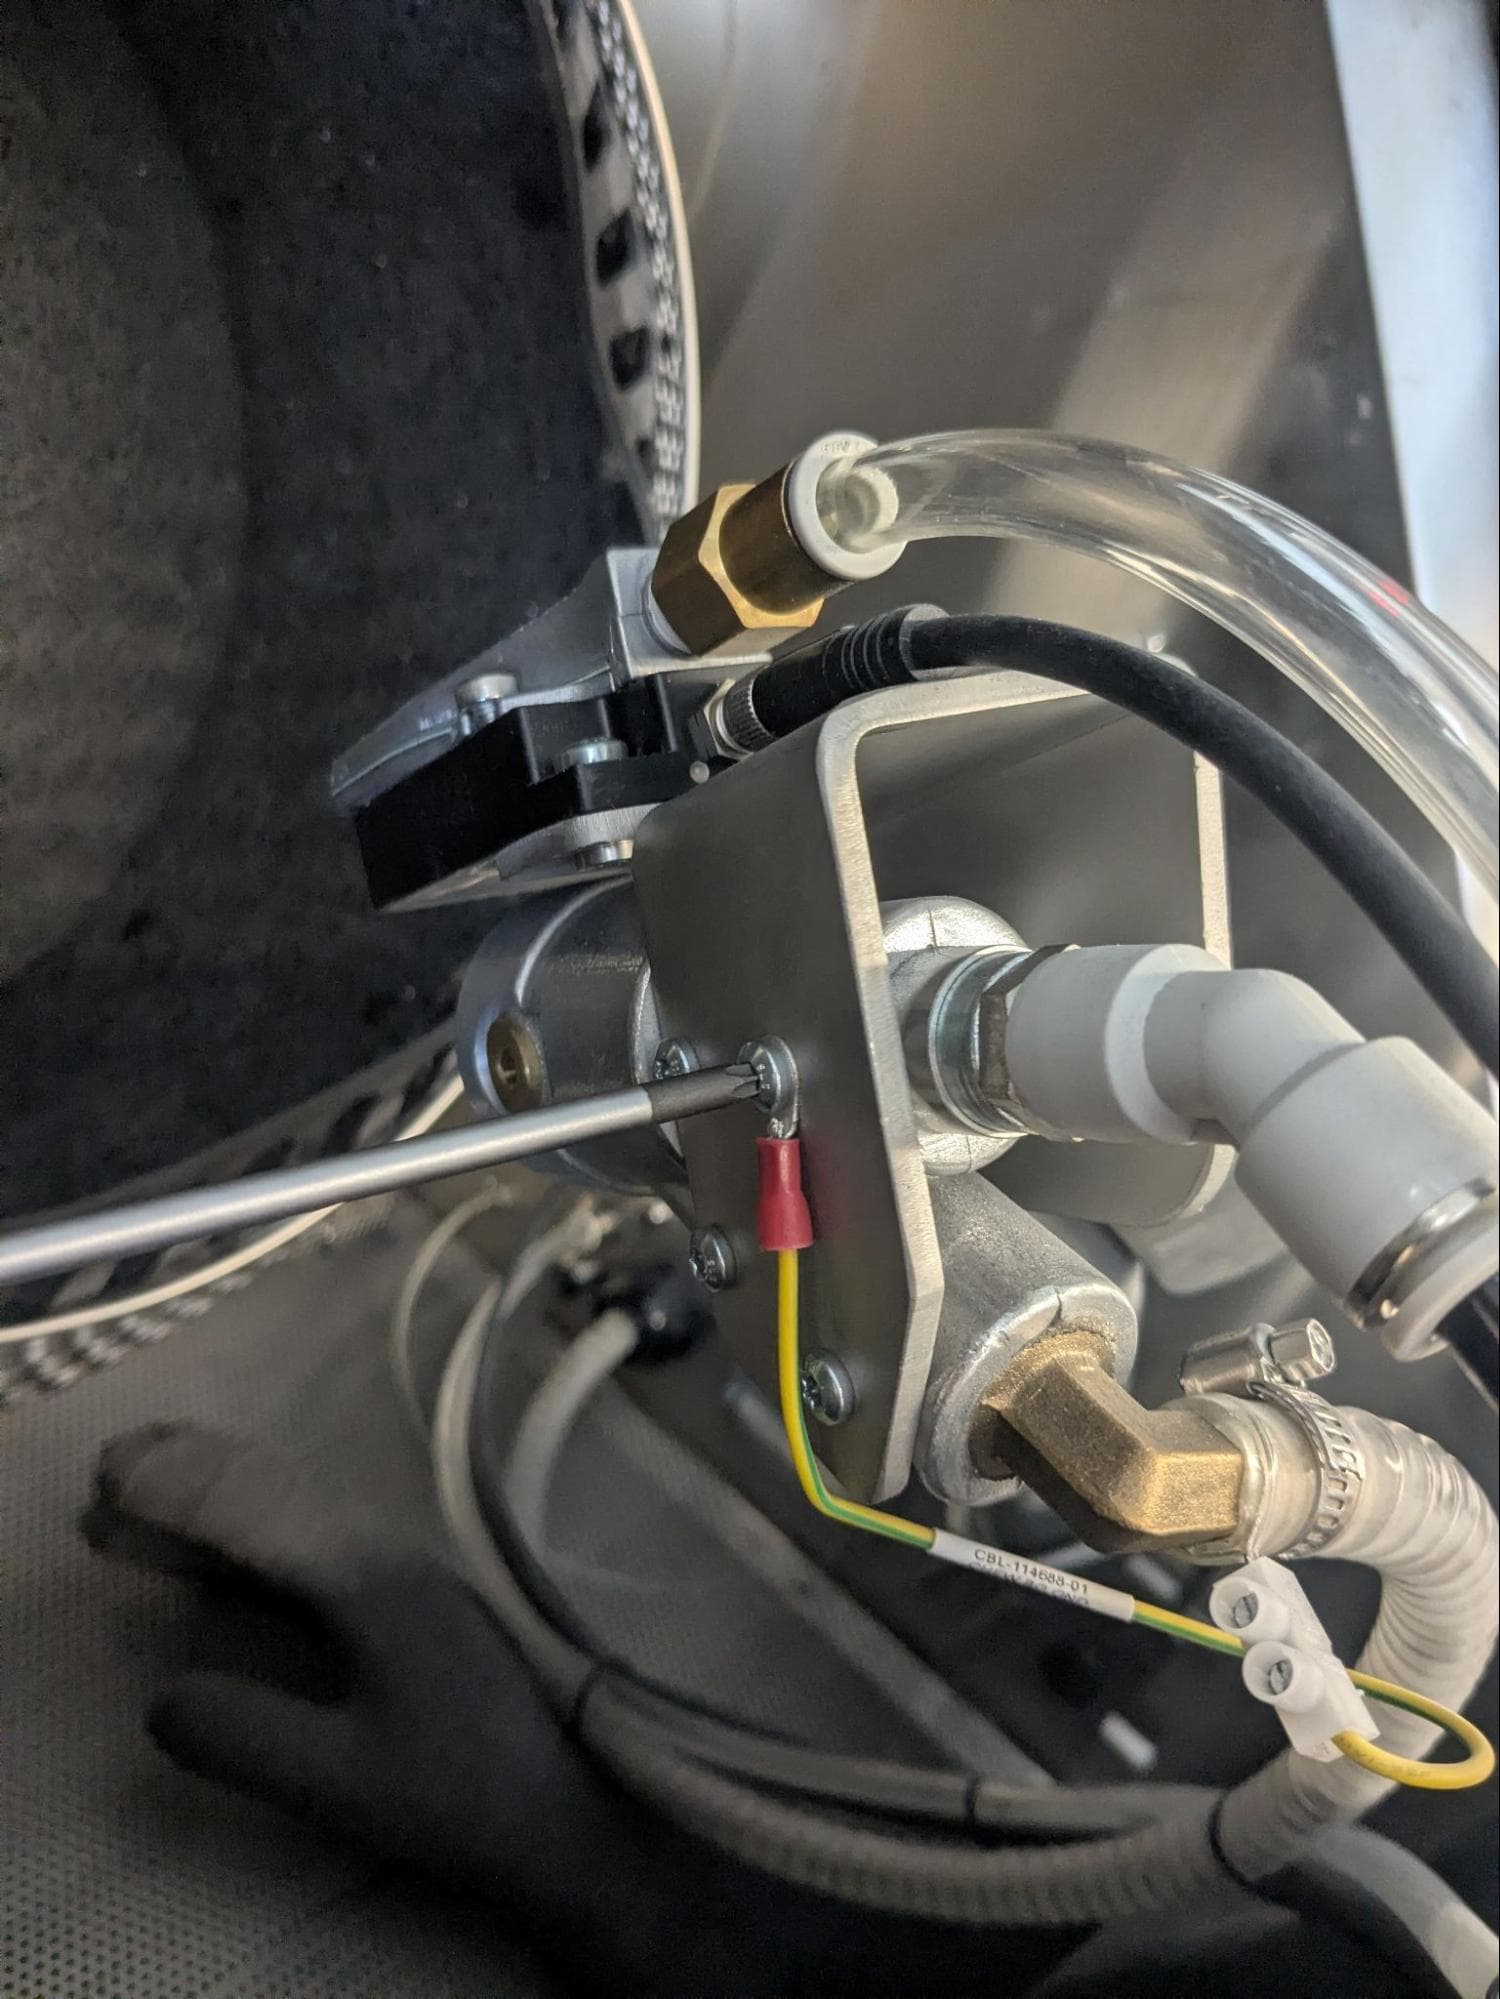
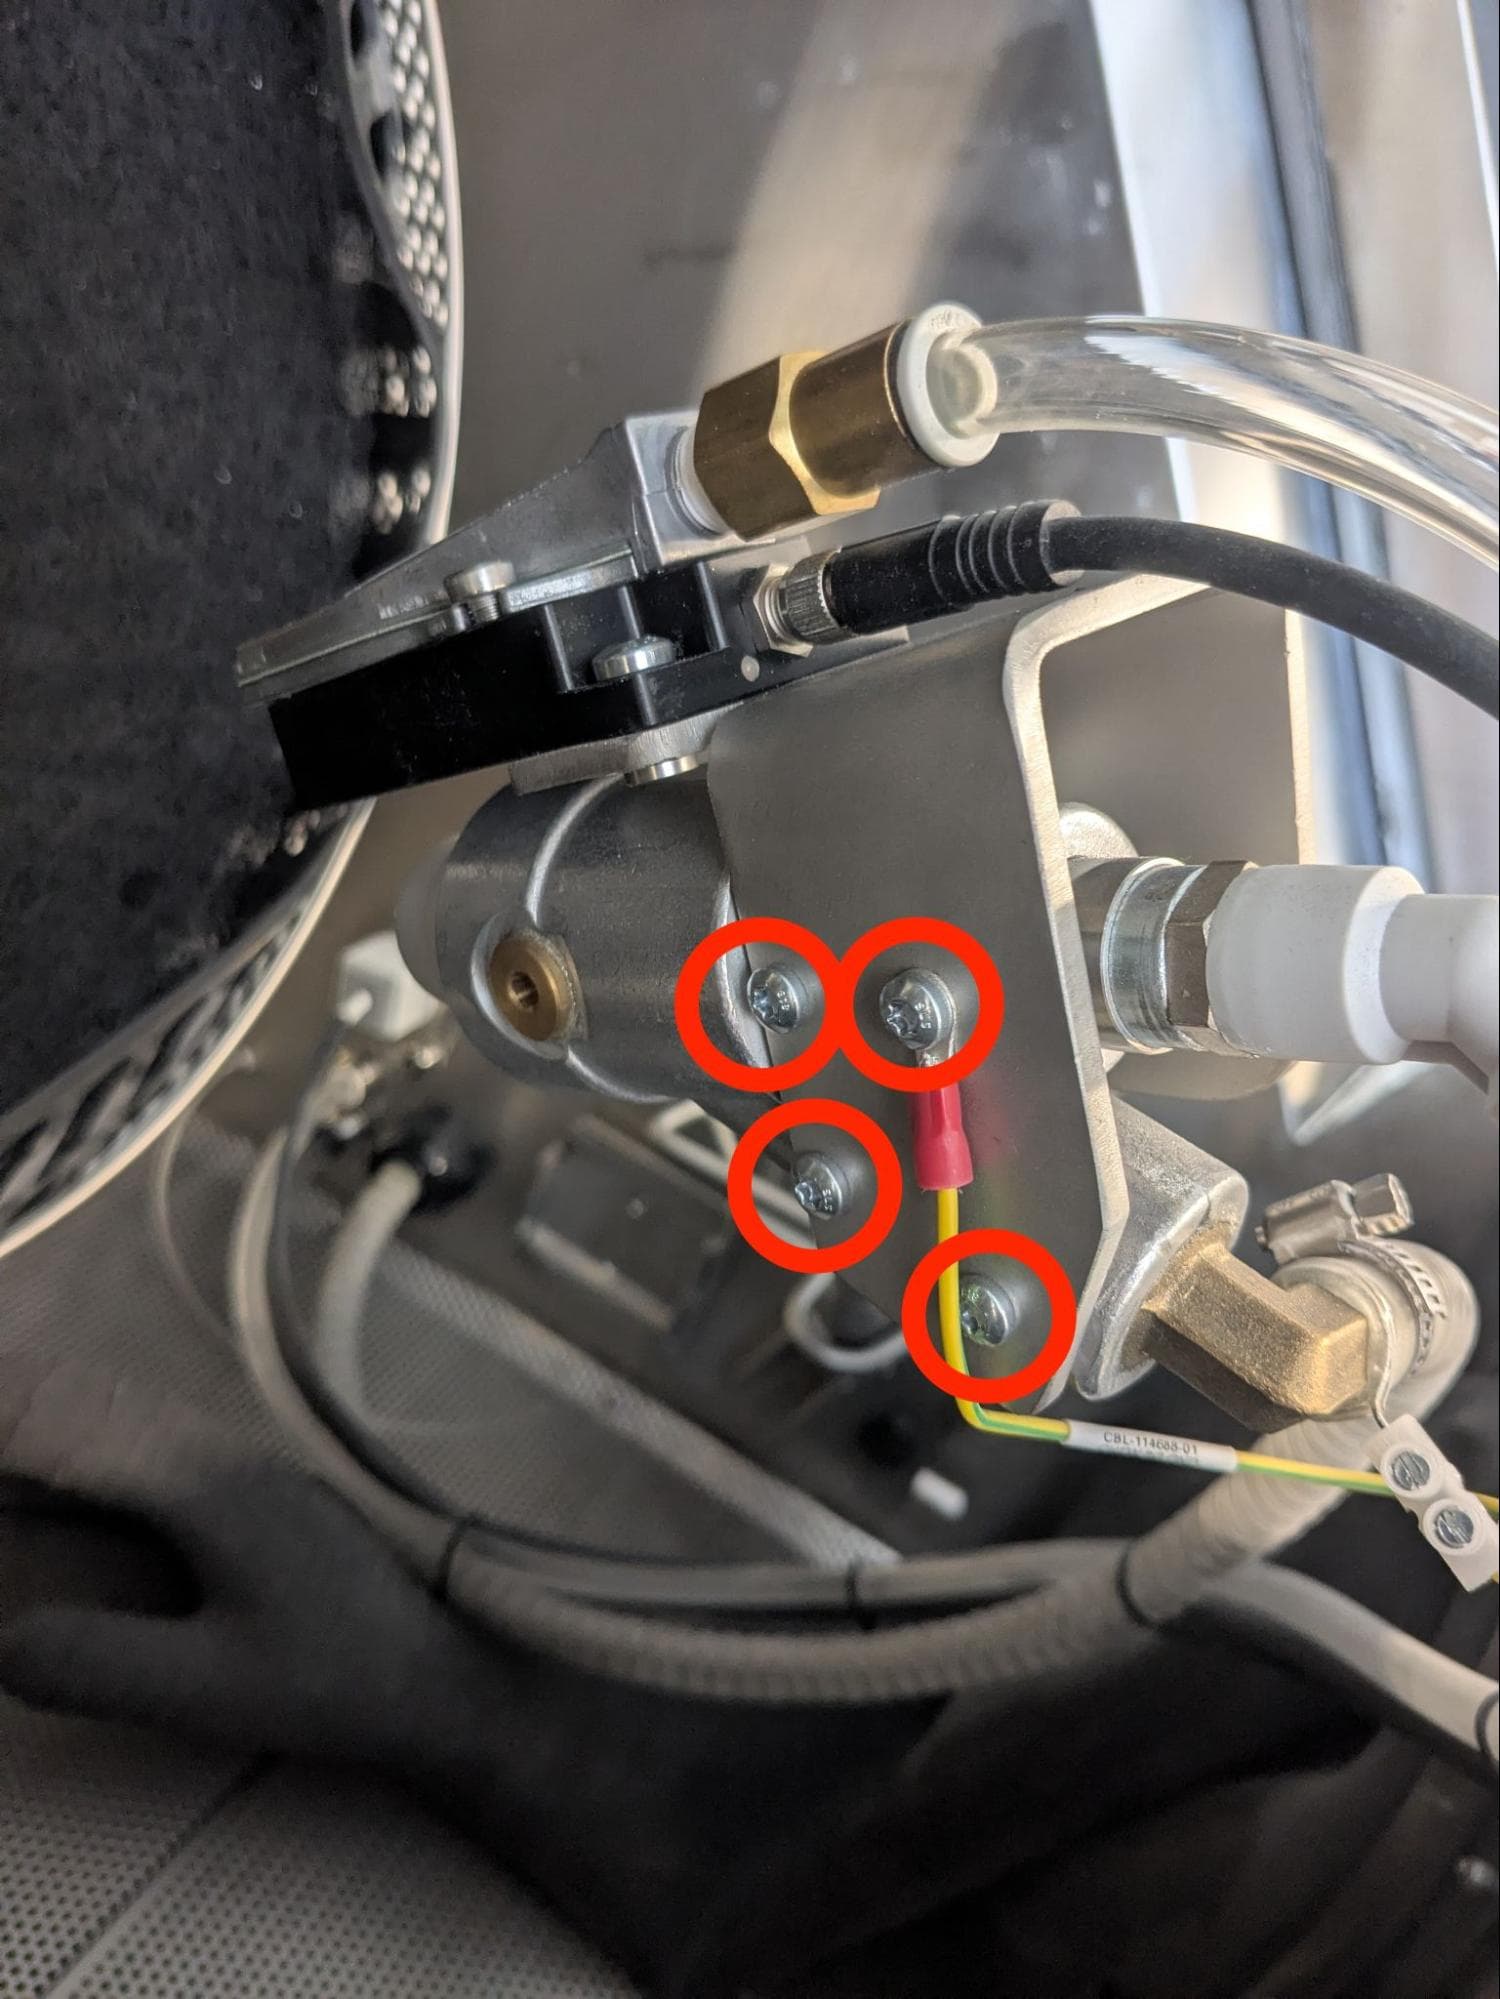
Slide the blast gun into the handle, aligning through the screw holes in the left side of the gun with the corresponding screw holes in the handle. Thread one mounting screw into three of the four screw holes, leaving the top-right hole empty. Insert the remaining screw through the ring terminal on the grounding wire, then thread it into the remaining screw hole. Using a T20 Torx driver, tighten until snug.
Step 3: Mount and secure the ionizer
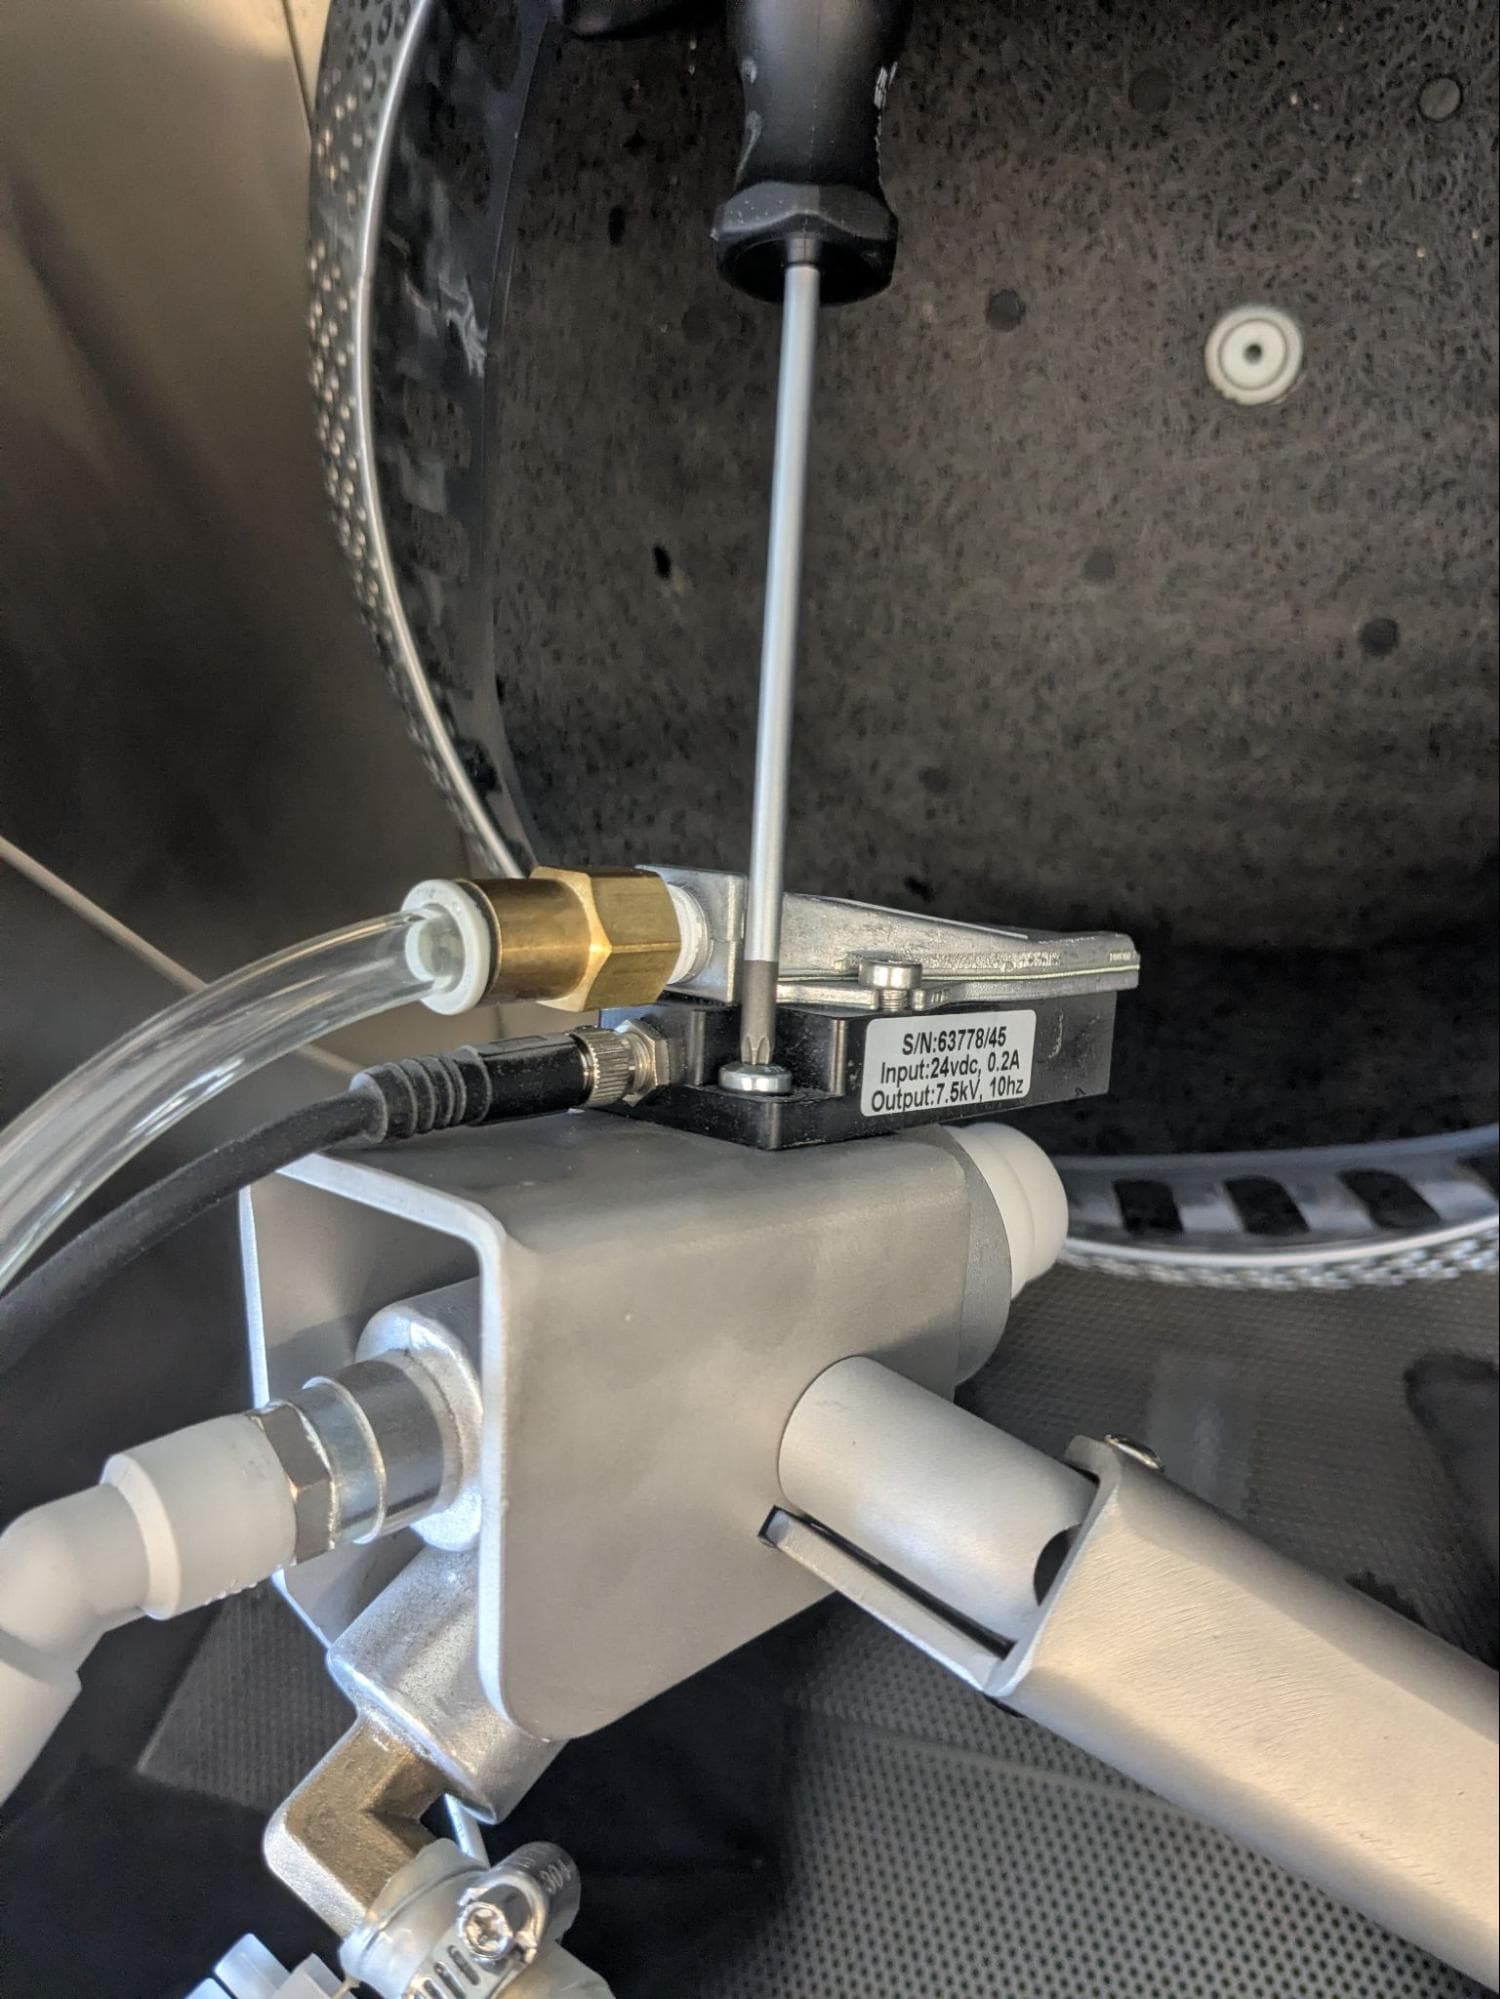
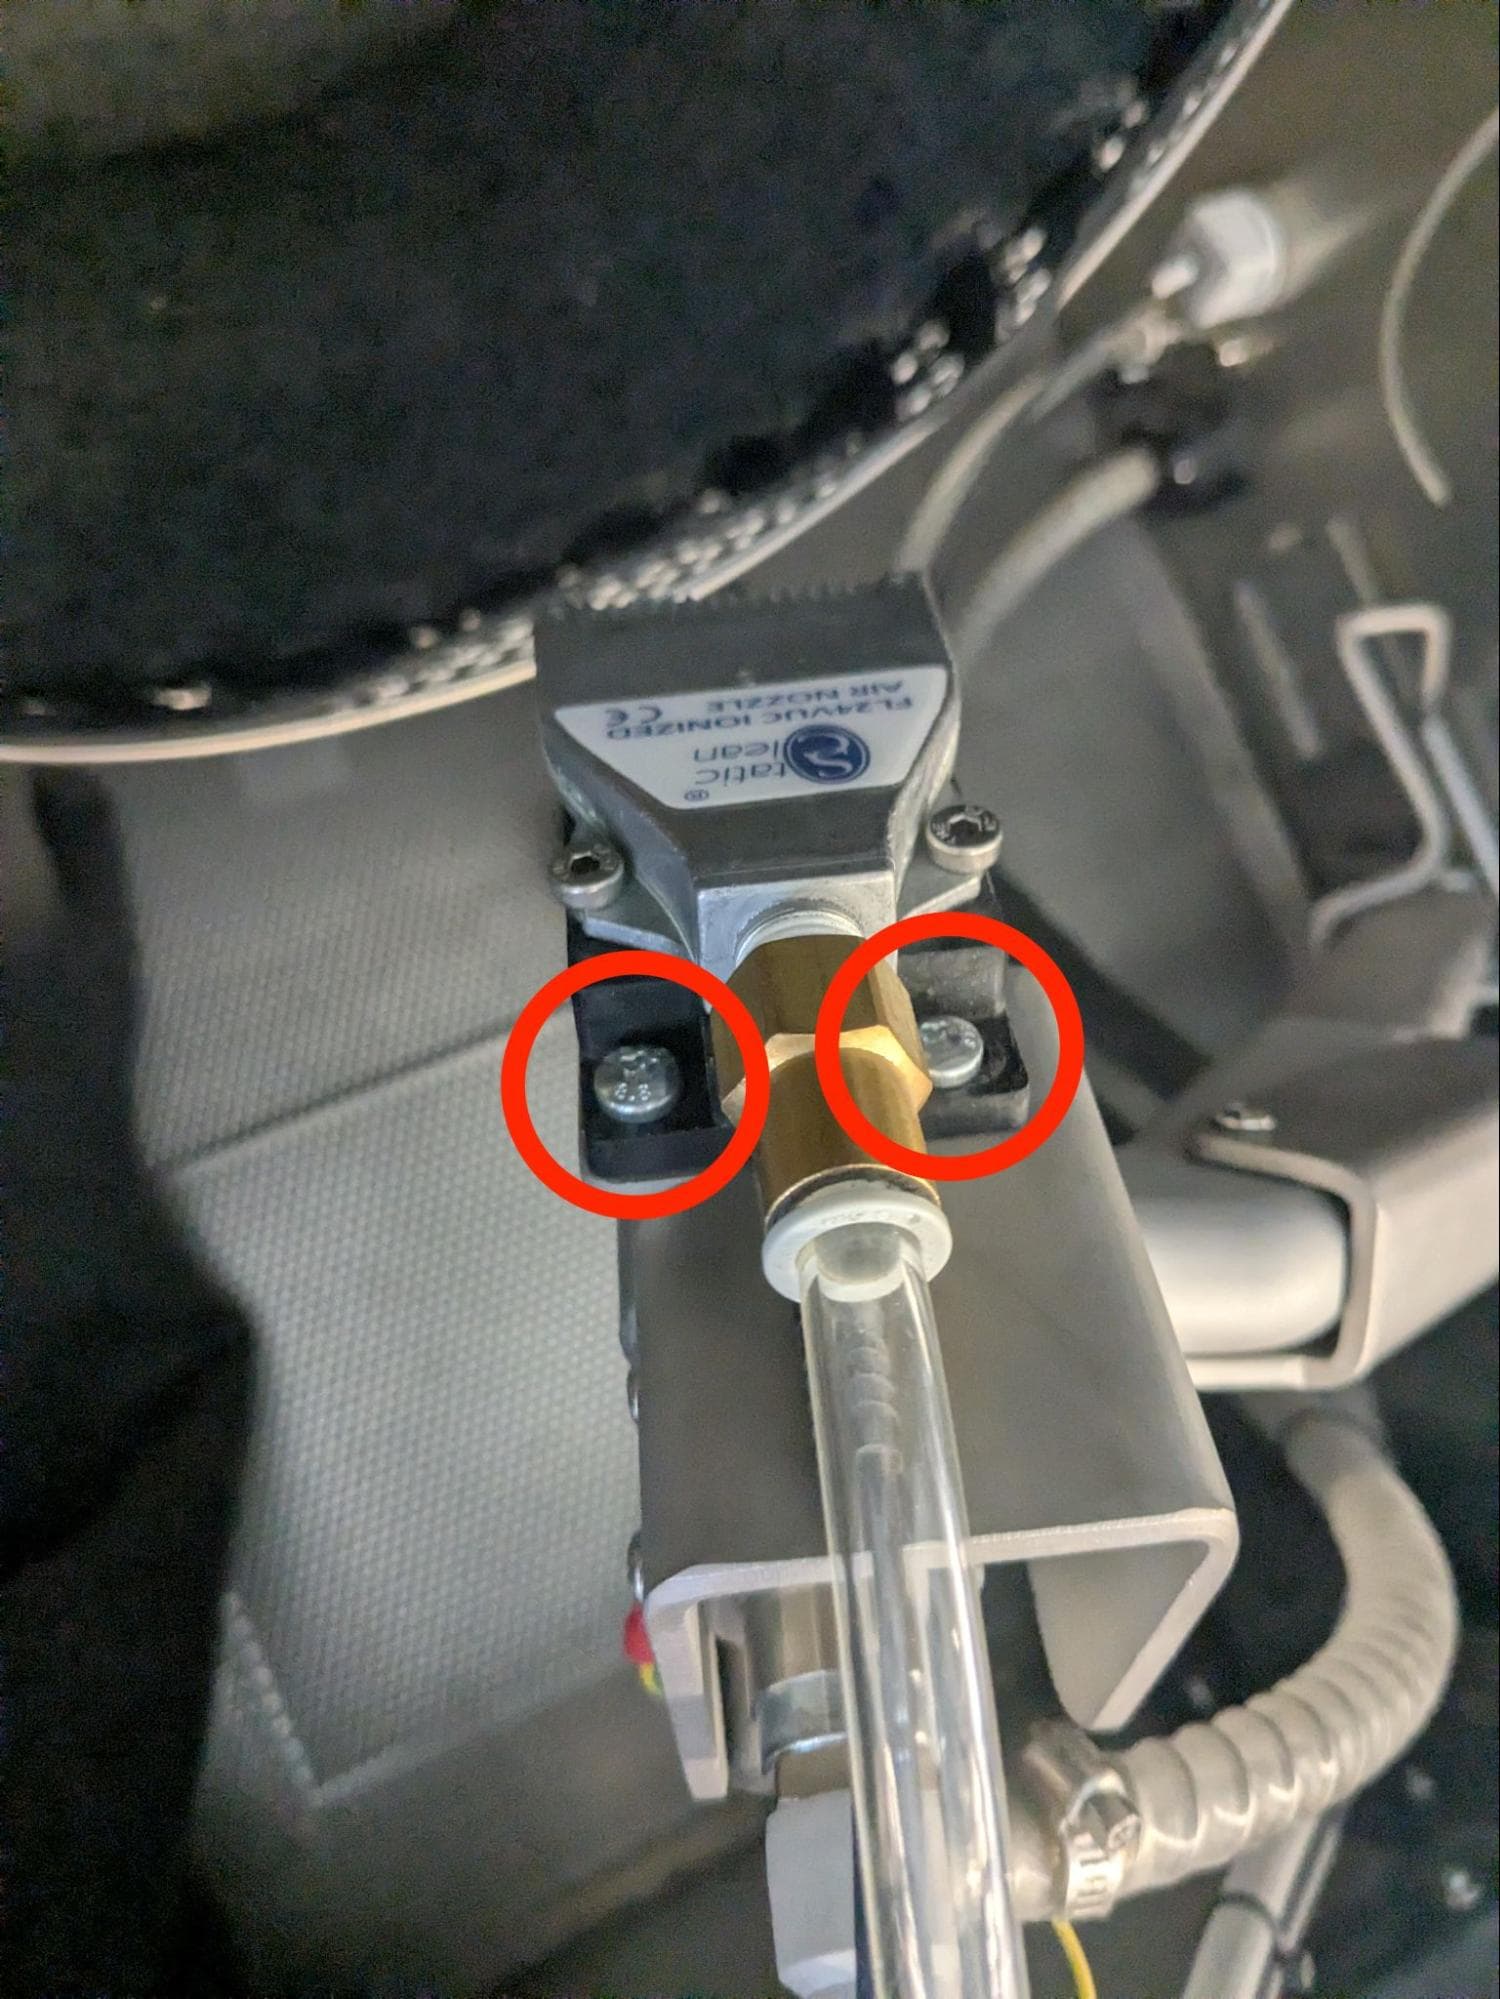
Place the ionizer on top of the blast gun, aligning the screw holes through the ionizer with the corresponding screw holes in the top of the blast gun. Thread one mounting screw into both holes. Using a T25 Torx driver, tighten until snug.
Finalizing the procedure
Overview: After replacing the blast gun handle, power on the machine and perform final checks.
Step 1: Power on the machine
Connect the power cable to the machine and the power supply. Flip the power switch on the back of the machine to the ON position. The machine initializes.
Step 2: Test the blast gun handle
Move the blast gun between its various positions to check that the replacement arm holds it securely. Start a blasting cycle and test the automated and manual cleaning positions.