WHITE PAPER
Formlabs Logo

Setting up your Form 3/Form 3B

Setting up your Form 3/Form 3B

Get ready to print with the Form 3/Form 3B. Learn best practices to set up and use the Form 3/Form 3B and its Resin Tank, Build Platform, and resin dispensing system.

Unlocking the Light Processing Unit (LPU)

Notice:

Release the latch before connecting the printer to power.

A latch secures the Light Processing Unit (LPU) within the printer during shipping. To release the LPU housing from its shipping position:
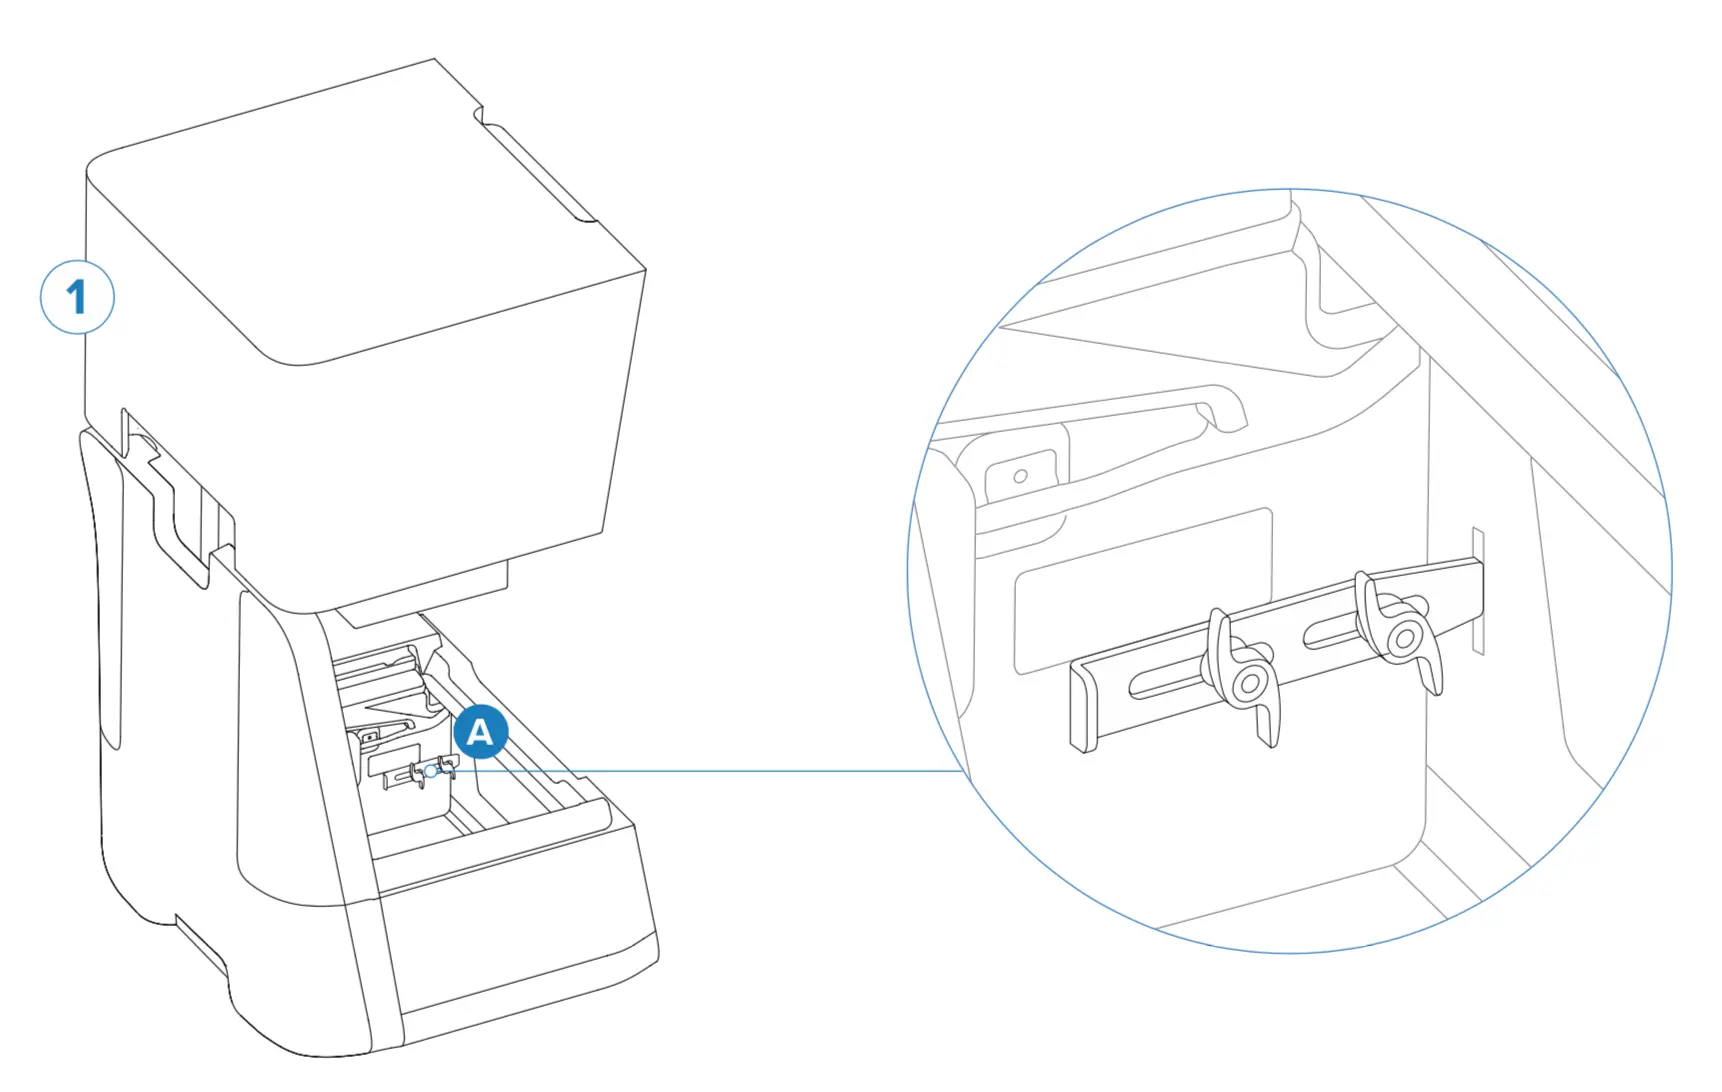
  1. Locate the latch (A) on the LPU housing.
Locating the Form 3/Form 3B shipping latch
  1. Loosen and remove the thumb screws (B) and LPU latch.
Removing the Form 3/Form 3B shipping latch
  1. Store the thumb screws and latch with the original packaging. The LPU must be secured with the thumb screws and latch during any printer transportation.

Powering the printer on

Connect the power cord to the printer and a power supply.
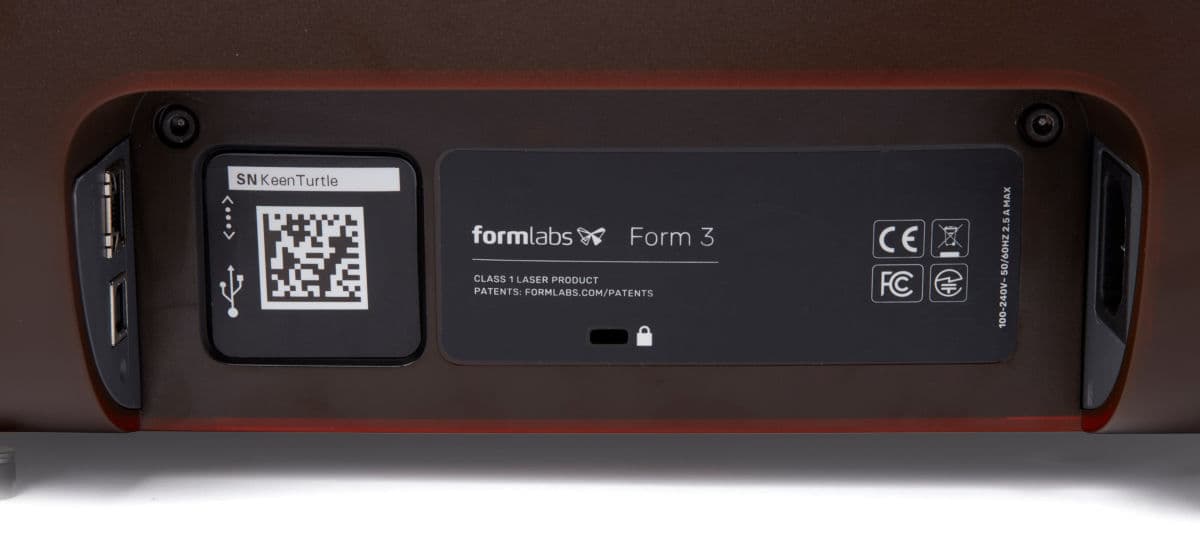
Form 3/Form 3B power port

The first time the printer is connected to power, it will display a series of onboarding steps on the touchscreen. The onboarding steps include instructions for inserting consumables (resin tank, resin cartridge, and build platform) into the Form 3/Form 3B, additional details for which are given below. Follow these steps to prepare the Form 3/Form 3B for use.

Inserting the resin tank

Warning:

Resin may cause skin irritation or an allergic skin reaction. Wear gloves when handling liquid resin or resin-coated surfaces. Wash skin with plenty of soap and water.

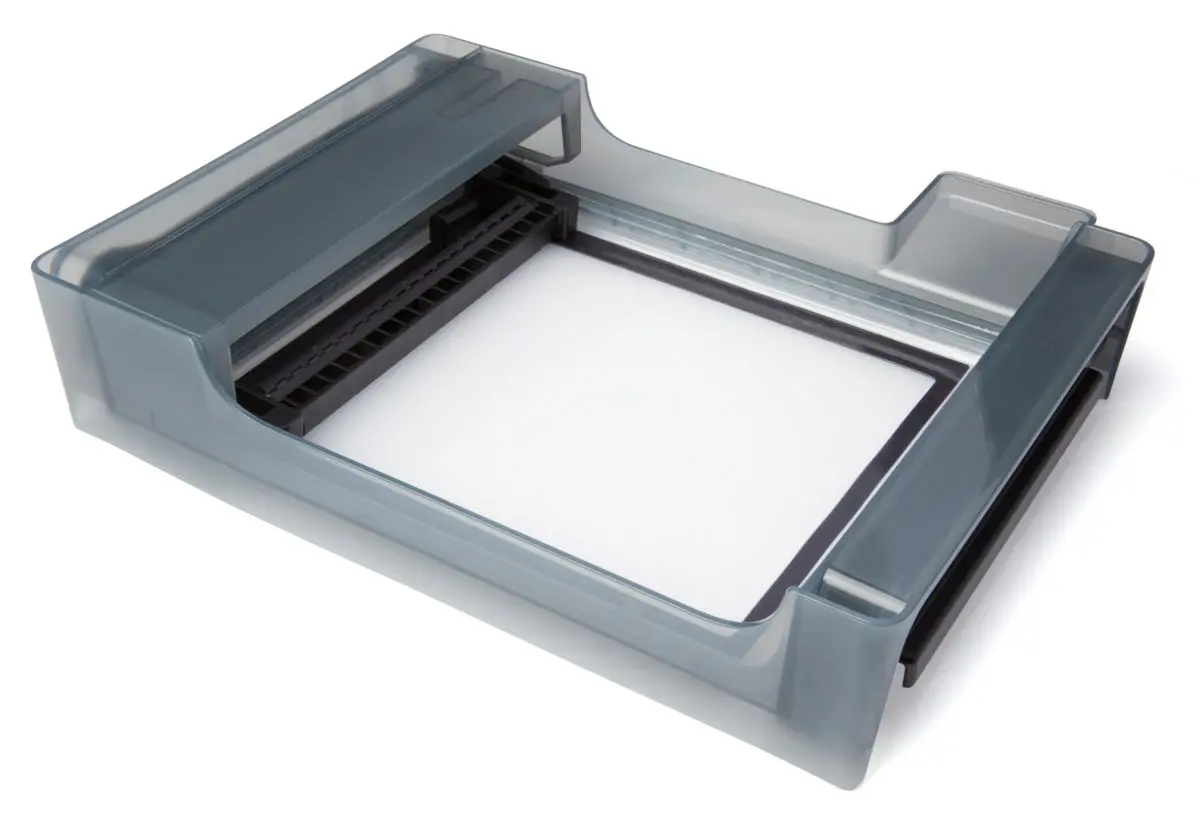
The resin tank is the primary container for holding resin after it is dispensed from the cartridge. Resin is cured onto the build platform when the laser passes through the tank's bottom film. To insert the resin tank:
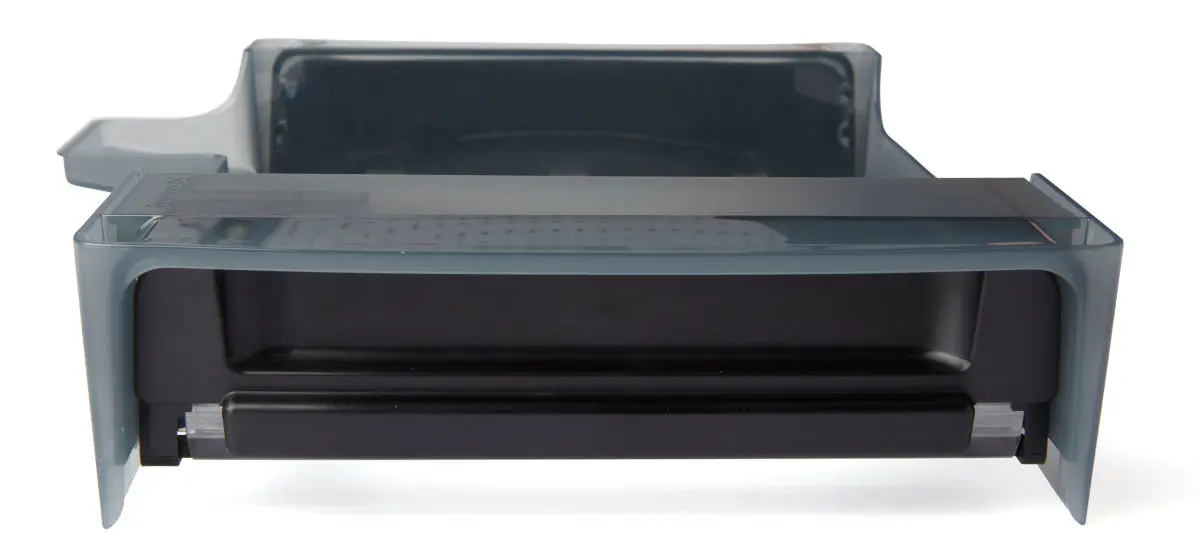
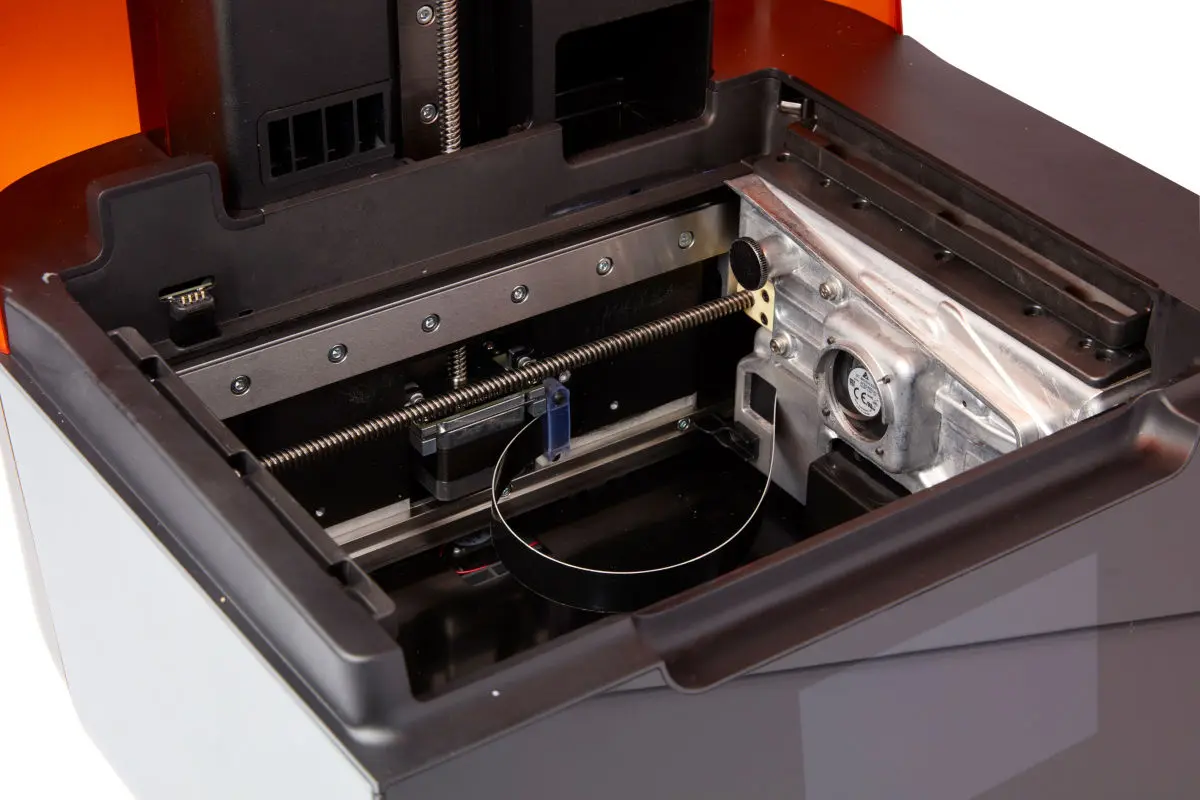
  1. Lift the printer’s cover and remove the resin tank from its case.
  2. Remove all packaging from the resin tank before inserting it into the printer, including the foam inside the resin tank that holds the mixer in place.
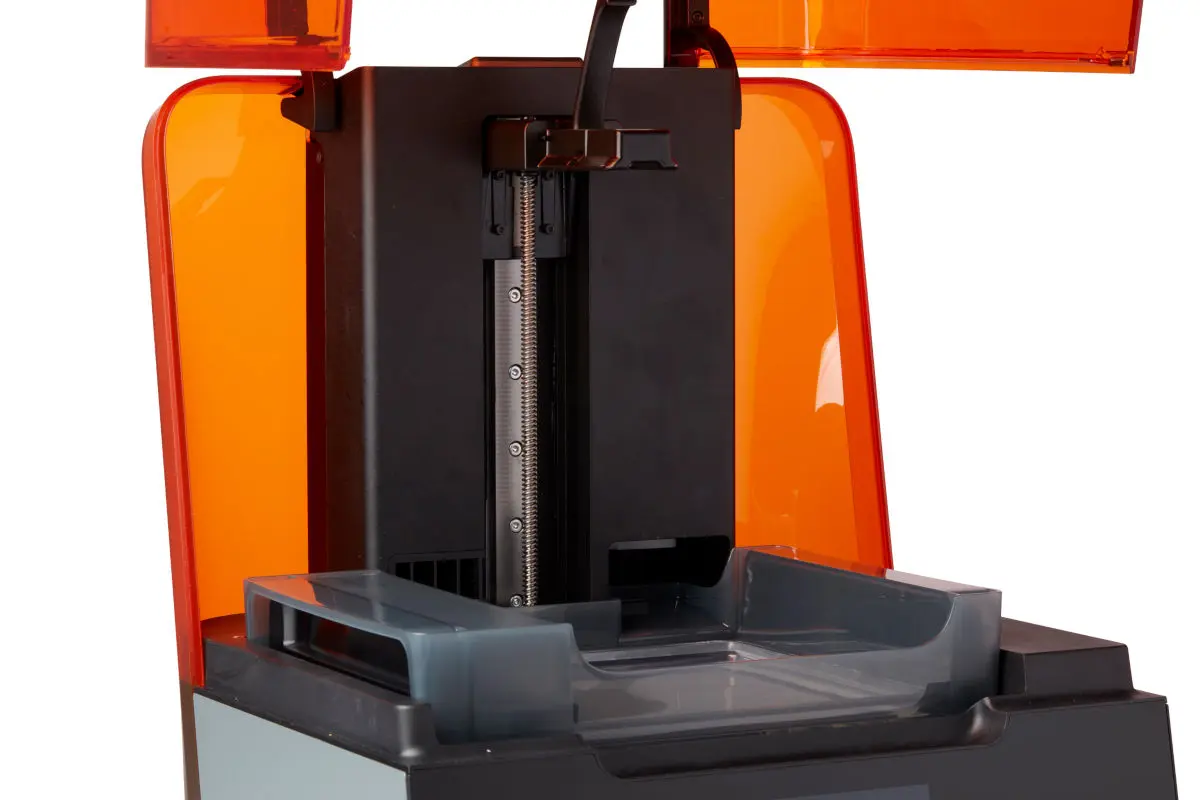
  3. Align the resin tank side walls with the left and right tank carrier rails. The front and rear walls of the resin tank should hang over the ends of the rails and the tank’s resin fill spout should fit into the corresponding hole in the Z tower. The tank is not locked into place in this position but should sit flat and level.
Form 3/Form 3B resin tank rail
Form 3/Form 3B tank carrier rails
Form 3/Form 3B with seated resin tank
  1. Holding the side handles on the tank, gently push the tank down and forward until it locks into the rails and is flush against the back of the printer. You should not need to apply significant force. The printer will not properly detect the tank unless the tank is fully inserted.
    • If the printer is powered on, it will display a message on the touchscreen and play a notification sound once it detects the tank. The status light on the top of the printer and the logo on the front of the printer will also flash to show that a tank has been detected.

Inserting the mixer

Each resin tank includes a mixer that improves print consistency by clearing the build area and circulating the resin. Scrapers on the top and bottom of the mixer clear the build platform and film, respectively. To insert the mixer:
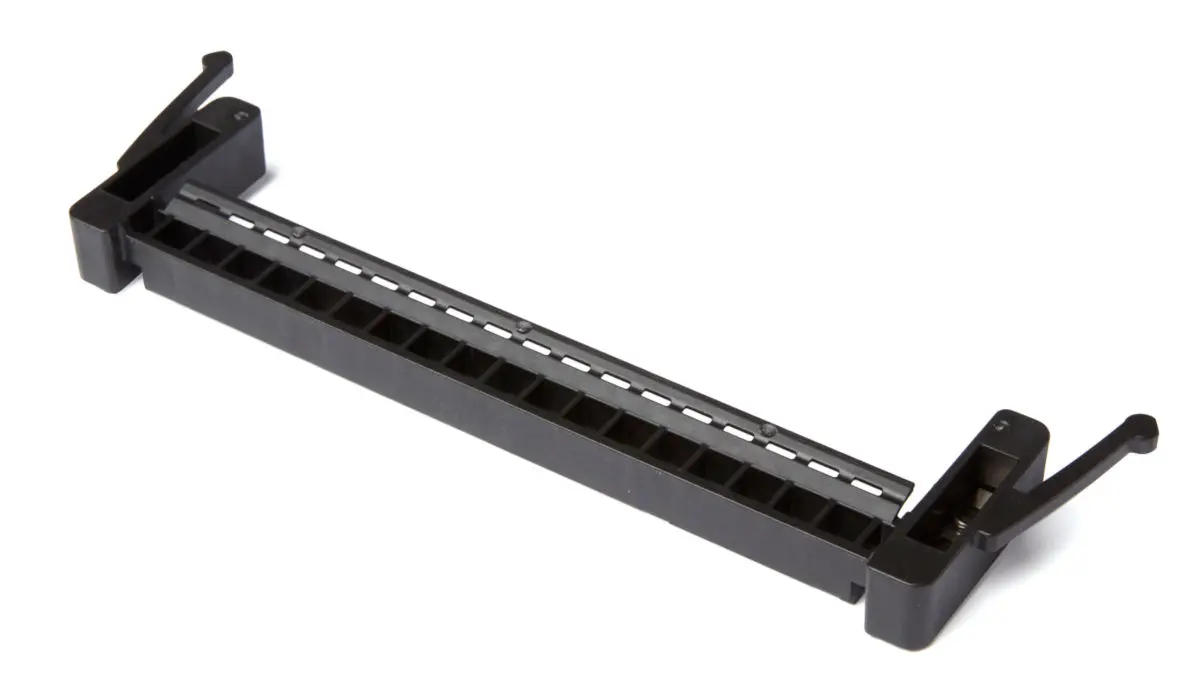
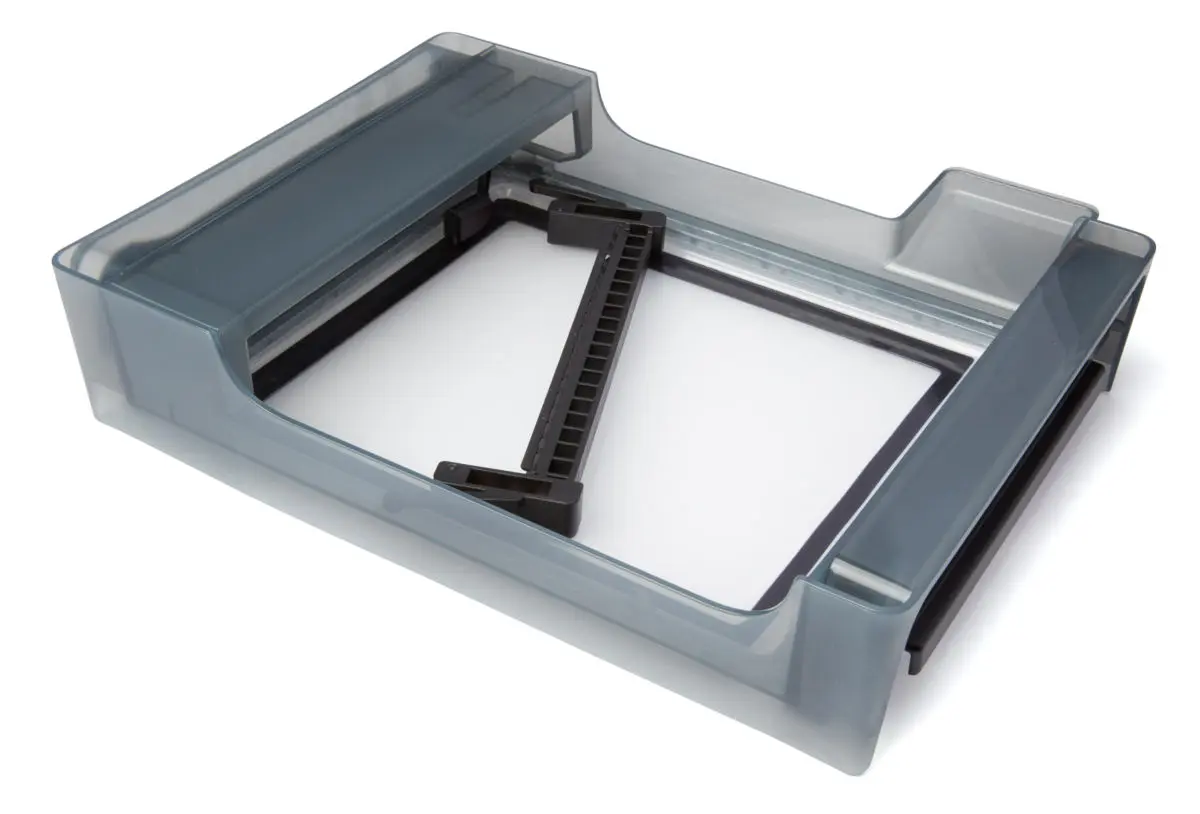
  1. Orient the mixer with the flexure arms facing upward and toward the float case on the left side of the tank. The magnets in the mixer should be facing down.
Form 3/Form 3B resin tank mixer
Form 3/Form 3B resin tank with properly oriented but unseated mixer
  1. Slide the mixer to the left, into the float case, until the flexure arms on each end click into place.
Form 3/Form 3B resin tank with mixer installed

Inserting the build platform

The build platform is the surface that each part prints onto. To insert the build platform:

  1. Lift the build platform carriage handle.
  2. Align the build platform with the build platform carriage and push into place.
  3. Lock the handle down to secure the build platform.

Preparing the resin cartridge

The resin cartridge stores resin to be dispensed into the resin tank. To prepare the resin cartridge:

  1. Shake the resin cartridge to ensure the resin is well-mixed.
  1. Remove the protective valve cover from the underside of the cartridge.
    • Consider saving the cover to protect the valve during storage.

Notice:

Do not remove the rubber valve at the bottom of the cartridge. This bite valve controls the release of the resin. Removing the rubber bite valve would allow resin to continuously flow and cause extreme damage to the machine. This damage is not covered by the warranty.
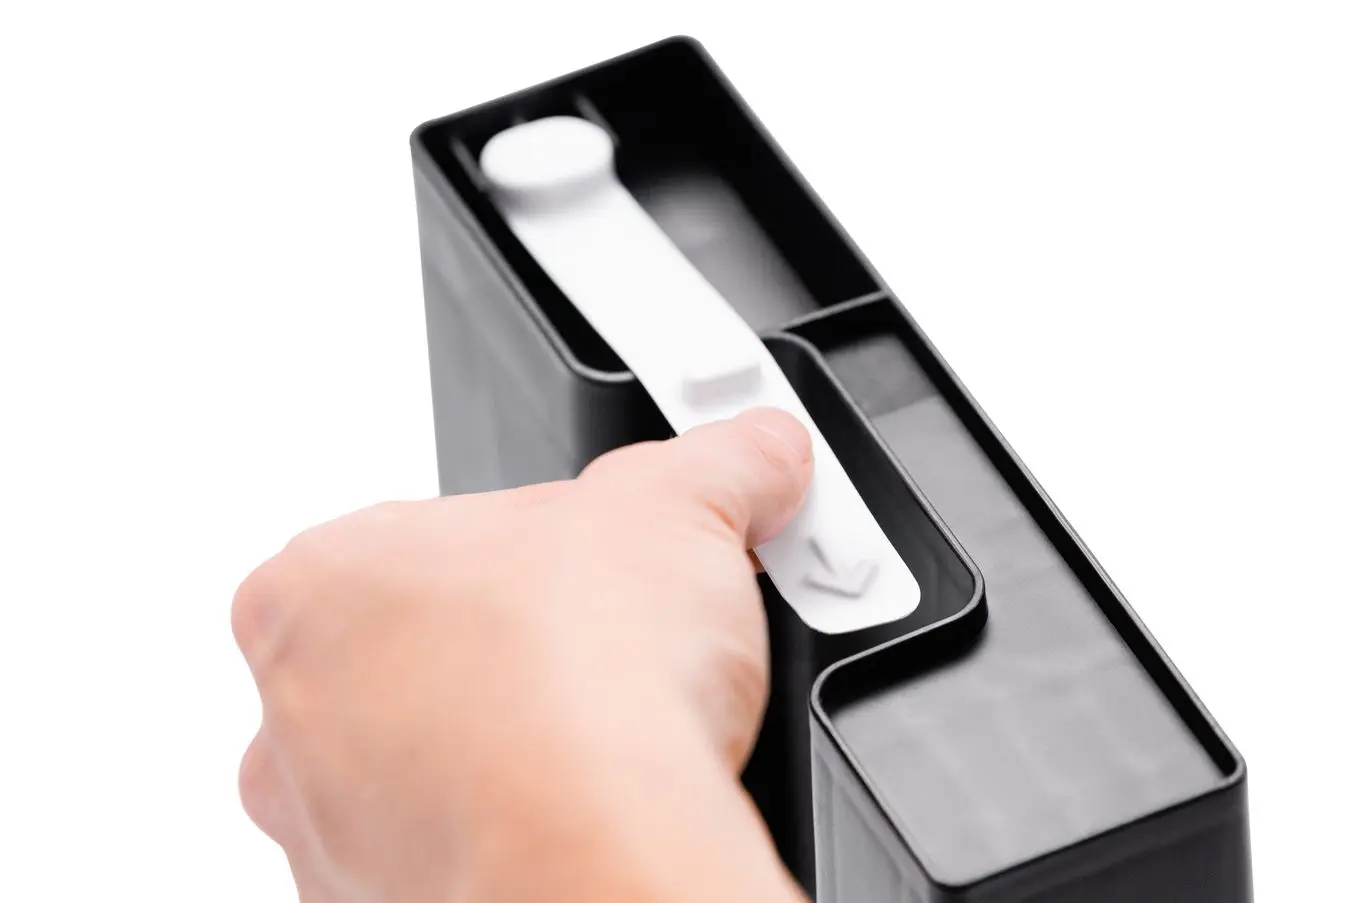
Removing protective valve cover

Inserting the resin cartridge

To insert the resin cartridge:
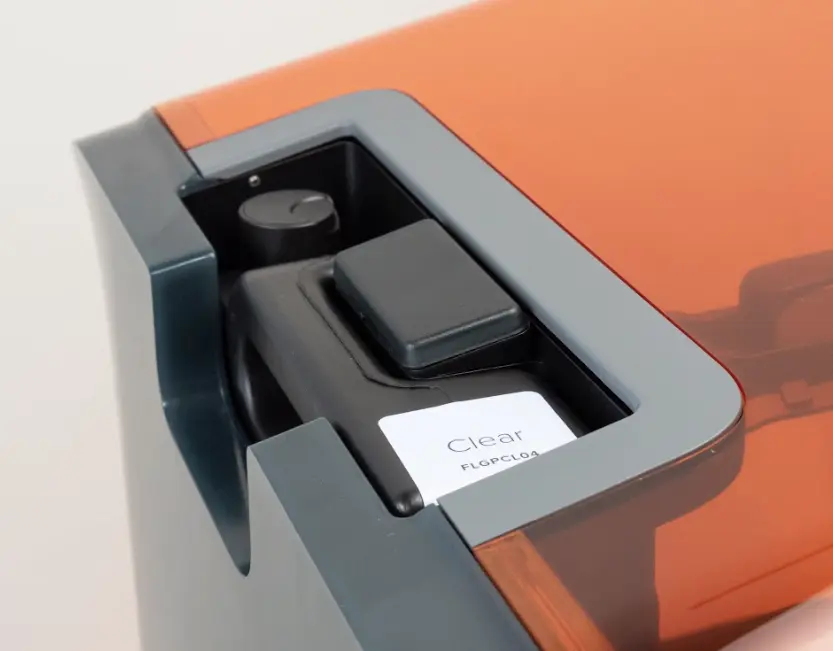
  1. Align the cartridge with the opening at the back of the printer.
  2. Push down on the cartridge handle until the top of the cartridge is level with the back shell of the printer.
    • If the printer is powered on, it will display a message on the touchscreen and play a notification sound once it detects the cartridge. The status light on the top of the printer and the logo on the front of the printer will also flash to show that a cartridge has been detected.
Form 3/Form 3B with resin cartridge installed
  1. Press open the vent cap before starting a print so that the resin tank fills correctly.
Opening the cartridge vent tab

Tip:

Make sure the material in the resin tank always matches the resin type in the installed cartridge.

Printing with the Form 3/Form 3B

Now that the printer is set up: