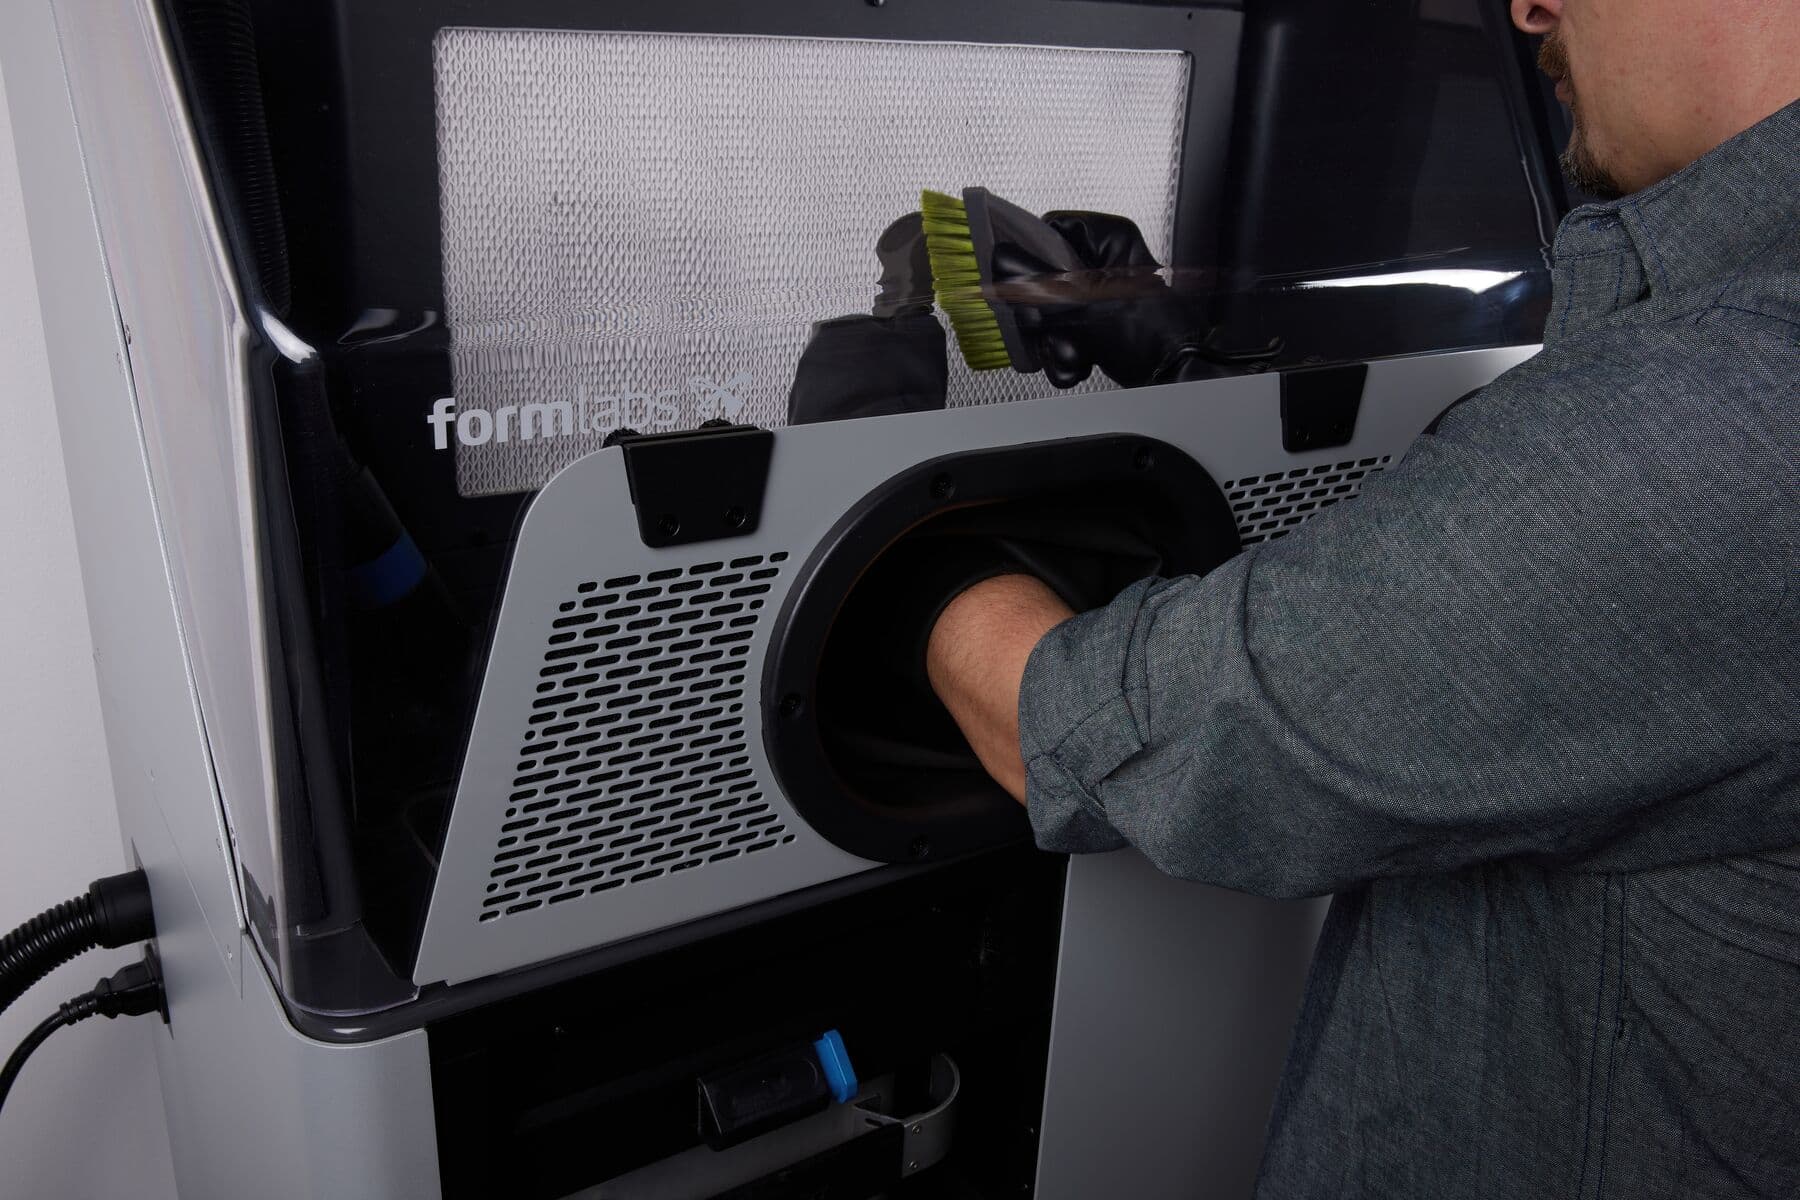
Using the Fuse Sift Glovebox and Parts Carrier

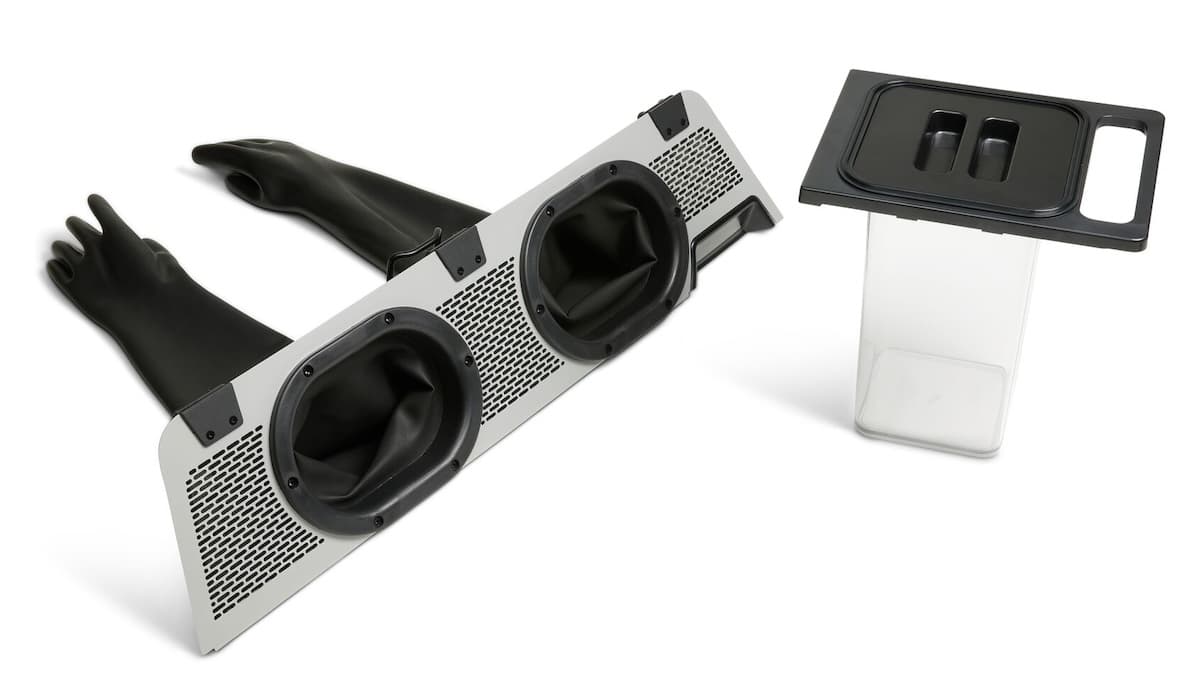
The Fuse Sift Glovebox and Parts Carrier help contain the loose powder in your Fuse Sift, keeping your hands and workspace clean. Use the gloves when handling and depowdering your printed parts, then put them in the Parts Carrier to move them to the Fuse Blast or any other finishing stations.

Fuse Sift Glovebox and Parts Carrier

Installing the Fuse Sift Glovebox

The Fuse Sift Glovebox attaches to the Fuse Sift hood, fully enclosing the work surface. To install the Fuse Sift Glovebox:

  1. Update your machine’s firmware.
  2. Turn off the sifter and vent fan if they are currently running.
  3. Open the Fuse Sift hood.
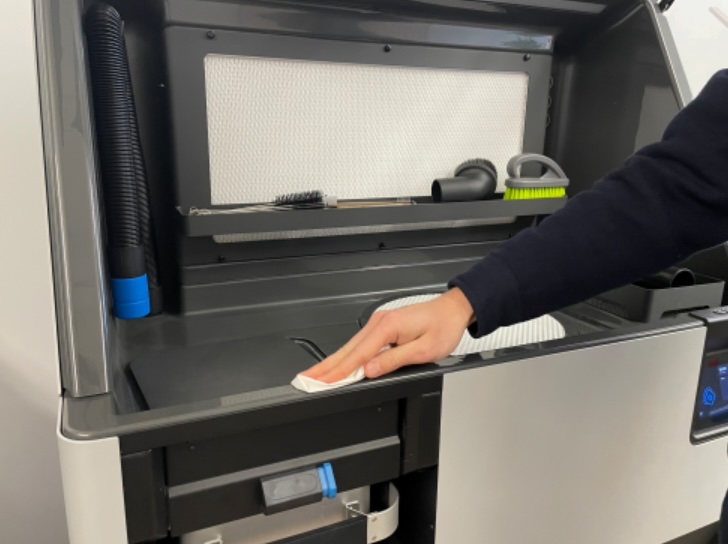
  4. Wipe any powder from the front lip of the Fuse Sift work surface with a clean cloth.
Cleaning the front lip of the Fuse Sift work surface
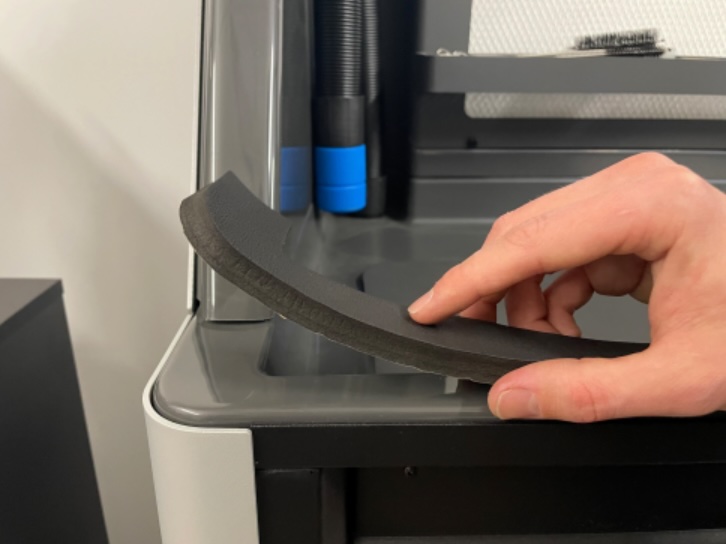
  1. The Fuse Sift Glovebox comes with two gaskets to help contain powder. Peel the adhesive backing off of one included gasket. Set the other gasket aside as a spare.
  2. Adhere the gasket to the front lip of the Fuse Sift work surface. Ensure that the gasket is flush with the front of the Fuse Sift and covers the entire lip.
Installing the Fuse Sift Glovebox gasket
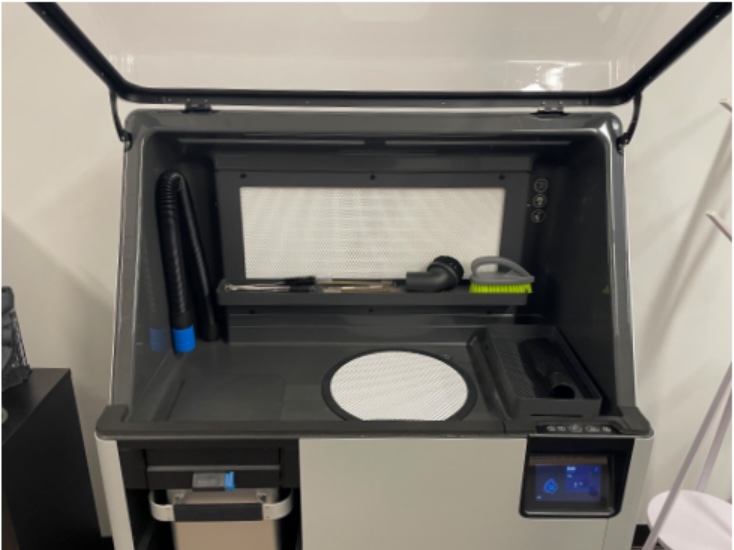
Fuse Sift with gasket installed
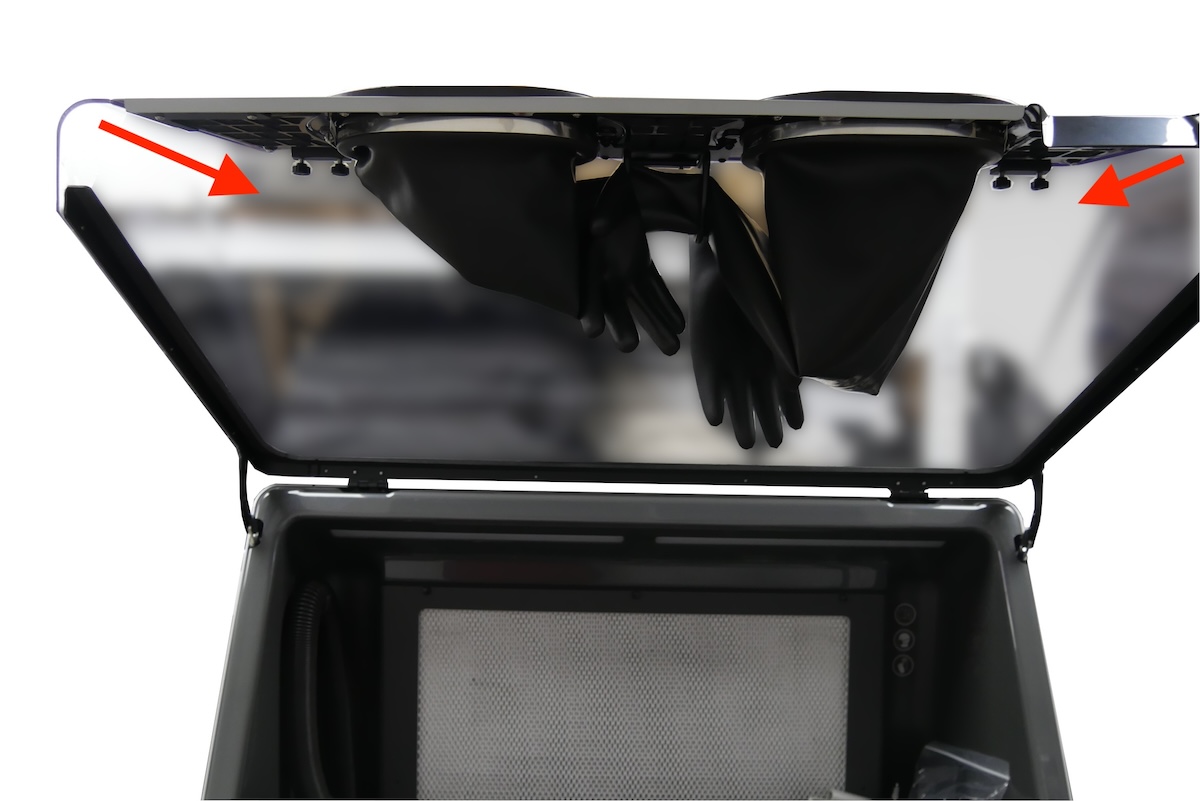
  1. Orient the Fuse Sift Glovebox with the gloves facing down and the clamps facing away from you. Slide the Fuse Sift Glovebox onto the front edge of the Fuse Sift hood until the clamps catch on the edge of the hood.
Mounting the Fuse Sift Glovebox onto the Fuse Sift hood
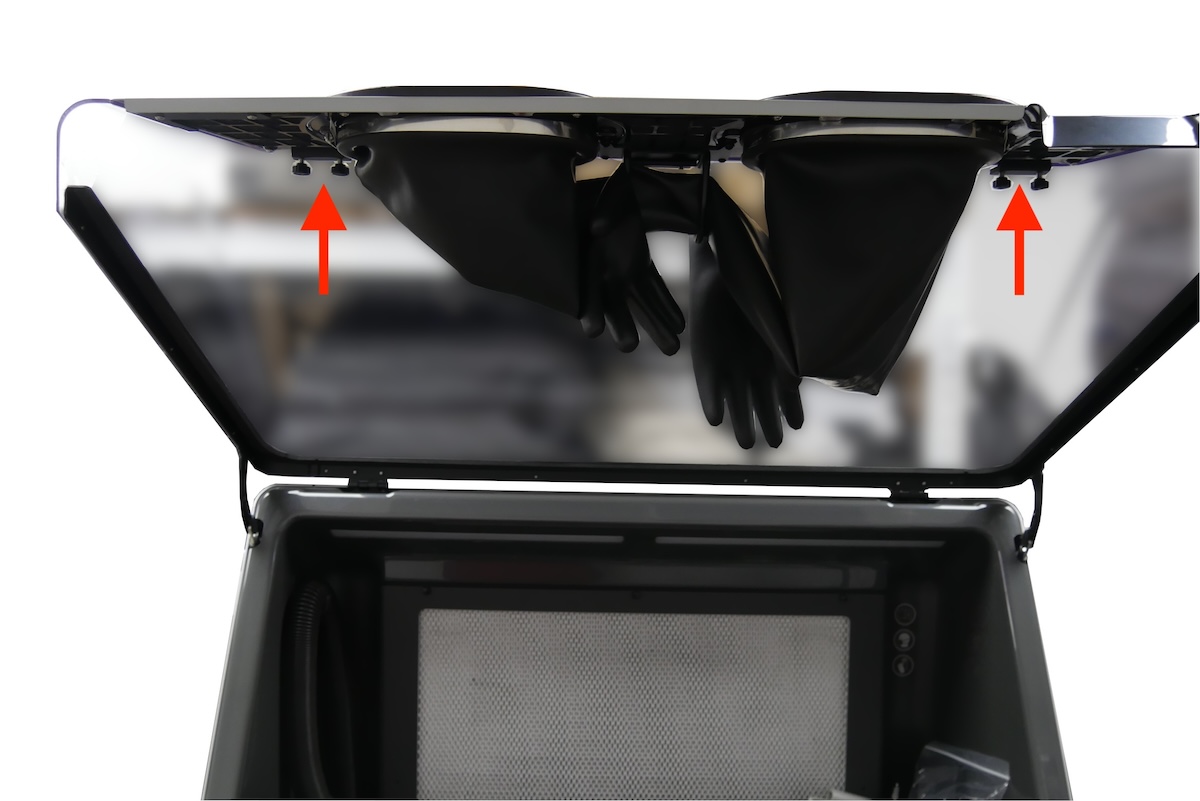
  1. Tighten the clamp screws until finger tight.
Securing the Fuse Sift Glovebox to the Fuse Sift hood
  1. Close the Fuse Sift hood.
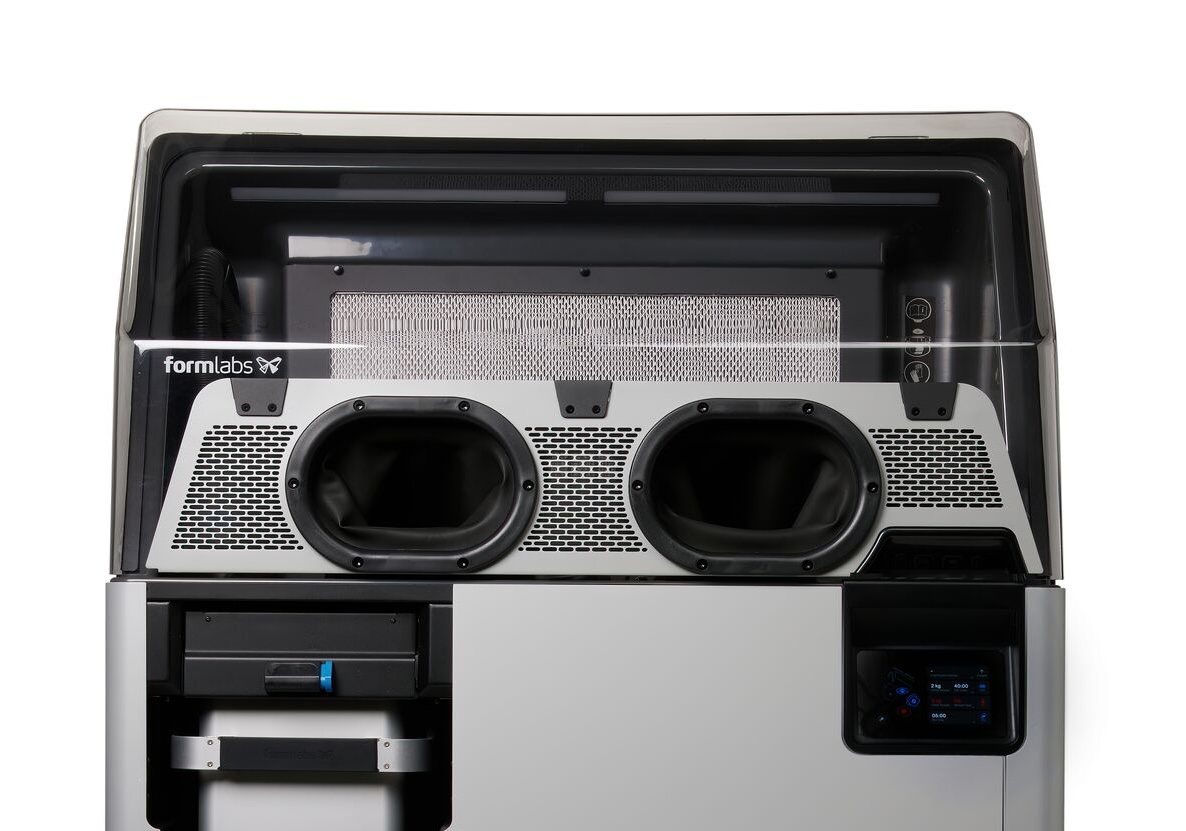
Fuse Sift with Glovebox installed
  1. Adjust the Fuse Sift Glovebox as needed to minimize any gaps between it and the body and hood of the Fuse Sift.
  2. Reopen the Fuse Sift hood, tighten the clamp screws until snug, and close the hood.
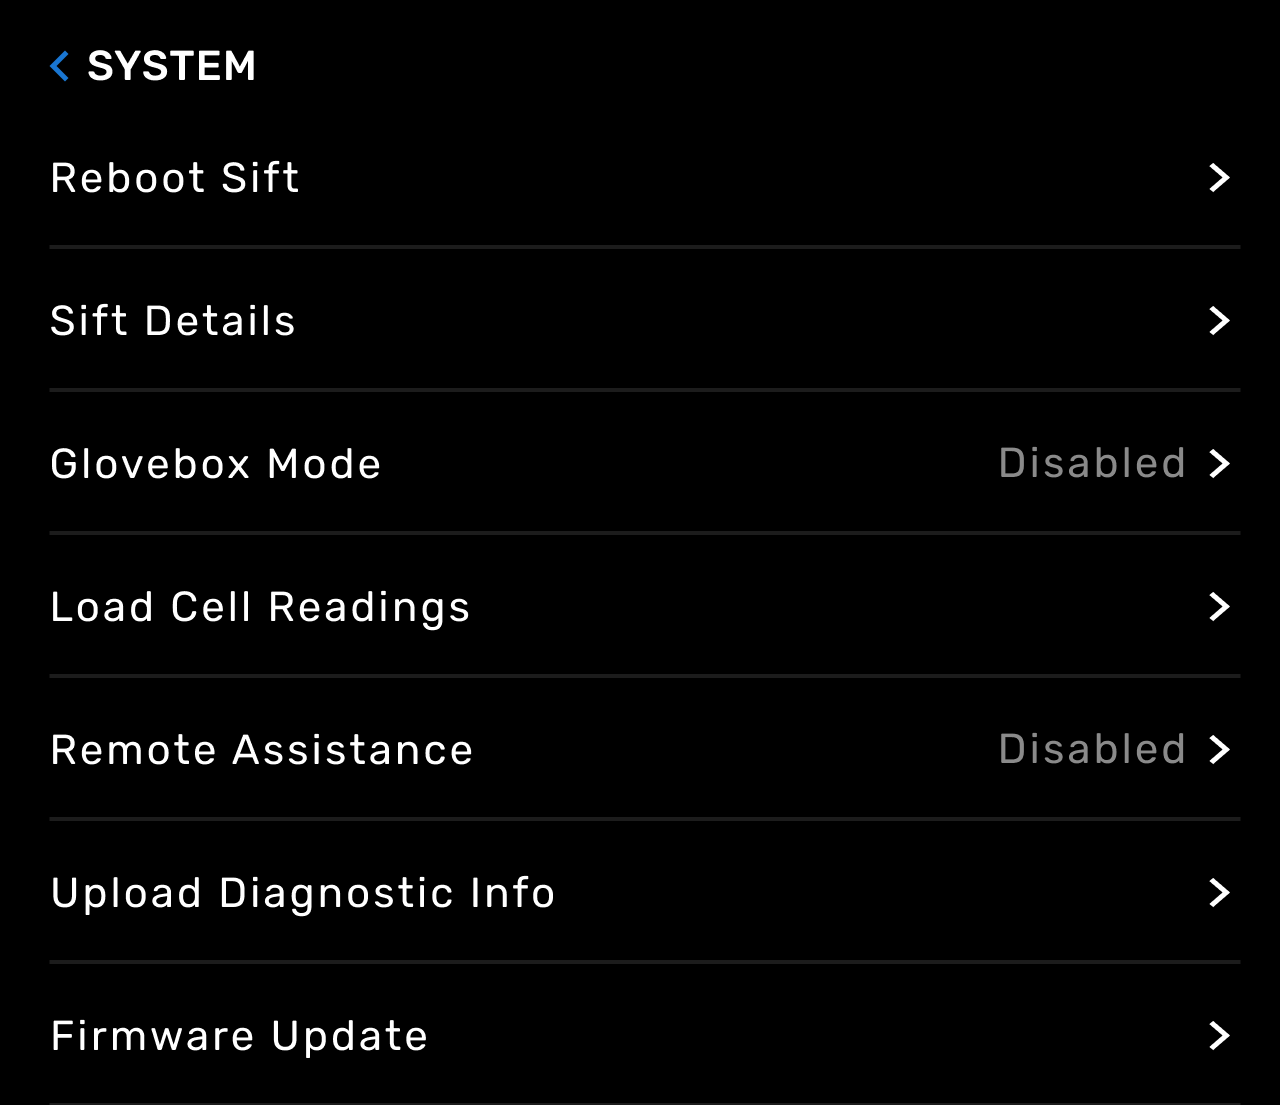
  3. On the Fuse Sift touchscreen, tap Settings > System > Glovebox Mode. The Glovebox Mode screen appears. Tap Enable to turn on Glovebox Mode, which prevents the vent from running during part recovery. Using the Fuse Sift Glovebox with the vent enabled can create plumes of powder within the Fuse Sift, making it more difficult to recover your printed parts.
Enabling Glovebox Mode on the Fuse Sift

Using the Fuse Sift Glovebox and Parts Carrier

Fuse Sift Glovebox in use

After installing the Fuse Sift Glovebox, use it when unpacking and recovering your printed parts.

  1. Insert the build chamber into the Fuse Sift and close the build chamber latch.
  2. Connect the build chamber plug to the Fuse Sift.
  3. Check the build chamber status on the touchscreen. When the touchscreen displays the status Ready, push the Light button on the control panel.
  4. On the touchscreen, tap Unpack to lift the print bed and eject the cake.
  5. Move the majority of the cake to the center of the workspace.
  6. Tap Sift on the Fuse Sift touchscreen or push the Sift button on the control panel. The workspace vibrates, causing loose powder to fall through the grate and into the sieve below.
  7. Insert your hands into the Fuse Sift Glovebox gloves.
  8. Separate your printed parts from the surrounding unsintered powder using gloved hands, brushes, or other tools.
  9. Tap Sift on the Fuse Sift touchscreen or push the Sift button on the control panel to turn off the sifter.
  10. Unplug, unlatch, and remove the build chamber.
  11. Insert the Parts Carrier into the Fuse Sift’s build chamber enclosure and remove its lid.
  12. Place your printed parts into the Parts Carrier and cover it with its lid.
  13. Remove the Parts Carrier from the Fuse Sift, move your printed parts to the Fuse Blast, and perform a cleaning cycle to remove the remaining unsintered powder.

Tip:

When opening the Fuse Sift hood, either hang the gloves from the hook on the inner face of the Fuse Sift Glovebox or pull the gloves inside-out to avoid spilling loose powder.

Maintaining the Fuse Sift Glovebox

Cleaning the Fuse Sift Glovebox gloves

After using the Fuse Sift Glovebox, be sure to brush or vacuum excess powder off the gloves before opening the hood.

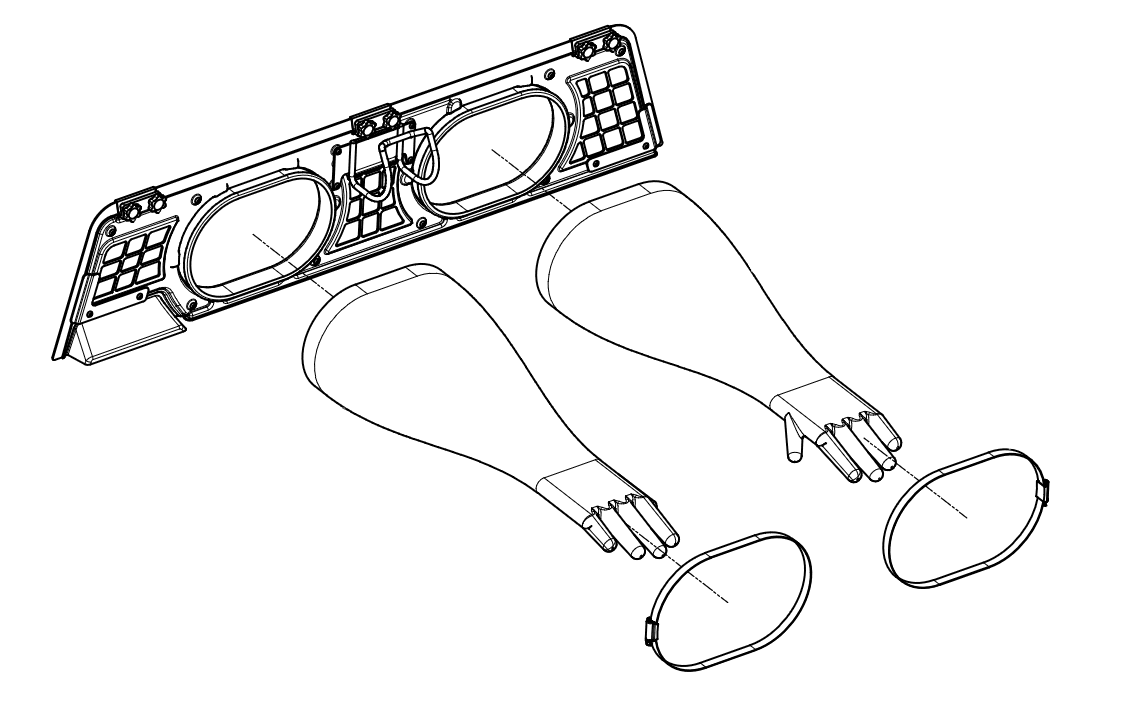
Replacing the Fuse Sift Glovebox gloves

Over time, the Fuse Sift Glovebox gloves may develop holes or tears. Replace the gloves if you notice any damage to prevent powder from escaping the work surface.

To replace the gloves:
  1. Turn off the sifter and vent fan if they are currently running.
  2. Open the Fuse Sift hood.
  3. Using a small flathead screwdriver, loosen the hose clamp around the base of both gloves.
  4. Remove the hose clamps.
  5. Remove the gloves.
  6. Slide a replacement glove over the lip of the glove hole. Ensure that the thumb is oriented inward.
  7. Slide a hose clamp over the glove. Using a small flathead screwdriver, tighten it around the base of the glove.
  8. Repeat steps 6 and 7 for the second glove.
Replacing the Fuse Sift Glovebox gloves