
Notice:
Wiping the release texture with non-recommended materials may damage the surface and affect print quality. Avoid using cleaners or materials that can scratch or leave residue on the release texture.

In Form Studio 1 printers, the printer’s backlight shines through the Light Processing Unit (LPU) to print. The LPU has a textured surface that prevents suction from forming between the resin tank film and the LPU, reducing peel forces between layers. Any contamination on the release texture can cause the backlight to diffuse or weaken, resulting in print defects. Keep the release texture clean to ensure successful prints. To protect the release texture from dust, keep the printer cover closed when the printer is not in use.
Overview
To maintain the release texture inspect the release texture for dust, oil, or contamination using a flashlight, LED, or cell phone light. If dust, oil, or contamination is noted, clean the release texture following Formlabs instructions. As with most optical surfaces, minimal cleaning is the best cleaning.
Required supplies
Estimated time: 10 minutes
Removing the consumables
Always remove the build platform, resin cartridge, and resin tank before performing maintenance on the printer to avoid dripping resin onto the release texture.
Inspecting the release texture
Inspect the release texture for dust, oil streaks, fingerprints, or cured resin.
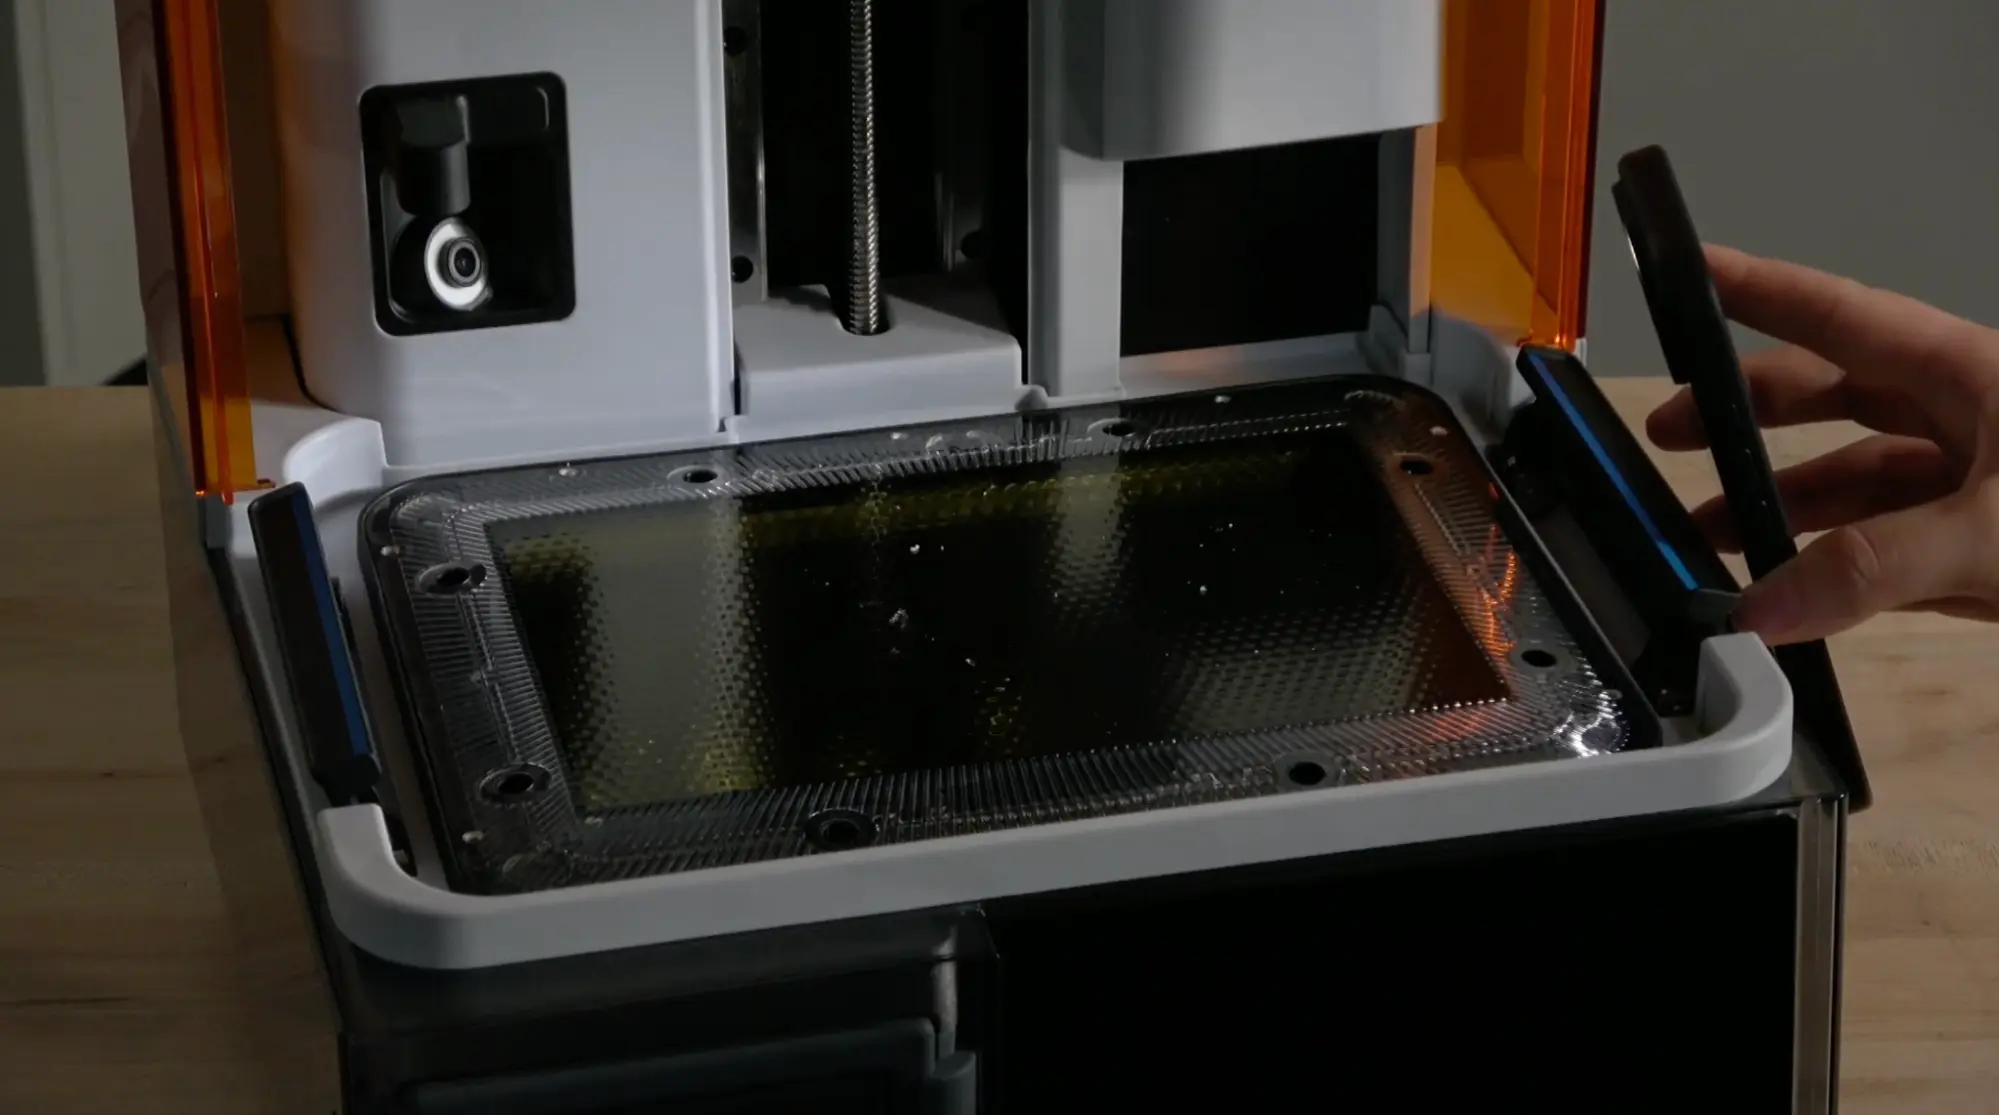
A dirty Form Studio 1 release texture
Cleaning the release texture
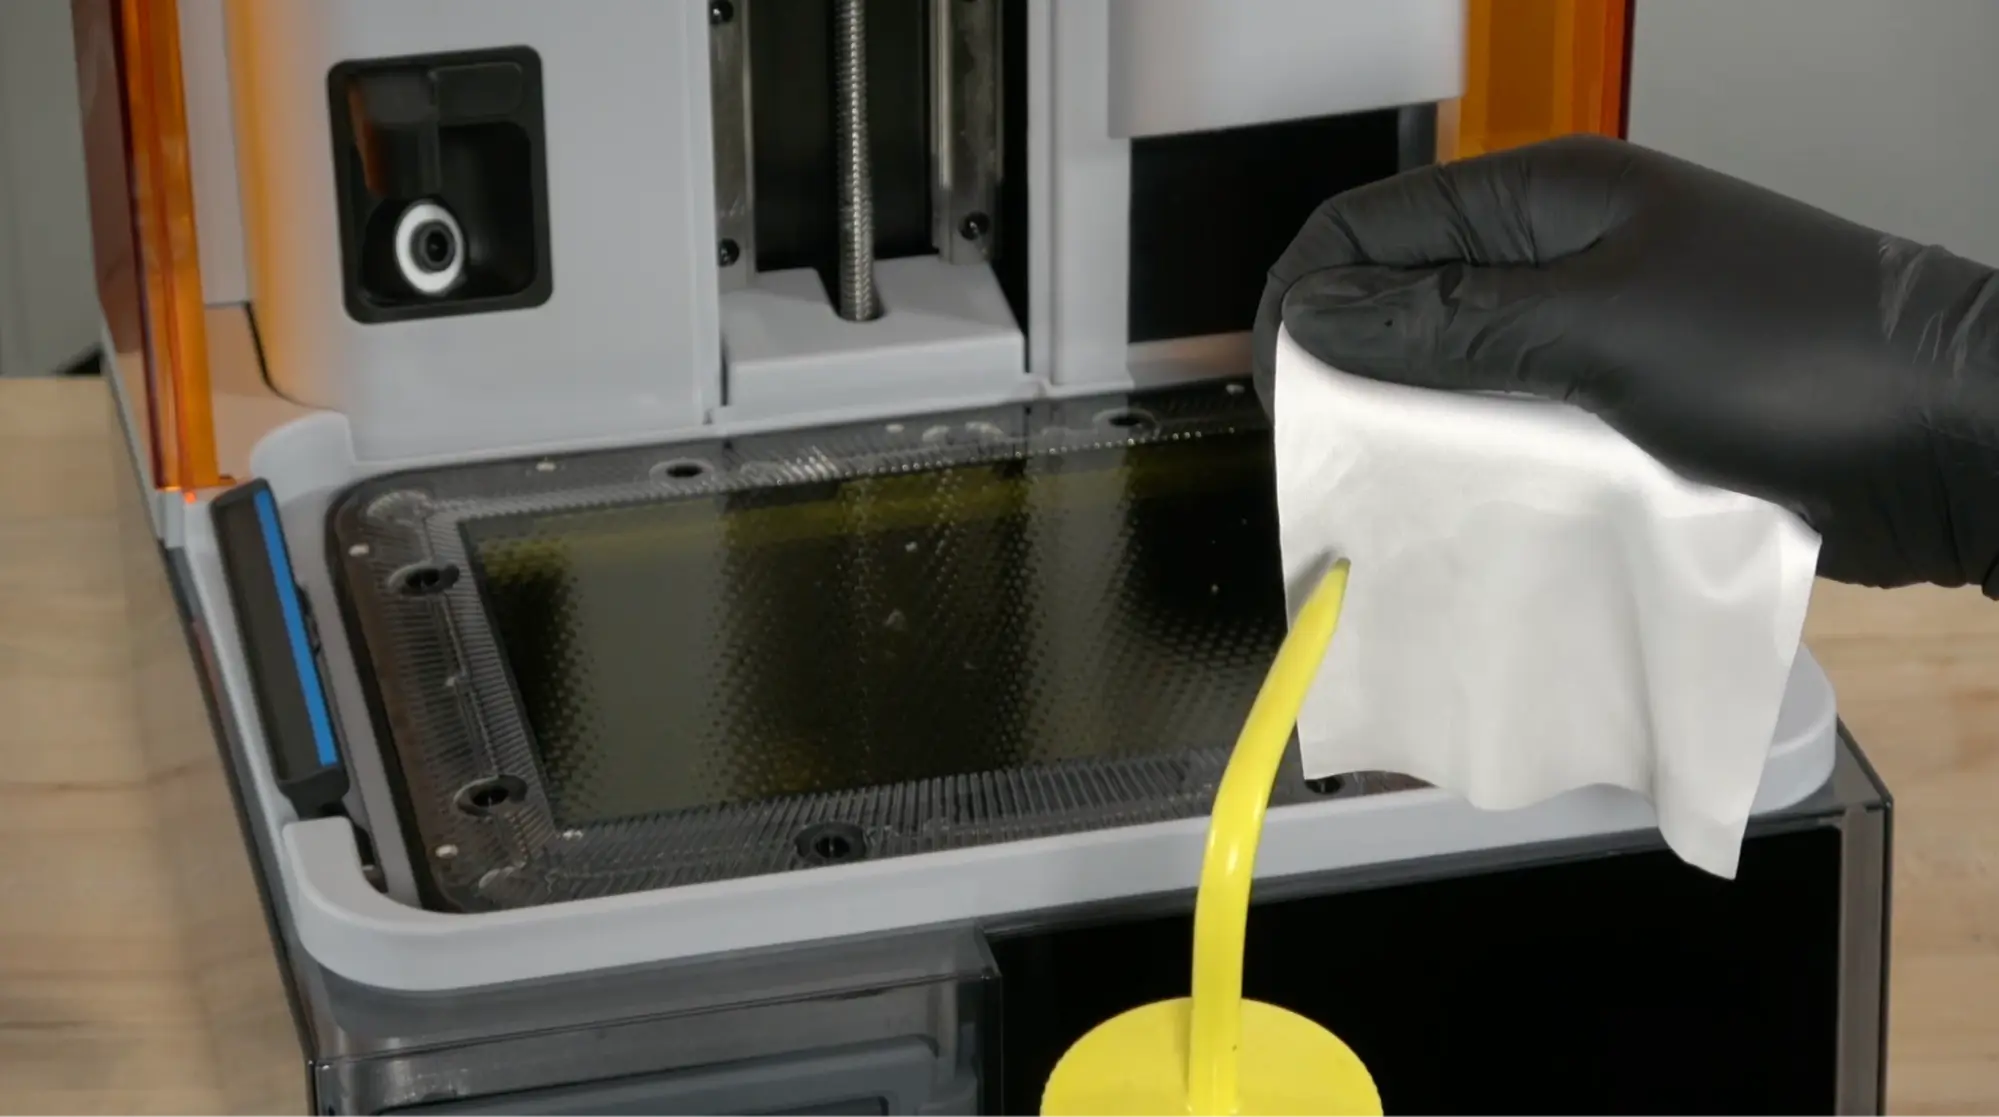
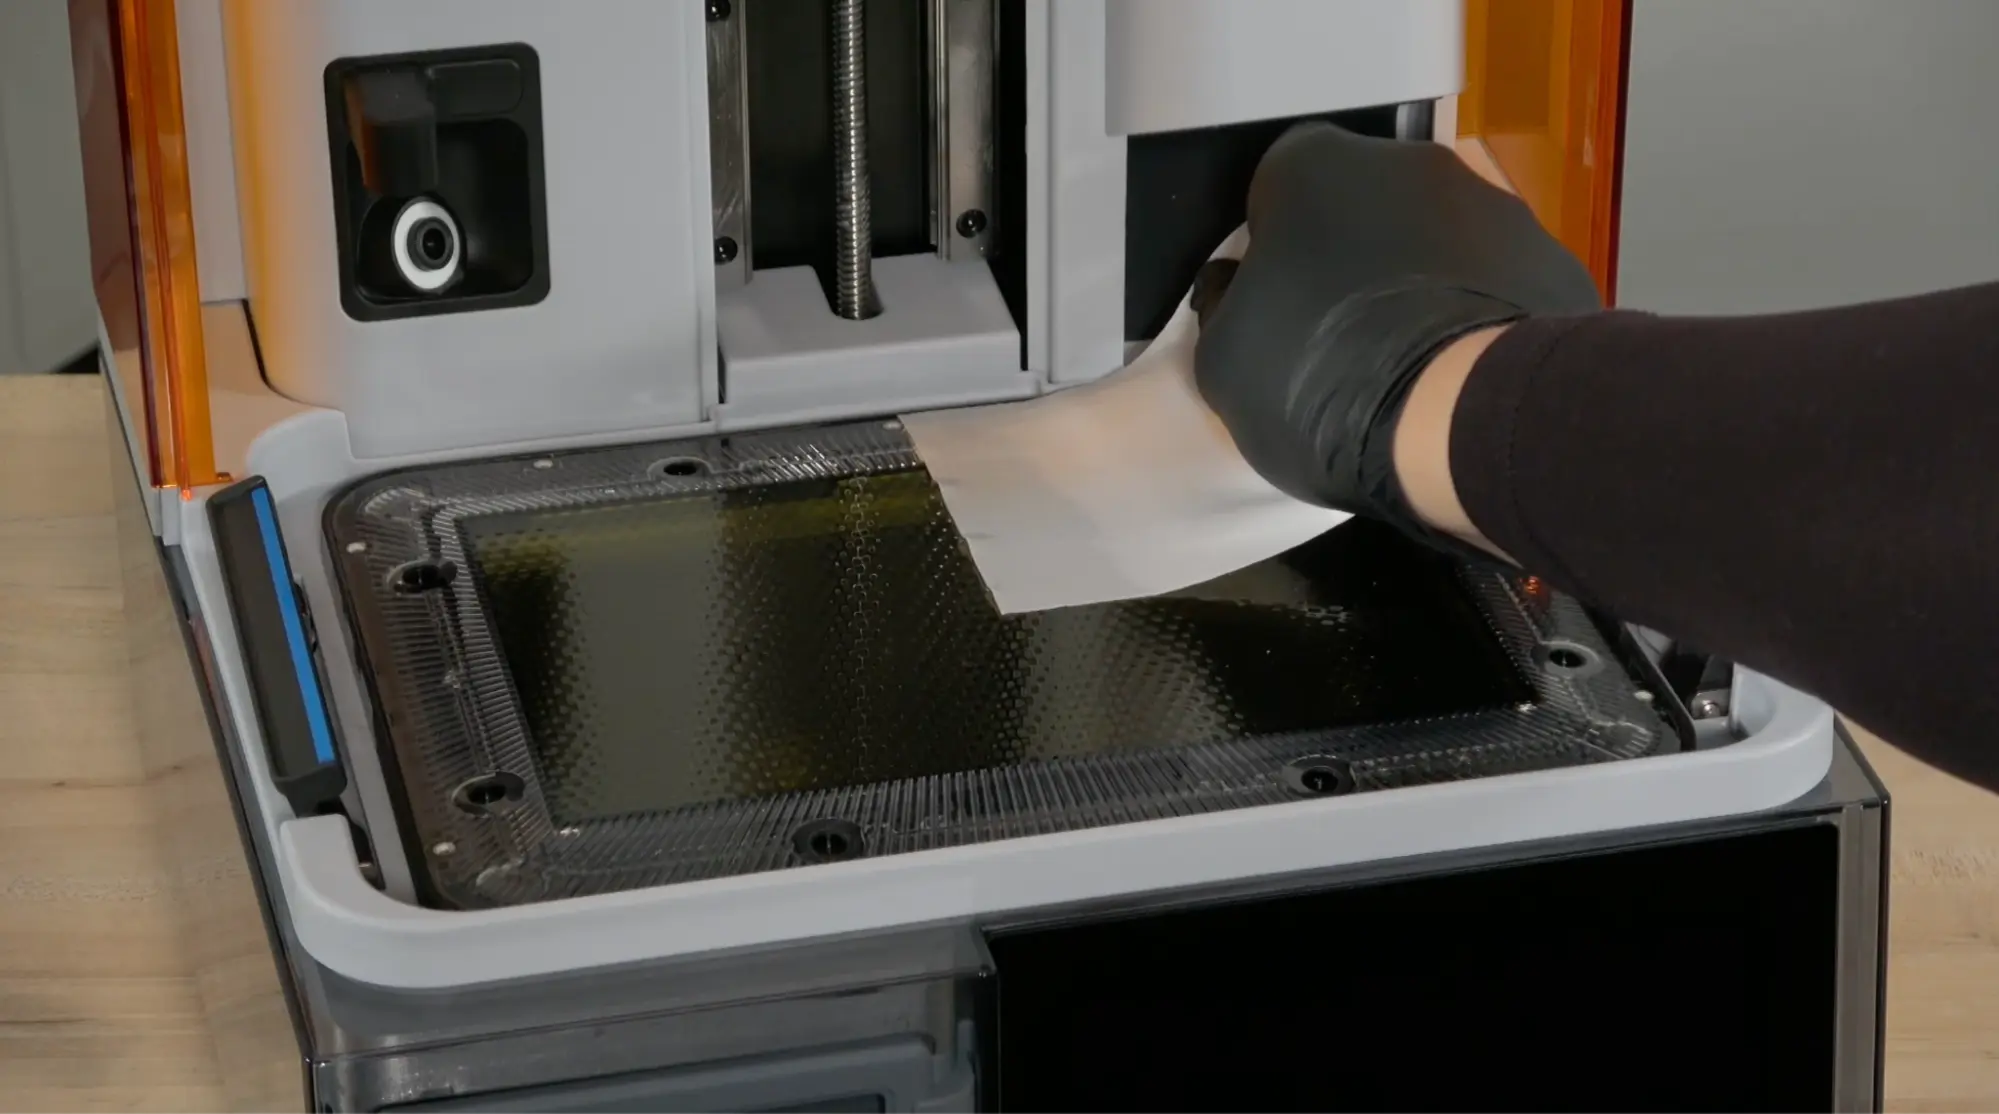
Cleaning liquid resin
Only use IPA to clean the surface, as any other cleaning solution may degrade the anti-reflective coating.
Notice:
Wiping the release texture with non-recommended materials may damage the surface and affect print quality. Avoid using cleaners or materials that can scratch or leave residue on the release texture.
Cleaning cured resin
Cured resin cannot be removed with IPA and requires removal with the plastic scraper.
Notice:
Avoid using sharp tools to remove cured resin because they may scratch the release texture.
If the debris or contaminants are difficult to remove, contact Formlabs Support. When requesting help, please provide photos of the release texture illuminated by a secondary light source and a list of attempted cleaning steps.
Testing the cleaned LPU
After cleaning the LPU, test it by printing a cleaning sheet to make sure there is no additional debris or cured resin on the release texture.
LPU release texture damage
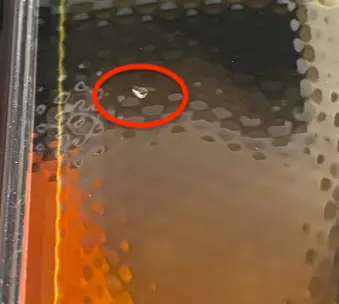
The LPU may sustain damage to the release texture that looks like cured resin or like part of the texture is missing. This is usually caused by the build platform squishing debris into the texture during a print.
Damage to the LPU may affect print quality, since it can redirect the light coming from the backlight unit. This damage may be very small and difficult to feel on the surface of the release texture. If you see LPU texture damage that you cannot remove, take a photo of the damage and contact Formlabs Support.
Dust under the LPU
Over time, it is possible that dust from the cooling fans may collect on the underside of the LPU. The filter from the air intake should catch most dust, but it is still possible for dust to be pulled in through the cracks between the pieces of the printer.
Remove the LPU, then clean the underside of the LPU with a non-abrasive wipe lightly wetted with IPA. Clean any other visible dust in the printer cavity, then reinstall the LPU. Ensure the printer is located away from machinery that generates dust.