
Warning:
Resin and solvent may cause skin irritation or an allergic skin reaction. Wear gloves when handling liquid resin, resin-coated surfaces, or solvent. Wash skin with plenty of soap and water.

Failed prints often leave small, partially cured pieces of resin floating in the tank or cured resin stuck to the flexible film at the bottom of the tank. For best results, inspect and clean the tank after every print.
Warning:
Resin and solvent may cause skin irritation or an allergic skin reaction. Wear gloves when handling liquid resin, resin-coated surfaces, or solvent. Wash skin with plenty of soap and water.
Removing cured resin with the cleaning mesh
For many resins, the Form 3L features a printable cleaning mesh function that can be used to remove a failed print. The cleaning mesh prints as a thin layer across the resin tank, binding cured and partially cured resin into a single piece. The cleaning mesh can then be removed from the tank along with the failed print. For more information about cleaning a failed print with the cleaning mesh, see Cleaning a failed print with the cleaning mesh (Form 3L/Form 3BL).
Removing cured resin manually
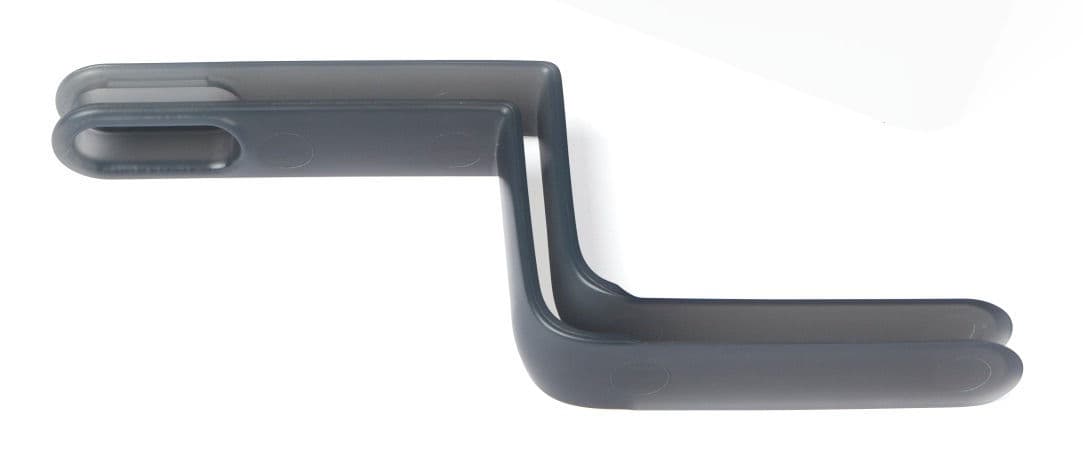
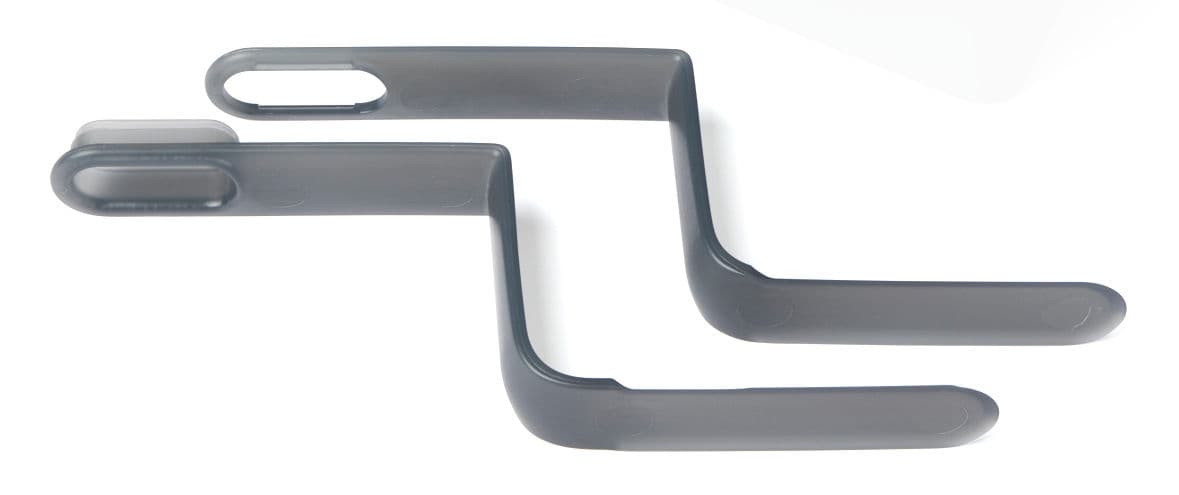
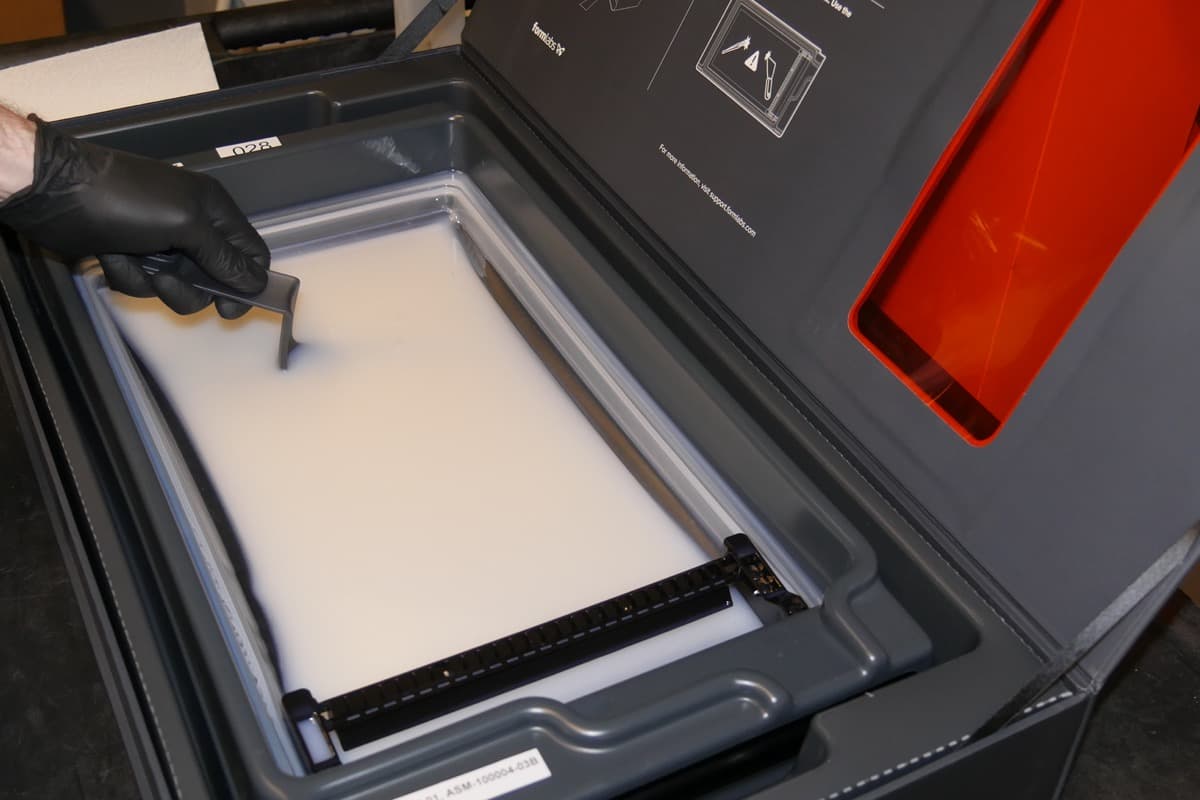
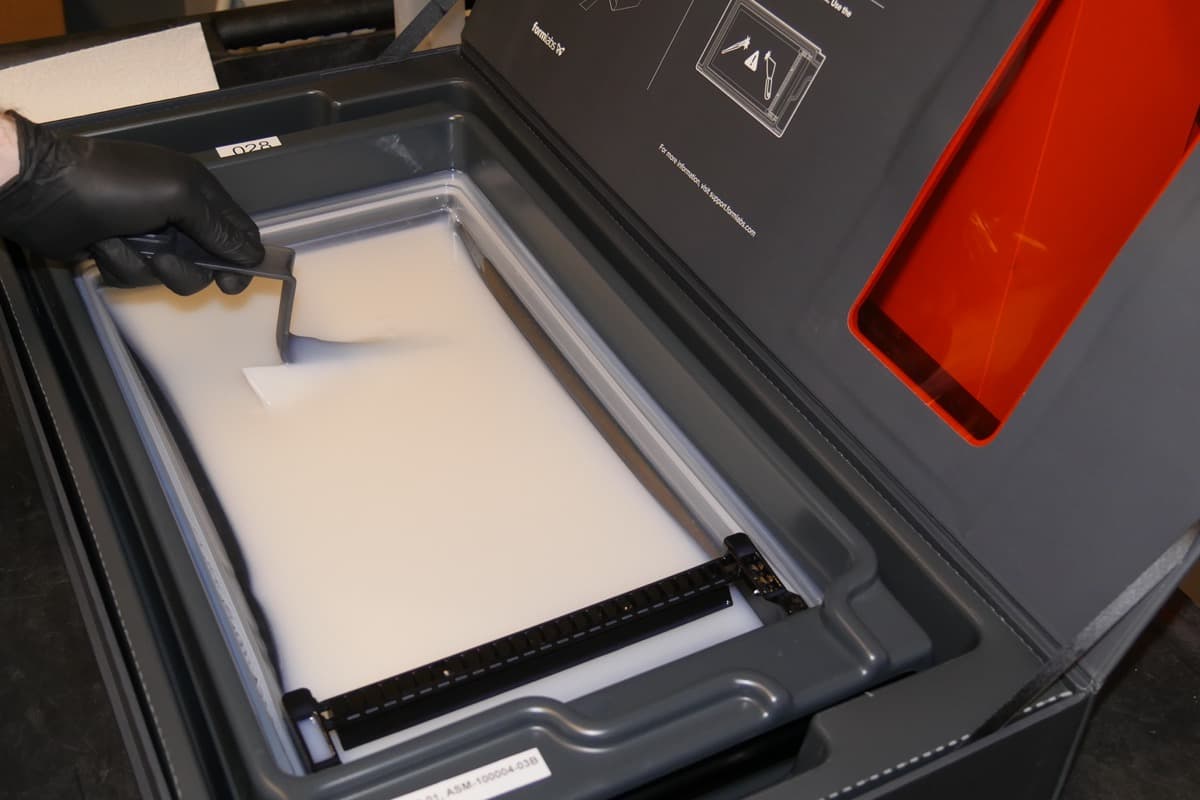
The Form 3L Finish Kit includes a tank tool, which is a custom two-part scraper and tweezers. The tank tool is made of plastic and has rounded edges to protect the flexible film interior. Remove individual pieces of cured resin from the resin tank with the tank tool.
Notice:
Sharp and metal tools can damage the dual-layer, flexible film and affect print quality, leading to print failures and/or a resin spill. Do not use sharp or metal tools like the removal tool, scraper, or flush cutters to inspect or clean the resin tank. Only use the tank tool to inspect and remove cured resin from the flexible film inside the resin tank.
Required supplies:
To manually remove cured resin:
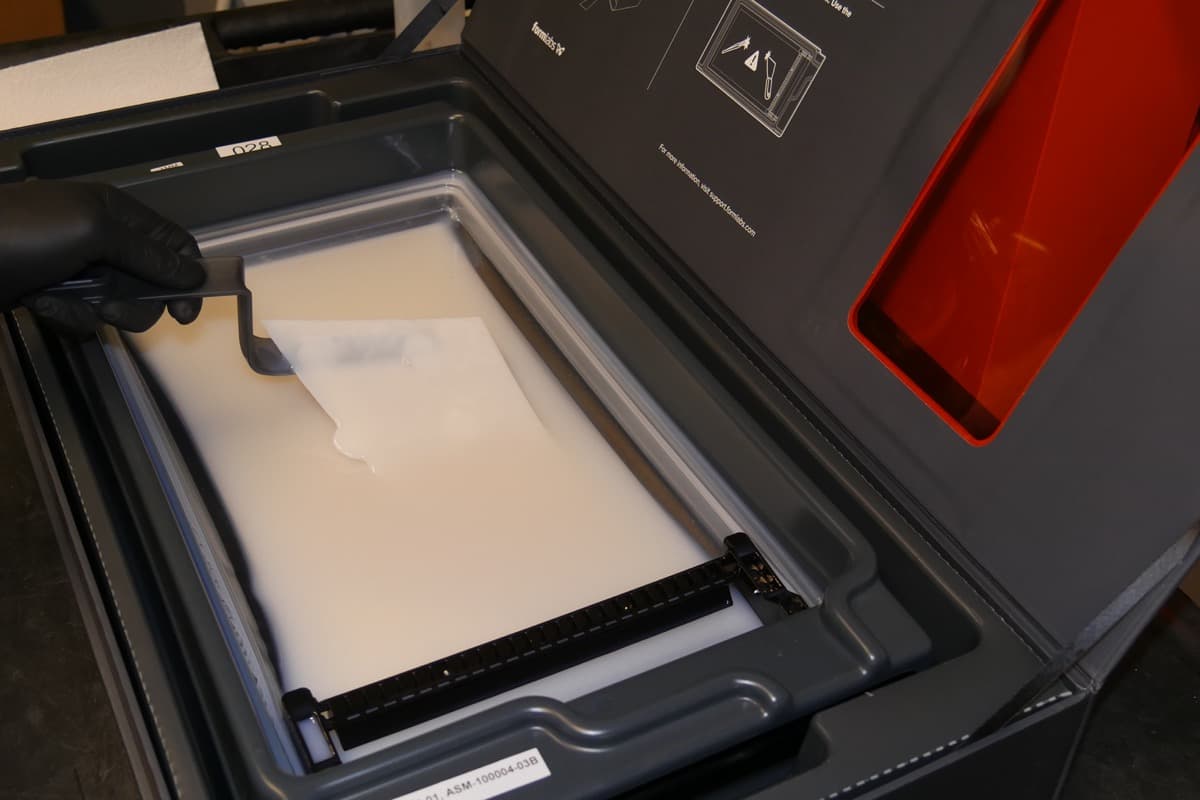
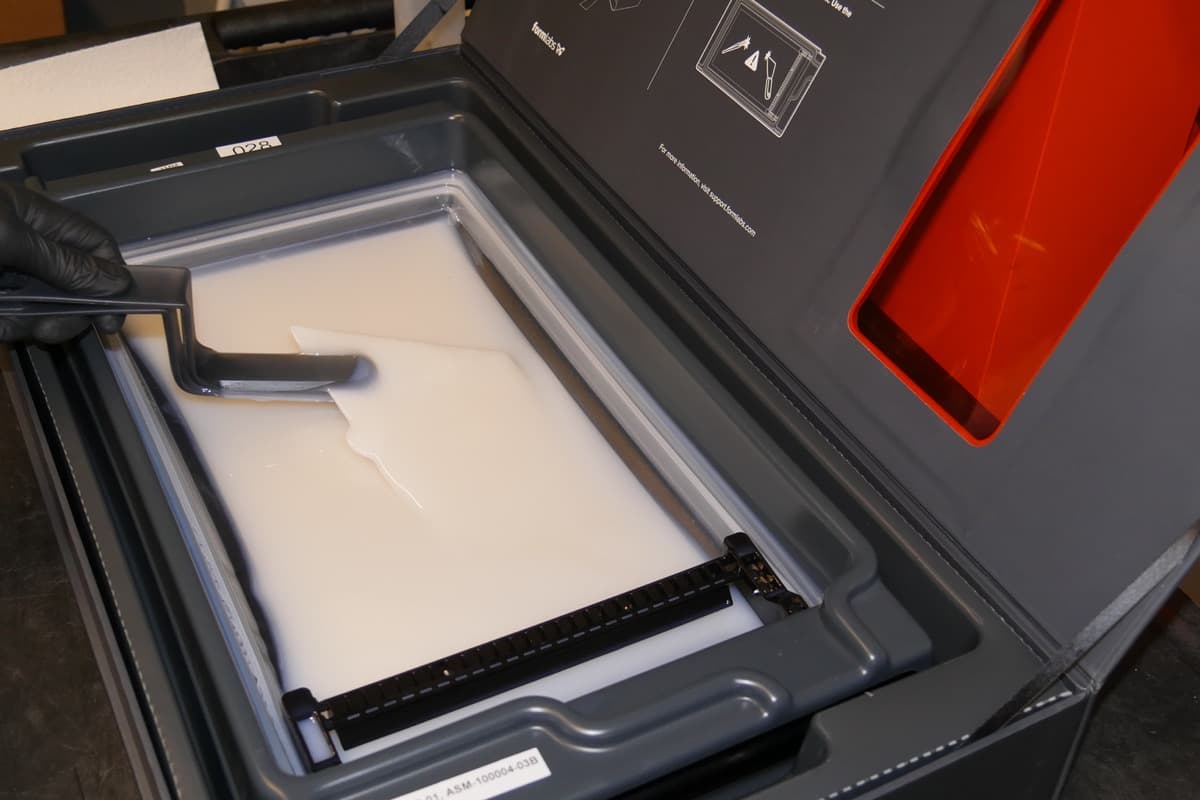
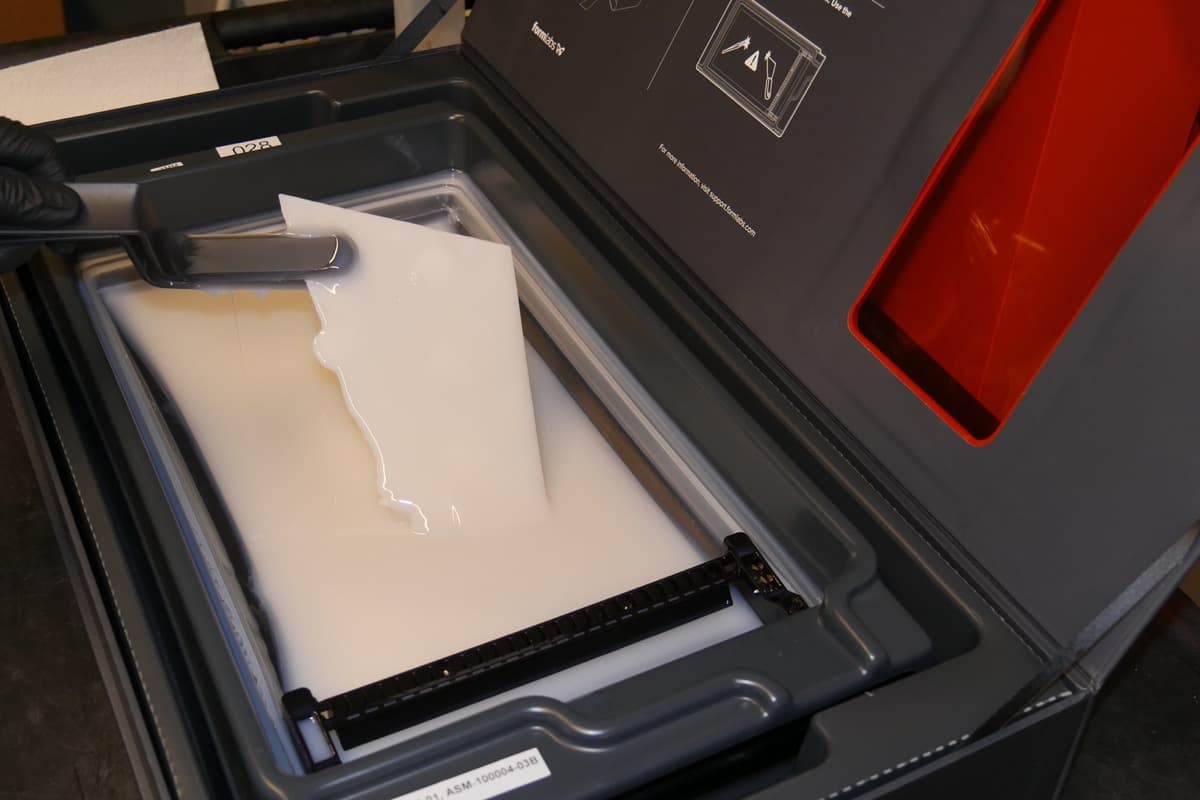
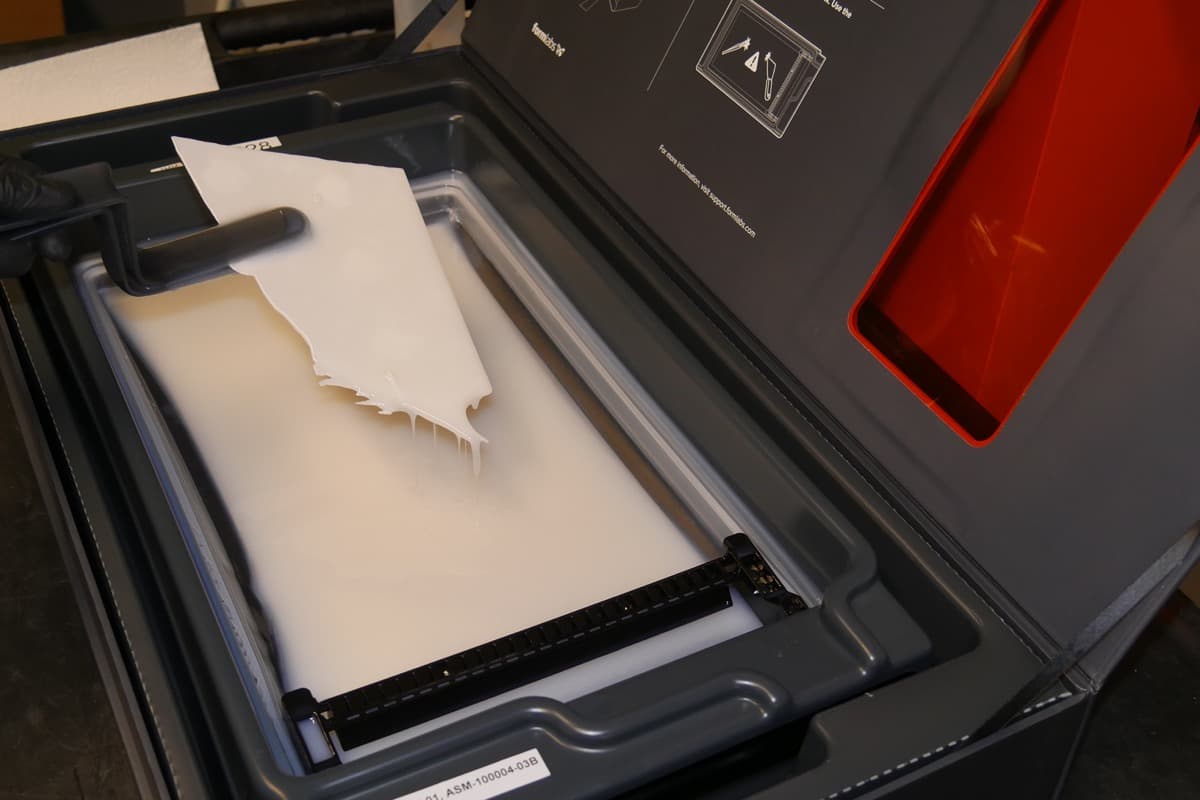
Cleaning the tank tool
Clean the tank tool after each use to remove excess liquid resin and prevent contamination.
Required supplies for wiping:
Required supplies for washing:
To wipe the tank tool:
To wash the tank tool:
Filtering the resin (optional)
After removing the primary print failure, inspect the resin and resin tank for other small fragments. While the mixer helps keep the print area clear during printing, clean resin and optical transparency of the resin tank’s underside are always the best way to ensure quality prints.
Notice:
If you see or feel any resin cured in your tank, it's essential to remove debris by cleaning the resin tank or the next print will fail. Use a paint or an oil filter with a "fine" or 190 micron mesh size to thoroughly strain liquid resin.
Reseating the mixer
At the start of each print, the LPU housing pulls the mixer back and forth across the flexible film several times. This motion mixes the resin in the resin tank while also checking for cured resin on the flexible film and on the build platform. If the mixer encounters cured resin blocking its path, its magnets decouple from the magnets in the LPU housing and the printer pauses the print. This is the designed behavior of the mixer and is intended to protect the flexible film and prevent further print failures.
To reseat the mixer: