
Tip:
If you need additional assistance with your resin spill, contact Formlabs Support or your authorized reseller. Provide photos of the resin spill.

Resin spills can prevent your printer from operating normally, impede troubleshooting and diagnostics, and cause additional damage when shipping or transporting a printer. Promptly clean and inspect the printer after a resin spill to minimize any cosmetic or functional damage to the printer.
Tip:
If you need additional assistance with your resin spill, contact Formlabs Support or your authorized reseller. Provide photos of the resin spill.
What to do immediately after a resin spill
Small resin spills on the printer exterior are harmless and can occur during normal use. More extensive resin spills may require additional cleaning and support to assess and reduce potential damage. Resin inside the printer may contaminate or erode critical components.
Overview
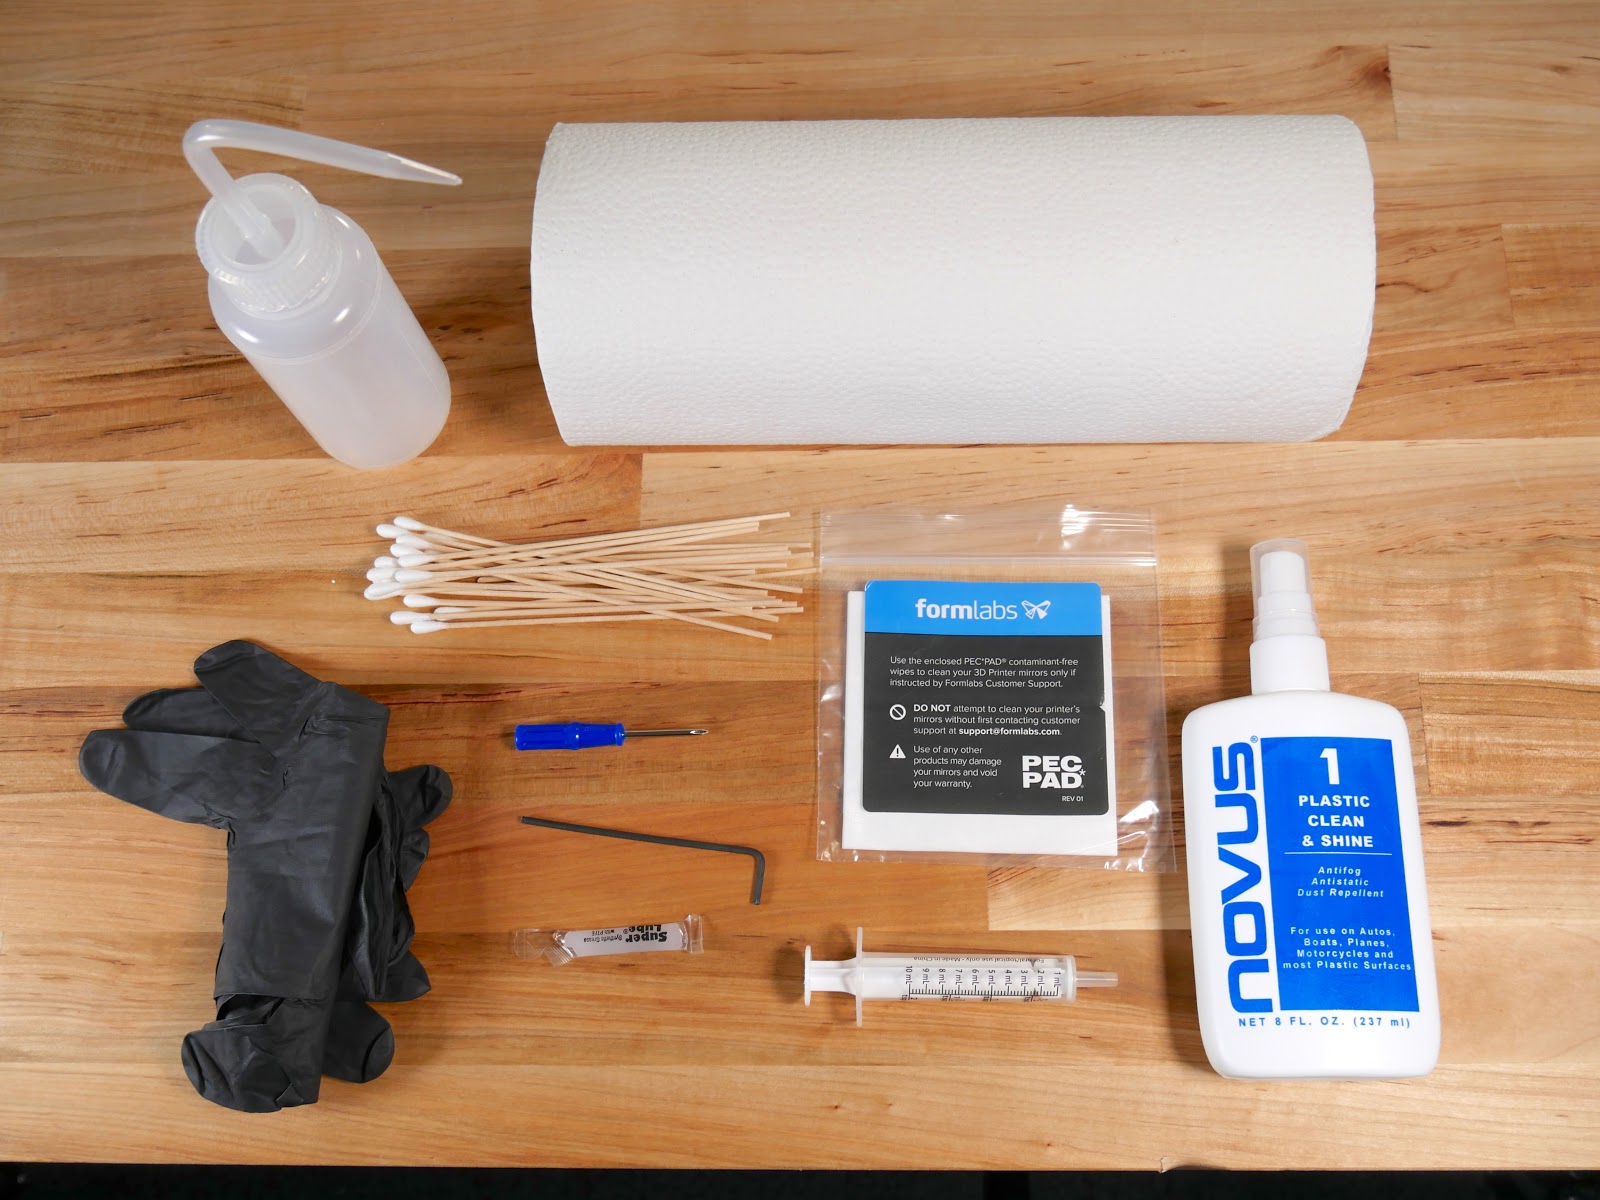
Recommended supplies:
Warning:
Resin may cause skin irritation or an allergic skin reaction. Wear gloves when handling liquid resin or resin-coated surfaces. Wash skin with plenty of soap and water.
Preparing the printer
Prepare the printer for inspection and cleaning by disconnecting it from power and removing all consumables.
Inspecting and cleaning external surfaces and consumables
Liquid resin on the outside of the printer can make the printer difficult to use or contaminate other work surfaces. Clean the cover, shell, and ports if resin spills on them. Follow the instructions for your printer:
Resin spills are sometimes caused by a failed print. The failed print will also leave cured resin in the resin tank. Inspect and clean the resin tank before running any further prints.
Removing and cleaning optical components
In some cases, liquid resin can seep under the edge of the LPU and contaminate it, the diffuser panel, or the Backlight Unit. If you see during cleaning that resin has gotten under the edge of the LPU, you can remove and clean these optical components.
Follow the part replacement guides listed below to remove the LPU, Backlight Unit, and diffuser panel. The Backlight Unit must be removed to access the diffuser panel. If you see any liquid resin or other contamination, apply a small amount of clean IPA to a lint-free cloth and wipe the affected surface. Allow the component to air dry before reinstalling it.
| Form 4 generation | Form 4L generation |
|---|---|
Cleanup
Always dispose of resin and any supplies contaminated with it according to the SDS. Put the container of soapy water and any soiled paper towels or swabs in a window or other sunny space so that the resin cures in ambient light. Once the resin cures, it can be disposed of with regular household waste.
Notice:
Allow all components to dry completely before reconnecting the printer to power.
Contacting Formlabs Support
Contact Formlabs Support or your authorized reseller if you need any additional assistance with your resin spill. Include the following with the support request: