
Notice:
Any obstruction of the IR sensor affects the data it collects and may adversely affect print quality or cause a print failure.

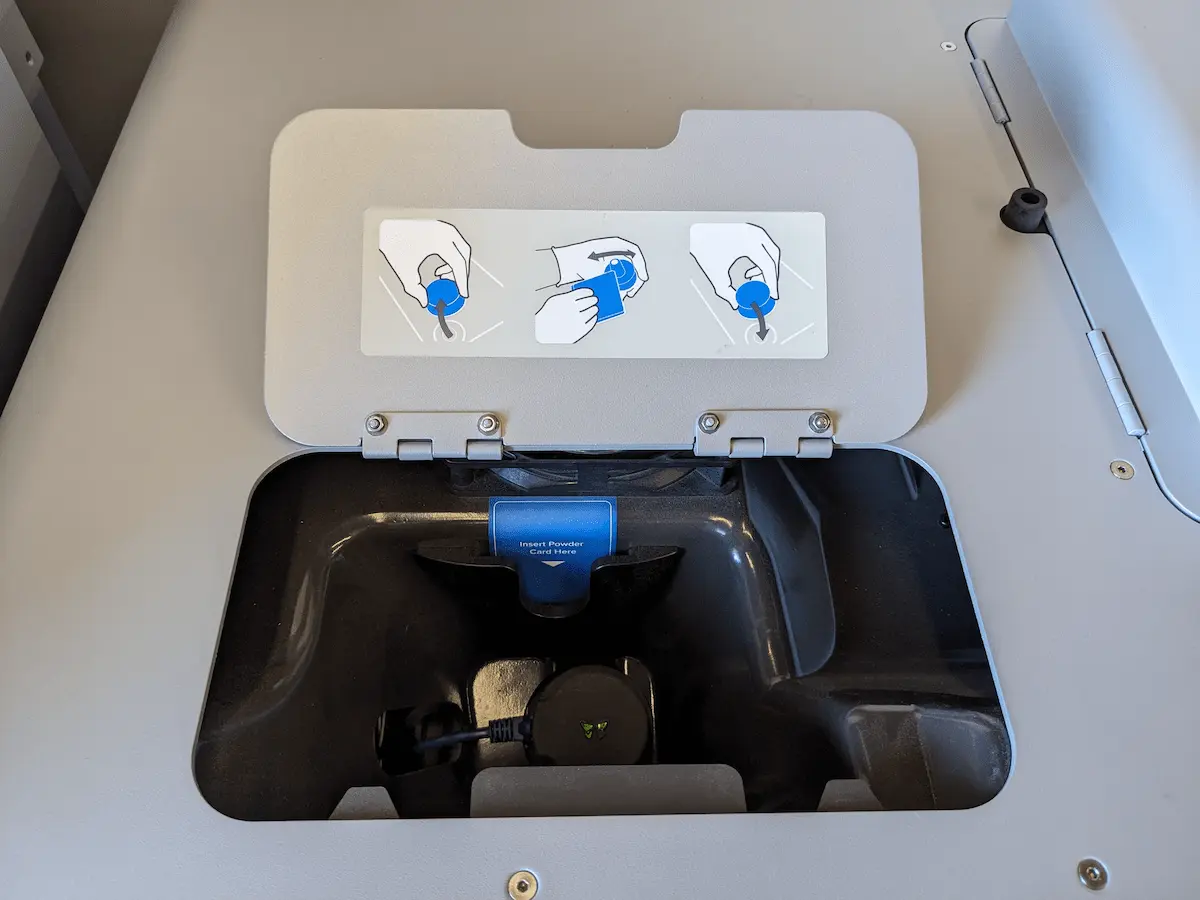
The Fuse 1 monitors temperature changes inside the build chamber with an infrared (IR) sensor positioned in a compartment at the top of the printer. The sensor faces downward, pointing directly inside the Fuse 1's print enclosure. It is embedded in a grey cap with a green LED in the center that lights up if the sensor is correctly seated.
Notice:
Any obstruction of the IR sensor affects the data it collects and may adversely affect print quality or cause a print failure.
Locating the IR sensor
The IR sensor is located in a compartment at the top of the Fuse 1, above the touchscreen and next to the hopper. It may be difficult to reach, so consider keeping a step-stool nearby.
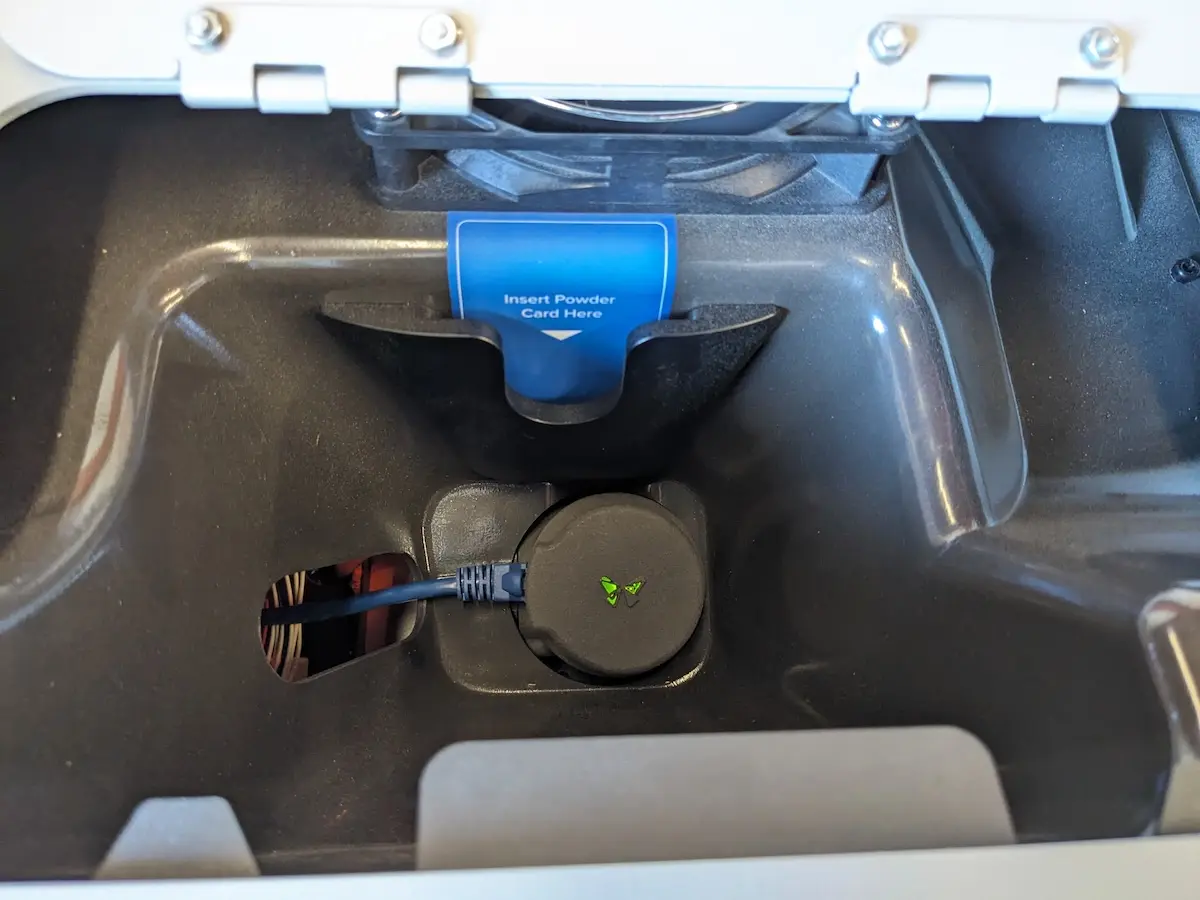
The IR sensor cabinet is open to reveal the card reader and IR sensor.
Checking the IR sensor
Examine the IR sensor for streaks, stains, dust, powder, or other contamination before every print to ensure success.
To check the IR sensor:
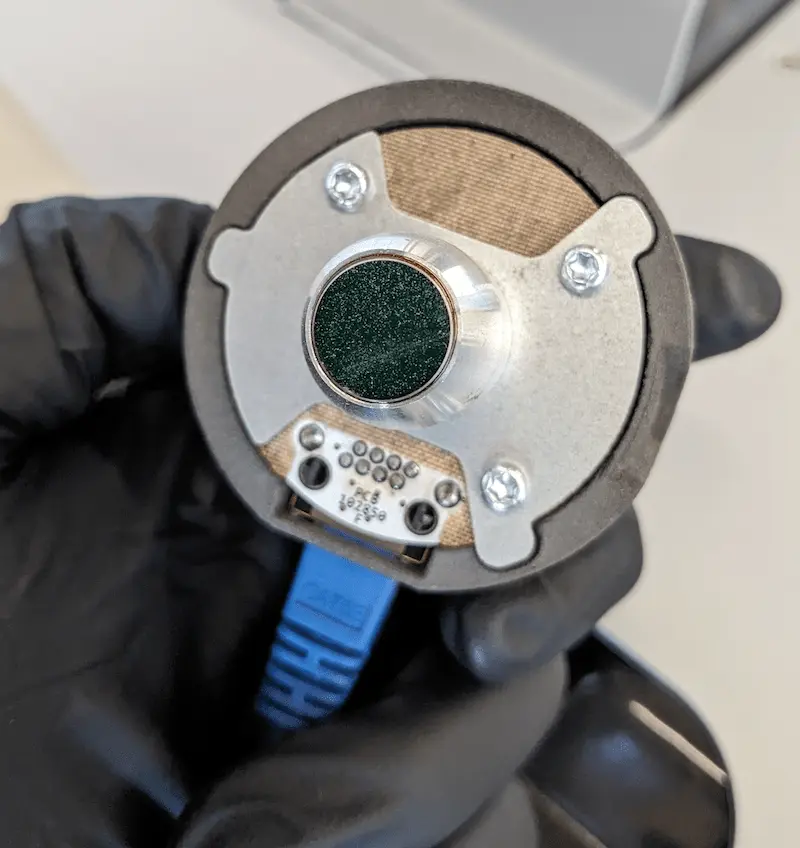
Debris is located on the lens and must be cleaned with polyester swab wetted with ethanol.
Inspecting the O-ring (Fuse 1+ 30W)
Inspect the O-ring at the base of the IR sensor shaft for damage or contamination.
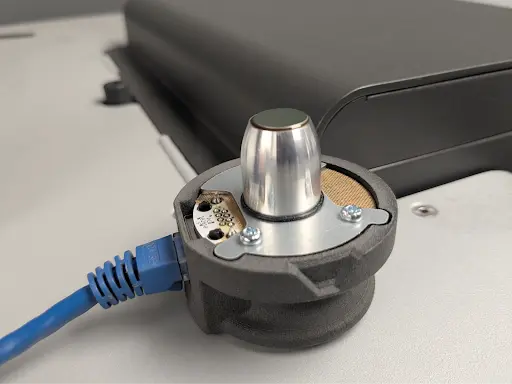
Cleaning the IR sensor lens
If the IR sensor looks dirty or contaminated during inspection, wet a polyester swab with ethanol and use it to clean the lens.
To clean the IR sensor lens:
Reinstall the IR sensor
The IR sensor is connected to its mount with magnets. Push in the cap until you feel a click and the LED turns green.
To reinstall the IR sensor:
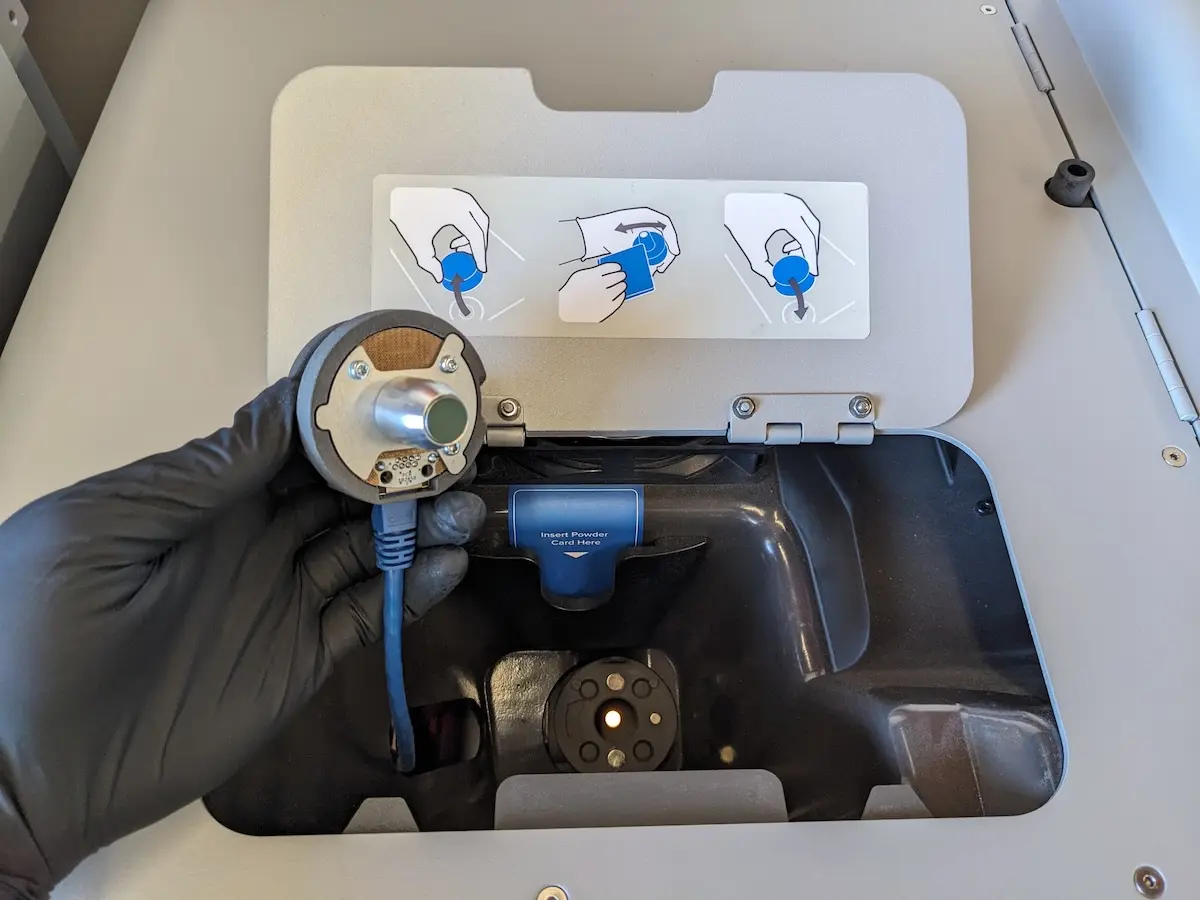
The LED in the center of the IR sensor cap turns green when it is properly mounted.