Form Auto error messages

If the printer or the Form Auto encounter any abnormalities, the printer’s touchscreen displays error messages and displays more details about the error. For additional information about printer error messages, see Form 3/Form 3B error messages.

Tip:

To determine whether an error is caused by the Form Auto or the printer, unplug the Form Auto and see if the error recurs.

Configure Dashboard settings to receive SMS or email notifications for the errors listed in this article and for other print events.

Collecting diagnostic logs

Formlabs printers maintain diagnostic logs to provide detailed information about the printer. Include these diagnostic logs with other relevant observations and details when contacting Formlabs Support or your authorized reseller to speed up resolution.

To access diagnostic logs for the printer installed on your Form Auto, rotate the printer to the touchscreen position.

For printers connected to the internet over an active Wi-Fi or Ethernet connection:

  1. Tap the wrench icon on the bottom left of the printer's Home screen. The Settings screen appears.
  2. Tap System. The System screen appears.
  3. Tap Upload Diagnostic Info. A confirmation message to upload diagnostic information appears.
  4. Tap Next to start the upload. A confirmation message appears when the upload is complete.
  5. If the printer displays an error message indicating that it cannot upload the logs, there may not be enough storage space on the printer for the upload. Delete print jobs from the Queue to clear enough storage space to upload the diagnostic logs.
  6. Restart the printer and try again.

For printers not connected to the internet:

  1. Open PreForm.
  2. Click Edit Job Setup. The Job Setup window opens.
  3. Select the printer’s serial name.
  4. Click Download Logs. A confirmation window appears.
  5. Click Browse to download the diagnostic logs to a preferred location on your computer.
  6. Click OK. The diagnostic logs save and appear in the encrypted FORMLOGS format.
  7. Attach the file when contacting Formlabs Support or your authorized reseller.
  8. If PreForm displays the message ERROR_BAD_STATE, there may not be enough storage space on the printer for the upload. Delete print jobs from the Queue to clear enough storage space to upload the logs.
  9. Restart the printer and try again.

Learn more about options for network and non-network connections.

Printer not aligned
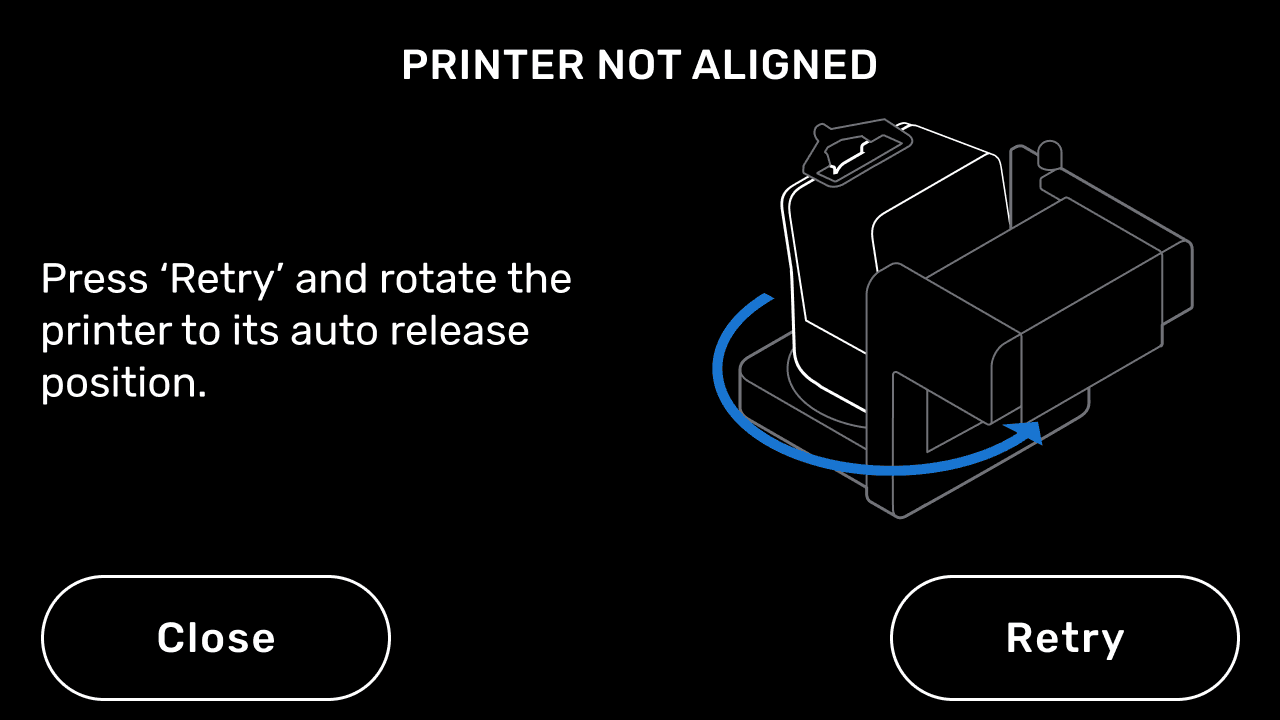
Form Auto error message: Printer not aligned

The printer must be facing the part removal enclosure in order to automatically retrieve printed parts. The printer displays the error message Printer not aligned if it is not facing the part removal enclosure at the end of a print. Rotate the printer to the printing position (facing the part removal enclosure) and tap Retry.

Part removal failure

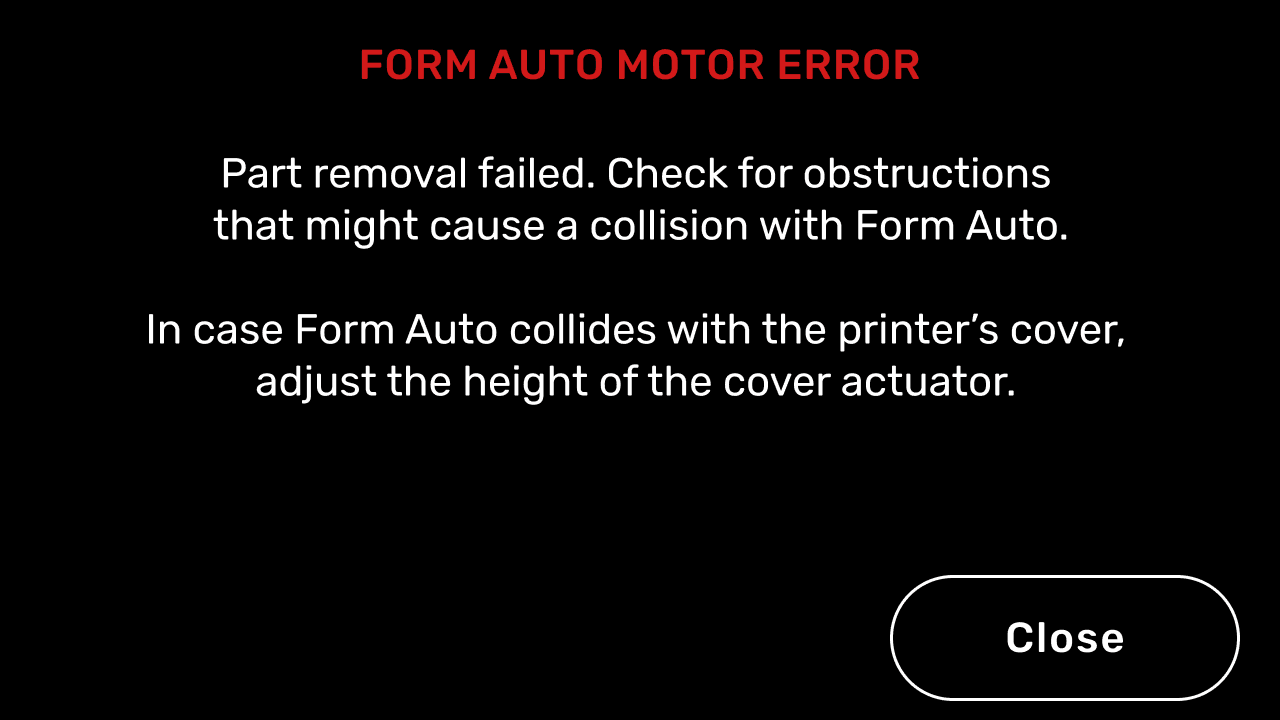
Form Auto error message: Motor error
Form Auto error message:Part removal failure

If the Form Auto cannot automatically release a printed part after multiple attempts, the printer displays the Part removal failure error message or the Motor error message.

Retrieve your printed parts manually, then reinsert the build platform and continue to print. To retrieve your printed parts:

  1. Unlatch the Build Platform 2.
  2. Pull the Build Platform 2 towards the part removal enclosure to move the part release mechanism to its home position.
  3. When the Build Platform 2 is free of the build platform carriage, lift it out of the printer.
  4. Separate your printed parts from the Build Platform 2 using the part release paddles or a part removal tool.
  5. Insert a clean Build Platform 2 and recalibrate your Form Auto. Tap Settings > Form Auto > Calibrate Part Removal. Rotate the printer into the printing position and tap Calibrate.
  6. Certain part orientations and support options release more easily from the Build Platform 2 than others. For the best print results:

Communication error

Form Auto error message: Communication error

The printer displays the error message Communication error if it cannot communicate with the Form Auto. Check that the Form Auto USB cable is fully connected to the USB port at the back of the printer. To resolve this issue:

  1. Inspect the USB port on the print and the USB plug from the Form Auto for contamination such as liquid resin. With the Form Auto and printer powered off, clean the USB port or plug as needed with a small amount of IPA. Allow the port or plug to fully dry before testing.
  2. Try connecting another printer to the Form Auto, if one is available.
    • If only one printer cannot communicate with the Form Auto, it may need to have its USB port replaced. Contact Formlabs Support or your authorized reseller.
    • If no printers can communicate with the Form Auto, continue.
  3. Remove the Form Auto’s rear gantry shell to access the motherboard. Follow the instructions in the guide Replacing the Form Auto motherboard [EN] [DE] [ES] [FR] [IT] [JA] [ZH].
  4. Unplug the USB cable from the left side of the motherboard.
  5. Plug a different USB-A to USB-B cable, such as the one supplied with Form 3 generation printers, directly into the printer and Form Auto motherboard.
    • If the printer can now communicate with the Form Auto, route the cable through the Form Auto base to replace the original USB cable.
    • If the printer still cannot communicate with the Form Auto, the Form Auto motherboard may be damaged or faulty. Contact Formlabs Support or your authorized reseller.

Motor error

Form Auto error message: Motor error

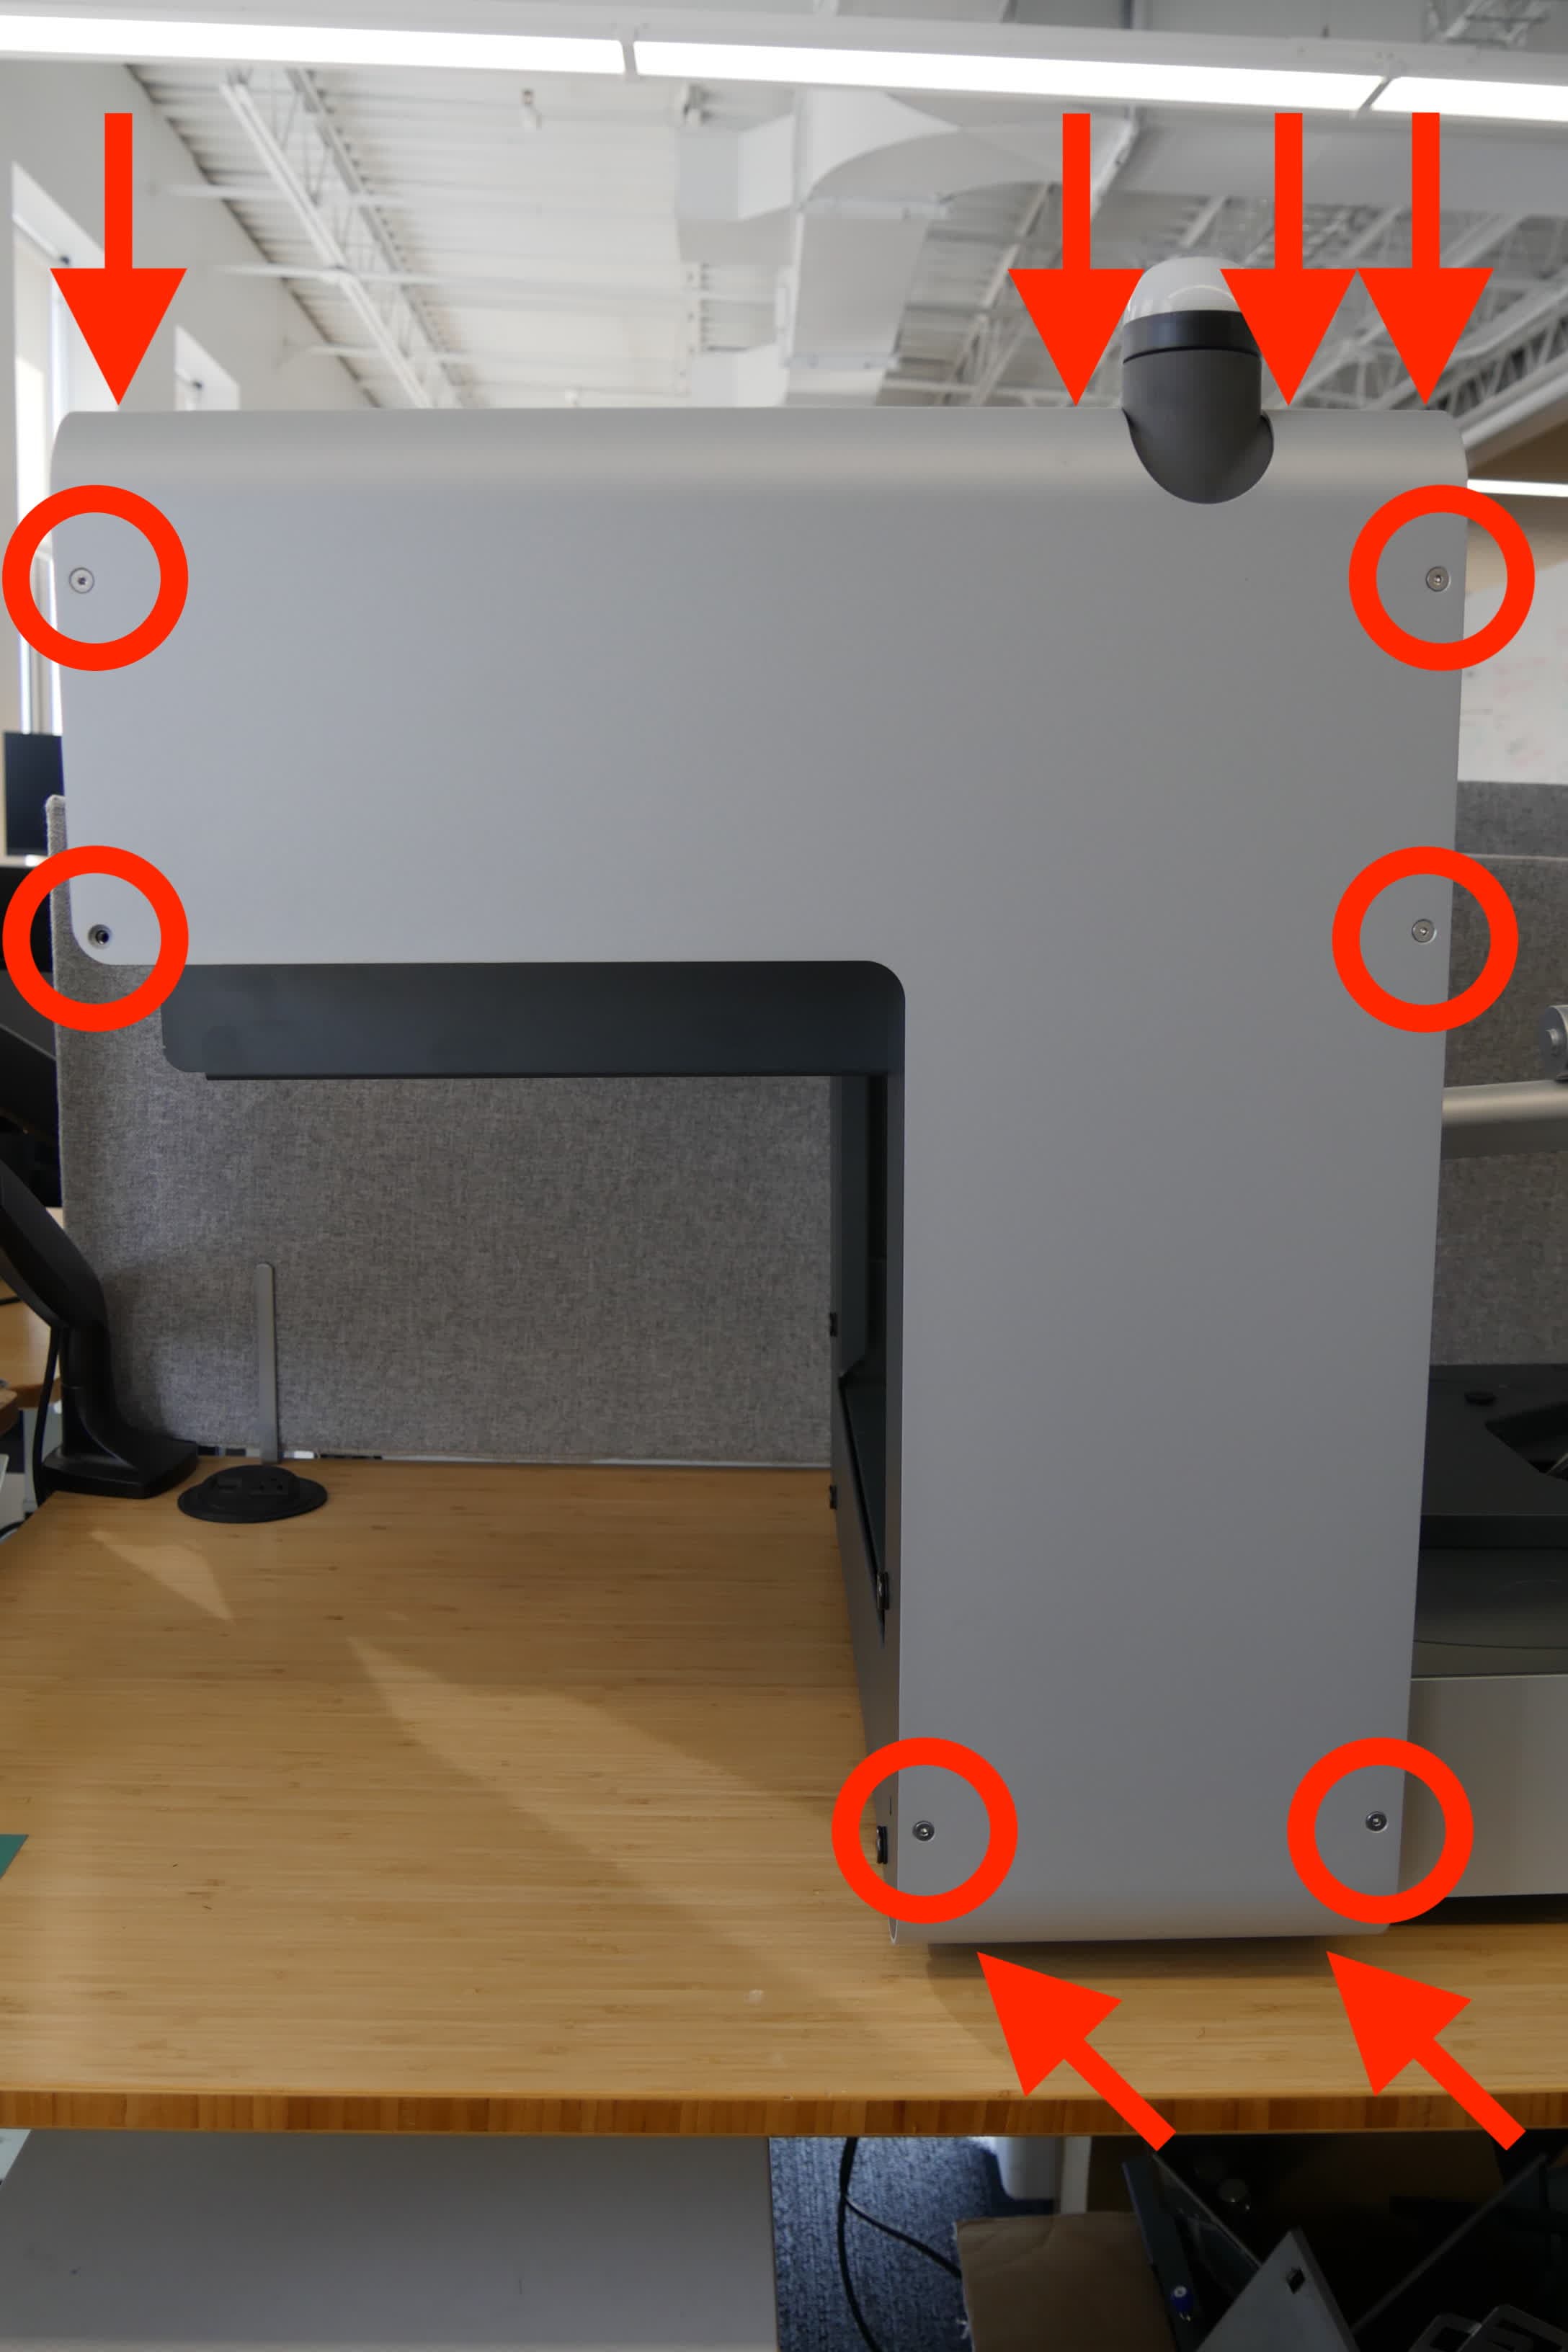
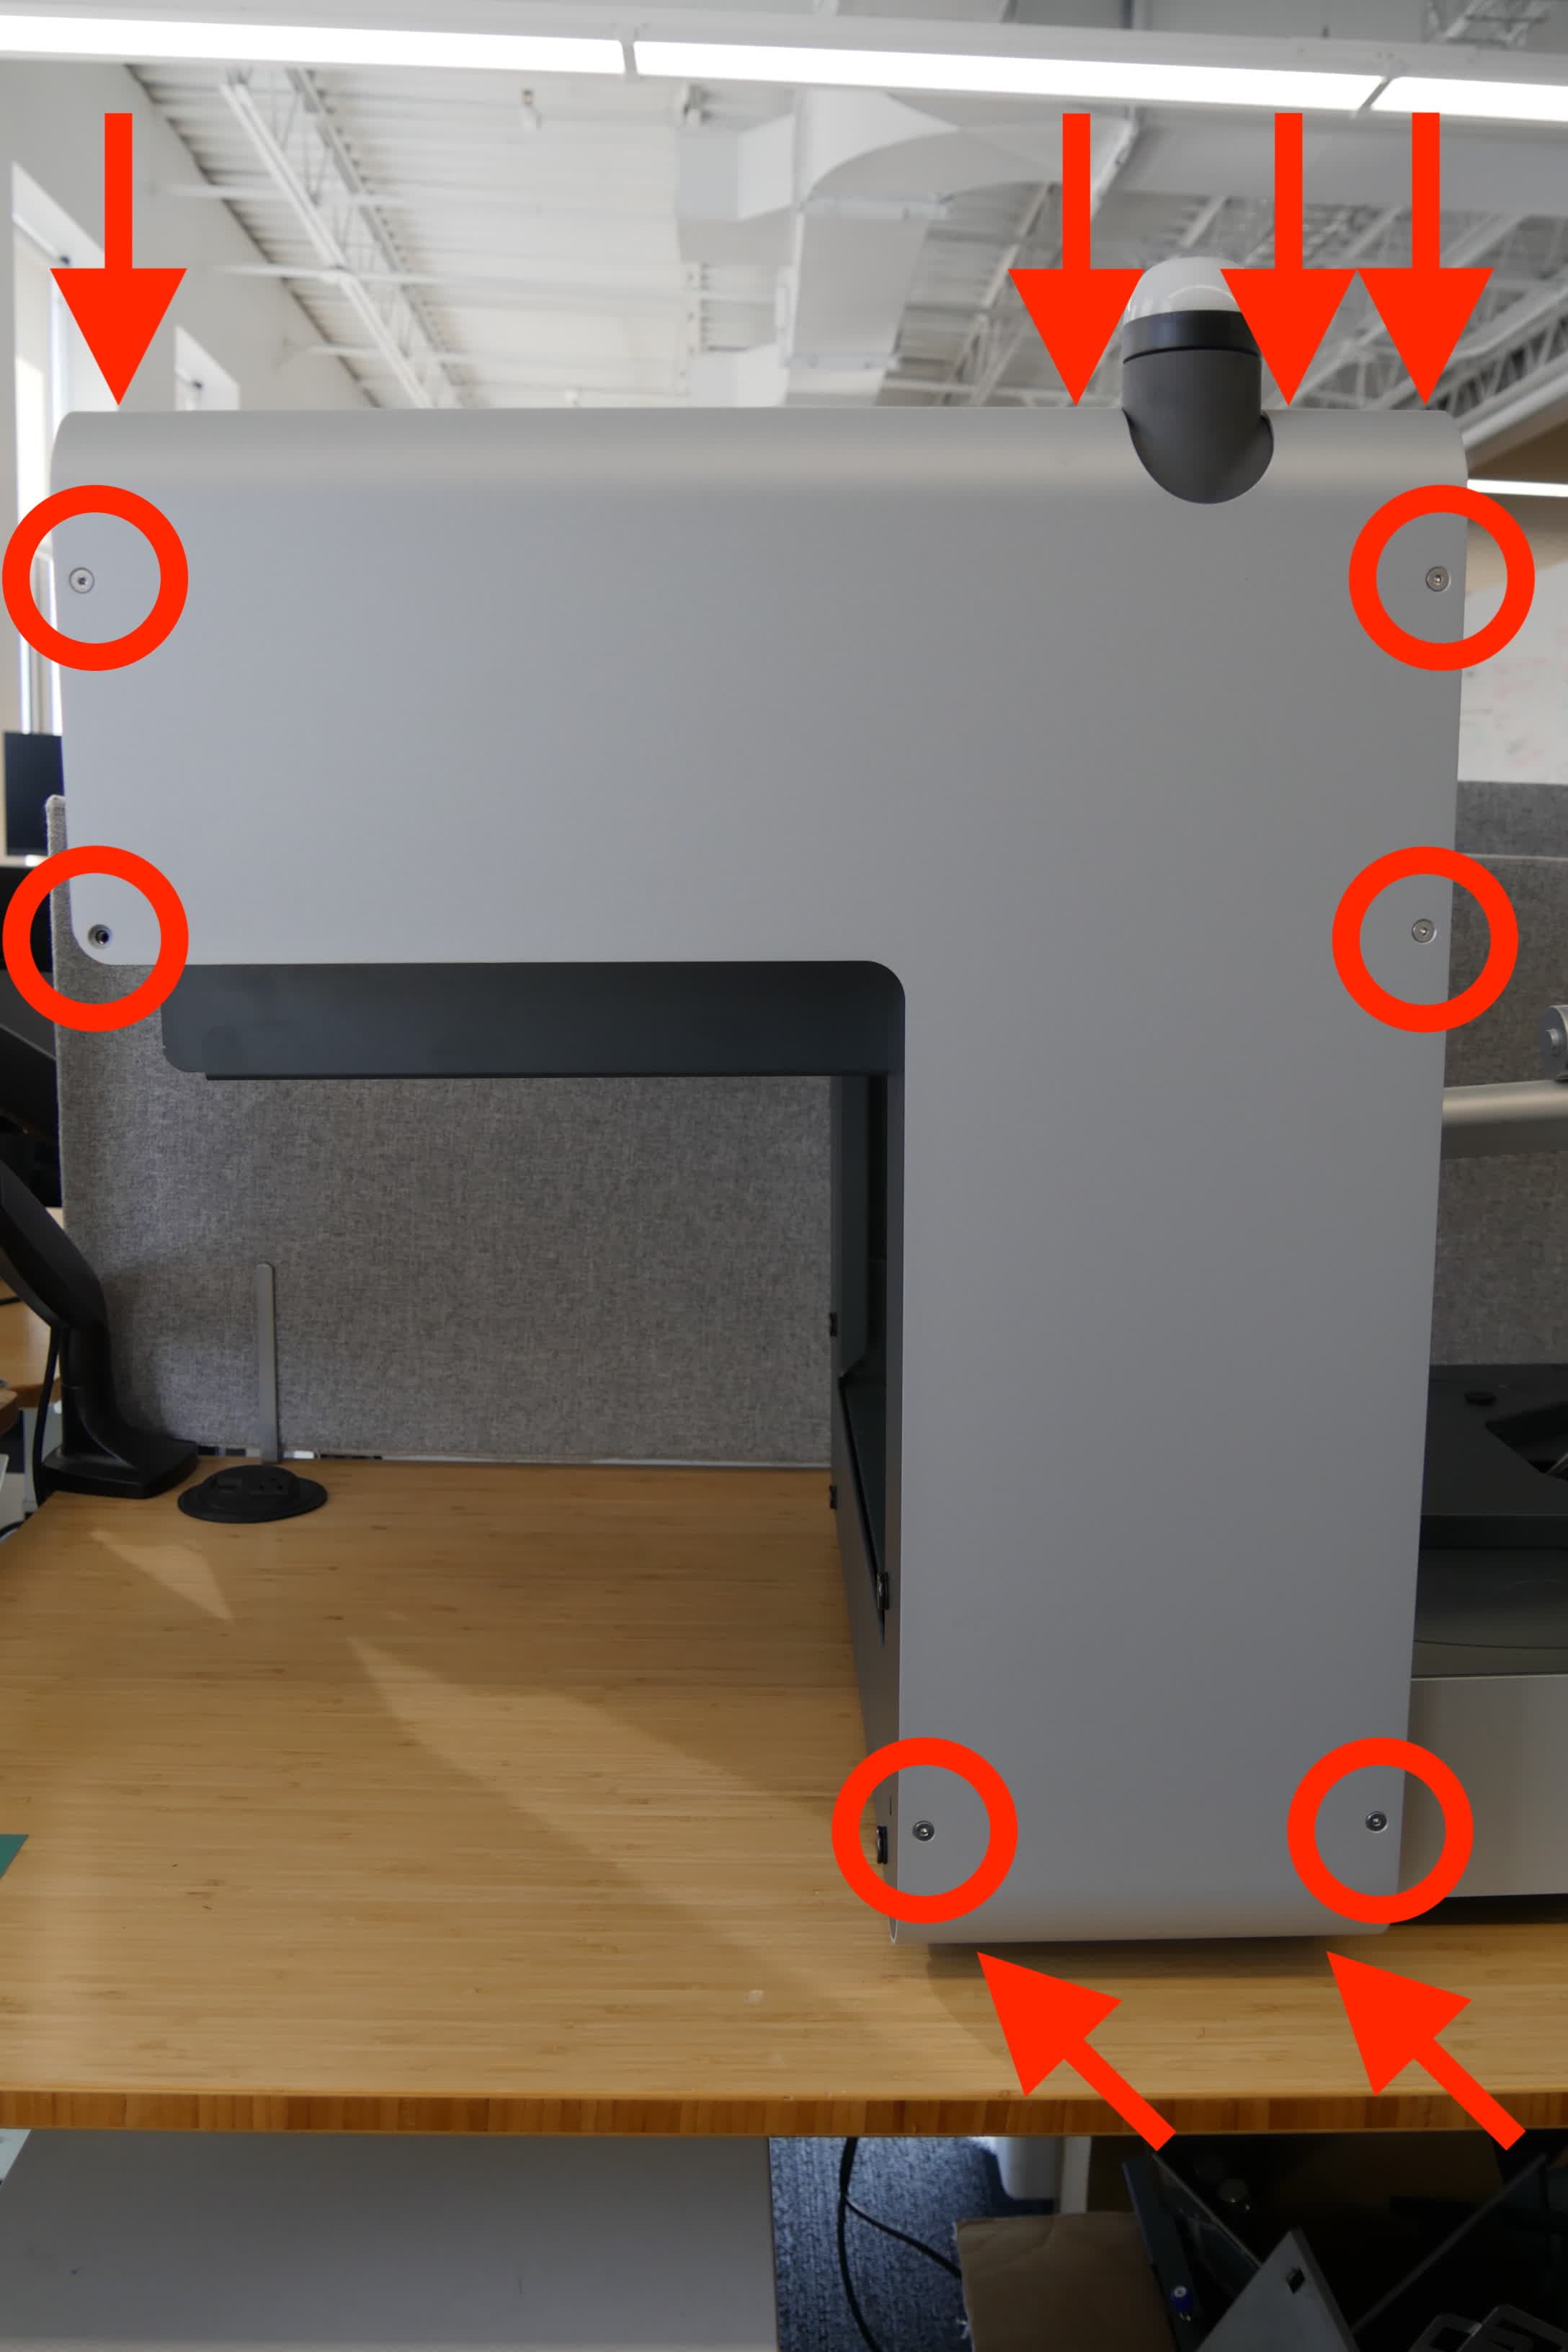
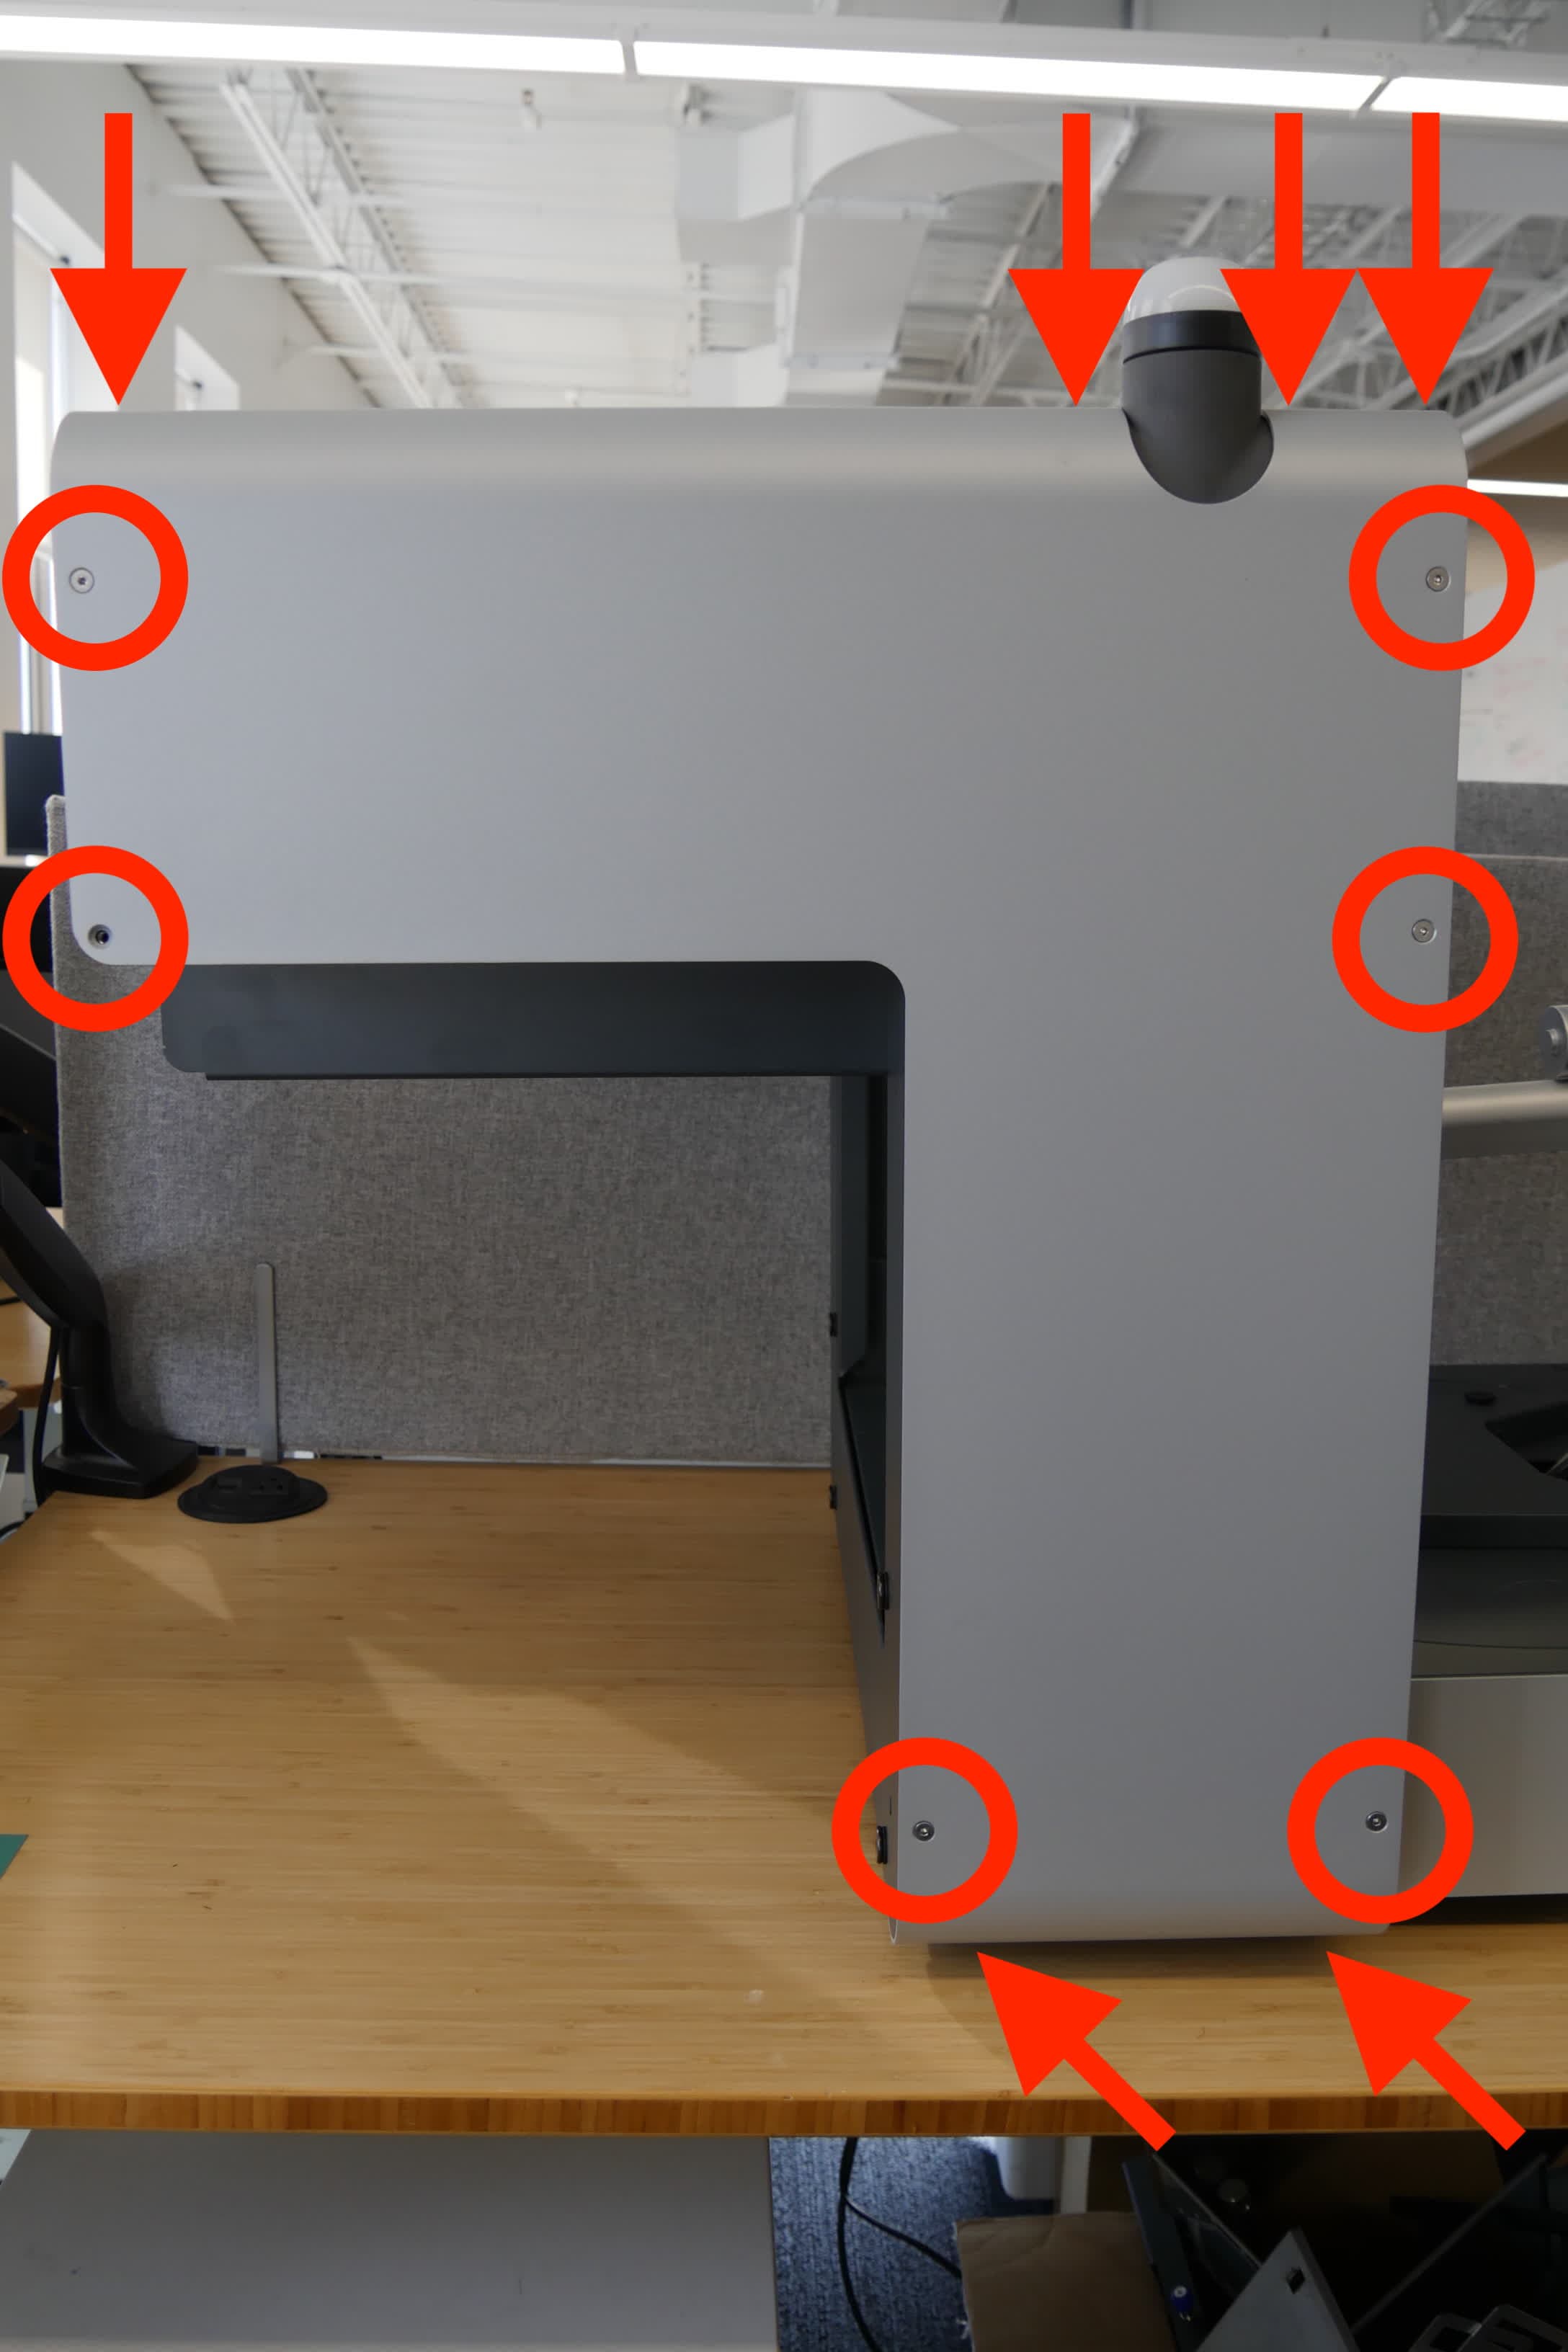
The printer displays a generic Motor error message if the Form Auto motors cannot move as expected. Check for obstructions around the printer and Form Auto that interfere with the movement of the cover or part removal mechanism. If the part removal mechanism interferes with the printer cover, adjust the cover actuator.

The printer may also display a more specific motor-related error, such as Error 358, Error 358/1, or Error 358/2. These errors indicate that a specific motor failed to reach its home position. Error 358/1 is related to the part removal mechanism, while Error 358/2 is related to the part release gantry. To resolve these errors:

Error 358/1Error 358/2
  1. Check for obstructions around the printer and Form Auto.
  2. Re-rack the part removal mechanism by pulling the arms to the closed position, then reopening them.
  3. Inspect the part removal mechanism pulley and service it if it is slipping. Follow the instructions in the guide Proactively servicing the Form Auto part removal mechanism pulley [EN] [DE] [ES] [FR] [IT] [JA] [ZH].
  4. If the pulley axle is damaged, replace the part removal mechanism. Follow the instructions in the guide Replacing the Form Auto part removal mechanism [EN] [DE] [ES] [FR] [IT] [JA] [ZH]. Replacement part removal mechanisms are available on the Formlabs Store.
  1. Check for obstructions around the printer and Form Auto.
  2. Re-rack the part release gantry by pulling it fully towards the printer, then pushing it back to its home position.
  3. Inspect the gantry pulley and service it if it is slipping. Follow the instructions in the guide Repairing a slipping gantry pulley [EN] [DE] [ES] [FR] [IT] [JA] [ZH].
  4. If the pulley axle is damaged, replace the part release gantry. Follow the instructions in the guide Replacing the Form Auto gantry drive assembly [EN] [DE] [ES] [FR] [IT] [JA] [ZH]. Replacement part removal mechanisms are available on the Formlabs Store.

If you see this error message repeatedly, contact Formlabs Support or your authorized reseller.

Form Auto not calibrated
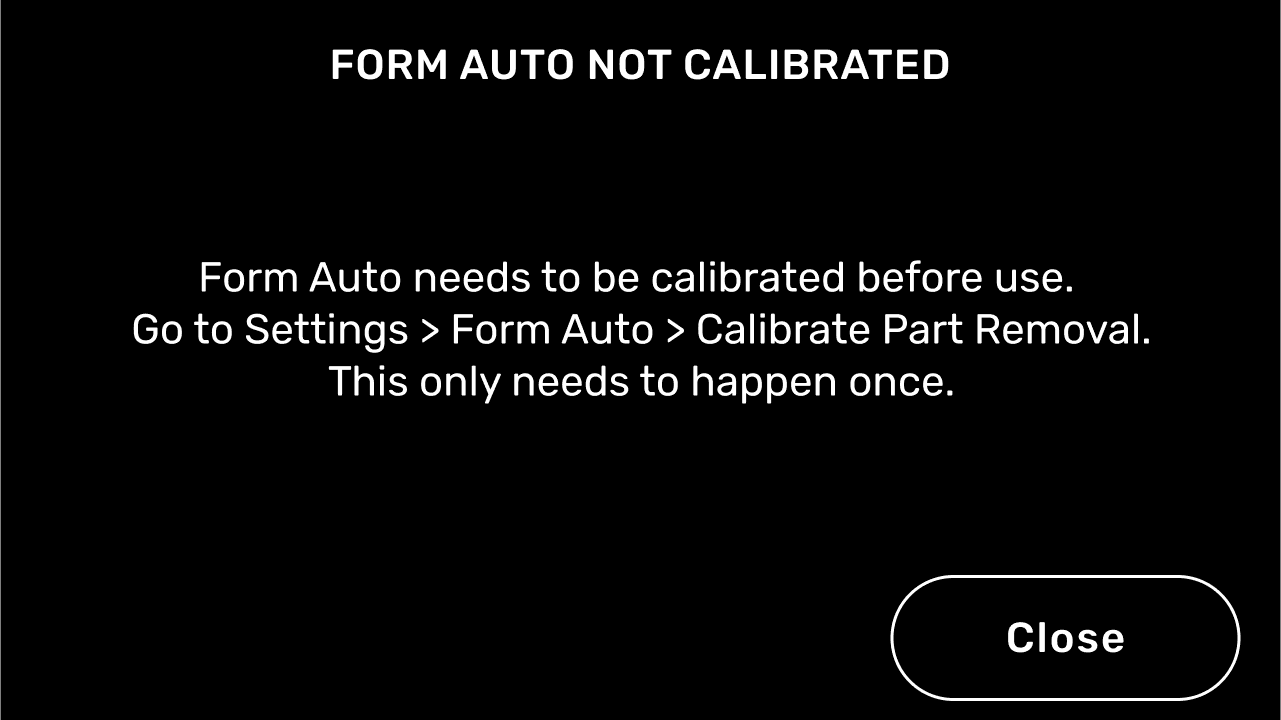
Form Auto error message: Form Auto not calibrated

The Form Auto must be leveled and calibrated before starting a print. The calibration routine detects the exact location of the Build Platform 2 relative to the part removal enclosure.

  1. Tap the wrench icon on the Home screen. The Settings screen appears.
  2. Tap Form Auto. The Form Auto screen appears.
  3. Tap Calibrate Part Removal. The Calibration screen appears. Do not start the calibration process without a Build Platform 2 inserted into the printer.
  4. Rotate the printer into the printing position.
  5. Tap Calibrate to start the calibration process. You may only need to calibrate the Form Auto during the initial setup.