Note:
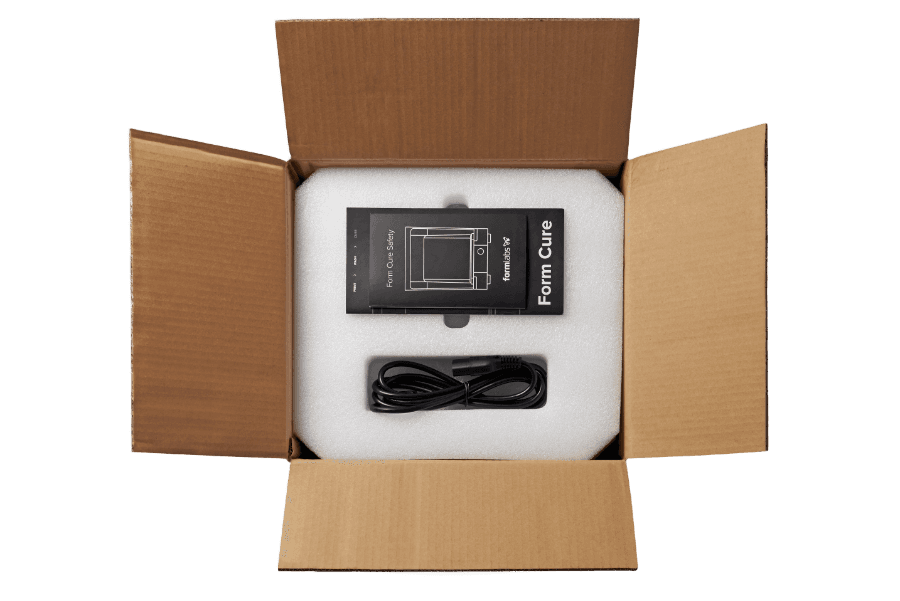
The machine’s power cord is included on top of the foam inside the box. If you cannot locate the power cable, be sure to check all boxes in your shipment, as it may have been packed separately.

Plan an appropriate location for the Form Cure. Purchase additional finishing supplies to ensure you can start using the Form Cure when it arrives.
The Form Cure is ready for use once the turntable is installed and the Form Cure is connected to power.
Additional supplies
Prior to receiving the Form Cure, purchase the following additional supplies to help finish post-cured parts:
Arranging the workspace
Review the technical specifications to determine the best location for the Form Cure.
The Form Cure has the following dimensions: 26.2 x 26.2 x 34.0 cm (10.3 x 10.3x 13.4 in). The Form Cure unit weighs 5.6 kg (12.4 lb).
Reserve the following minimum dimensions for the most convenient access:
Operate the Form Cure in a well-ventilated room with a temperature of 18–28 °C (64–82 °F). Follow safety considerations for the Form Cure.
Unboxing the Form Cure
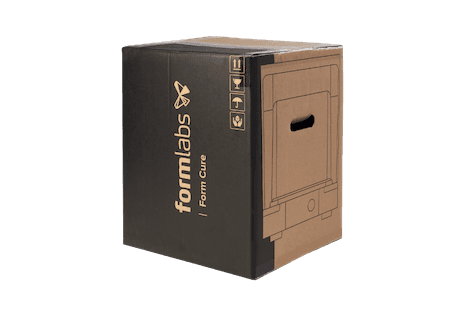
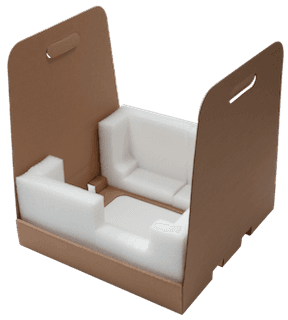
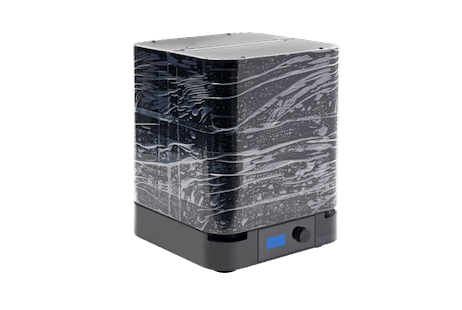
The Form Cure ships in a cardboard carton protected by foam inserts above and below the unit.
The upper foam insert contains the power supply and the Form Cure Safety Booklet (English only).
During unboxing, inspect the Form Cure for any damage or missing items. In the case of damage or missing items, contact Formlabs Support or your authorized reseller.
To unbox the Form Cure:
Note:
The machine’s power cord is included on top of the foam inside the box. If you cannot locate the power cable, be sure to check all boxes in your shipment, as it may have been packed separately.
Notice:
Remove all packaging material before connecting power. Retain all packaging and inserts for warranty service. Refer to the manual for the repackaging instructions.
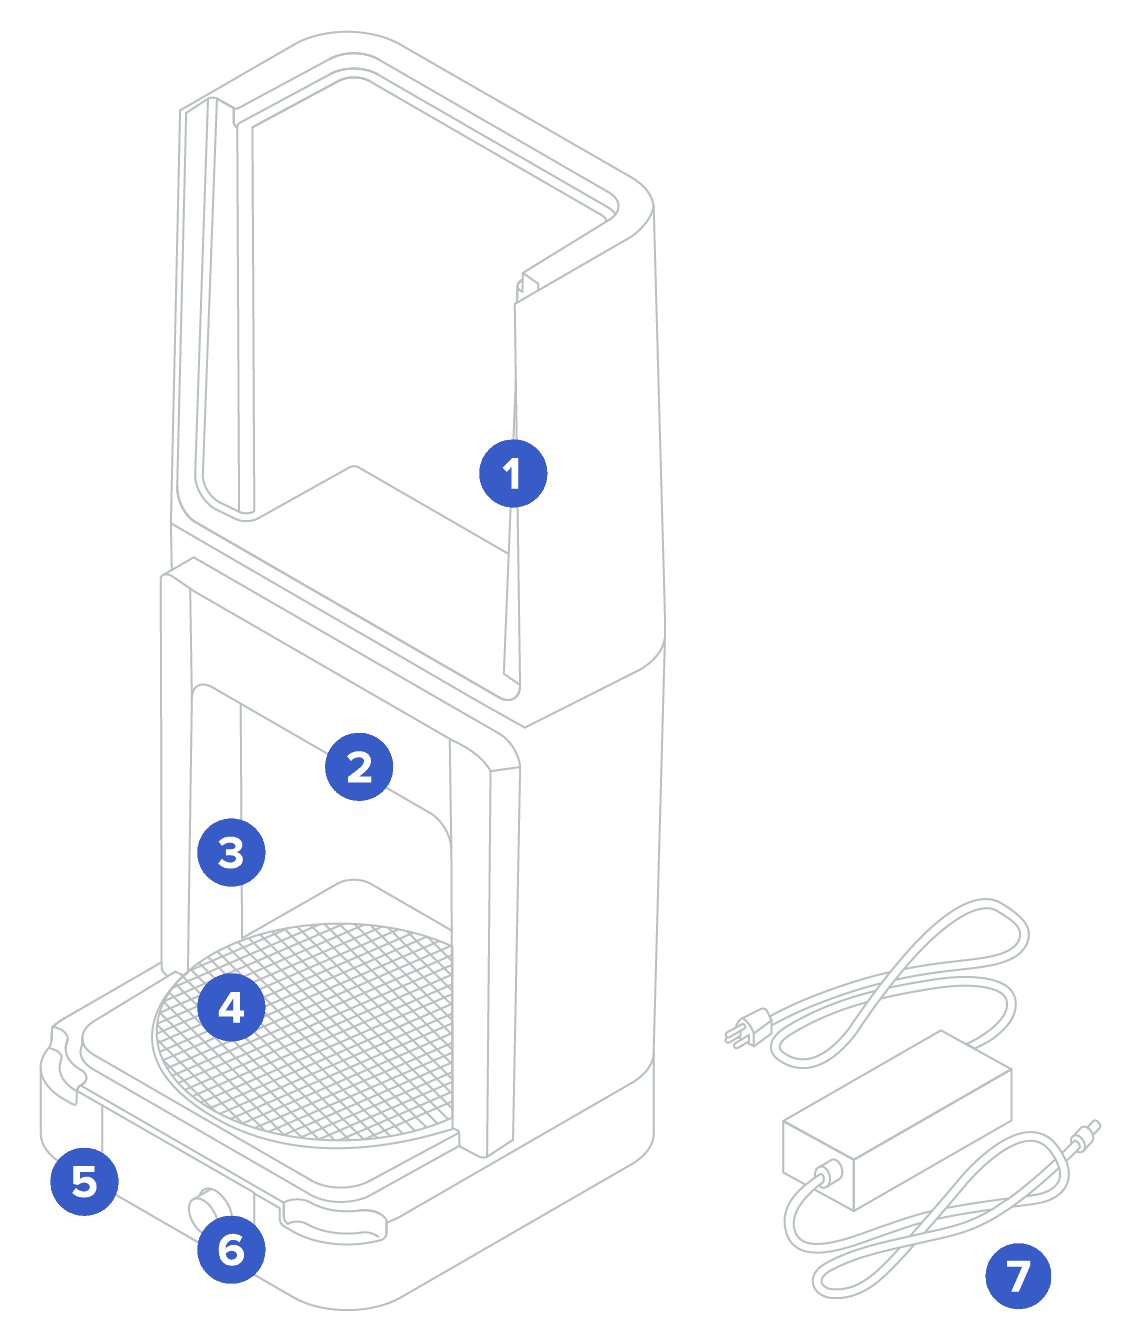
Form Cure components
Installing the Form Cure
Place the Form Cure on a clean, level surface with a nearby power source. The Form Cure is ready to use once the turntable is installed and the power is connected. Each cycle requires time to preheat before the 405 nm lights begin post-curing. The preheating time depends on the current temperature and the target post-cure temperature.
Step 1: Install the turntable
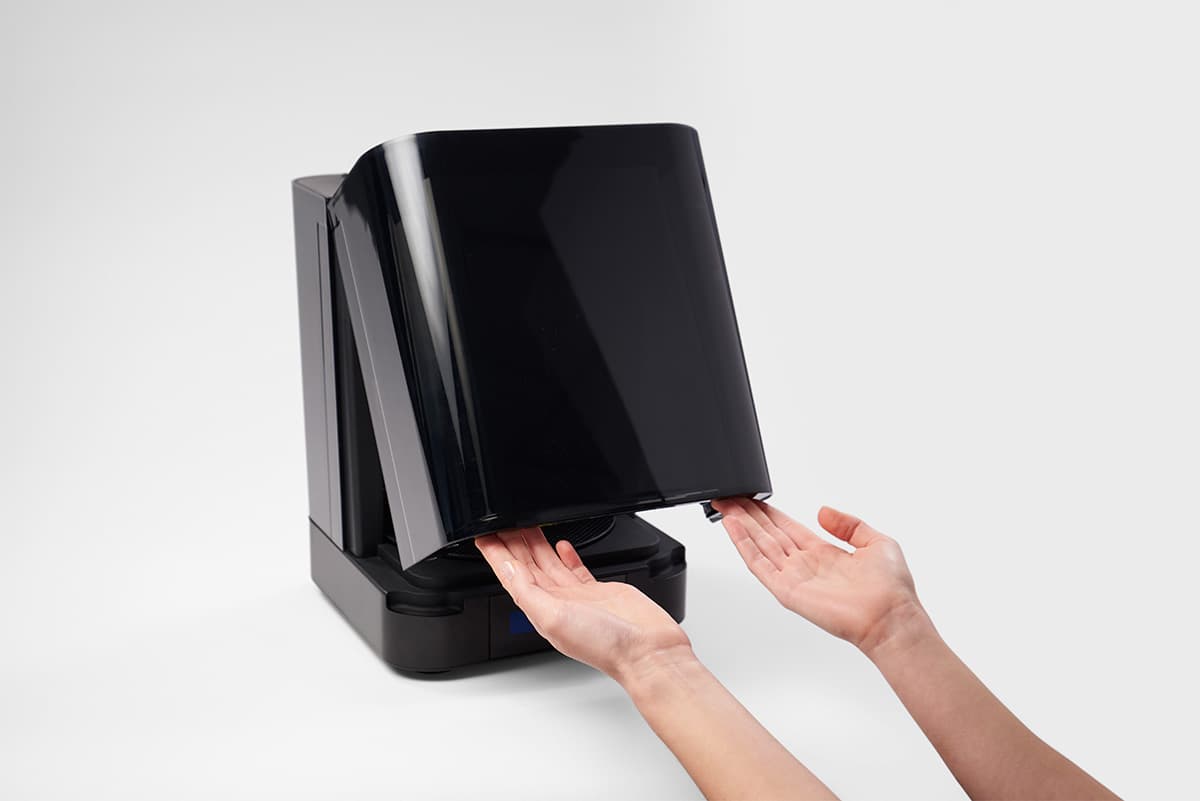
Lift the cover and place the turntable on the circular wheel mount at the base of the cure chamber.
Step 2: Connect the power supply
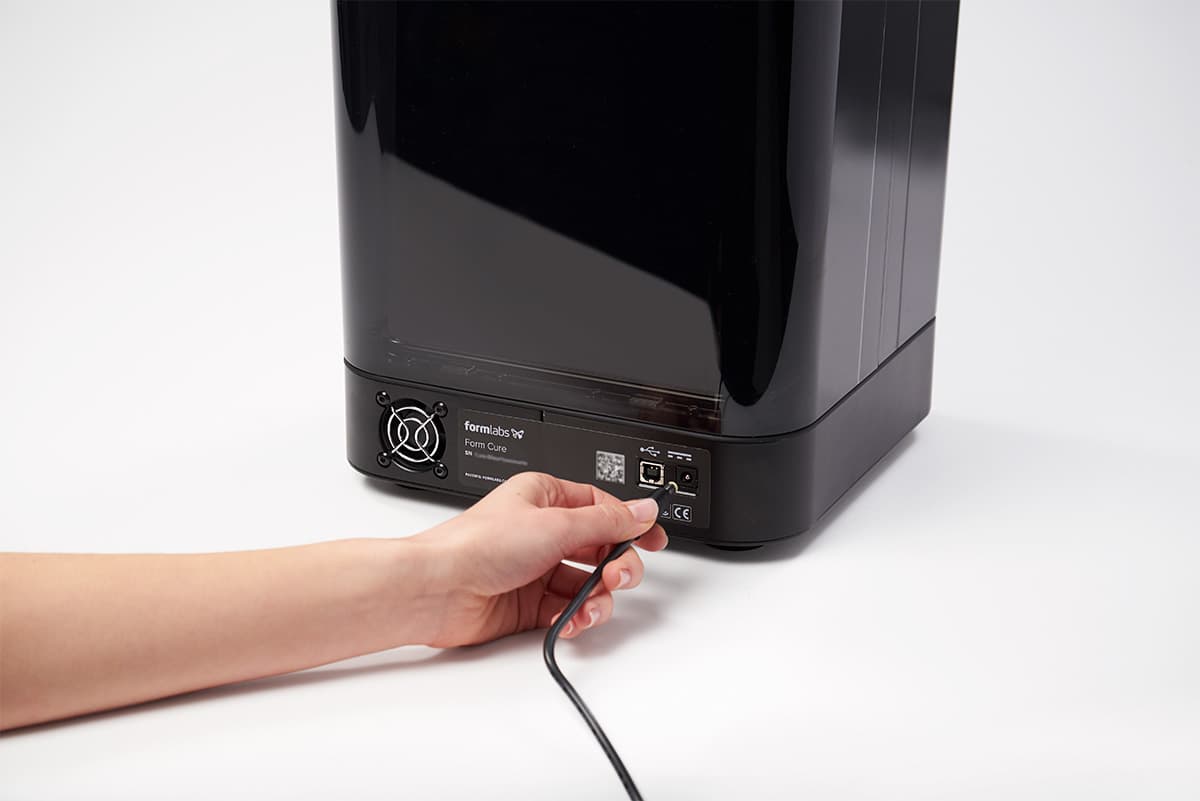
Connect the power cable and external supply to the Form Cure and a power source. The Form Cure includes a USB port to facilitate firmware updates.