
Note:
For PreForm to recognize your imported file as an assembly, it must be in a format that supports assemblies, such as STEP, SLDASM, ASM, or IAM. Your modeling software may allow you to export assemblies as a single part in a format such as STL.

PreForm supports a wide variety of 3D model file formats. To open a single file or multiple files to print on the same build platform:
Starting with PreForm 3.62.0, PreForm supports projects—you can set up builds across different printers and materials, switch between them from the new project panel, and move parts freely as your project plan evolves. On PreForm 3.62.0 or later, opening a FORM file gives you the option to to open it as a new project (overwriting the current project and any builds it contains) or add the build or builds in the FORM file to your current project. Note that while you can open multiple model files at once, you can only import one FORM file at a time this way.

Adjusting tessellation options for imported CAD files
When importing 3D models from computer-aided design (CAD) software, you can control the quality at which the model is imported:
| Name | Description | Units | Minimum value | Maximum value |
|---|---|---|---|---|
| Chordal Tolerance | Maximum distance between polygons and the original model surface | μm | 1.00 | 100.00 |
| Angle Tolerance | Maximum angle between consecutive polygon edges | degrees | 5 | 40 |
Importing a folder into PreForm
Starting with PreForm version 3.43, import all compatible models within a folder into the build scene in PreForm.
To import a folder into PreForm:
Importing an assembly into PreForm
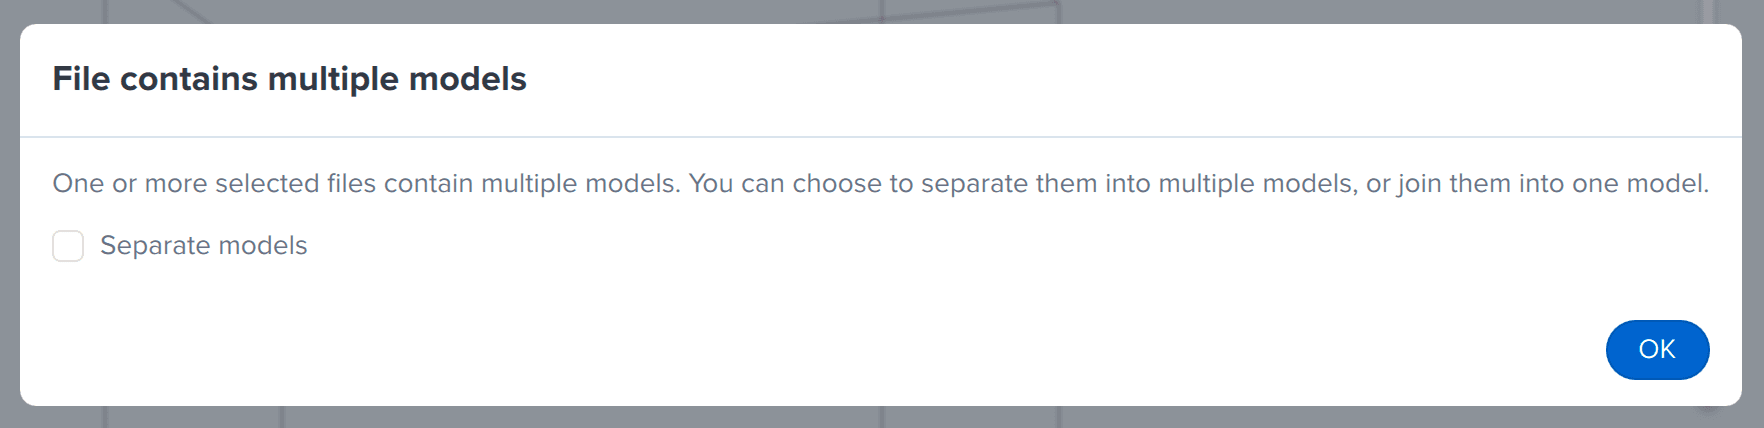
Starting with PreForm version 3.52.0, you can import an assembly and print it either as a single part or as its constituent parts.
Note:
For PreForm to recognize your imported file as an assembly, it must be in a format that supports assemblies, such as STEP, SLDASM, ASM, or IAM. Your modeling software may allow you to export assemblies as a single part in a format such as STL.
To import an assembly into PreForm:
Importing a model into a specific build in a project
To import a model and add it to a specific build within a project:
Compatible file formats
PreForm can open 3D models in following formats:
| Format | Extension |
|---|---|
| PreForm jobs | FORM |
| Formlabs print settings | FPS |
| STL files | STL |
| Wavefront OBJ files | OBJ |
| 3MF files | 3MF |
| STEP files |
STEP |
| SolidWorks files |
SLDPRT |
| PTC Creo files |
PRT |
| Jupiter Tessellation files | JT |
| CATIA V5 files |
CATPart |
| Autodesk Inventor files |
IPT |
| Rhino 3D files | 3DM |