
Required Supplies:
Formlabs:
- Replacement cover
- 2.5 mm hex driver
Third-party:
- Nitrile gloves

The cover is the upper enclosure of Form 3. It is made of a strong, amber-tinted material, and blocks exposure to the laser and protects the resin from curing due to ambient light. Large cracks or other damage to the cover could affect print quality or allow stray laser light to escape the printer.
Use this guide to replace the cover.
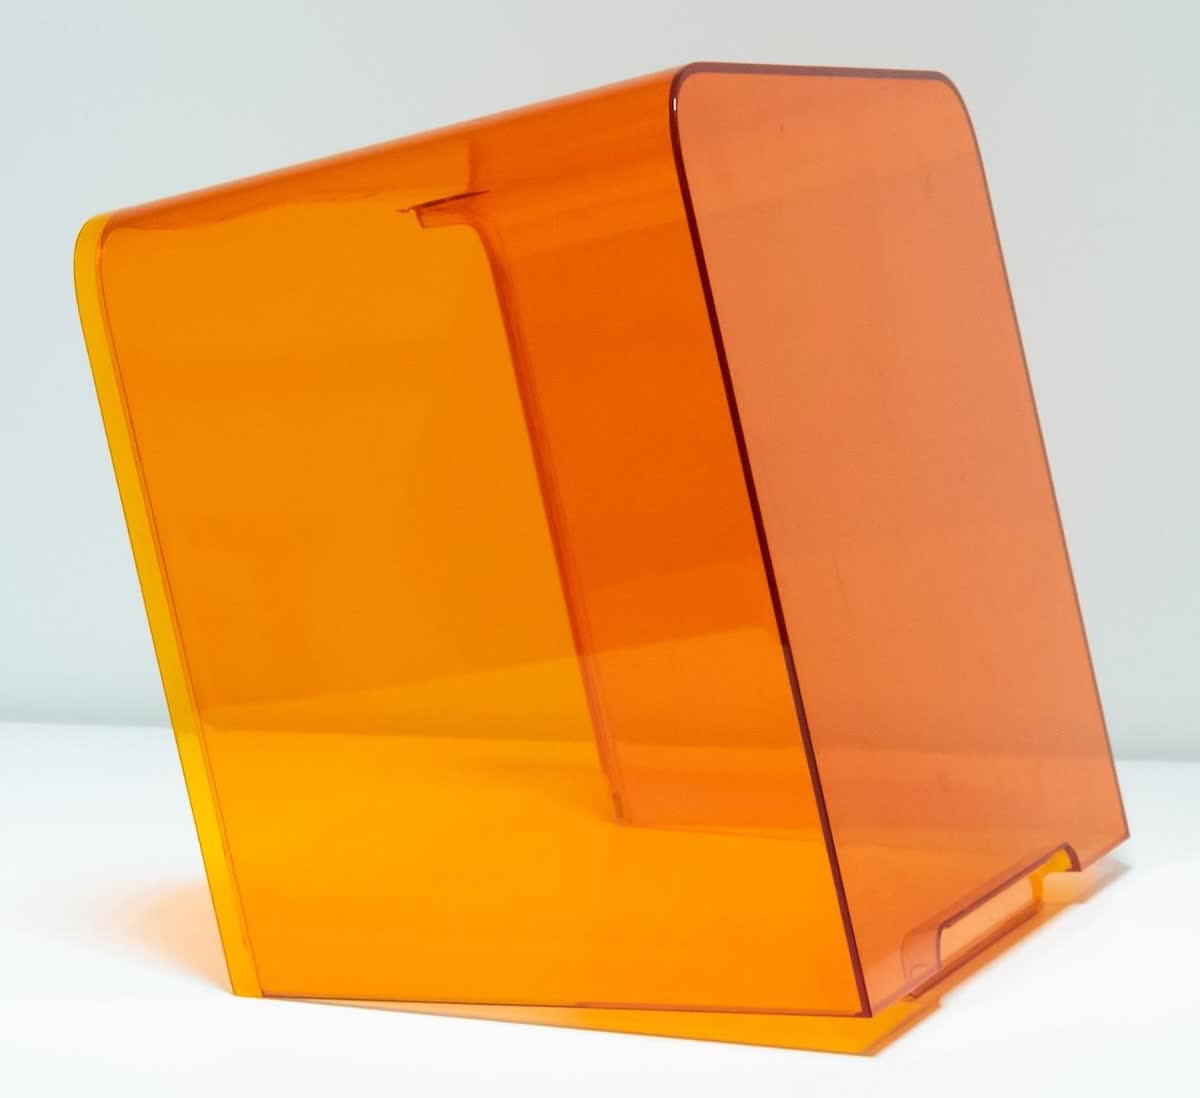
Required Supplies:
Formlabs:
Third-party:
Estimated time: 15 minutes
NOTICE:
This procedure may require an additional person to help steady and align the cover.
Preparing the workspace
Overview: Prepare the Form 3 and a dust-free workspace for replacing the cover.
Step 1: Remove the build platform
Remove the build platform first to avoid dripping resin into the printer cavity.
Step 2: Remove the resin cartridge
Remove the resin cartridge and close the vent cap to prevent resin from dripping off the bite valve and into the printer.
Step 3: Remove and store the resin tank
Remove the resin tank, place it in the resin tank case, and cover it with its lid. Set the case and tank aside on a clean, flat surface.
NOTICE:
Wear gloves and hold the resin tank by the tank grips on either side to avoid contamination or damage to the underside of the tank.
Step 4: Prepare the workspace
Clear a workspace around your printer. Ensure that the workspace is well-ventilated and free of dust.
Step 5: Unplug the printer
Disconnect the power cable before continuing with maintenance.
WARNING:
Moving parts and lead screws present crushing and tangling hazards. Be sure that the printer is unplugged from its power source and powered down before servicing the machine.
Removing the cover
Overview: After setting up a workspace, remove the printer cover.
The cover is attached to the underside of the hinge by four 2.5 mm hex screws. Open the cover to access the screws.
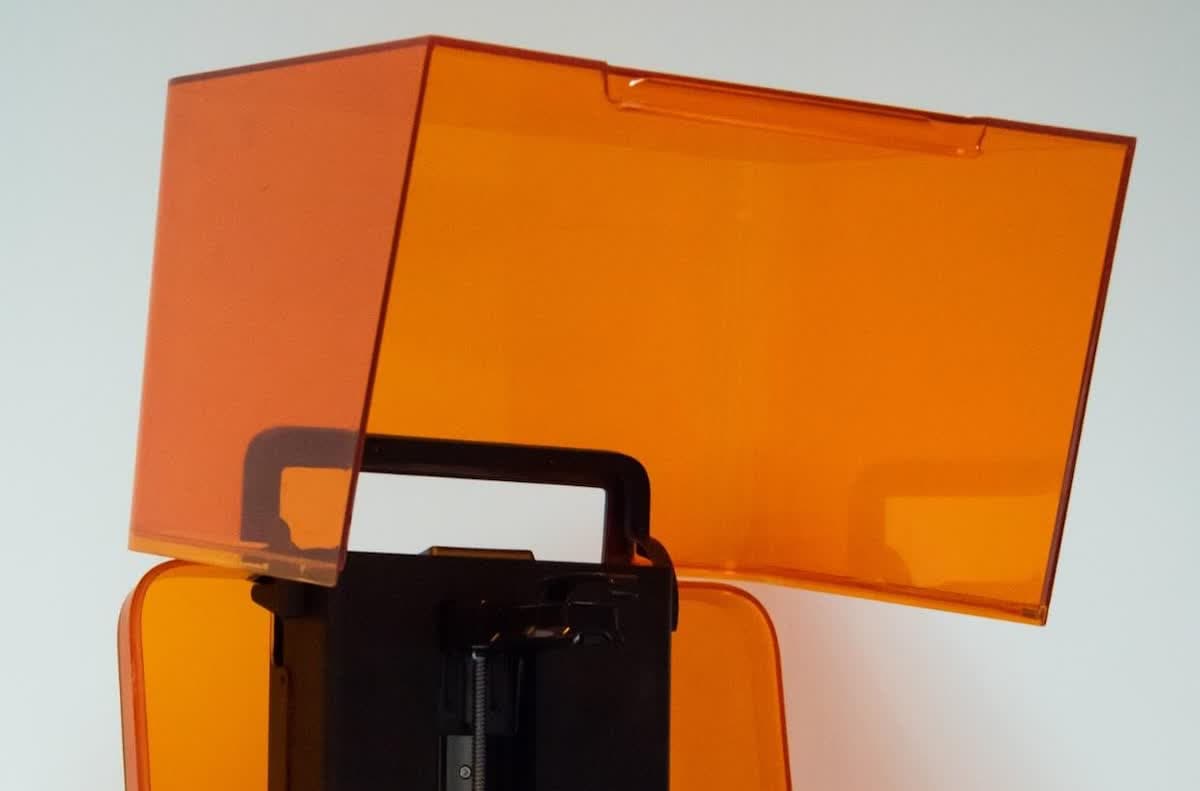
Fully loosen and remove the four screws holding the cover to the hinge with the provided hex driver. The cover is supported entirely by these four screws–if possible, have someone hold the cover steady while you remove them. Avoid dropping the screws into the printer cavity or the cartridge slot.
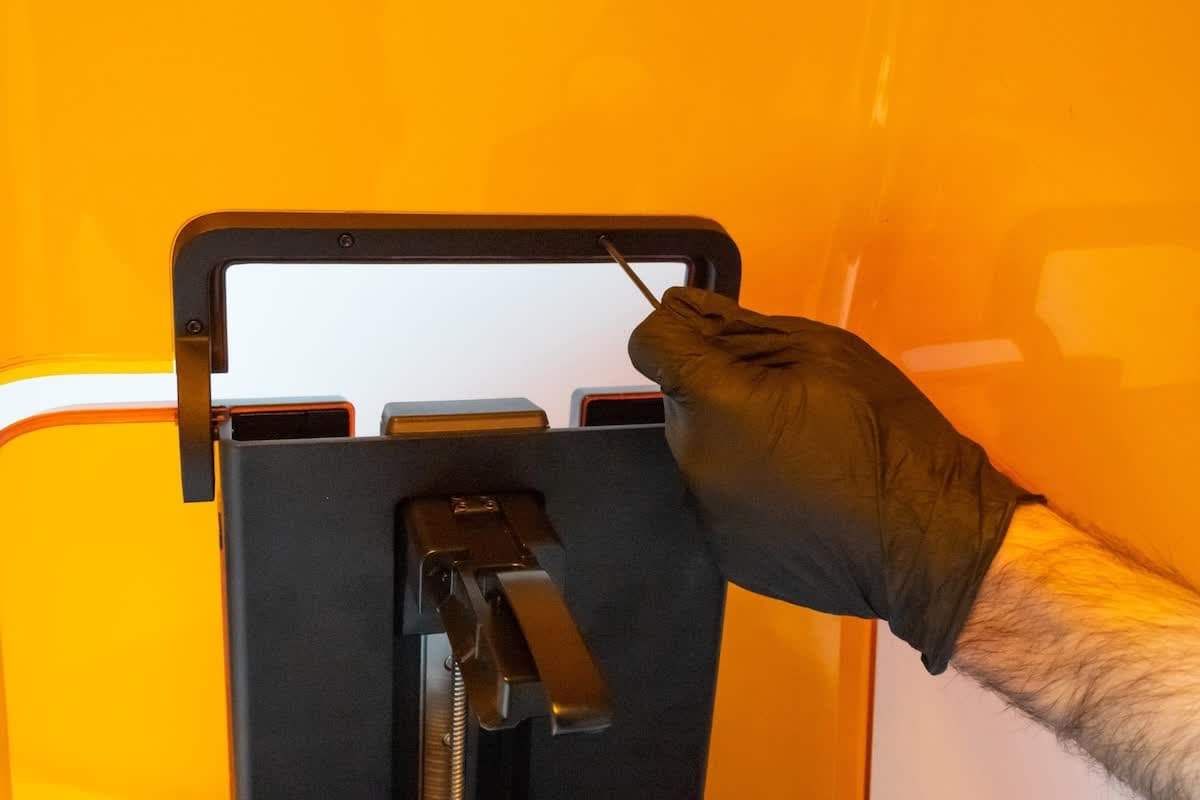
Remove the bracket at the top of the hinge (now facing the back of the printer) and set aside.
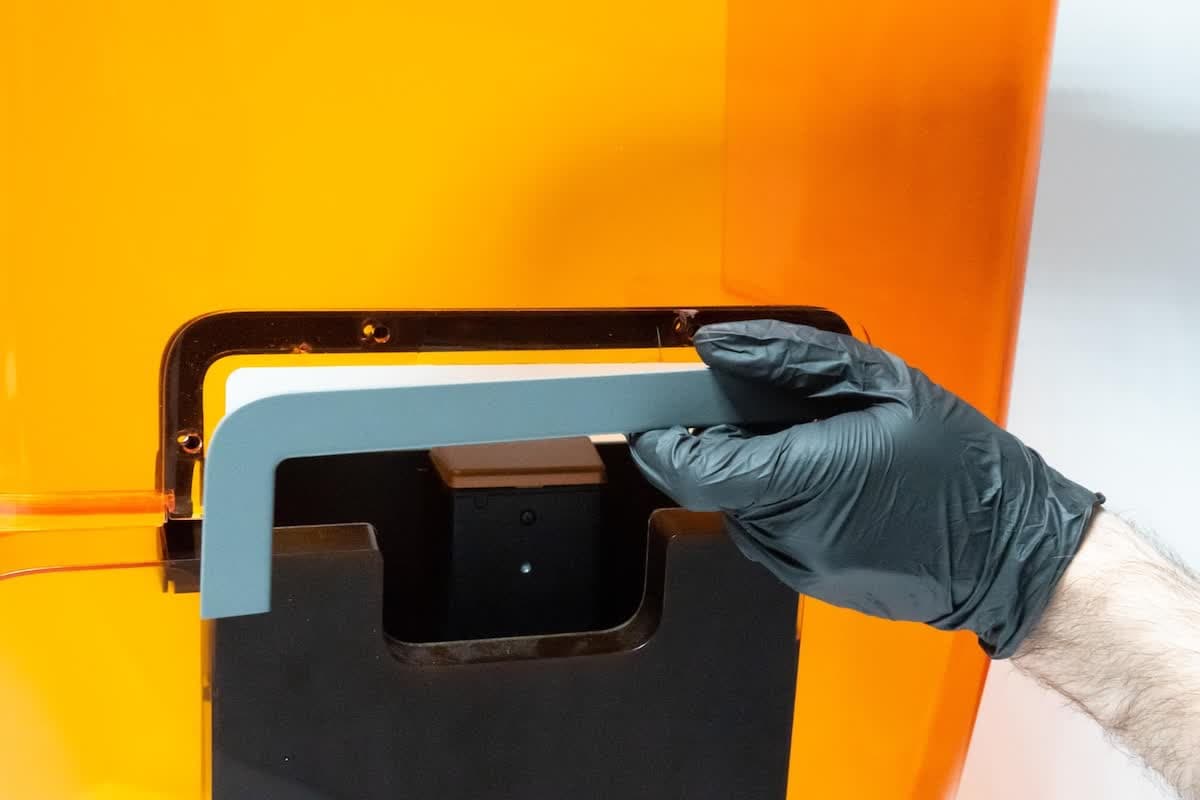
Step 4: Remove the cover
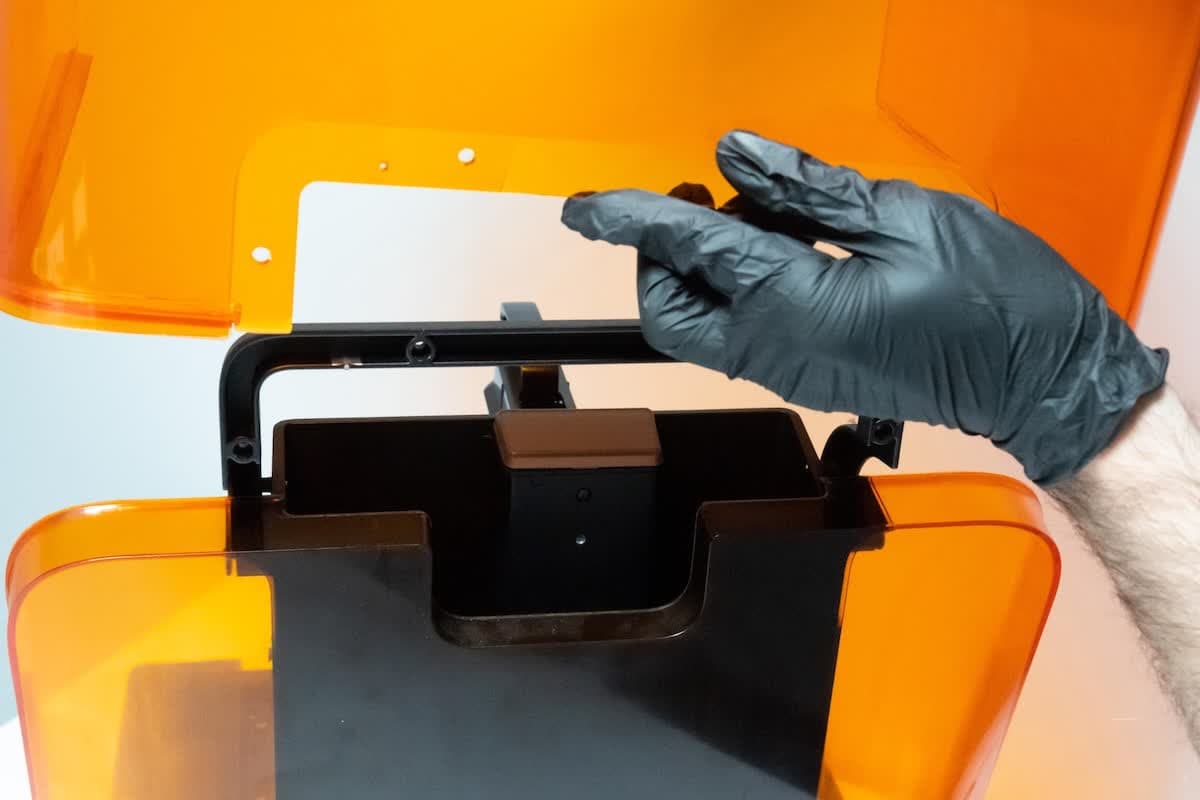
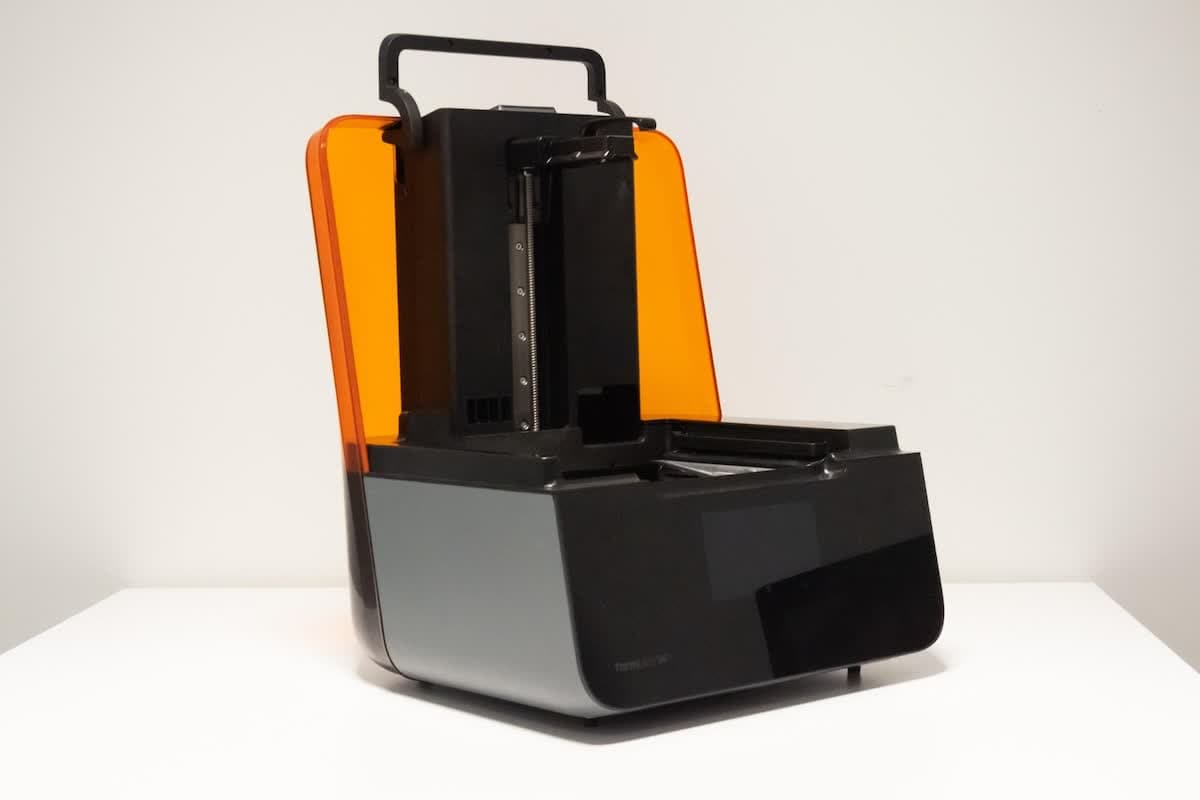
Lift the cover up and away from the printer, leaving the hinge in its open position.
Installing the replacement cover
Overview: Install and secure the replacement printer cover.
Hold the cover flush against the top of the hinge (now facing the back of the printer). Position the new cover so that its four screw holes line up with the holes in the hinge.
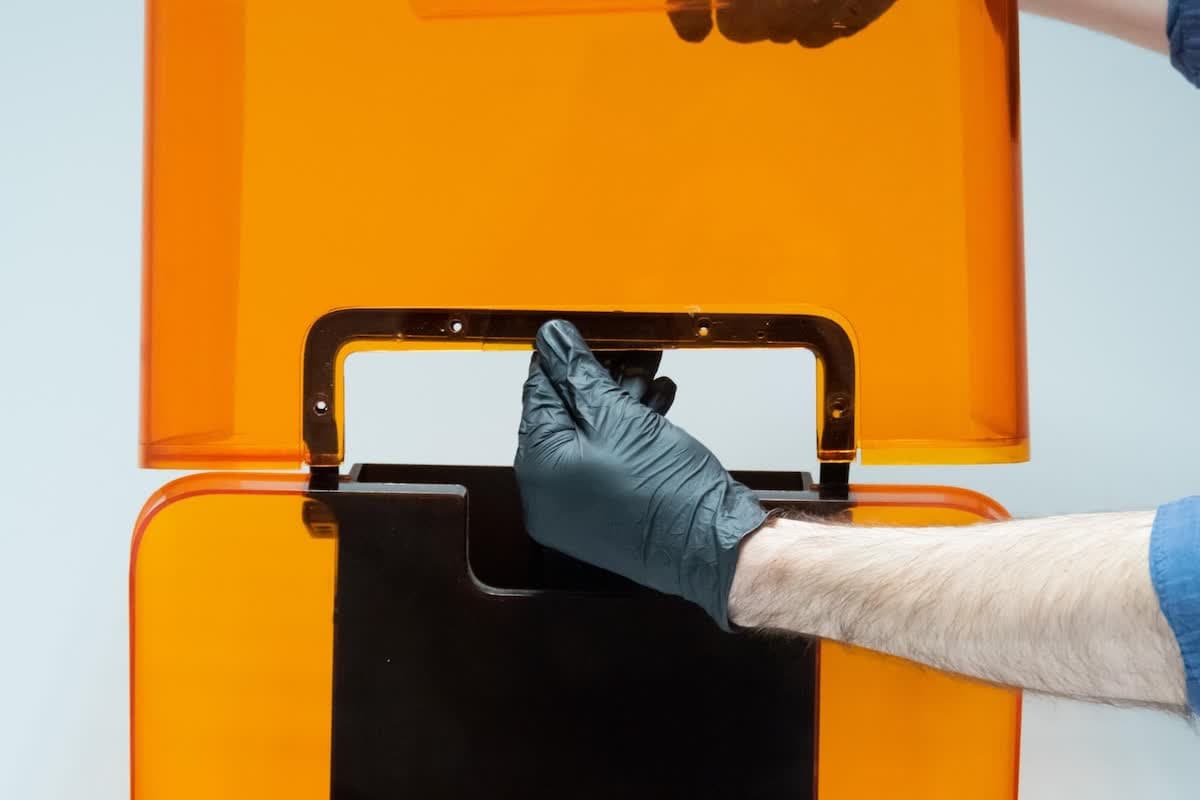
Put the bracket back into place so that the threaded fittings pass through the holes on the cover and into the hinge. The cover will be clamped between the bracket and the hinge.
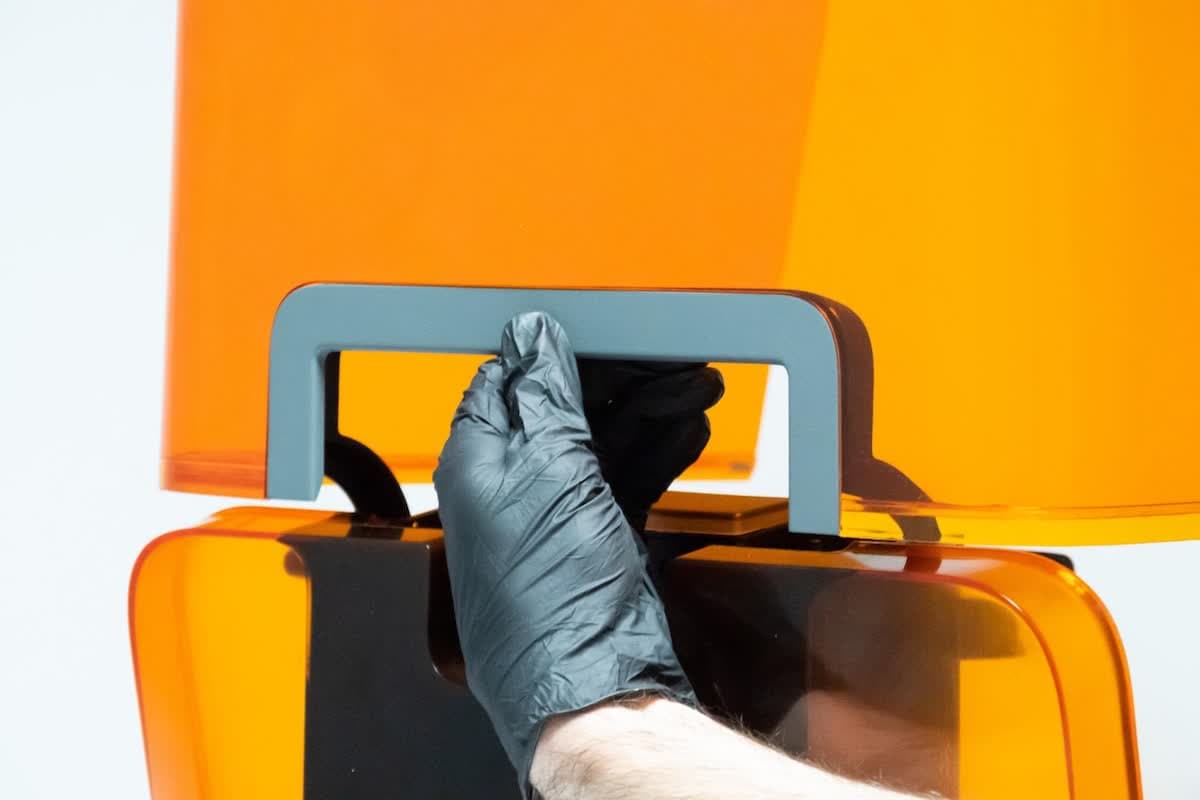
Step 3: Install the screws
Insert each of the four screws into their holes in the bottom face of the hinge. Tighten with the provided hex driver until snug. Avoid dropping the screws into the printer cavity or the cartridge slot. If any of the cover screws are lost or damaged, they can be replaced with a standard 10 mm long M3 x 0.5 mm socket head screw.
Finalizing the repair
Overview: After replacing the cover, perform final checks.
Step 1: Power on the printer
Close the printer cover and connect the power cable to the printer and the power supply. The printer initializes. If the cover has been installed properly, the printer returns to its ready state.
Step 2: Set up the printer
Insert the resin tank, resin cartridge, and build platform to continue printing. If the printer reports that the cover is open, repeat these steps and ensure that the cover closes properly.