
Required Supplies:
Formlabs:
- Roller holder (optical window assembly)
- 16x M2.5 x 6 mm long button socket cap screws
- 1.5 mm hex driver
- LPU gasket cover
Third-party:
- Nitrile gloves
- Paper towels
- Clean isopropyl alcohol (IPA, 90% or higher)

The roller holder sits on top of the Light Processing Unit housing inside the Form 3. It houses two sets of rollers that tension the film in the bottom of the resin tank as well as the window that the laser shines through to cure each layer in a print. A dirty or damaged roller holder may impact print quality or lead to damage to the Light Processing Unit itself.
Use this guide to replace the Form 3 roller holder.
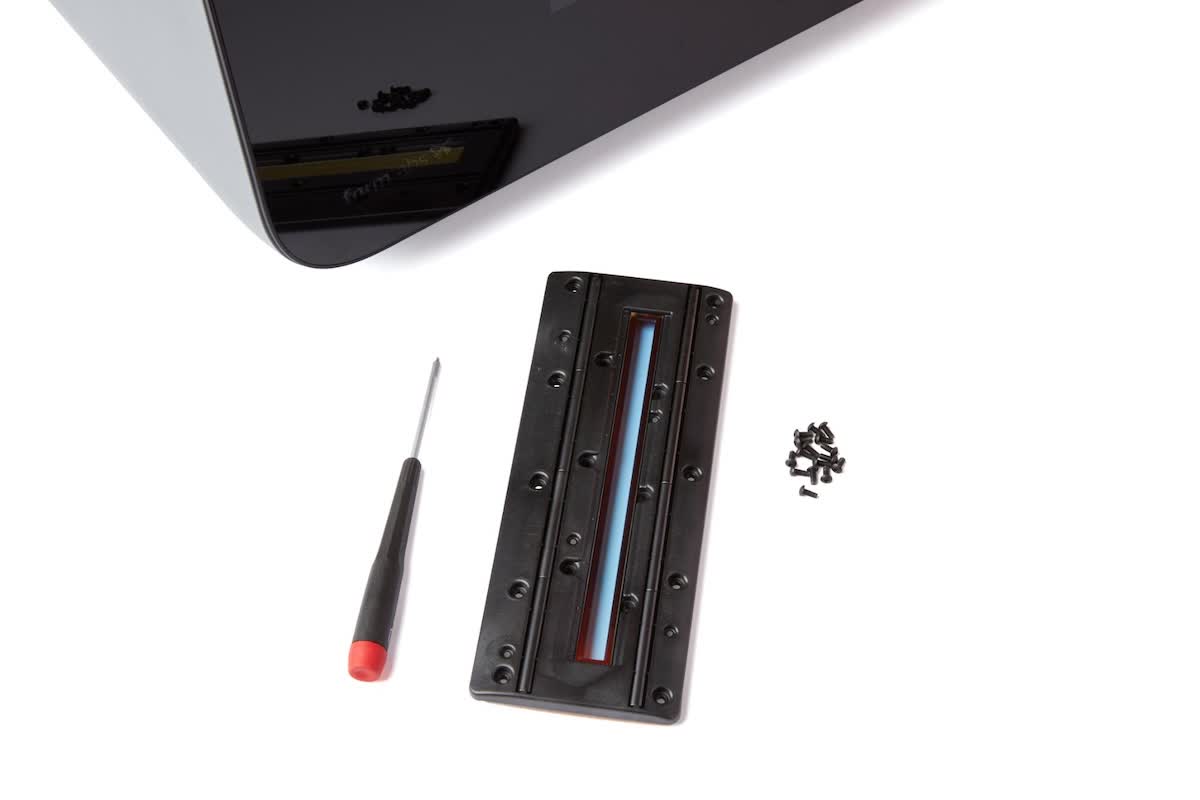
Required Supplies:
Formlabs:
Third-party:
Estimated time: 20–30 minutes
Preparing the workspace
Overview: Prepare the Form 3 and a dust-free workspace for replacing the roller holder.
NOTICE:
Do not remove the roller holder from its packaging until you have completed the preparation portion of this procedure to limit its exposure to dust and other contaminants. Avoid touching the rollers or optical window on the replacement roller holder to limit contamination from skin oils and/or resin.
Step 1: Remove the build platform
Remove the build platform first to avoid dripping resin into the printer cavity.
Step 2: Remove the resin cartridge
Remove the resin cartridge and close the vent cap to prevent resin from dripping off of the bite valve and into the printer.
Step 3: Remove and store the resin tank
Remove the resin tank, place it in the resin tank case, and cover it with its lid. Set the case and tank aside on a clean, flat surface.
NOTICE:
Wear gloves and hold the resin tank by the tank grips on either side to avoid contamination or damage to the underside of the tank.
Step 4: Prepare the workspace
Clear a workspace around your printer. Ensure that the workspace is well-ventilated and free of dust.
Tap the gear icon to access the Settings screen, then tap Maintenance > Motor Moves. The Motor Moves screen appears. Tap and hold Left (<) to move the LPU housing to the middle of the printer cavity. Other controls on this screen fully sweep the LPU housing across the printer cavity and control the build platform carriage.
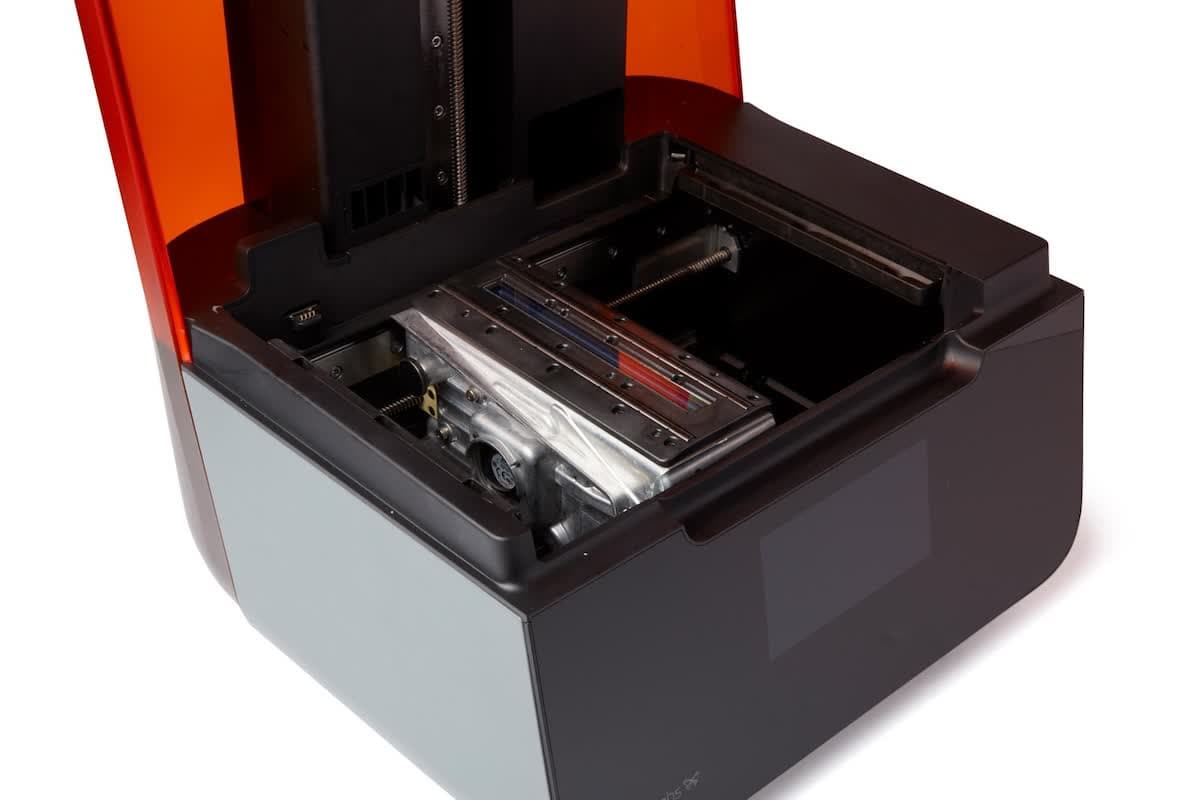
Step 6: Unplug the printer
Disconnect the power cable before continuing with maintenance.
WARNING:
Moving parts and lead screws present crushing and tangling hazards. Be sure that the printer is unplugged from its power source and powered down before interacting with the LPU.
Step 7: Clean the roller holder
Open the printer cover. Clean any resin pooled on top of the roller holder and adjacent surfaces with paper towels. Dampen the paper towels with isopropyl alcohol if necessary to fully remove the resin.
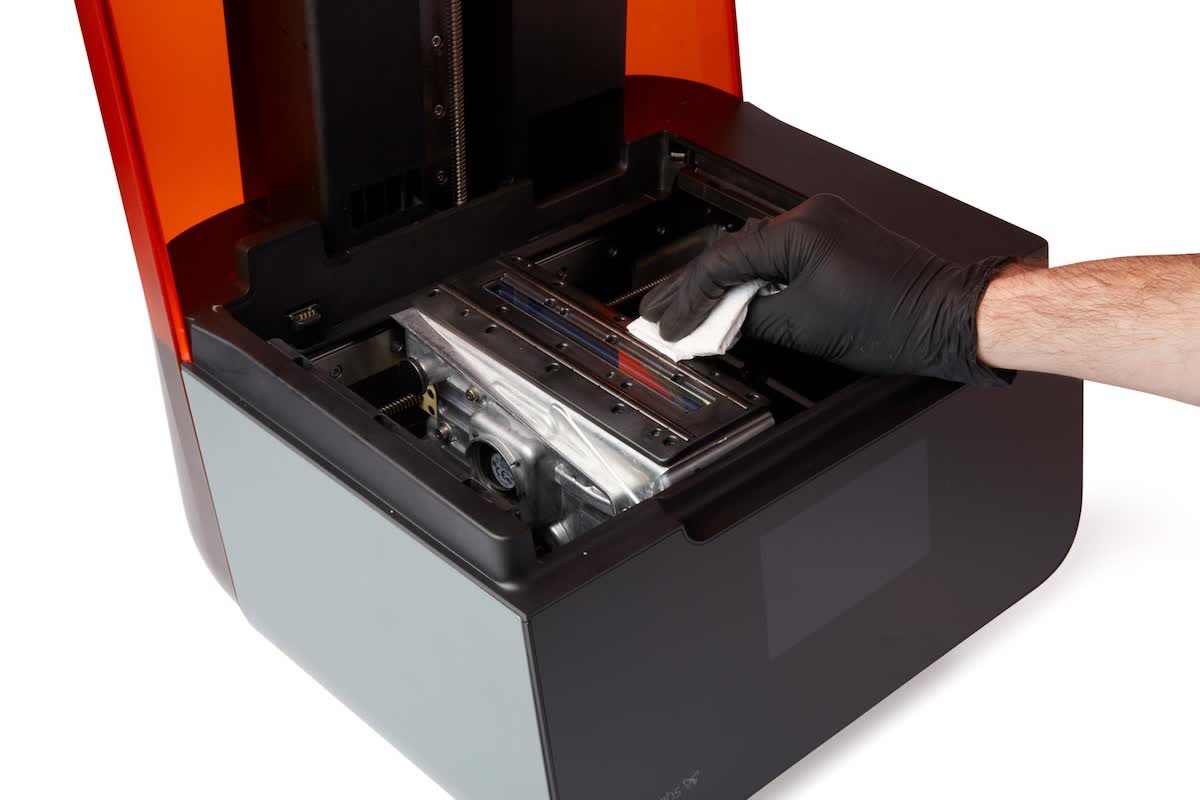
WARNING:
Resin may cause skin irritation or an allergic skin reaction. Wear gloves when handling liquid resin or resin-coated surfaces. Wash skin with plenty of soap and water.
DANGER:
Fire hazard. IPA is flammable. Keep containers closed, and keep out of the reach of children.
Removing the roller holder
Overview: After moving the LPU housing into its maintenance position, remove the roller holder.
Fully loosen the 16 screws on top of the roller holder with the provided hex driver. Avoid dropping the screws into the printer cavity.
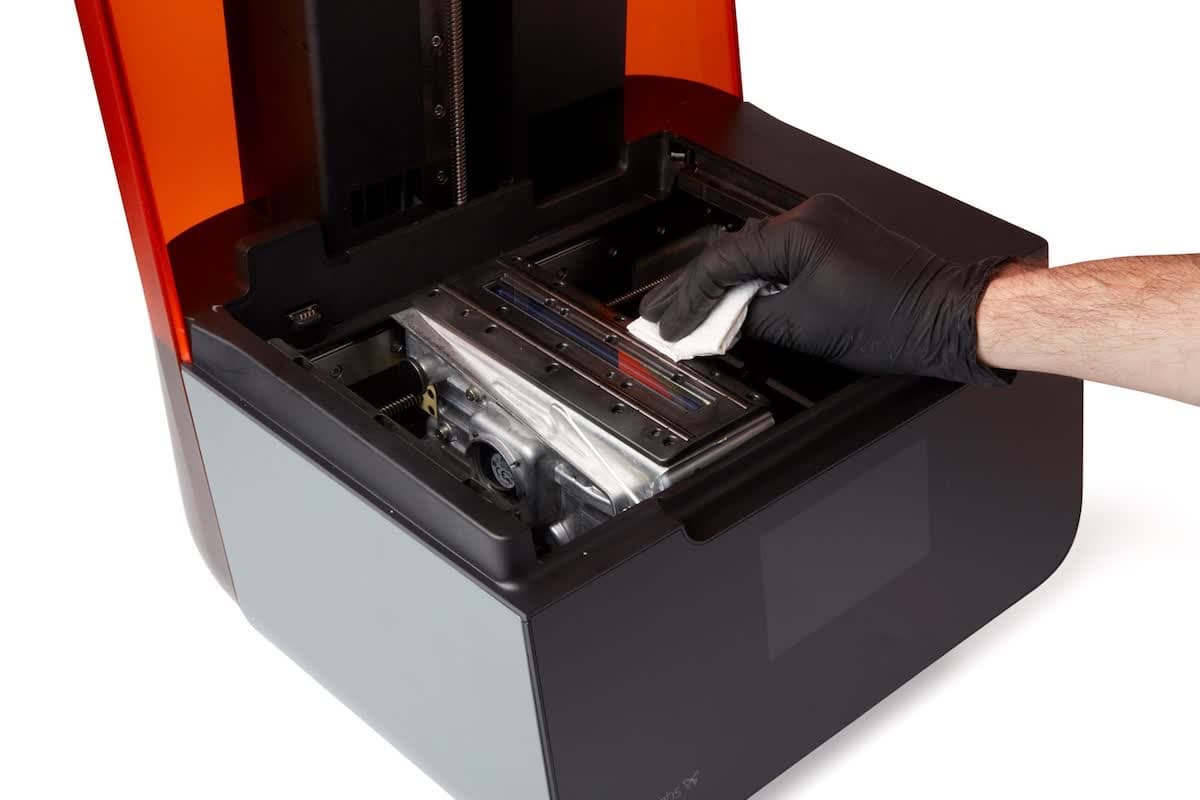
Step 2: Remove the roller holder
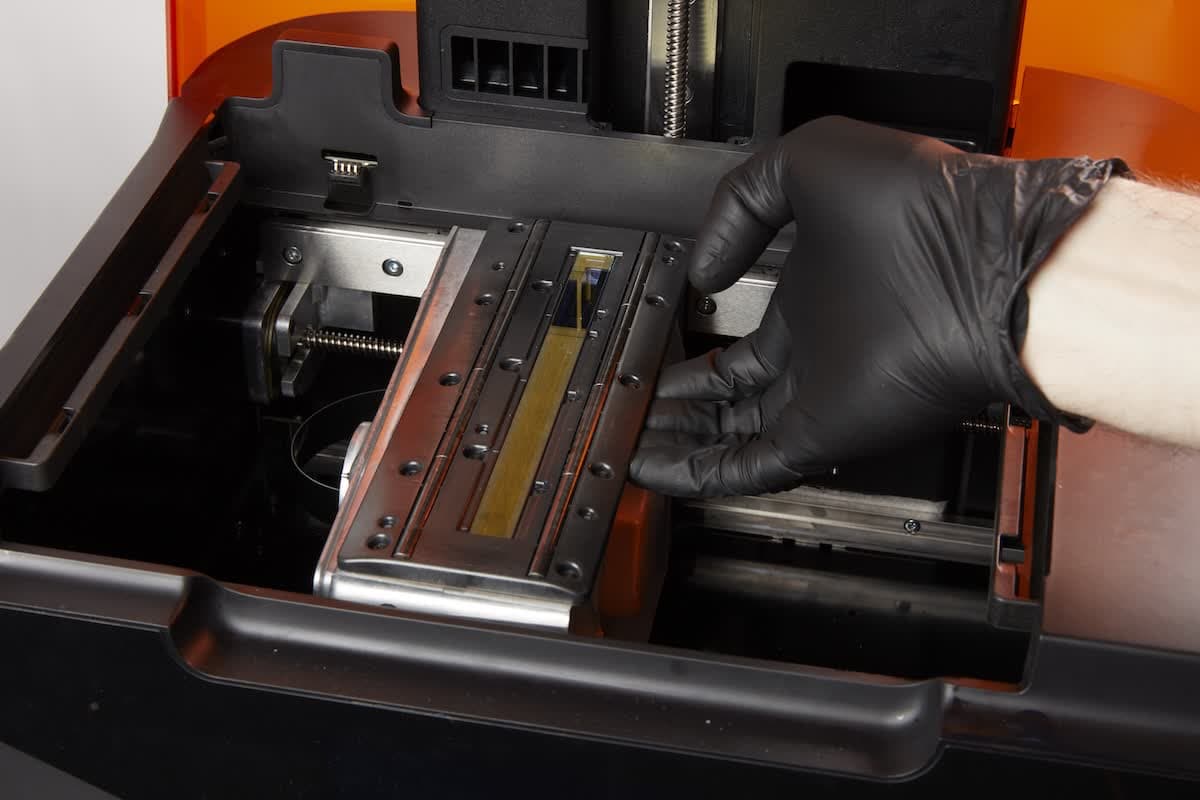
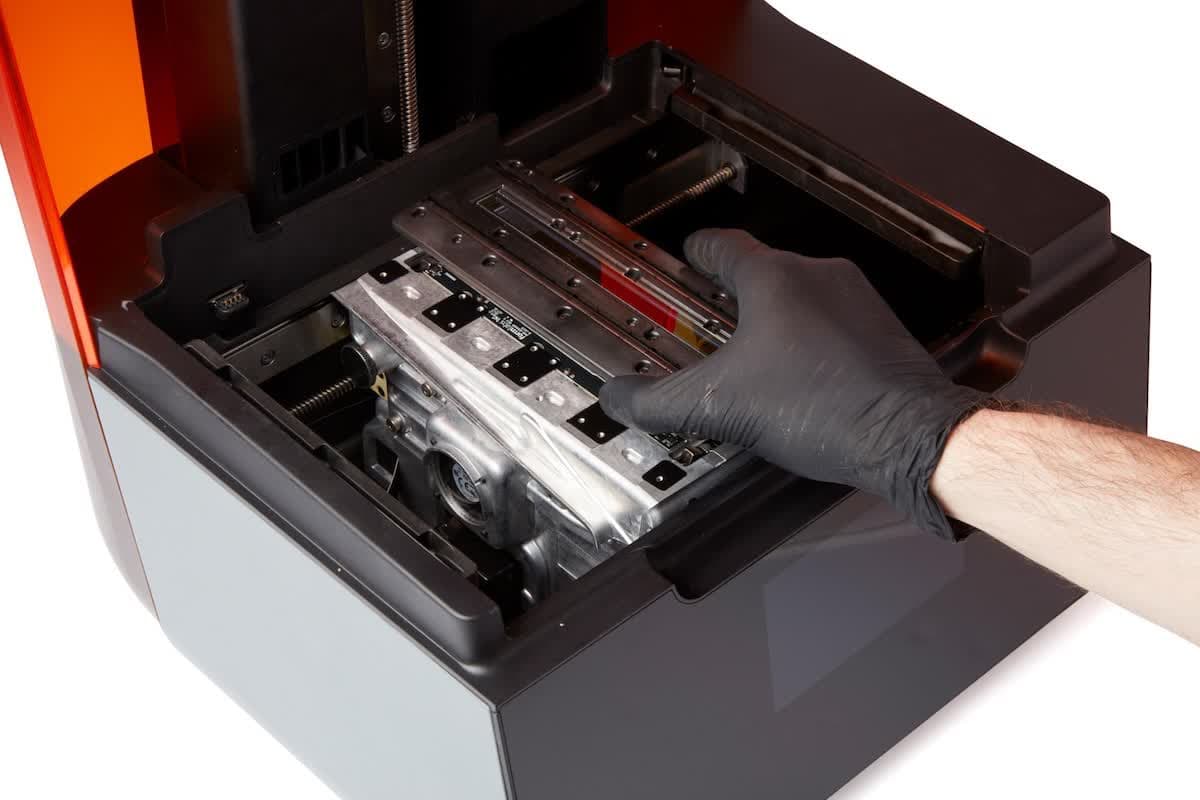
Layer several clean paper towels to the side of your work area. Carefully lift each edge of the roller holder to separate it from the LPU housing. Once the roller holder is free, lift the roller holder vertically away from the LPU housing. Quickly place the roller holder onto the paper towels to prevent any resin from dripping into the printer.
NOTICE:
Do not allow any resin or other debris to fall into the rectangular laser opening below the roller holder. Contamination may require additional cleaning or repairs.
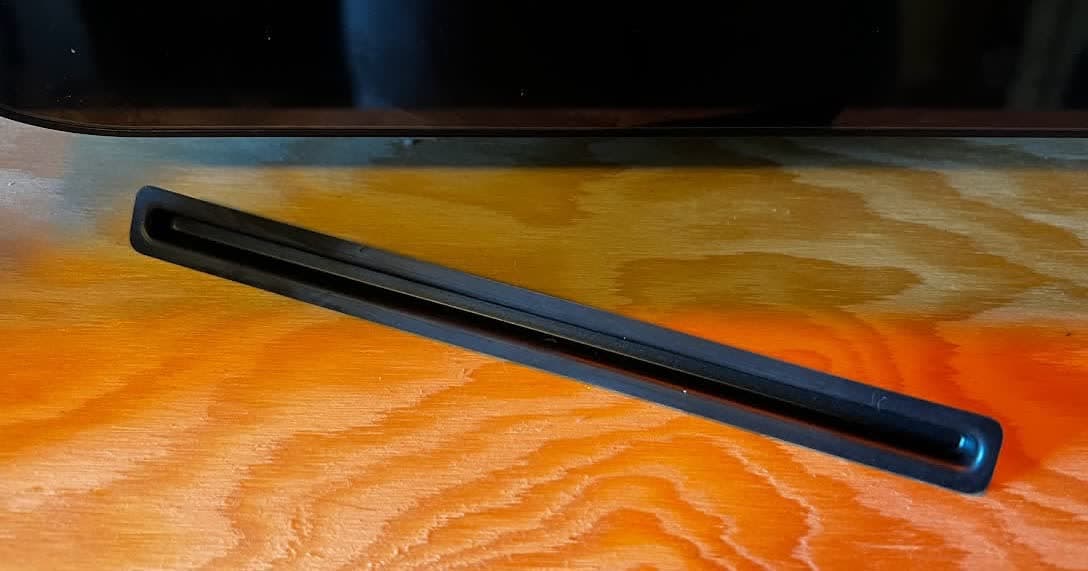
Carefully place the LPU gasket cover into the opening previously covered by the roller holder to prevent any contaminants from entering the LPU.
Installing the replacement roller holder
Overview: Clean the top of the LPU housing and install the new roller holder.
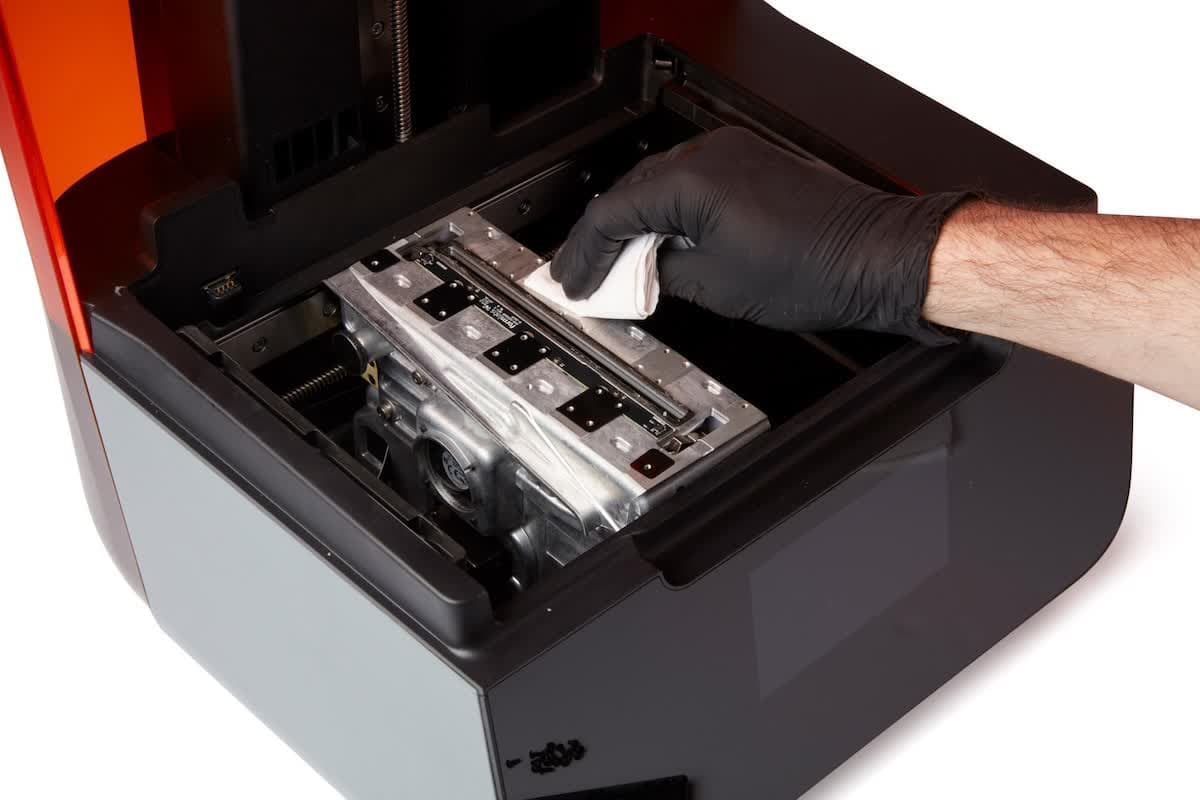
Clean any pooled resin on the roller holder mounting surface with paper towels dampened with IPA. Take care to not damage the gasket surrounding the laser opening, the printed circuit board, or any flexible shims on the mounting surface. Once the cleaning process is complete, remove the LPU gasket cover for disposal.
Step 2: Install the new roller holder
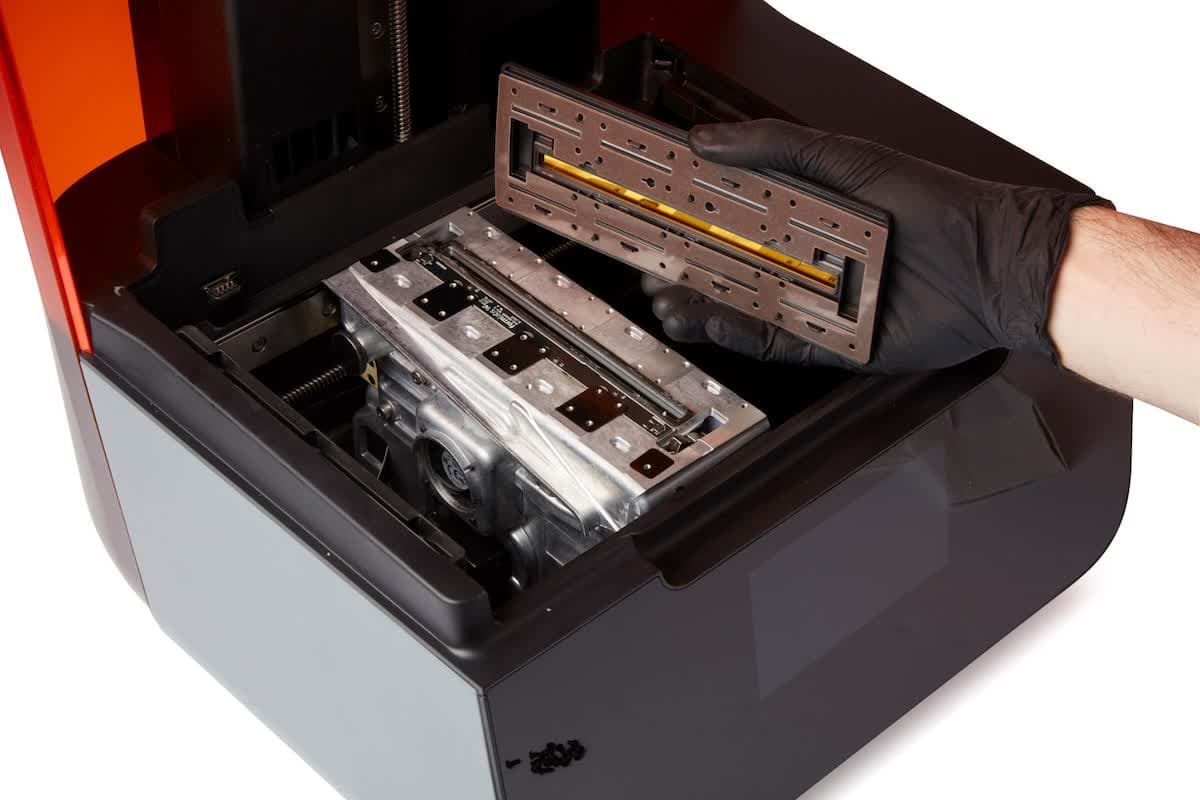
Carefully remove the new roller holder from its packaging. Do not remove the protective film from the roller holder laser window. Hold the roller holder above the LPU housing. The arrow on the top of the replacement roller holder points to the rear of the printer.
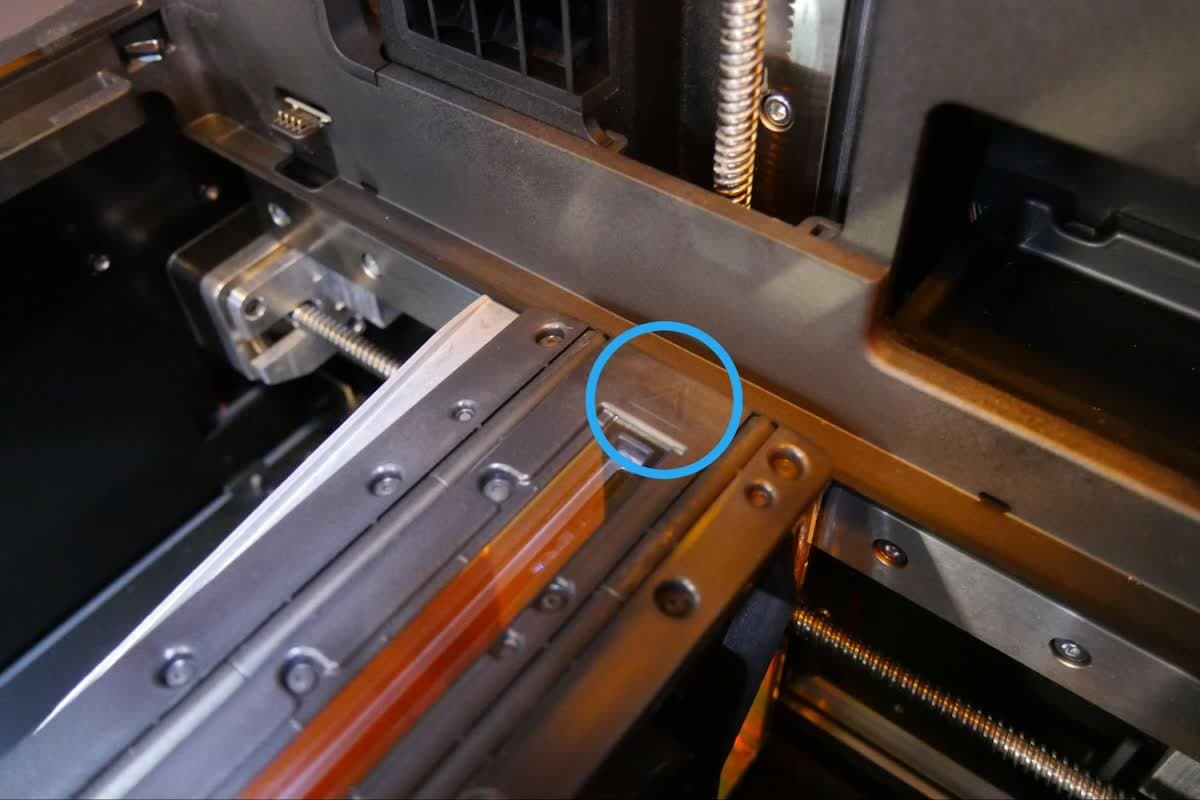
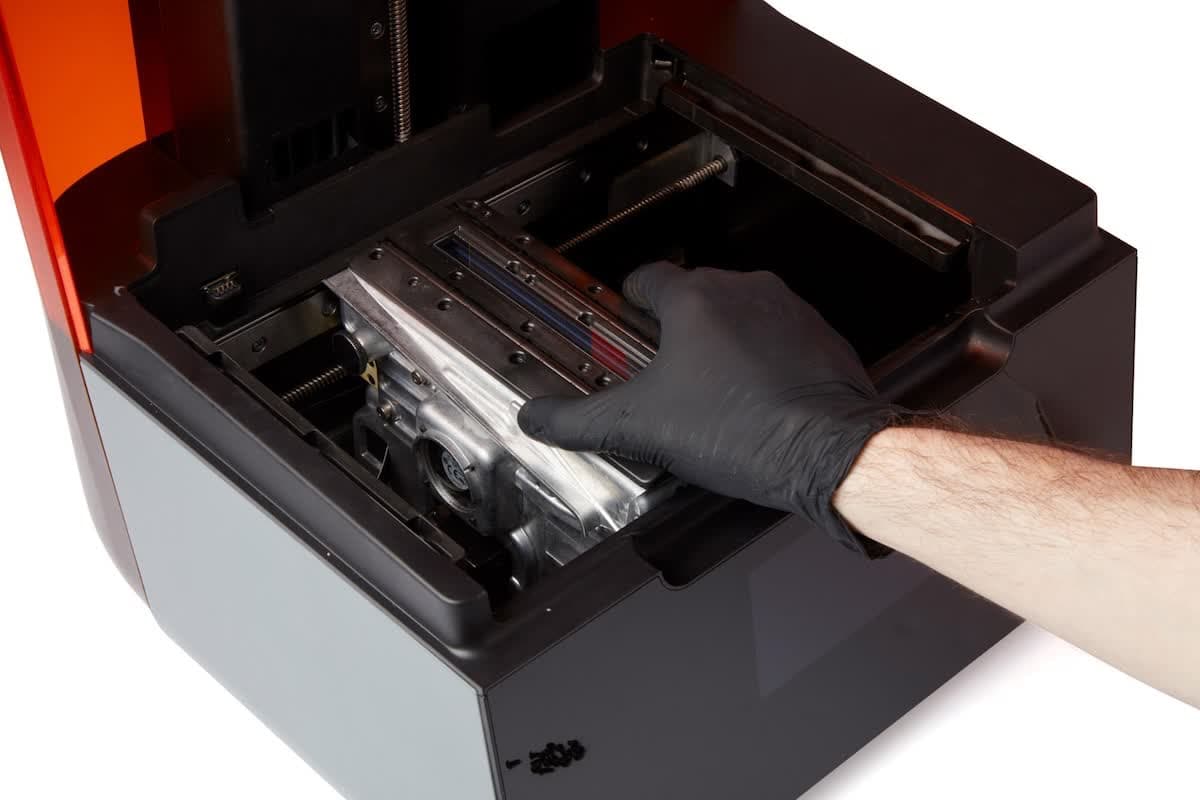
Align the laser window in the roller holder with the rectangular laser opening in the LPU housing. Align the six posts on the bottom of the roller holder with the corresponding slots in the mounting surface.
Place the new roller holder onto the mounting surface.
Step 3: Tighten the roller holder screws
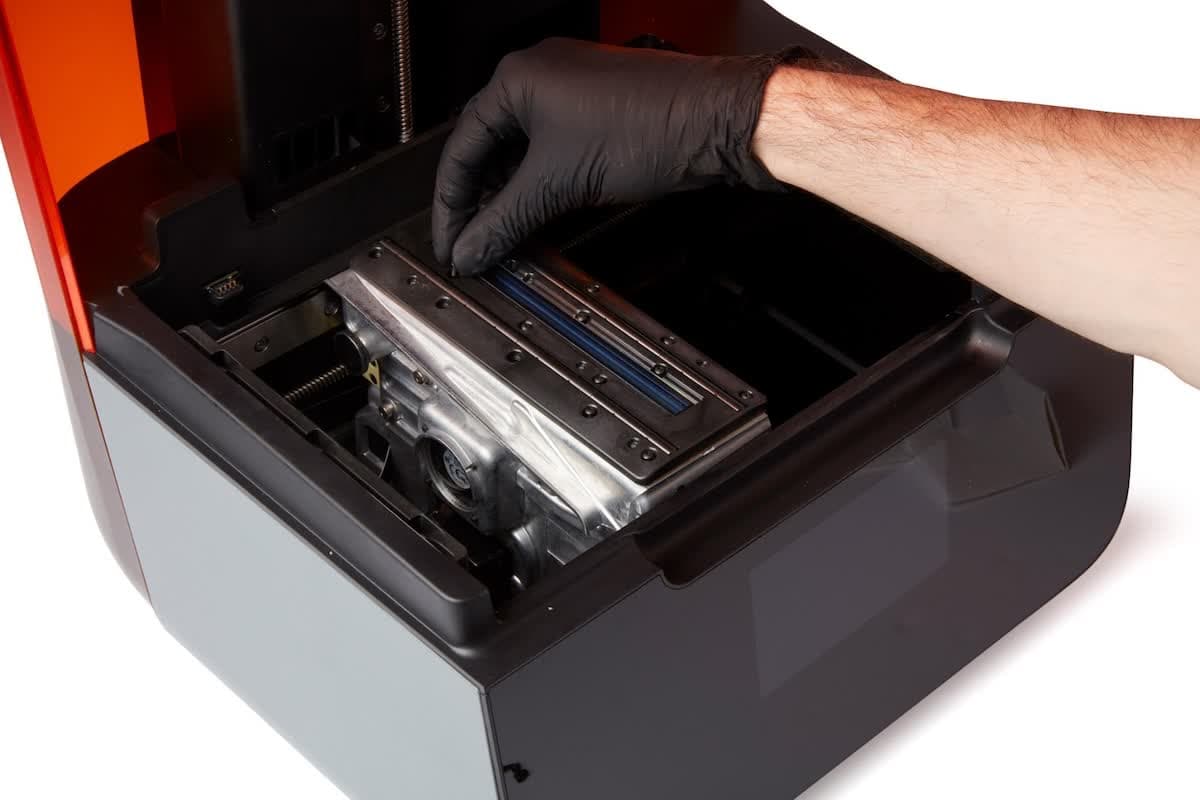
Thread one of the included M2.5 screws into each of the 16 mounting holes on the roller holder. You may need to partially remove the protective film on the roller holder to access some mounting holes. Do not remove the protective film from the optical window.
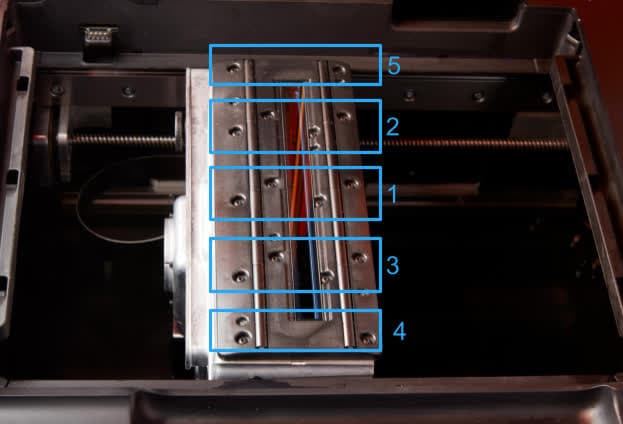
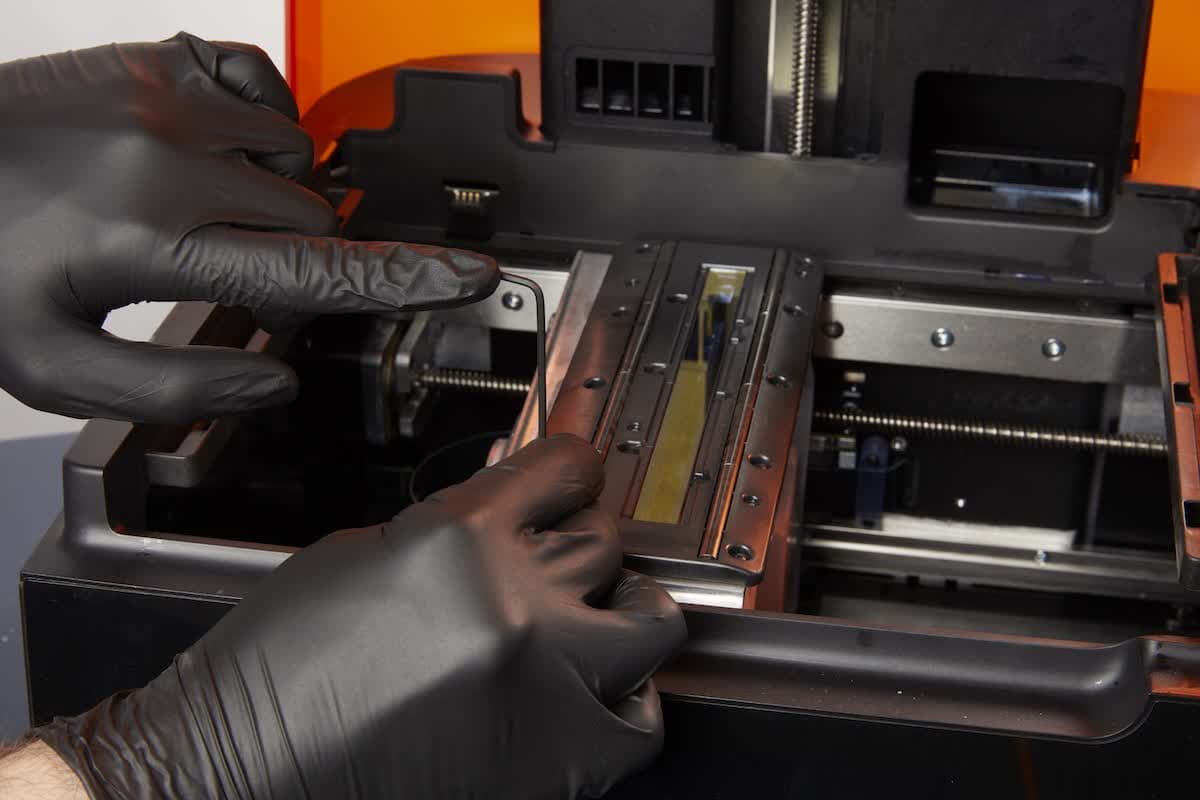
Using the included 1.5 mm hex driver, tighten the screws over the course of two passes, following the sequence shown below. Tighten all the screws in each numbered region before moving on to the next. On the first pass, fully thread the screws; on the second, tighten until each screw is finger tight. Use the long end of the hex driver (pressing on the short end) to avoid over-tightening the screws.
Finalizing the repair
Overview: After installing the new roller holder, perform final checks.
Step 1: Remove the protective film
Remove the protective film from the roller holder laser window.
Step 2: Power on the printer
Close the printer cover and connect the power cable to the printer and the power supply. The printer initializes and the roller holder returns to its home position.
Step 3: Recalibrate the Z-axis
After installing the new roller holder, recalibrate the printer’s Z-axis. Tap the gear icon on the printer’s touchscreen. The Settings screen appears. Tap Maintenance > Calibration > Calibrate Z-Axis to recalibrate the Z-axis. Insert a clean build platform and follow the onscreen prompts to complete the procedure. This process may take several minutes.
Step 4: Insert consumables
Insert the resin tank and resin cartridge to continue printing.
Step 5: Dispose of the old roller holder
If the old roller holder is clean and dry, discard it with household waste. If liquid resin remains on the older roller holder, cure the resin before disposing of the roller holder. Cure resin in sunlight (for 1–10 days) or under a UV lamp. Formlabs resins cure most effectively when exposed to 405 nm light and heat.