WHITE PAPER
Formlabs Logo

Replacing the Form 3L display assembly

Replacing the Form 3L display assembly

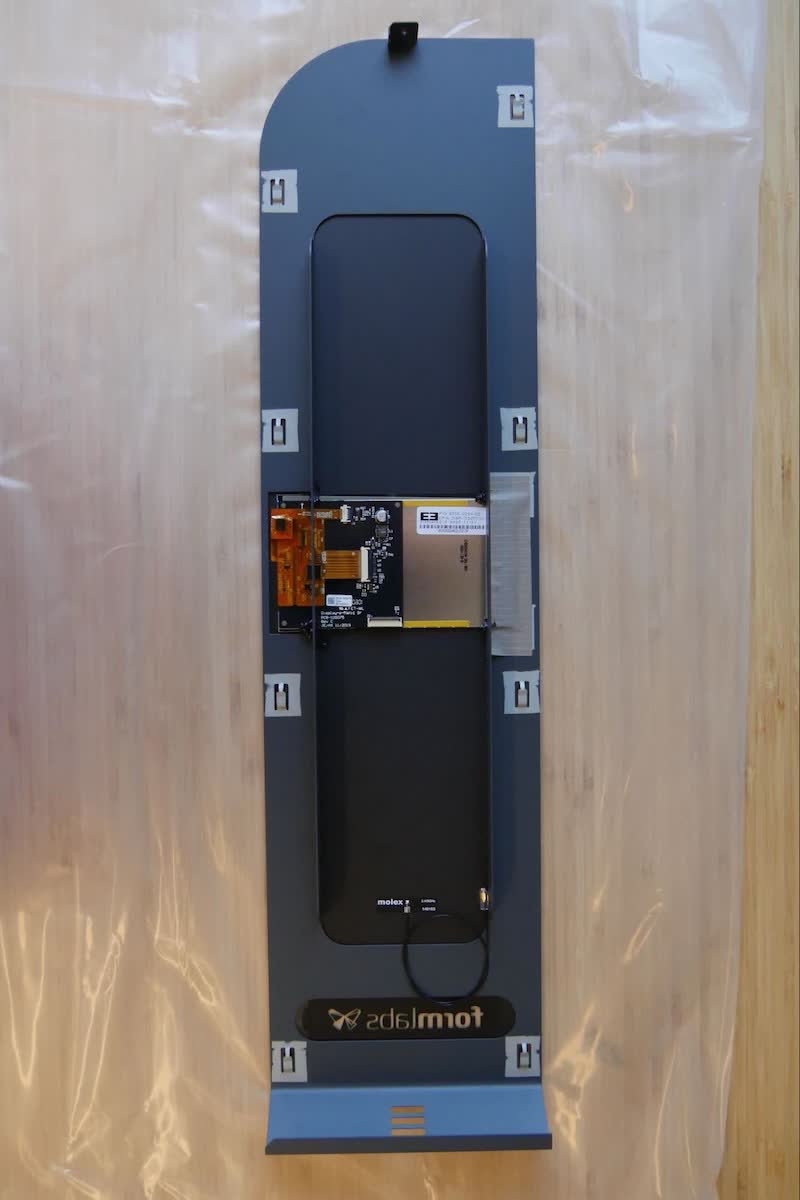
The Form 3L has a touchscreen in its front shell. The touchscreen is the primary means of interacting with and controlling the printer, so a broken or malfunctioning touchscreen can prevent the printer from being used normally.

Use this guide to replace the Form 3L display assembly.

f3l-display-standalone.jpg

Required supplies:

Formlabs:

  • Replacement display assembly
  • Replacement display ribbon cable

Third-party:

  • 2.5 mm hex driver
  • T8 Torx driver
  • Nitrile gloves
  • Flashlight (optional)
  • Precision tweezers (optional)
  • Polyimide tape (optional)
  • Cyanoacrylate glue (optional)

Estimated time: 20–30 minutes

DANGER:

Read and follow all safety instructions and warnings in the operator manual. Replacement with incorrect parts can lead to burns, shock, fire, or explosion. Dispose of all parts in accordance with local regulations.

Preparing the workspace

Overview: Prepare the Form 3L and a dust-free workspace for replacing the display assembly.

Step 1: Remove the build platform

Remove the build platform first to avoid dripping resin onto the LPU or into the printer cavity.

Step 2: Remove the resin cartridges

Remove the resin cartridges and close the vent caps to prevent resin from dripping off the bite valves and into the printer.

Step 3: Remove and store the resin tank

Remove the resin tank, place it in the resin tank case, and cover it with its lid. Set the case and tank aside on a clean, flat surface.


NOTICE:

Wear gloves and hold the resin tank by the tank grips on either side to avoid contamination or damage to the underside of the tank.

Step 4: Prepare the workspace

Clear a workspace around your printer. Ensure that the workspace is well-ventilated and free of dust. Prepare additional space for storing the rear panel of the printer during maintenance.

Step 5: Unplug the printer

Disconnect the power cable before continuing with maintenance. Do not perform maintenance on the printer while it is connected to power. Wait five minutes after disconnecting the printer from power before proceeding.

DANGER:

Performing maintenance on the printer while it is plugged in increases the risk of electric shock. Never remove the back panel of the printer while the printer is plugged in. Never reconnect the printer to power while the back panel is uninstalled.

Step 6: Clean the printer cavity

WARNING:

Resin may cause skin irritation or an allergic skin reaction. Wear gloves when handling liquid resin or resin-coated surfaces. Wash skin with plenty of soap and water.

Open the printer cover. Check inside the printer cavity to ensure that no resin has pooled on the printer floor. Clean any resin inside the printer cavity with paper towels. Dampen the paper towels with isopropyl alcohol if necessary to fully remove the resin.

DANGER:

IPA is flammable and presents a fire hazard. Keep containers closed, and keep out of the reach of children.

Removing the front shell

Overview: Unscrew and uninstall the front shell.

Step 1: Remove the front shell screws

f3l-front-shell-screws-1.jpg
f3l-front-shell-screws-2.jpg

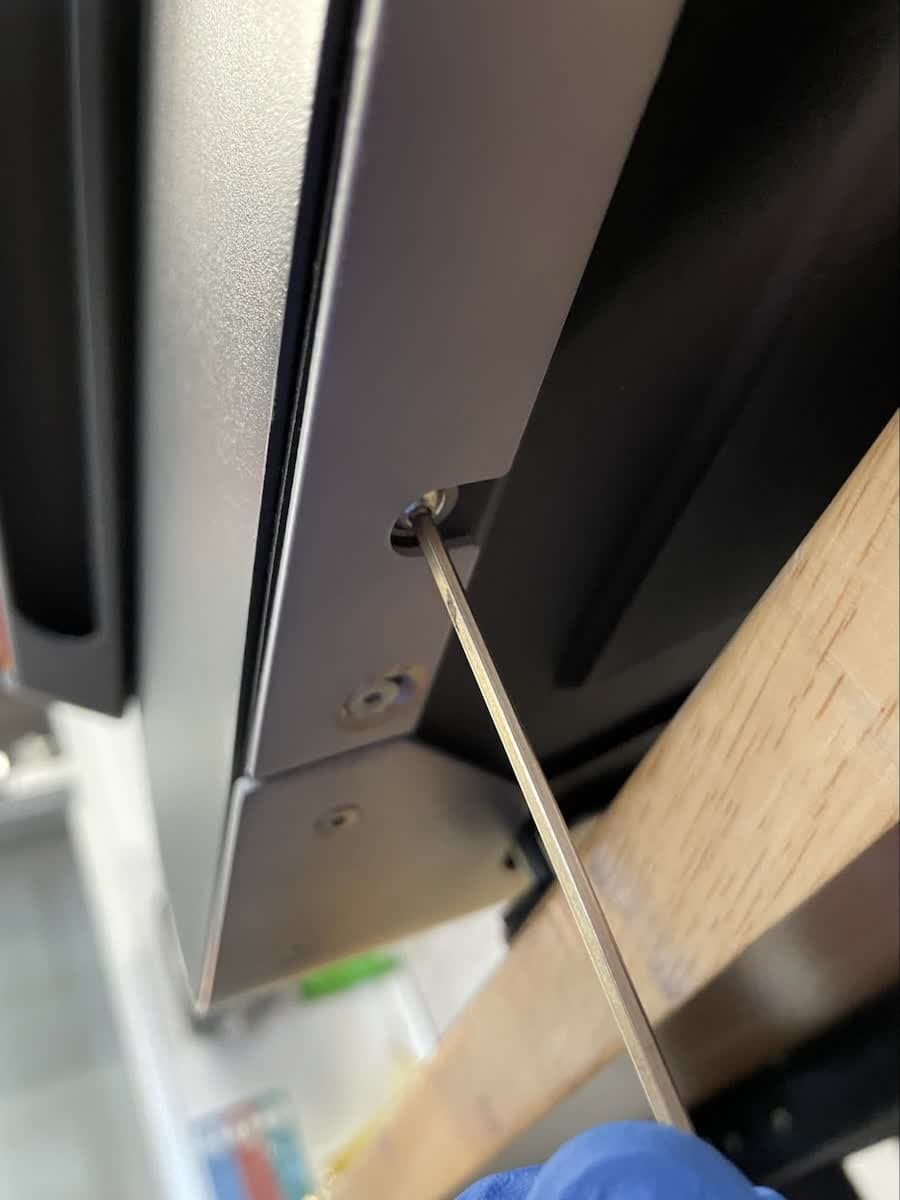
Slide the printer forward so the front lip hangs over the edge of the work surface. Locate the two recessed hex screws, accessible through the cutouts on the bottom of the front metal trim. Use the 2.5 mm hex driver to loosen the screws. Remove the screws and set them aside.
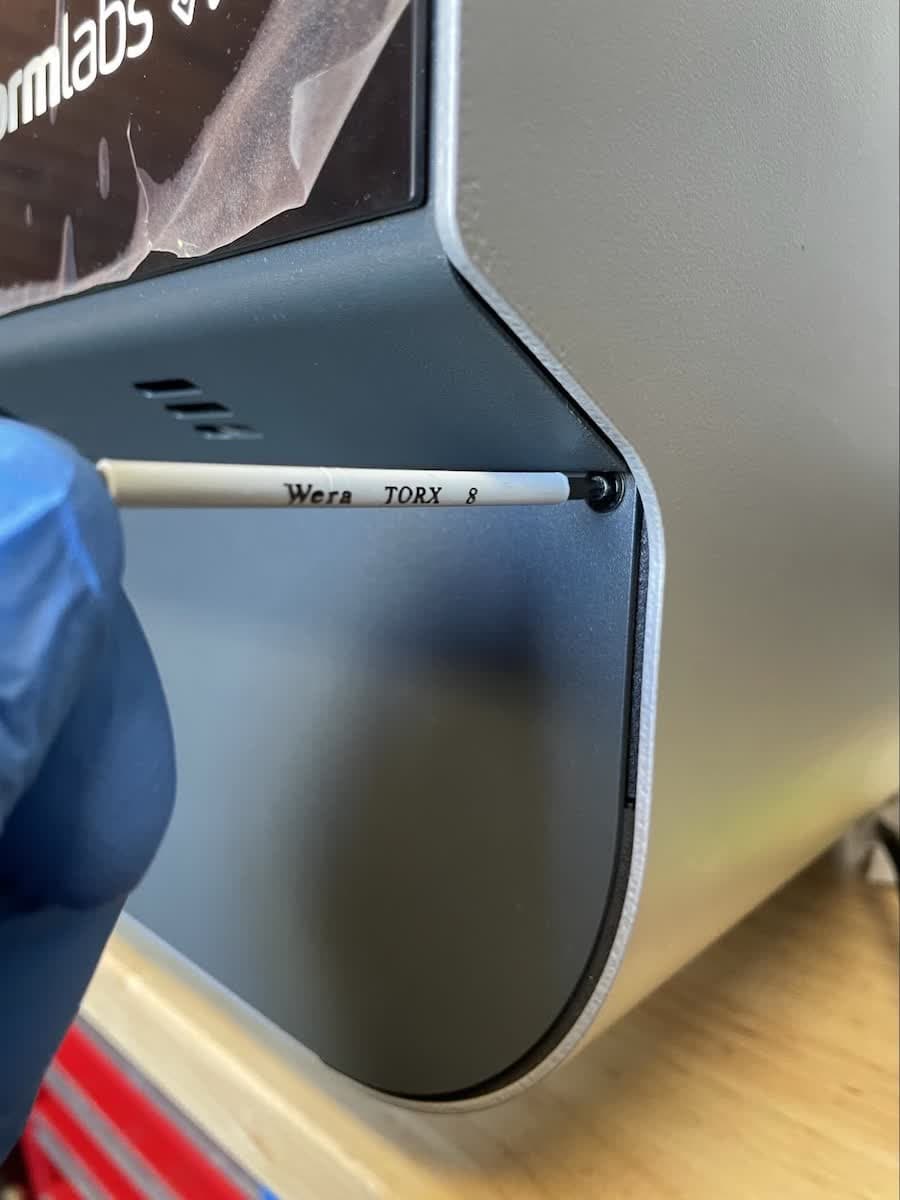
Locate the two Torx screws at the left and right ends of the front shell. Use the T8 Torx driver to loosen the screws. Remove the screws and set them aside.

Step 2: Unlatch the front shell from the printer frame

f3l-unlatch-front-shell-1.jpg

NOTICE:

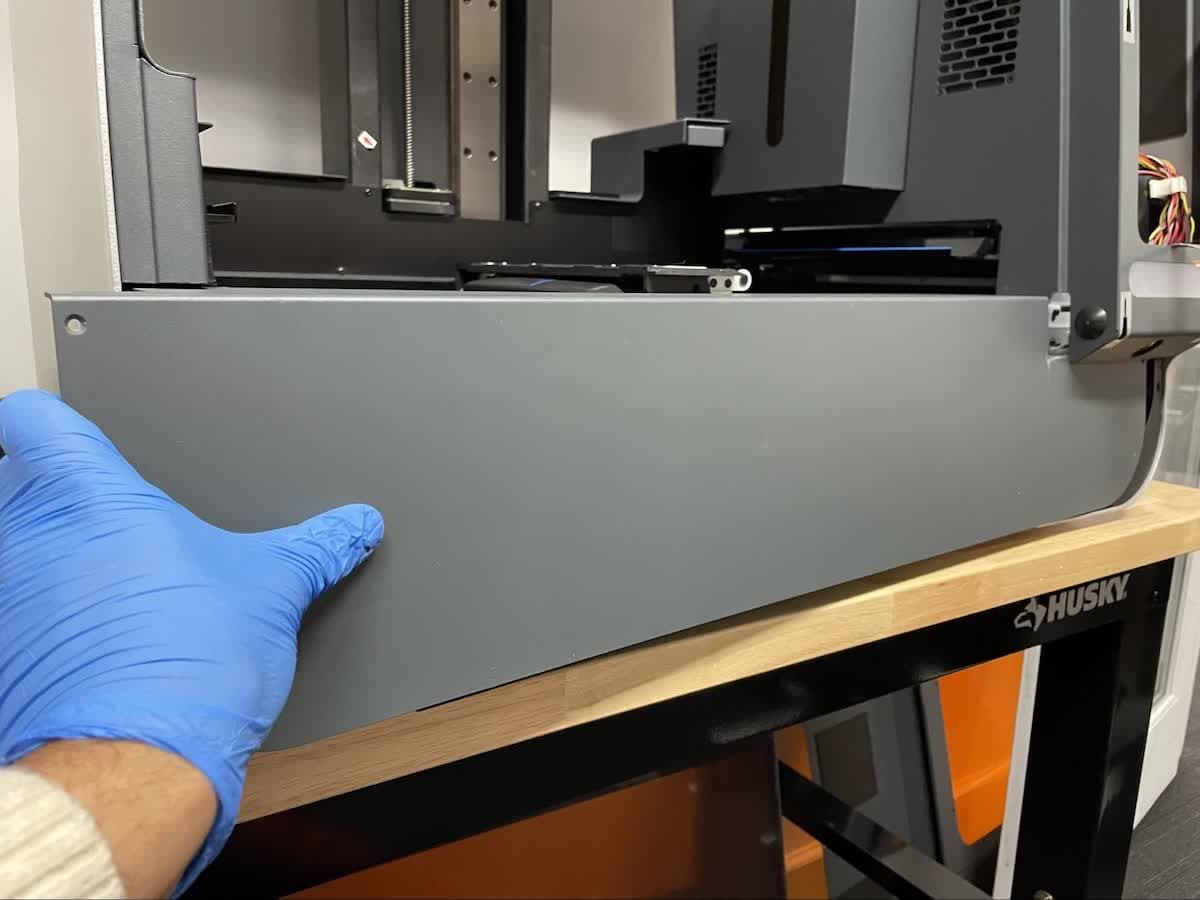
Do not separate the front shell from the printer frame. Removing the front shell at this point may damage the connected wires.

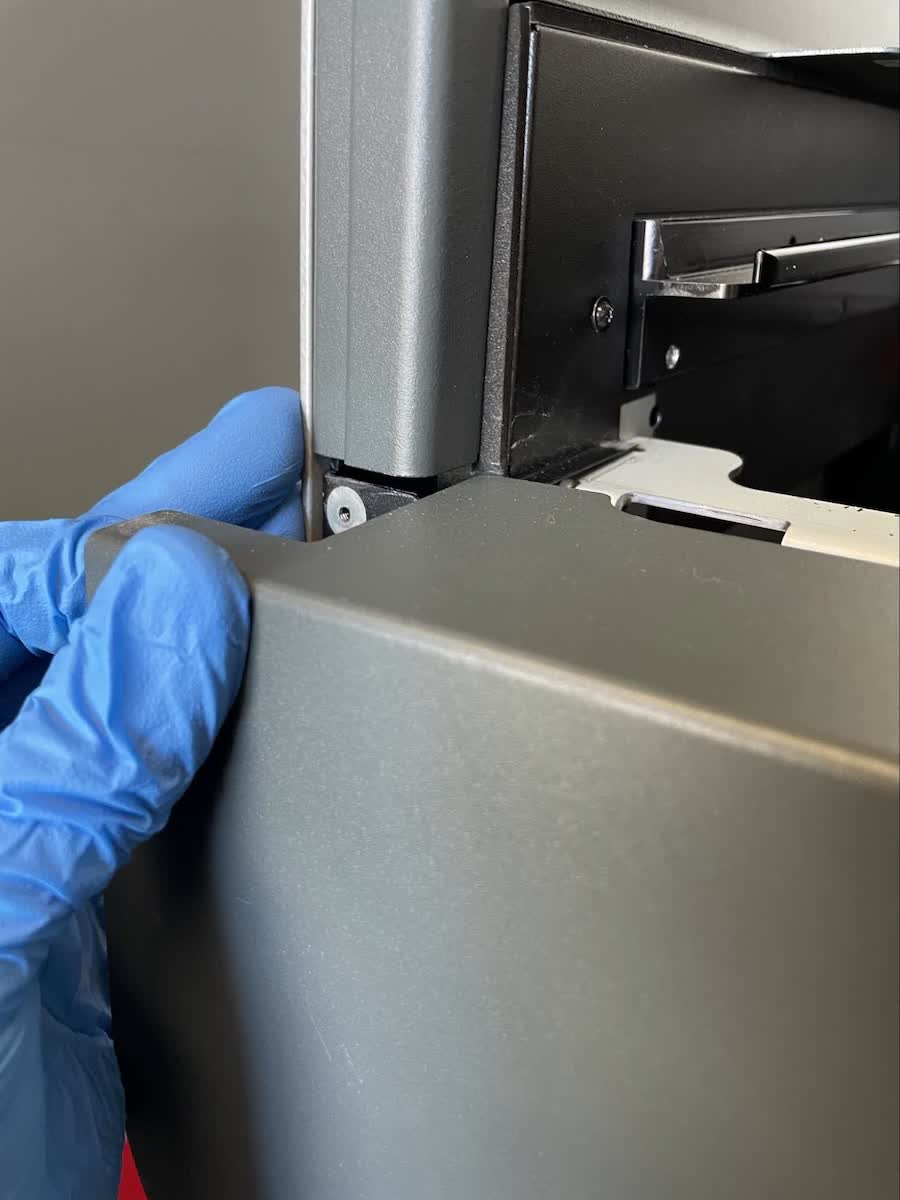
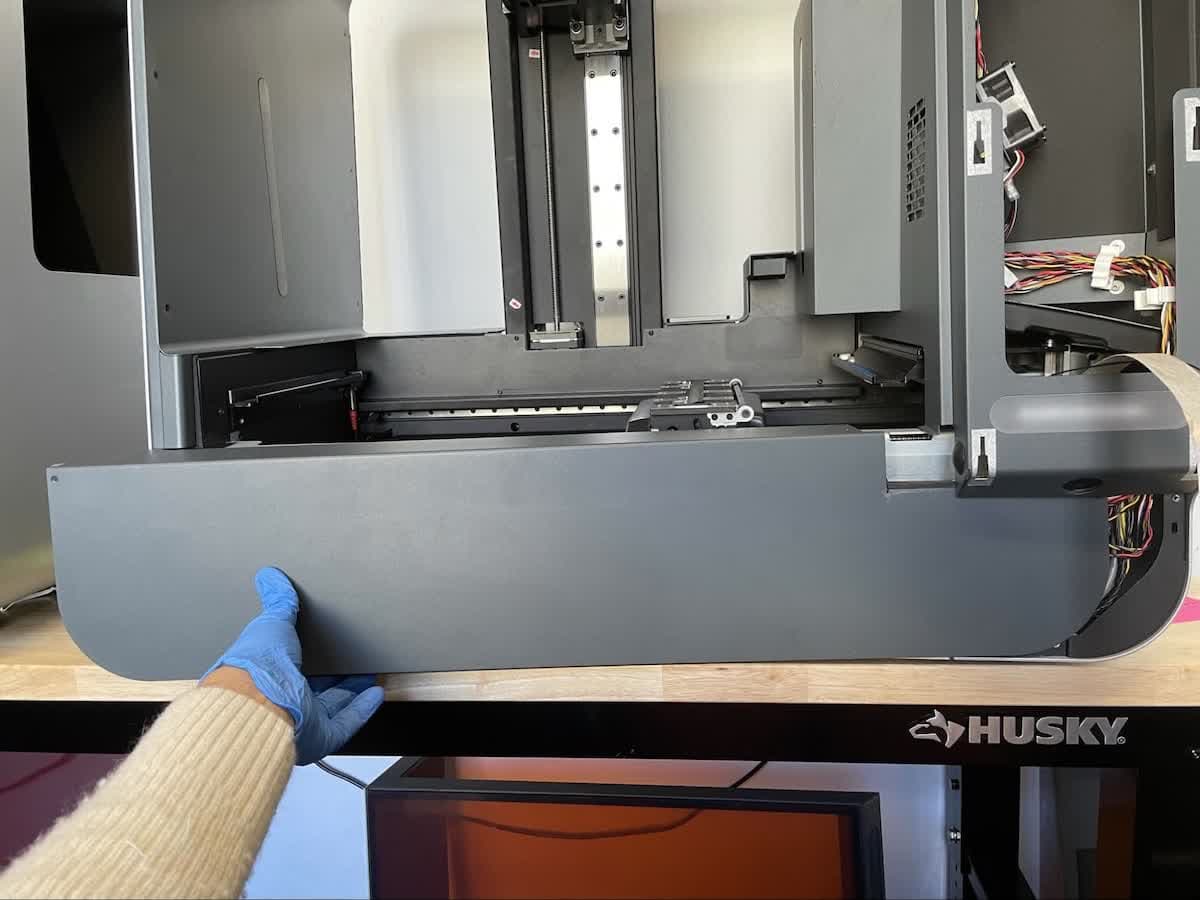
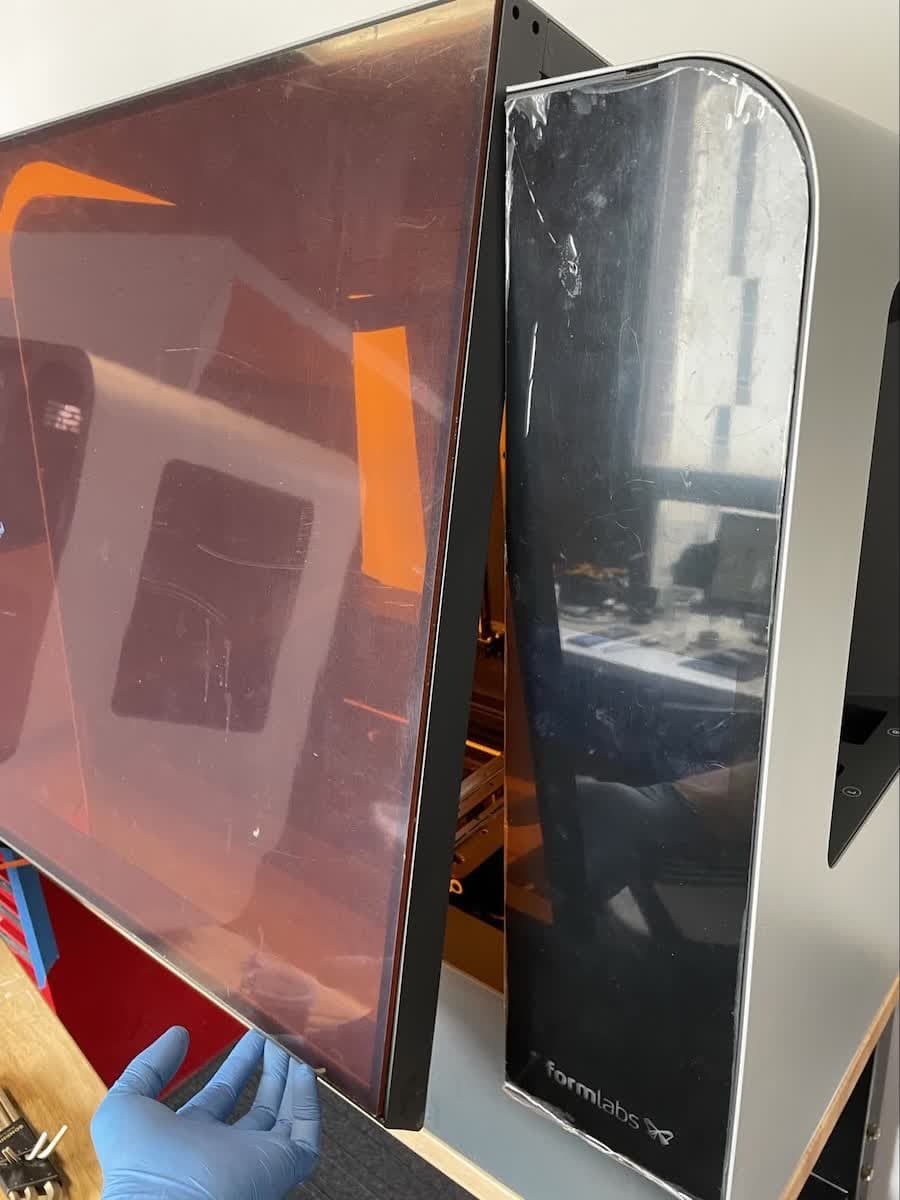
Lift the left side of the front shell slightly away from the machine. Slide the front shell to the left until it is free from the printer.

f3l-unlatch-front-shell-2.jpg

Step 3: Disconnect the interlock cables

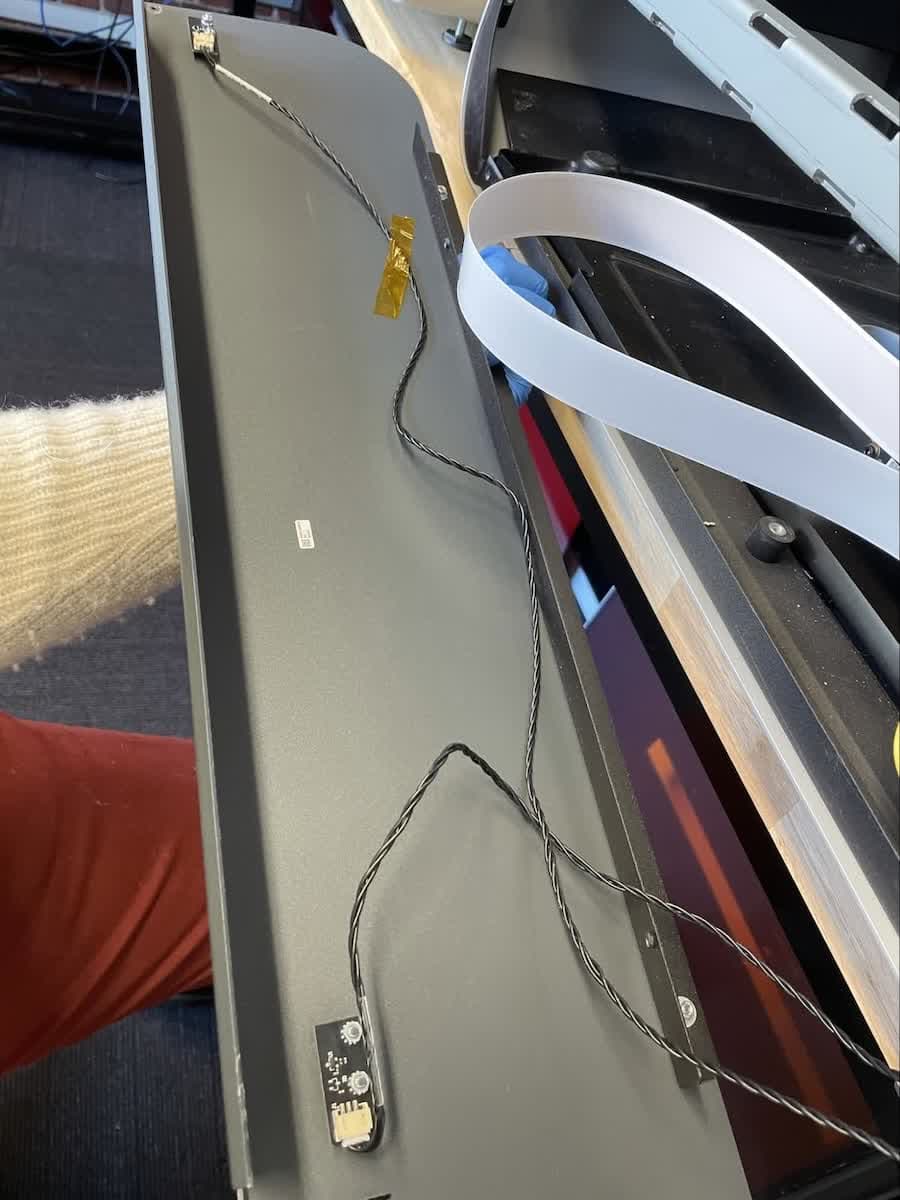
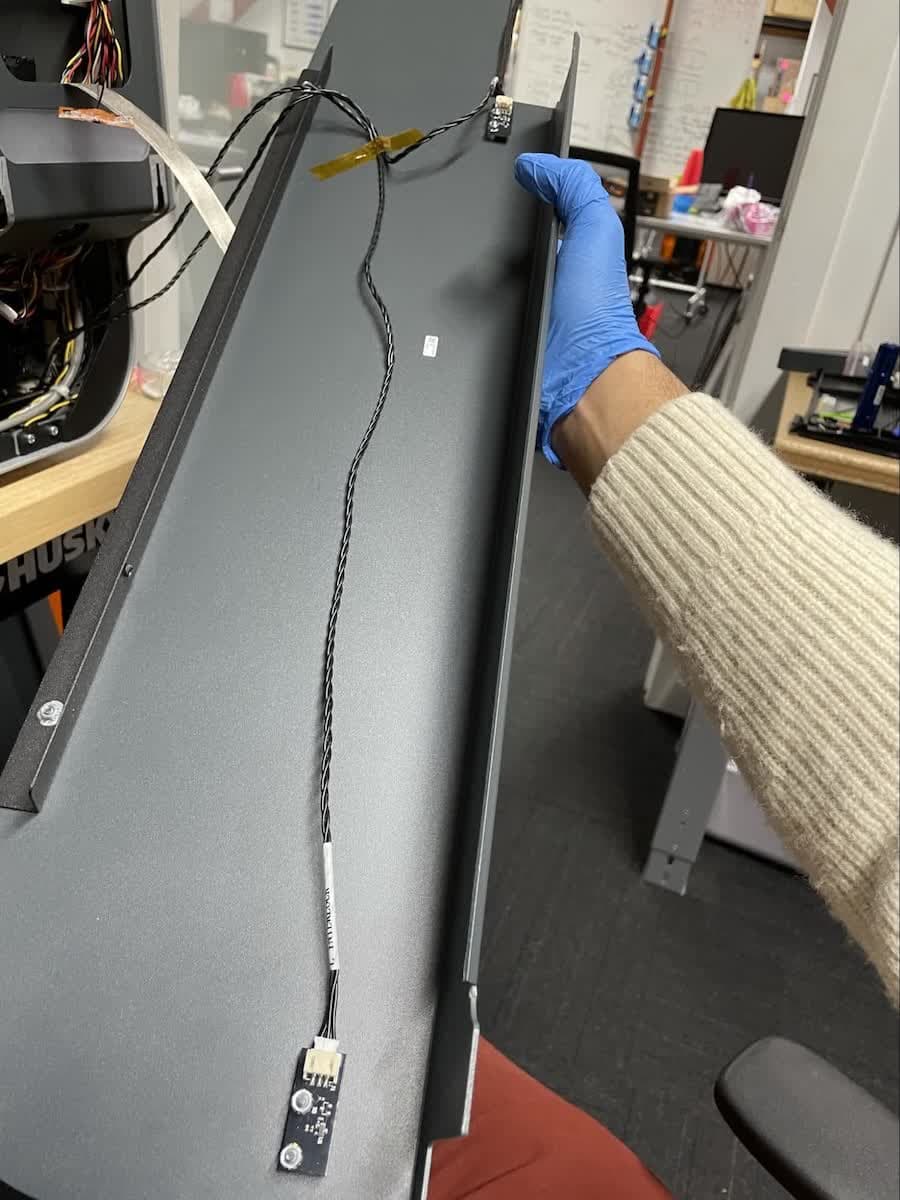
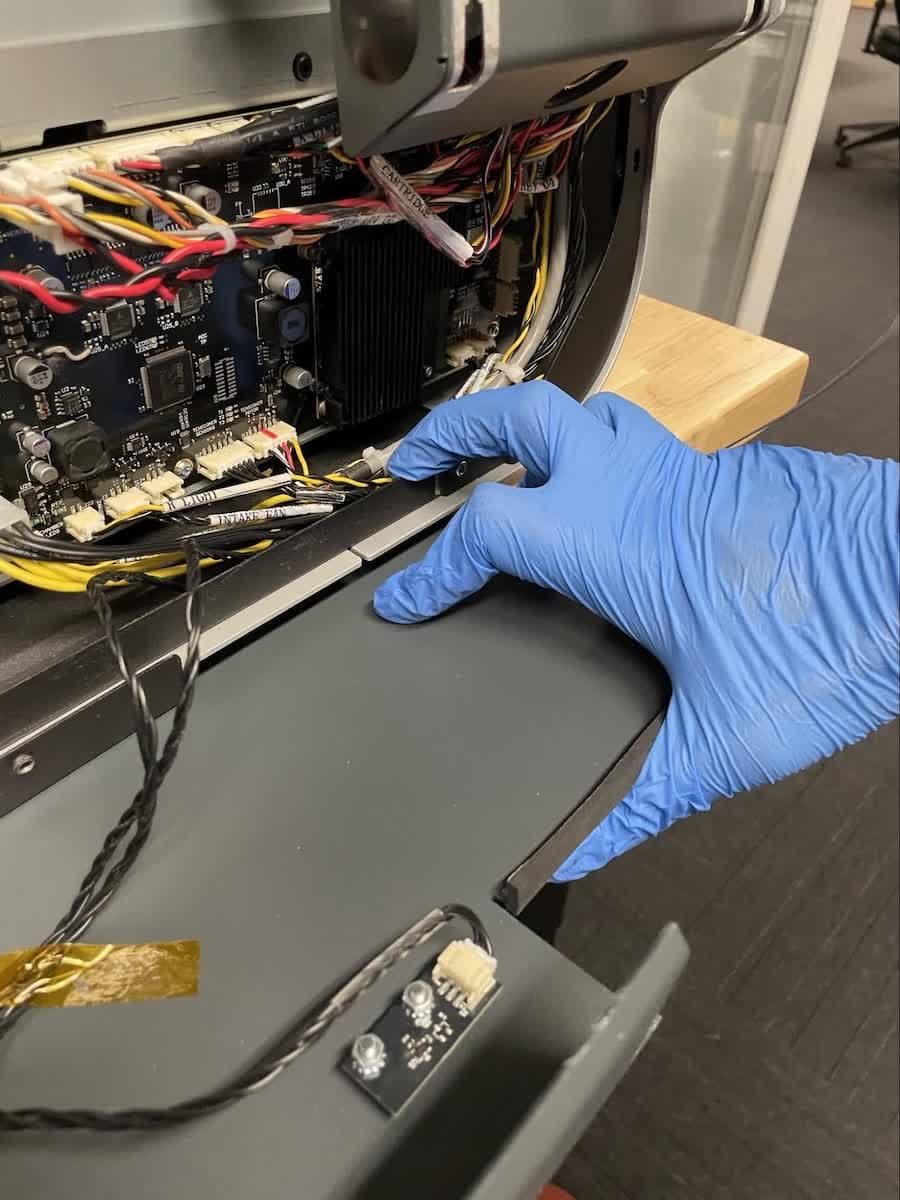
Locate the two cover interlock sensors affixed to the front shell. Hold the connector by its plastic housing and disconnect the cable from each of the interlocks. Do not pull on the individual wires. Set the front shell aside

f3l-interlock-cables.jpg

Removing the display assembly

Overview: Unscrew and uninstall the display assembly.

NOTICE:

The Form 3L contains sensitive electronic components. Ground yourself before touching any electronics in the printer by using a grounding strap or touching a grounded piece of metal.

Step 1: Remove the display screw

f3l-display-screw-1.jpg
f3l-display-screw-2.jpg

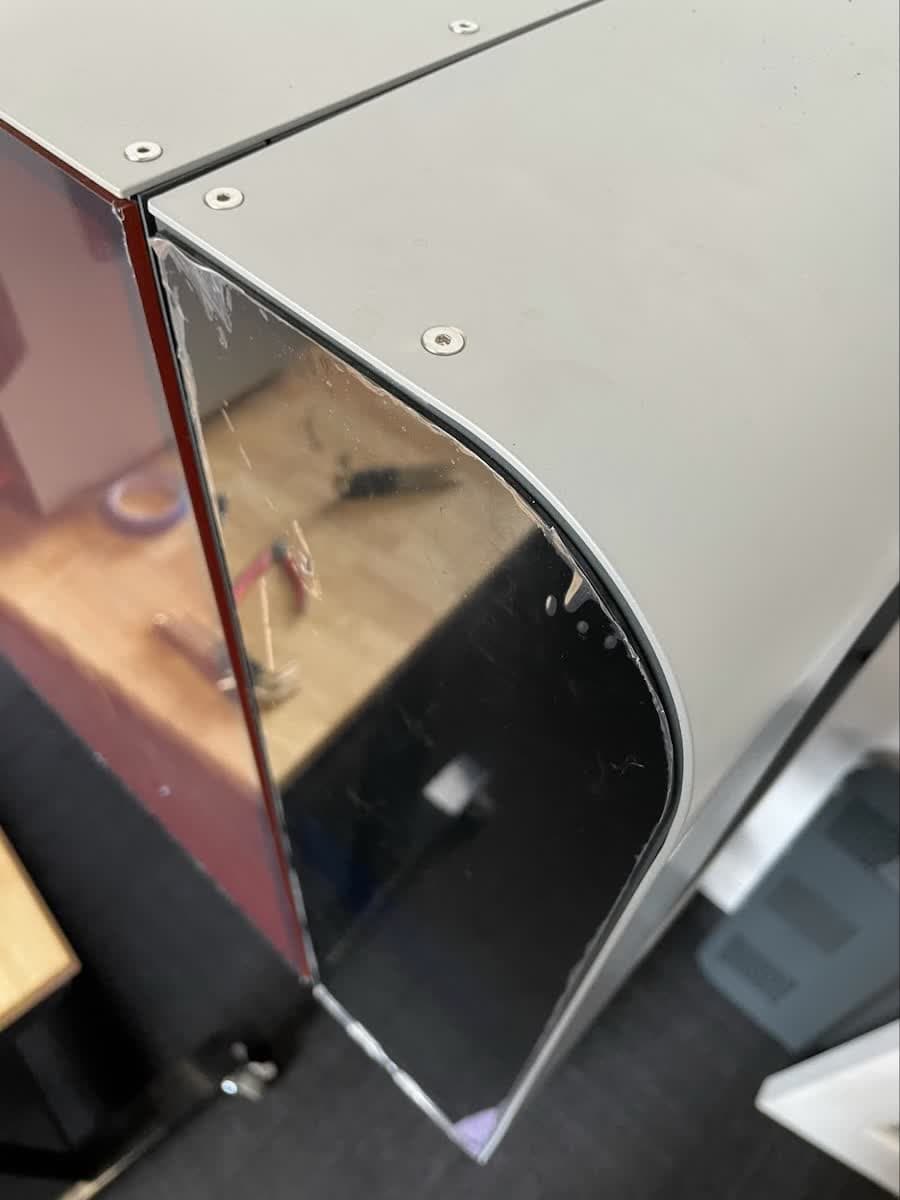
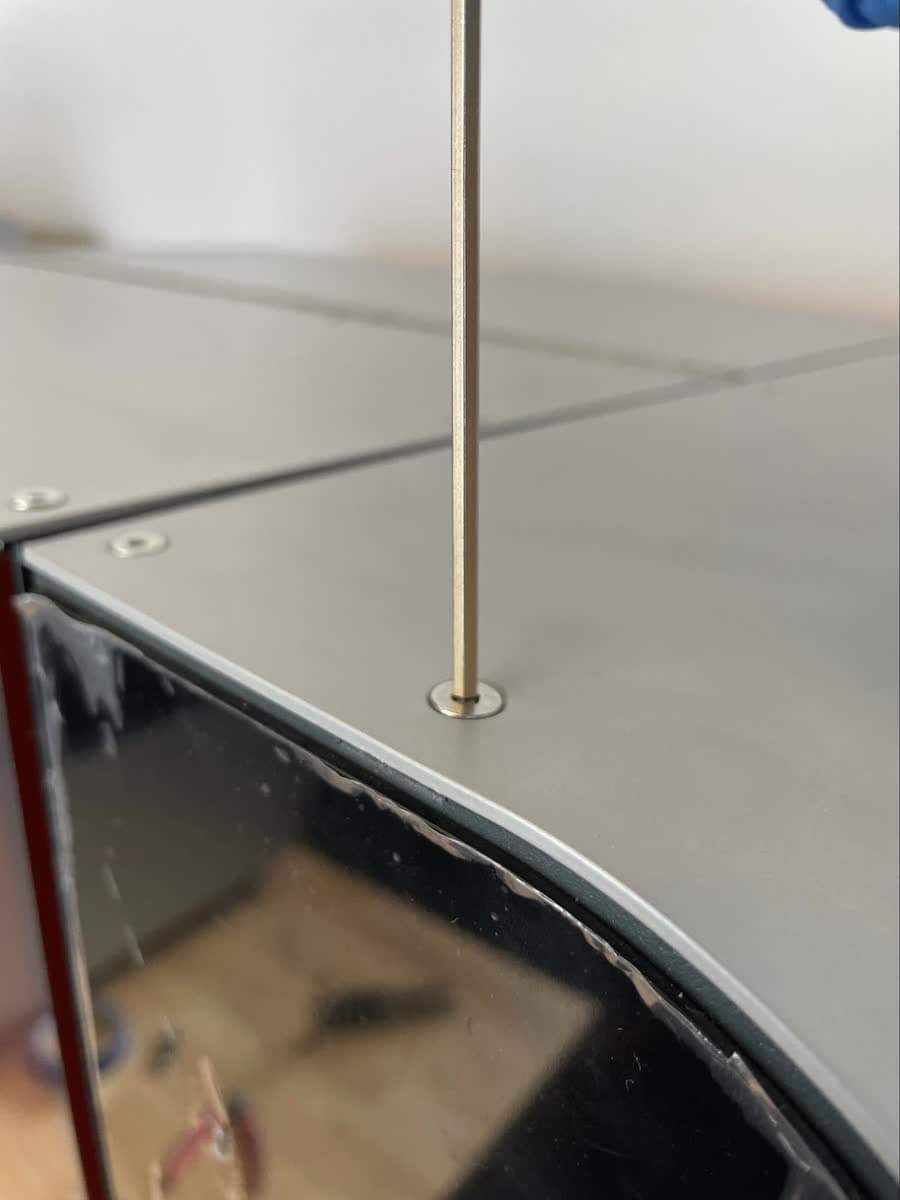
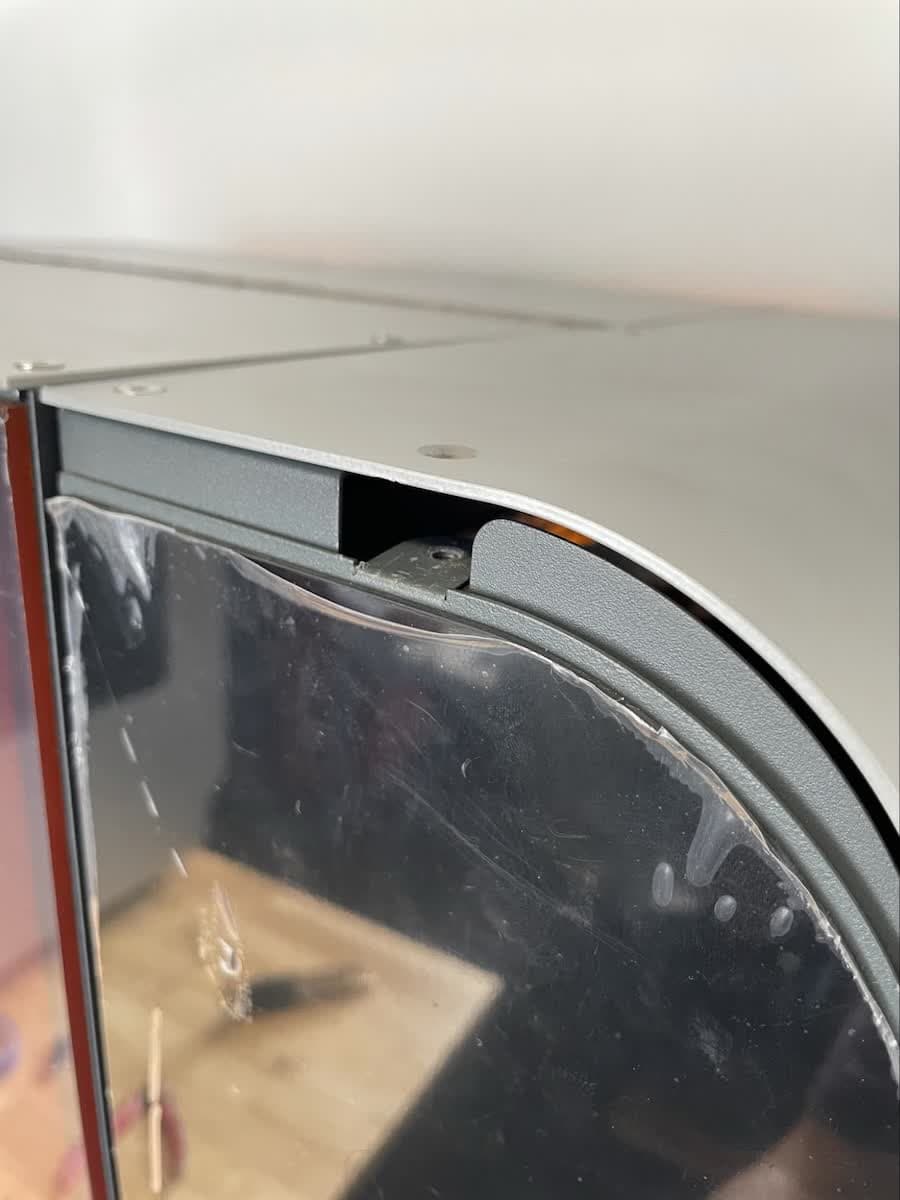
Locate the M4 screw on the top surface of the machine directly above the display assembly. This screw secures the display to the printer frame. Use the 2.5 mm hex driver to loosen the screw. Remove the screw and set it aside.

NOTICE:

Once the display screws are removed, the display assembly is no longer secured to the printer frame. To prevent damage to the display ribbon cable, read the remaining steps in this guide before continuing.

Step 2: Unlatch the display assembly from the printer frame

f3l-unlatch-display-1.jpg
f3l-unlatch-display-3.jpg

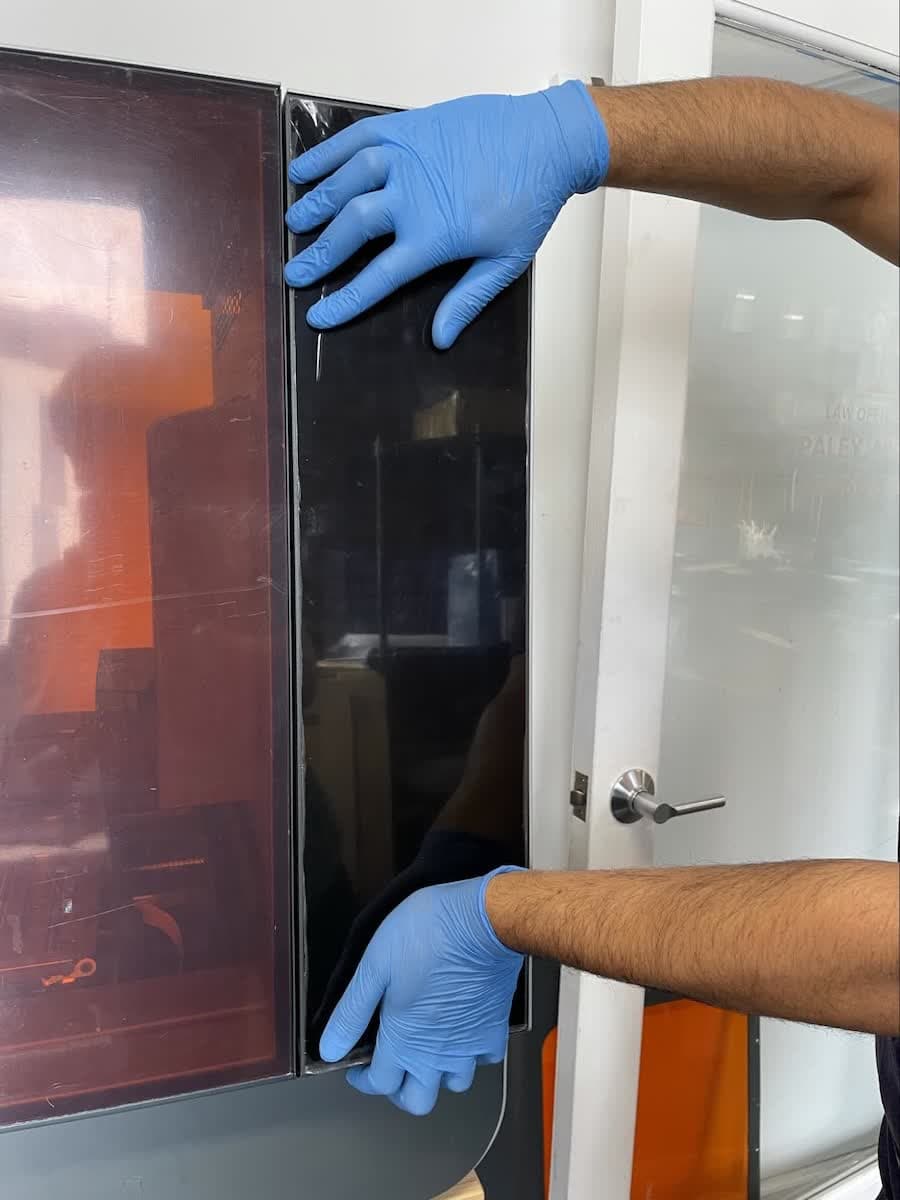
Using both hands, slowly apply firm force to slide the display assembly downwards.

The unlatched display assembly will remain loosely supported by the tab from which the M4 screw was removed. Do not separate the display assembly from the printer frame. Removing the display at this point may damage the connected wires.

Step 3: Rotate the display assembly

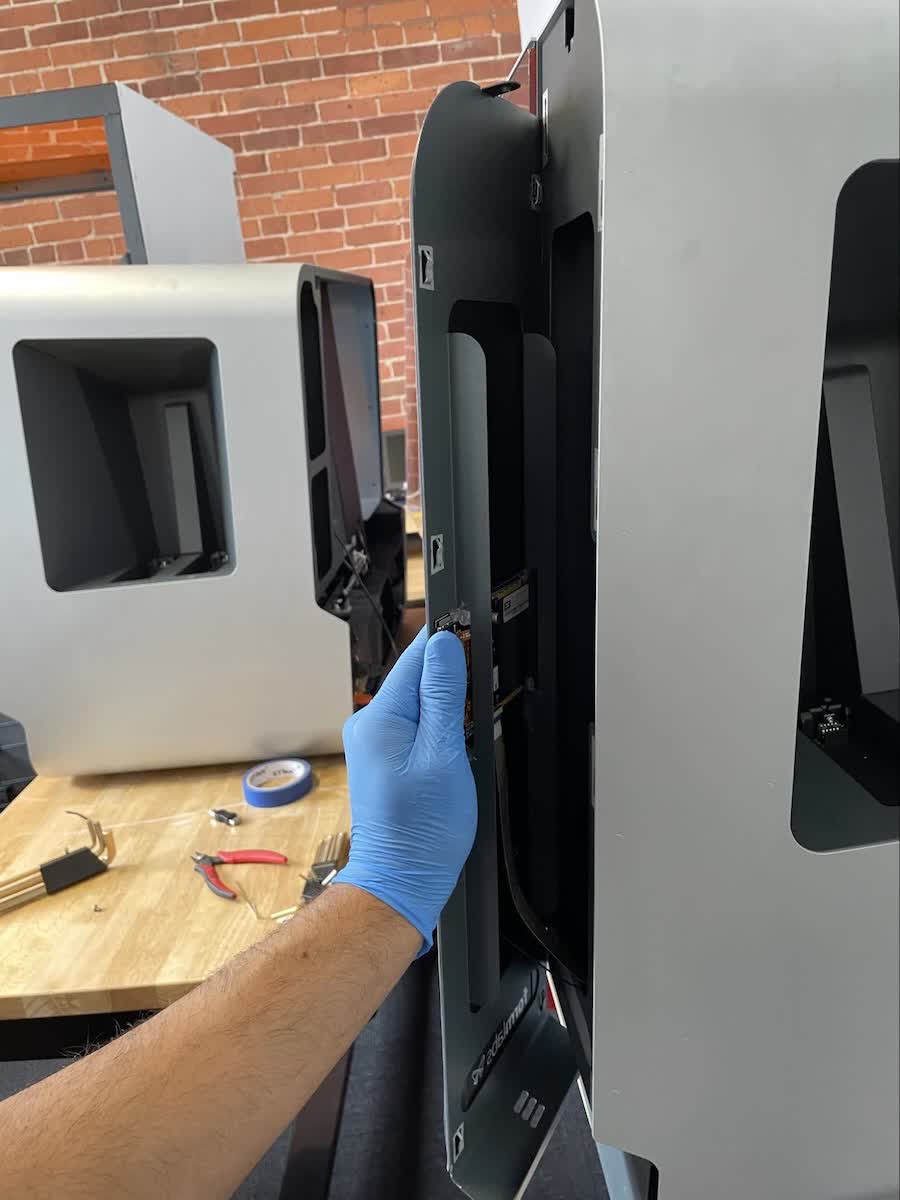
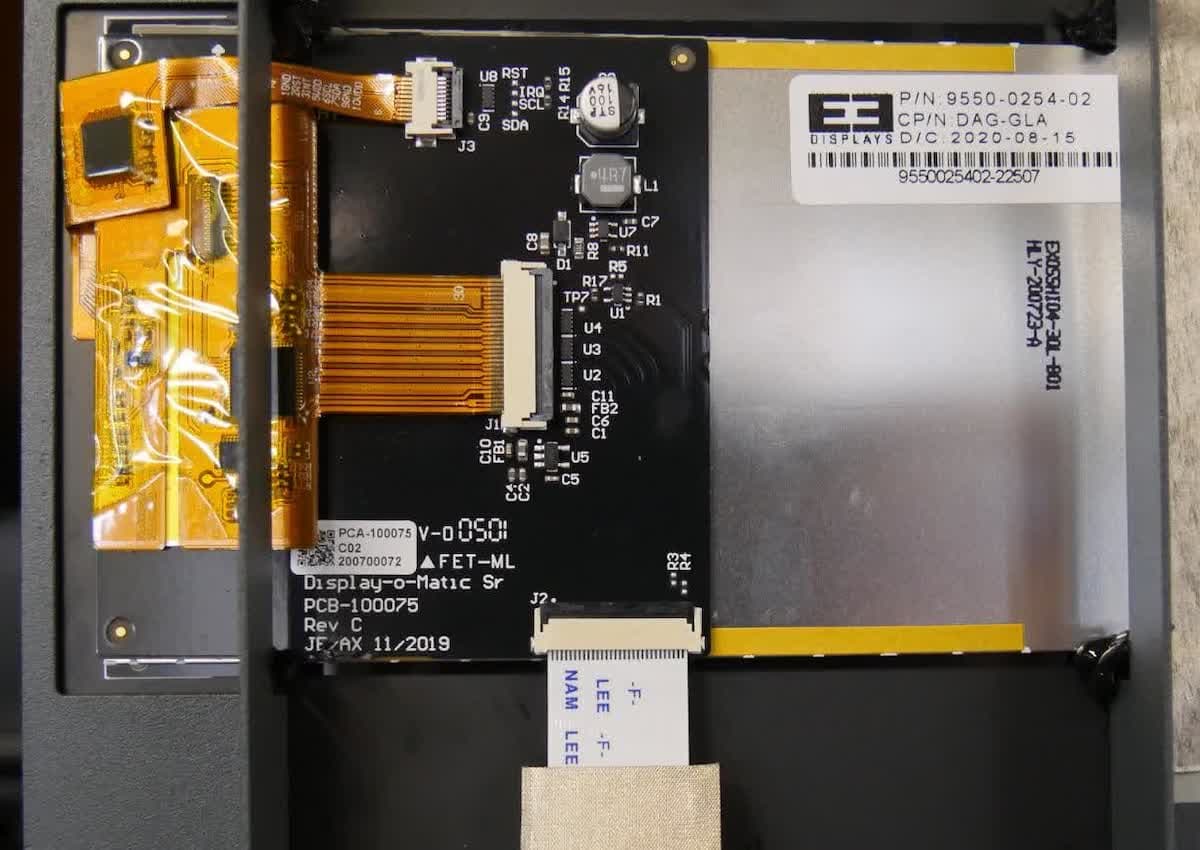
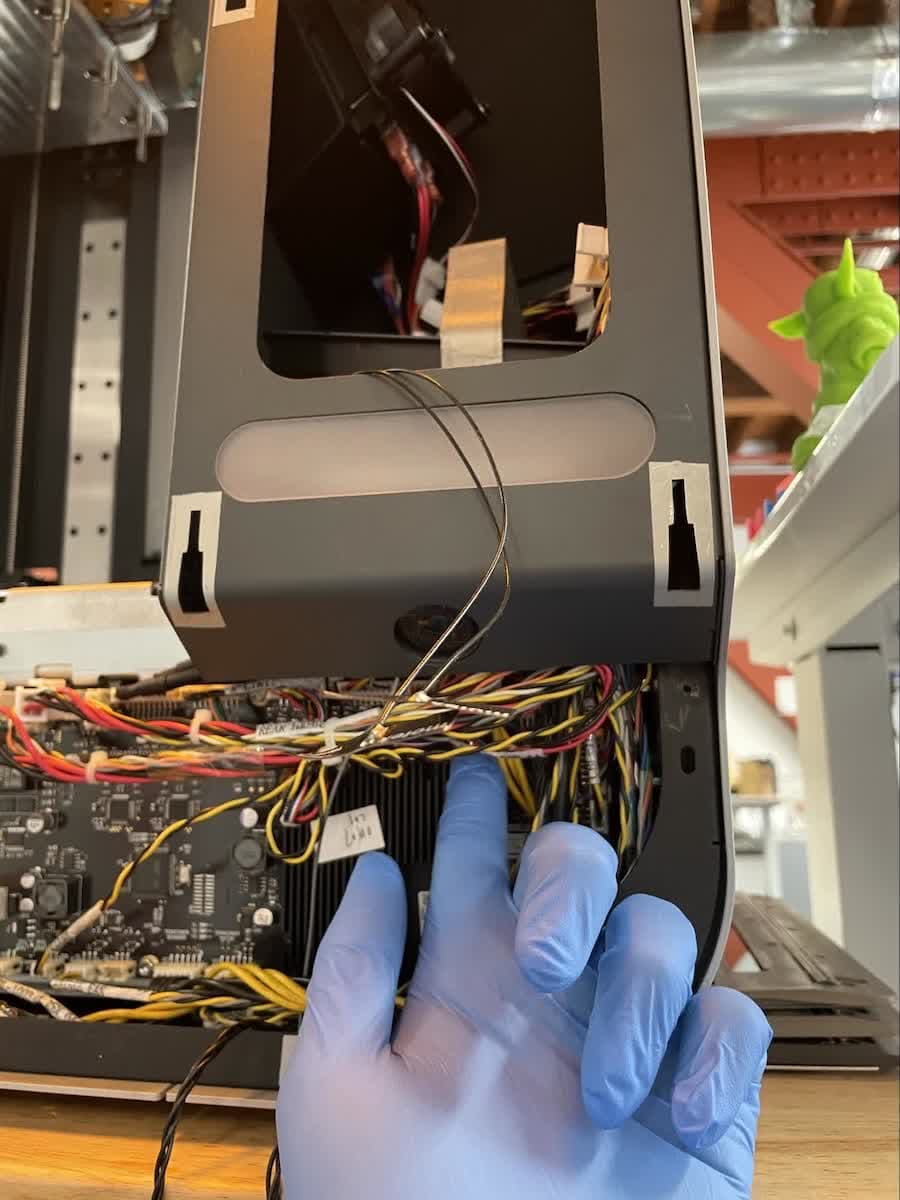
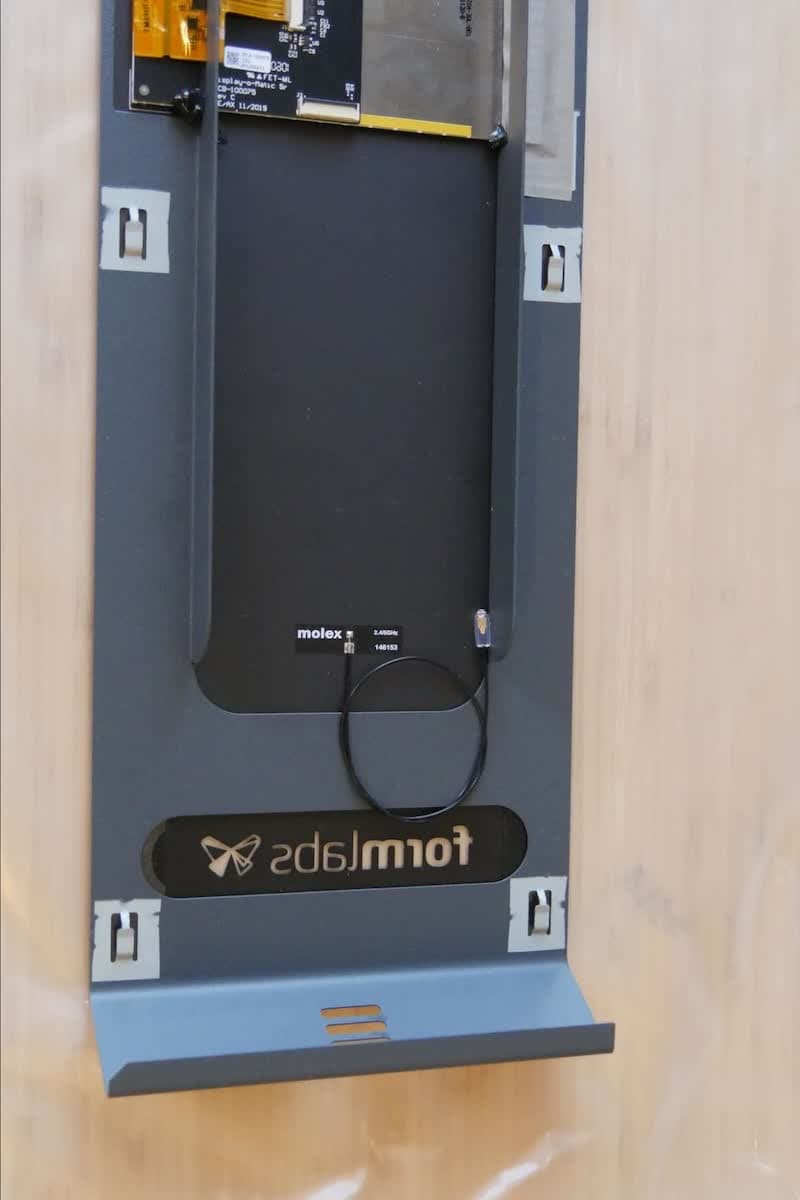
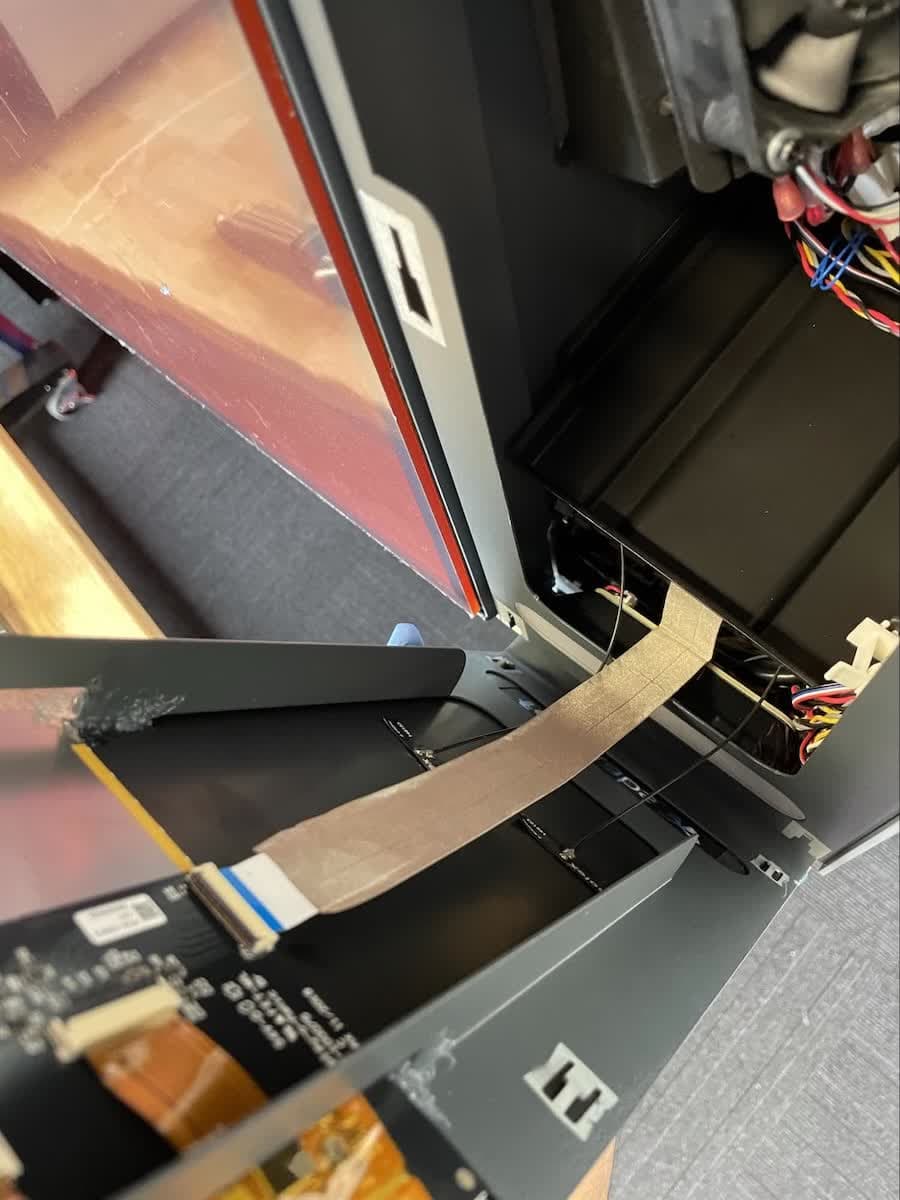
Tilt the right side of the display assembly away from the machine to access the rear of the display assembly. Note the cables attached to the display assembly.

f3l-rotate-display.jpg

NOTICE:

Do not pull on the ribbon cable or pull the display assembly away from the printer. Doing so may damage the display ribbon cable.

Step 4: Disconnect the Wi-Fi antenna

f3l-wifi-cable-1.jpg
f3l-wifi-cable-2.jpg

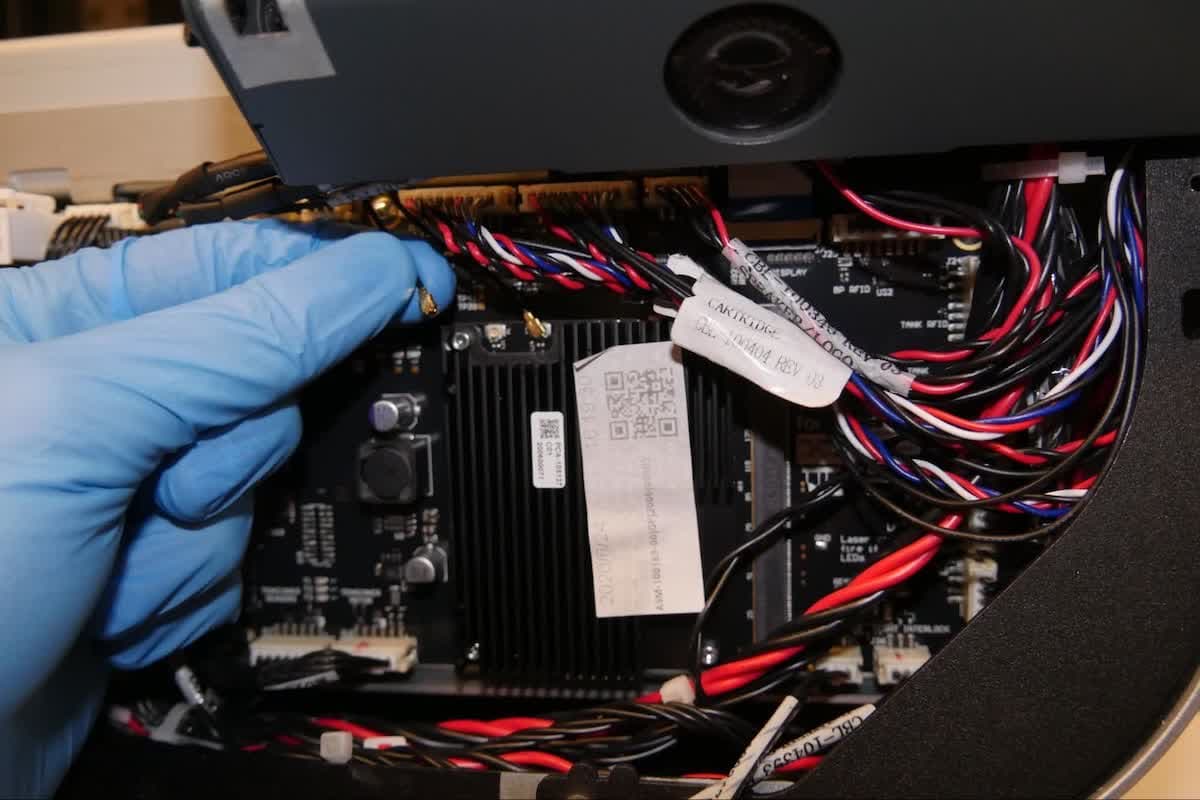
A thin Wi-Fi antenna wire is adhered to the bottom of the display assembly. Follow the wire down to the motherboard. Grip the wire’s connector and carefully disconnect it from the motherboard. Do not pull on the wire itself.

Step 5: Disconnect the display ribbon cable

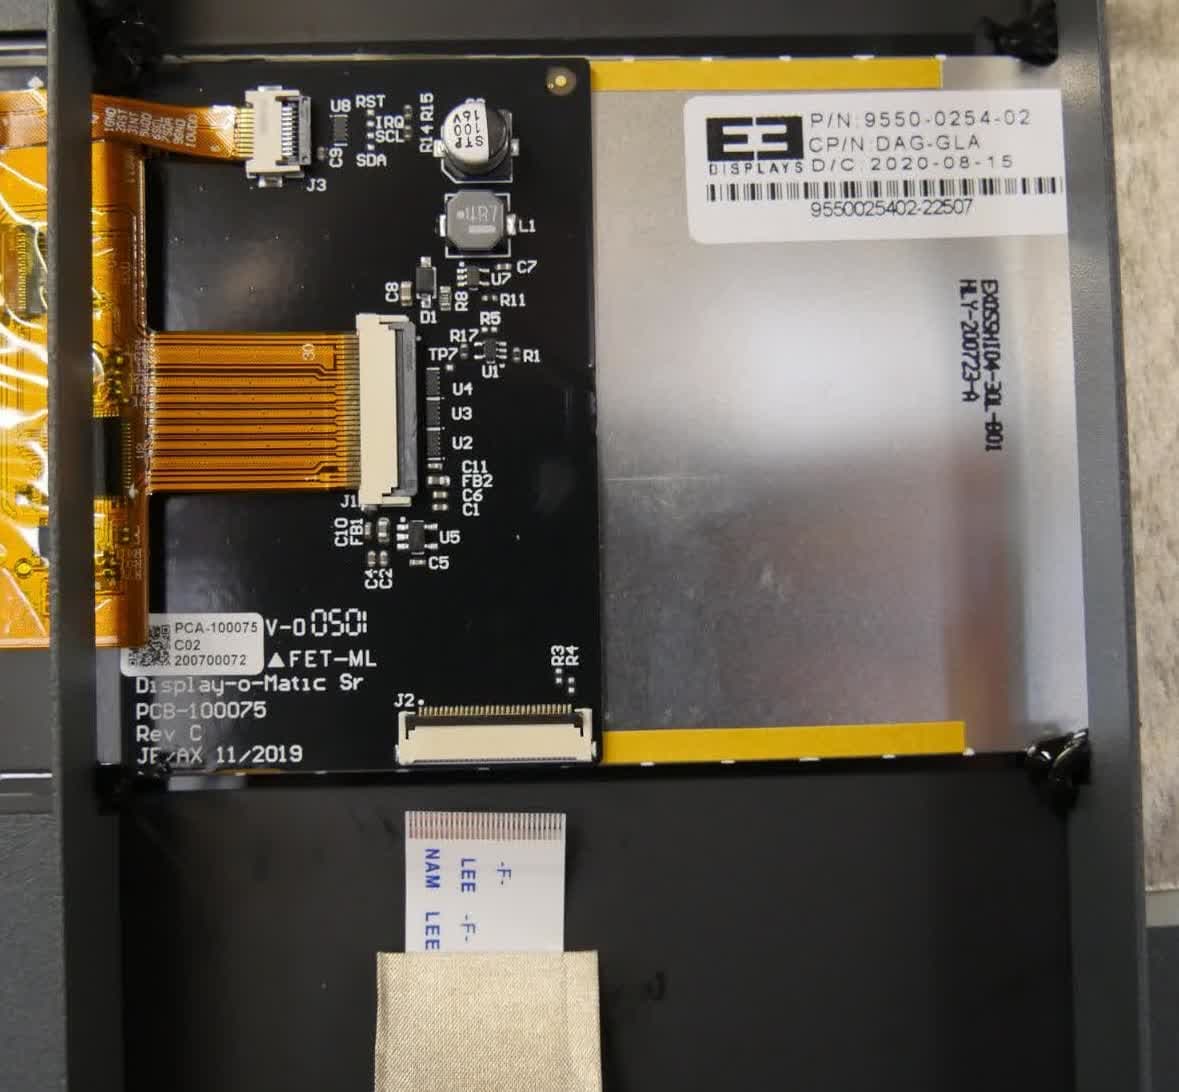
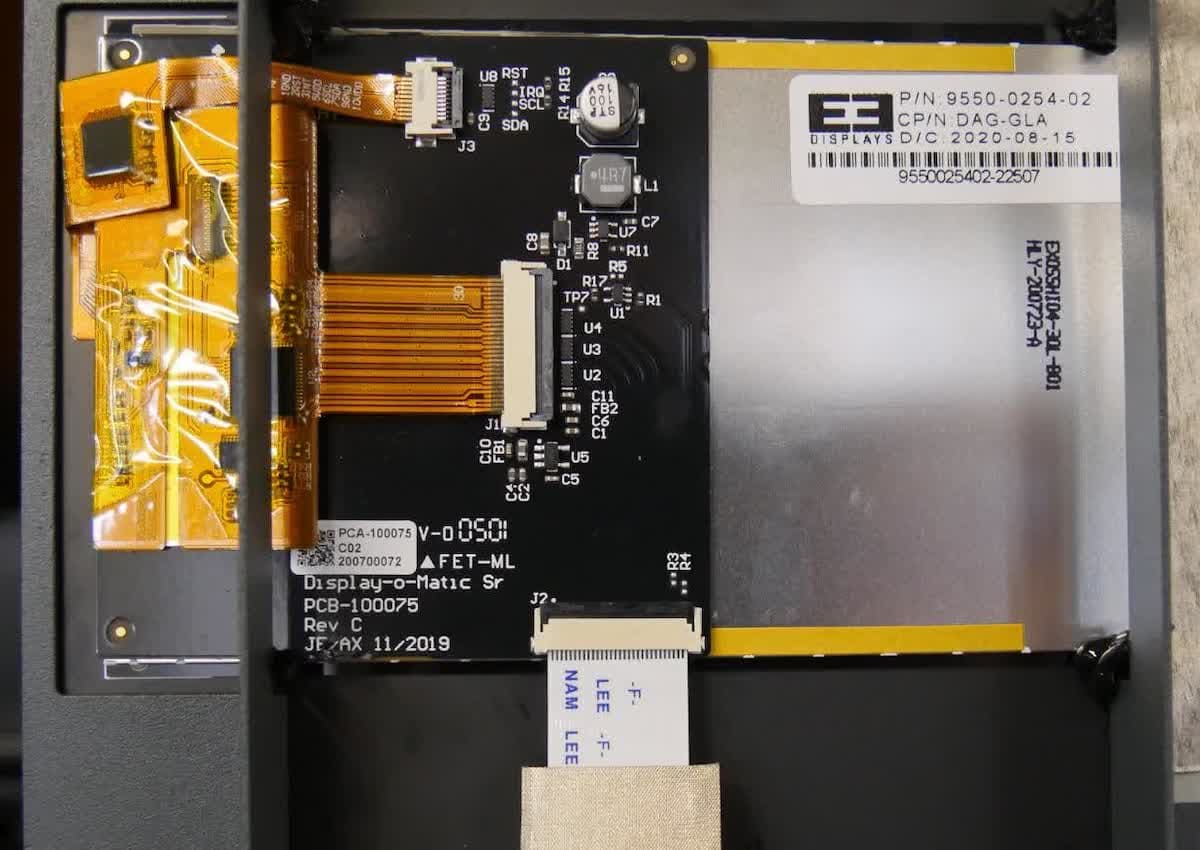
The display ribbon cable is secured in the connector with a latch. Lift the latch away from the display assembly to free the display ribbon cable. Once the latch is in the upright unlocked position, the ribbon can be easily removed.

f3l-display-ribbon-cable.jpg

Step 6: Remove the display assembly

Remove the display ribbon cable from the connector and set the display assembly aside.

Optional: Replacing the display ribbon cable

Overview: If the display ribbon cable has been damaged before or while replacing the display assembly, remove and replace the ribbon cable.

Step 1: Locate the display ribbon cable connector

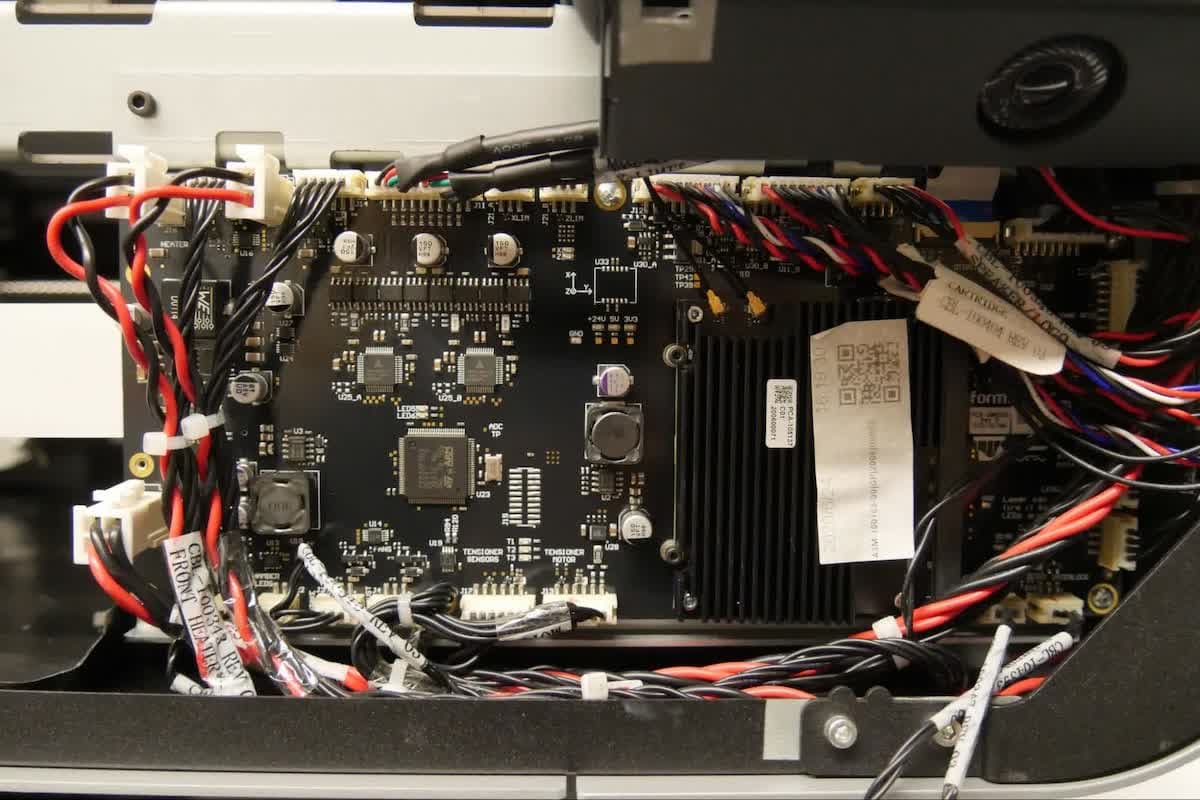
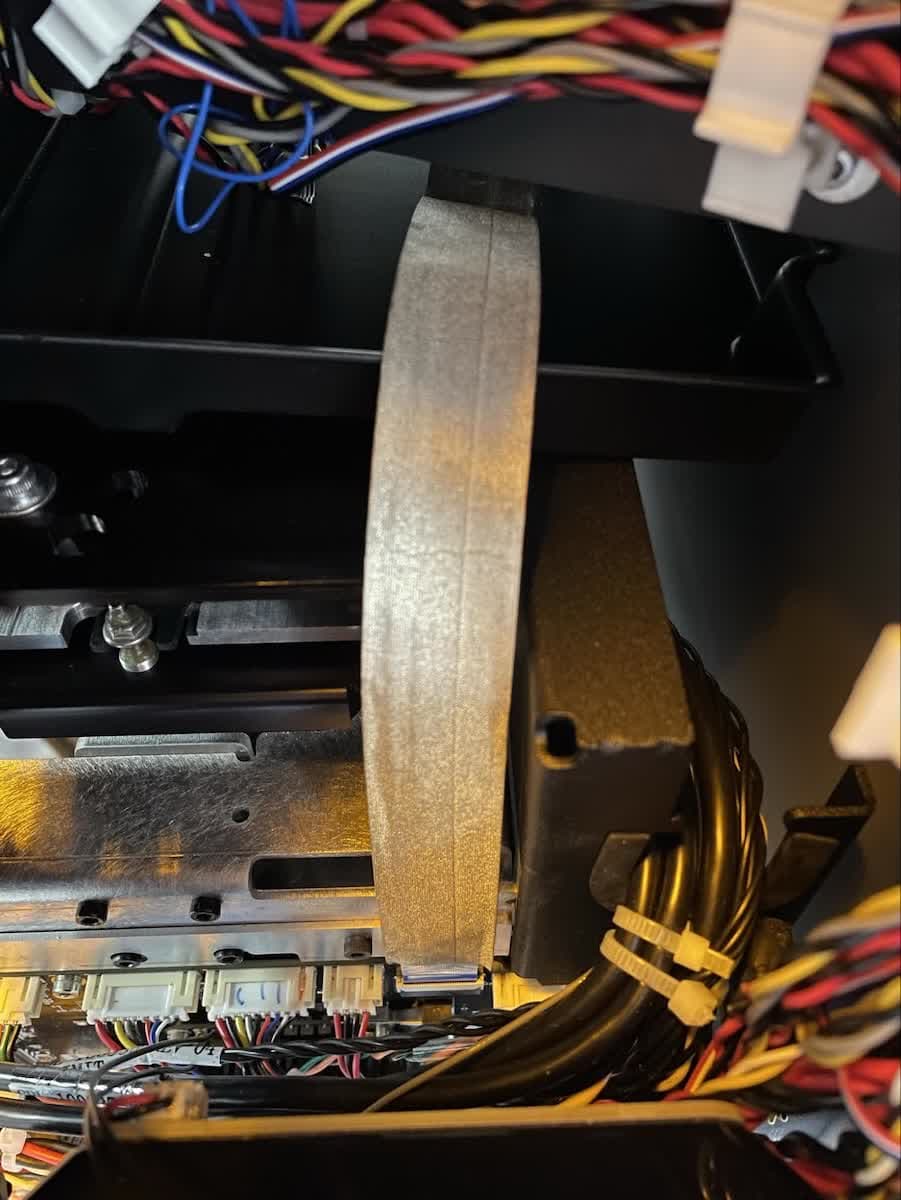
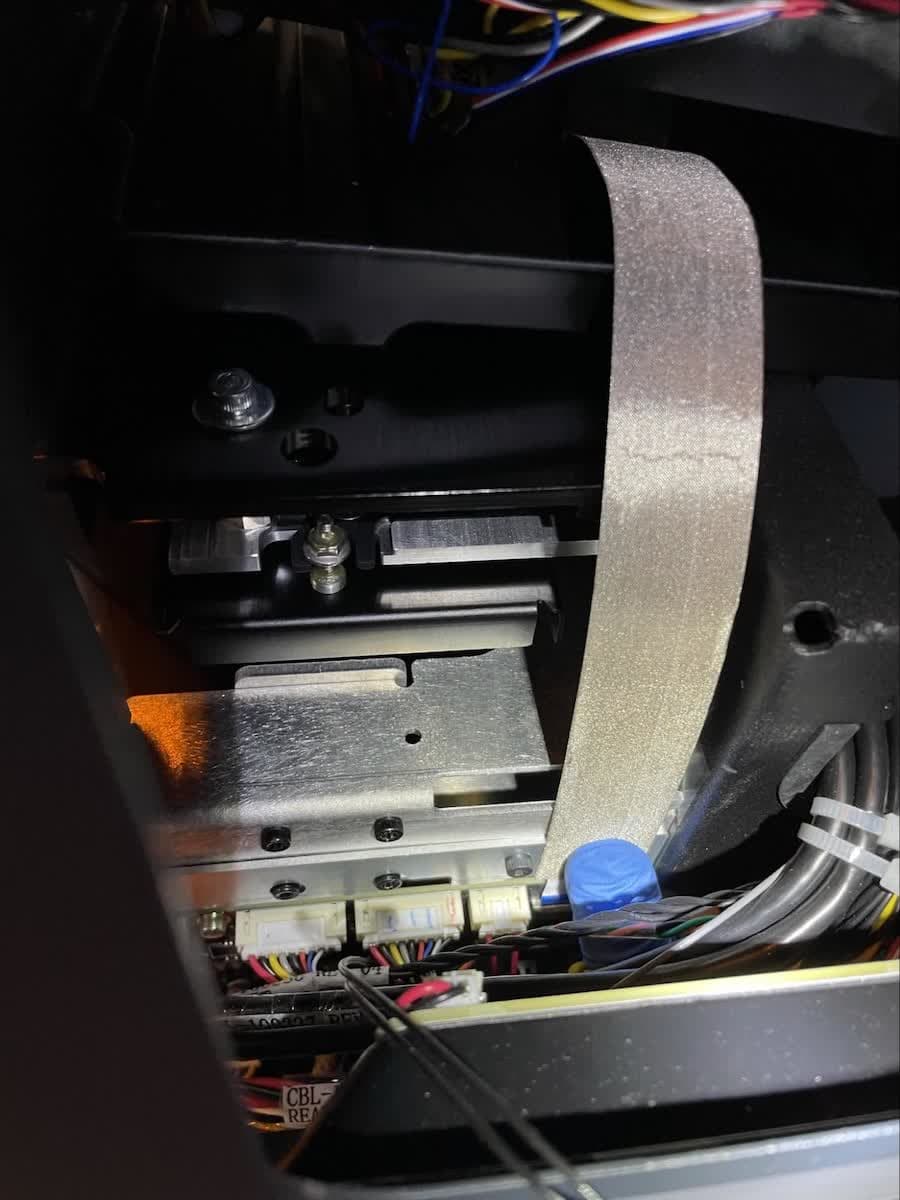
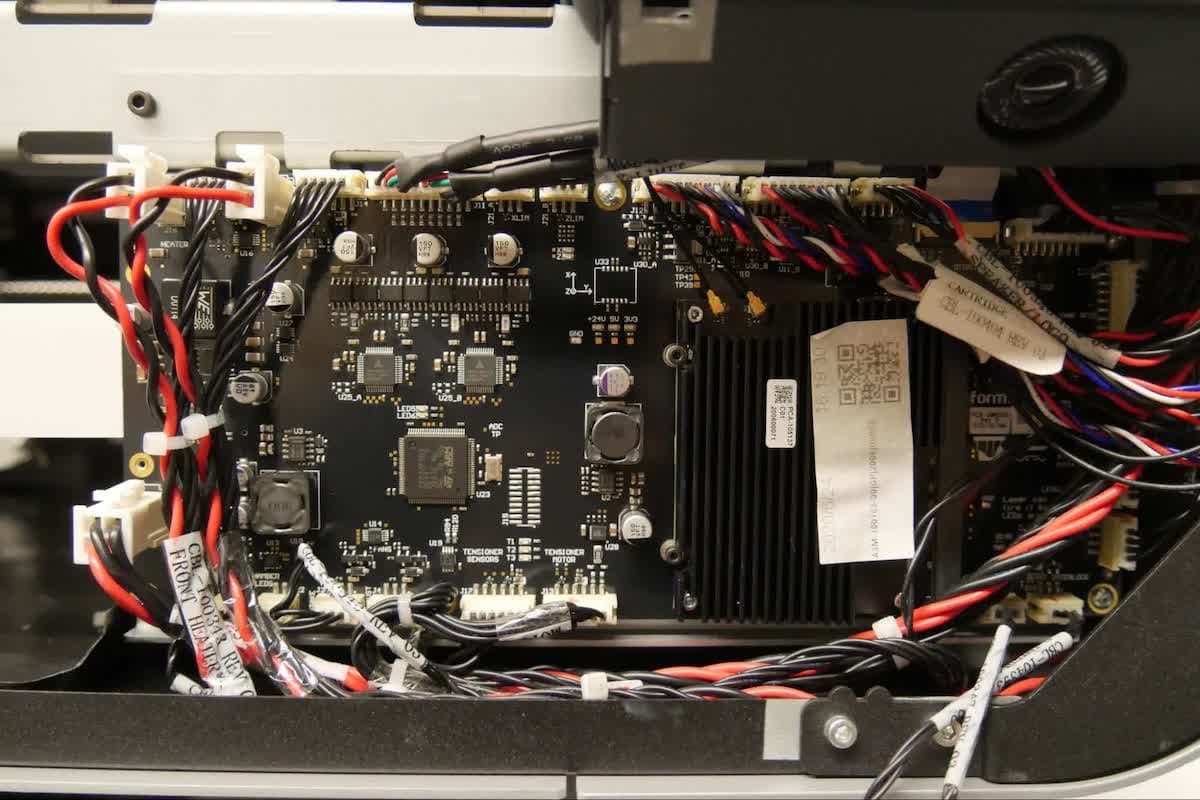
With the front shell removed, the motherboard is visible at the front of the printer. Locate the display ribbon cable, routed downwards from where the display assembly was previously installed, and its connector on the motherboard.

f3l-display-cable-motherboard.jpg

Step 2: Disconnect the display ribbon cable

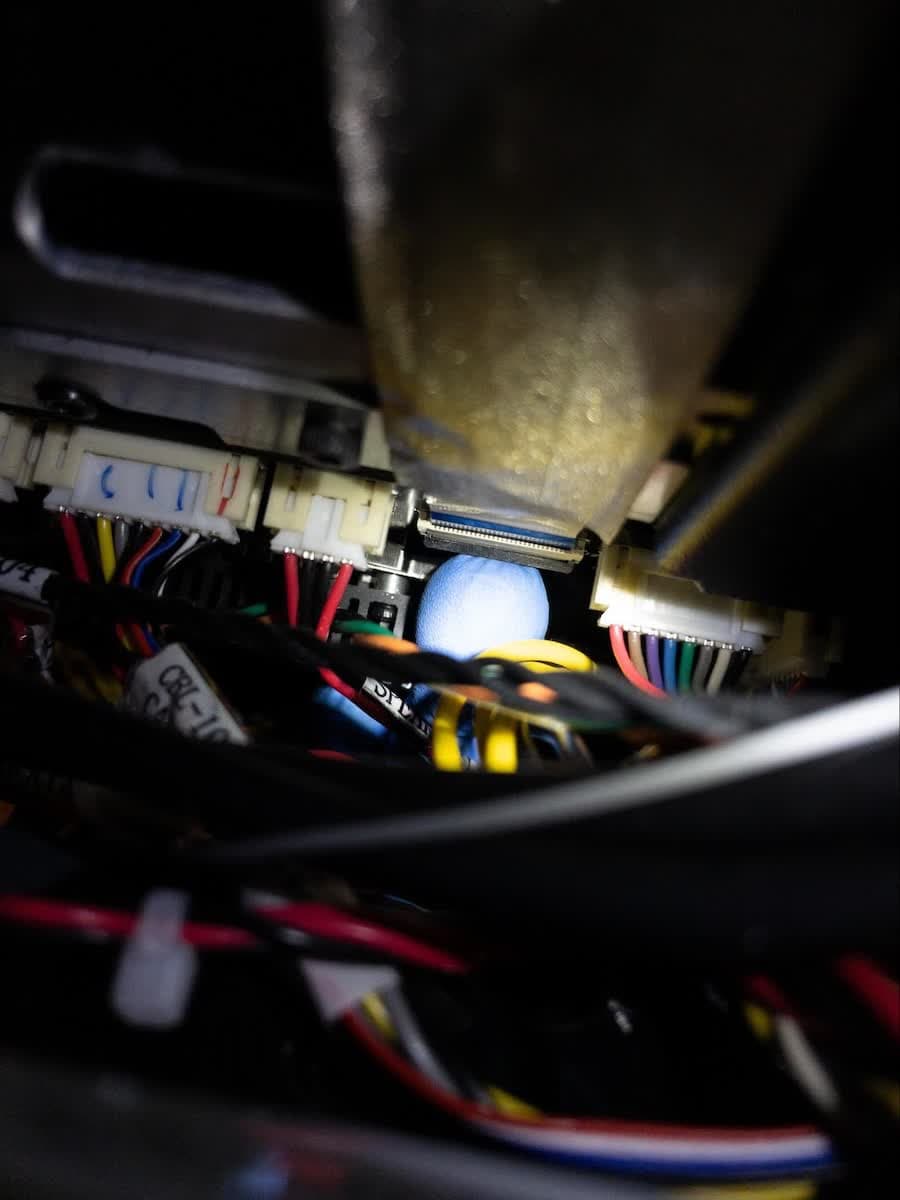
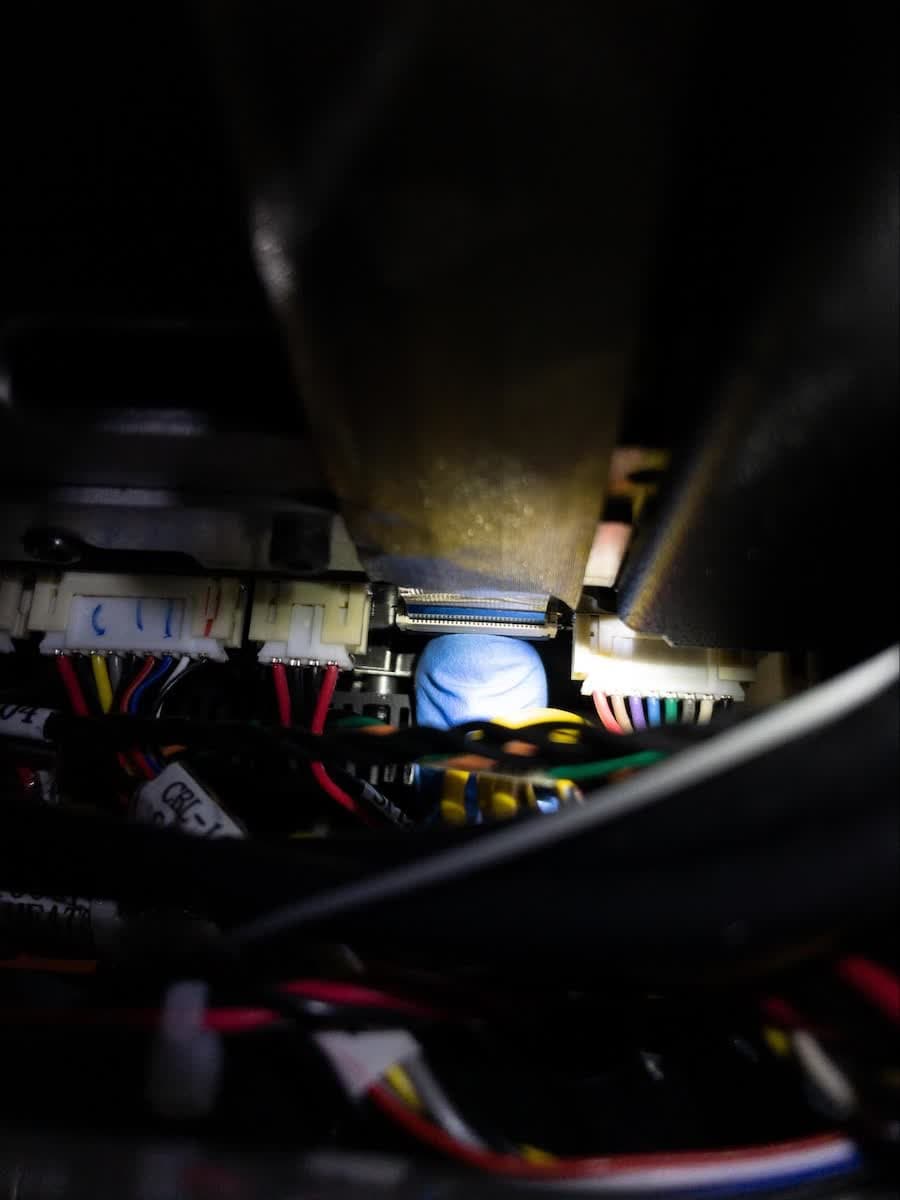
The display ribbon cable is secured in the connector with a latch. The latch is accessible by reaching into the gaps of the machine near the right side of the motherboard heat sink. If you need additional light to locate the latch, point a flashlight down at the connector from above.

The latch is in the locked position when the black plastic tab is flush with the connector. Locate the latch and lift the black plastic tab upwards to release the display ribbon cable latching mechanism. The display ribbon cable can be removed once the latch is unlocked. Leave the latch in the unlocked position to install the new display ribbon cable.

f3l-display-cable-motherboard-disconnect.jpg

Step 3: Connect the replacement display ribbon cable

f3l-display-cable-motherboard-connect-1.jpg
f3l-display-cable-motherboard-connect-2.jpg

Feed the new display ribbon cable behind the display assembly mounting surface and toward the connector on the motherboard. If needed, use a pair of precision tweezers to guide the cable into the connector. Using a single index finger, press the new display ribbon cable against the frame while pushing it downwards into the connector with gentle force. Do not apply excessive force, as the connector offers no tactile feedback on insertion.

Step 4: Secure the replacement display ribbon cable

With the new display ribbon cable inserted, press down onto the black plastic tab to engage the latch. The black plastic tab sits flush with the connector when in the locked position.

f3l-display-cable-motherboard-reconnect.jpg

Installing the new display assembly

Overview: Mount and secure the new display assembly.

Step 1: Reconnect the Wi-Fi antenna

f3l-front-wifi.jpg
f3l-wifi-cable-1.jpg

Step 2: Reconnect the display ribbon cable

f3l-reconnect-display-cable.jpg
f3l-display-ribbon-cable.jpg

Insert the display ribbon cable into the connector on the new display assembly, orienting the exposed contacts on the ribbon cable away from the display assembly. Ensure that the ribbon cable is not twisted or folded.

Step 3: Secure the latch

Rotate the latch towards the display assembly to lock the display ribbon cable in place.

Step 4: Install the display assembly

f3l-mount-display.jpg
f3l-unlatch-display-2.jpg

Mount the new display assembly onto the printer using the tab at the top to support the display assembly. When properly installed, the latching fixtures at the back of the display assembly align such that the display assembly sits flush onto the machine. Ensure that the display ribbon cable is not caught between the display assembly and the printer frame. If necessary, push the ribbon cable back into the printer frame to prevent the ribbon cable from being pinched by the display assembly.

Step 5: Secure the display assembly

f3l-check-display-1.jpg
f3l-check-display-2.jpg

Thread the M4 screw into the hole at the front of the bottom shell. Use the 2.5 mm hex driver to tighten the screw until snug. Confirm that the new display assembly does not interfere with the cover.

Reinstalling the front shell

Overview: Reinstall and secure the front shell.

Step 1: Reconnect the interlock cables

f3l-reconnect-interlock-1.jpg
f3l-reconnect-interlock-2.jpg

Reconnect the interlock cables to the interlock sensors on the front shell, ensuring that both are fully seated. Do not bend the pins inside of the connectors. Ensure that the cables are kept inside of the edges of the front shell to avoid pinching them. Secure the cables with polyimide tape.

Step 2: Install and secure the front shell

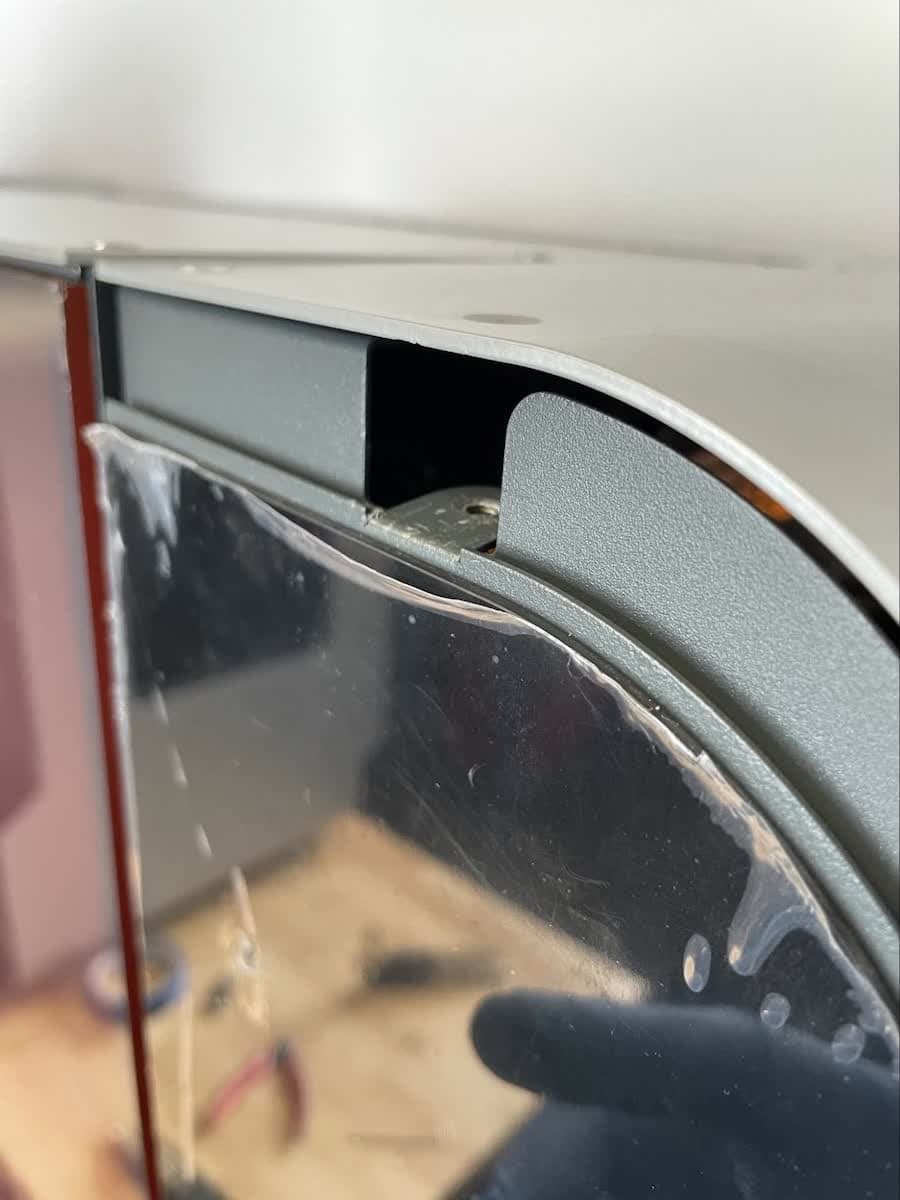
Align the front shell with the printer frame and install it by sliding it to the right, making sure that the front shell gasket is seated properly. If the gasket is separating from the printer, use cyanoacrylate glue or another similar adhesive to affix it in place. Using the included drivers, hand-tighten the 2.5 mm hex screws on the bottom of the front shell and the T8 Torx screws on the front face of the shell. Adjust the front shell as needed for proper fitment before fully tightening down.

f3l-secure-front-shell.jpg

Finalizing the repair

Overview: After installing the new display assembly, power on the printer and perform final checks.

Step 1: Power on the printer

Connect the power cable to the printer and the power supply. The printer will initialize, and the touchscreen will turn on.

Step 2: Test the touchscreen

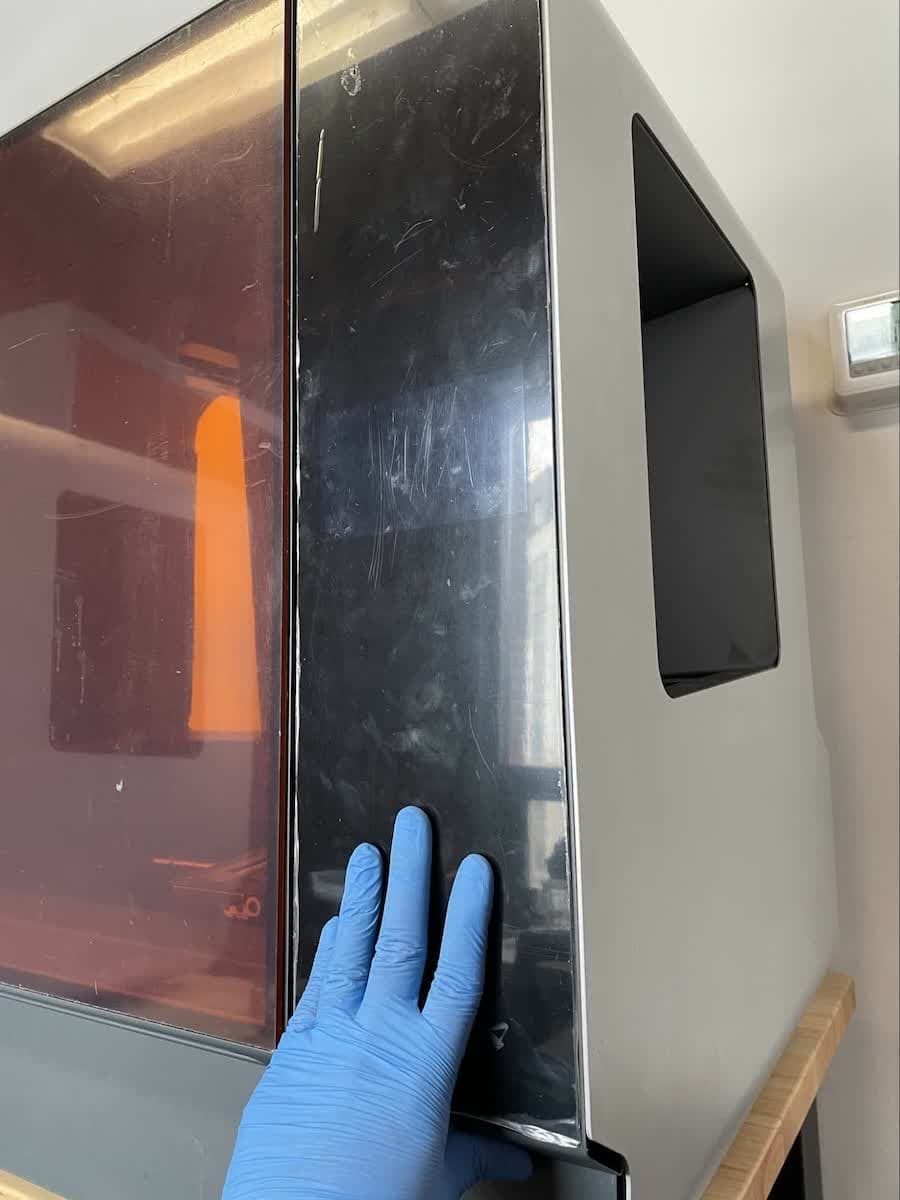
Remove the plastic protector from the new display assembly. The touchscreen should respond to touch inputs if the repair was successful. Test a variety of inputs, such as viewing the printer’s settings or exploring past prints via the print queue. Contact Formlabs Support or your authorized reseller to share the results of the procedure.