
Required Supplies:
Formlabs:
- Door
- 2.5 mm hex driver (included in the Form 4 or Form 4L tool caddy)
Third-party:
- Nitrile gloves

The Form Cure (2nd Generation) has a door that helps insulate the machine and contain the light from the LED modules. If the door is damaged, the Form Cure may not reach or maintain its target temperature. If the door cannot fully close, the machine does not allow you to start a post-curing cycle.
Use this guide to remove and replace the Form Cure (2nd Generation) door.
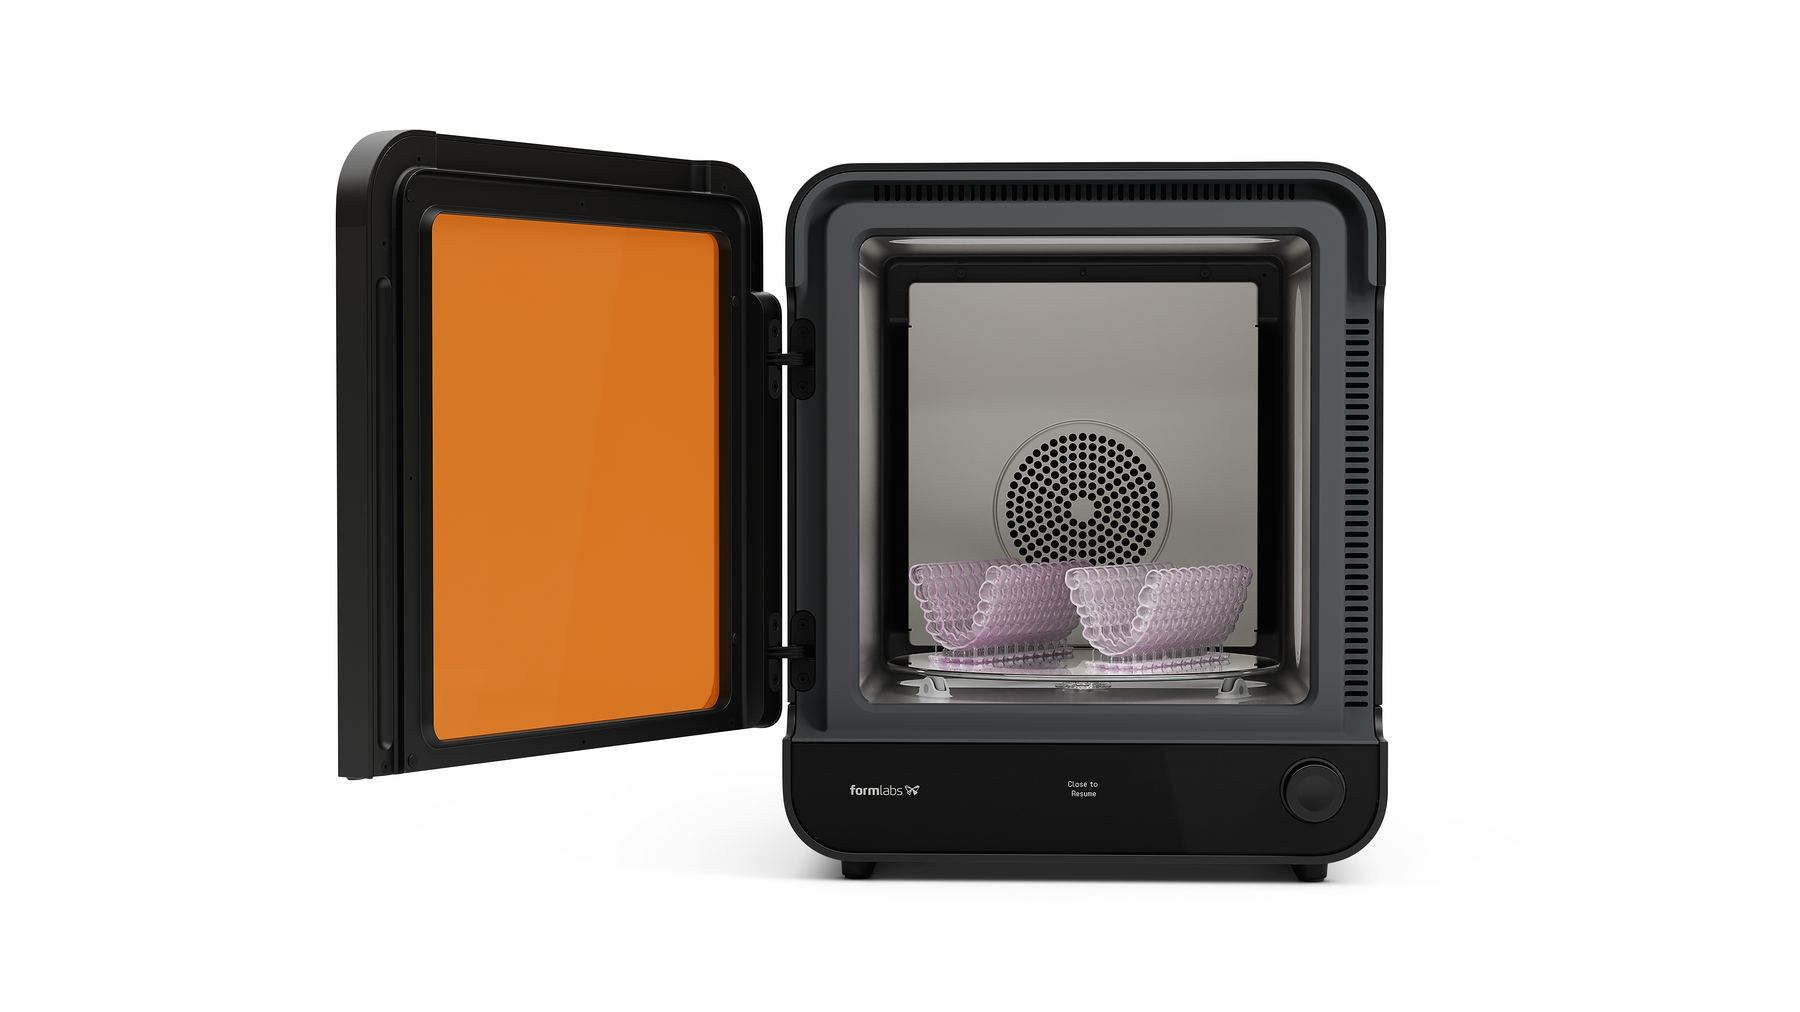
Required Supplies:
Formlabs:
Third-party:
Estimated time: 10 minutes
Preparing the workspace
Overview: Prepare the Form Cure (2nd Generation) and workspace for replacing the door.
Step 1: Prepare the workspace
Clear a workspace around your machine. Ensure that the workspace is well-ventilated and free of dust.
Step 2: Clean the Cure chamber
Warning:
Resin may cause skin irritation or an allergic skin reaction. Wear gloves when handling liquid resin or resin-coated surfaces. Wash skin with plenty of soap and water.
Open the Form Cure door. Clean any resin that may have pooled or cured in the post-cure chamber with paper towels. Dampen the paper towels with isopropyl alcohol if necessary.
Danger:
IPA is flammable. Keep containers closed, and keep out of the reach of children. Allow IPA to fully evaporate before starting a post-cure cycle.
Step 3: Unplug the machine
Turn off the machine using the power switch on the back of the unit. Disconnect the power cable before continuing with maintenance. Do not perform maintenance on the machine while it is connected to power. Wait five minutes after disconnecting the machine from power before proceeding. If the machine was recently in use, the post-cure chamber will be warm. Wait at least 10 minutes for the chamber to cool.
Danger:
Performing maintenance on the machine while it is plugged in increases the risk of electric shock.
Removing the door
Overview: Unscrew and uninstall the Form Cure door.
Step 1: Open the Cure door
Open the Cure door to access the door hinge screws.
Step 2: Remove the door hinge screws
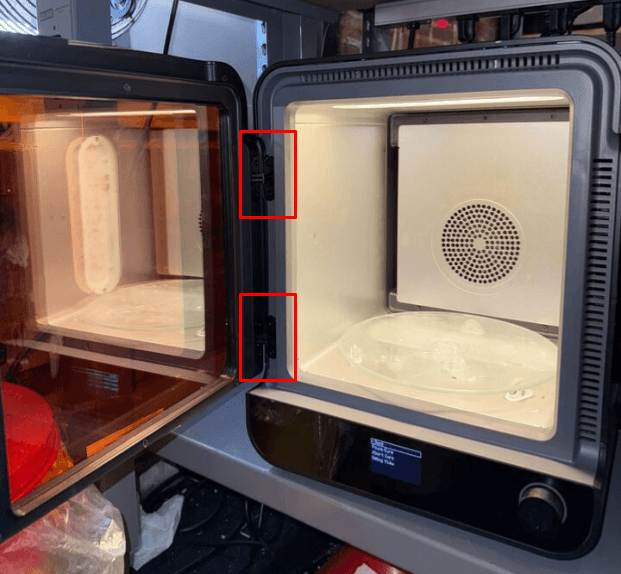
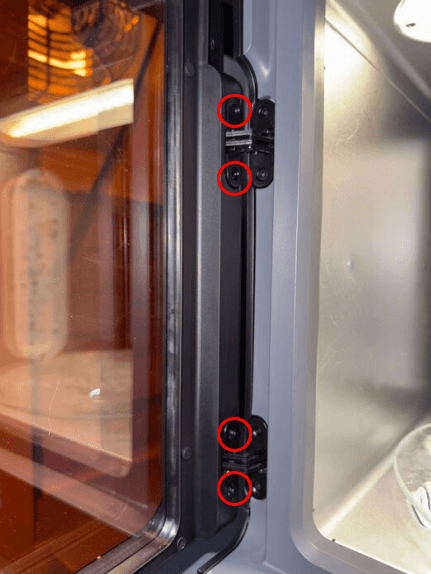
The Form Cure door is mounted to the machine’s frame with two hinges on the left side of the unit. Using a 2.5 mm hex driver, unscrew and remove the four screws securing the door to its hinges. Set the screws aside.
Step 3: Uninstall the door
Pull the door directly away from the Form Cure to separate it from the machine. Set the door aside for disposal.
Installing the replacement door
Overview: Mount and secure the replacement door.
Step 1: Align the replacement door
Slide the replacement door into place. Ensure that the front face of the door is flush with the front of the unit and that the left edge of the door is flush against the frame.
Step 2: Secure the replacement door
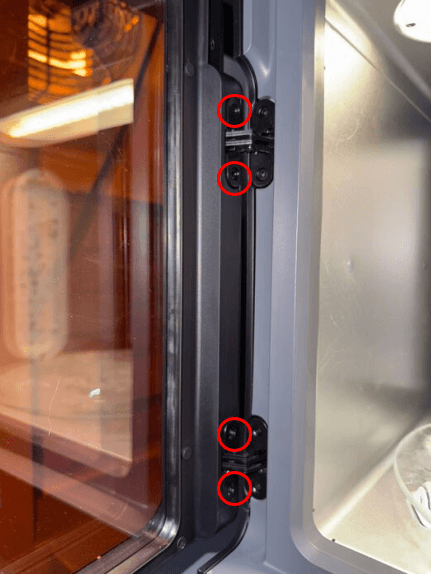
Thread one screw into each of the four hinge screw holes. Use a 2.5 mm hex drive to tighten the screws until finger tight.
Finalizing the repair
Overview: After installing the replacement door, power on the machine and perform final checks.
Step 1: Power on the machine
Connect the power cable to the Form Cure and the power supply. Flip the breaker switch on the back of the unit to the ON position to turn on the machine.
Step 2: Test the repair
Start a post-cure cycle to test the replacement door. Monitor the Form Cure to ensure that the post-cure cycle runs normally. Contact Formlabs Support or your authorized reseller to share the results of the procedure.