
Required Supplies:
Formlabs:
- Replacement display assembly
Third-party:
- 2.5 mm hex driver
- Nitrile gloves

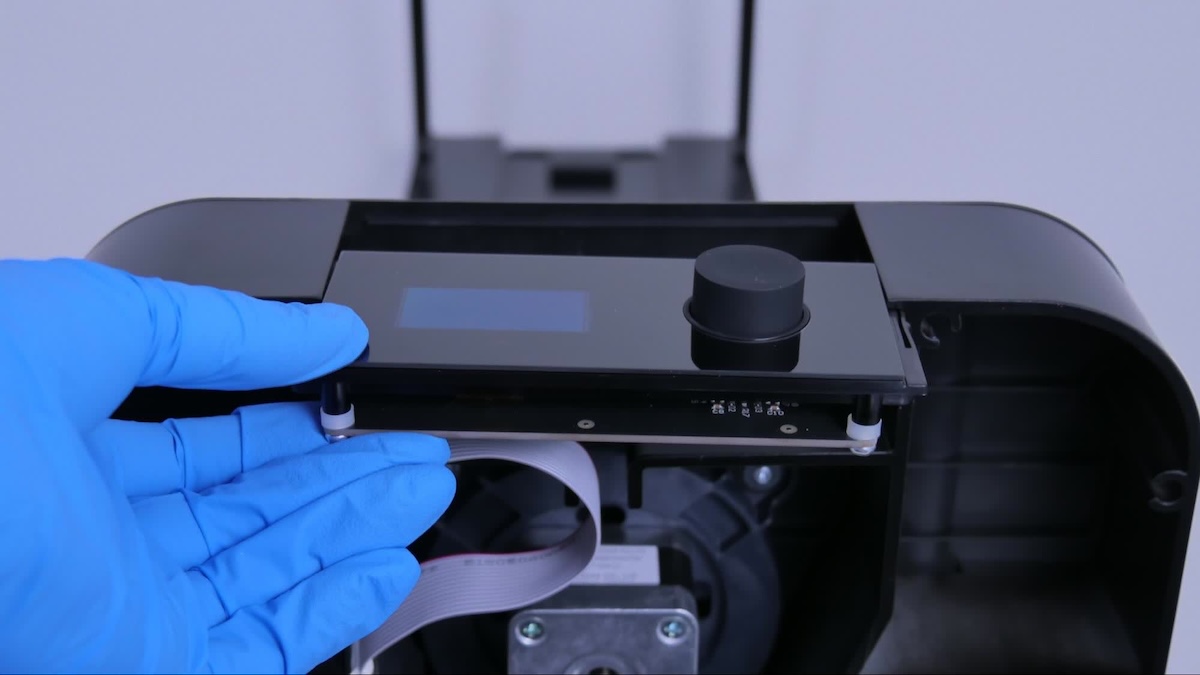
The Form Wash display assembly includes the display and the knob. If the display or knob stops functioning, replace the display assembly to restore functionality.
Use this guide to replace the Form Wash display assembly.
Required Supplies:
Formlabs:
Third-party:
Estimated time: 10 minutes
Preparing the workspace
Overview: Prepare the Form Wash and a level workspace for replacing the display assembly.
CAUTION:
Wear gloves when handling parts and surfaces that have come into contact with solvents or liquid resin.
Disconnect the Form Wash from its power source.
Lift the Form Wash by gripping its base, not the handles of the wash bucket. Move the unit to a well-ventilated area. Set the unit and the outer lid hinge on a level surface for easy access.
Lift the outer lid to expose the wash bucket and platform mount.
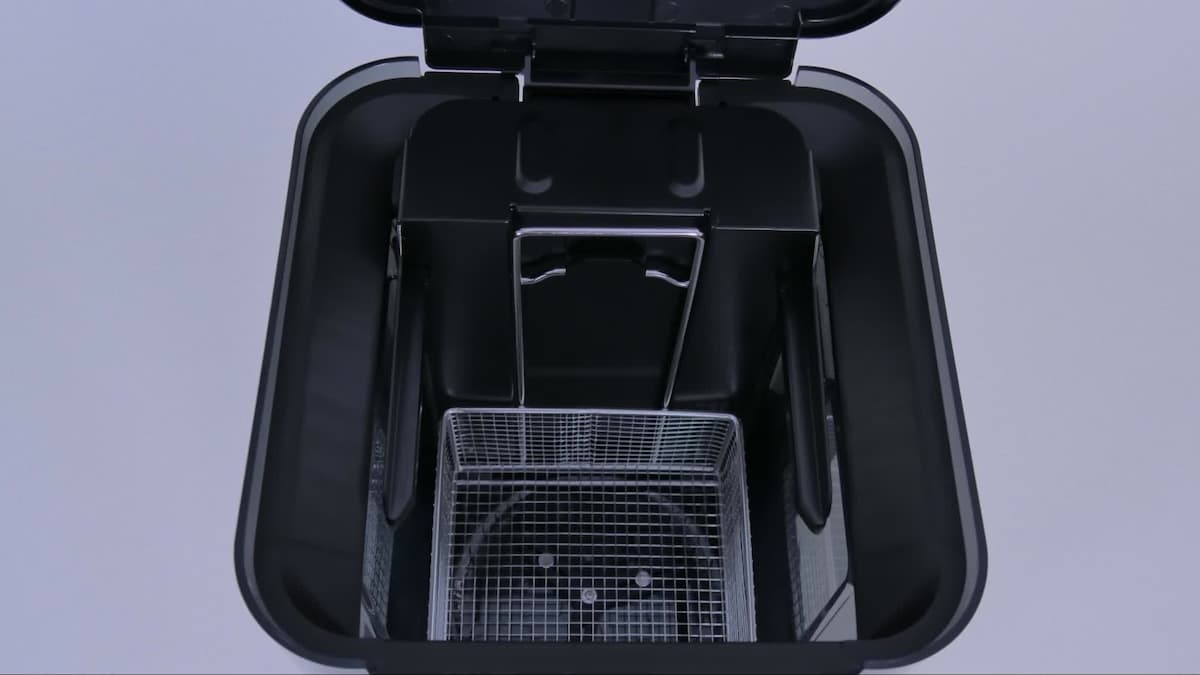
Step 4: Lift the platform mount
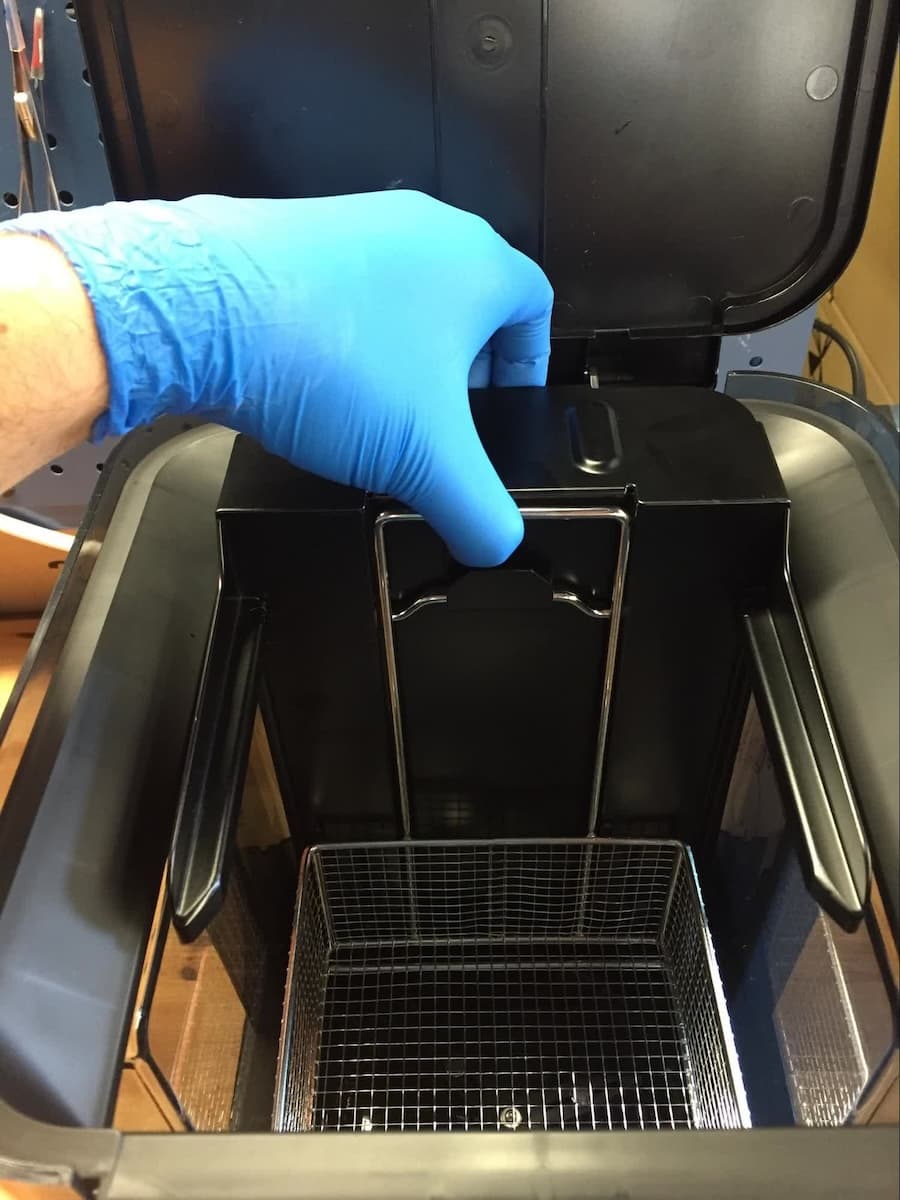
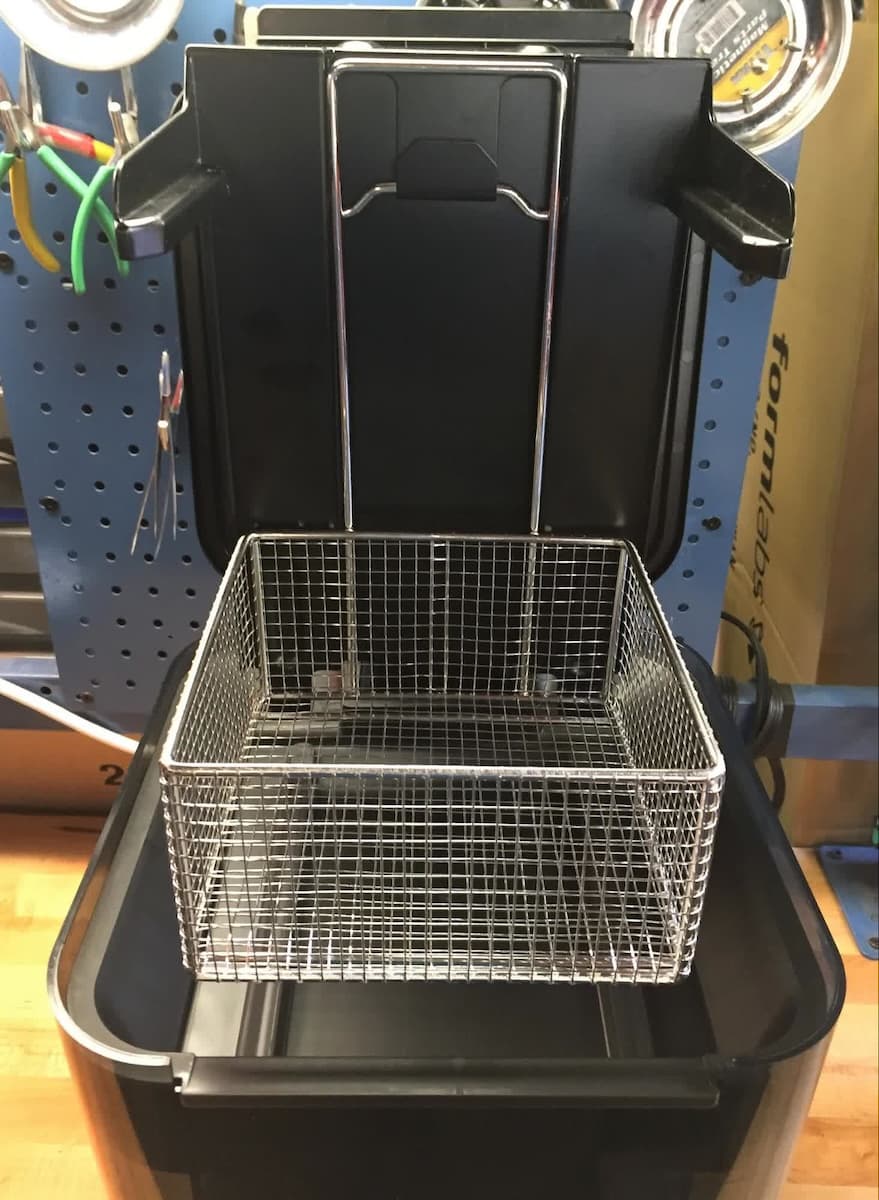
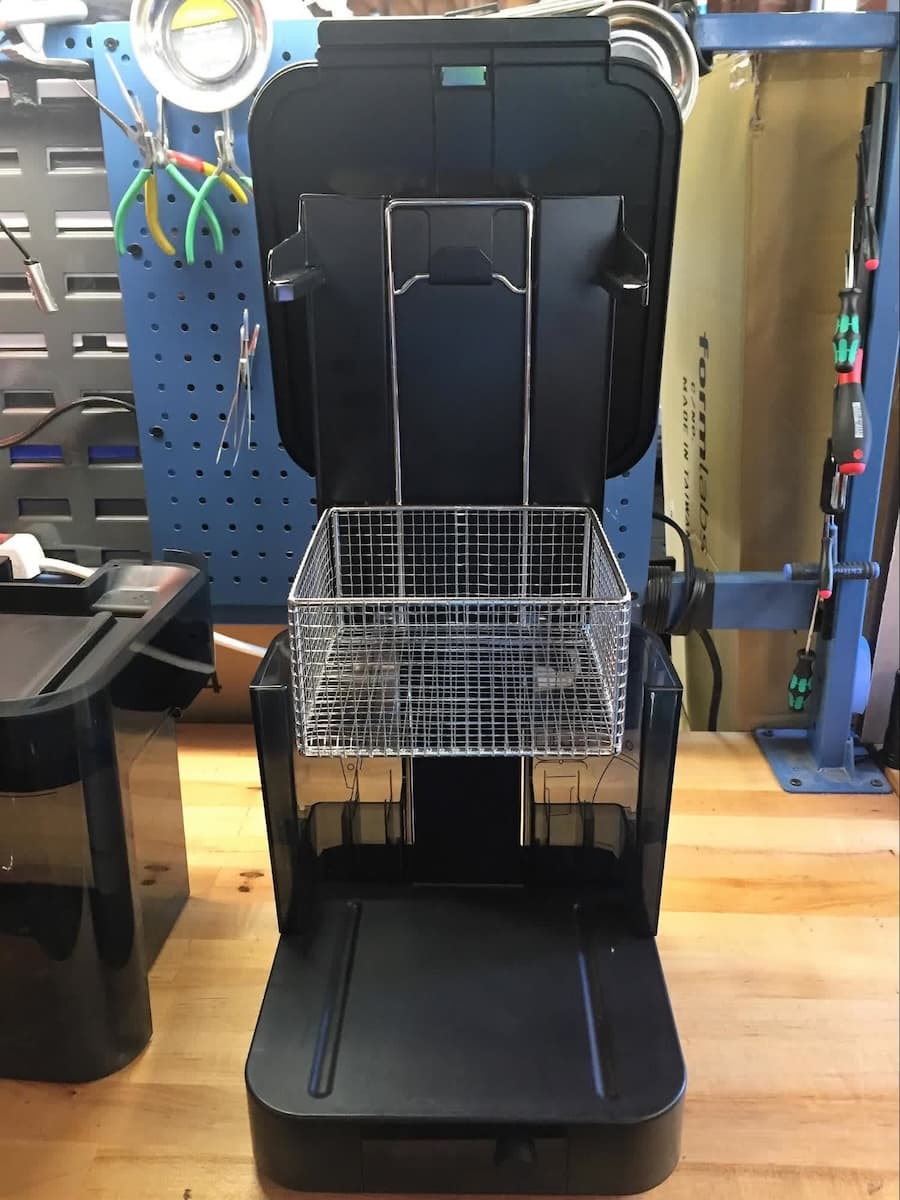
Lift the platform mount until it rests at the top of the lead screw. Some friction or shaking while lifting the mount is normal and should not affect the unit.
Step 5: Remove the wash bucket
Remove the wash bucket from the base and set the bucket aside on a stable, flat surface. To reduce the likelihood of spillage, remove the solvent from the wash bucket with a siphon pump.
Removing the bottom plate
Overview: Close the cover and turn the unit over to rest on its back. Unscrew the outer screws in the bottom plate to remove it.
Close the cover and turn the unit over so that it rests on its top and the bottom plate faces up.
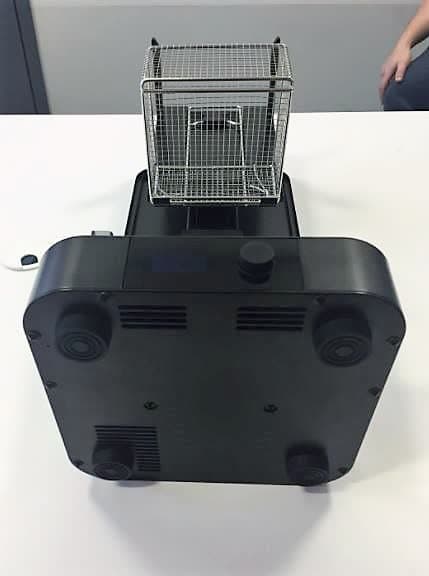
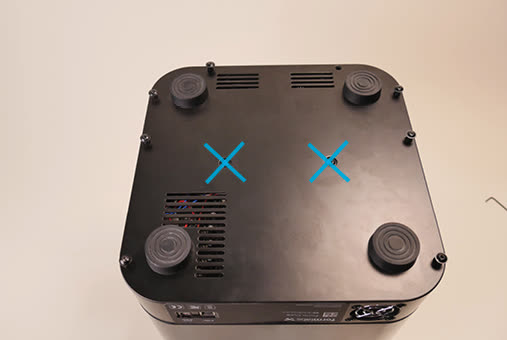
NOTICE:
Do not remove the two screws in the center of the bottom plate. The center screws secure the base assembly.
Replacing the display assembly
Overview: Remove the display assembly and disconnect the ribbon cable from the display assembly and the motherboard. Connect the ribbon cable to the new display assembly and the motherboard. Insert the new display assembly.
Pull evenly to slide out the display assembly.
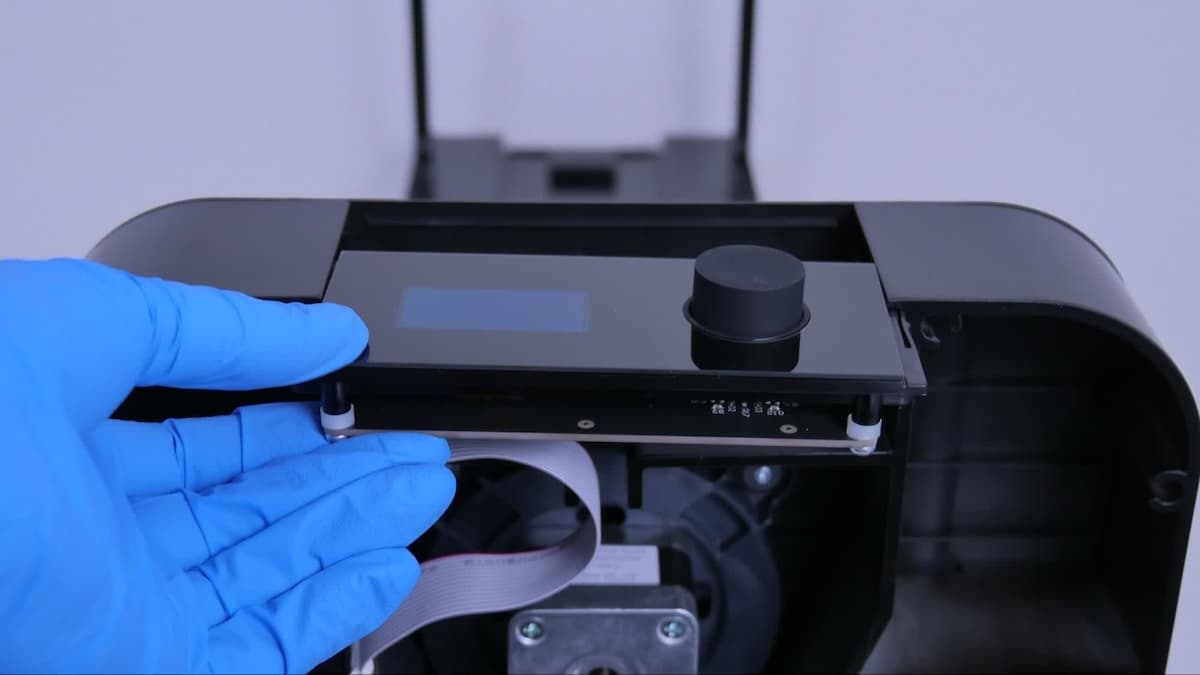
Disconnect the cable connector from the back of the damaged display assembly.
Push the remaining cable connector into the back of the new display assembly. Ensure the cable connector is fully seated.
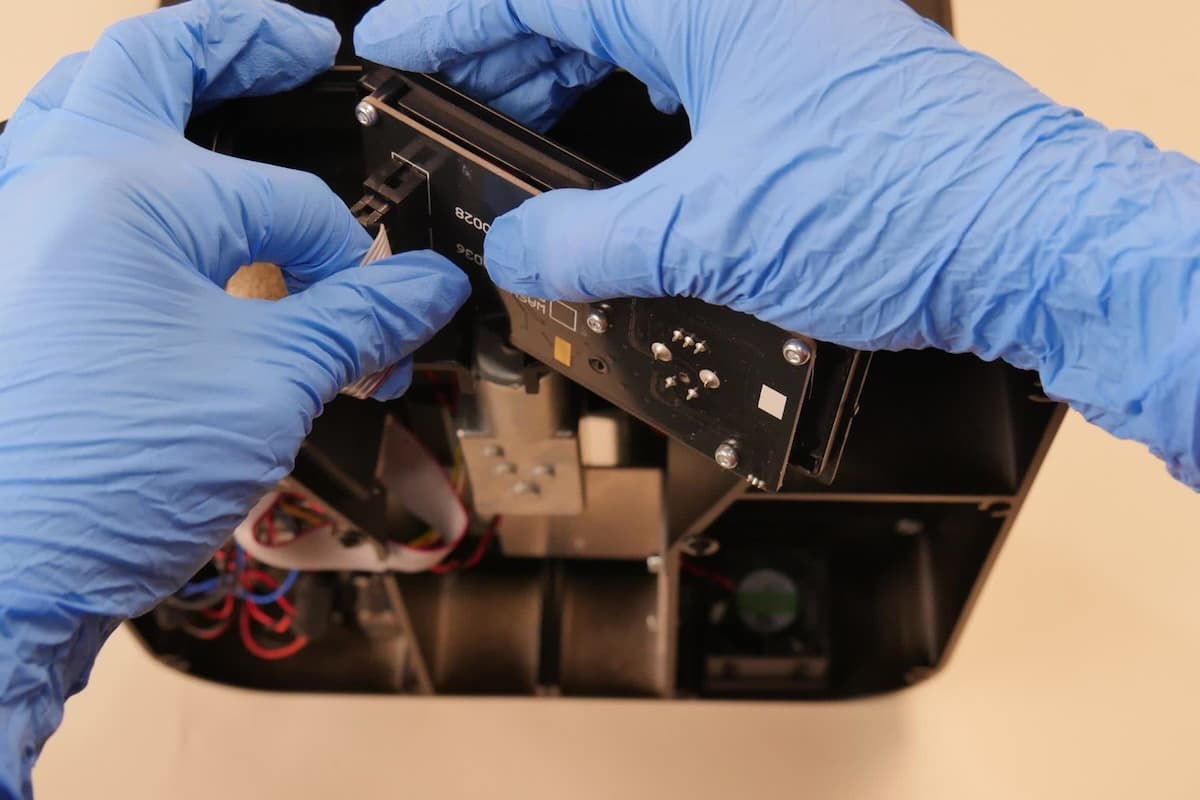
Step 4: Reseat the ribbon cable on the motherboard
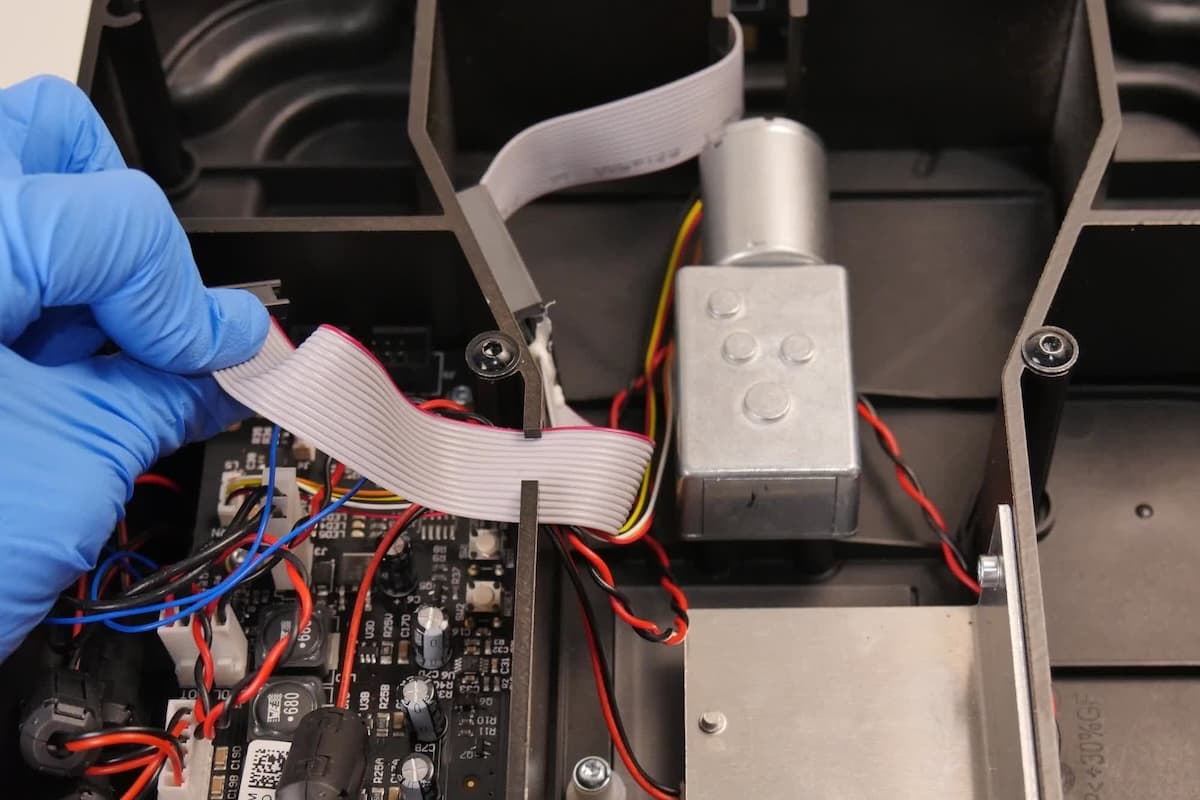
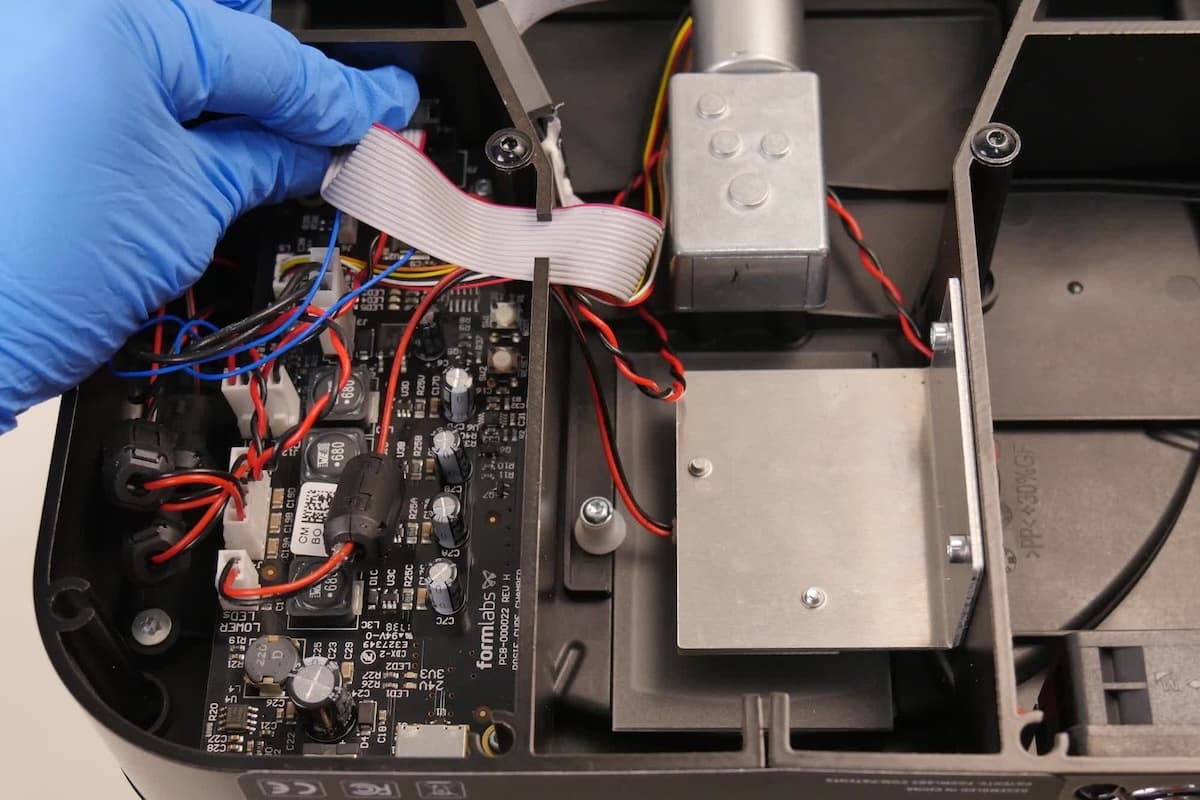
Disconnect and reconnect the cable connector on the motherboard. Ensure the cable connector is fully seated.
Push evenly to slide the new display assembly into the base.
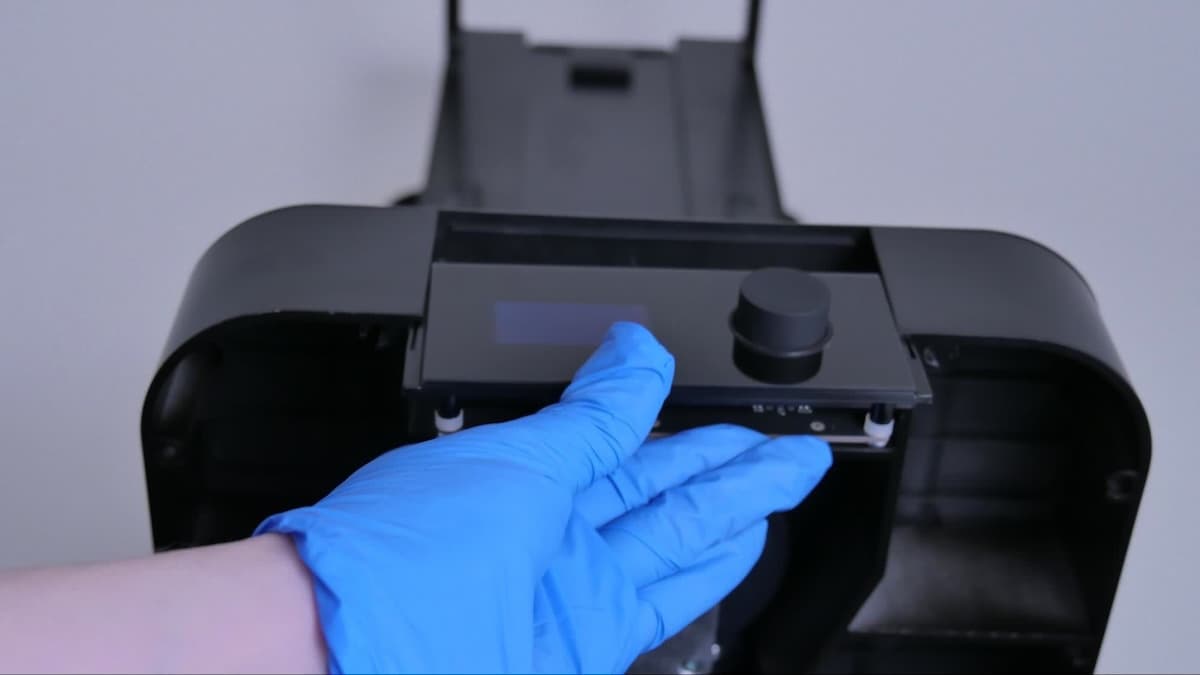
Reassembling the unit
Overview: Reinstall the bottom plate. Stand the unit upright to reinstall the wash bucket.
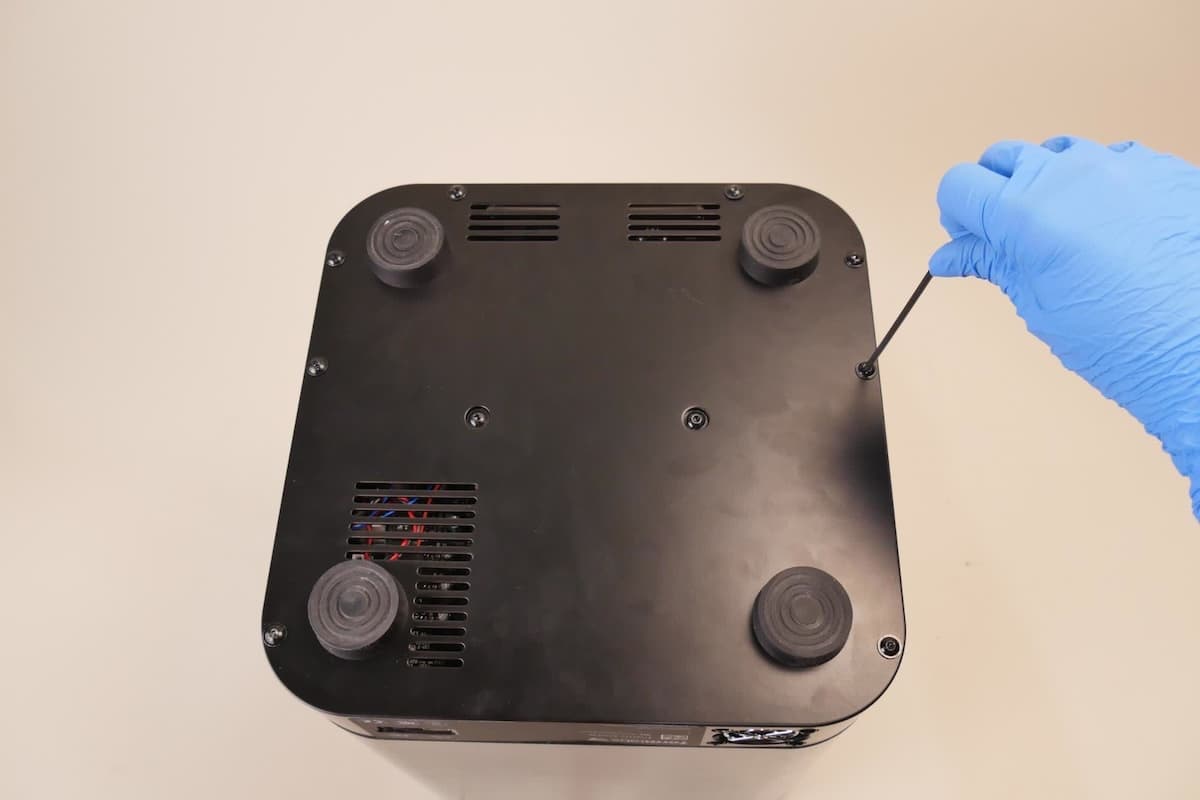
Place the bottom plate on the unit with the feet pointing upward. Insert the eight screws along the edges of the bottom plate. Turn the 2.5 mm hex driver clockwise to tighten all eight screws until they are finger-tight.
Return the unit to the upright position.
Reinstall the wash bucket in the Form Wash.
Finalizing the repair
Overview: After installing the replacement display, power on the unit and perform final checks.
Step 1: Power on the Form Wash
Connect the Form Wash to power. It should show the startup screen.
Step 2: Test the display assembly
Rotate the knob to the Sleep option and press the knob to select it. This lowers the platform mount into the wash bucket. Contact Formlabs Support or your authorized reseller to share the results of the procedure.