
Required supplies:
Formlabs:
- Replacement handle spring
Third-party:
- N95 respirator mask
- Two 2.5 mm hex drivers
- Two 3 mm hex drivers
- Nitrile gloves

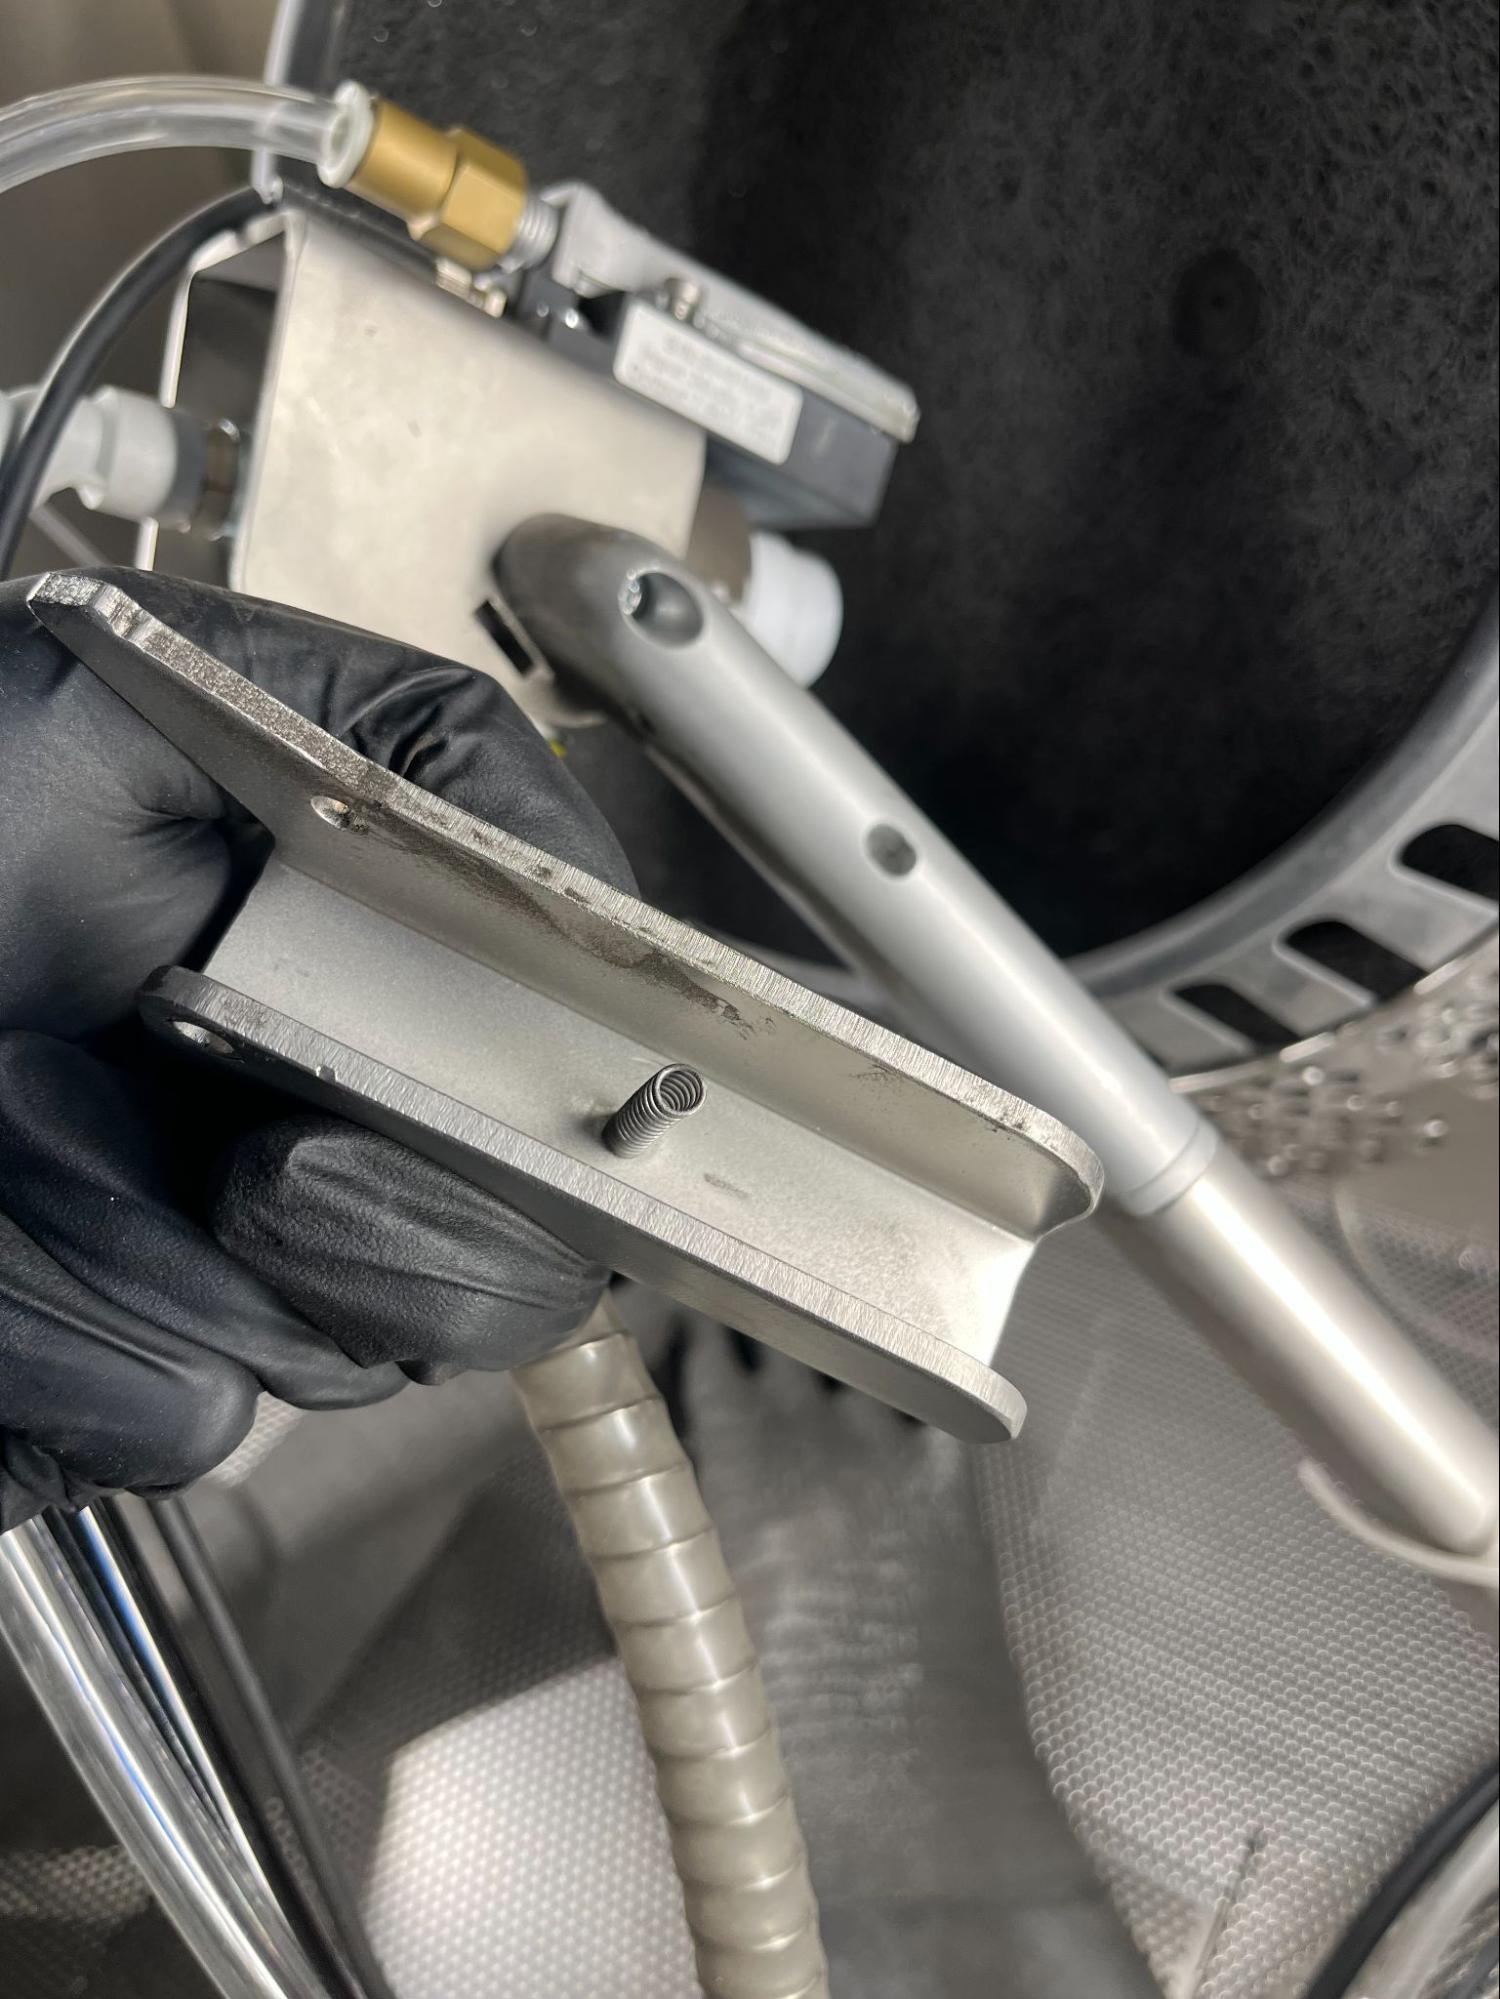
The Fuse Blast handle locks the blast arm between two positions for manual or automatic cleaning cycles. The handle spring ensures the handle latches securely in place. If the handle does not latch fully, the blast arm is unable to maintain its position during cleaning cycles.
Use this guide to replace the Fuse Blast handle spring.
Estimated time: 20 minutes
Required supplies:
Formlabs:
Third-party:
Warning:
The Fuse Blast is designed to contain fine particulate matter from media blasting and SLS 3D printing. Always wear an N95 respiratory mask when performing maintenance on a Fuse Blast unit.
Preparing the workspace
Overview: Prepare the Fuse Blast and a clean workspace for replacing the handle spring.
Step 1: Prepare the workspace
Clear a workspace. Ensure that the workspace is well-ventilated, level, and clean.
Step 2: Turn the chamber light on
Turn on the chamber light to improve visibility.
Removing the handle
Overview: Uninstall the handle to access the handle spring.
Step 1: Remove the handle screw
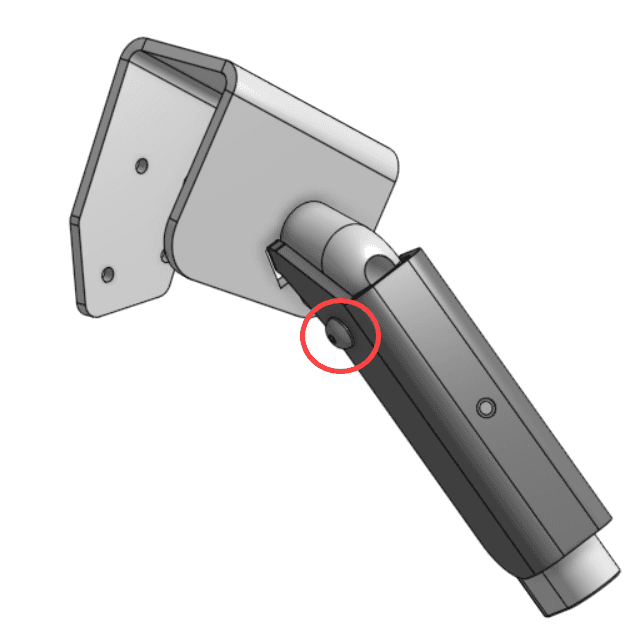
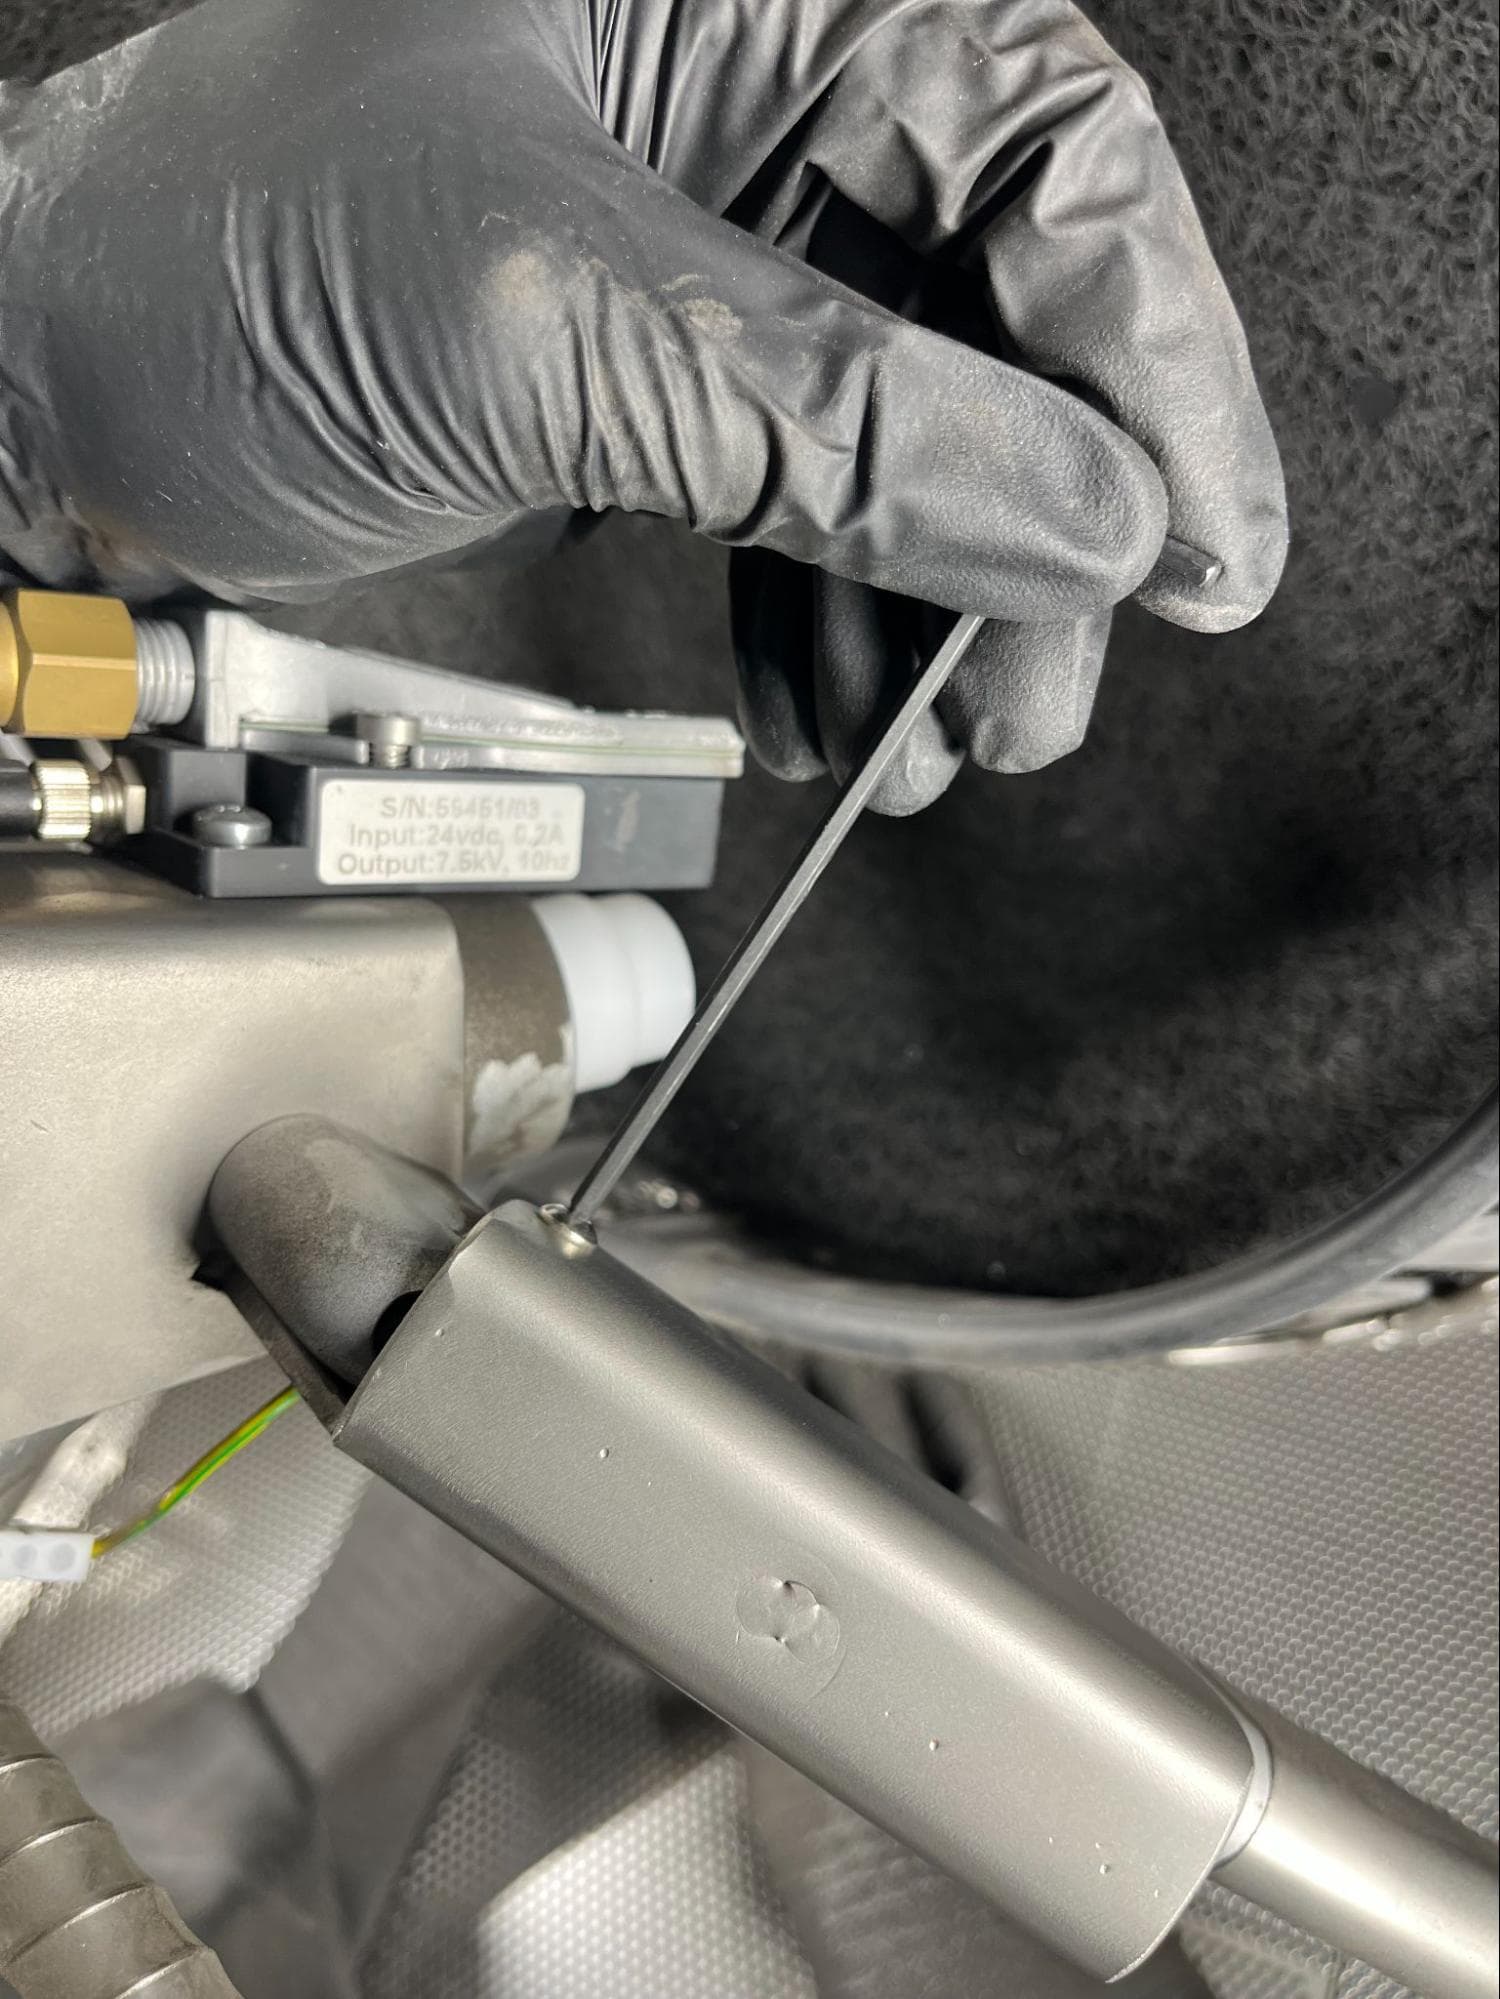
Hold the binding barrel in place
Remove the handle screw
Depending on the age of your Fuse Blast, the handle may be secured with a screw that requires either a 2.5 mm or 3 mm hex driver. Newer units use the 2.5 mm screw, while older ones use the 3 mm screw. Determine whether your unit requires the use of a 2.5 mm or 3 mm hex driver.
Using one hex driver, securely hold the binding barrel on the handle in place to prevent it from rotating. Using another hex driver, remove the screw on the other side of the handle. Set the screw aside.
Step 2: Remove the binding barrel
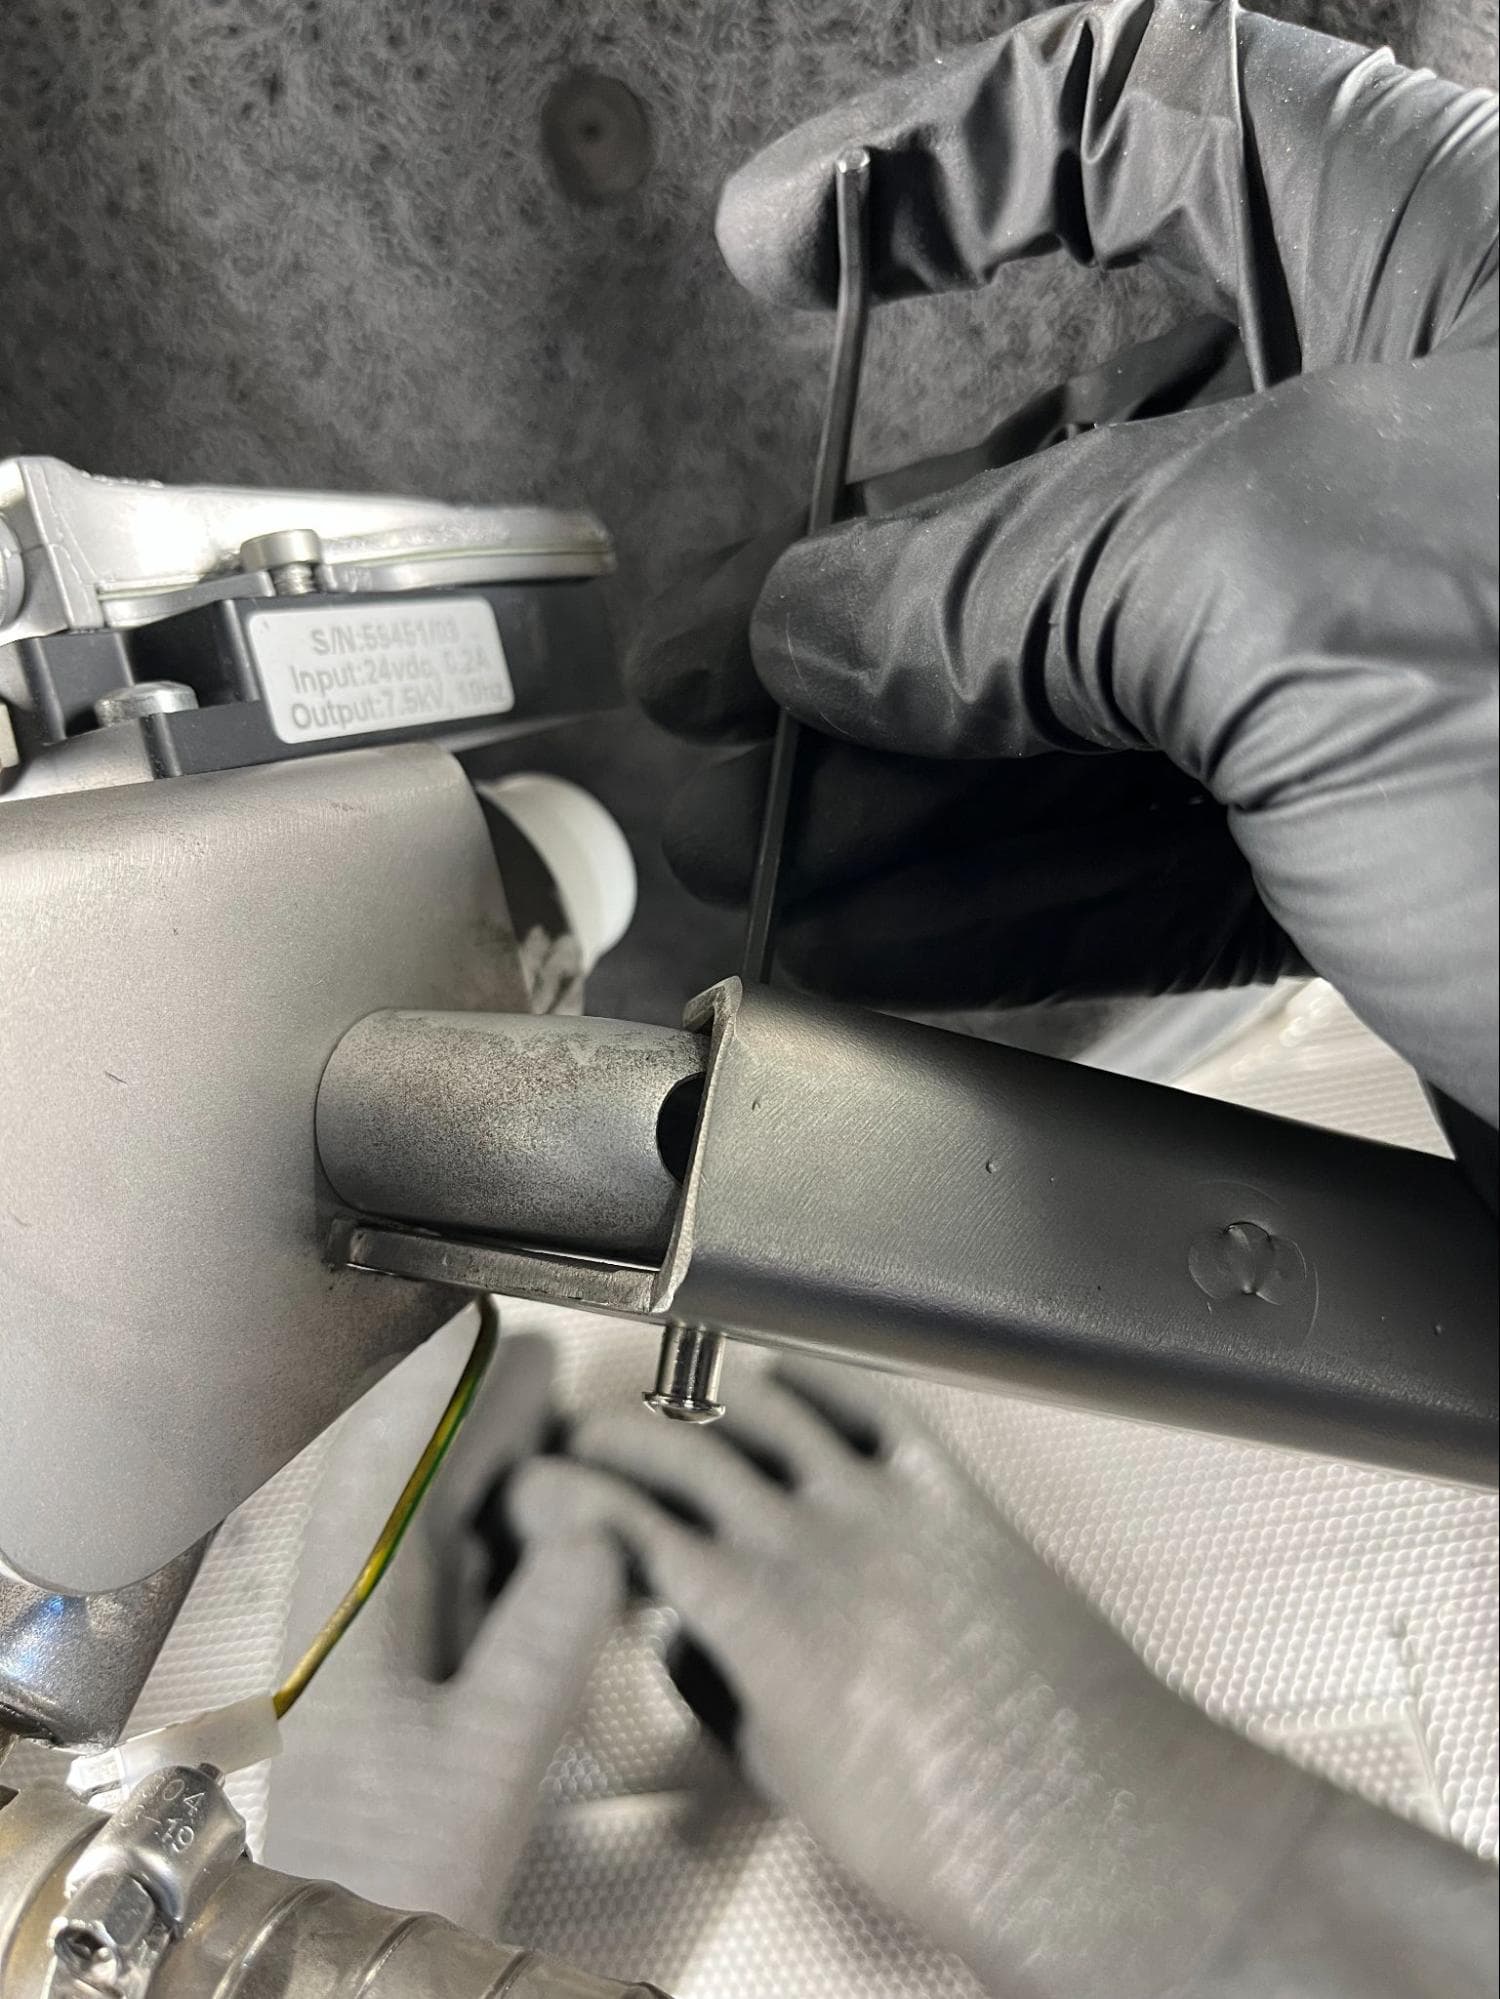
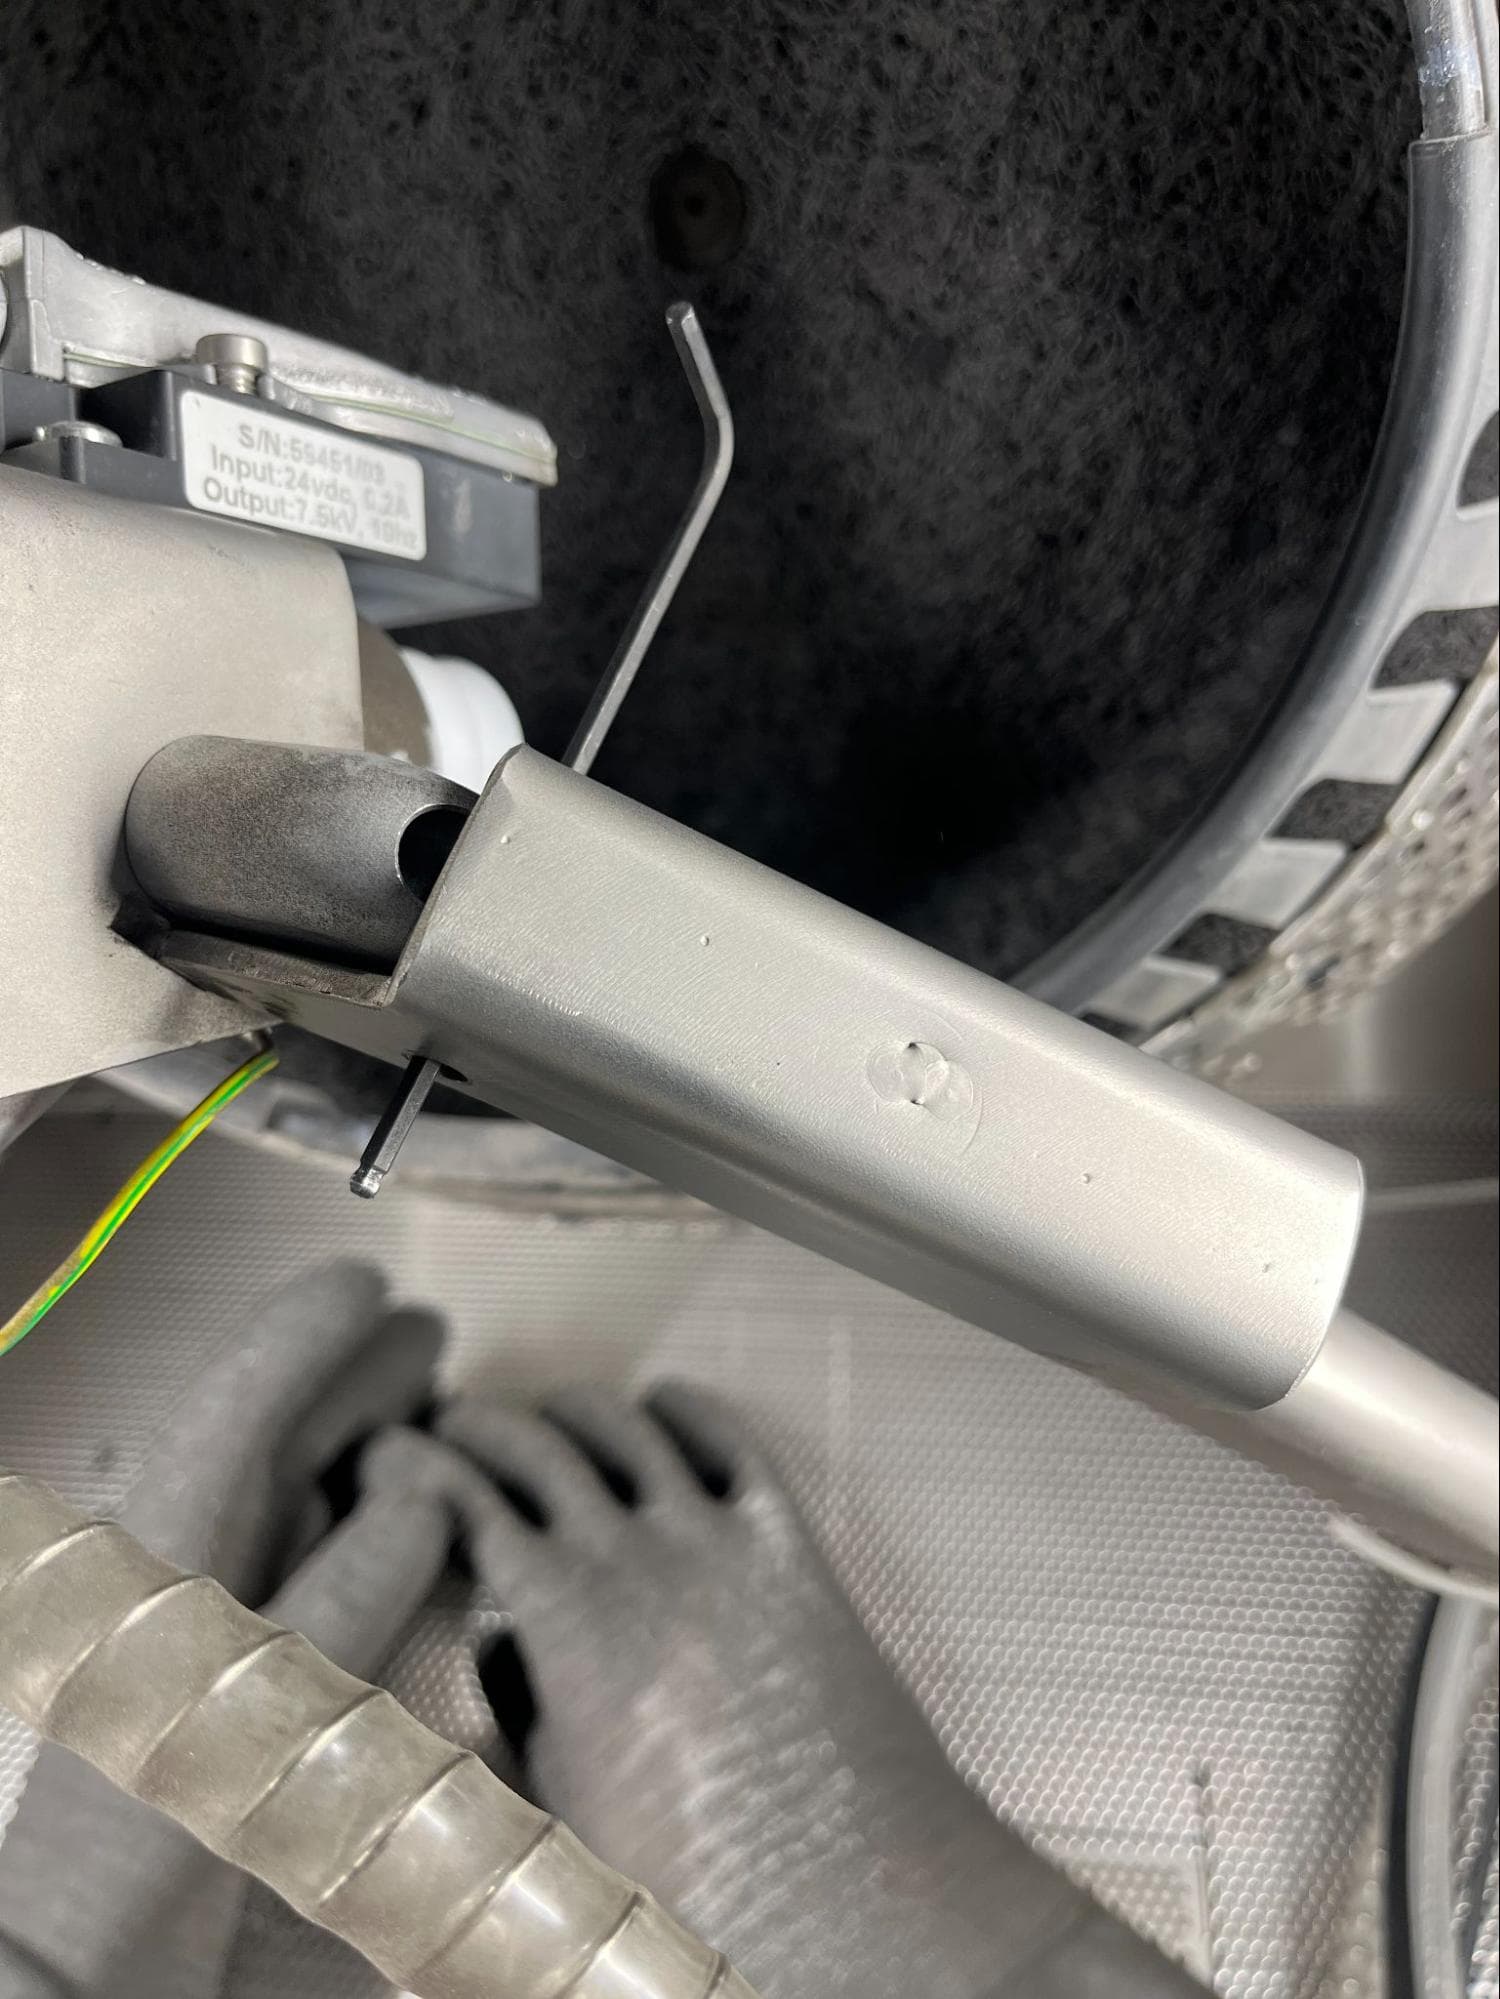
After removing the screw, insert the hex driver into the screw hole and push the binding barrel out of the handle. Set the binding barrel aside.
Step 3: Remove the handle
Lift the handle off of the blast arm and set it aside.
Reinstalling the handle
Overview: Remove the handle spring and install the replacement handle spring.
Step 1: Remove the handle spring
Remove the handle spring from the handle post. Set aside for disposal.
Step 2: Install the replacement spring
Install the replacement handle spring onto the handle post.
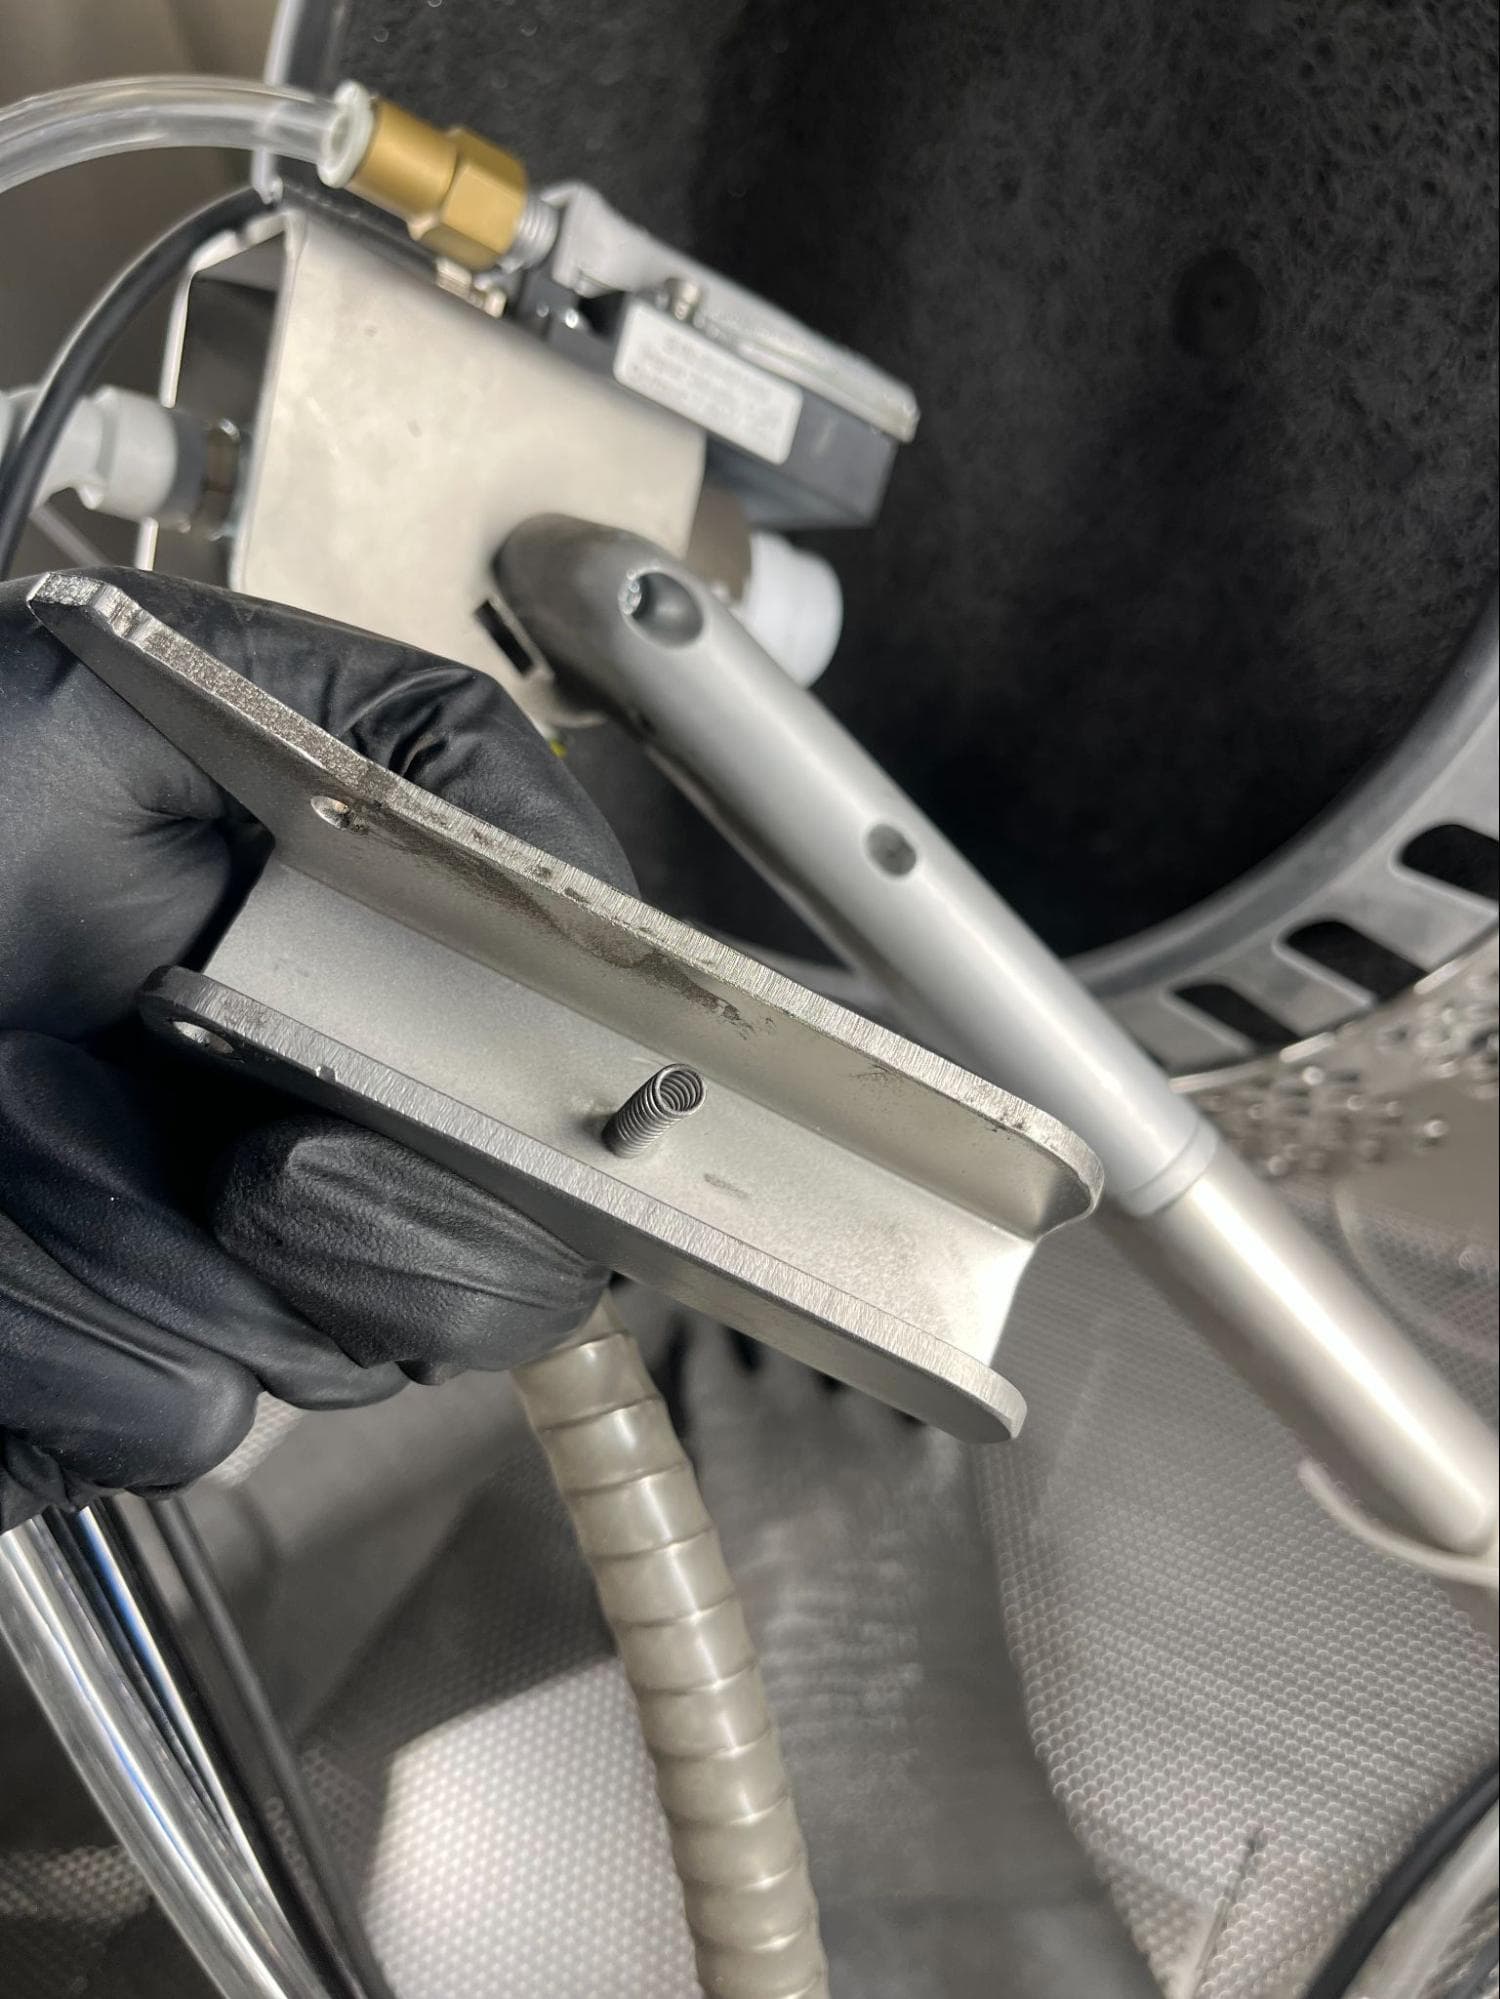
Reinstalling the handle
Overview: Reinstall and secure the handle to the blast arm.
Step 1: Align the handle spring to the blast arm
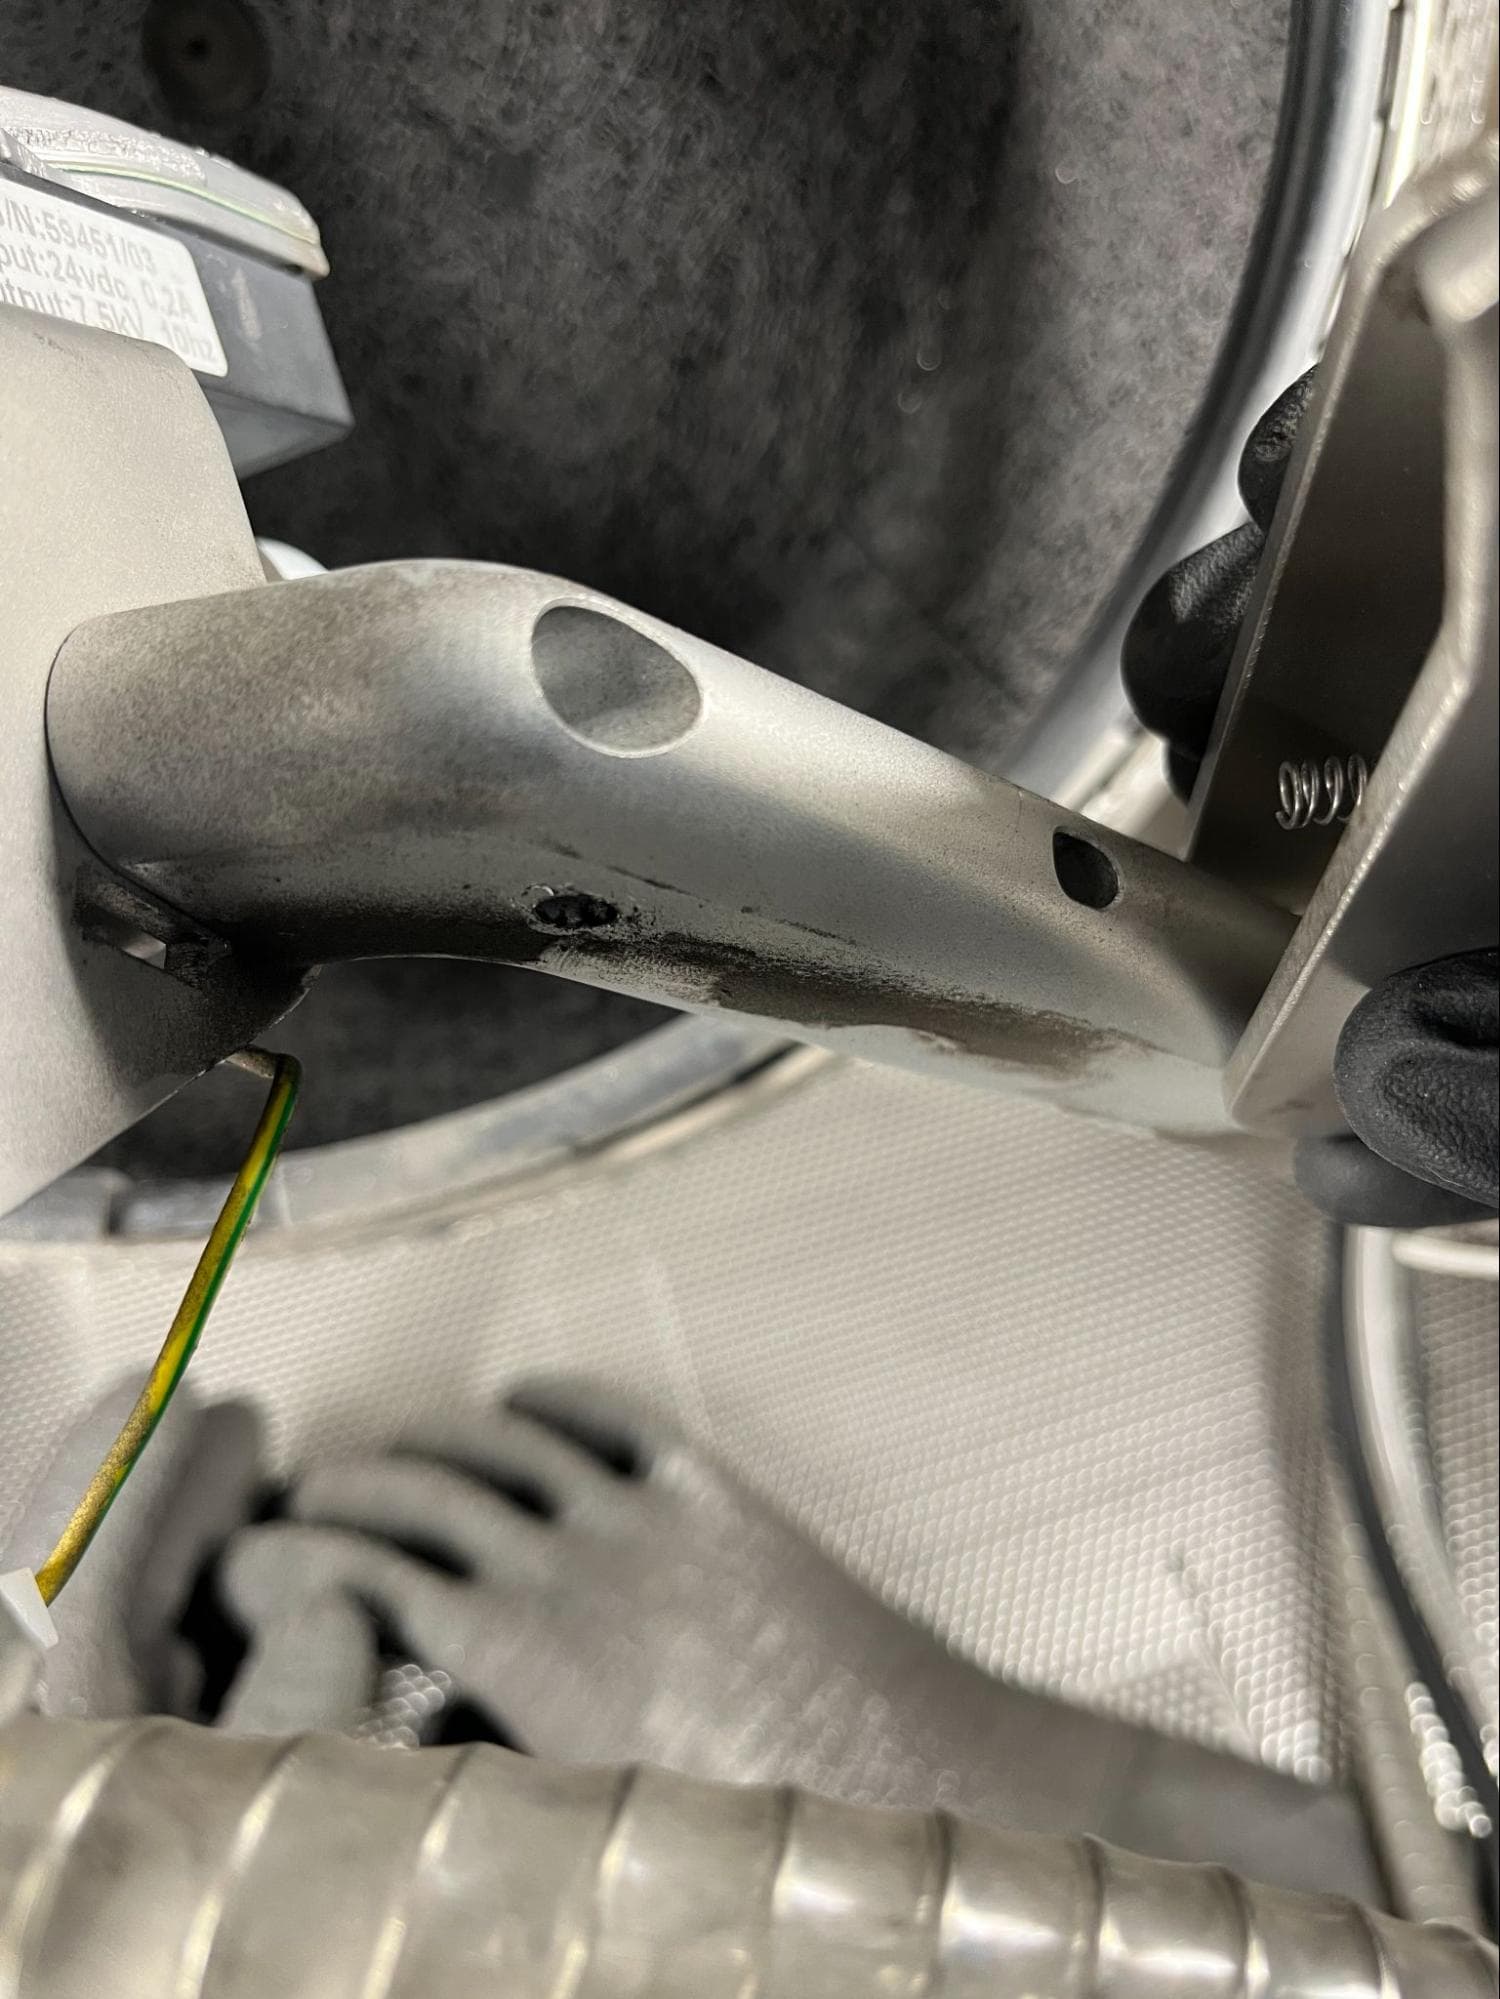
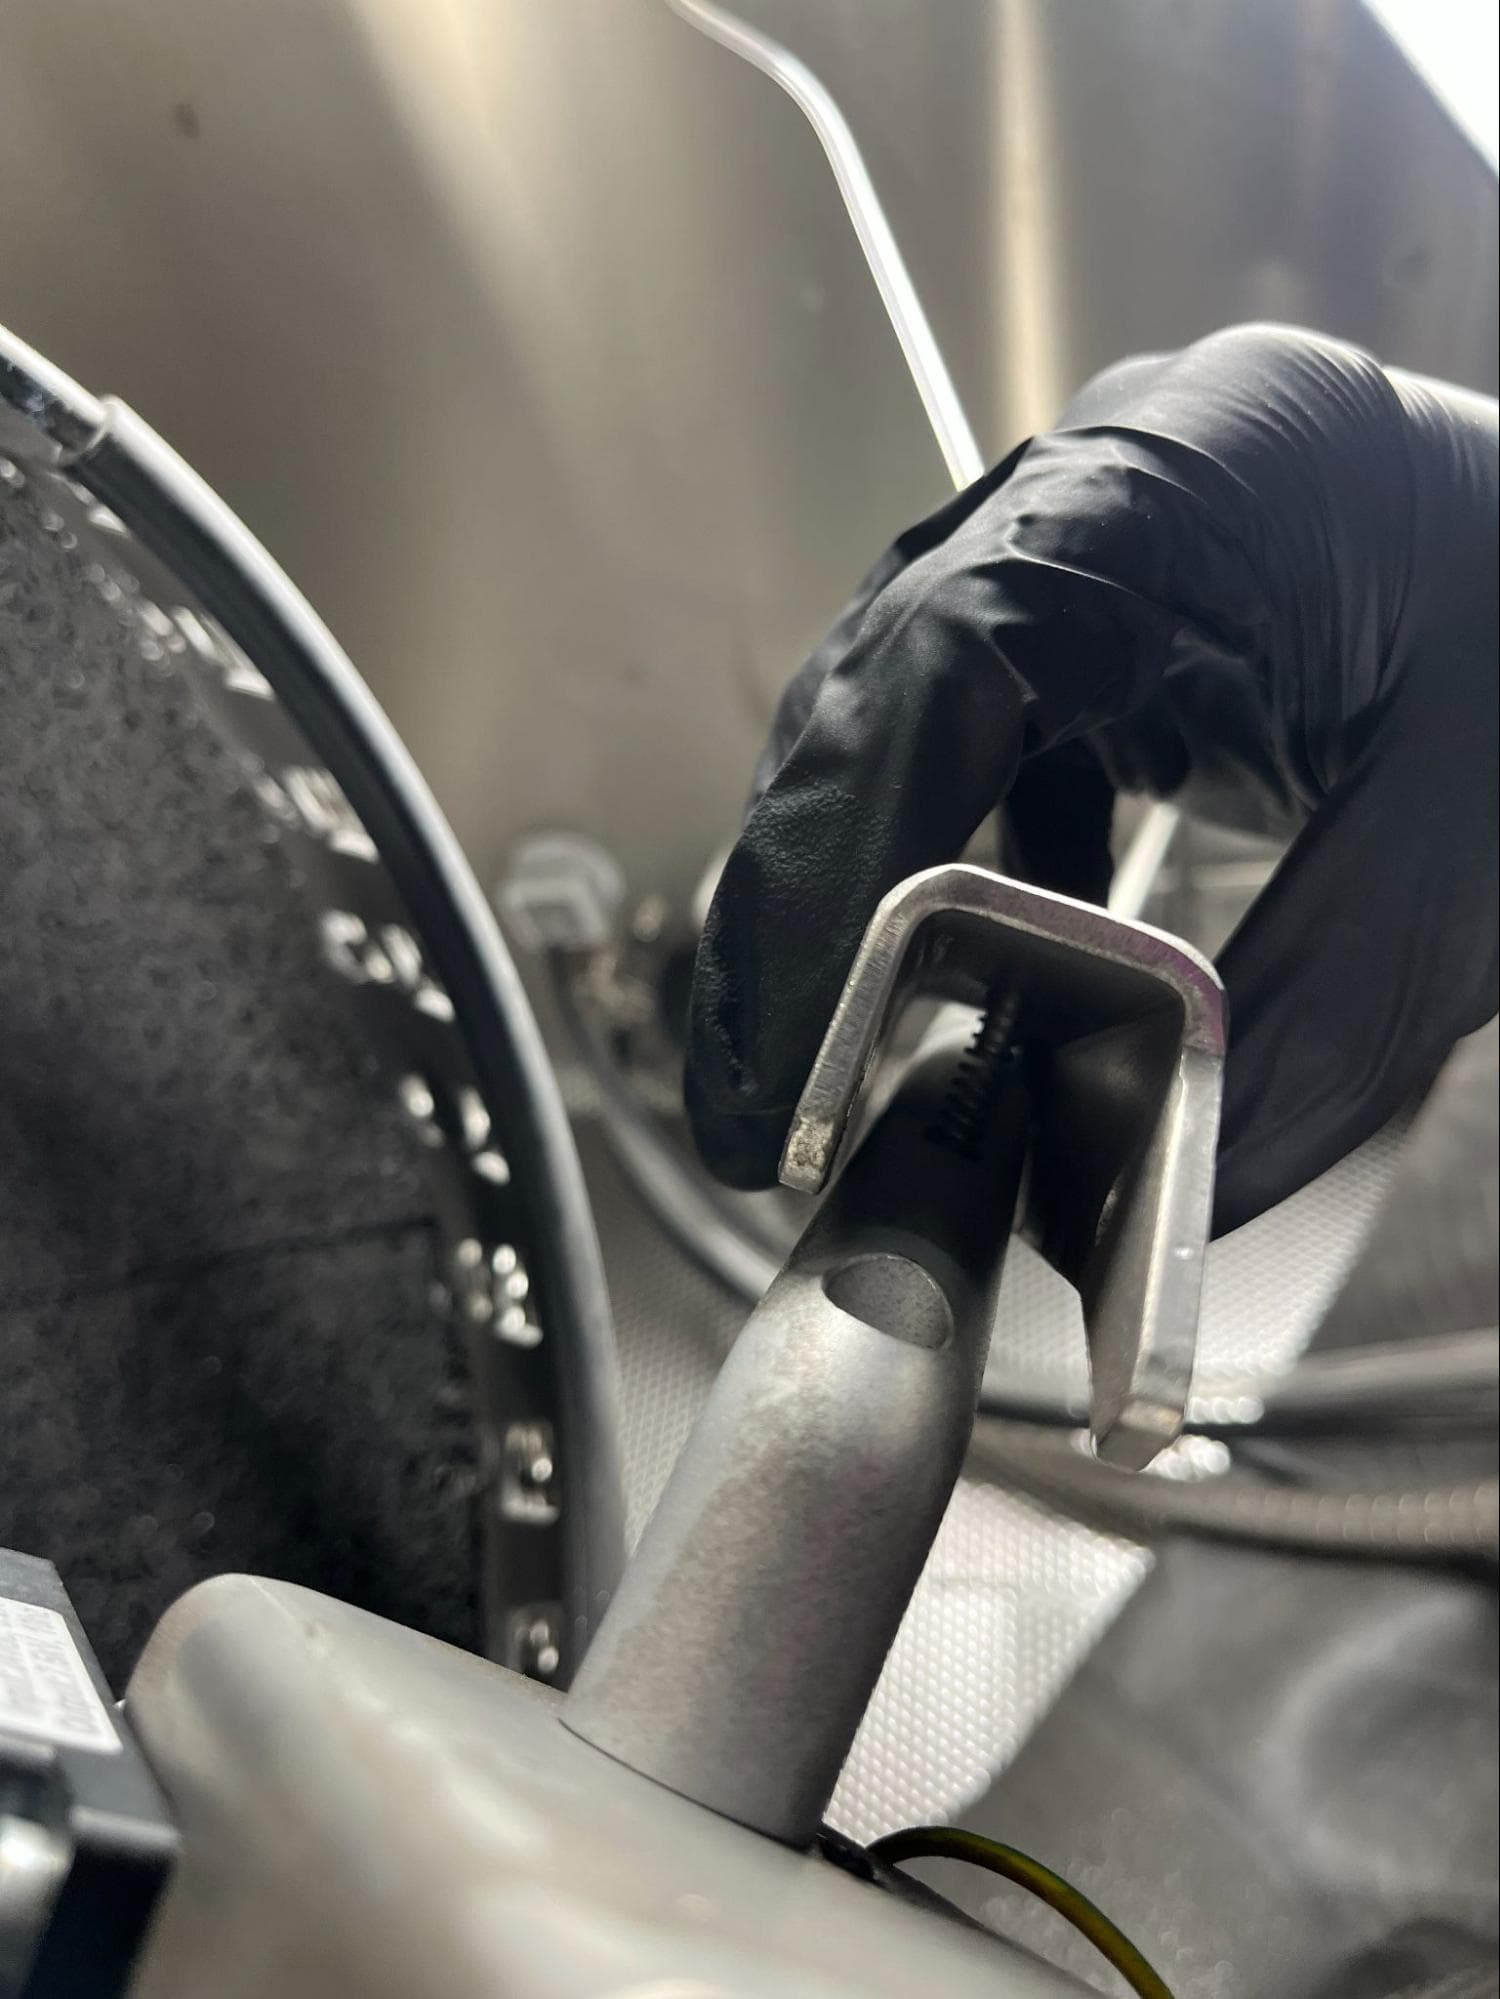
Align the handle spring with the slot in the blast arm.
Step 2: Mount the handle
Squeeze the handle onto the blast arm and hold it in place.
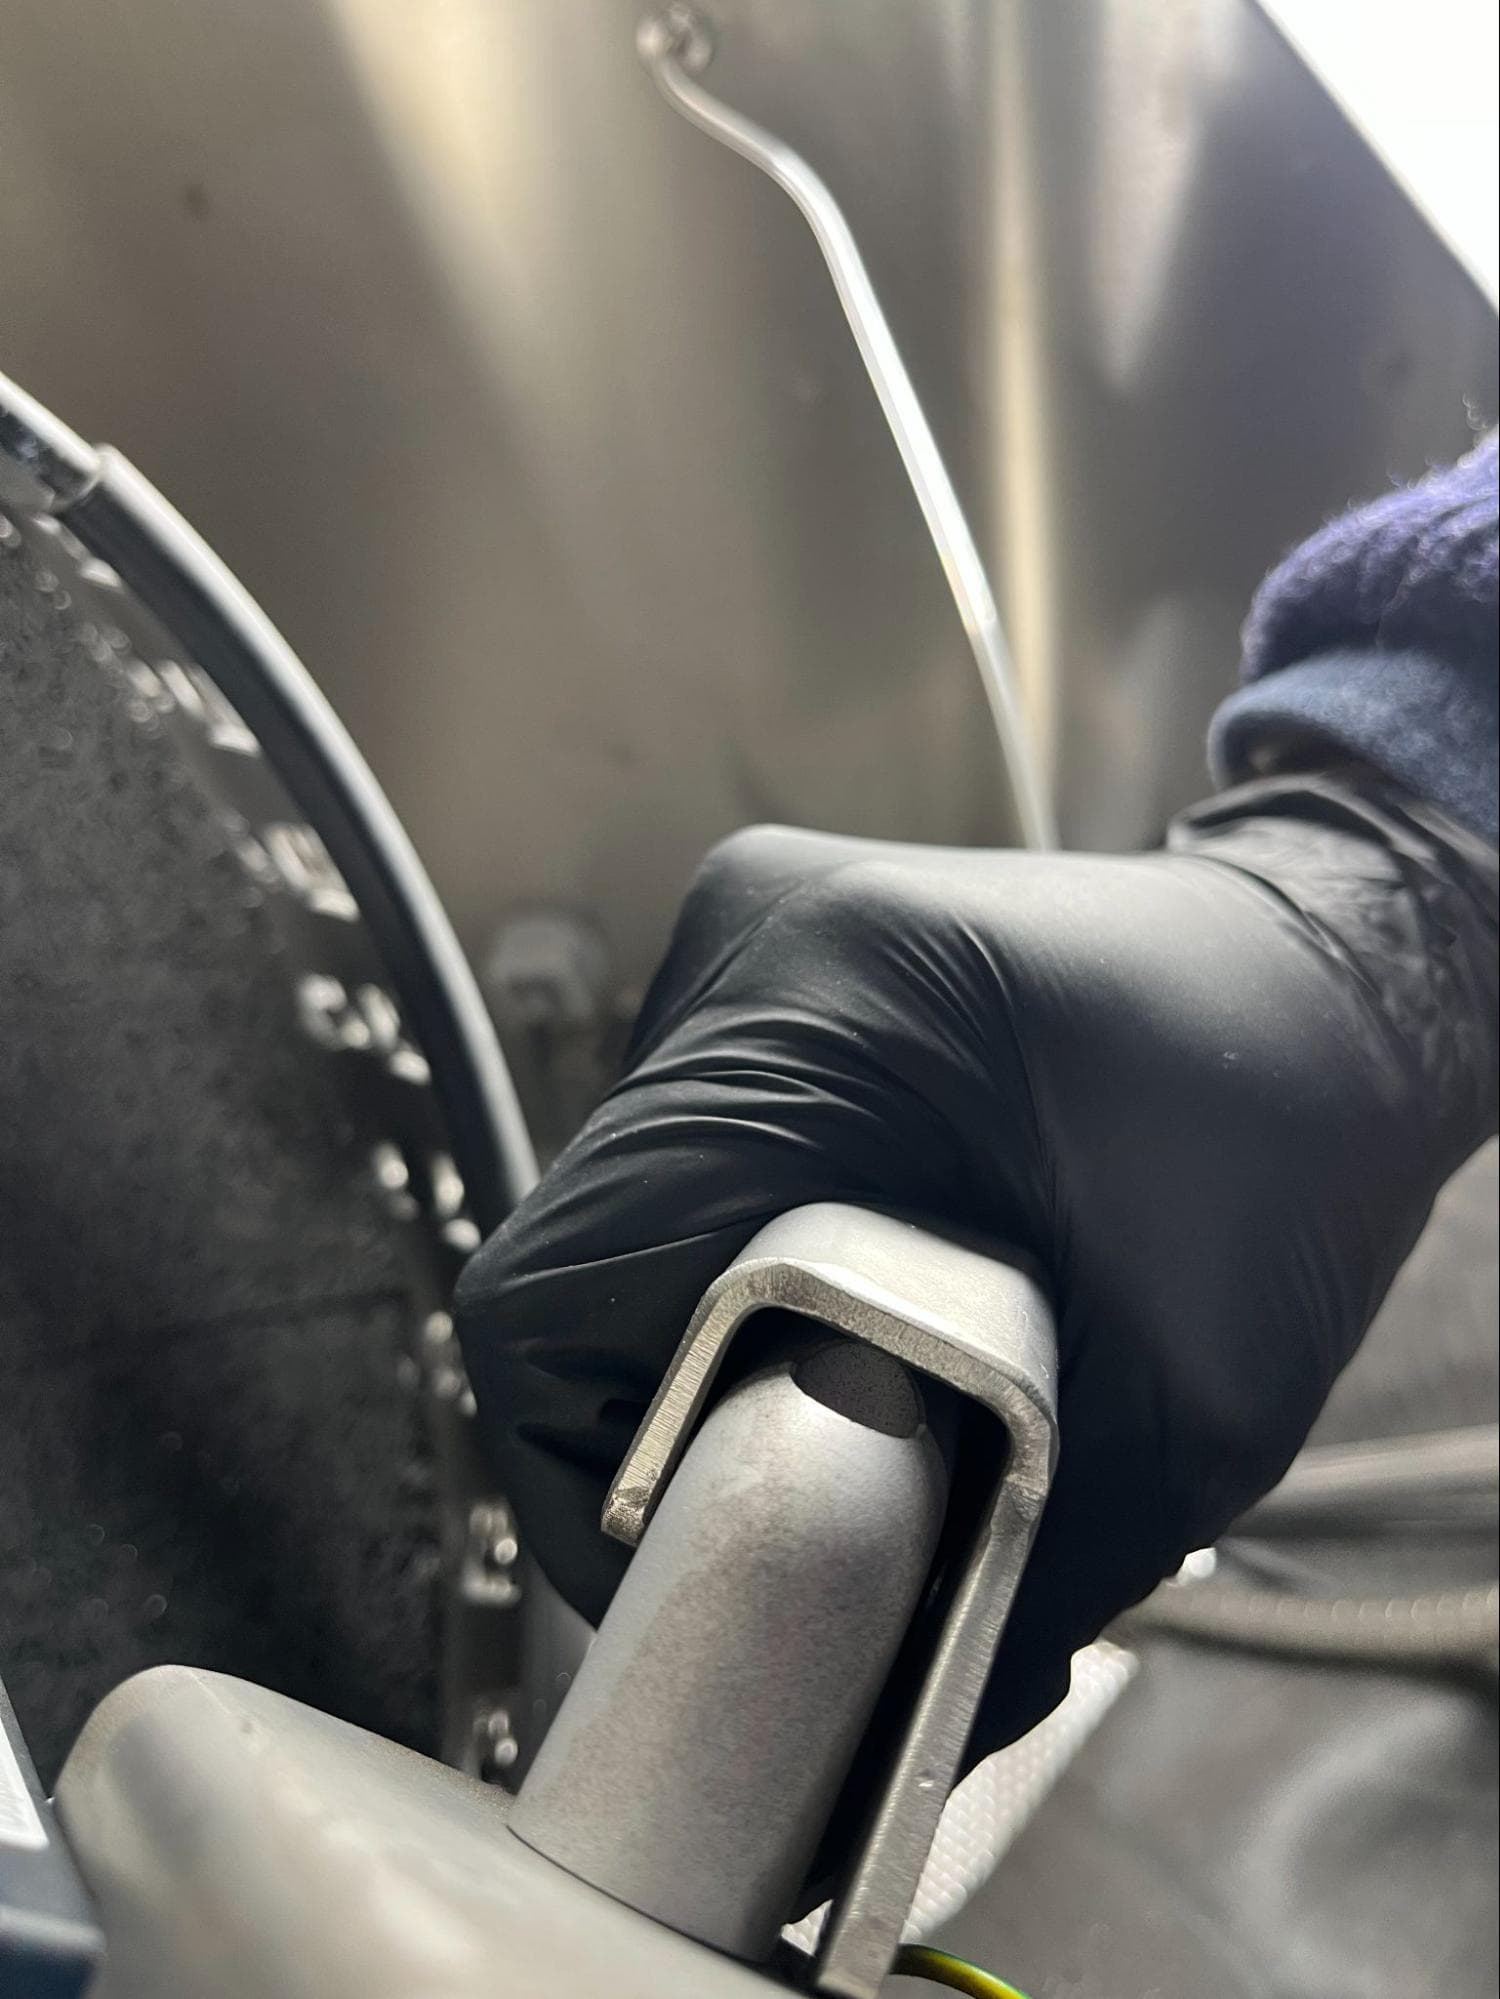
Step 3: Secure the handle
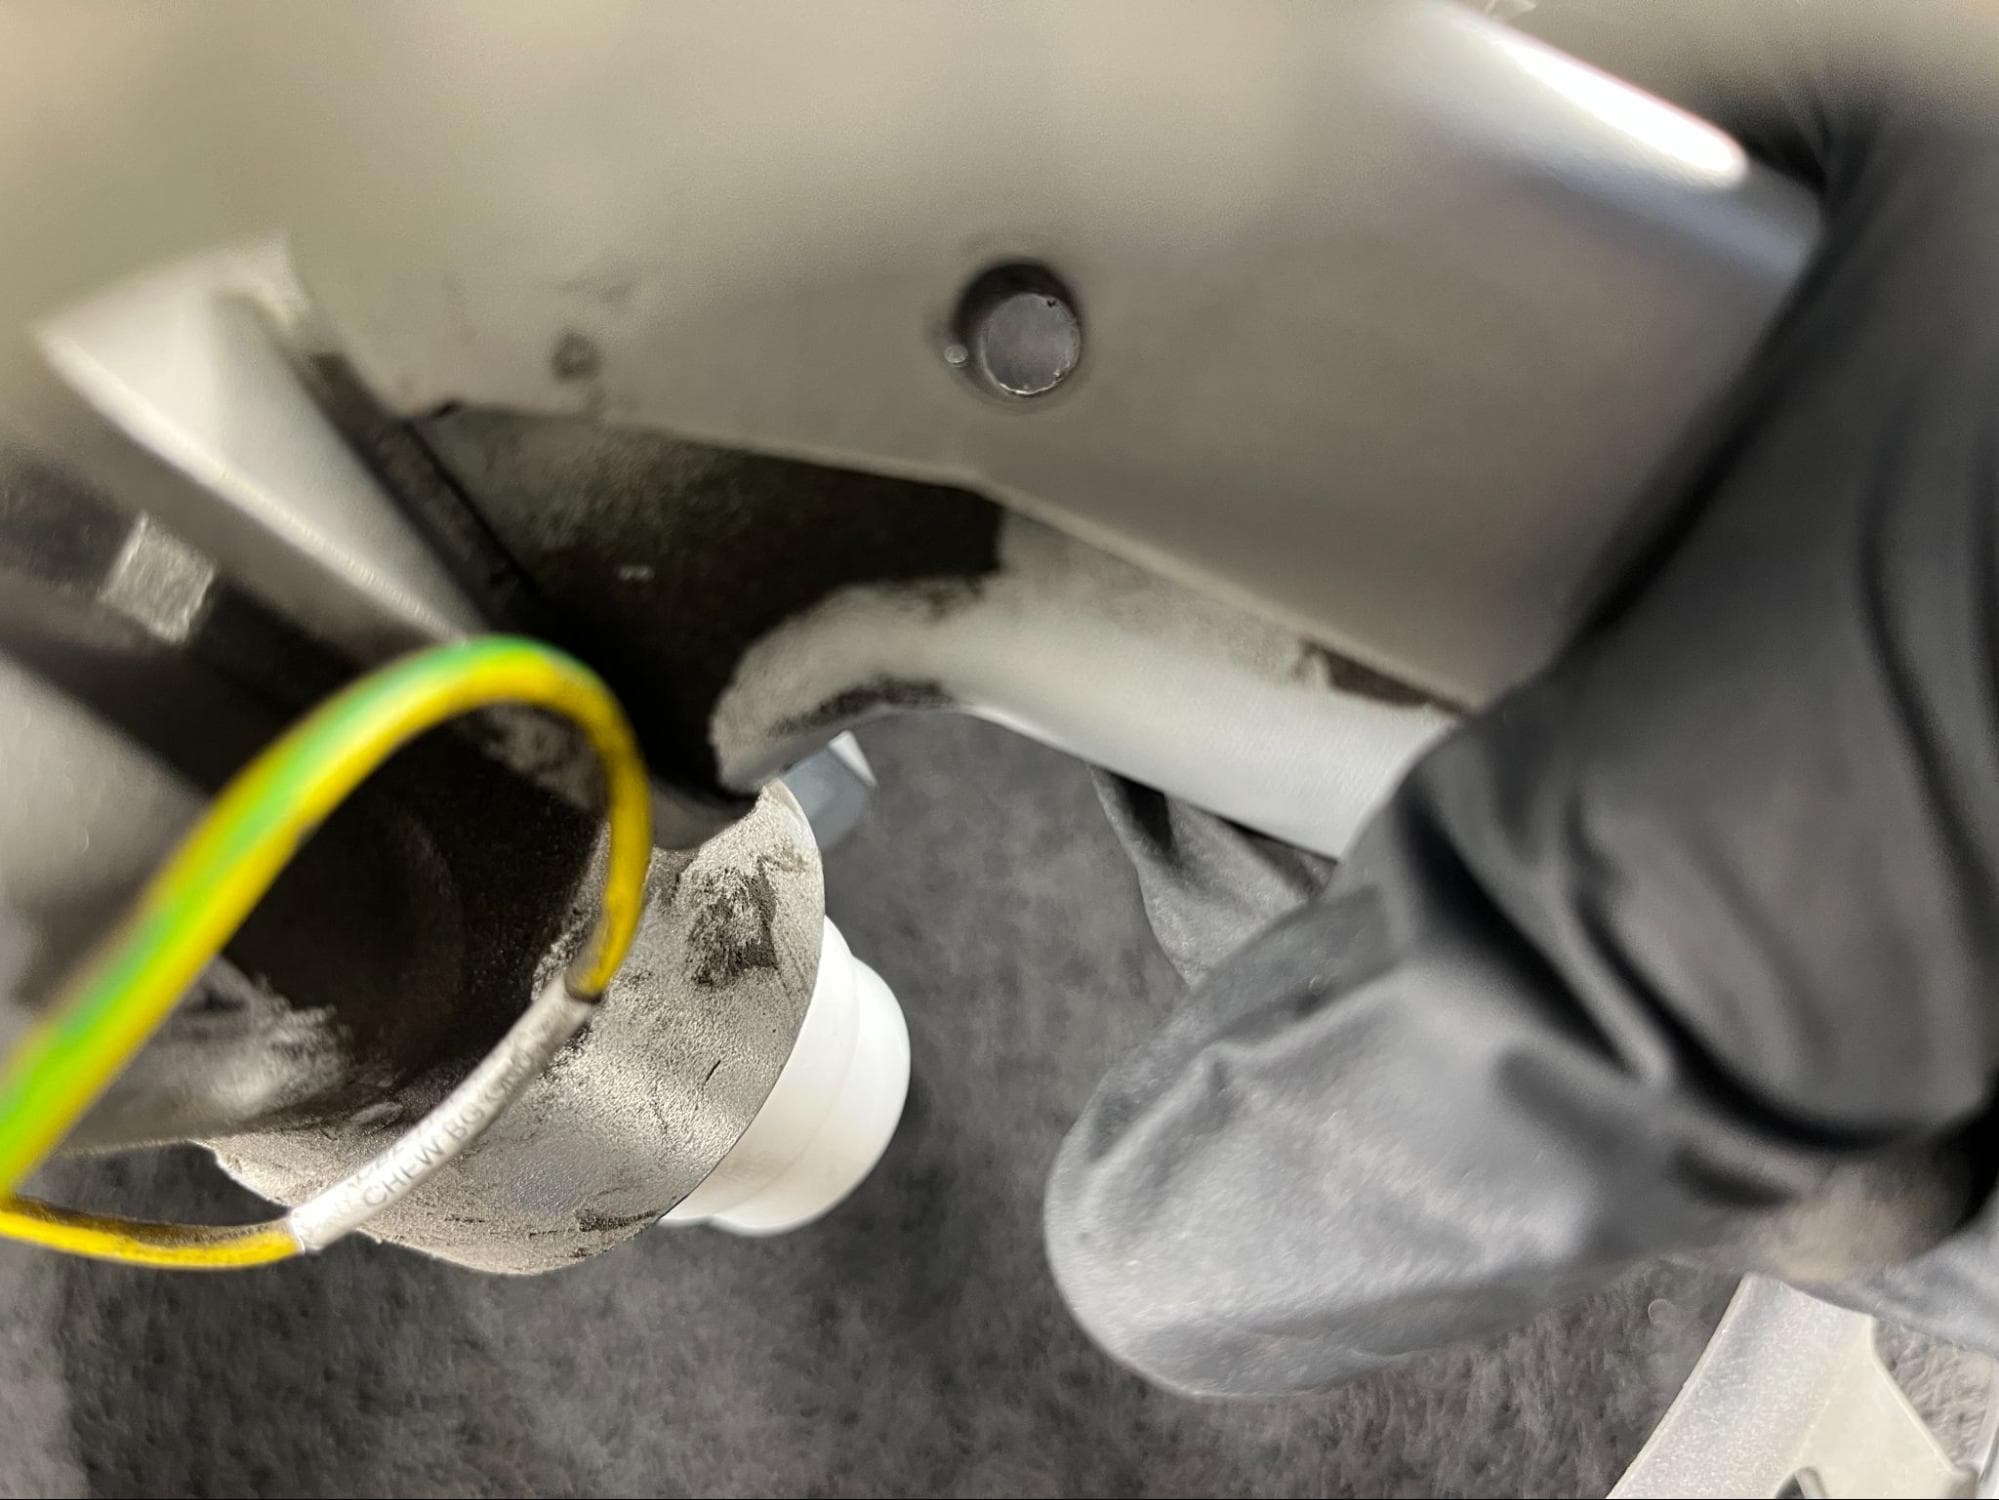
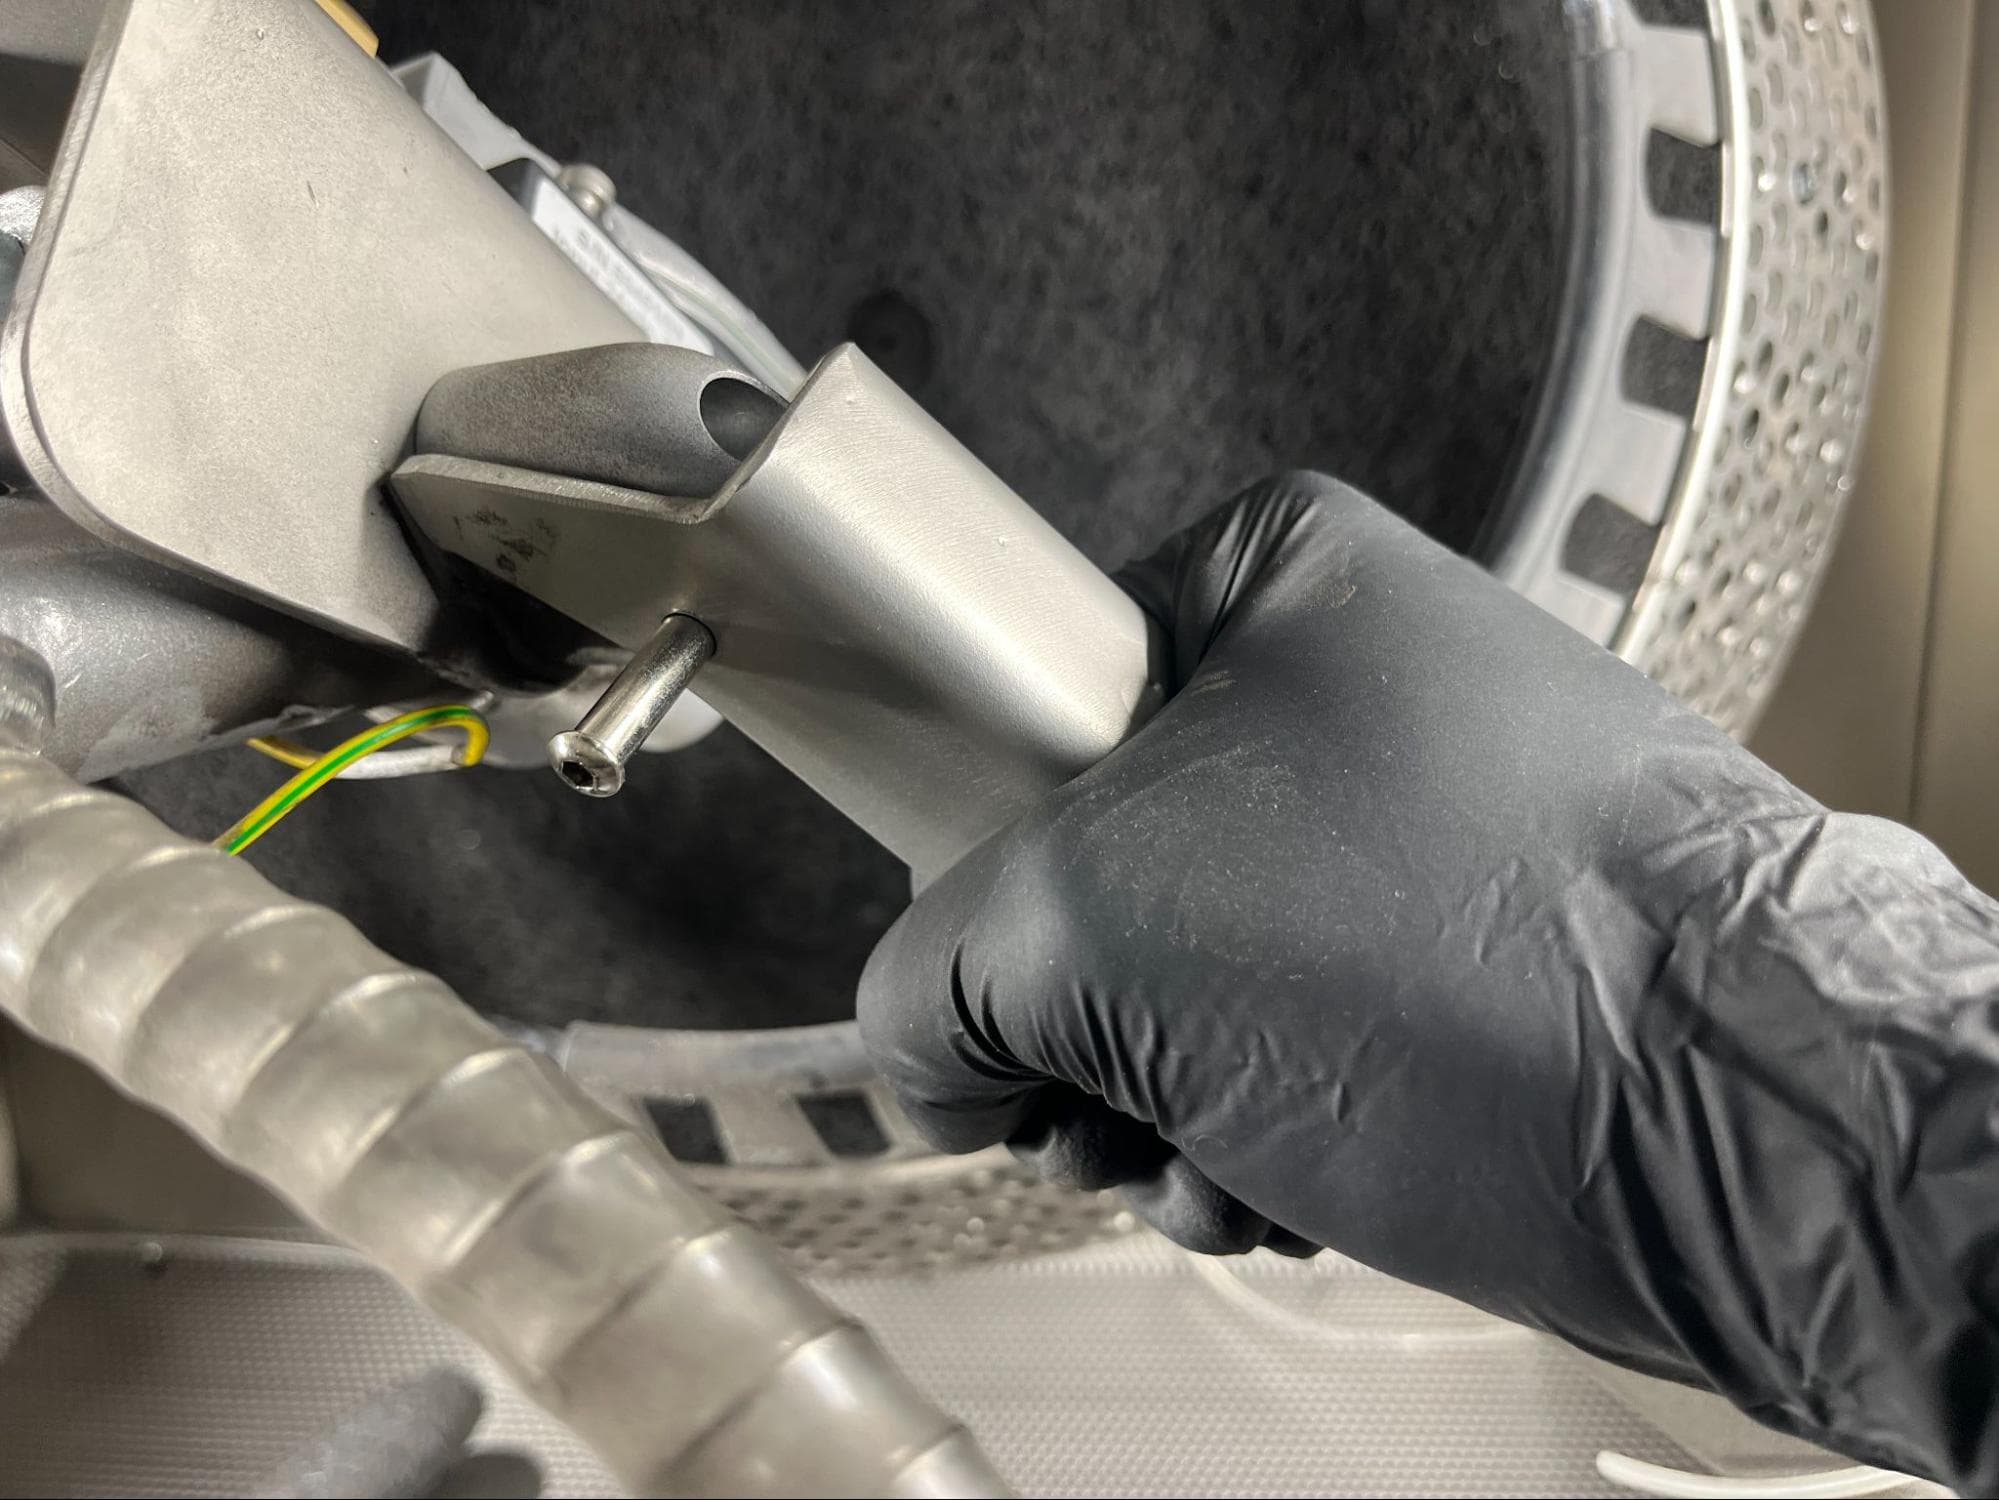
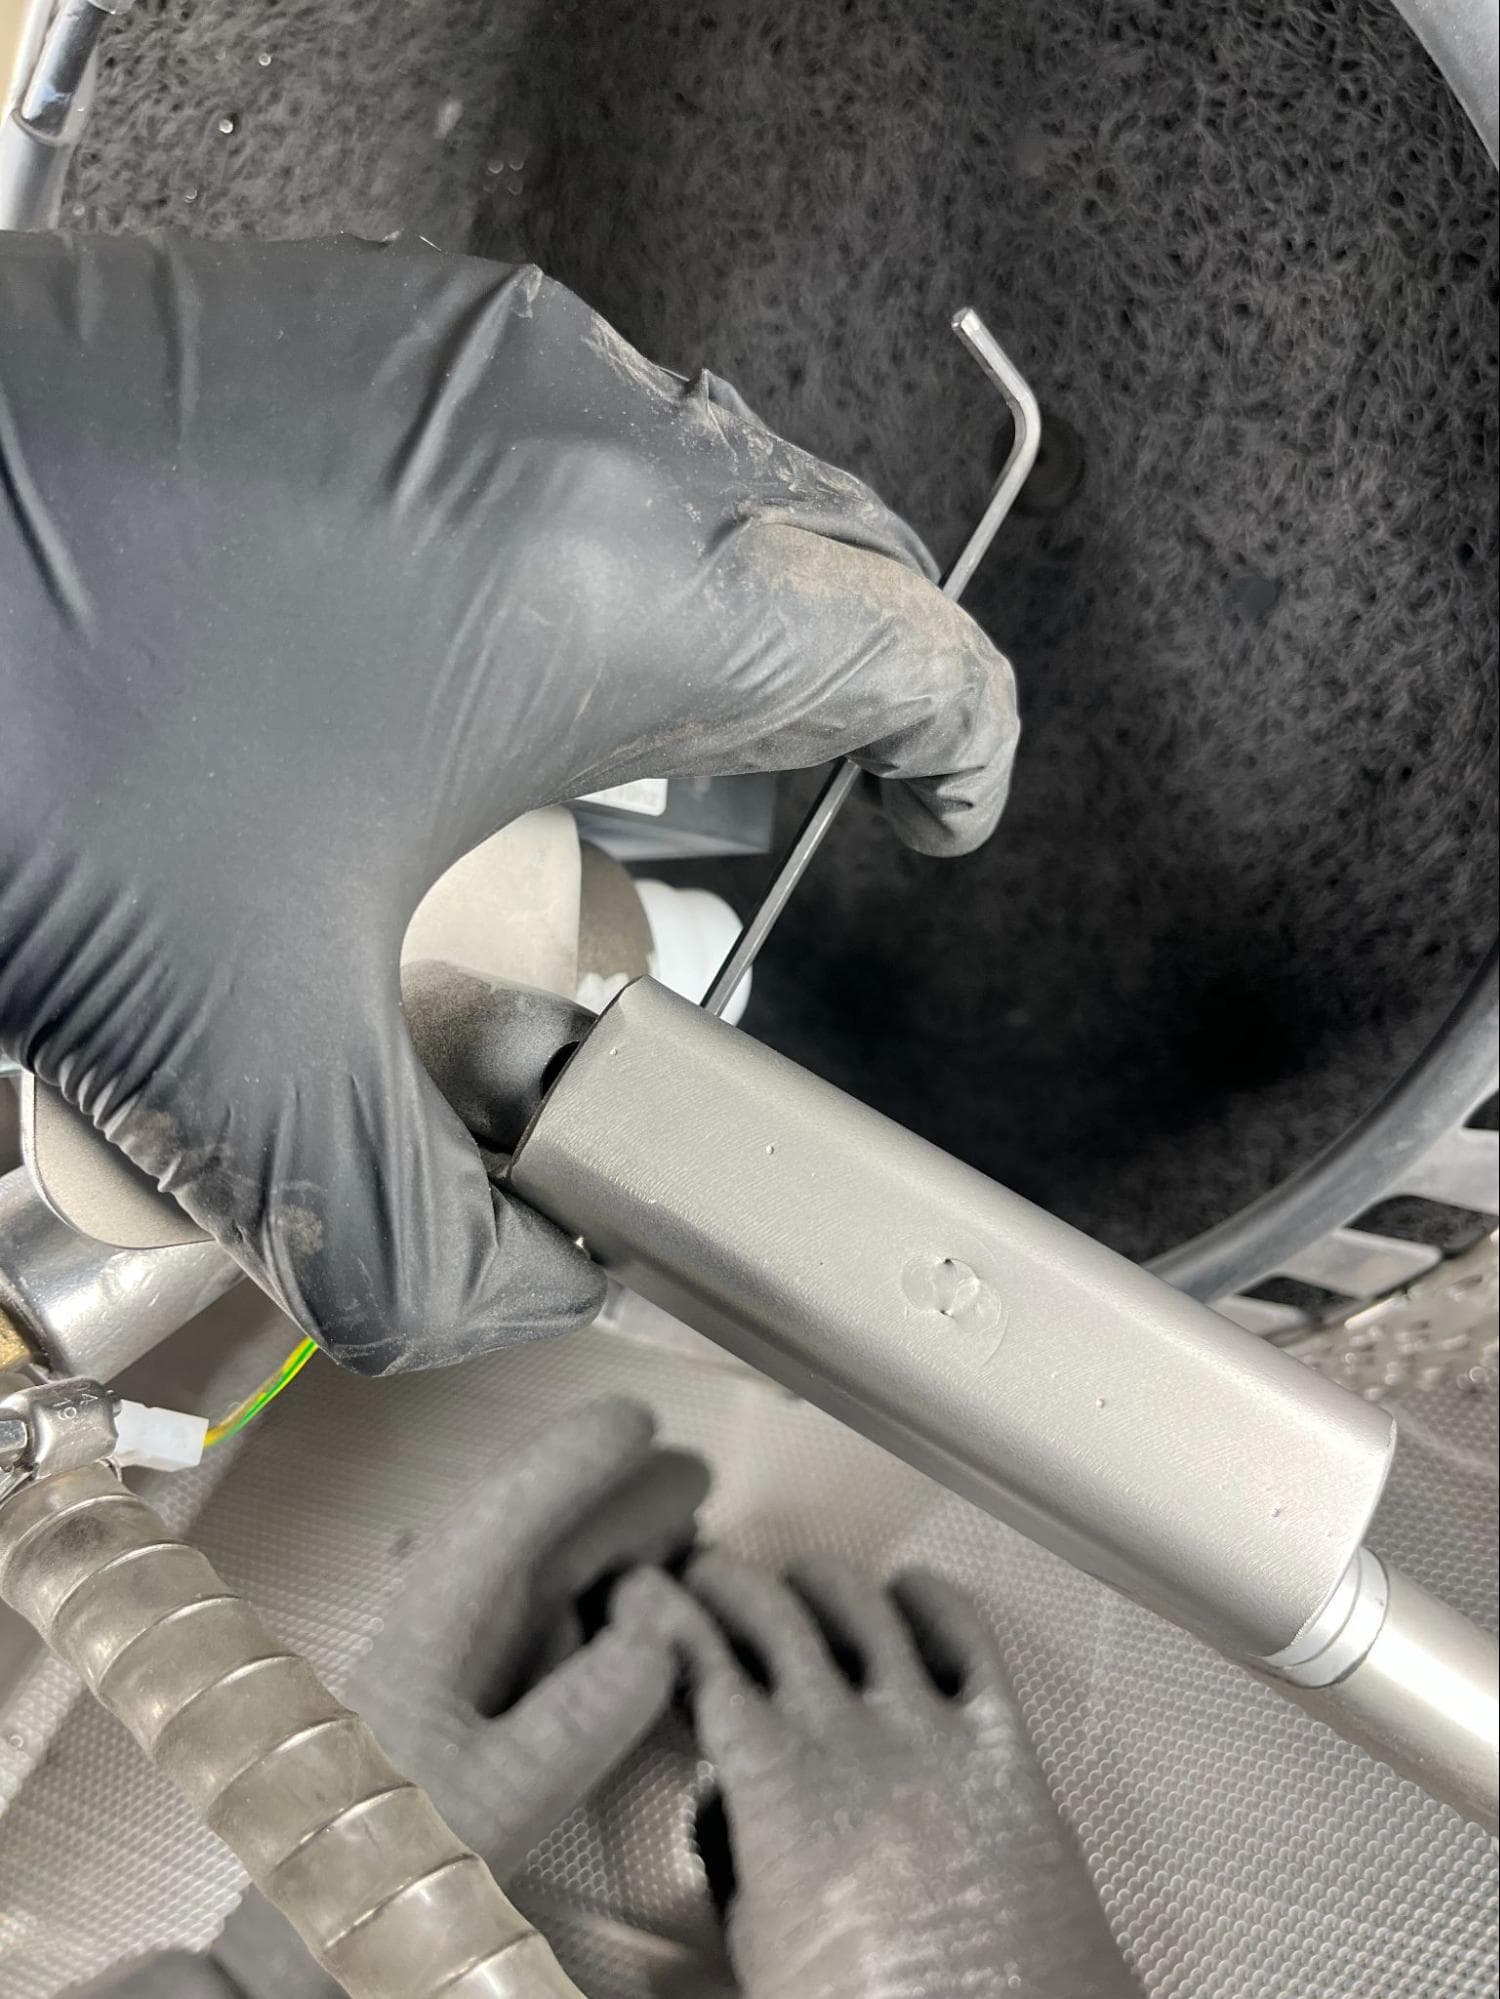
Align the holes for the binding barrel in the handle with those in the blast arm. Insert the binding barrel through the holes in the handle and blast arm. Push the binding barrel through until the head is flush with the handle. Hold the binding barrel in place with your thumb.
Using a 2.5 or 3 mm hex driver, hand-tighten the screw in the binding barrel and secure the handle to the blast arm.
Finalizing the repair
Overview: After replacing the handle spring, check that the latch mechanism secures properly.
Step 1: Test the automatic blasting position
Squeeze the handle closed, then rotate the blasting head to point towards the basket. Release the handle. Check that the handle latches fully and the head cannot be rotated.
Step 2: Test manual blasting position
Squeeze the handle closed, then rotate the blasting head to point downwards. Release the handle. Check that the handle latches fully and the head cannot be rotated.