
Notice:
Release the latch before connecting the printer to power.

Get ready to print with the Form 3/Form 3B. Learn best practices to set up and use the Form 3/Form 3B and its Resin Tank, Build Platform, and resin dispensing system.
Unlocking the Light Processing Unit (LPU)
Notice:
Release the latch before connecting the printer to power.
A latch secures the Light Processing Unit (LPU) within the printer during shipping. To release the LPU housing from its shipping position:
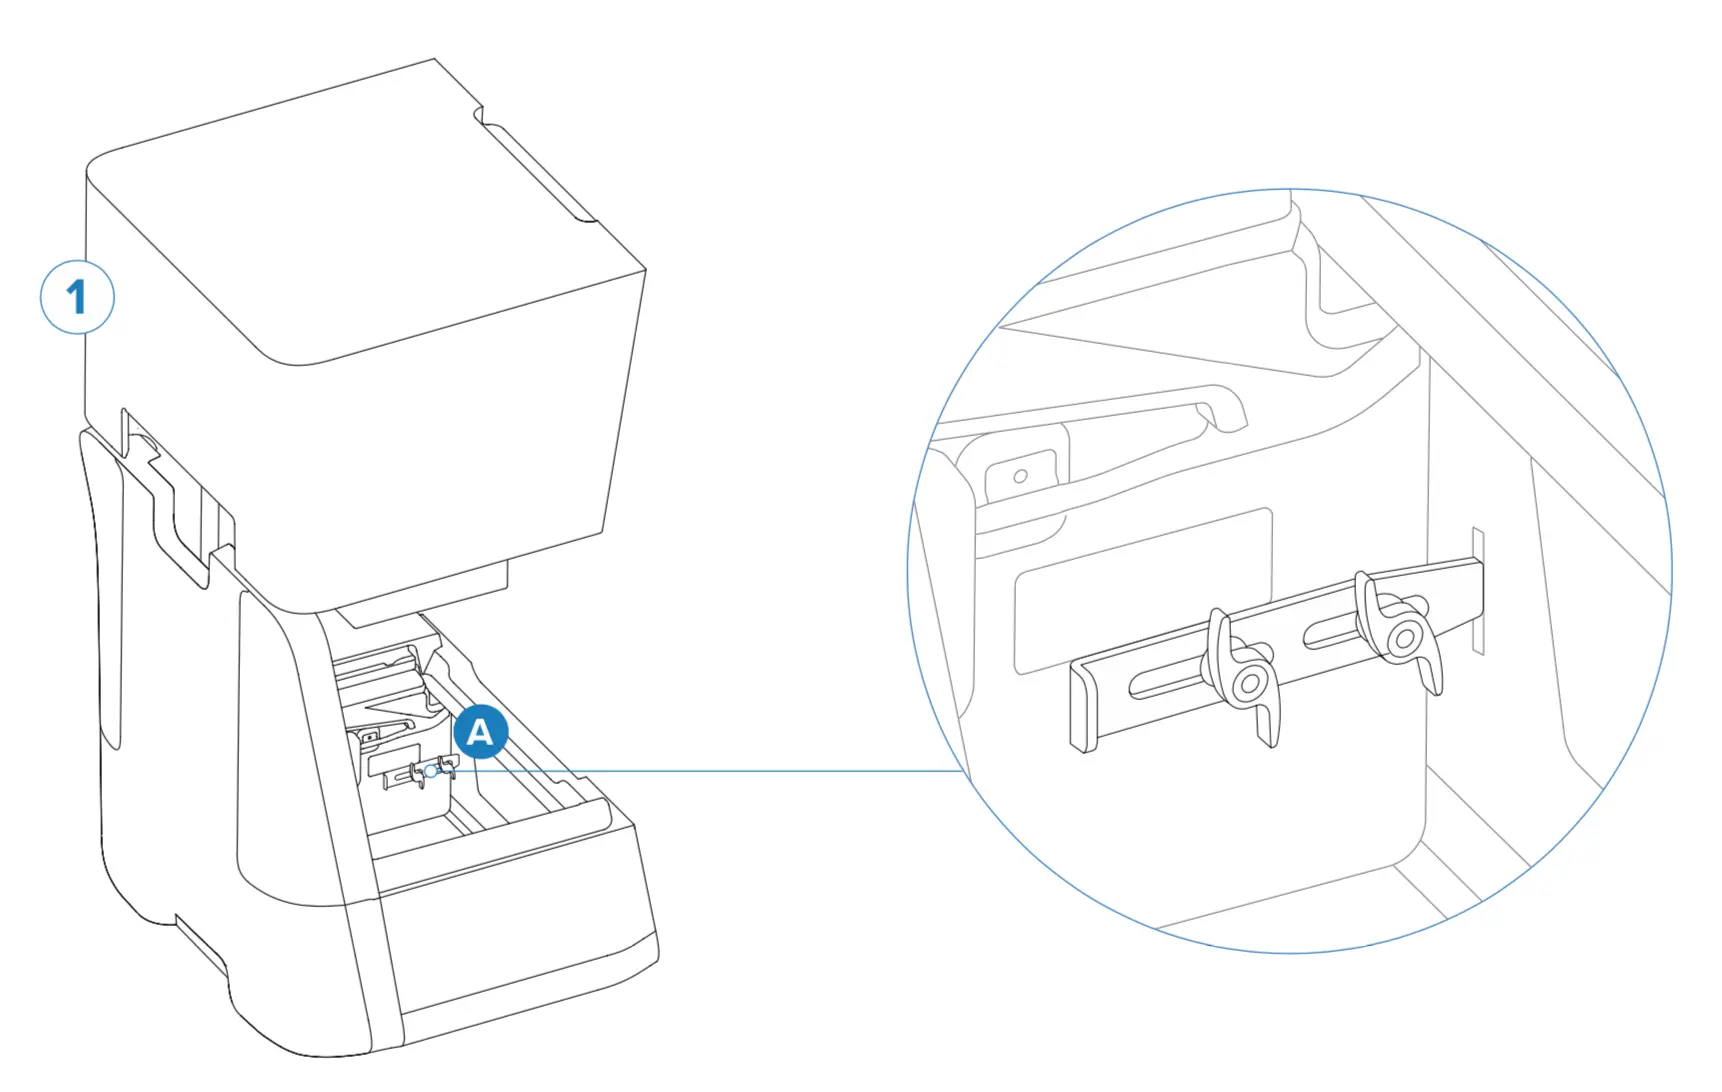

Powering the printer on
Connect the power cord to the printer and a power supply.

The first time the printer is connected to power, it will display a series of onboarding steps on the touchscreen. The onboarding steps include instructions for inserting consumables (resin tank, resin cartridge, and build platform) into the Form 3/Form 3B, additional details for which are given below. Follow these steps to prepare the Form 3/Form 3B for use.
Inserting the resin tank
Warning:
Resin may cause skin irritation or an allergic skin reaction. Wear gloves when handling liquid resin or resin-coated surfaces. Wash skin with plenty of soap and water.
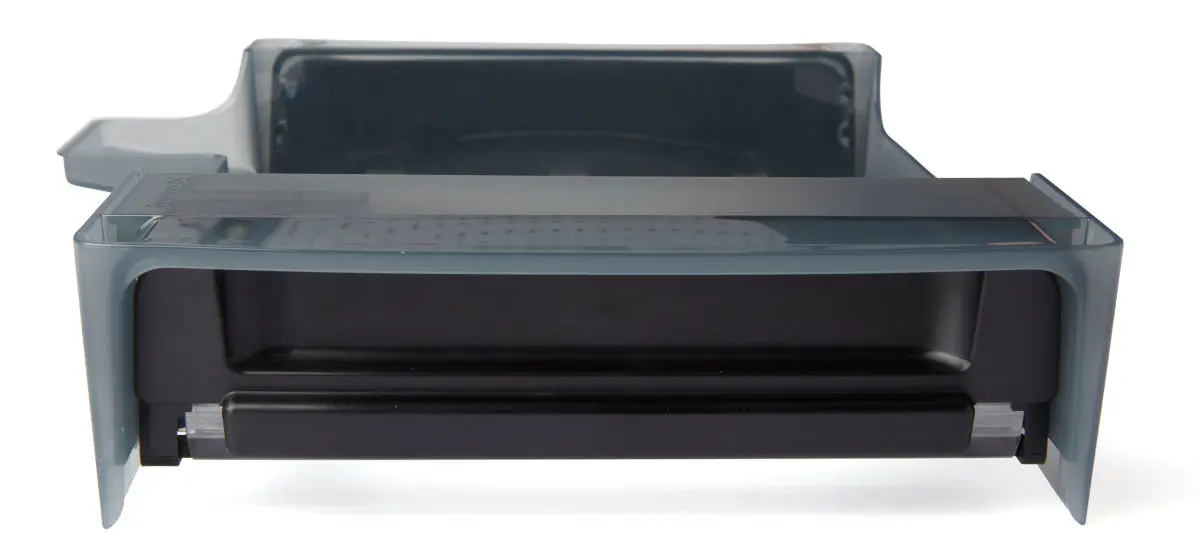
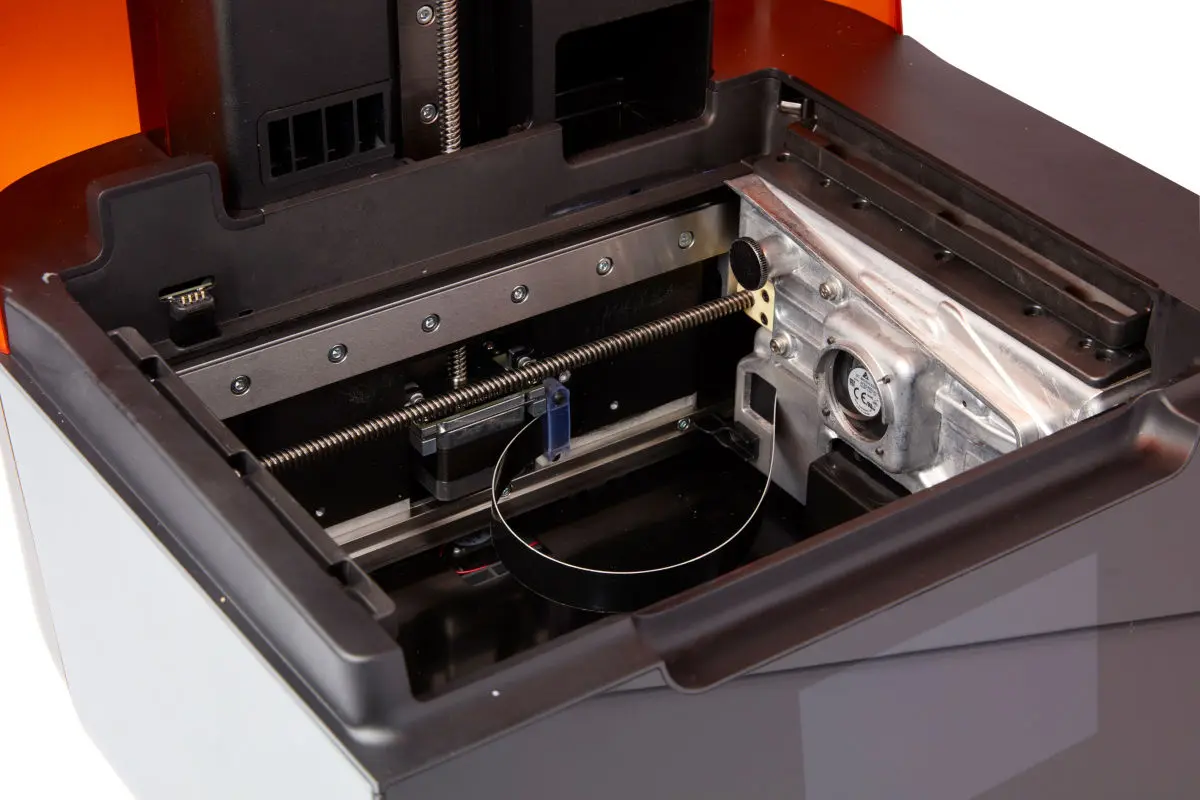
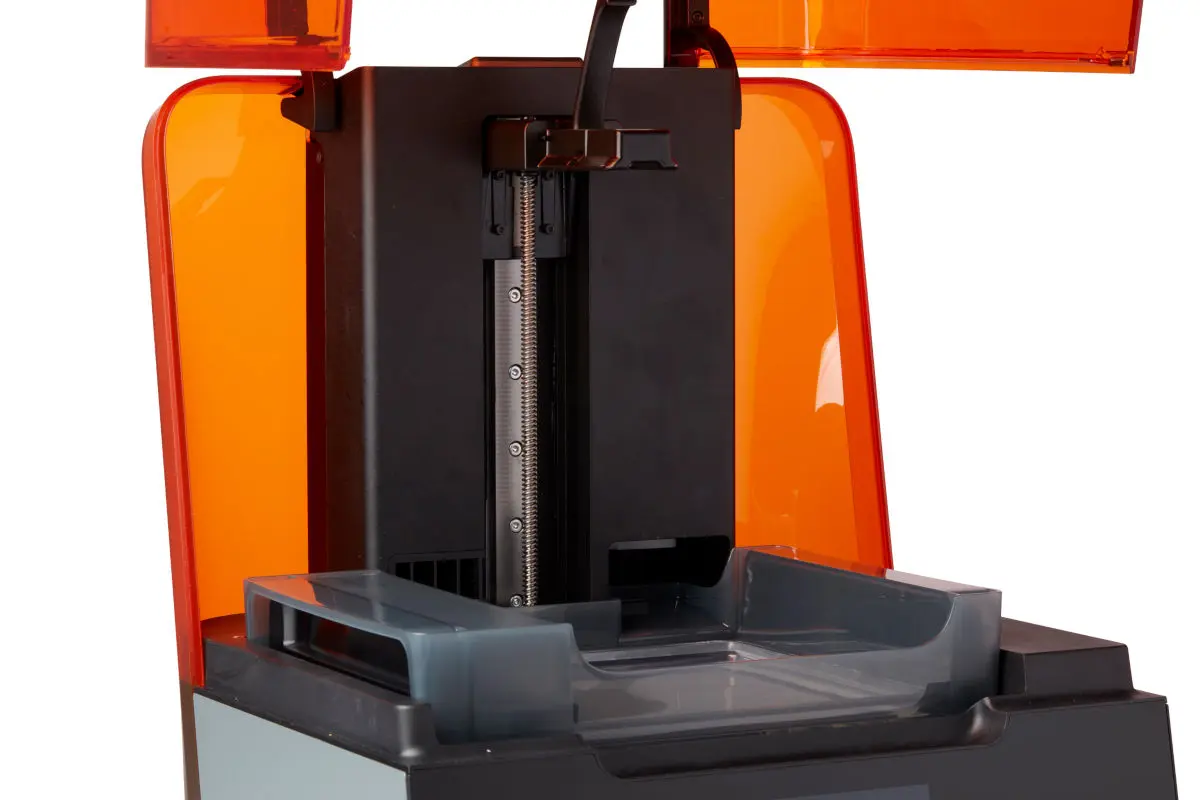
The resin tank is the primary container for holding resin after it is dispensed from the cartridge. Resin is cured onto the build platform when the laser passes through the tank's bottom film. To insert the resin tank:
Inserting the mixer
Each resin tank includes a mixer that improves print consistency by clearing the build area and circulating the resin. Scrapers on the top and bottom of the mixer clear the build platform and film, respectively. To insert the mixer:



Inserting the build platform
The build platform is the surface that each part prints onto. To insert the build platform:
Preparing the resin cartridge
The resin cartridge stores resin to be dispensed into the resin tank. To prepare the resin cartridge:
Notice:
Do not remove the rubber valve at the bottom of the cartridge. This bite valve controls the release of the resin. Removing the rubber bite valve would allow resin to continuously flow and cause extreme damage to the machine. This damage is not covered by the warranty.
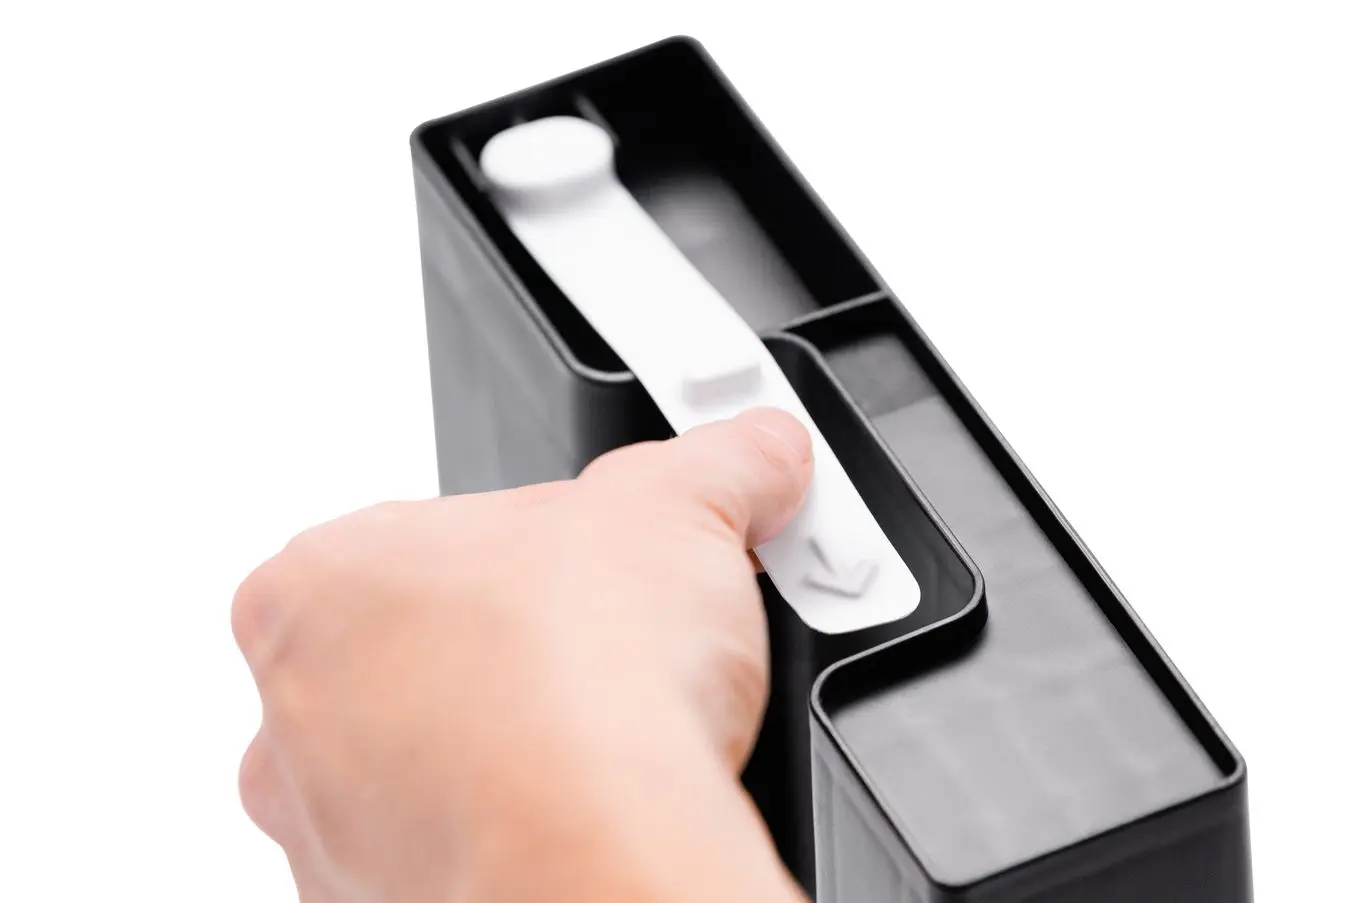
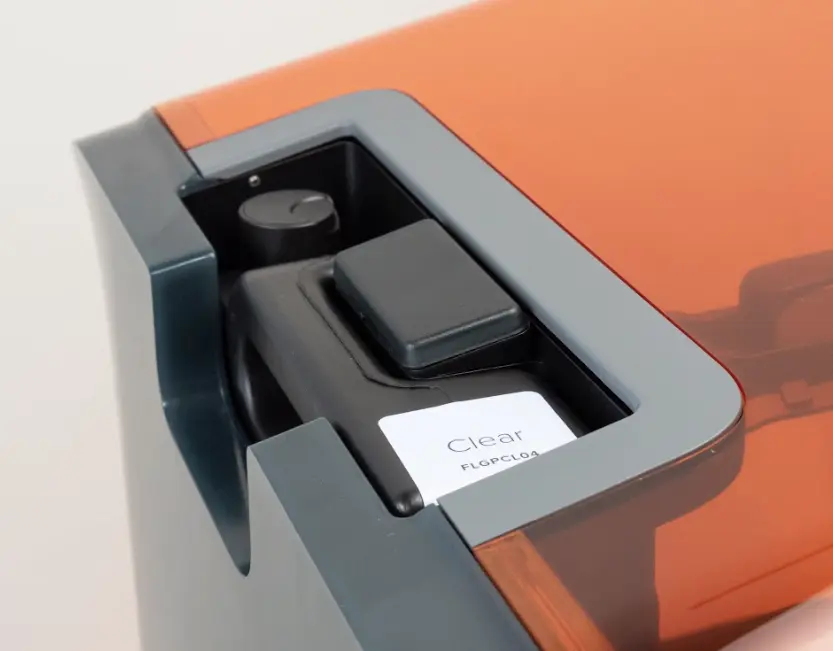
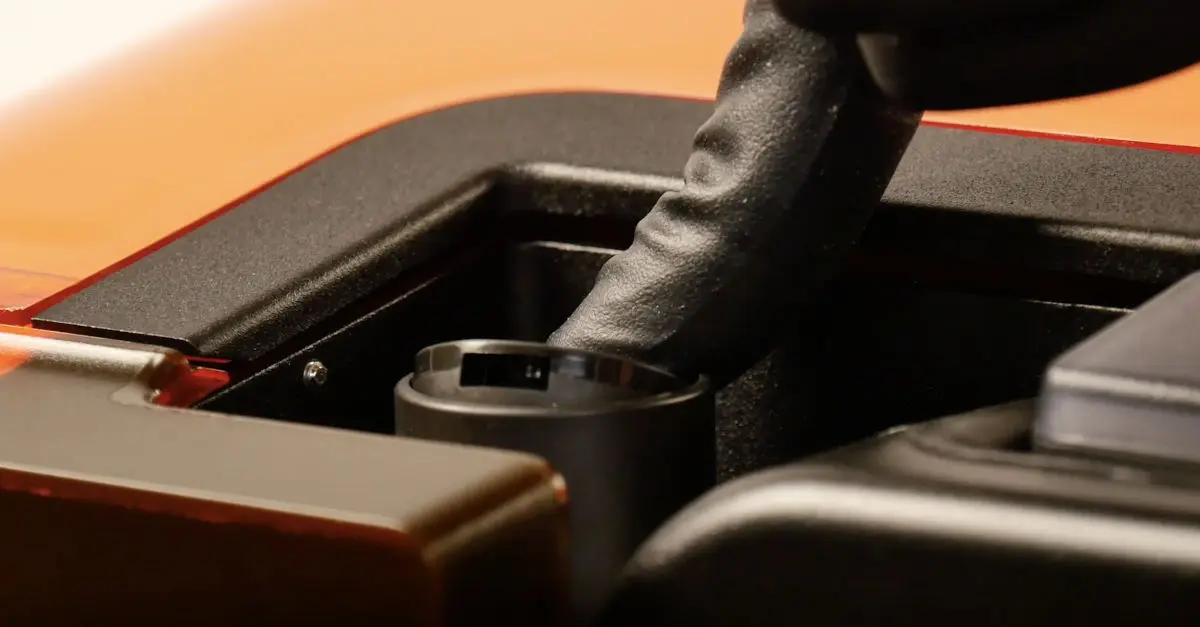
Inserting the resin cartridge
To insert the resin cartridge:
Tip:
Make sure the material in the resin tank always matches the resin type in the installed cartridge.
Printing with the Form 3/Form 3B
Now that the printer is set up: