WHITE PAPER
Formlabs Logo

Shipping your Form 3/Form 3B

Shipping your Form 3/Form 3B

Follow these instructions to package the Form 3/Form 3B for protection during shipping or transit. The printer’s original packaging is required for warranty service.

Packaging materials

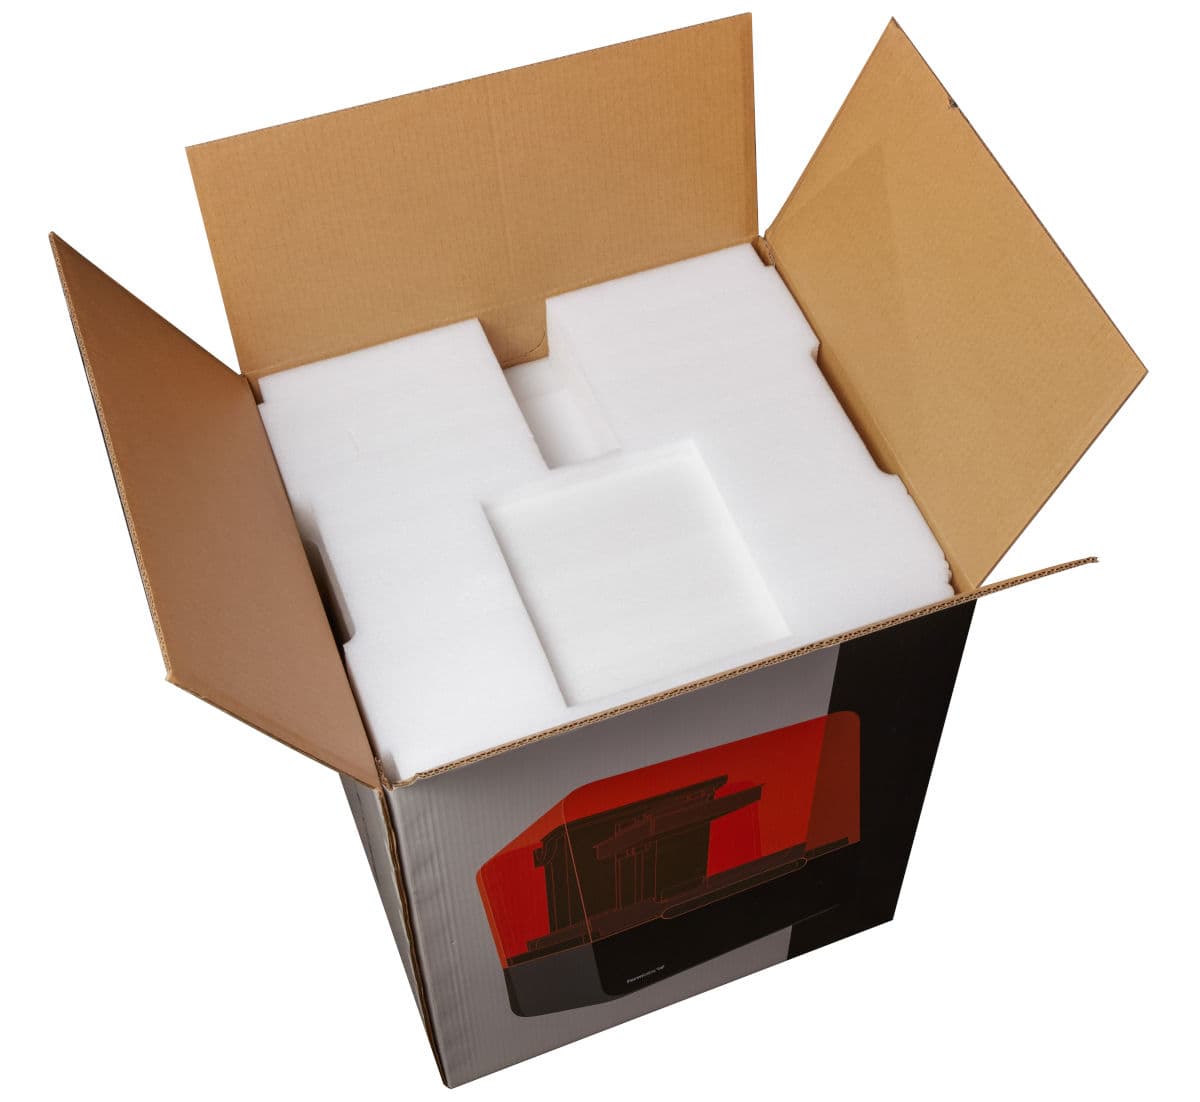
Form 3/Form 3B packaging materials are designed to be kept and reused for transporting your printer. The printer’s complete packaging kit consists of:

  • 1 outer box, cardboard
  • 1 lift tray, cardboard
  • 1 bottom insert, foam
  • 1 upper insert, foam
  • 1 shipping latch, metal
  • 2 shipping latch screws, metal

Preparing to ship

  1. Remove the build platform, resin tank, and cartridge before moving or packaging the Form 3/Form 3B, and disconnect the unit from power.
  2. Wipe any liquid resin off the build platform and store the platform away from sunlight. You may choose to store the build platform in plastic wrap and/or in its original box.
  3. Store the resin tank in its case with the cover in place.
  4. Store the cartridge with the vent cap closed and the valve cover installed.

Notice:

If you are shipping a printer to Formlabs, do not ship the build platform, resin tank, power and USB cables, and other accessories. These items will not be returned to you.

Inspecting and reassembling packaging
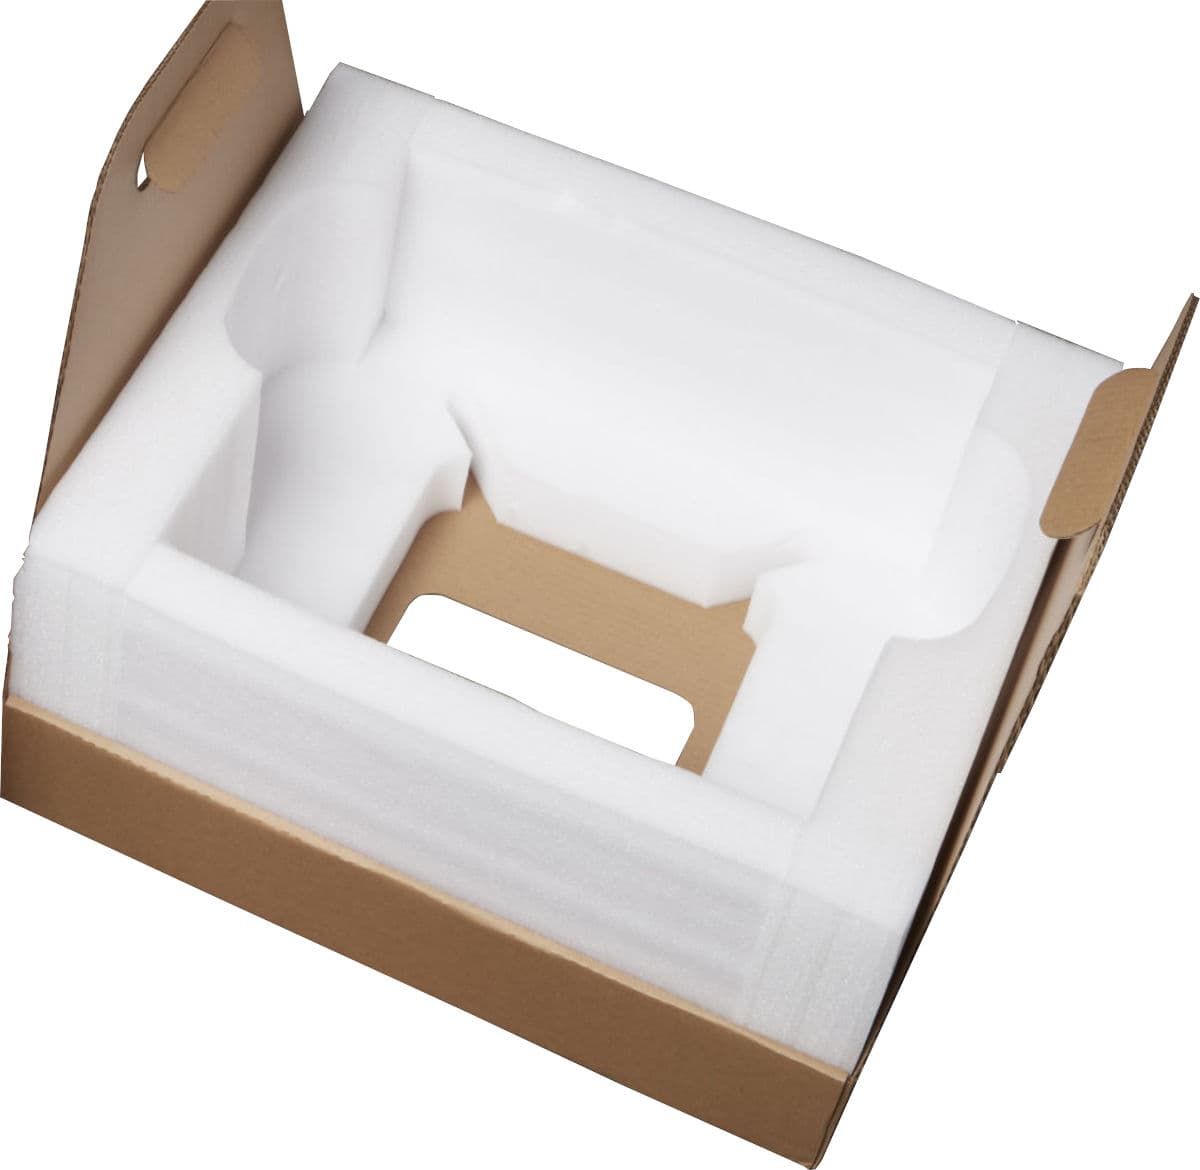
  1. If the printer’s outer cardboard carton has been flattened, start by re-assembling the box and securely taping its bottom opening.
  2. Insert the bottom foam insert into the cardboard lift tray. The bottom foam insert has a large square hole through its center.
Assembled lift tray

Installing the shipping latch

The Light Processing Unit (LPU) housing has a shipping latch that must be installed before shipping the Form 3/Form 3B. This prevents damage to the LPU and the optical components it contains.

The shipping latch is removed during the initial printer setup. If you do not have the original shipping latch, contact Formlabs Support or your authorized reseller.
  1. Unplug the printer.
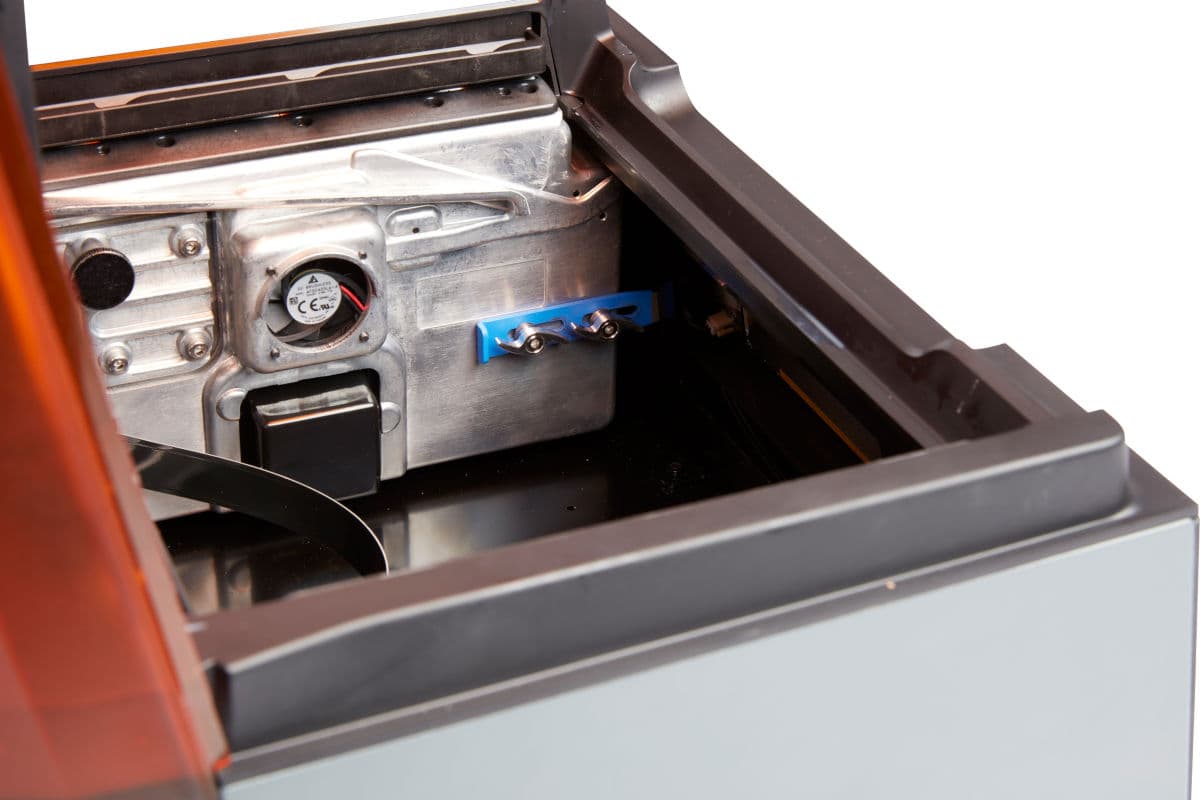
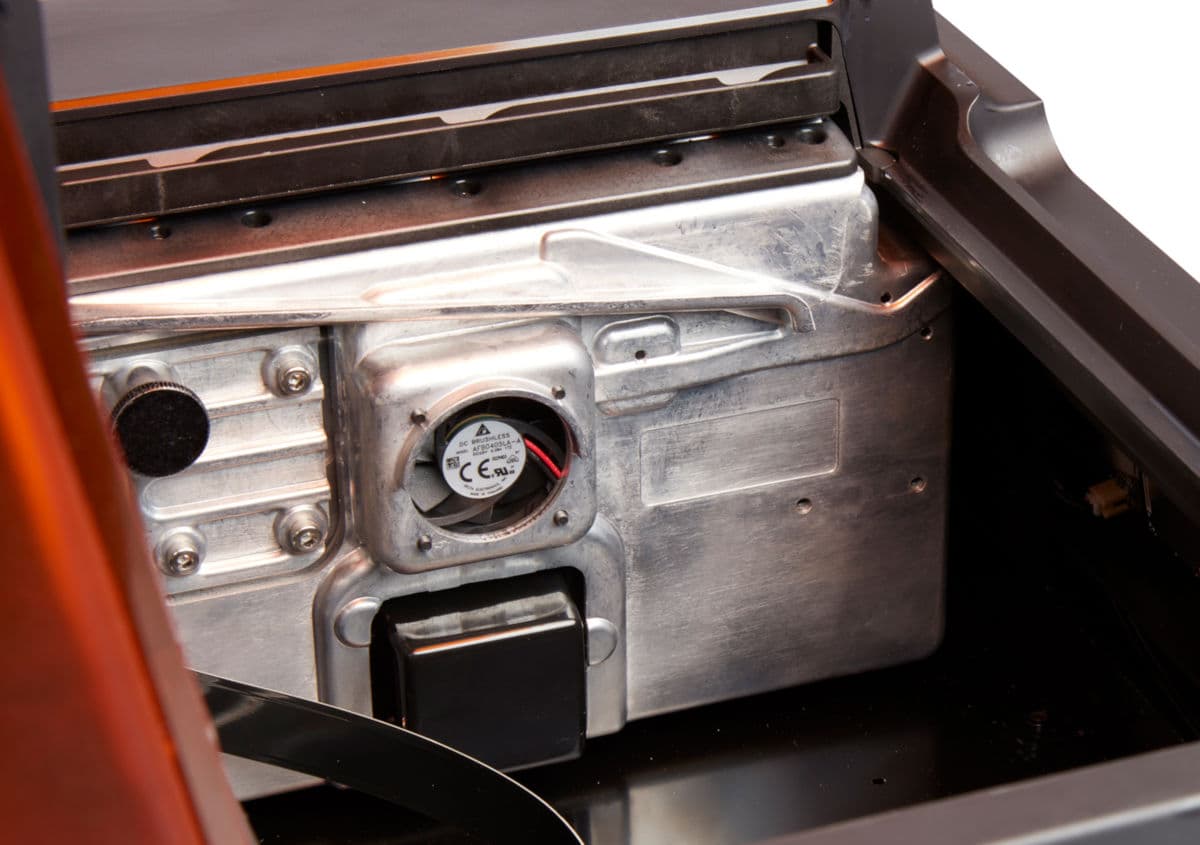
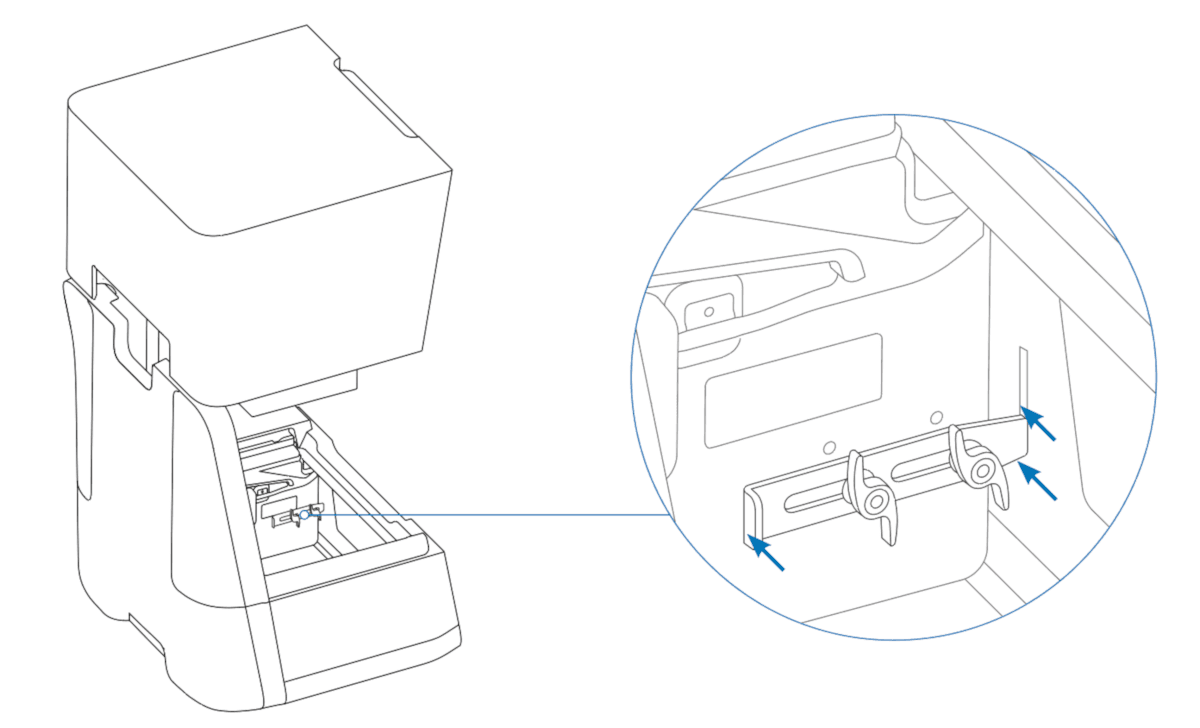
  2. Open the cover and locate the shipping latch mounting points on the left side of the LPU housing. The LPU housing is in the LPU garage on the right side of the printer.
Shipping latch mounting points
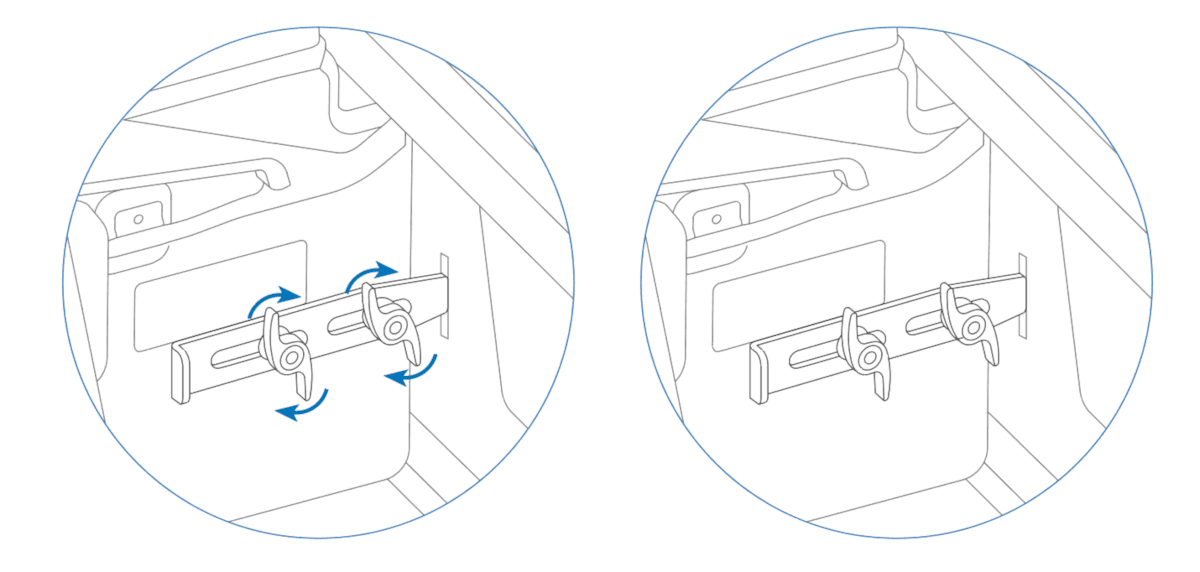
  1. Align the two slots in the latch with the two screw holes in the side of the LPU housing. The short side of the latch should be oriented away from the front of the printer and point outwards from the LPU housing.
Aligning the shipping latch
  1. Place one washer on each of the two thumb screws.
  2. Loosely thread the two thumb screws through the slots and into the LPU housing.
  3. Slide the latch toward the front of the printer so that it engages with the inside of the printer shell. If necessary, adjust the position of the LPU by manually turning the lead screw at the back of the printer cavity. The shipping latch should lay flat against the LPU housing when it engages with the slot in the printer shell.
Tightening shipping latch screws
  1. Tighten both thumb screws to secure the latch. The latch does not move when both thumb screws are tightened.
Installing shipping latch

Wrapping the printer

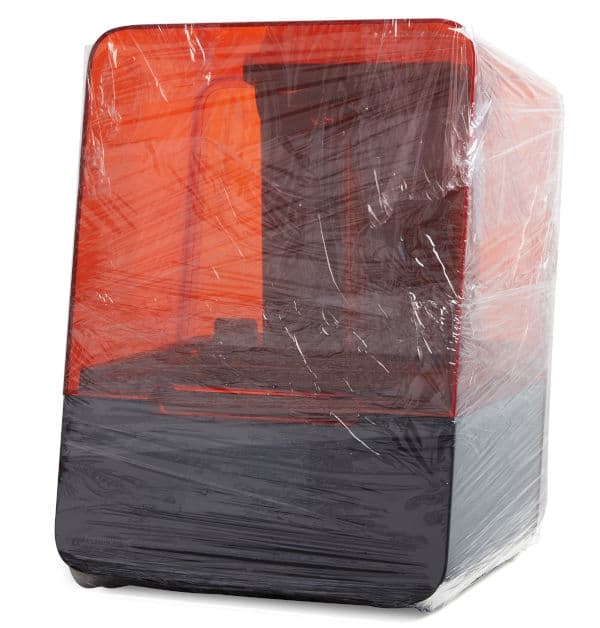
Wrapped Form 3/Form 3B

Securely wrap the seam between the printer’s top cover and lower shell to maintain alignment in transit. Wrap with plastic wrap multiple times horizontally and vertically so the entire printer is covered and the cover is firmly stabilized.

Packing the printer
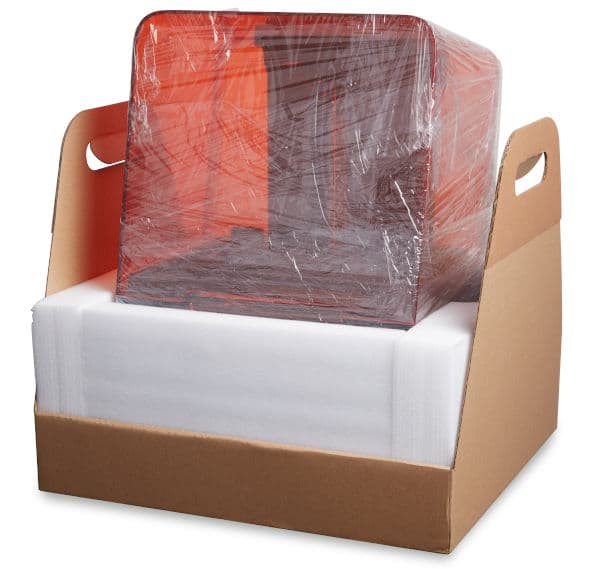
  1. Place the upright printer into the lift tray.
Wrapped Form 3/Form 3B in lift tray
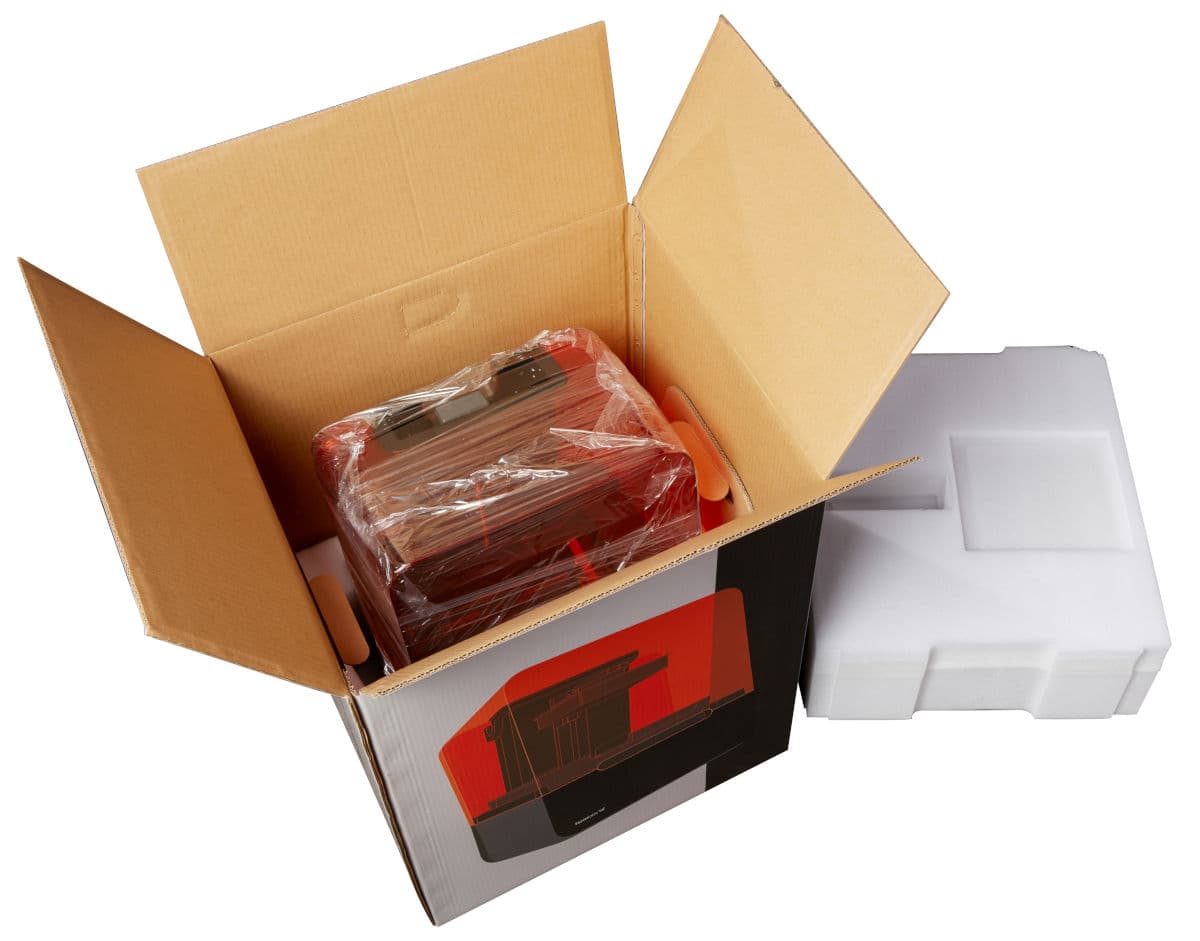
  1. Use the handles to gently place the lift tray and printer into the box.
Wrapped Form 3/Form 3B in box
  1. Install the foam upper insert with the smaller voids facing upward. The foam should fit exactly around the top of the printer’s cover.
Installing top foam
  1. Close the box, making sure that the printer and foam packaging fit entirely within the box.
  2. Seal the edges of all box openings with adhesive packing tape.