WHITE PAPER
Formlabs Logo

Shipping your Form Auto

Shipping your Form Auto

Follow these instructions to package the Form Auto for protection during shipping or transit. The machine’s original packaging is required for warranty service.

Packaging materials

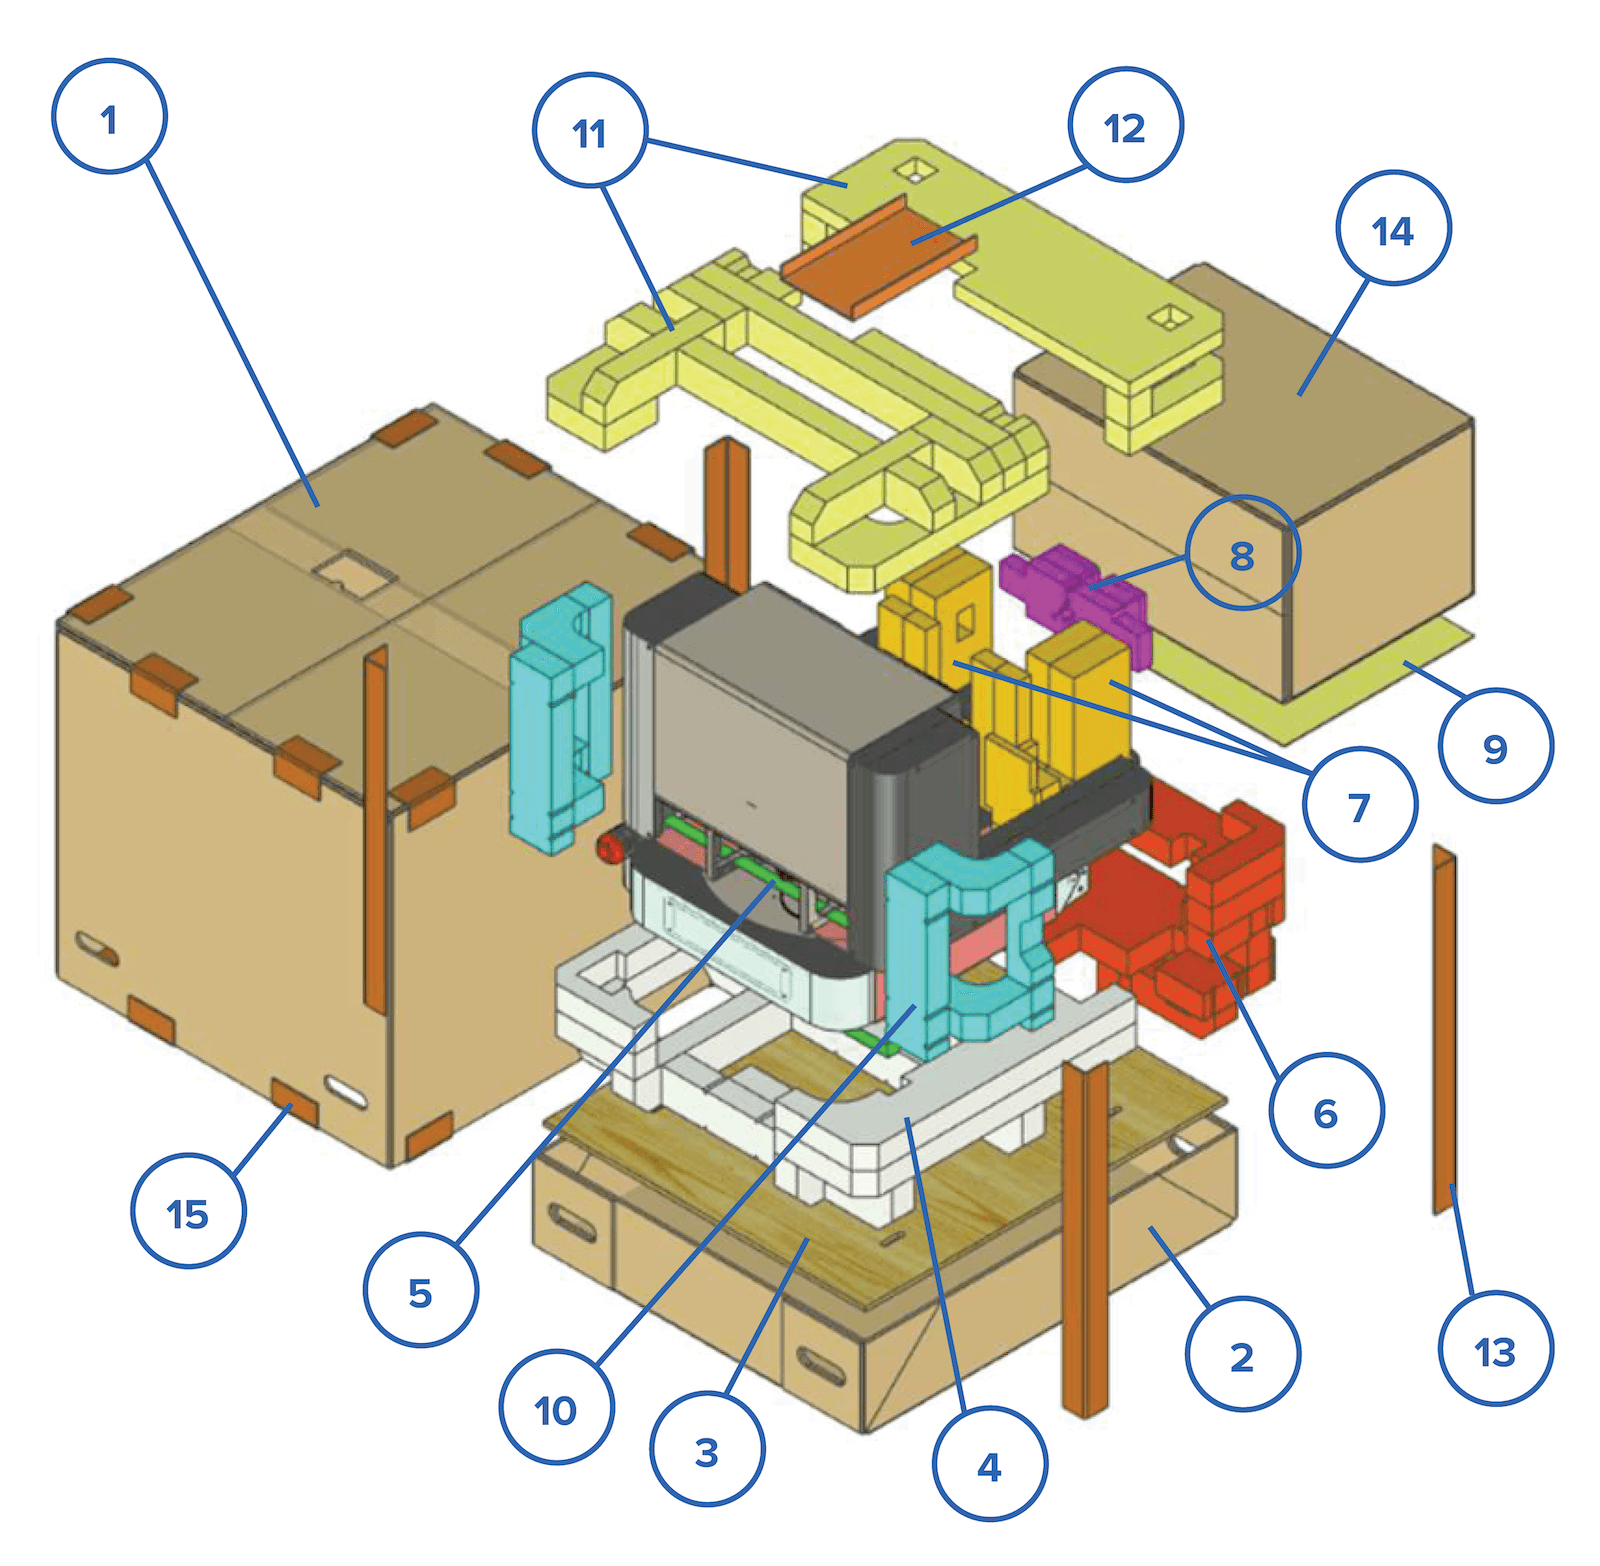
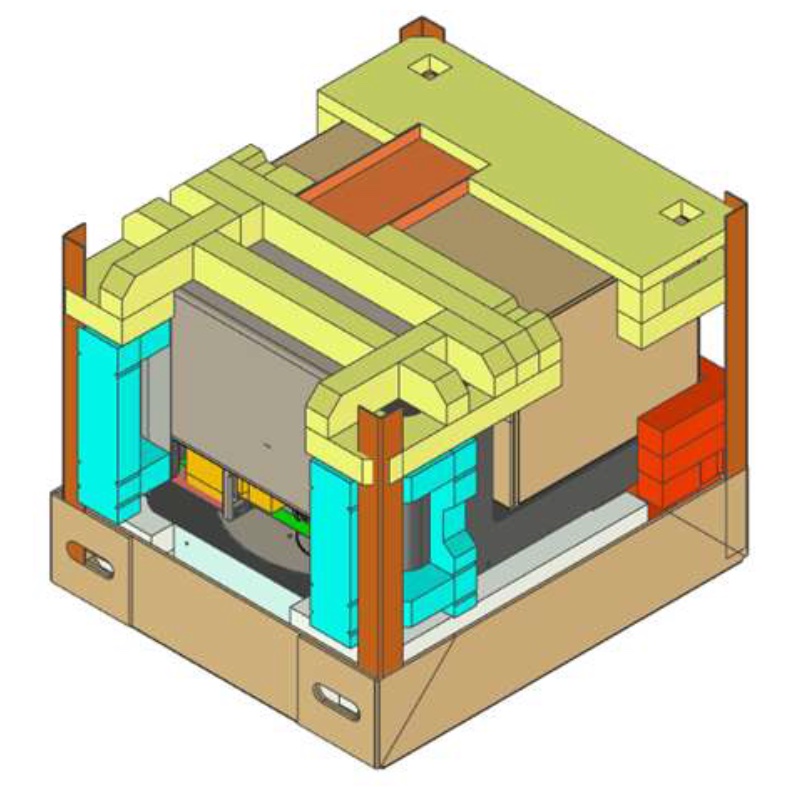
Form Auto packaging materials are designed to be kept and reused for transporting your machine. The machine’s complete packaging kit consists of:

Form Auto packaging components
  1. one (1) outer box, cardboard
  2. one (1) box base, cardboard
  3. one (1) box base insert, plywood
  4. one (1) lower insert, foam
  5. one (1) base sheet, foam
  6. one (1) front insert, foam
  7. two (2) part removal gantry inserts, foam
  8. one (1) cover actuator support, foam
  9. one (1) middle sheet, foam
  1. two (2) side inserts, foam
  2. two (2) top inserts, foam
  3. one (1) quick start guide tray, cardboard
  4. four (4) corner braces, cardboard
  5. one (1) accessories box, cardboard
  6. sixteen (16) edge protectors, cardboard
  7. one (1) part removal gantry strap, fabric (not pictured)
  8. five (5) accessories supports, foam (not pictured)
  9. five (5) binding straps, nylon (commercially available, not pictured)

Preparing to ship

To prepare the machine:

  1. Rotate the printer to the touchscreen position.
  2. Open the printer cover via the touchscreen to retract the cover actuator. Tap the gear icon. The Settings screen appears. Tap Form Auto > Open Cover. The printer cover opens.
  3. Flip the breaker switch on the Form Auto to the OFF position.
  4. Unplug the power and Ethernet cables from the Form Auto.
  5. Empty and clean the wash basket and part release bin. Set them aside for packing with the other Form Auto accessories.
  6. Uninstall and clean the part release enclosure. Set the three sections of the part release enclosure aside for packing with the other Form Auto accessories.
  7. Remove and store all consumables from the printer.
  8. Unplug the power, USB, and Ethernet cables from the back of the printer.
  9. Press the plunger on the lock pin securing the cover bracket to the cover actuator. Remove the lock pin and set it aside.
  10. Close the printer cover.
  11. Loosen the thumb screw at the front of the base plate by hand or with a Phillips head driver.
  12. Lift the front of the printer slightly, then slide it forward to separate it from the Form Auto. Set the printer aside.
  13. Clean the Form Auto of any remaining liquid resin.
  14. Rotate the turntable to the printing position.
  15. Remove the UV shield and set it aside.

Notice:

Do not ship the Form Auto with any resin inside the part release enclosure or part release bin. Resin left inside the machine can leak during transit, which may result in additional fees or void the warranty.

Notice:

When shipping a printer to Formlabs or a certified service provider for replacement or repair, the build platform, resin tank, resin cartridges, power and USB cables, and other accessories should not be shipped and will not be returned after service. Original packaging is required for warranty service. Contact Formlabs Support or a certified service provider for unique guidance on shipping requirements.

Packing the Form Auto

To package the machine:

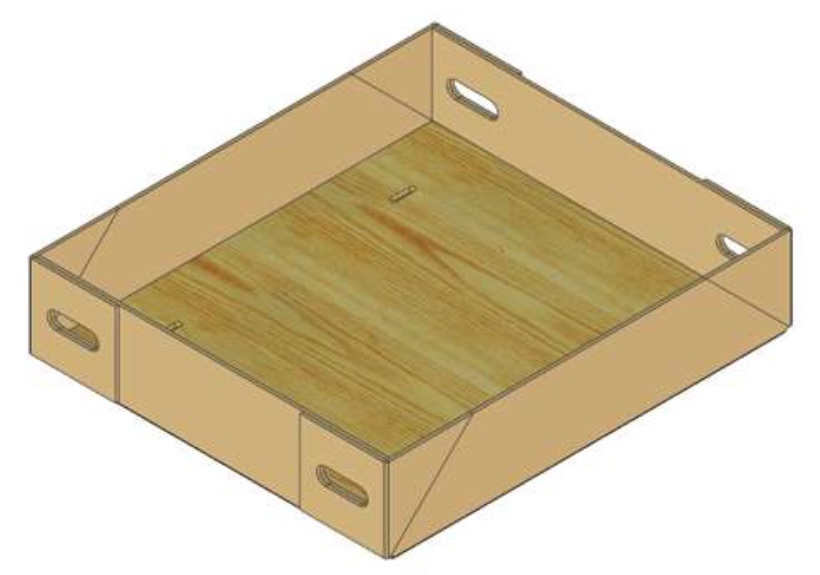
  1. Thread one nylon binding strap through the two holes in one of the short ends of the plywood box base insert.
  2. Place the plywood box base insert in the lower box with the free ends of the binding strap pointing up.
Preparing the Form Auto lower box
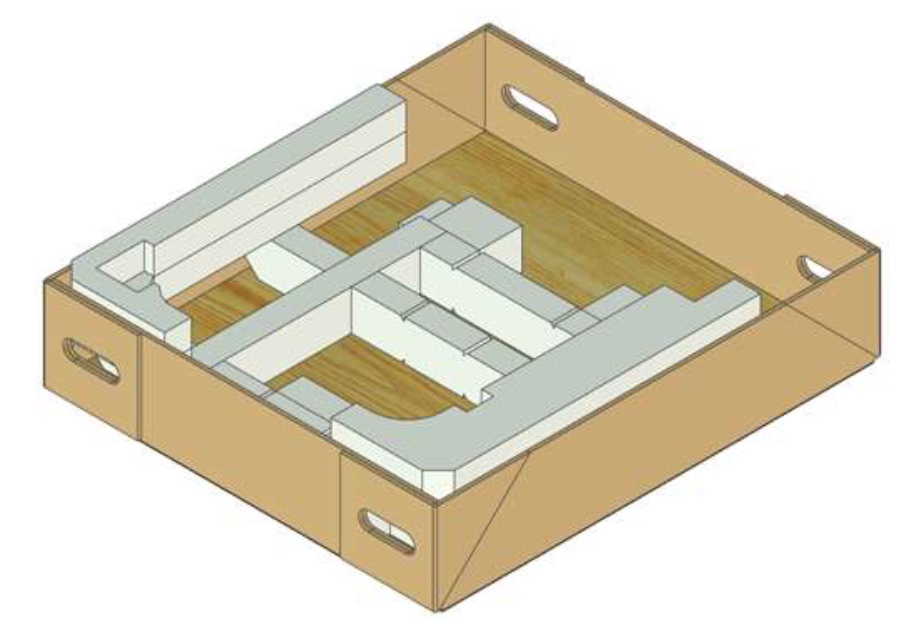
  1. Place the lower foam on the plywood box base insert. Thread the free ends of the binding strap vertically through the openings in the foam, rather than around the sides.
Placing the lower foam in the Form Auto box
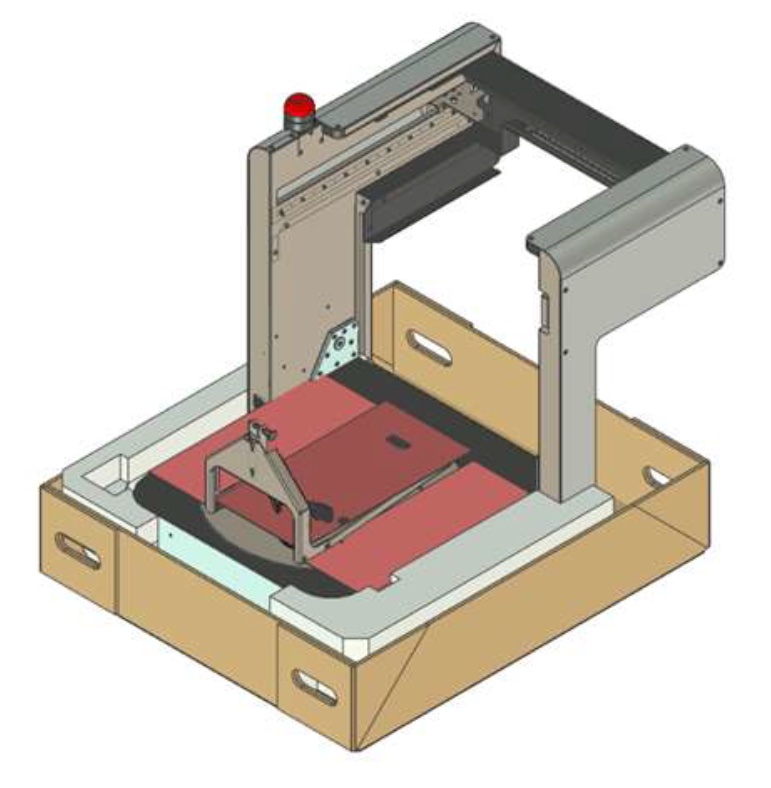
  1. Wrap the part removal gantry strap snugly around the part removal mechanism and part removal gantry. Check that the part removal mechanism is secured in place.
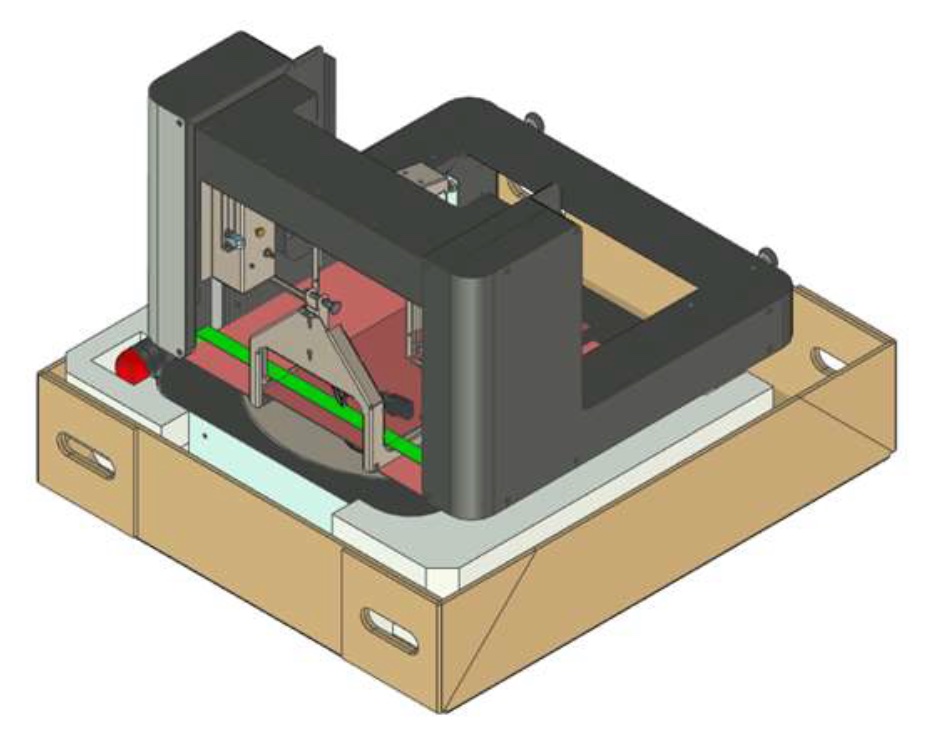
  2. With the help of a second person, place the Form Auto onto the lower foam. Ensure that the part removal gantry screws and the free ends of the binding strap are accessible.
  3. Place one foam sheet across the base and turntable of the Form Auto.
Placing the Form Auto onto the lower box
  1. Fold the cover actuator down toward the Form Auto base.
  2. Have a second person hold the part removal gantry in place. Loosen and remove the four gantry screws with a 5 mm hex driver.
  3. Fold the part removal gantry flat against the base.
Folding the Form Auto into its shipping position
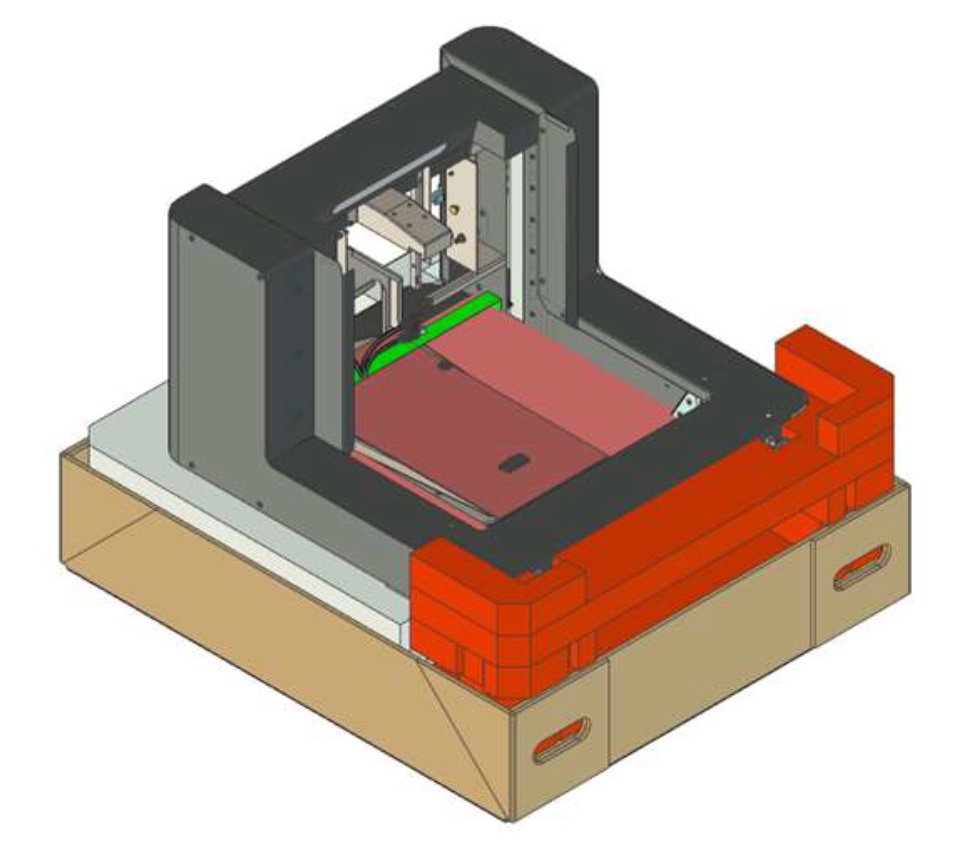
  1. Insert the front foam underneath the folded part removal gantry.
Inserting the front foam underneath the Form Auto
  1. Insert the two part removal gantry inserts under the part removal mechanism, in the space under the part removal gantry.
Supporting the part removal gantry with foam
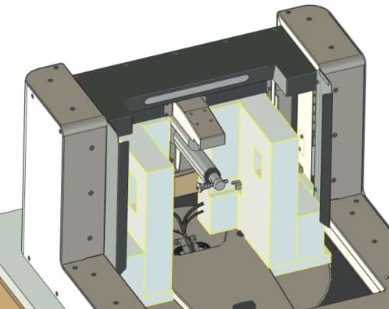
Supporting the part removal gantry with foam, inset
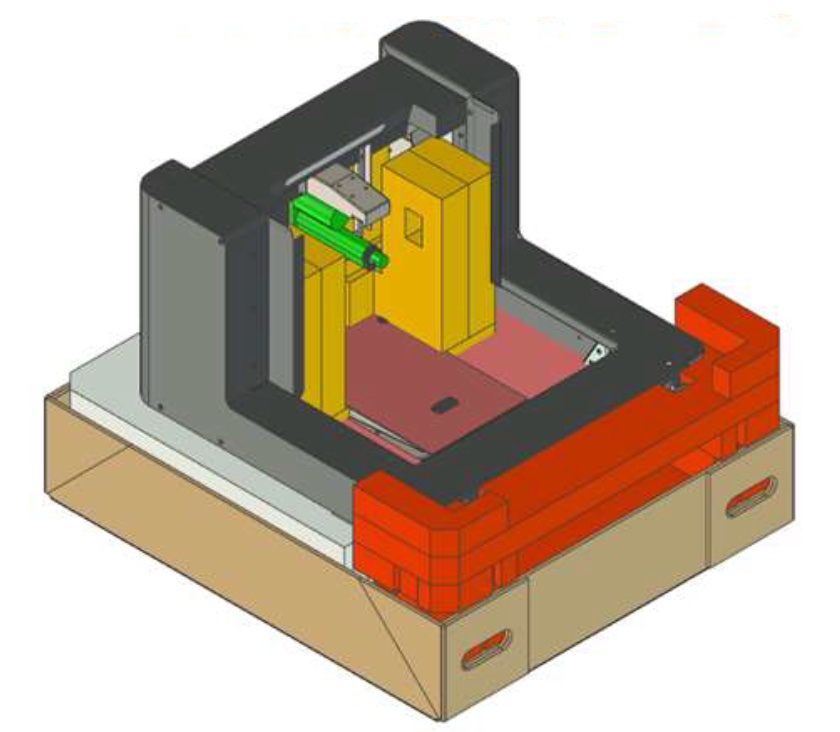
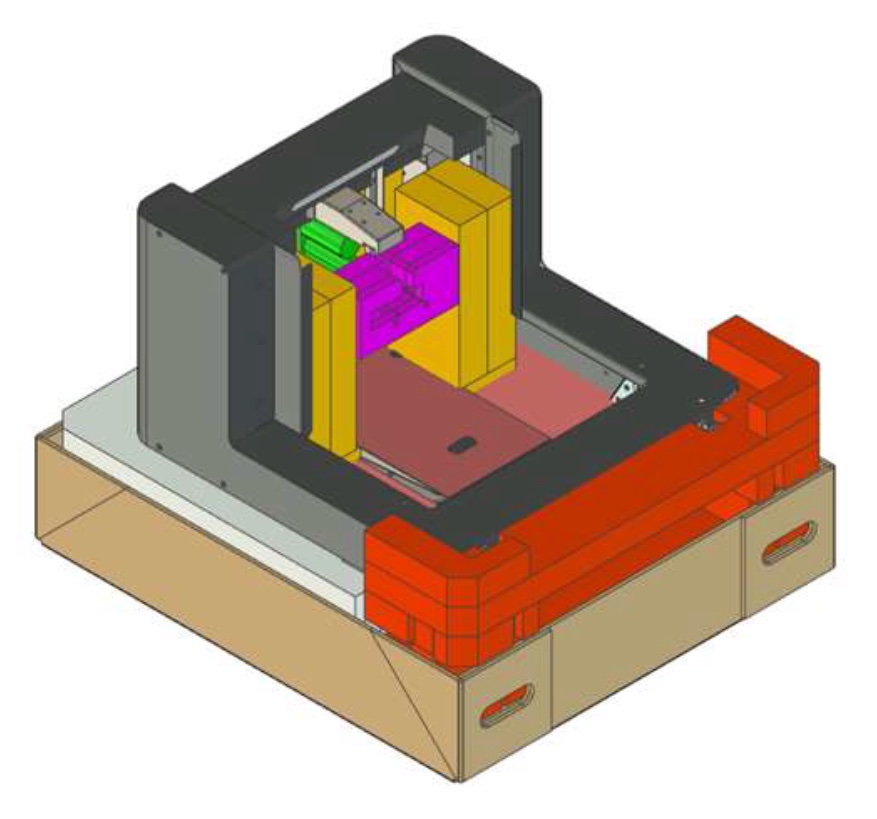
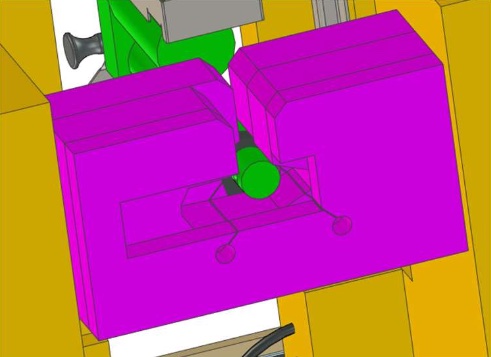
  1. Insert the foam cover actuator support under the cover actuator. The cover actuator support has a cutout that fits around the cover actuator and holds it in place.
Supporting the cover actuator with foam
Supporting the cover actuator with foam, inset
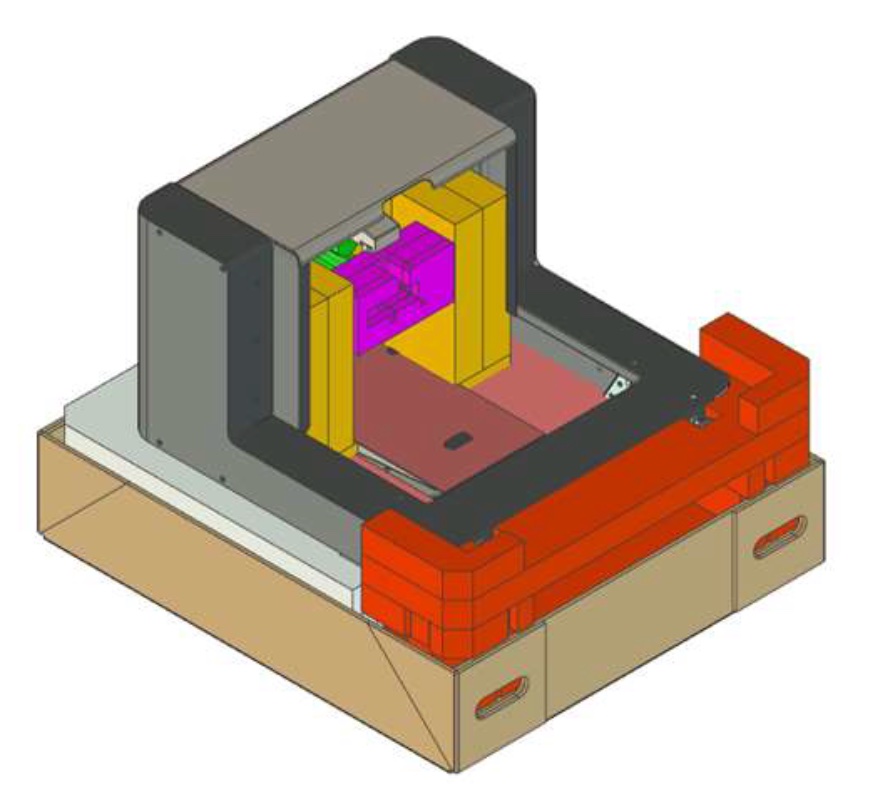
  1. Place the UV shield on the part removal gantry.
Placing the UV shield on the folded Form Auto
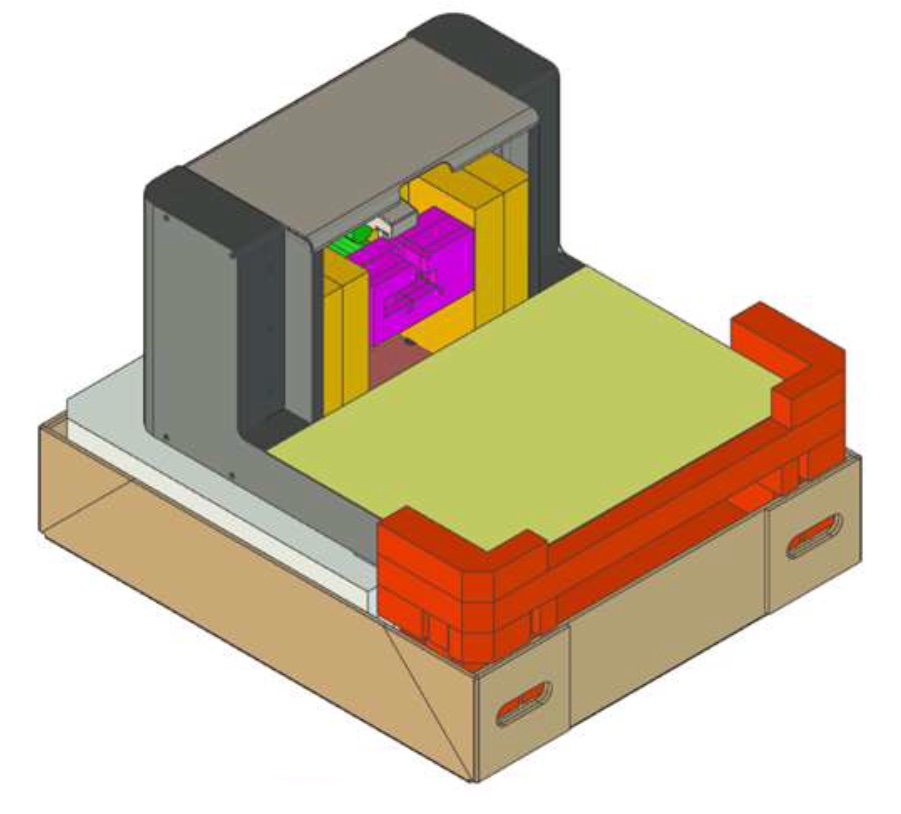
  1. Place a foam sheet across the folded-down front of the part removal gantry.
Protecting the front face of the Form Auto gantry with foam
  1. Pack the accessories into the accessories box. If you are shipping your Form Auto to Formlabs for repair or replacement, include the cover bracket and base adapter plate, either from your current unit or the replacement.
  2. Place the accessories box on the foam sheet. When properly seated, the box fits between the part removal gantry and the corners of the front foam.
Packing the Form Auto accessories
  1. Place the two foam side inserts on the edges of the part removal gantry opposite the front foam and accessories box.
Protecting the top edges of the Form Auto part removal gantry with foam
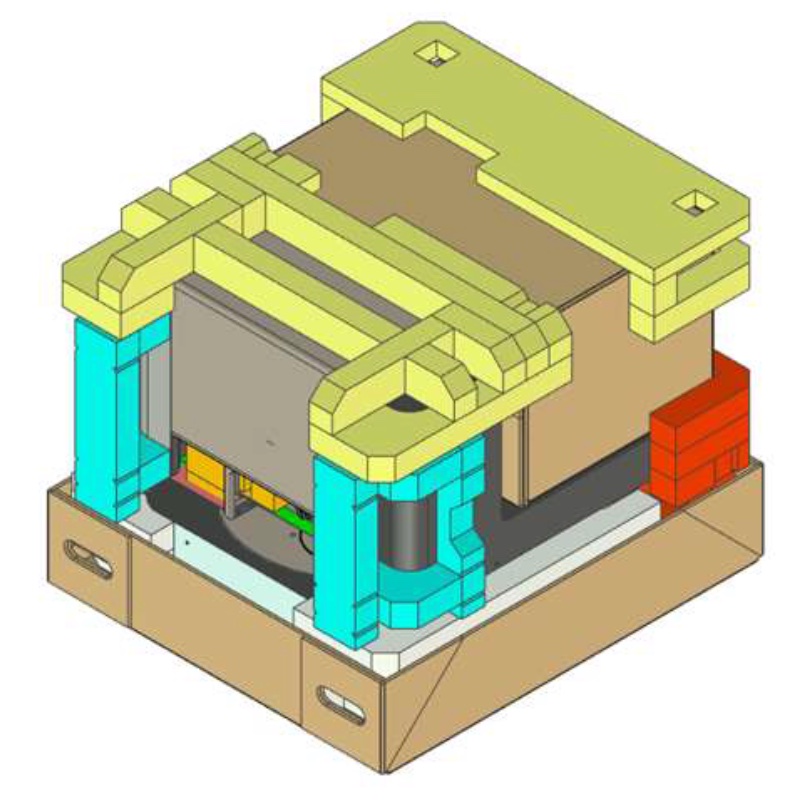
  1. Place one piece of top foam on top of the accessories box. Place the other piece of top foam on top of the part removal gantry.
Protecting the top of the packaged Form Auto with foam
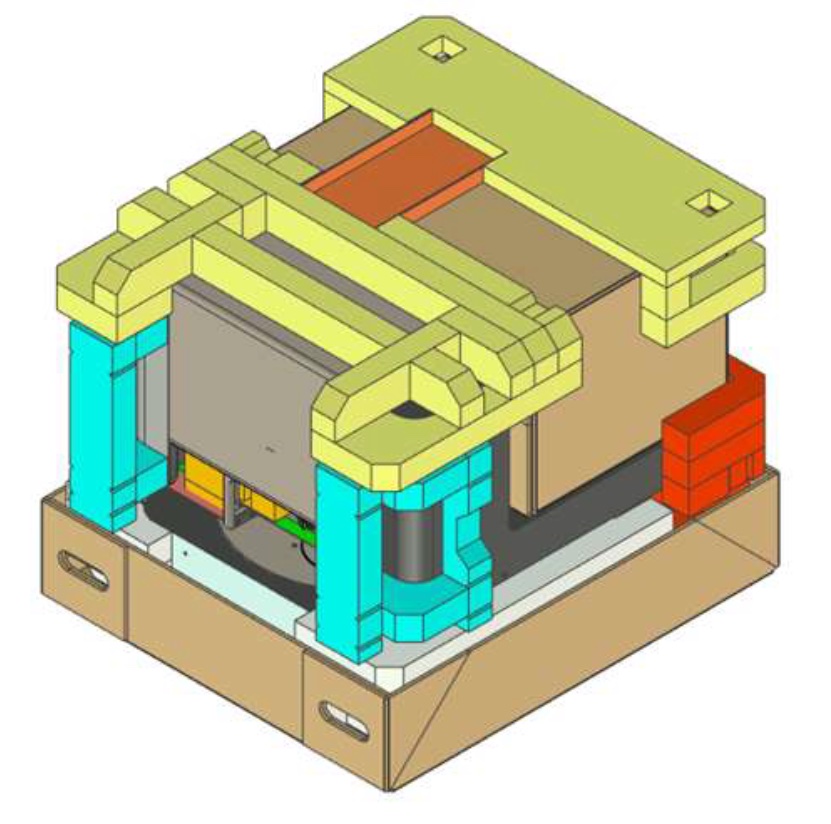
  1. Place the U-shaped quick start guide tray between the two pieces of top foam. The tray fits into small cutouts in the two pieces of foam.
Inserting the Form Auto quick start guide tray
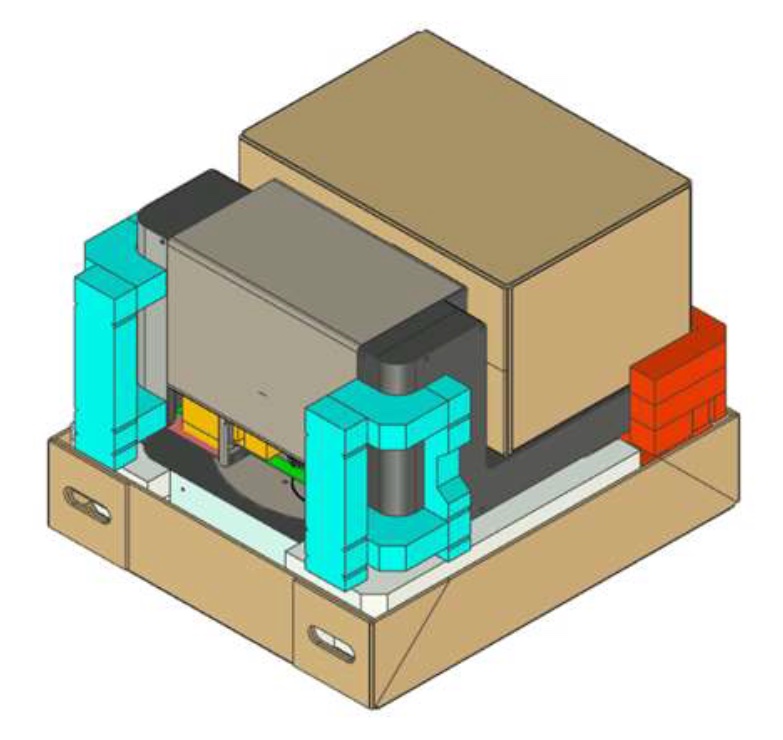
  1. Insert one corner brace in each of the four corners of the lower box.
Protecting the edges of the packaged Form Auto with cardboard
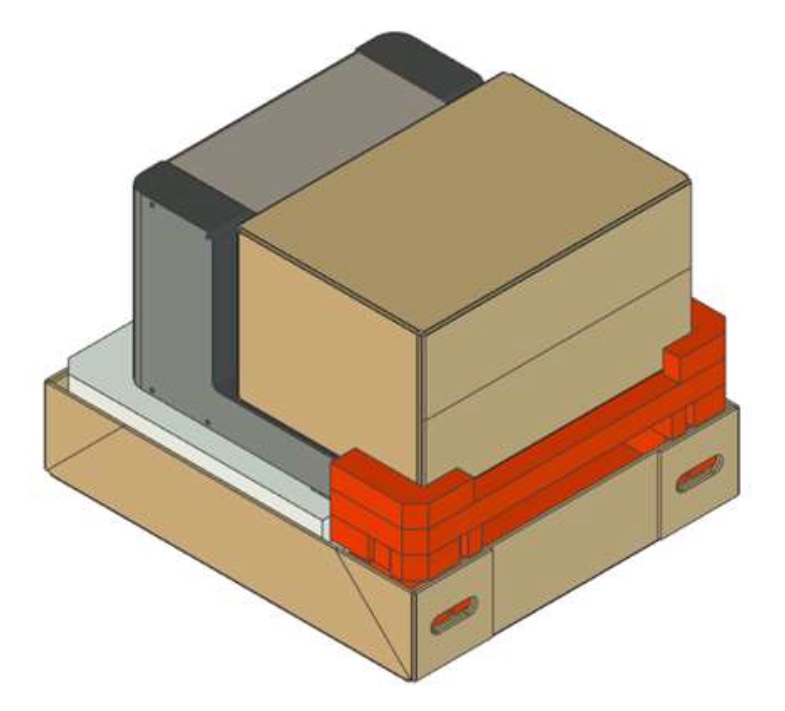
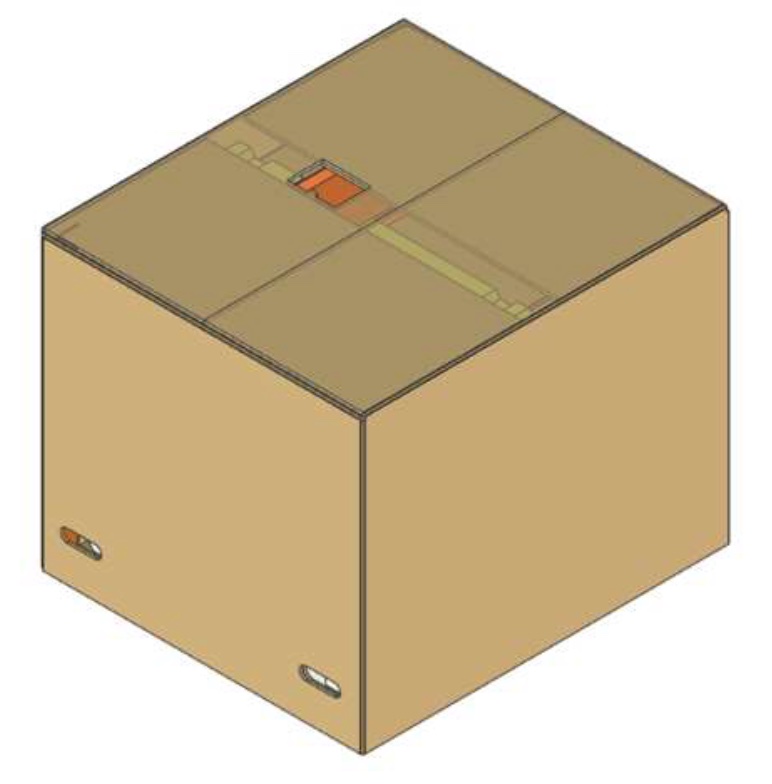
  1. Place the upper box over the Form Auto and the lower box.
Placing the upper Form Auto box over the lower box
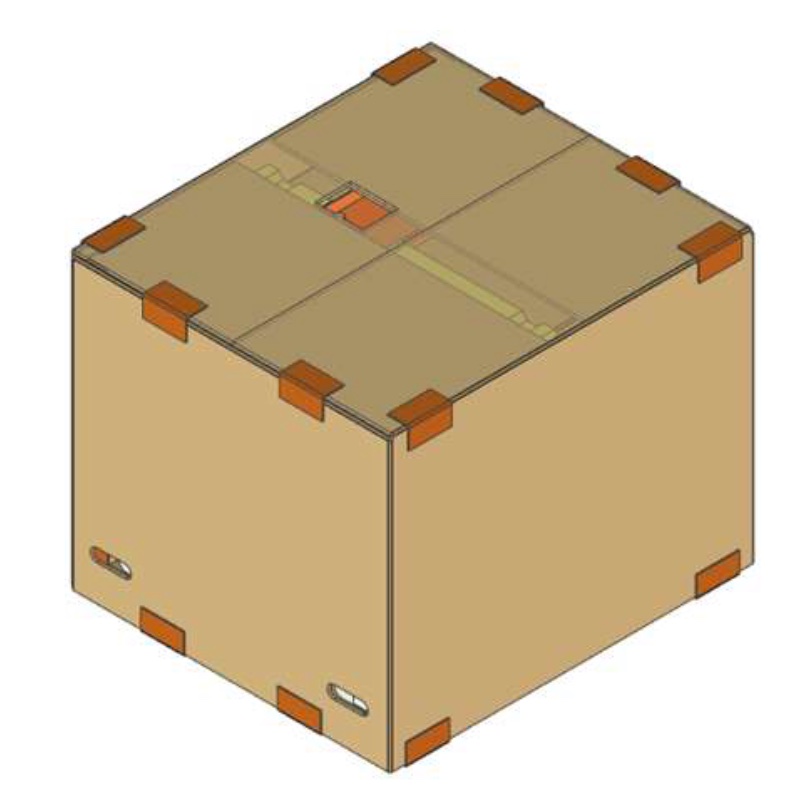
  1. Place two edge protectors on each top and bottom box edge, evenly spaced. The edge protectors prevent the Form Auto packaging from being crushed when the box is strapped to a pallet.
Protecting the edges of the Form Auto box with cardboard
  1. Run four nylon binding straps around the box, going over the edge protectors. Tighten and crimp the straps. If you are shipping your Form Auto with a freight carrier, they will generally perform this step.