WHITE PAPER
Formlabs Logo

Using the Form Wash

Using the Form Wash

The Form Wash removes uncured resin from the surface of printed parts by simultaneously soaking and moving them in a solvent.

The Form Wash uses either isopropyl alcohol (IPA) or tripropylene glycol monomethyl ether (TPM). It is also compatible with water, for use as a secondary wash if you clean your parts with TPM. Choose the right wash solvent that suits your application best.

Danger:

Always consult the safety data sheet (SDS) from the IPA supplier as the primary source of information. IPA is flammable and should be used and stored away from ignition sources. Store small quantities of IPA in appropriately labeled and sealed containers.

Tip:

Check the support article Form Wash time settings to find wash times for each Formlabs material.

Before you begin

Before inserting a printed part into the Form Wash:

Note:

Consider the size and geometry of each part when choosing a method to wash the part and the sequence of steps.

Form Wash controls

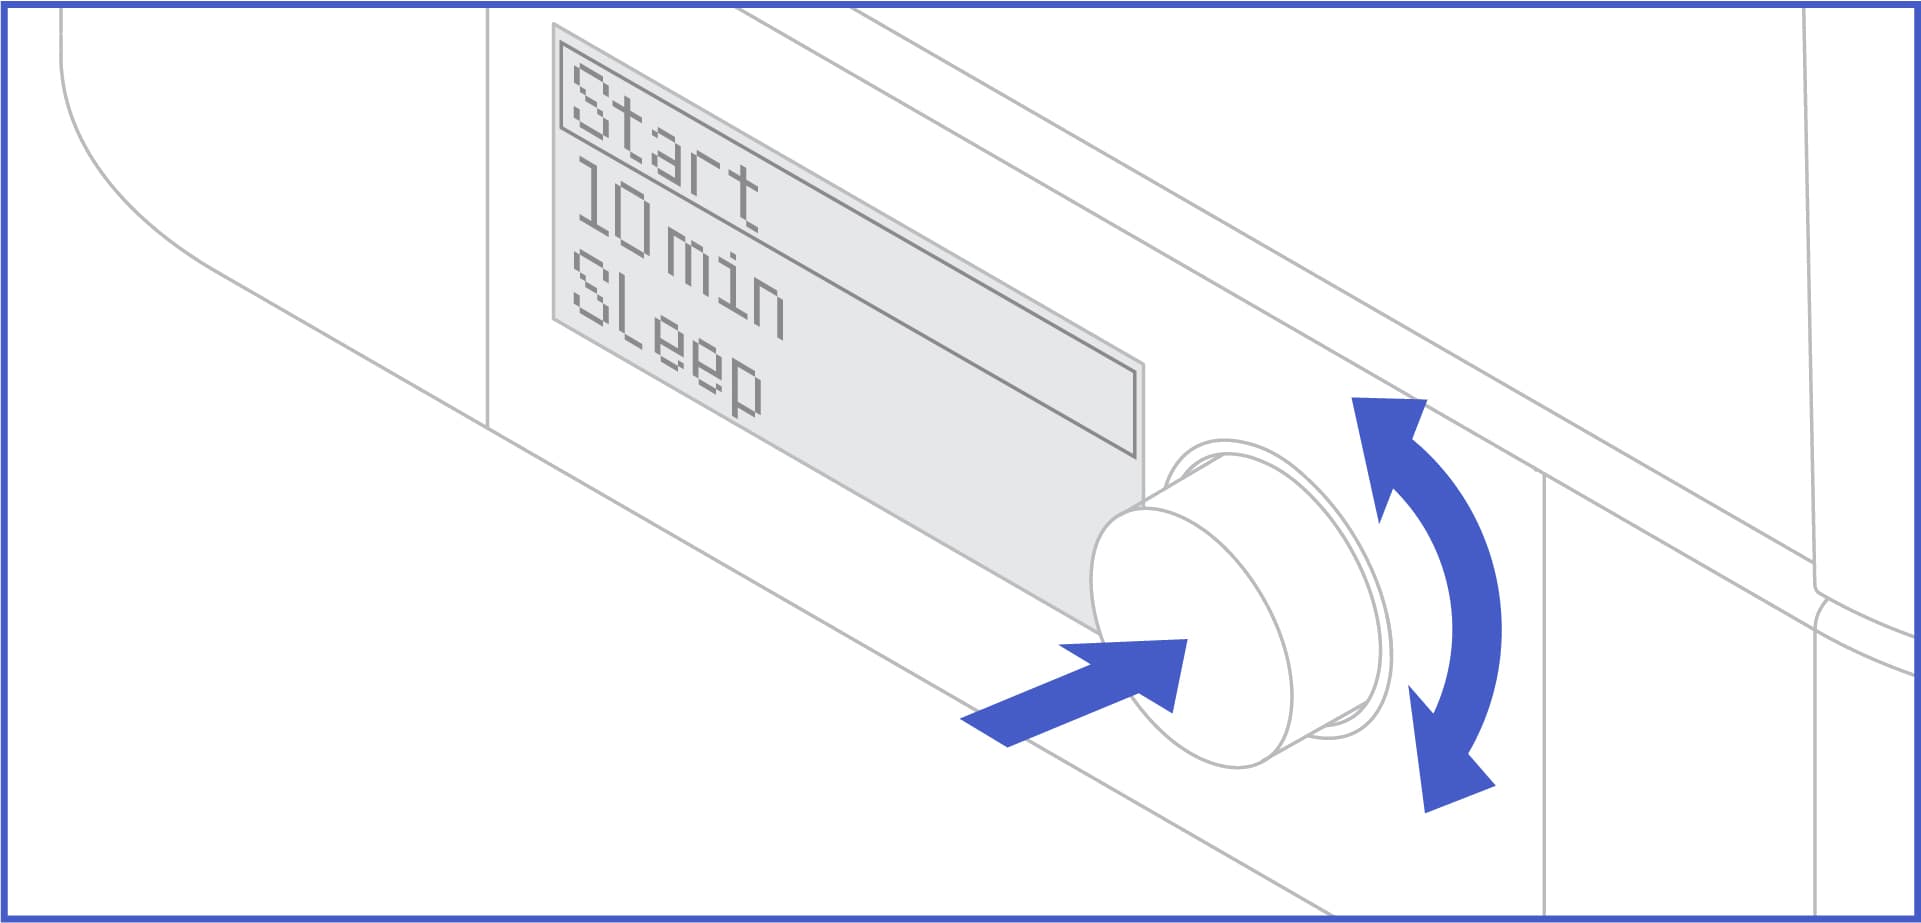
Use the knob to operate the Form Wash. Rotate the knob counterclockwise or clockwise to move between items in a menu, and push the knob to select an option on the display.

Controls to start a wash cycle

Form Wash (1st Generation)Form Wash (2nd Generation)
  • Start lowers the mount and basket and initiates the washing process.
  • Open raises the mount and basket.
  • Sleep lowers the mount and basket. The wash cycle does not begin until Start is selected.
  • Time adjusts the wash time, indicated in minutes. Push the knob to select this option, and rotate the knob to move between time settings.
  • Start lowers the mount and basket and initiates the washing process.
  • Time adjusts the wash time, indicated in minutes. Push the knob to select this option, and rotate the knob to move between time settings. Select between the Default (10 minutes), Quick (1 minute), Short (5 minutes), or Long (20 minutes) presets or set a Custom wash time.
  • Speed adjusts the impeller speed. Push the impeller to select between High and Low impeller speed.
  • Raise raises the mount and basket.
  • Lower lowers the mount and basket. The wash cycle does not begin until Start is selected.
  • # Washes displays the number of wash cycles run by the Form Wash. Push the knob to select this option, and rotate the knob to Reset Wash Count, if desired.

Controls to pause or end a wash cycle

  • Pause stops agitation during a wash cycle and lifts the platform and basket mount out of the solvent.
  • End cancels the remaining time in the wash cycle and lifts the platform and basket mount.

Controls to track the number of washes

  • # Washes displays the number of completed washes. Replacing the solvent inside a Form Wash is dependent on the material and solvent used; use this number as a guide to maintain a record of when your solvent needs replacing and determine when it may need to be replaced again in the future.
  • Reset Wash Count sets the number of completed washes for the # Washes value to 0. Access this action by pushing the knob when the # Washes option is selected.
  • Back returns the screen to the main menu. Access this action by pushing the knob when the # Washes option is selected.

Form Wash workflow

Insert prints into the Form Wash, then set the wash time according to the resin you’re using. Remove prints when the wash cycle finishes. Examine prints and remove excess resin, rinse or wash a second time, depending on the part geometry. Remove parts from the build platform and fully dry them before post-curing or post-processing.

Note:

Always consult the support article Form Wash time settings as the primary source of information for up-to-date wash times.


Open the Form Wash

Turn the knob to navigate the display menu to Open or Raise, depending on your machine, then push the knob to select. The Form Wash lifts the mount and basket out of the wash bucket.


Insert parts

To wash printed parts directly on the build platform, align the top lip of the build platform with the arms of the Form Wash platform mount and fully insert.

When washing parts on the build platform, scrape excess liquid resin back into the resin tank before placing the build platform in the Form Wash.


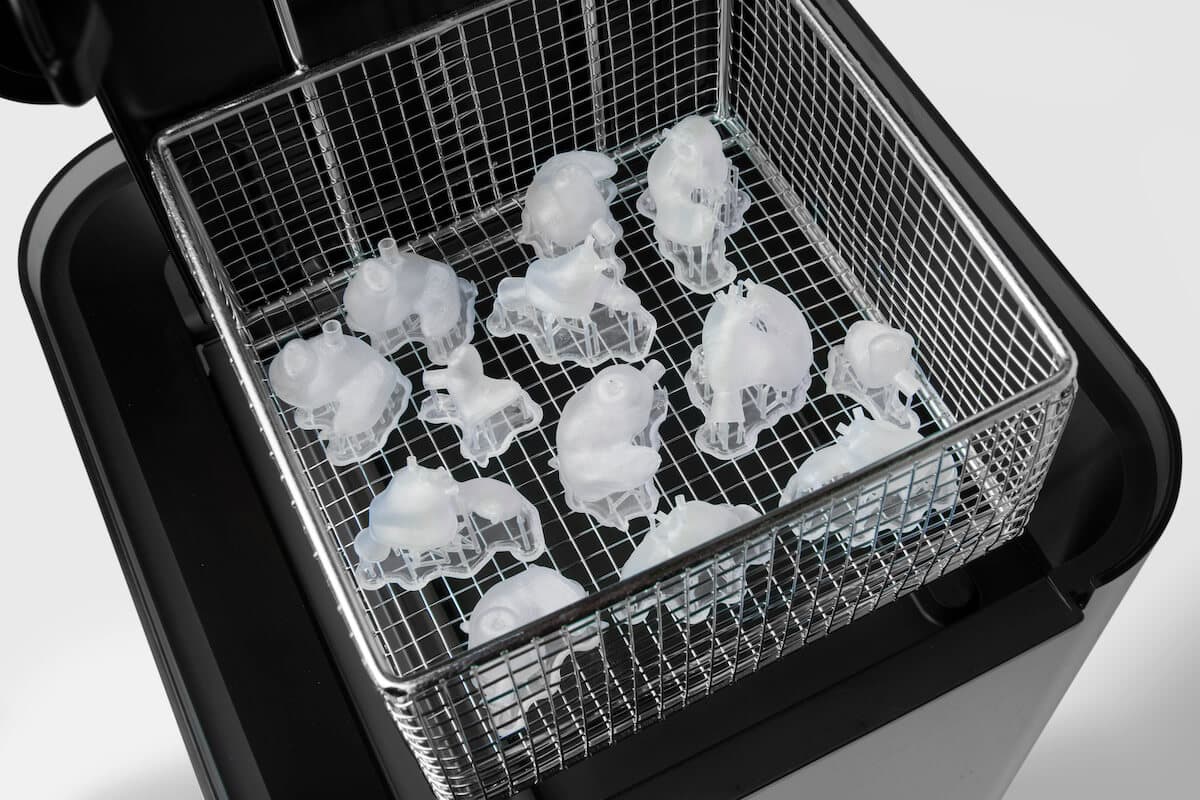
Alternatively, remove parts from the build platform (see Step 6) and place them in the basket.

Notice:

Do not wash loose parts in the wash bucket without the basket. This damages printed parts, creates noise, and may interfere with the agitation of the solvent or damage the Form Wash internal components.


Set the wash time

  1. Check your resin’s recommended wash time before beginning a wash cycle.
  2. Turn the knob to navigate the display menu and adjust the wash time.
Form Wash (1st Generation)Form Wash (2nd Generation)
Turn the knob to navigate the display menu and set the Time. Push the knob to select or confirm. Select from the following presets:
  • Quick: 1 minute
  • Short: 5 minutes
  • Default: 10 minutes
  • Long: 20 minutes
  • Set a Custom wash time
Press the knob to select or confirm.
  1. Select Start. The platform and basket lower into the Form Wash. Ensure the outer lid closes fully. The platform and basket lower into the Form Wash. Ensure the outer lid closes fully.
  2. Once the wash cycle begins, select Pause to raise the platform and basket if necessary.


Remove parts

The platform mount and basket raise automatically at the end of the wash cycle. The solvent that drips onto the inner lid as parts dry drains into the wash bucket.

Remove the build platform from the platform mount or remove parts from the basket, depending on the washing method used in Step 2.

Notice:

Take care with sharp objects and slippery surfaces when removing wet parts from the Form Wash. To prevent spills, check concave or hollow geometries that may hold solvent.


Remove excess resin

Depending on their geometry, parts that are washed while attached to the build platform may need a subsequent rinse to remove liquid resin or solvent from small spaces.

Check cavities and channels inside parts for liquid resin or solvent to avoid partially cured resin in unwanted areas. Clean compressed air may help empty internal channels before drying.

Repeat Steps 2 to 4 if parts need an additional wash cycle.


Remove parts from the build platform

If parts are attached to the build platform, use the removal tool, scraper, or flush cutters to remove them.


Dry parts

Always let prints fully dry (whether they have been washed with IPA, TPM, or water) before placing them in the Form Cure.


Notice:

Formlabs does not manufacture isopropyl alcohol or tripropylene glycol monomethyl ether. Consult the chemical manufacturer or supplier for detailed safety information.

For volatile solvents, such as isopropyl alcohol (IPA), allow parts to dry for at least 30 minutes after washing to allow the solvent to fully evaporate from part surfaces. Ensure appropriate ventilation while the solvent evaporates.

For solvents that do not readily evaporate, such as tripropylene glycol monomethyl ether (TPM), let parts drip dry thoroughly and then rinse in water or IPA until all remaining TPM has dissolved.

After washing