WHITE PAPER
Formlabs Logo

Using the Formlabs Fast Cure

Using the Formlabs Fast Cure

Unboxing and setup

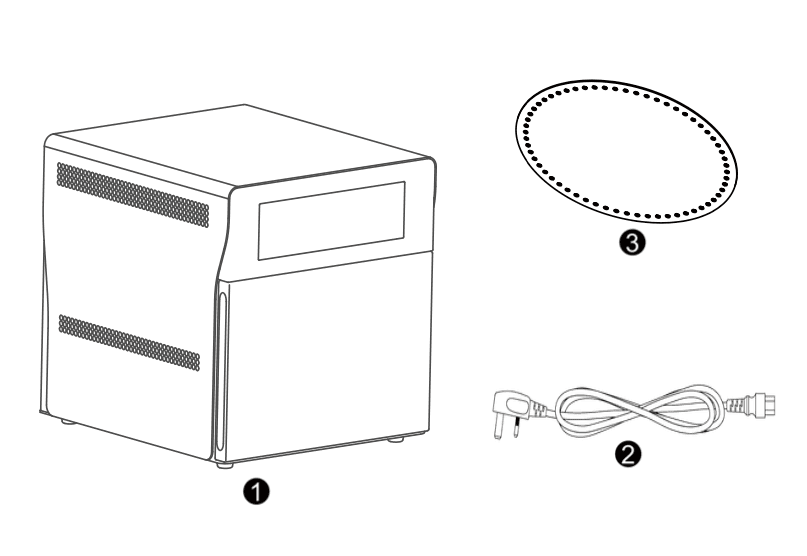
Open the outer box and remove the top foam. Beneath the top foam is the box of Fast Cure accessories. Beneath the accessories box is the inner box for the Fast Cure. Open the inner box and remove the unit.

Remove the power cord from the accessories box and plug one end into the Fast Cure. Connect the unit to power. The Formlabs loading screen should appear.

  • Fast Cure unit
  • Fast Cure power cord
  • Turntable tray (x2)
alttext

Using the Fast Cure

Warning:

The Fast Cure’s cure chamber can reach up to 160 °C (320 °F) after prolonged usage at high LED intensity. Use thermal-insulating gloves when removing a hot turntable tray or post-cured printed part. Failure to follow these procedures may result in injuries, including burning and/or scalding of skin.
To post-cure printed parts in the Fast Cure, place the parts on the turntable tray. Leave space between the parts so that the LED light can reach all of them. Place the tray on the turntable inside the Fast Cure, aligning the holes in the tray with the corresponding bumps on the edge of the turntable.

Notice:

Do not operate the Fast Cure with uncured resin, partially cured resin, or solvents on the turntable or turntable tray. Always let prints fully dry (whether they have been washed with IPA, TPM, or water) before post-curing them with the Fast Cure. Forced air, such as a fan or clean compressed air may dry parts more quickly.

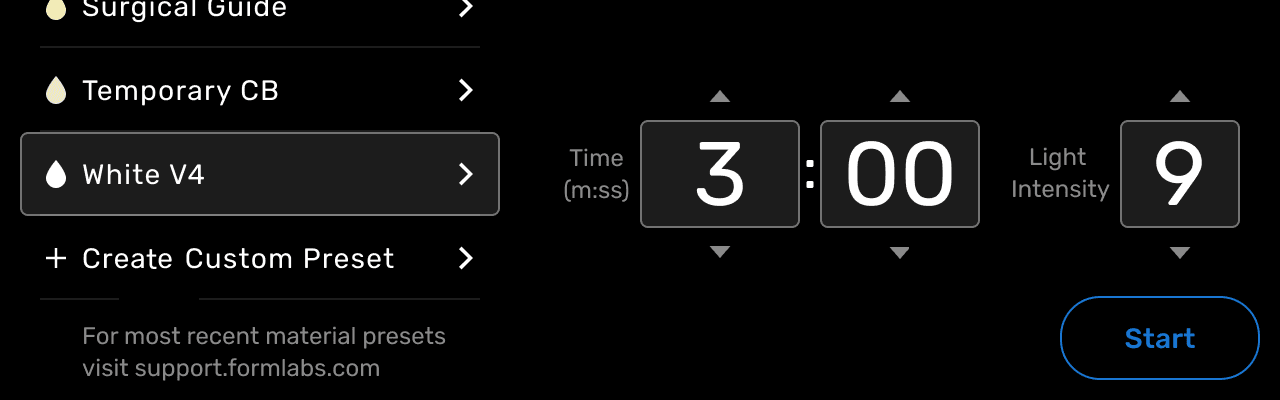
Close the door. On the home screen, scroll down the list of preset post-cure profiles and tap the one you want to use. Tap Start.

If indicated, flip parts halfway through the post-cure cycle to ensure all parts are thoroughly post-cured. Tap Resume to continue the post-cure cycle.

After a post-curing cycle ends, the status Cooling appears in the top right corner for 10 minutes.

Note:

Formlabs recommends allowing the Fast Cure to cool down for 10 minutes between post-curing cycles.

Creating custom post-cure profiles

  1. On the home screen, scroll down the list of preset post-cure profiles and tap Create Custom Preset. You can save up to 9 custom presets.
alttext
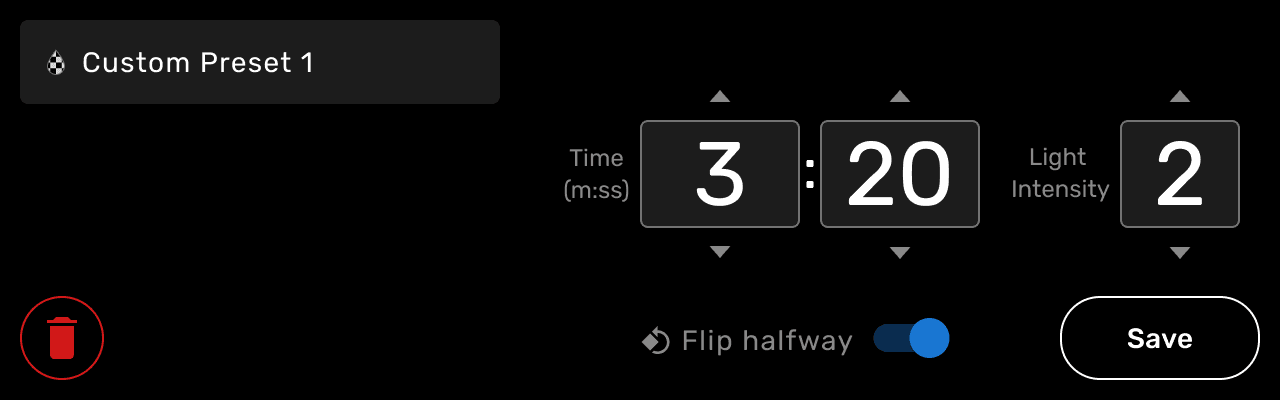
  1. Select the post-curing time, LED intensity, and whether or not the parts should be flipped halfway through post-curing.
alttext
  1. Tap Save to save the profile or tap the trashcan icon to delete it. The preset is saved as Custom Preset X, where X is the next available number from 1 to 10.
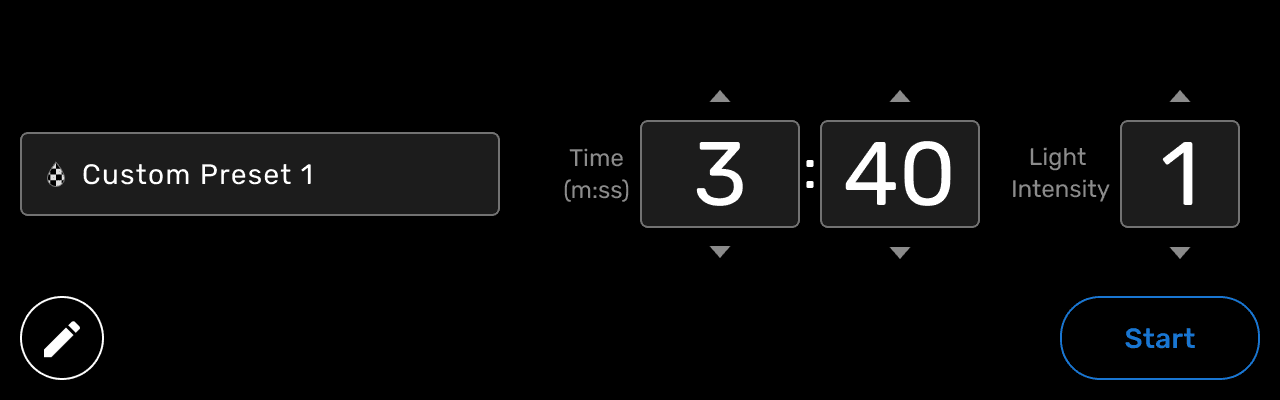
  2. To edit a saved custom profile, scroll to the saved profile and tap the pencil icon.
alttext

After post-curing