Note:
If someone has already registered the printer, attempting to re-register the printer using the four digit verification code will add your account to the printer group as a member.

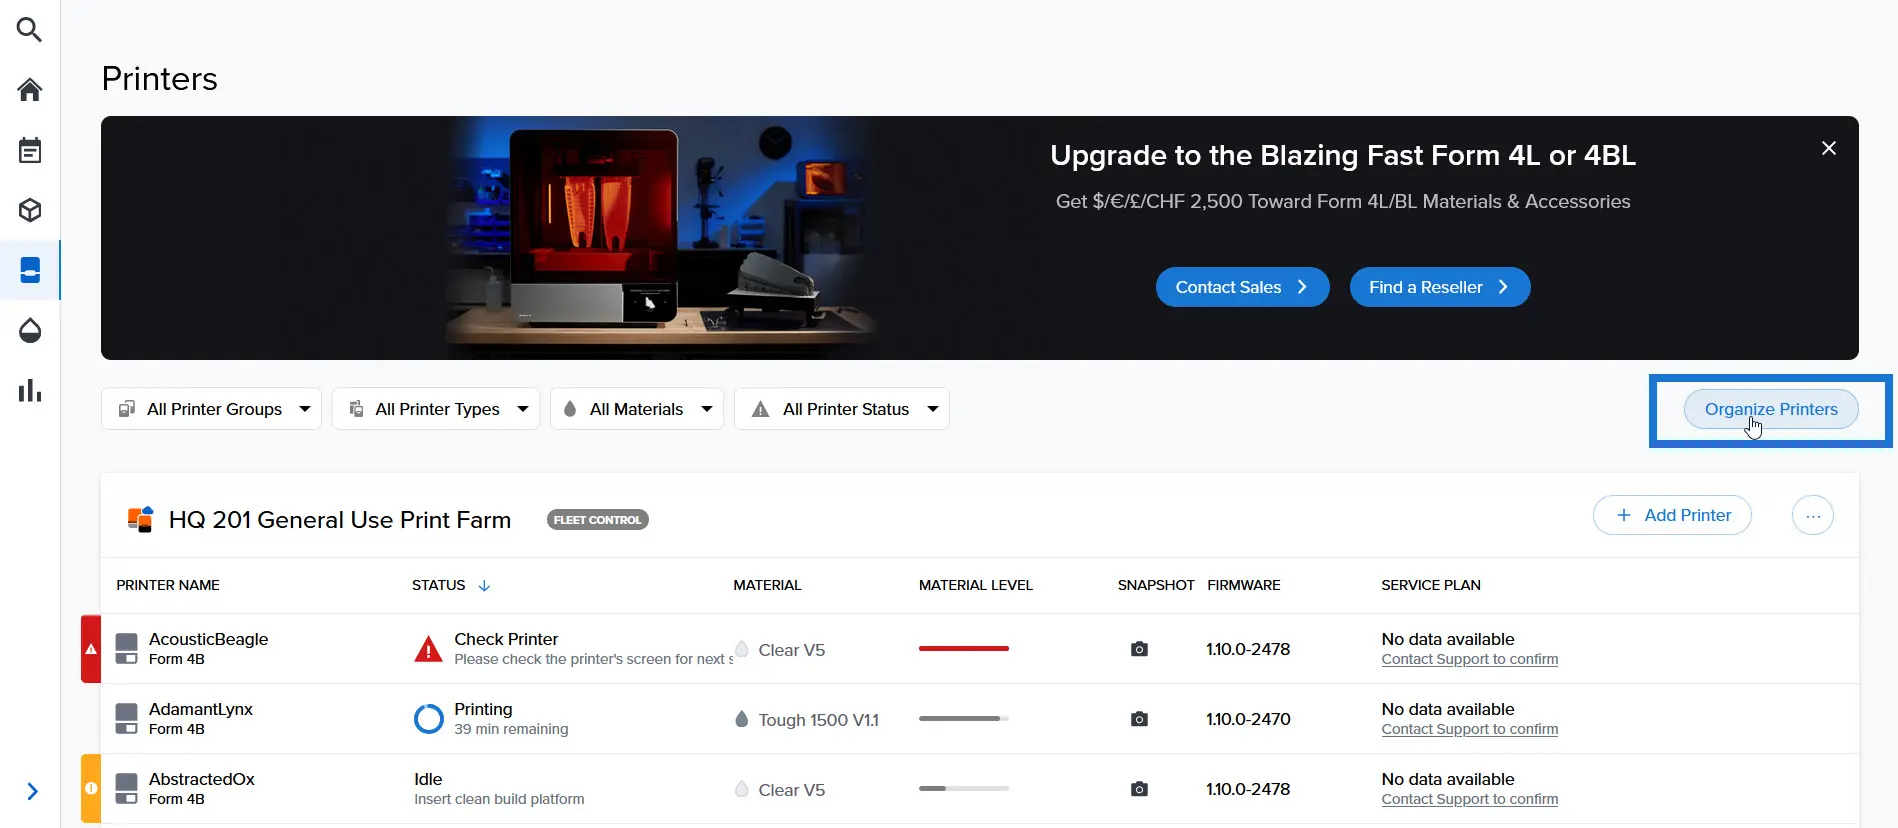
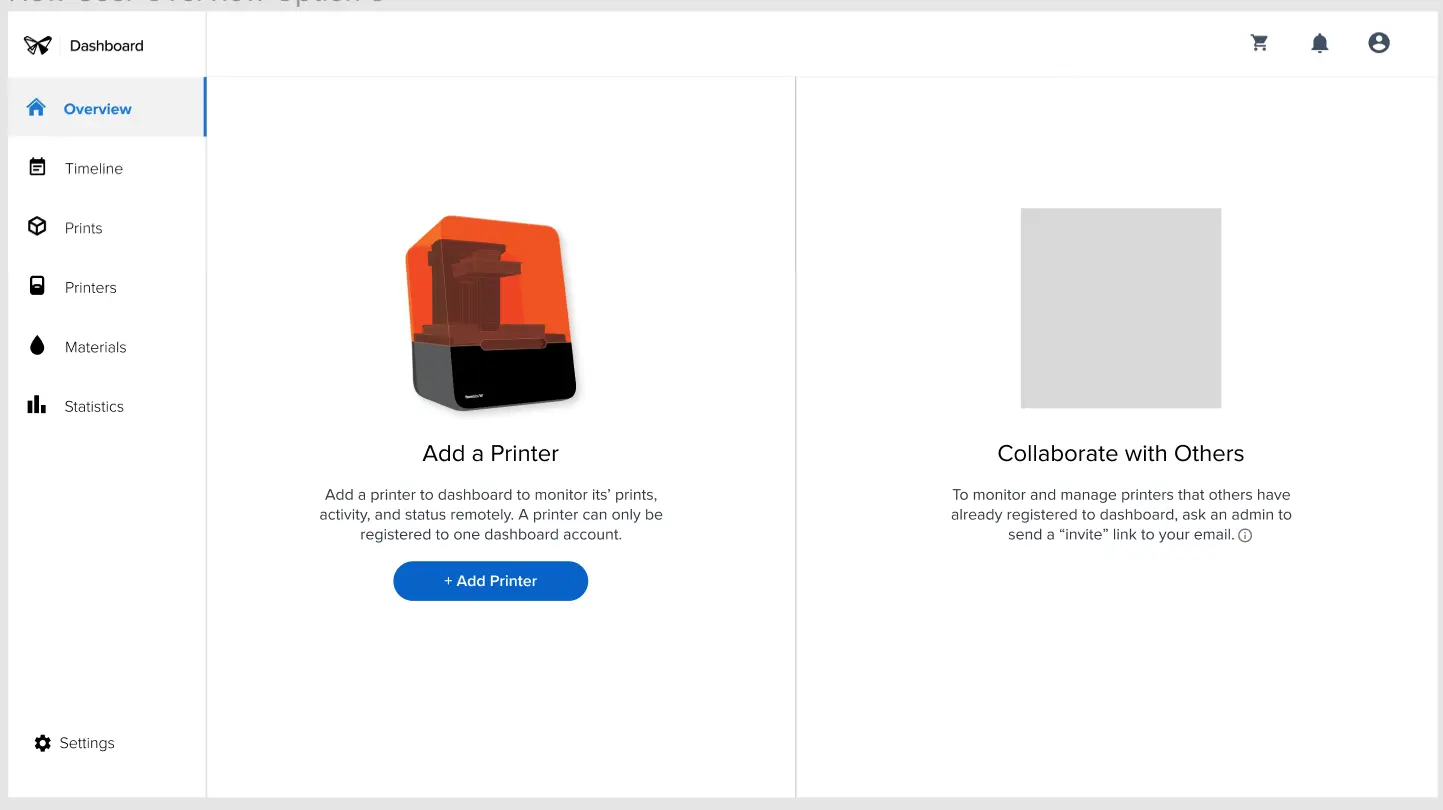
Dashboard allows you to remotely monitor your prints and printers, track material usage, and explore past and future Formlabs purchases. Add printers to Dashboard to start tracking them. Remove them from Dashboard if you no longer wish to track their activity.
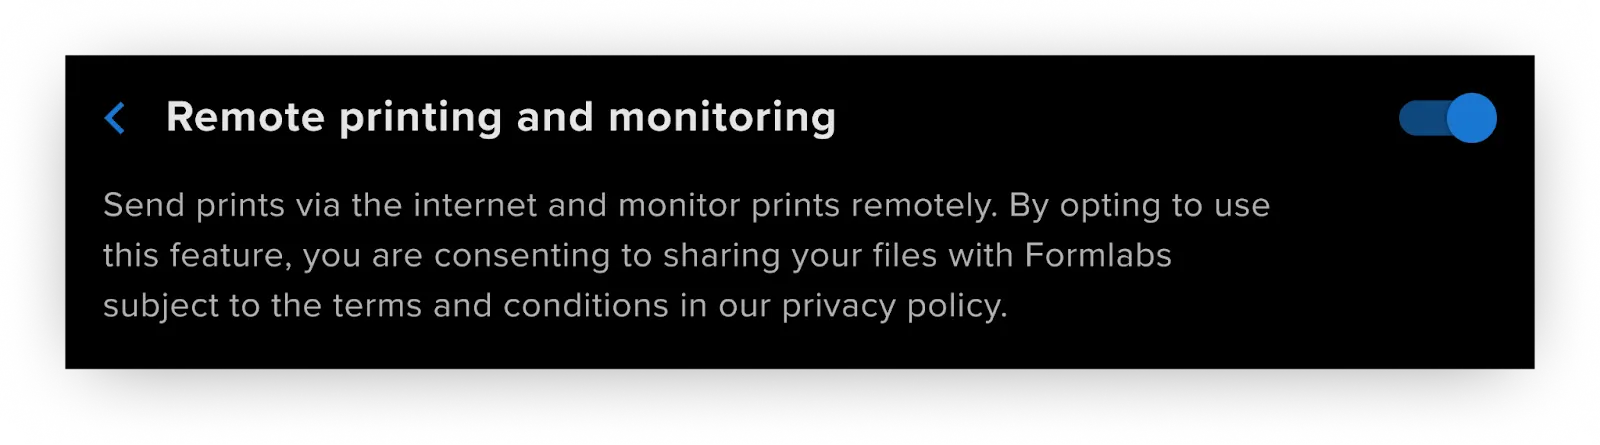
Once the printer is registered to Dashboard and Dashboard logging is enabled on the printer, the printer can begin to send data to Dashboard as long as the Wi-Fi or Ethernet connections are able to access the internet. Connecting to a local area network is not sufficient for sending data to Dashboard.
Note:
If someone has already registered the printer, attempting to re-register the printer using the four digit verification code will add your account to the printer group as a member.
Adding printers to Dashboard
For Form 4 generation printers running firmware versions 1.4.1 or older, enable Dashboard Logging before adding your printer to Dashboard.
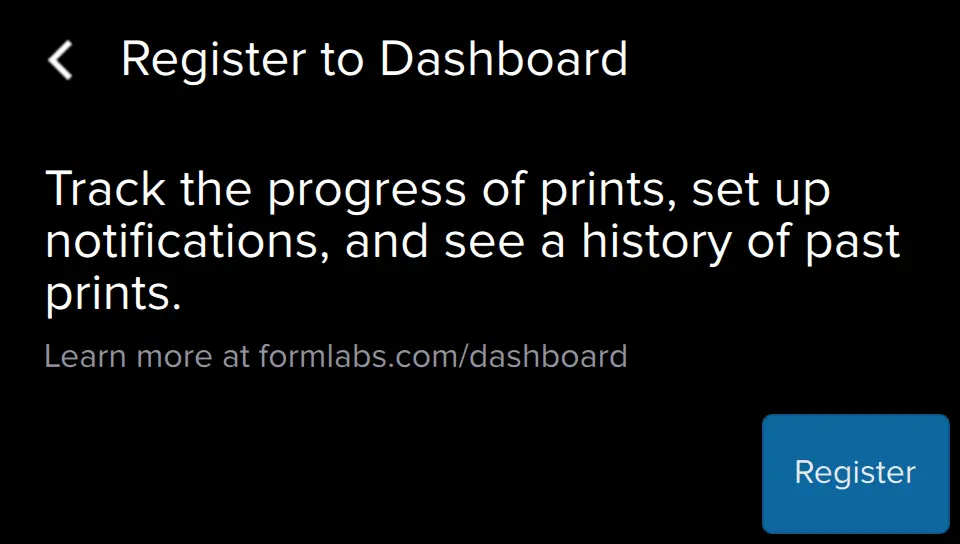
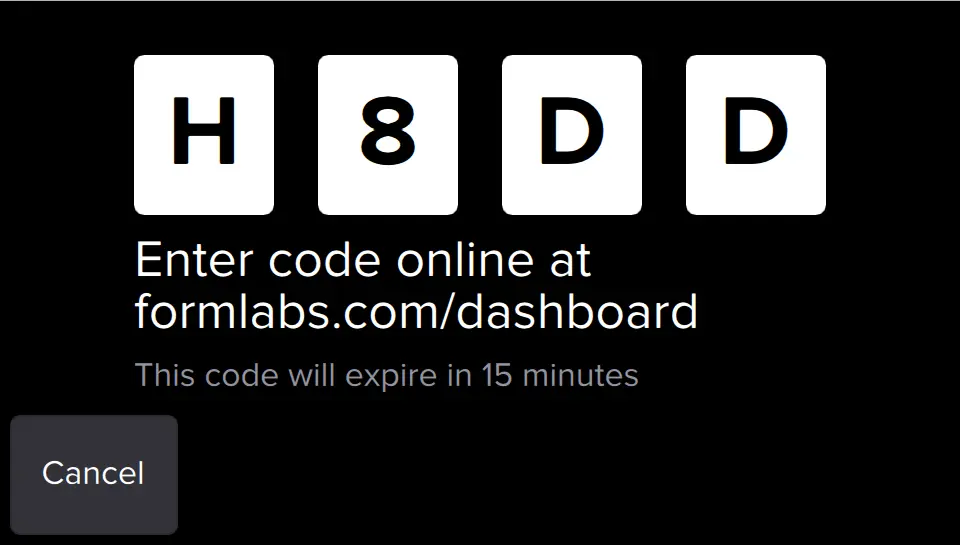
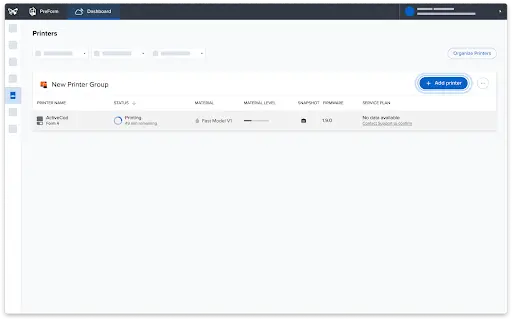
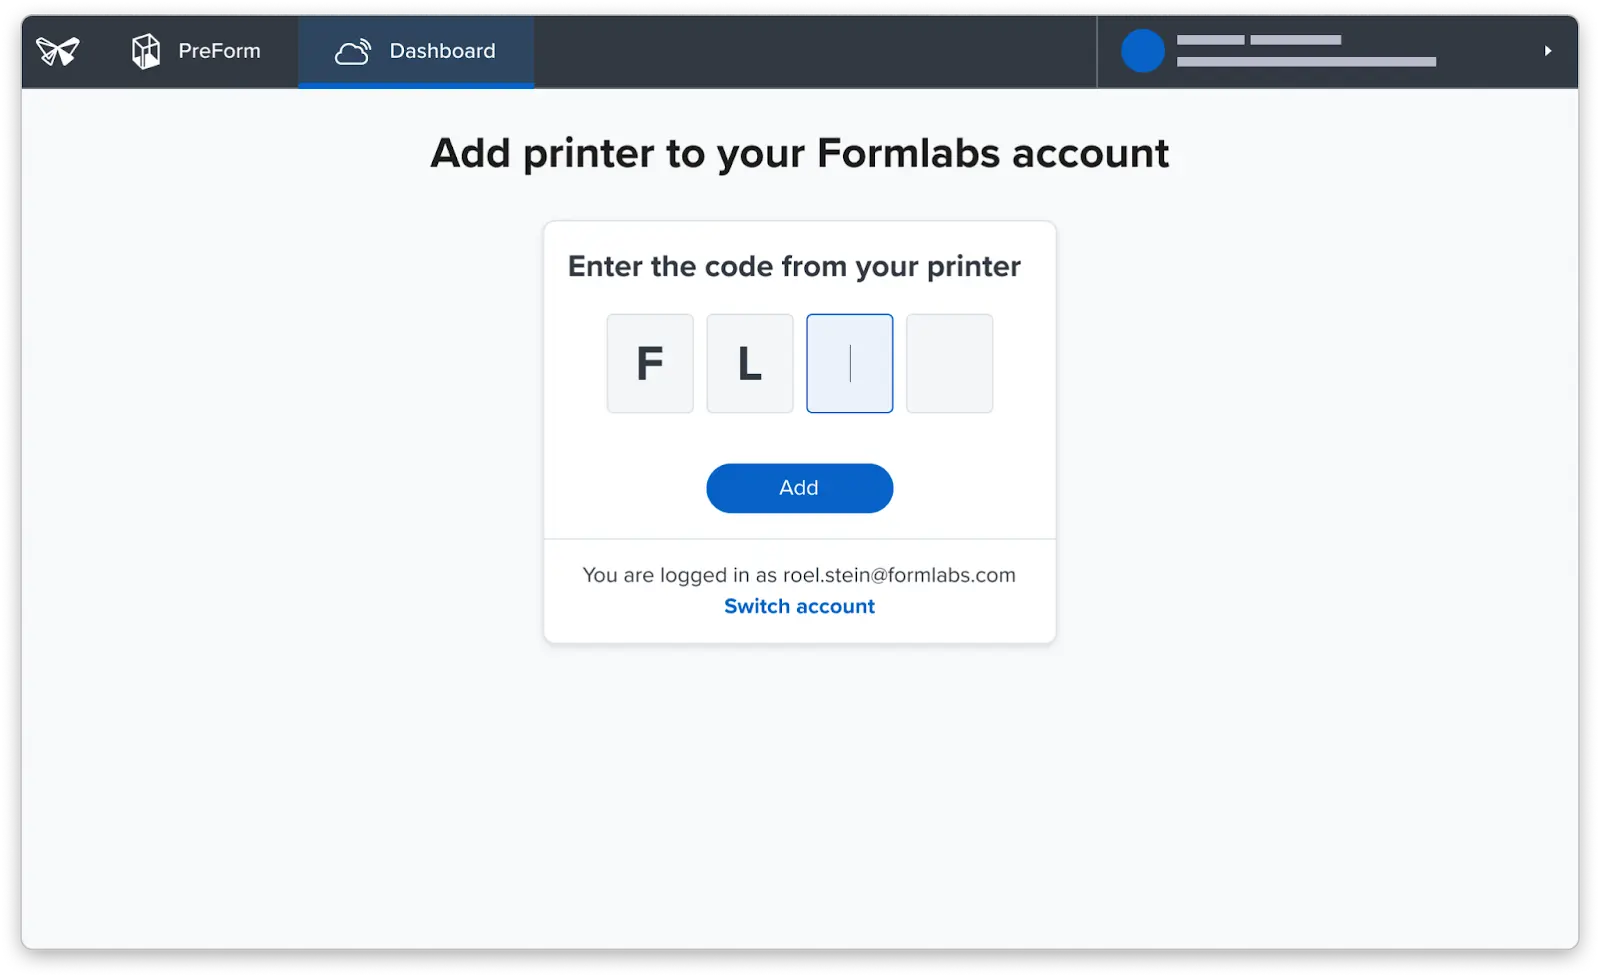
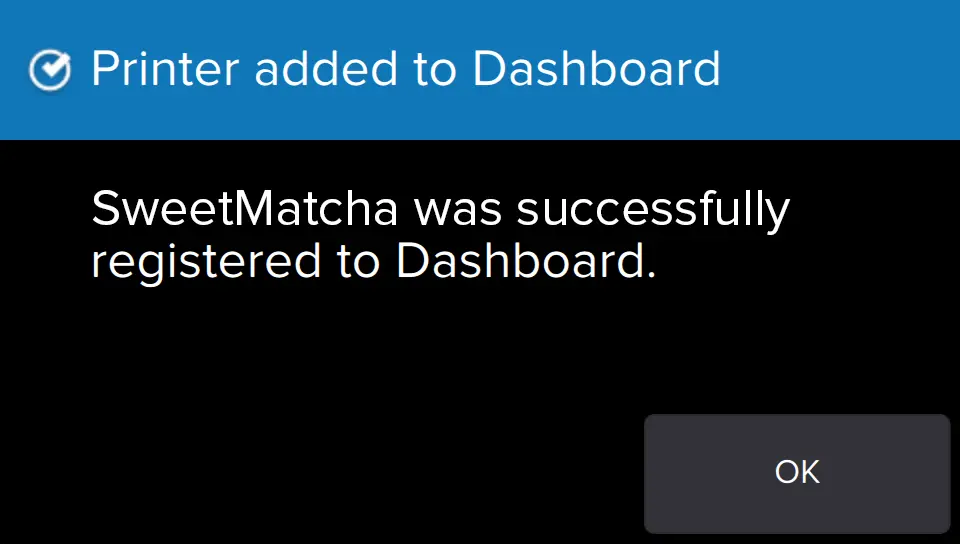
Connect a printer to Dashboard using the personal registration code from the printer's Settings menu.
2.
| Form 3 generation Form 3L generation Fuse 1 generation |
Form 4 generation Form 4L generation Fuse X1 |
|---|---|
| Tap Settings > Connectivity > Register to Dashboard. | Tap Settings > Connectivity > Remote printing and monitoring > Add account. |
Note:
If the printer is already registered to Dashboard, the touchscreen displays the group information.
Note:
If the printer is already registered to Dashboard, this process adds to the existing Printer Group.
Tip:
Your Dashboard account uses the same log-in credentials to access orders and saved addresses for the store, as well as your newsletter and mailing preferences.
Removing a printer from Dashboard
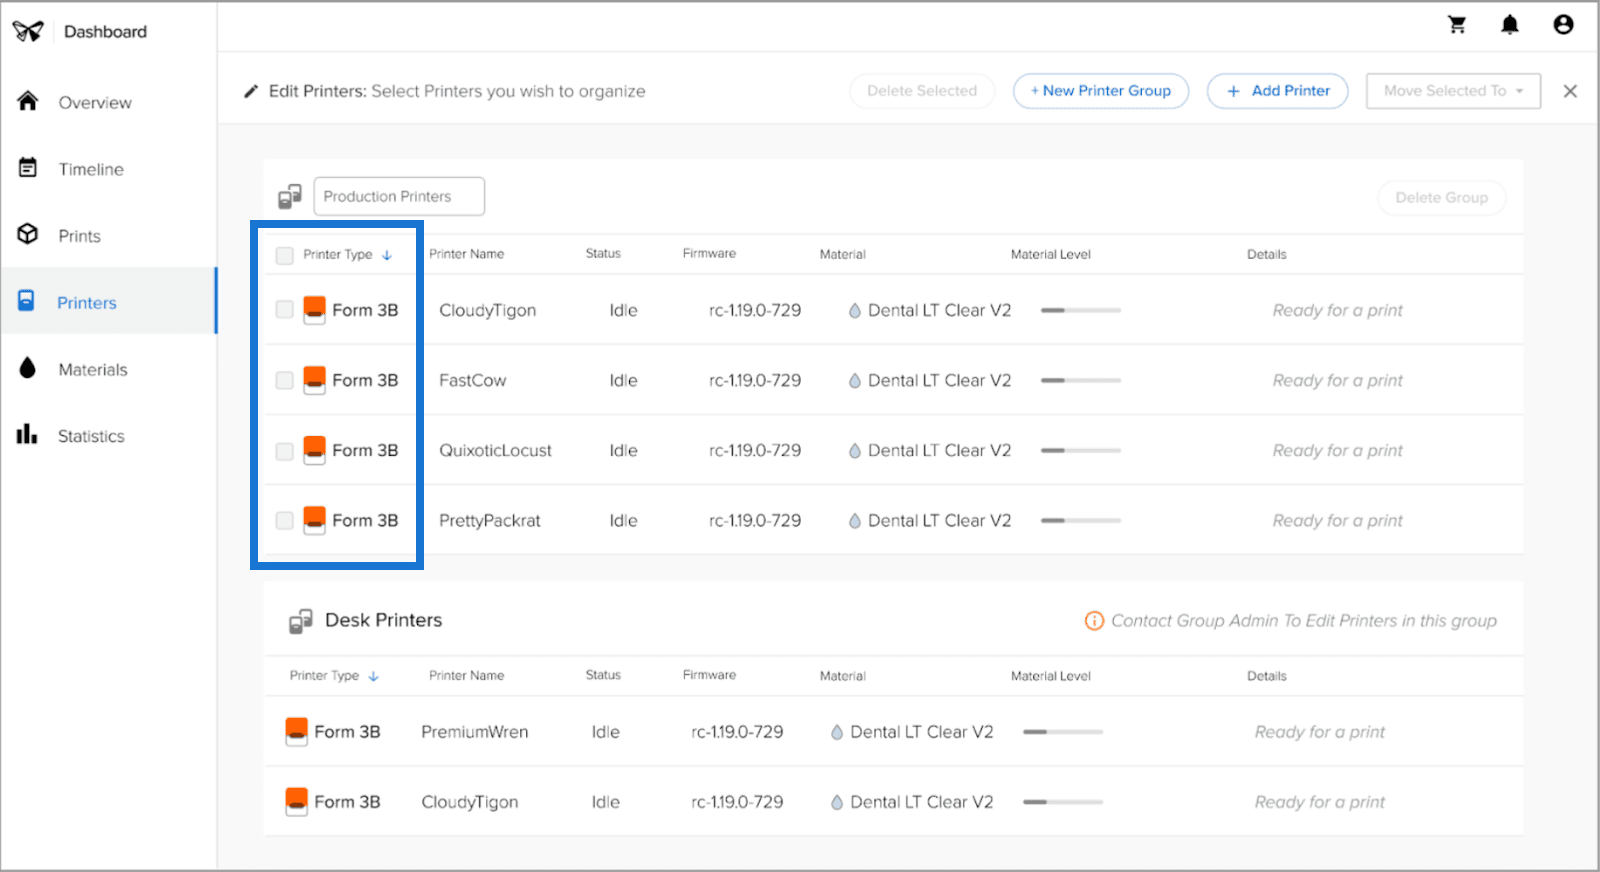
If you no longer want to track a printer on Dashboard, you can delete it. Once a printer is registered to a Printer Group in Dashboard, it cannot be added to another. The printer must be moved or deleted from its current Printer Group first.
Note:
Only an admin can delete a printer from a Printer Group.
To delete a printer from Dashboard: