Note:
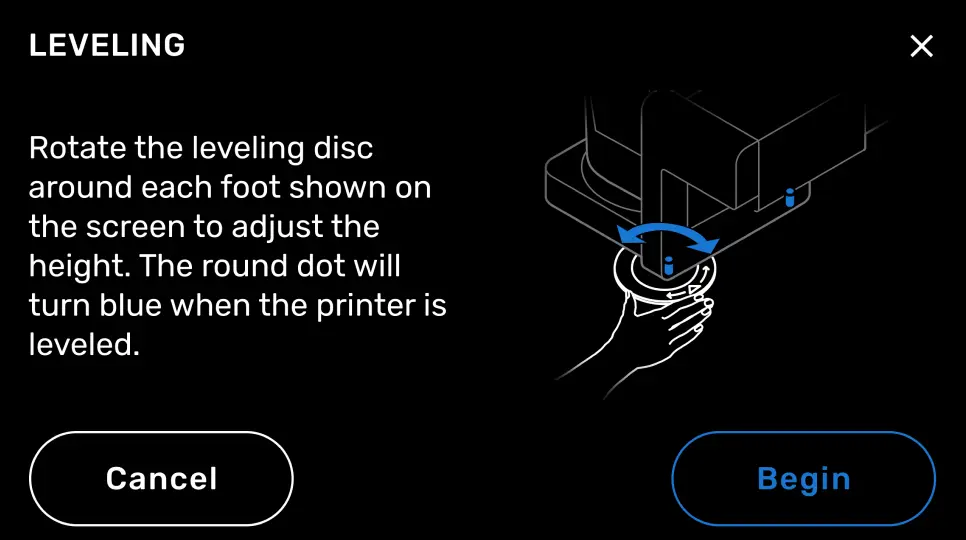
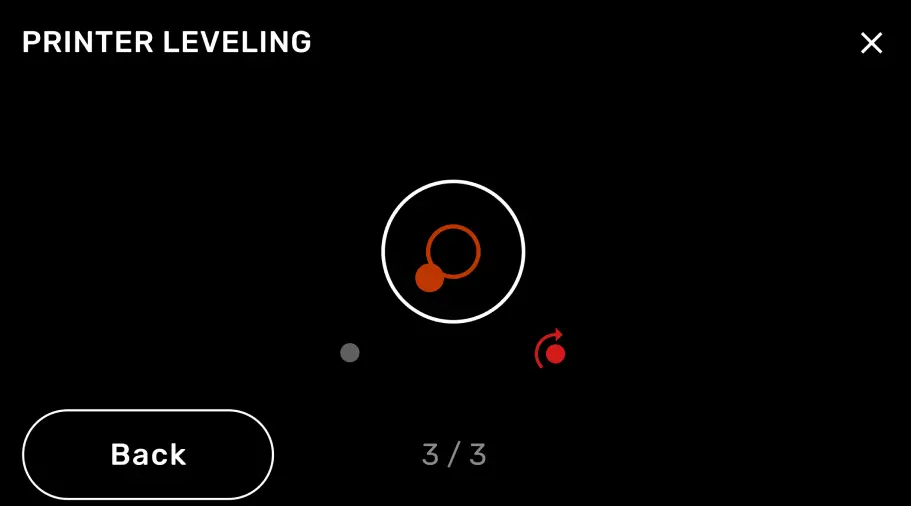
The Form Auto has three leveling feet. Two are under the part removal gantry and the third is under the cover actuator. When leveling the Form Auto, you only need to adjust the two feet under the part removal gantry.

Once the Form Auto is powered on and enabled, it must be leveled and calibrated using the printer’s touchscreen.
Leveling the Form Auto
Note:
The Form Auto has three leveling feet. Two are under the part removal gantry and the third is under the cover actuator. When leveling the Form Auto, you only need to adjust the two feet under the part removal gantry.
Calibrating part removal
Notice:
The Form Auto requires a Build Platform 2 to automatically release printed parts. Printing with a standard Build Platform may damage the Form Auto or your printed parts.
Warning:
Do not remove the cover from the Form Auto while the part removal enclosure or part release arms are in motion. Wait for the calibration process to complete before interacting with the Form Auto. Moving parts present crushing and tangling hazards.
Note:
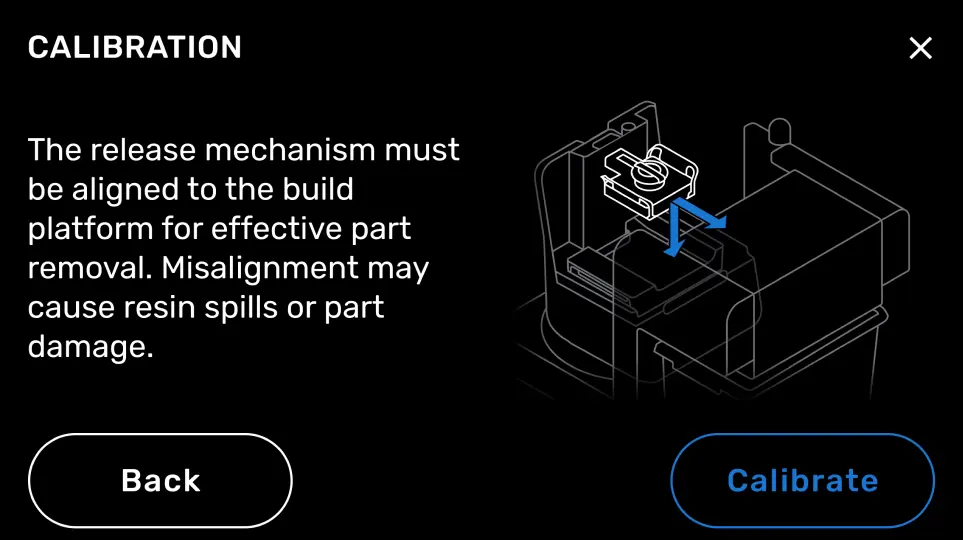
During the calibration process, the part removal mechanism presses against the back of the build platform and the print surface to determine their exact location within the printer. This may result in a knocking or metallic scraping sound. This is normal and does not indicate damage or a malfunction.