
Warning:
Use appropriate personal protective equipment when handling loose or unsintered powder. Refer to the support article Safety with Fuse 1 generation printers for more information.

Before transporting your Fuse Sift or changing to a different material, thoroughly clean all powder out of the machine. This procedure includes cleaning powder out of the fresh and used powder hoppers, the sifter assembly, and the rest of the workspace. It is critical to fully clean all powder out of the machine before using it with a different material. You may need to perform this cleaning multiple times.
In most cases, when switching between two materials, you will need to thoroughly and comprehensively clean your printer, Fuse Sift, and build chamber. If you are switching between Nylon 12 Powder and Nylon 12 GF Powder or between Nylon 11 Powder and Nylon 11 CF Powder, you can follow a simplified cleaning procedure. Clean the hoppers and dosing assemblies of your printer and Fuse Sift. In most cases, repeated cleaning passes and detailed cleaning of optical surfaces, heaters, and filters are not necessary. You do not need to clean your build chamber when switching between these pairs of materials.

Warning:
Use appropriate personal protective equipment when handling loose or unsintered powder. Refer to the support article Safety with Fuse 1 generation printers for more information.
Notice:
Failing to clean out all powder before switching materials can lead to print failures or permanent damage to the machine. Read and understand all instructions in this article before proceeding.
Supplies:
Estimated time required: 5 hours
Notice:
Dedicate each of the items listed below to its own material type. Do not clean and reuse them with a different material type.
Tip:
Use anti-static vacuum attachments to prevent shocks.
Before cleaning
Prepare the machine and a dust-free work environment before starting the cleaning process.
Step 1: Collect tools
Collect the required cleaning tools and put on your personal protective equipment (respiratory protection, gloves, and safety glasses).
Step 2: Dispense all powder out of the fresh powder hopper
Use the Fuse Sift’s powder dispensing function to remove the bulk of the powder from the fresh powder hopper.
To dispense powder from the fresh powder hopper:
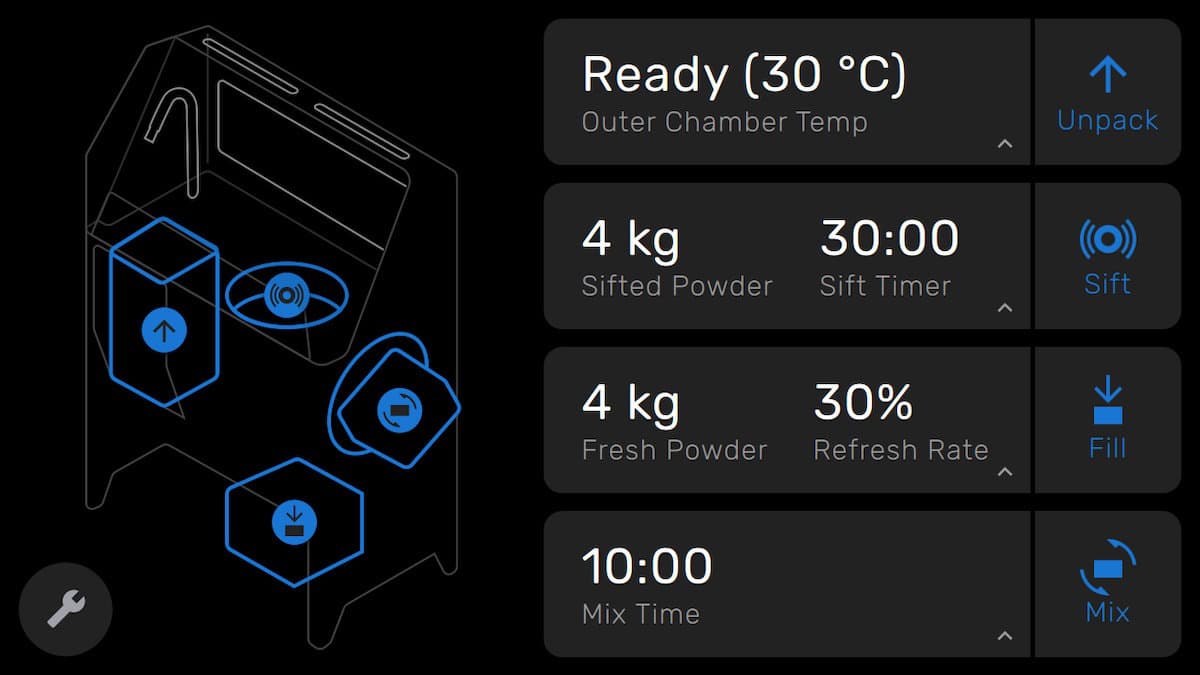
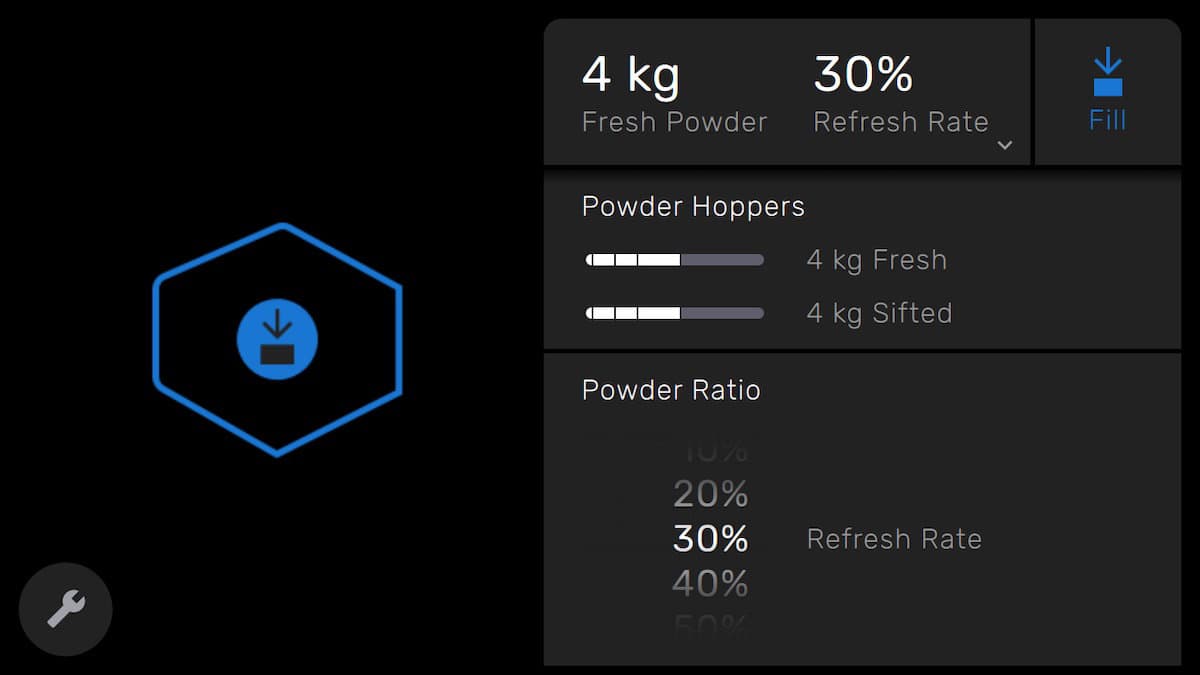
Set the powder aside for future use. If the powder has already been contaminated or mixed with another material, dispose of it according to local environmental regulations.
Step 3: Dispense all powder out of the used powder hopper
Use the Fuse Sift’s powder dispensing function to remove the bulk of the powder from the used powder hopper.
To dispense powder from the used powder hopper:
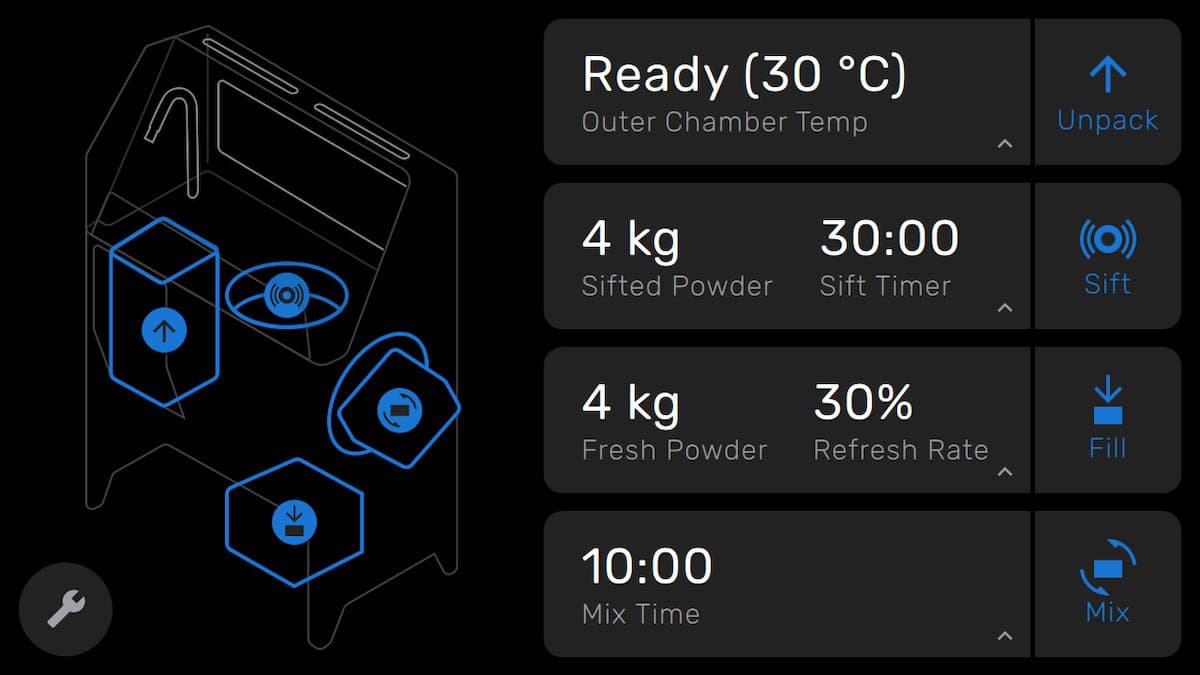
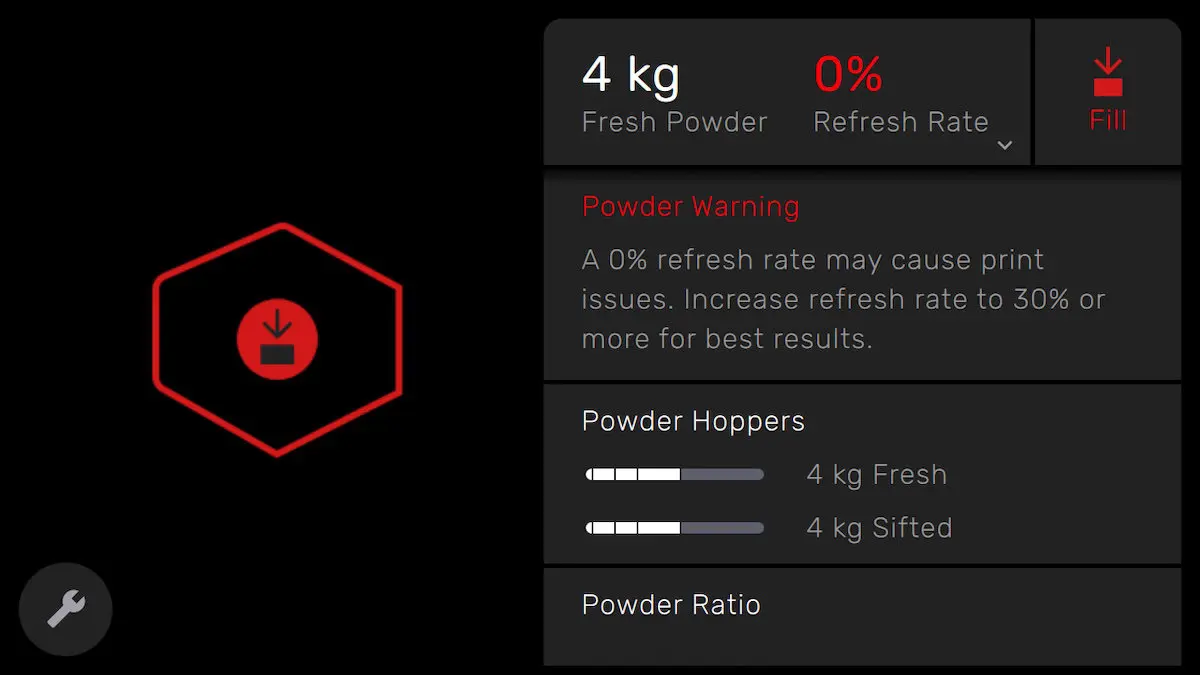
Set the powder aside for future use. If the powder has already been contaminated or mixed with another material, dispose of it according to local environmental regulations.
Cleaning the workspace
After removing the bulk of the powder from the hoppers, clean the Fuse Sift’s workspace.
Step 1: Clean the part extraction tools
Use the vacuum to remove all powder from any part extraction tools that can readily be cleaned.
Notice:
Do not attempt to clean and reuse any tools that are likely to retain powder. Instead, dedicate such tools to a single material.
For example, picks and other hard tools can be cleaned and reused. Nylon brushes are likely to trap powder between their bristles and should not be cleaned or reused with the new material.
Step 2: Clean the vent filter
Vacuum the vent at the back of the workspace following the instructions in the support article Cleaning the Fuse Sift's vent filter.
Step 3: Vacuum the workspace
Vacuum the workspace. Be sure to vacuum the walls, tool shelf, parts basket, surface grate, and build chamber enclosure.

Cleaning the sifter
After cleaning the workspace, clean the sifter assembly.
Step 1: Clean the surface grate
Remove the surface grate, clean both sides thoroughly, and set it aside outside of the Fuse Sift.
Step 2: Clean the sifter mesh
Push the Sift button on the Fuse Sift’s control panel to turn on the sifter and loosen any powder around the sifter mesh. Push the Sift button again to turn off the sifter.
Without touching the mesh, use the vacuum hose to remove debris, clumps, loose powder, and other obstructions from the sifter mesh.

Step 3: Remove and brush the sifter mesh
Turn the turnbuckles to release the sifter mesh. Remove the sifter mesh from the Fuse Sift.

Place the sifter mesh over a trash can or other receptacle. Use a brush to remove any small particles trapped in the mesh.

Set the sifter mesh aside.
Cleaning the fresh powder hopper
After cleaning the sifter assembly, clean the inside of the fresh powder hopper.
Step 1: Clean the fresh powder hopper lid
Using a 2 mm hex driver, loosen and remove the four screws holding the fresh powder hopper lid in place.

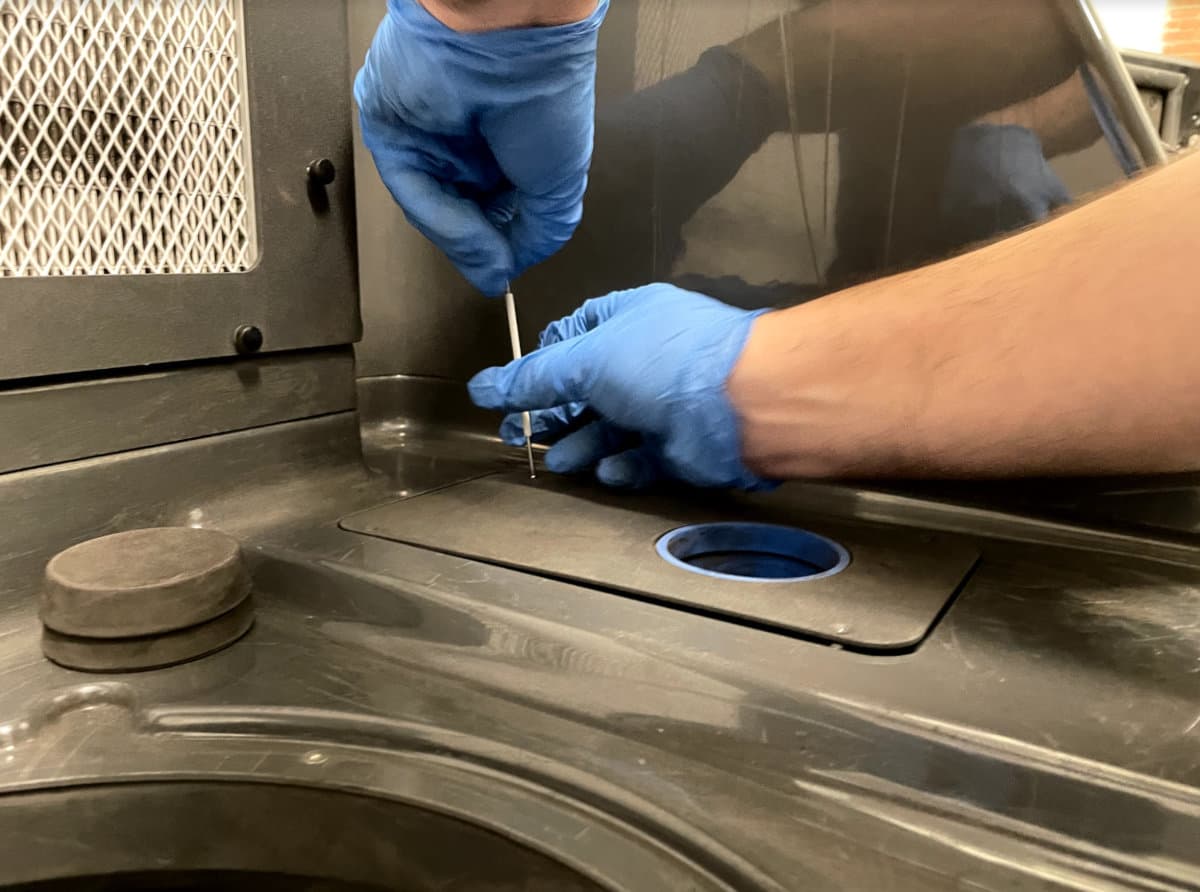
Clean any powder off both sides of the lid and set it aside.
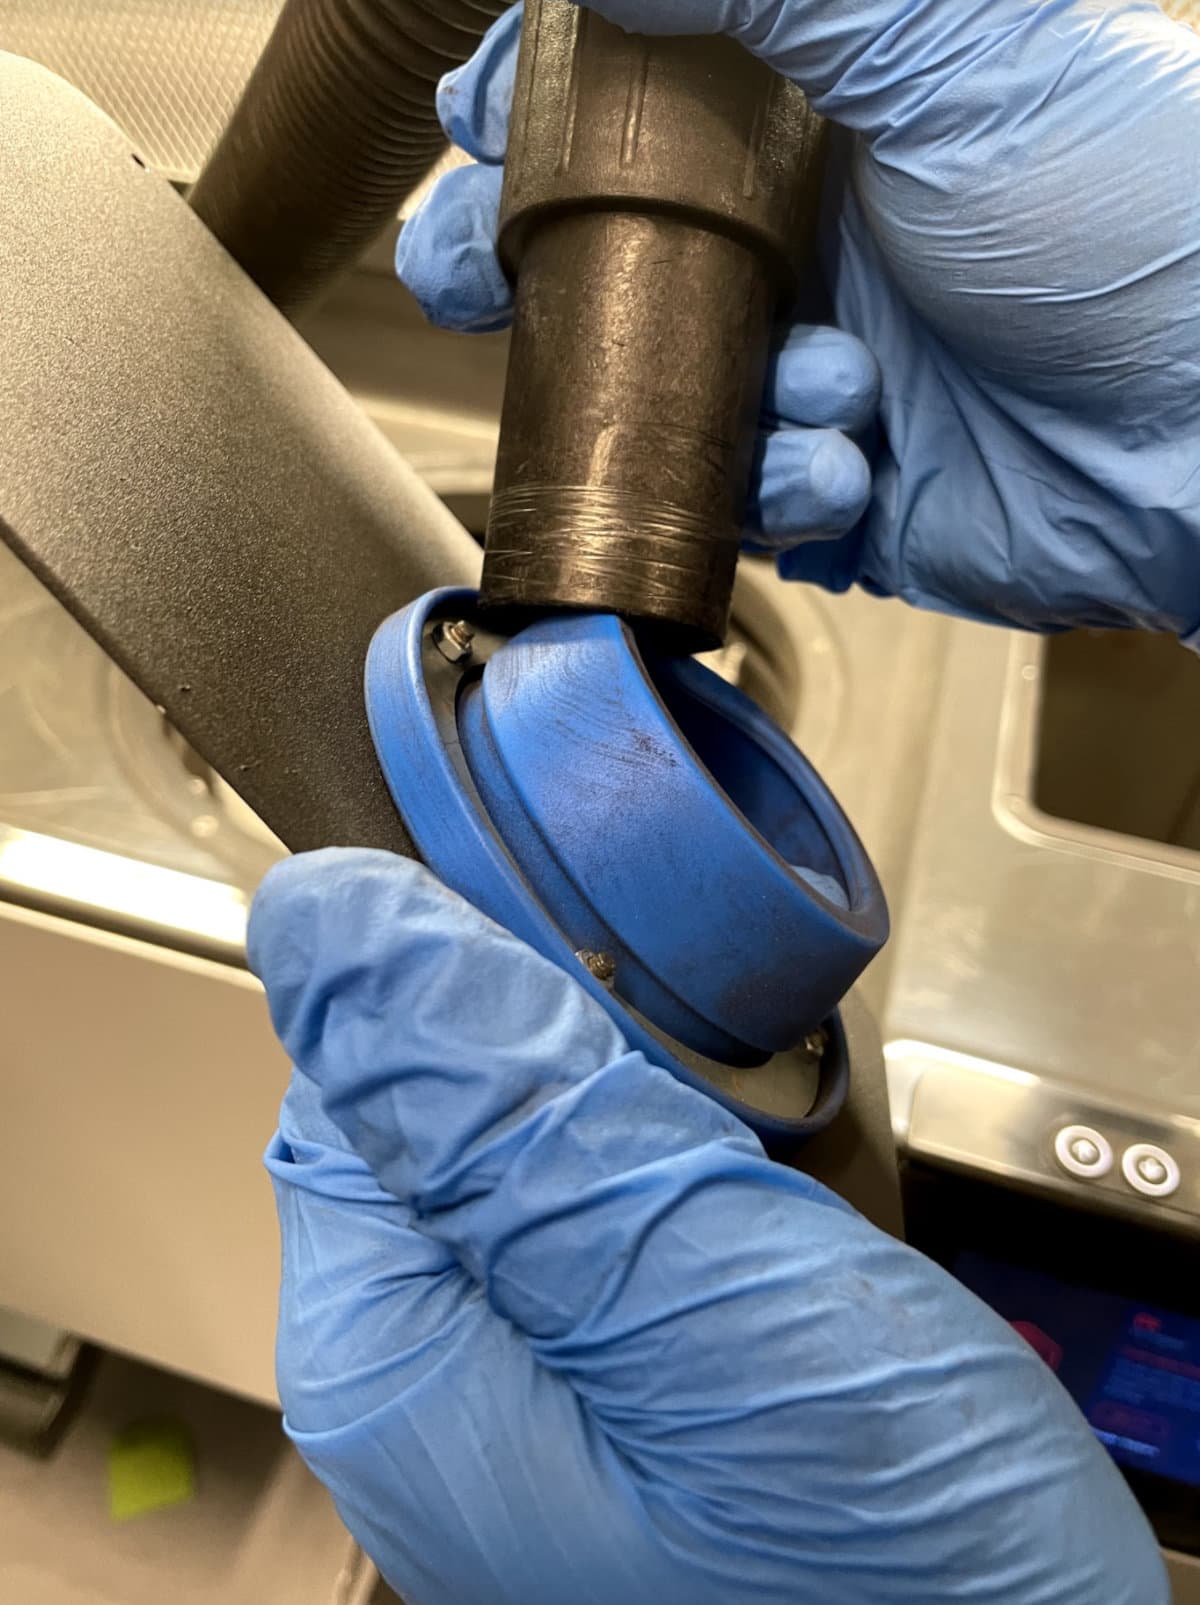
Step 2: Vacuum the fresh powder hopper
Vacuum out the fresh powder hopper. Take care to vacuum all powder from surfaces. Use compressed air or a gas duster as necessary to remove powder from hard-to-reach areas.

Notice:
When using compressed air or a gas duster to clean the machine, always keep the vacuum running to catch any mobilized powder.
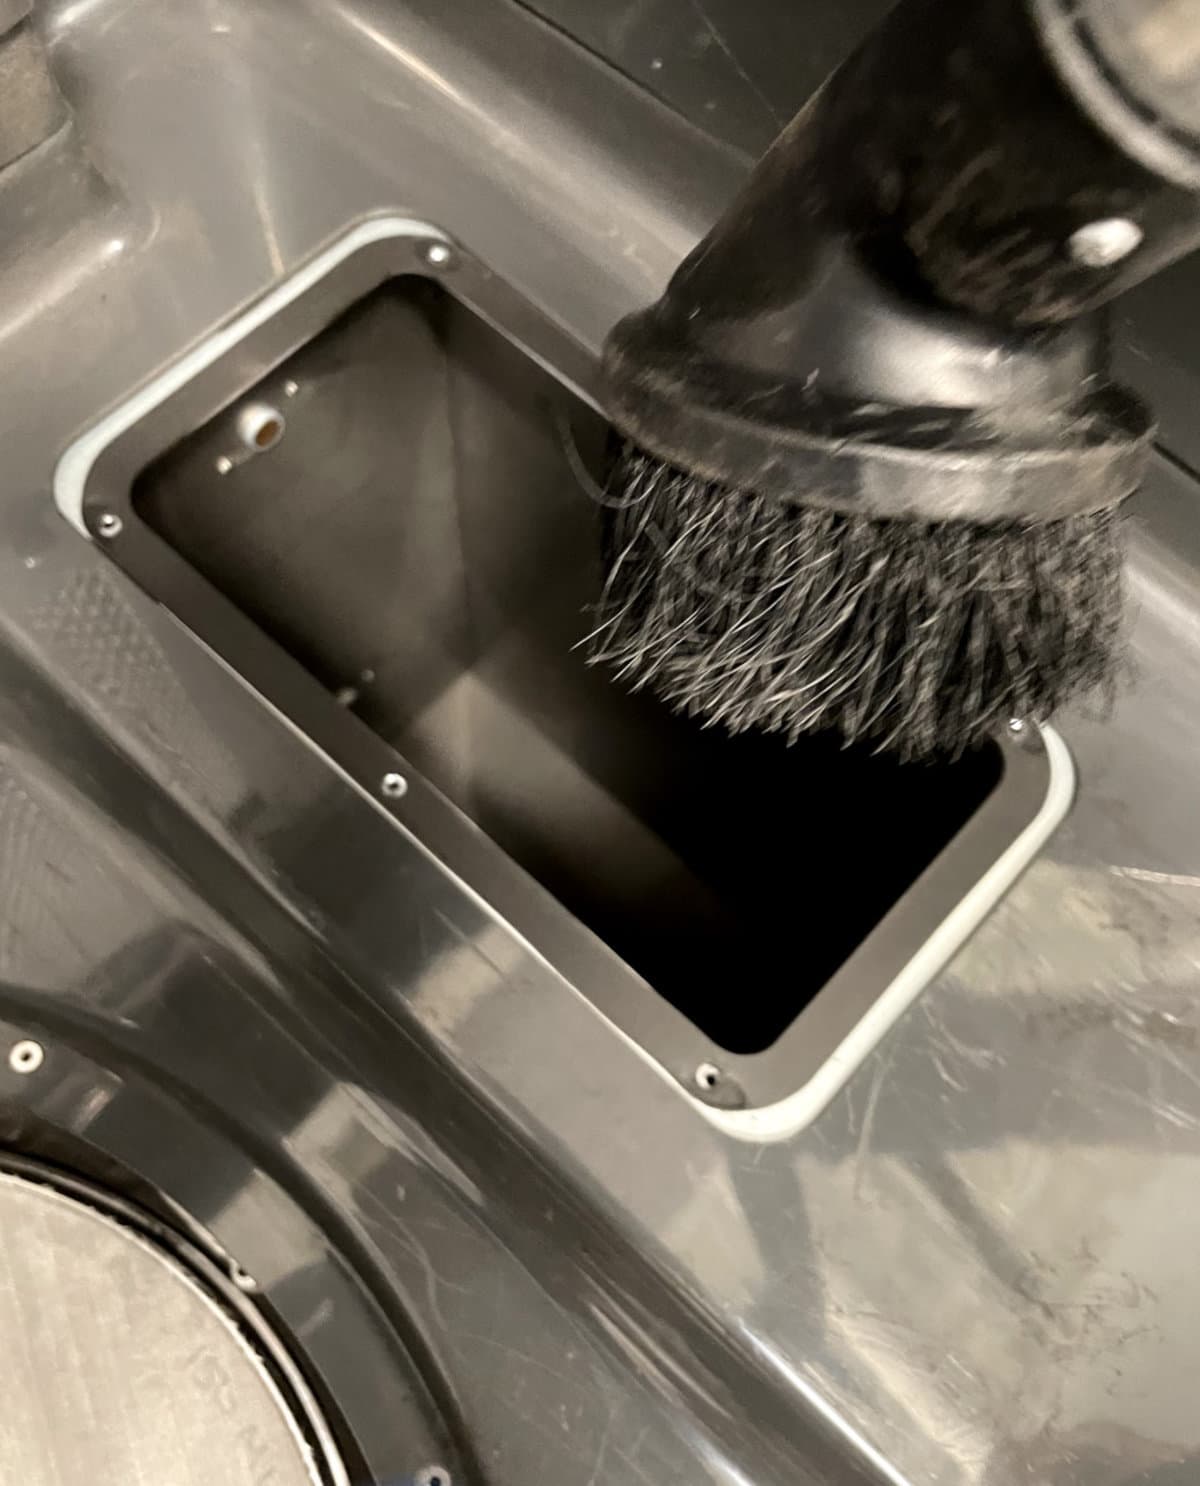
You may need to use a variety of vacuum attachments to reach all of the surfaces in the hopper.
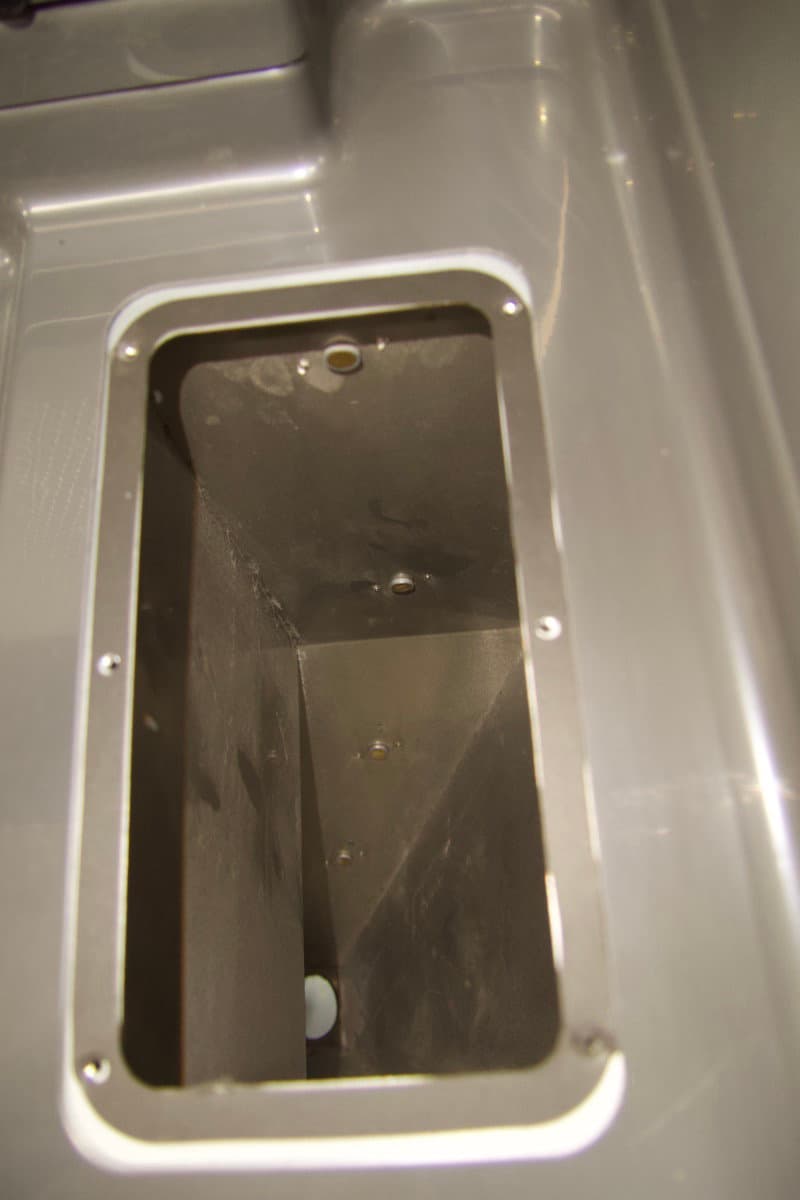
Step 3: Reinstall the fresh powder hopper lid
Reinstall the fresh powder hopper lid. Use a 2 mm hex driver to tighten the four screws until finger tight.
Cleaning the used powder hopper
After cleaning the fresh powder hopper, clean the sifter gasket, sifter mesh turnbuckles, and the inside of the used powder hopper.
Step 1: Vacuum the used powder hopper
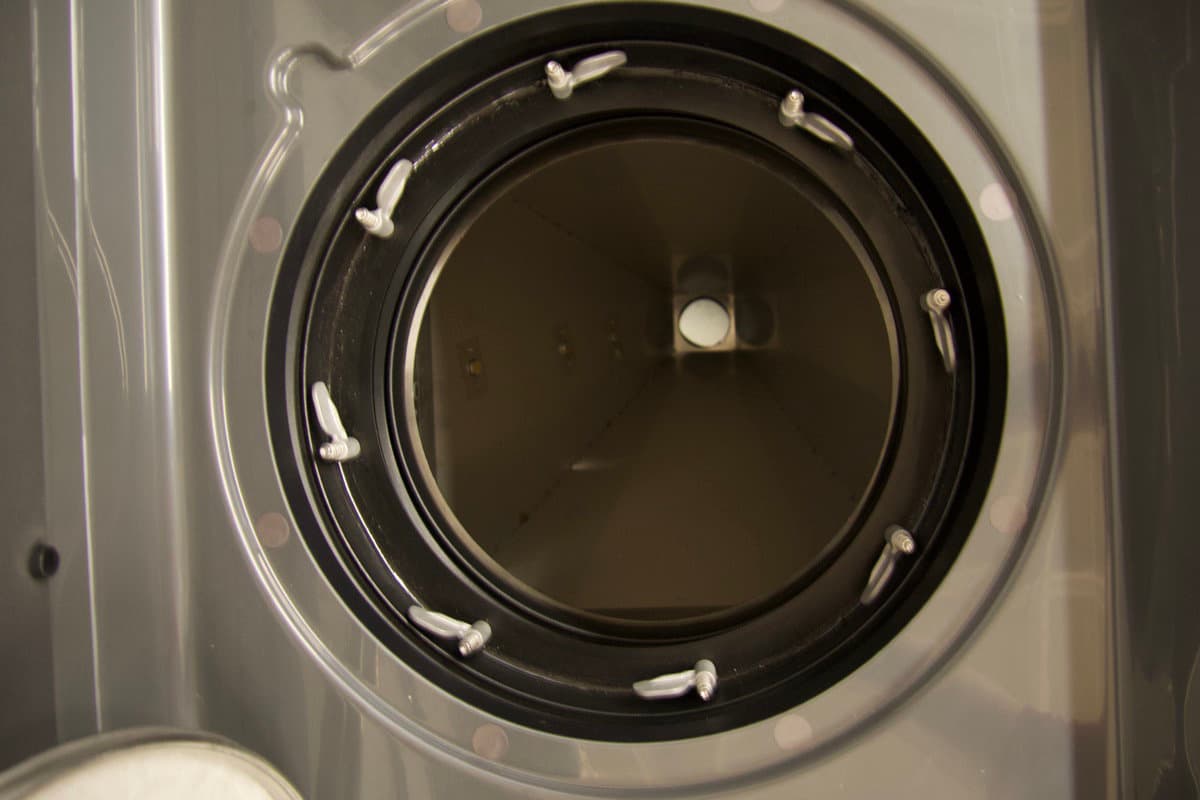
Vacuum out the used powder hopper and surrounding area. Note that powder often builds up in the rubber gasket and around the sifter mesh turnbuckles. Take care to vacuum all powder from the surfaces. Use compressed air or a gas duster as necessary to remove powder from difficult to reach areas.

Notice:
When using compressed air or a gas duster to clean the machine, always keep the vacuum running to catch any mobilized powder.


Continue until all remaining powder has been removed from the hopper.
Notice:
If you are switching between Nylon 12 Powder and Nylon 12 GF Powder or between Nylon 11 Powder and Nylon 11 CF Powder, stop here. If you are switching between any other two materials, continue following the cleaning steps below.
Step 2: Wipe the sifter gasket
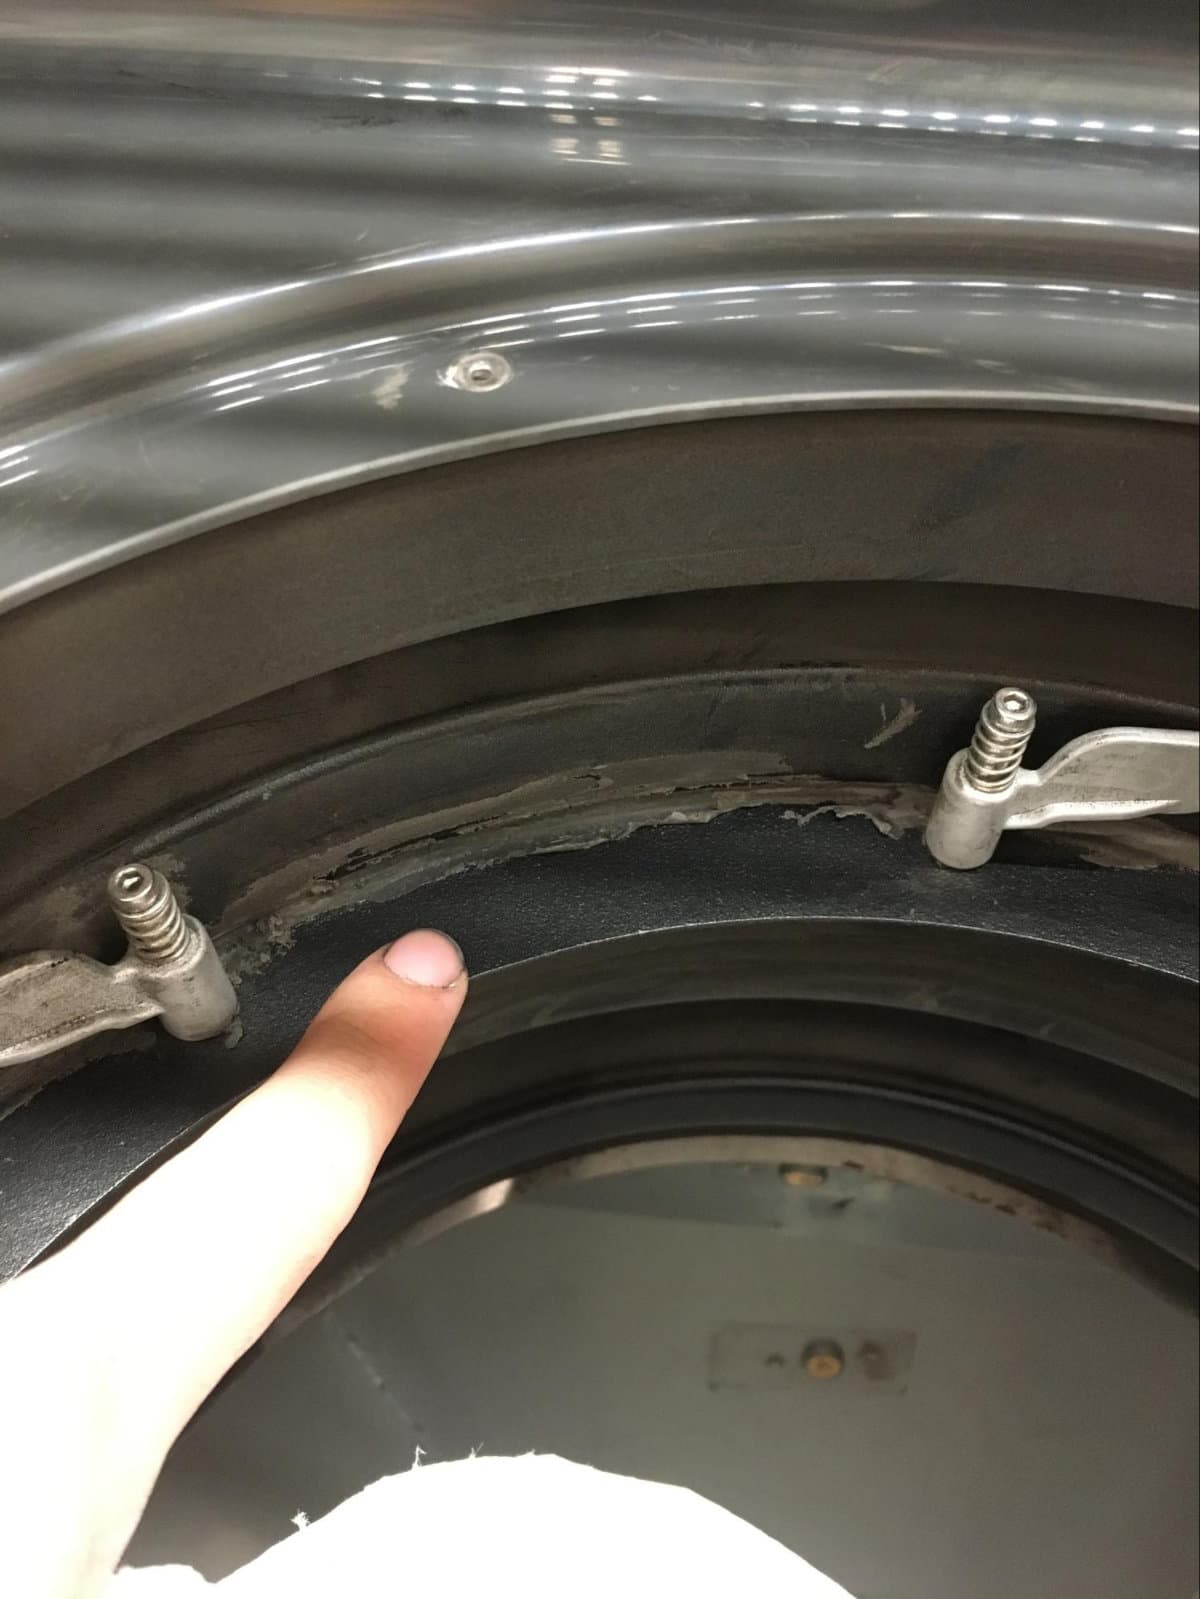
Use a clean paper towel dampened with water to gently wipe down the rubber gasket below the turnbuckles. Do not use any other solvents. Change the paper towel frequently as you clean. Be careful not to tear the silicone seal around the edge of the gasket while cleaning.
Step 3: Clean the sifter mesh turnbuckles
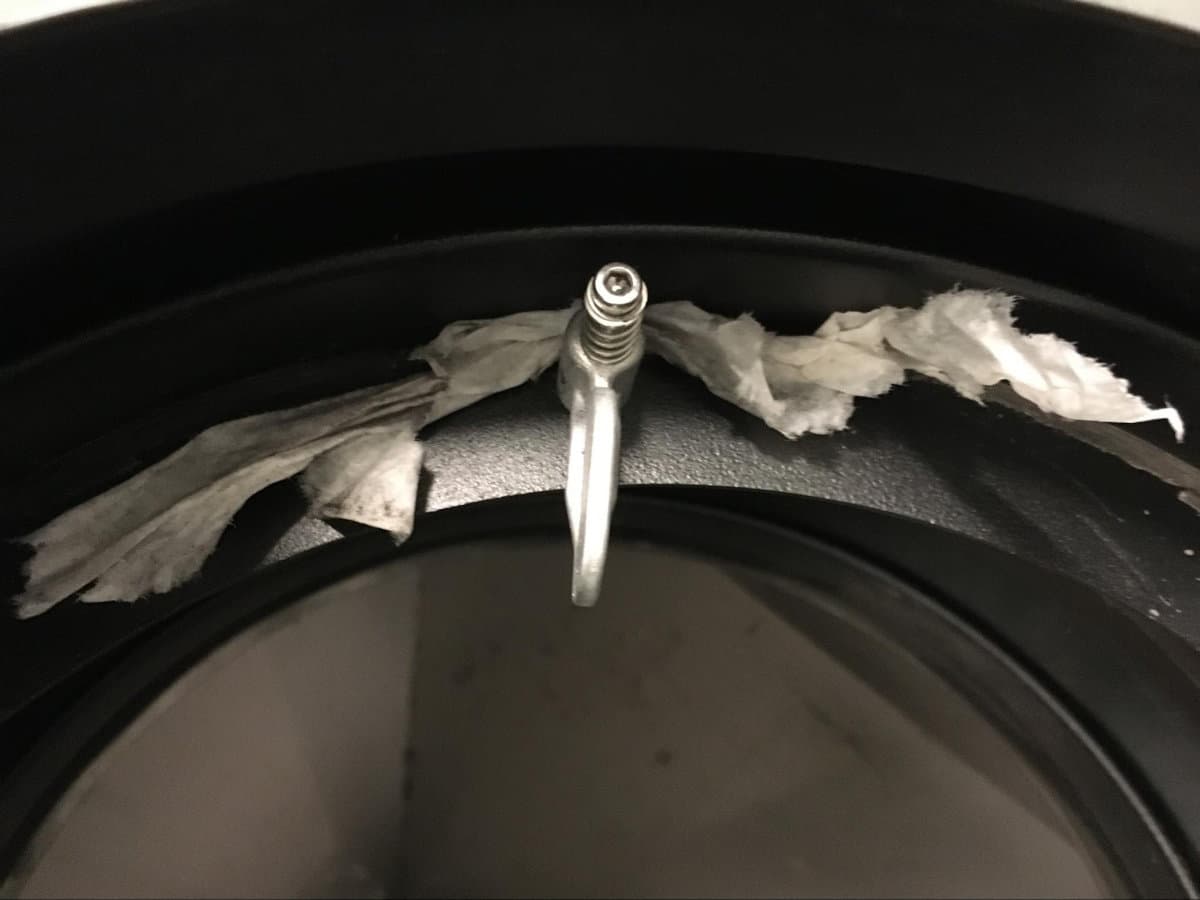
Thoroughly wipe down each turnbuckle and the space behind it using clean paper towels dampened with water. Do not use any other solvents. Change the paper towel frequently as you clean. Repeat until the paper towel does not pick up any powder from any of the turnbuckles.
Tip:
Insert the paper towel into the space behind the turnbuckle and use a flossing motion to clean.
Step 4: Reinstall the sifter mesh and surface grate
If you are cleaning the Fuse Sift to transport it to a new location, reinstall the sifter mesh. If you are cleaning the machine to switch to a different material, install a new sifter mesh that will be dedicated to the new material. Secure the sifter mesh with the turnbuckles. Reinstall the surface grate.
Wiping the outer surfaces and workspace
Finish by wiping down all surfaces on the machine with a clean microfiber cloth. If you used compressed air to clean the machine, powder may have settled on previously-cleaned surfaces.
Step 1: Wipe the outer surfaces
Use a damp paper towel or microfiber cloth to wipe down the machine’s outer surfaces until they are fully clean.
Step 2: Wipe the machine’s workspace
Lift the hood. Use a damp paper towel or microfiber cloth to wipe down all surfaces in the workspace until they are fully clean.
Next steps
After reinspecting all surfaces and confirming that all powder has been removed from the machine, the cleaning procedure is complete.
If you cleaned the machine in order to transport it, it is now ready to be packaged.
If you cleaned the machine in order to switch materials, add fresh powder to the fresh powder hopper or unpack a print in the new material. Continue to watch for signs of contamination, such as streaking or discoloration from mixed powder types. If signs of contamination are present, dispose of any contaminated powder and repeat all cleaning steps described in this article.